

| Quest Giver | Reward | Lvl |
|---|---|---|
| Lilith - Sanctuary | Cash, Epic Gun | 25 |
Meet Wainwright
Once you regain control, speak to Lilith to get the ball rolling and then listen to Hammerlock with regards to his dilemma. Your task for now, is to land on Eden-6 and meet with Wainwight so make your way to the Drop Pod to reach the surface.
Floodmoor Basin is arguably one of the largest Zone’s in Borderlands 3 and one that you’ll be revisiting many times during your time on Eden-6. Take a look at the Crew Challenges and Zone Completion pages for Floodmoor Basin but it’s best to work on these tasks as you spend your time on Eden-6. One look at the map will tell you all you need to know, Floodmoor Basin is a massive area. For now, head forward and drop down to the ground below and grab yourself a vehicle, you’ll want one with you for the majority of your time here in Eden-6.
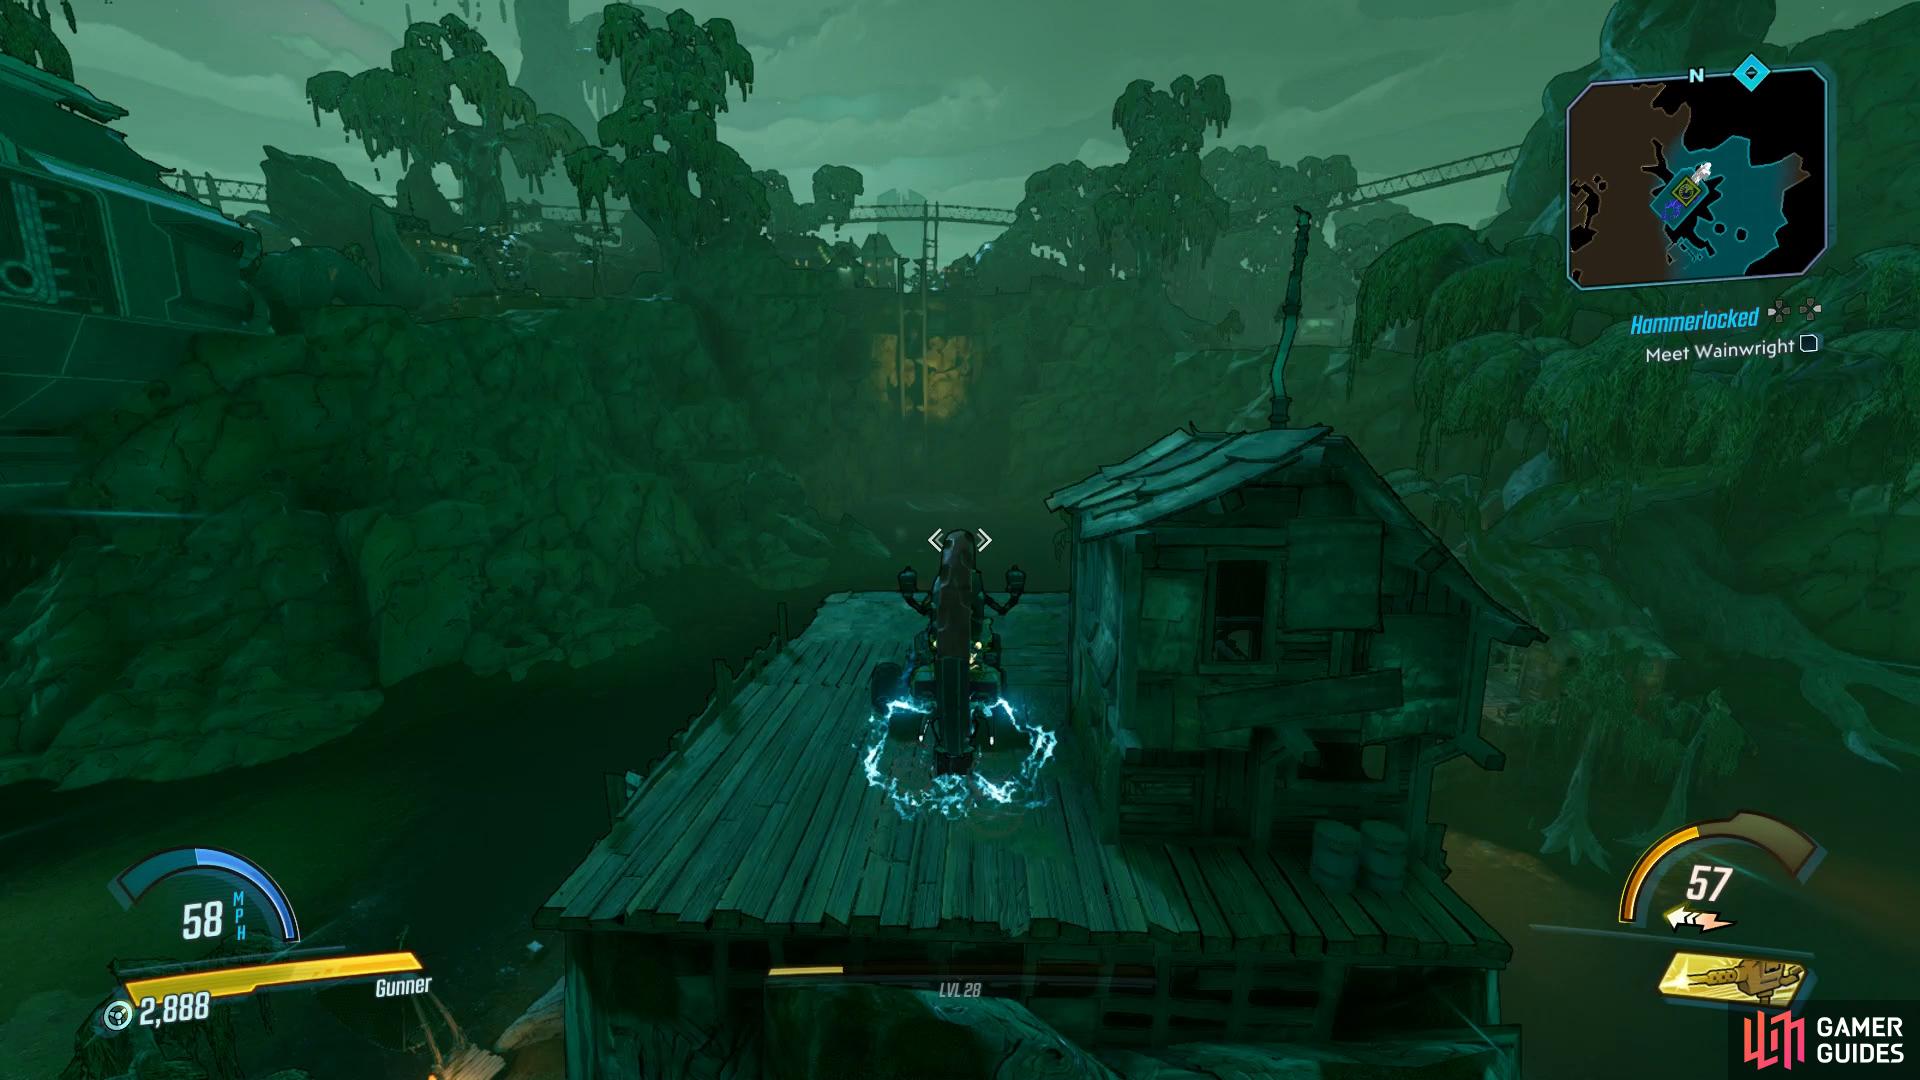
Jump off the ramp at the bottom of Knotty’s Peak to reach this Hijack Vehicle.
Follow the road to the west and once you reach the fork in the road, take the eastern path around. Once you see the road split once more and head east, look to the west to spot a ramp, if you boost off this you can land on a ledge high up with a Hijack Target. A little further to the north, on the west of the ramp, you’ll find a Typhon Log overlooking the swamp below. Regardless, head up the long path to the east of the ramp and leave your vehicle once you run out of road.
As you continue your way up the peak, you’ll begin to encounter COVs, take them out and you’ll need to deal with one final group of Psychos and Fanatics up the top. Head forward following the battle to meet with the current head of Jakobs, Wainwright.
Meet “Meatslab”
Hammerlock is in a prison named The Anvil, and your first task is reaching him. Get used to Knotty’s Peak, there’s a Fast Travel here and it’s central location will make it a useful base of operations on Eden-6. Make use of the Vending Machines should you need to restock and then take the lift down in the corner to reach a Catch-A-Ride and grab a vehicle with a missile launcher to break through the barricade.
Your destination, The Anvil, is to the northwest of Knotty Peak but you may want to consider knocking out a few Side Missions before heading there. Right now, you can accept and complete Don’t Truck with Eden-6 and Get Quick, Slick so consider a detour before you continue on. Once you cross the large bridge and reach the gates of The Anvil, consider taking another detour to the west, in this area you’ll not only find another Typhon Log but also the Legendary Hunt and an Eridian Writing. Chonk Stomp especially has the chance to drop a Legendary Shotgun, [The Garcia] so it’s well worth seeking it out. Finally, after defeating Chonk Stomp, you’ll find a Red Chest in his den.
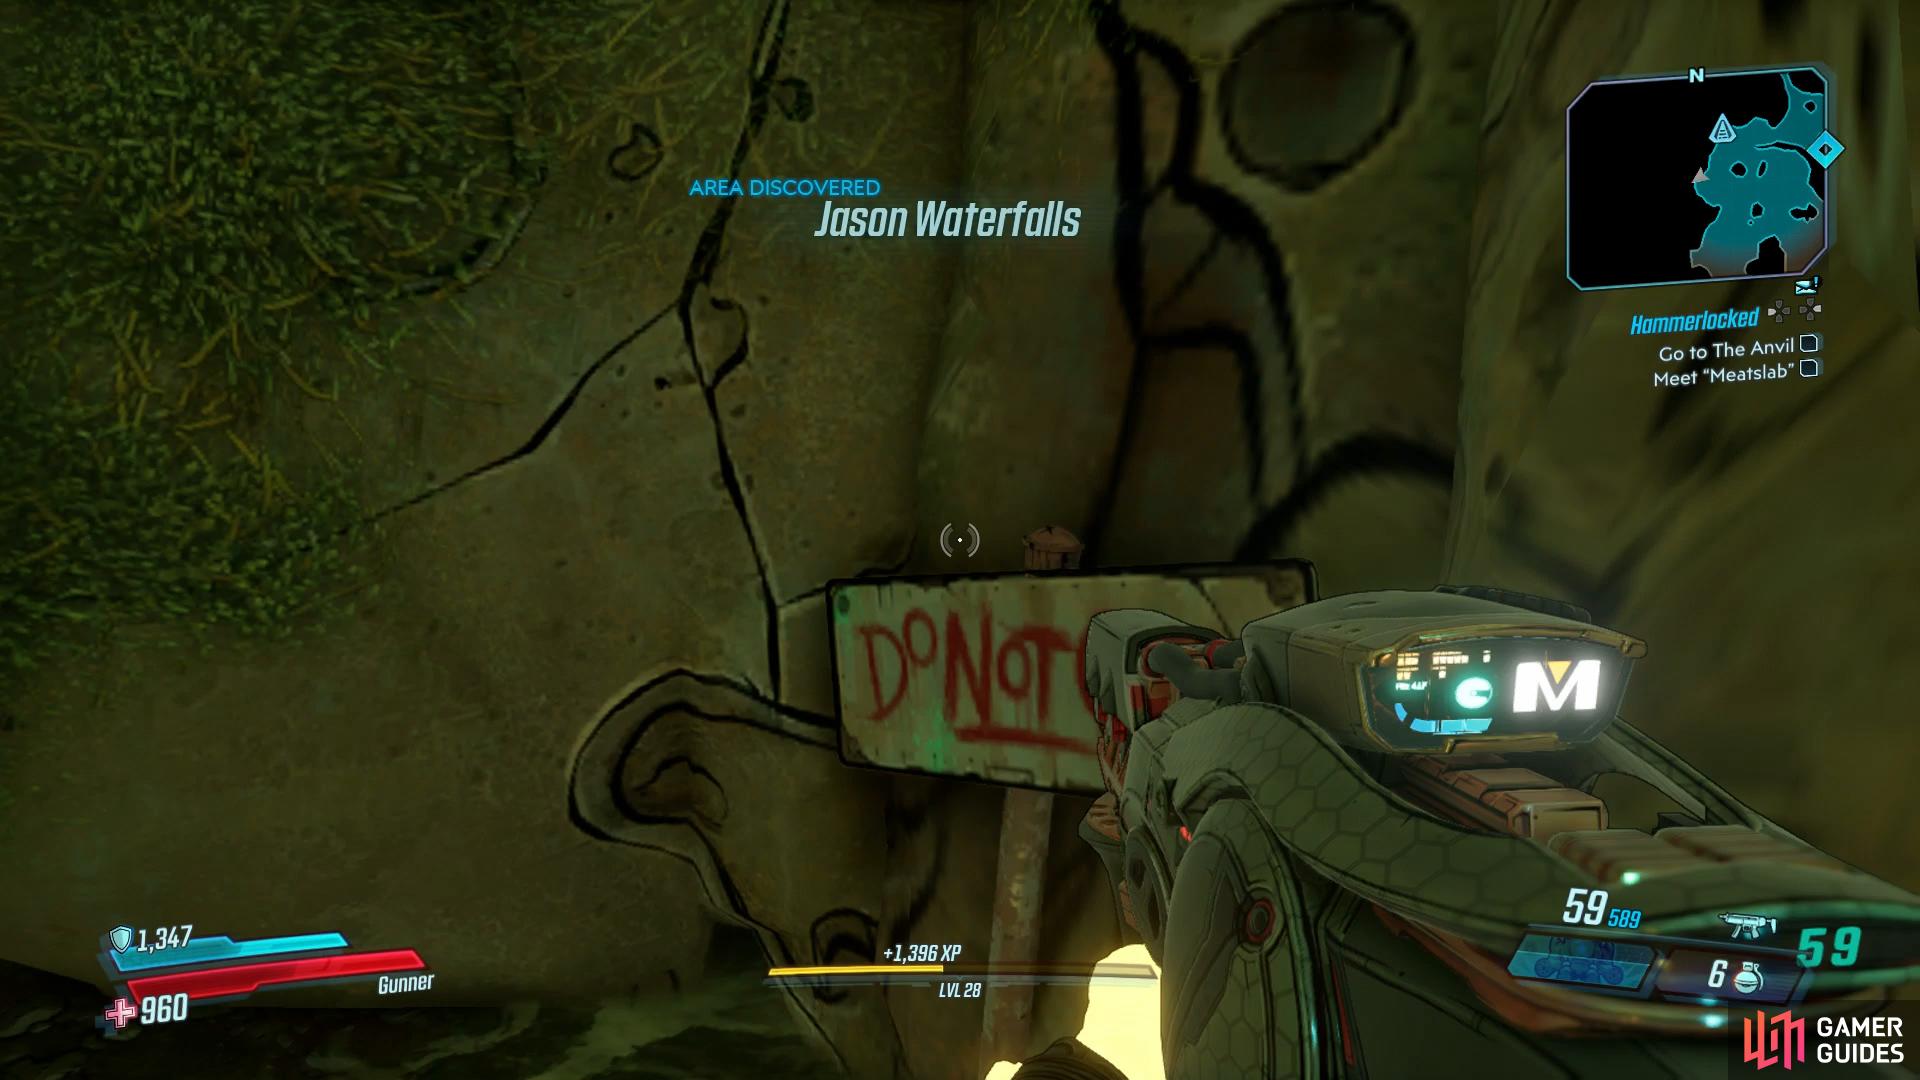
This Named Location can be hard to register, hug the wall here to trigger it.
Open Gate
Once you reach The Anvil, take a look at your map to find a whole host of new Crew Challenges and Zone Completion tasks to undertake. Your contact is up ahead but first, you’ll need to take out a large group of COVs first. There’s plenty of barrels scattered around for you to make use of and there’s cover to hide behind if you need a breather. Once the area is clear, you’ll find an Eridian Writing to the west and the first Typhon Log nearby on top of the building, you’ll need to begin your climb from the back. Once you’re ready to press on, climb the crates to the left of the gate to reach the switch and flip it.
Clear yard of COV, kill reinforcements
Once you’re introduced to Brick, you’ll be swarmed by countless COV again. Brick is a monster however and will make this battle a lot easier than normal, focus on survival and work your way up the hill to the top of the compound. Once the initial group is killed, you’ll need to deal with the reinforcements which include several Badass. Once the coast is clear, head on over to Brick to gain entry to the area beyond however before that, head down the path to the southwest and follow it to reach West of Gross where another Typhon Log awaits.
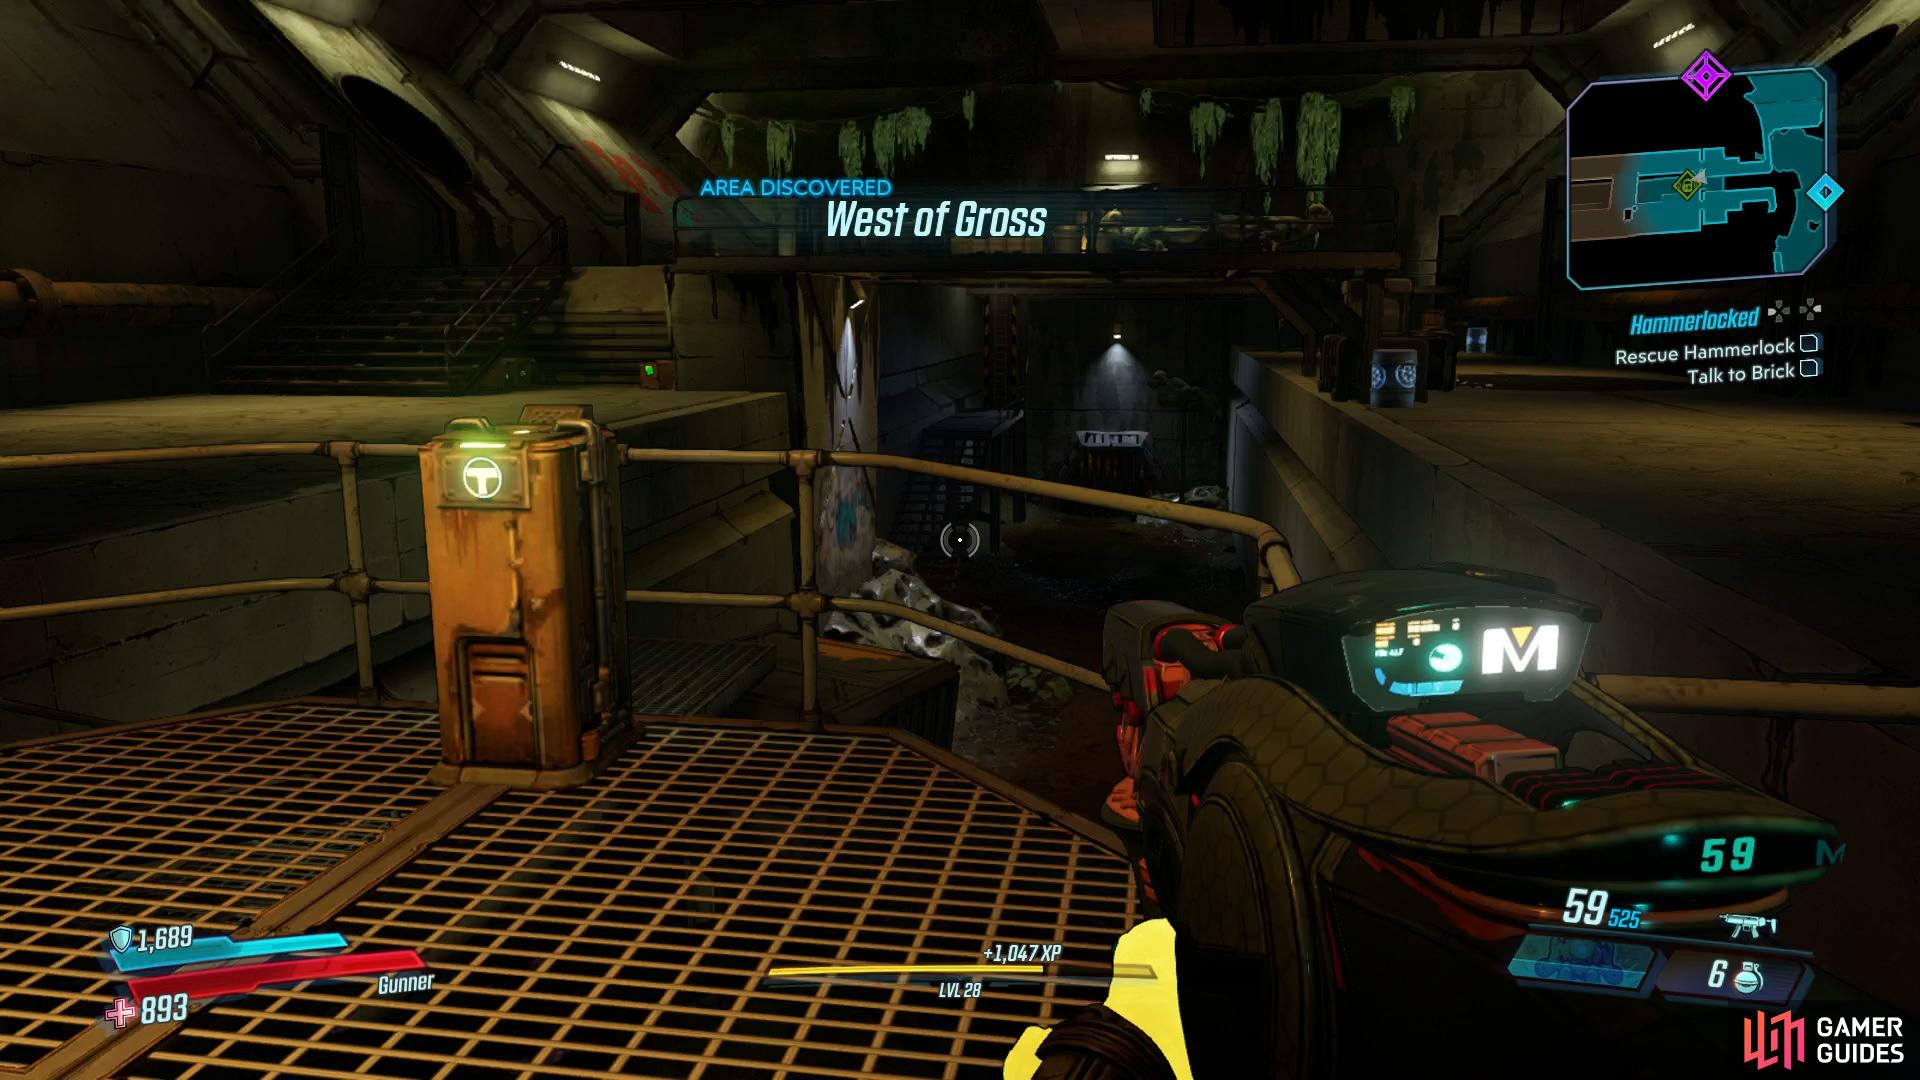
Take a detour to the west to find this Log.
Meet Crunk Bunny
Once you’re in the compound itself, head forward and defeat the COV that greet you at the door. The largest threats here are the Badass Psychos and Tinks, keep your distance against both and make full use of your Action Skills. Once the area is clear, head through the door to the west of the door you entered from the locate a Dead Claptrap.
Follow Brick forward and loot the containers to restock on ammo, up ahead you’ll have a large battle with many COVs. Keep an eye on the upper walkways here, many of the COV like to hide in cover up here so be sure to rotate around the ground floor and the upper walkway as you take them out. Additionally, beware of the Badass Enforcer that attacks at the end as you’ll have to strip his Armor first before damaging him directly. Once the coast is clear, follow Brick to the upper walkway and then head on through to meet Crunk Bunny.
Collect “pizza toppings”, “ham”, “onion slices”, “sauce”
After meeting the rather interesting Tina, make use of the nearby Vending Machines and then head out the eastern door and look to the immediate south to spot a ladder leading down, at the bottom you’ll spot the Dead Drop. Climb out of this room and head forward to reach The Yard where you’ll encounter yet another large group of COV. Once you dispatch the initial group, head to the northwest of the yard to find a large stack of containers and another group of COV to put down. Once the area is clear, look for the yellow paint on one of the containers and begin the climb to reach the Crimson Radio at the top.
Before you follow the objective and head into Central Security, consider heading to the west to find a new Side Mission, On the Blood Path along with locating another Dead Claptrap, Sky Bully, a Target of Opportunity that has a unique Legendary drop and a Red Chest to ransack. To the east of Central Security, you’ll find some crates with yellow paint on them, climb to the upper walkway and then jump on top to locate the third and final Typhon Log, allowing you to go back and open the Dead Drop.
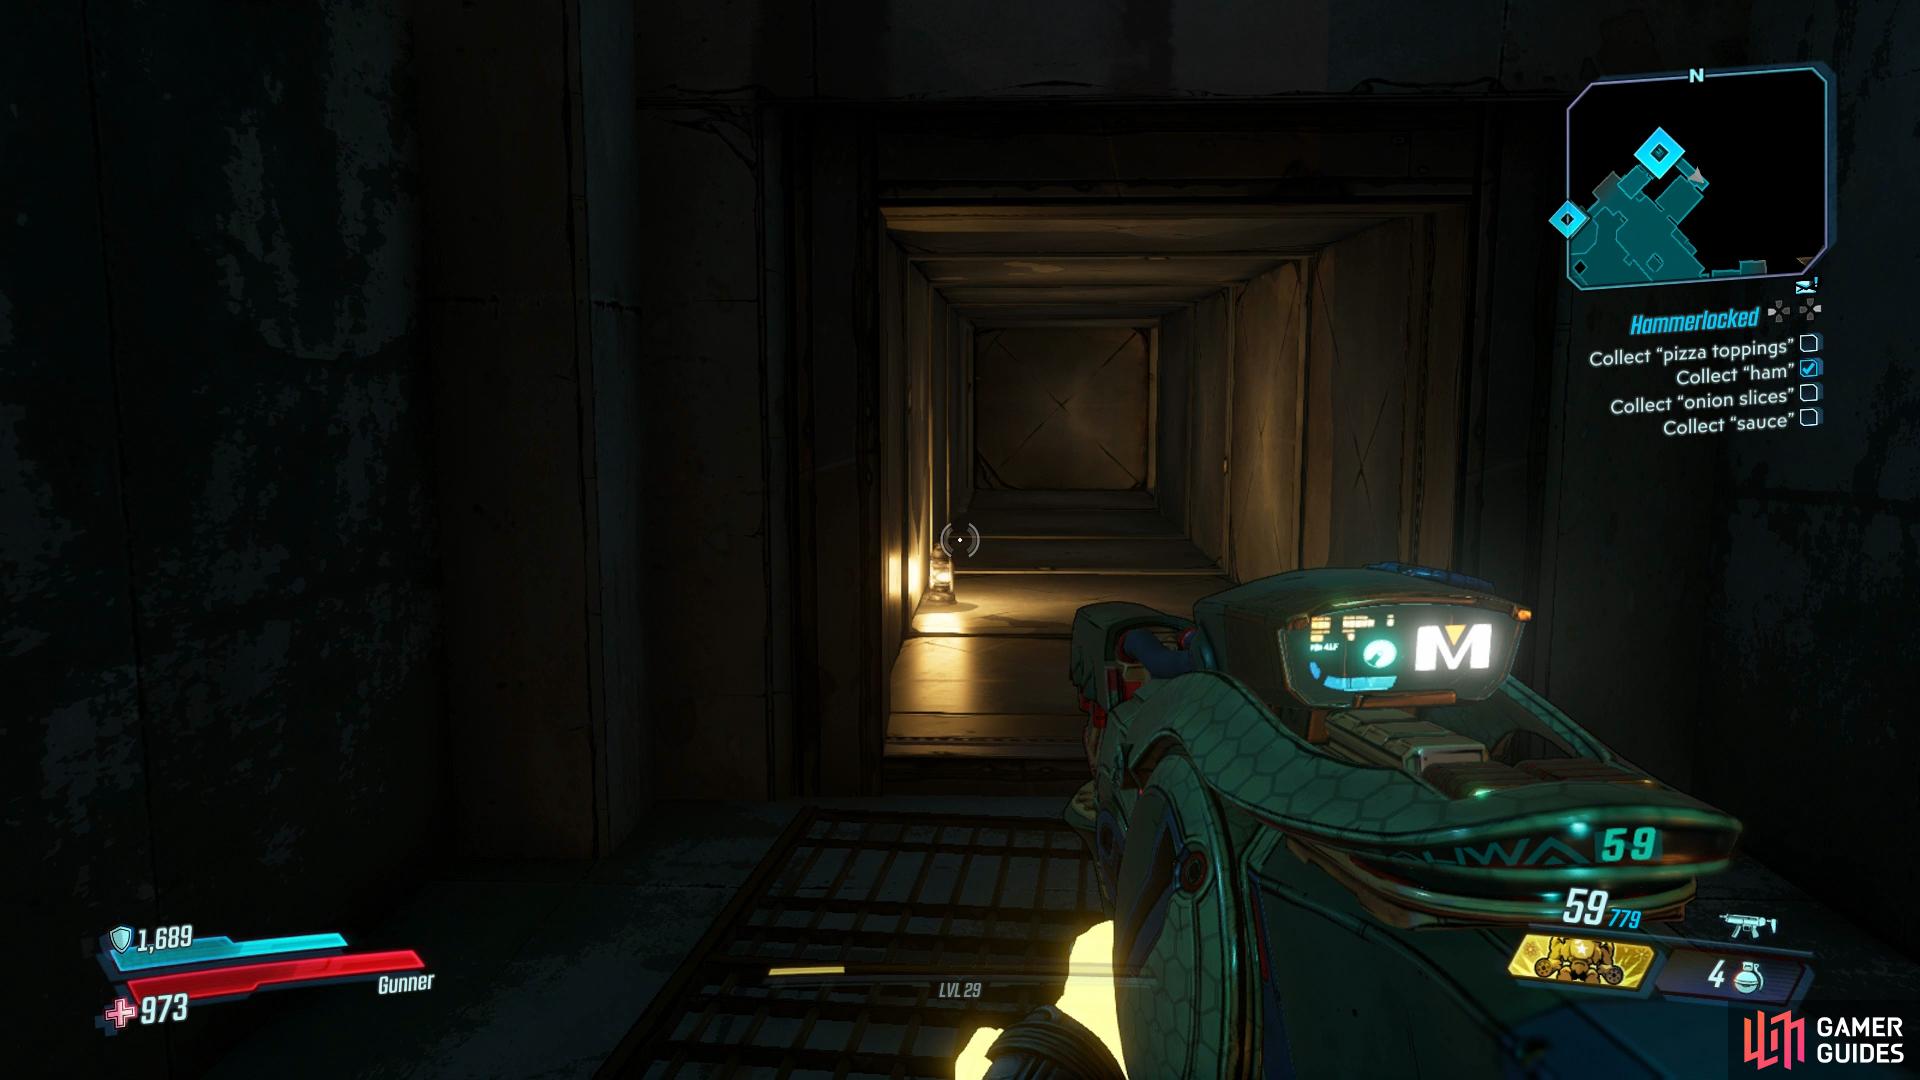
With those tasks taken care of, make your way into Central Security and dispatch the large group of COVs within. Once the room is clear, head up to the top floor and defeat the Firebrand in the cell to obtain the “Ham” and then climb up into the vents. Before you follow the waypoint however, head east instead to reach a secret room, flip the switch and drop down the ladder to open another door back to Central Security. Head back outside and drop off the walkway to the northeast before climbing up and checking the outer wall of Central Security to the northwest where another Red Chest is waiting.
Return to Central Security once more and back to the vent but this time, head left as you enter it and follow it to the “Onion Slices” on your right. Jump across the gap at the end of the vent and drop down to the control room to find a switch to flip before dropping down to the ground floor and heading down the elevator chute. In this room you’ll find several boxes to check with the final one containing the Sauce. With your items in tow, make your way back to Tina and hand them over to obtain the Pizza Bomb.
Deliver Pizza
With Pizza in hand, head back through the yard to the northeast where you’ll encounter another lethal Badass Enforcer, switch to a Corrosive weapon if you have it and dispatch it. Once he’s dead, proceed forward and you’ll be introduced to Mordecai before being ambushed by yet another group of COV. Mordecai will assist by sniping from his tower and Talon can be useful too but still, pay attention to the radar and take cover when your shield is depleted.
Once the bridge is clear, look to the eastern side to spot a crate with paint on it, climb it and jump across to the pipes against the tower. Turn to the left and follow the pipes around the side of the tower as you make your way to the top where another Crimson Radio awaits. Drop back down and make your way to the main door to deliver the pizza and then use the containers to restock on ammo before dropping down the hole.
Boss: The Warden
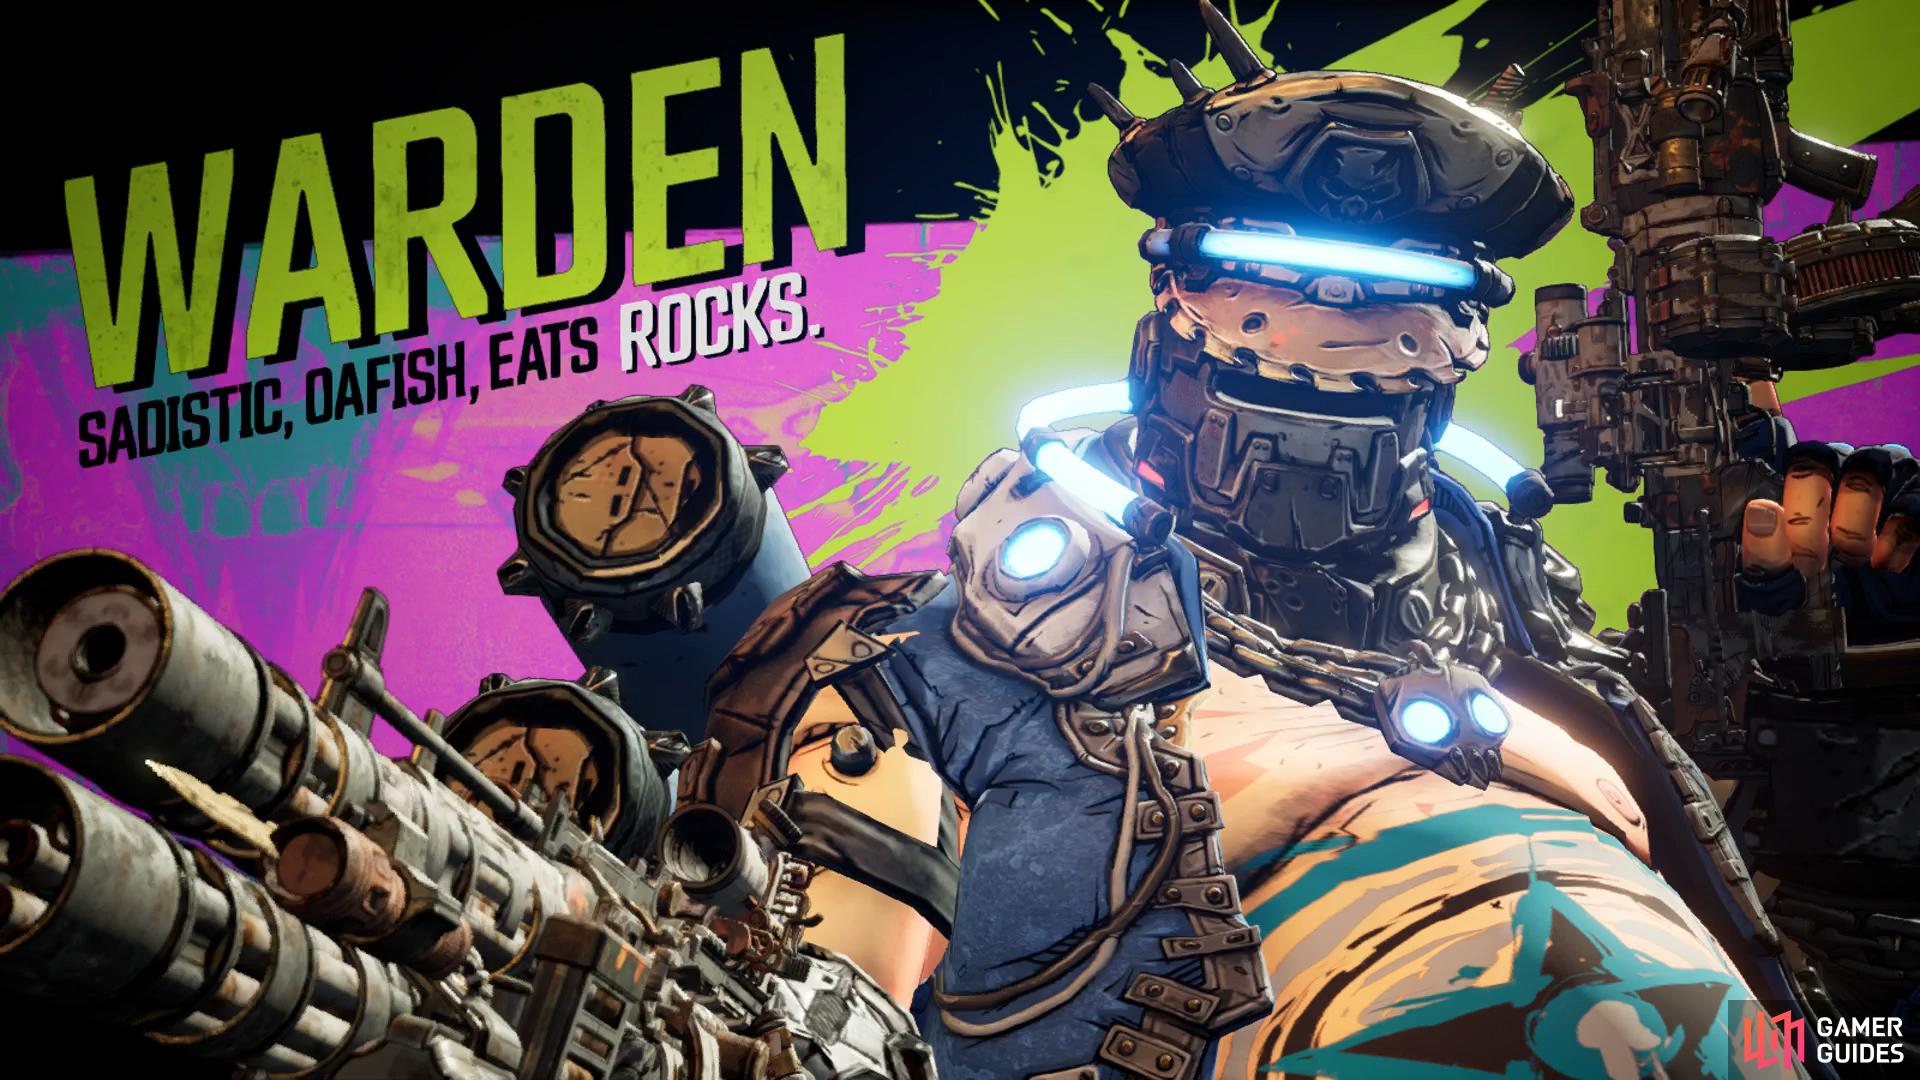
The Warden is a rather simplistic boss battle when it comes to bosses in Borderlands. If you’ve played the previous Borderlands games, he’s essentially a boss version of regular Goliath, only larger. The arena is large and you can spread out easily enough, focusing on laying down fire. The only time you’ll need to stop is when he goes temporarily immune.
As for his attacks, the Warden will fire homing missiles at you which can be easily avoided by taking cover behind one of the larger pieces of cover and he can also close the distance easily by jumping great distances. He’ll also fire a minigun at you which can hurt if you don’t get into cover quickly while he’ll also have adds in the forms of Warden Enforcers around the arena, these should be your typical sources of ammo or target for a Second Wind.
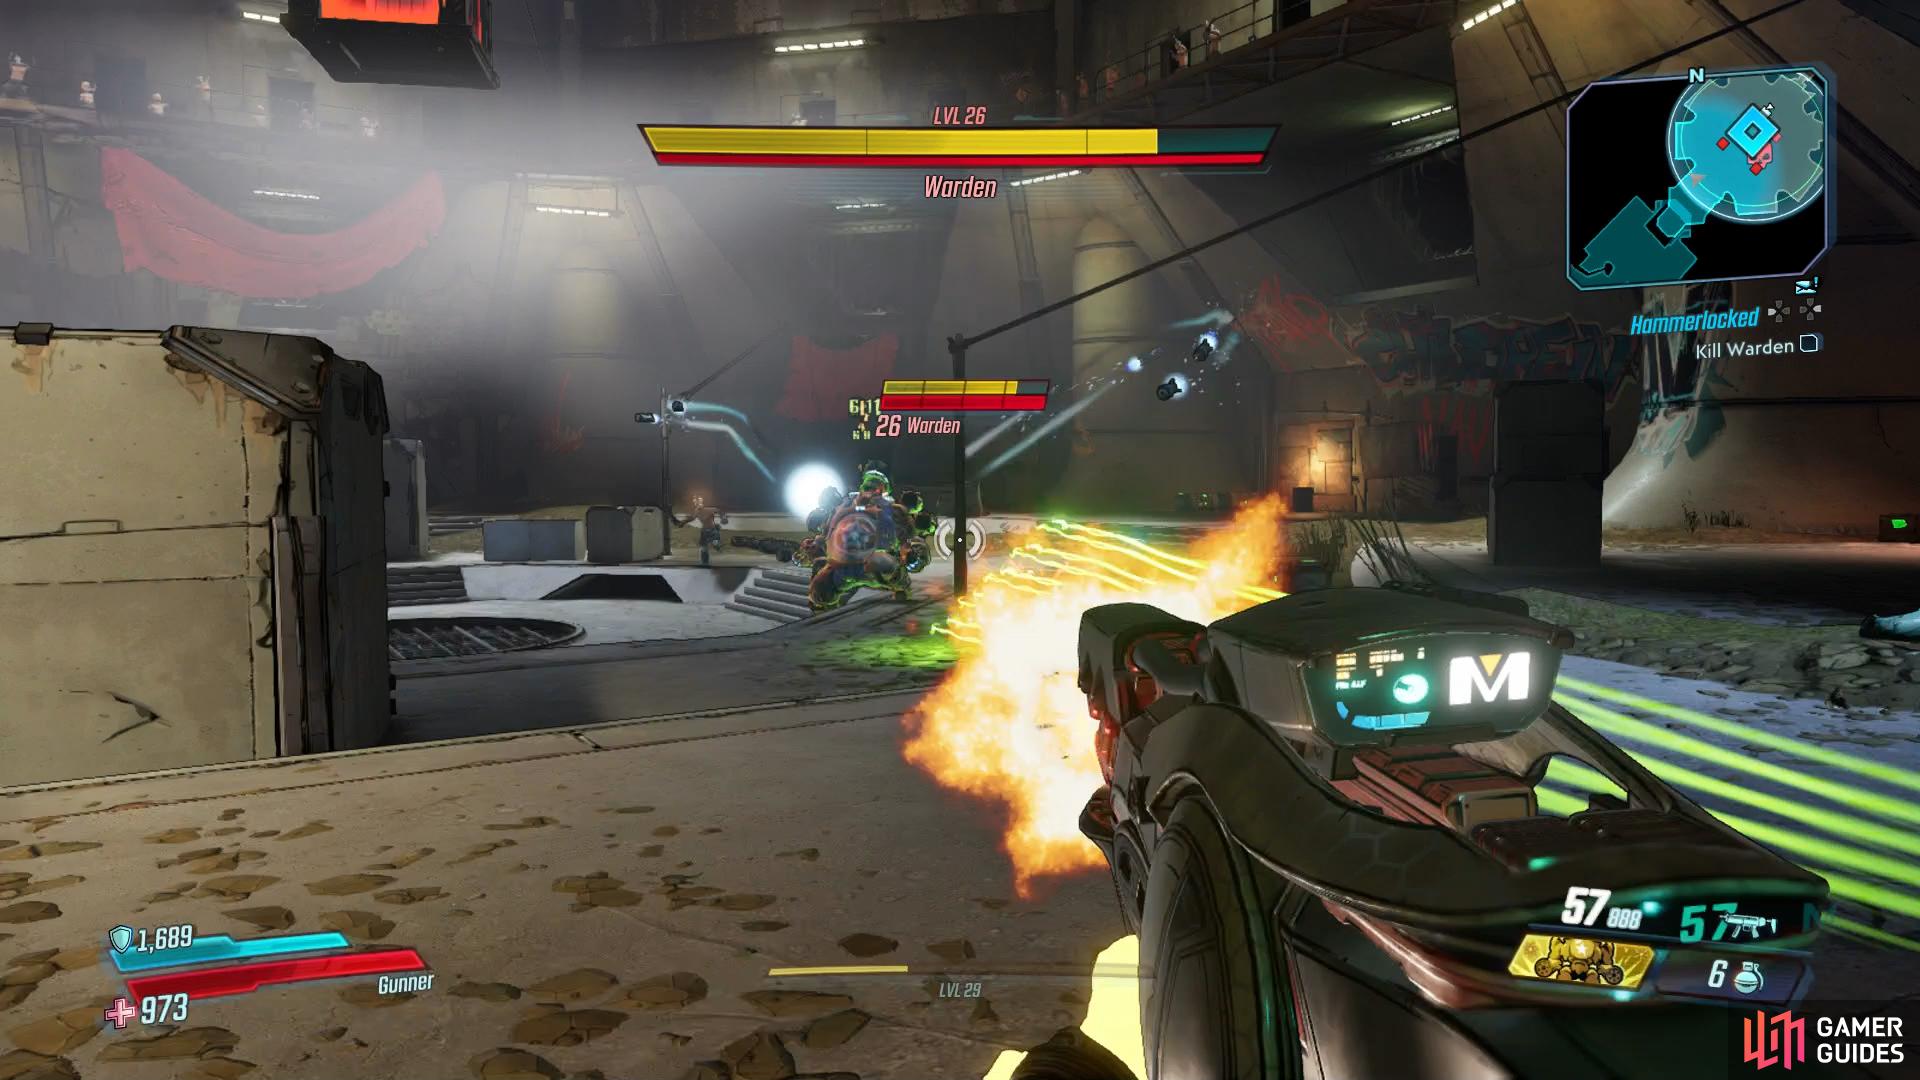
Once you shred his Armor, he’ll evolve into a Raging Warden where his attacks will be more melee focused as he dashes around the arena after you. If you let him catch you, he’ll deal massive damage so turn and sprint away if he gets too close. He also has the ability to shoot larger Rockets at you but these can be simply shot down while they’re headed your way. There’s really not much more to say about the Warden, he’s basic as far as bosses go and so long as you keep on the move, you should have no problems taking him out.
Legendary RPG Freeman and Legendary Pistol Echo
There are two unique Legendaries up for grabs from The Warden and considering he’s a rather simple battle, you may wish to take the time to farm him. The Echo will come with a whole assortment of elements to play with and it’s delayed shots will soon explode. The Freeman on the other hand will fire laser guided missiles.
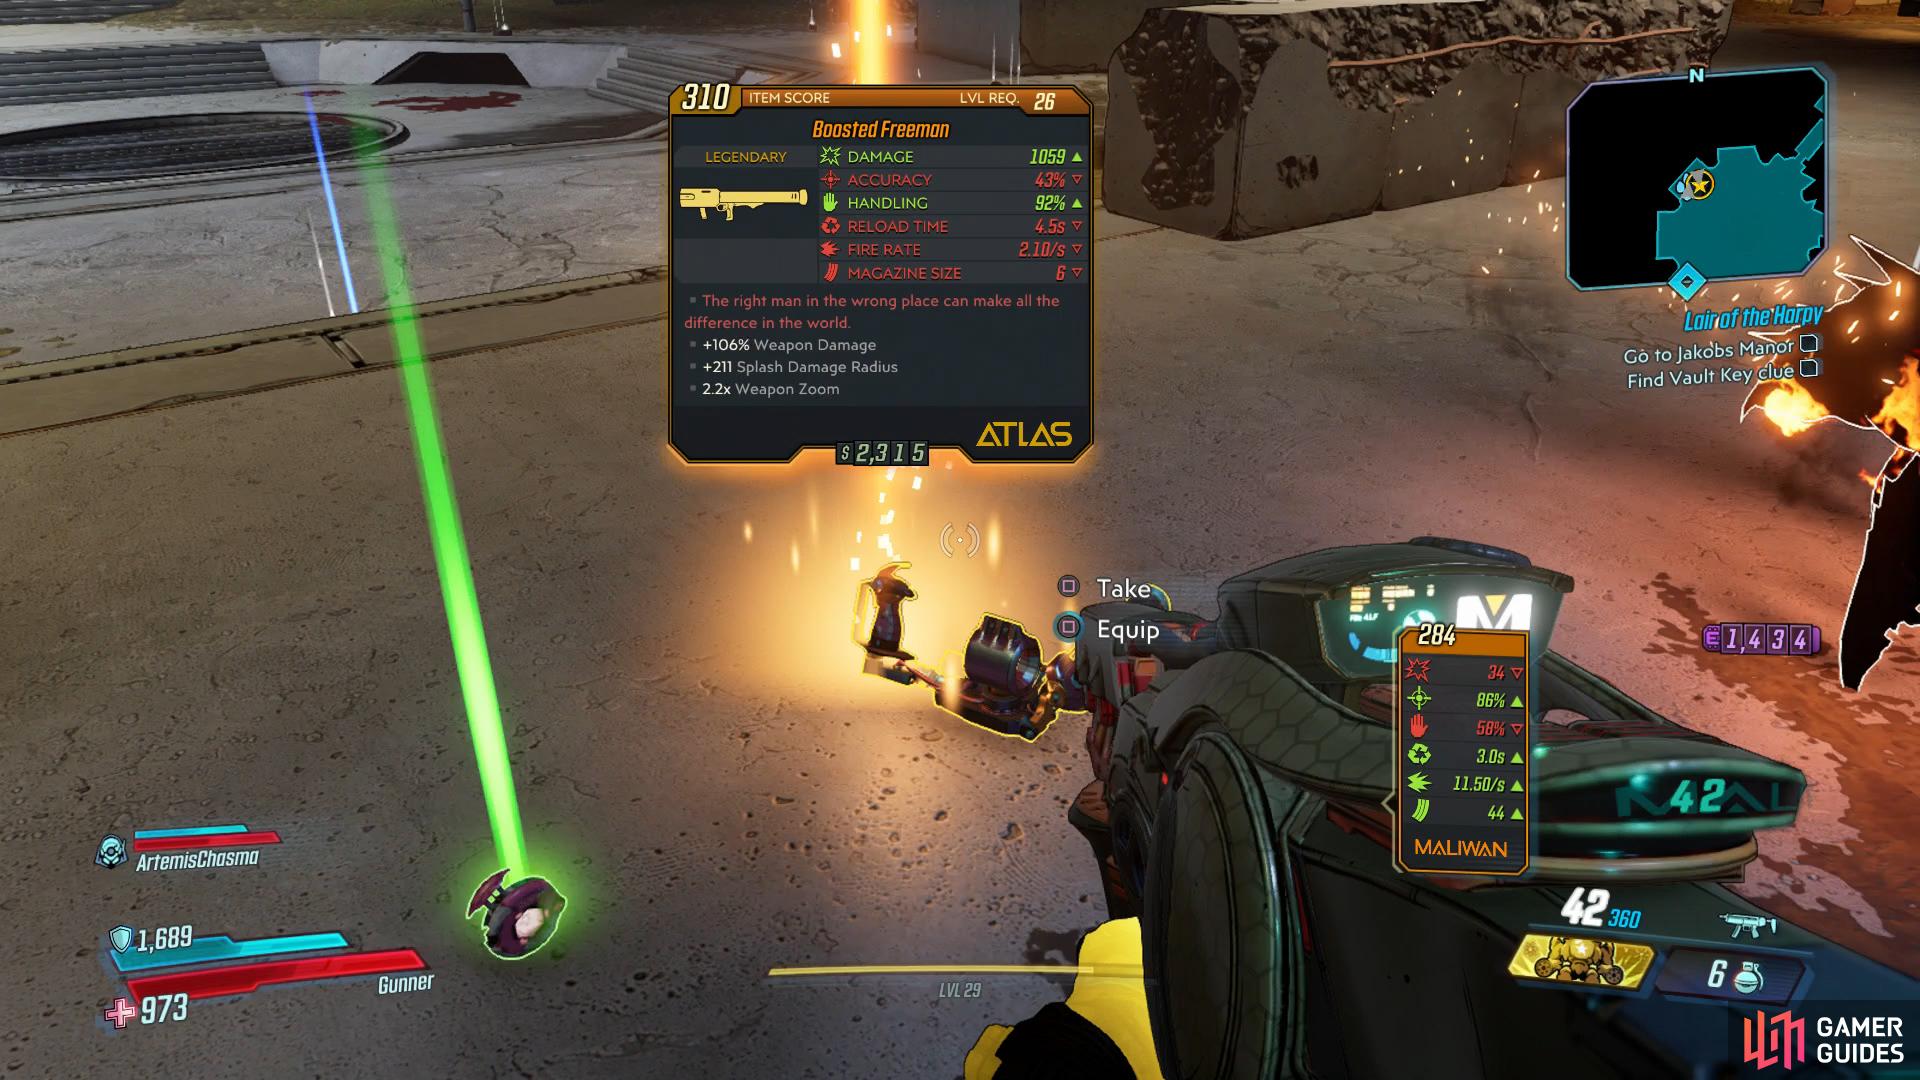
The Freeman is an excellent RPG that’s flight of rockets will match where you aim.
Free Hammerlock
Once the Warden is out of a job, shoot the chain on Hammerlock’s cell to free him and speak to him to complete the mission and begin the next. Before you leave however, be sure to grab the Red Chest just to the side of the Fast Travel.
No Comments