

| Quest Giver | Reward | Lvl |
|---|---|---|
| Lilith - Meridian Metroplex | Cash, Unique Rare Gun | 17 |
Talk to Lilith
You’ll begin this mission automatically following the completion of the last one and Lilith will call you back to Sanctuary. You’ll learn about a Vault Fragment on the planet of Athenas and Lilith will inform you about a friend of her’s who is fighting there. Once she’s done talking, activate the console to navigate to Athenas and make your way to the Drop Pod to head down to the surface.
Meet Maya, Secure Courtyard
Athenas is fairly linear when it comes to planets and you’ll only find this one Zone. Nevertheless, you’ve still got the usual Crew Challenges and Zone Completion to hunt down along with a few Side Missions. Your first task however is to meet up with Maya, the Siren playable character from Borderlands 2. From your starting location, follow the path east and make use of the Vending Machines should you need them.
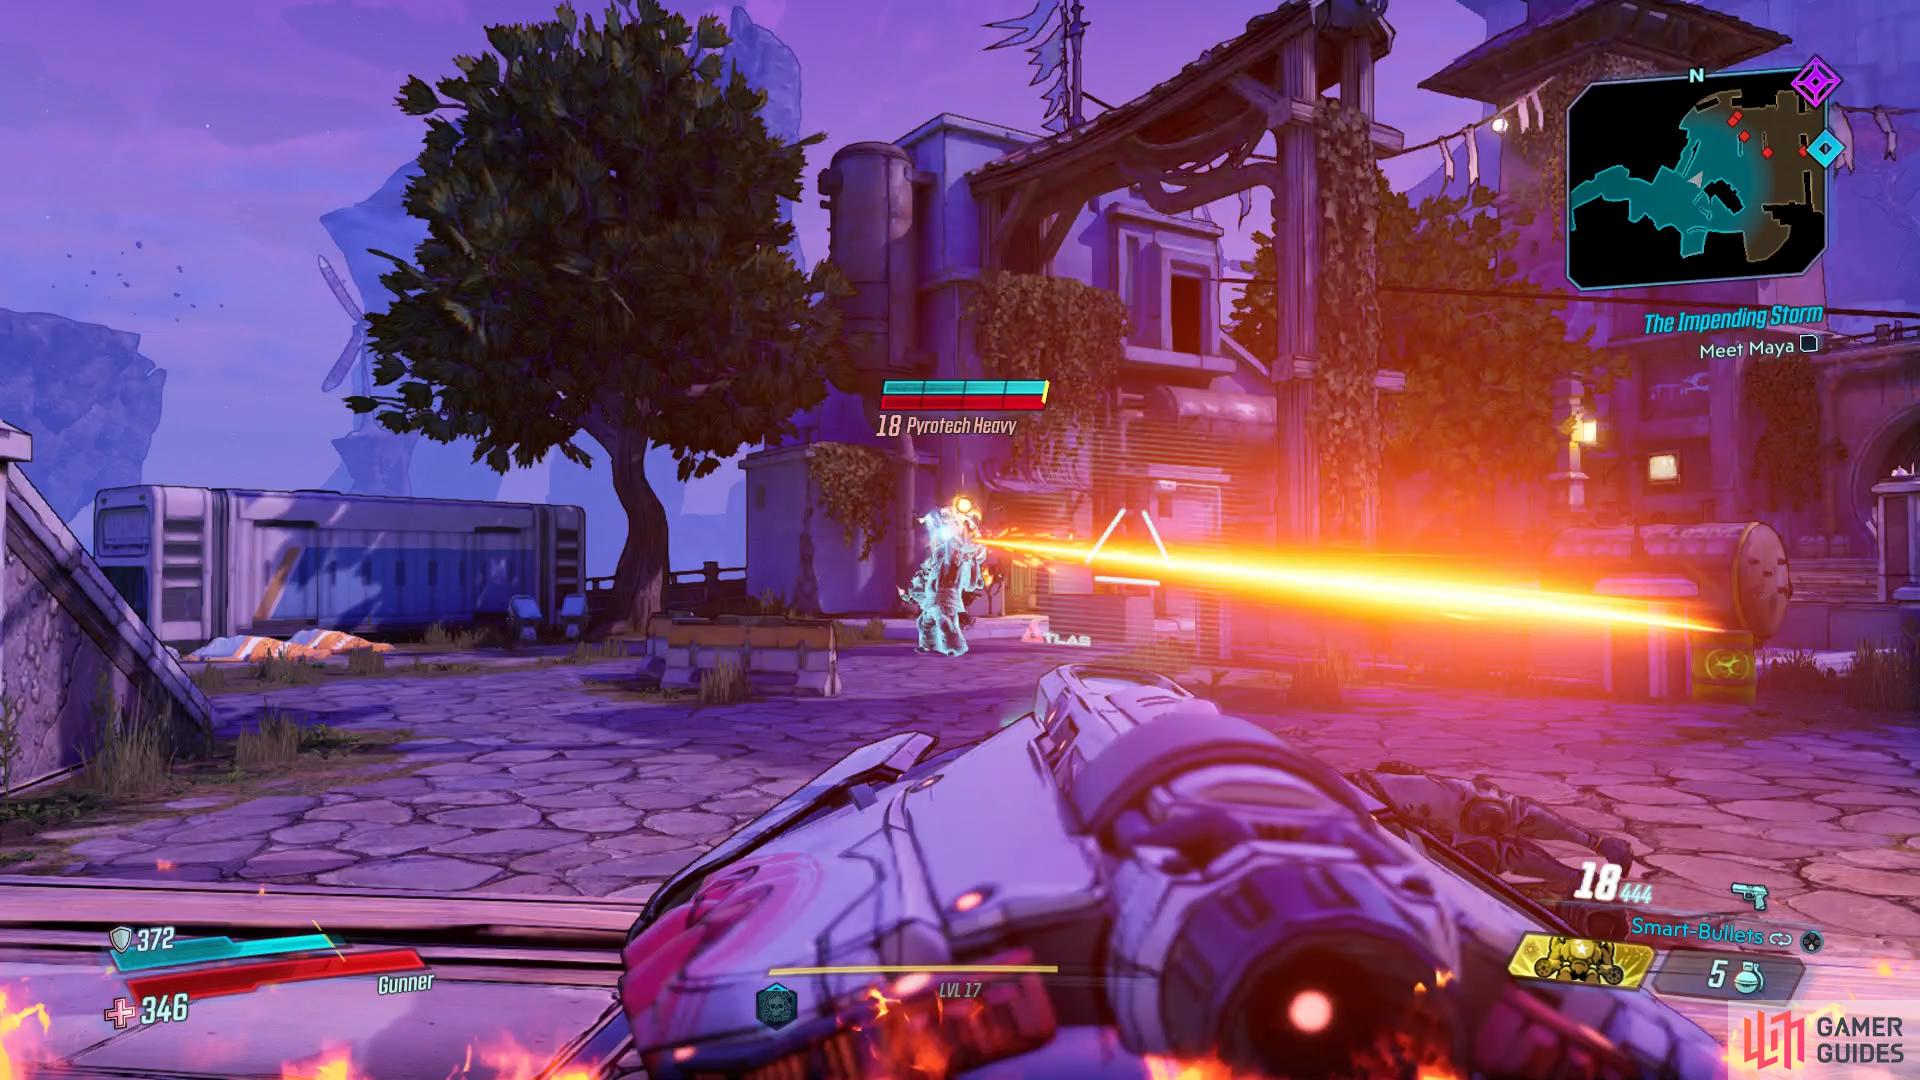
You’ll have to deal with a deadly Pyrotech Heavy
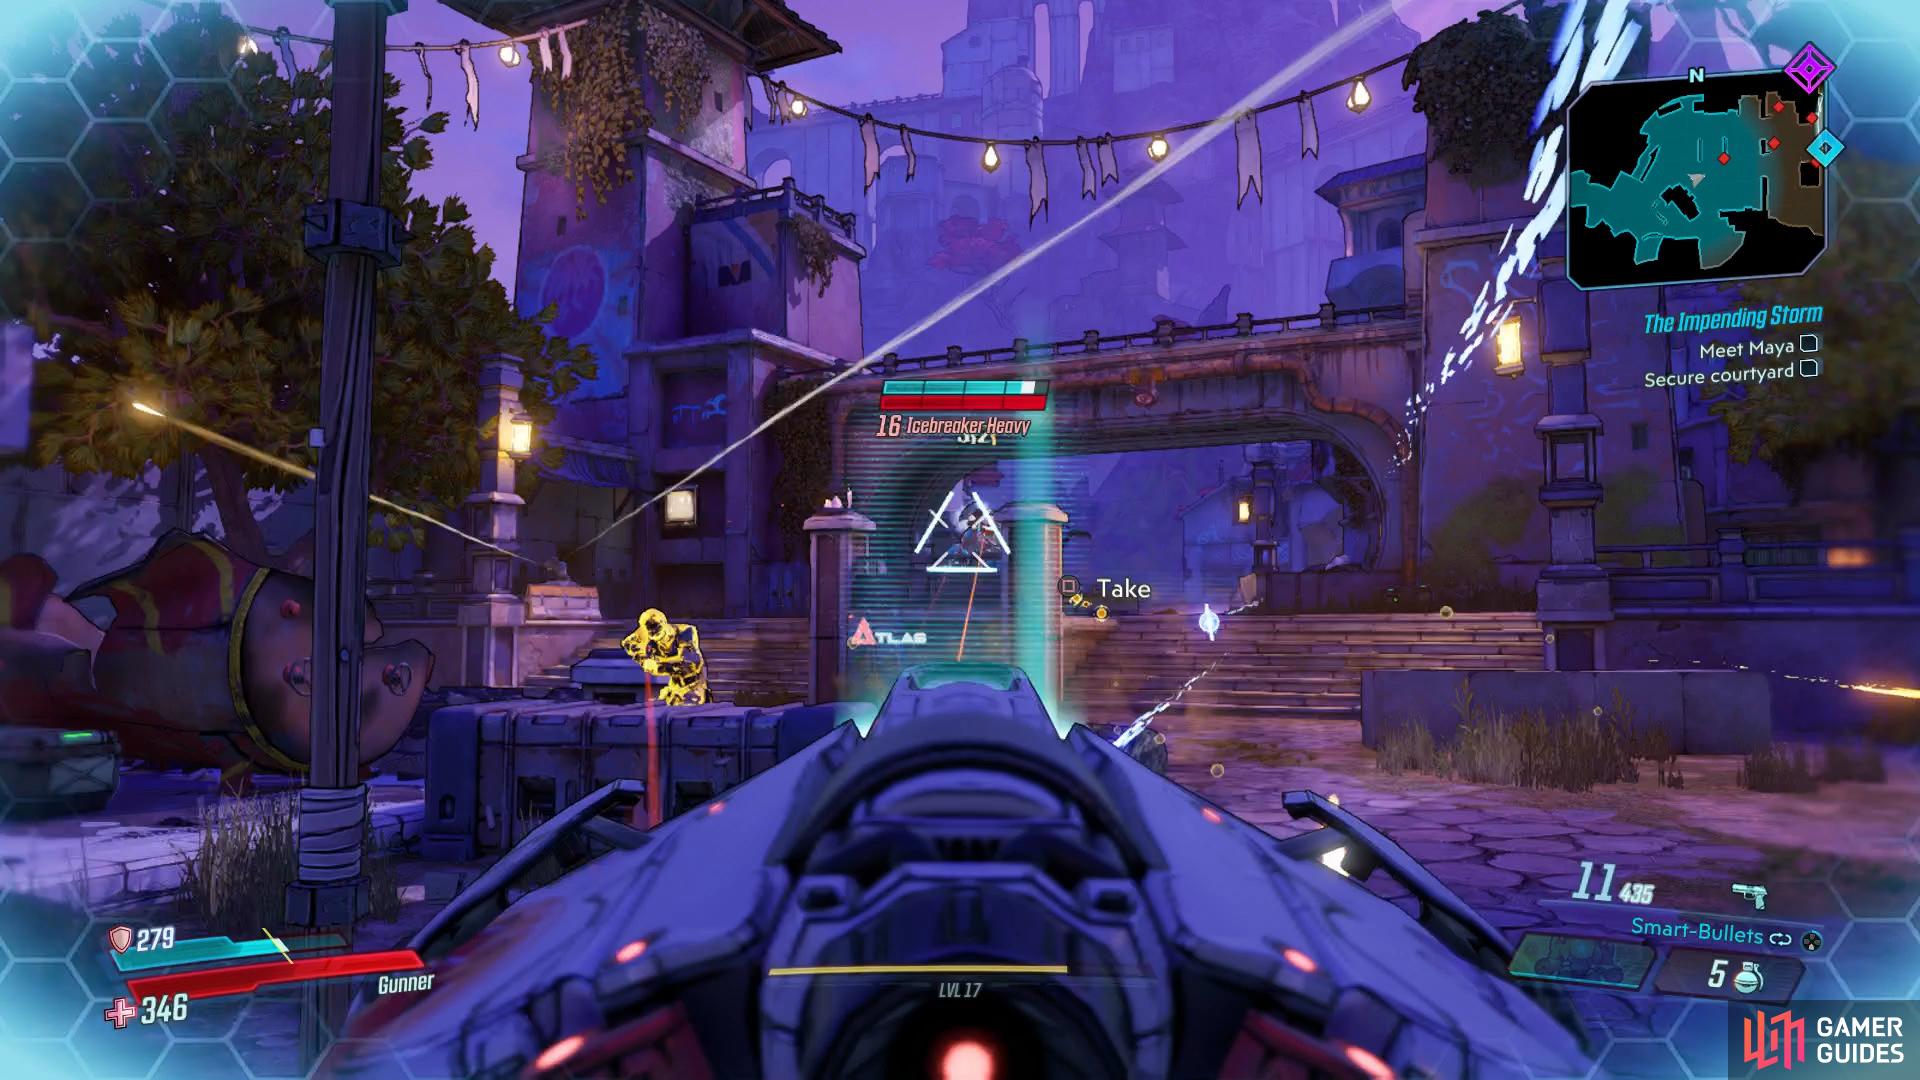
followed by an Icebreaker Heavy in this first battle.
Once you reach the first open area, you’ll soon come into contact with Maliwan Troopers. The largest obstacle here is the presence of multiple Heavies, especially the Icebreaker who, like his Pyro brethren, will create pools of Cryo so keep on the move while you target his pod on the back. Once the initial group is cleared, move east and take out the next group where you’ll begin to encounter Frontrunners, robotic dogs that are hardly any different to a Skag. You’ll also come across a NOG providing support to a Pyrotech Heavy, dispatch of the NOG first before focusing on the Heavy. Once you clear the courtyard, head over to the nearby bell and interact with it to meet up with Maya.
Follow Maya
Before you follow Maya (she’ll wait for you regardless), head over to the northern part of the courtyard and climb to the roof to spot the first Typhon Log. Drop back down and follow Maya and you’ll be introuduce to the resident Oppressor, Traunt. Continue to follow Maya and you’ll eventually reach Windward Plaza, a large open area swarming with more Maliwan Troopers.
There’s plenty of cover here and you have Maya with you at the moment who will fling enemies around like they’re nothing. You’ll meet the usual assortment of Maliwan enemy types here which means you once again need to focus on any Heavies unless a Badass spawns. The battle is still fairly tough, even with Maya’s aid and you’ll need to pay special attention to any NOGs that may spawn or enemies that take up position on the walkway above, if you neglect them they can really lay down the hurt.
Once the battle is over, ring the next bell and continue to follow Maya further into the monestary where you’ll encounter another large group of Maliwan Troopers. Take note of how much of this area is submerged, if you have a Shock weapon handy, you can shoot at the water to electrocute large numbers of enemies at a time. Additionally, you’ll spot Barrels all over the area and pipes that can be shot, it’s another large group but there’s plenty of options available to even the odds a little.
Defeat the Pyrotech Heavy and snag another Dead Claptrap after.
Once the area is clear, once again take a detour to the south to find a path leading to a Dead Claptrap and a Pyrotech Heavy. Return to the previous courtyard and follow Maya to the next bell and ring it once more.
Find Ava
You’ll be back on your own for the next part of this mission so pick your fights more carefully. Head through the doorway and follow the path as it starts heading north. You’ll need to dispatch a group of Ratch in the next open area, pay special attention to the Spitters as these flying abominations can cause hassle and from above and are difficult to hit.
Once the Ratch have been culled, head north to encounter another group of Maliwan Troopers. Keep one eye on the bridge to the right as some enemies will attack from there. Following their defeat, consider heading west first, the Legendary Hunt - Chupacabratch, a Lvl 16 beast that may cause trouble if you’re under level however if you care to farm it, there’s a Legendary Grenade Mod to be had, [Chupa’s Organ]. The main difficulty here are the number of flying Ratch you’ll have to deal with but focus on Cupacabratch first by shooting at it’s open mouth and it’ll go down in no time.

Look for the yellow paint here
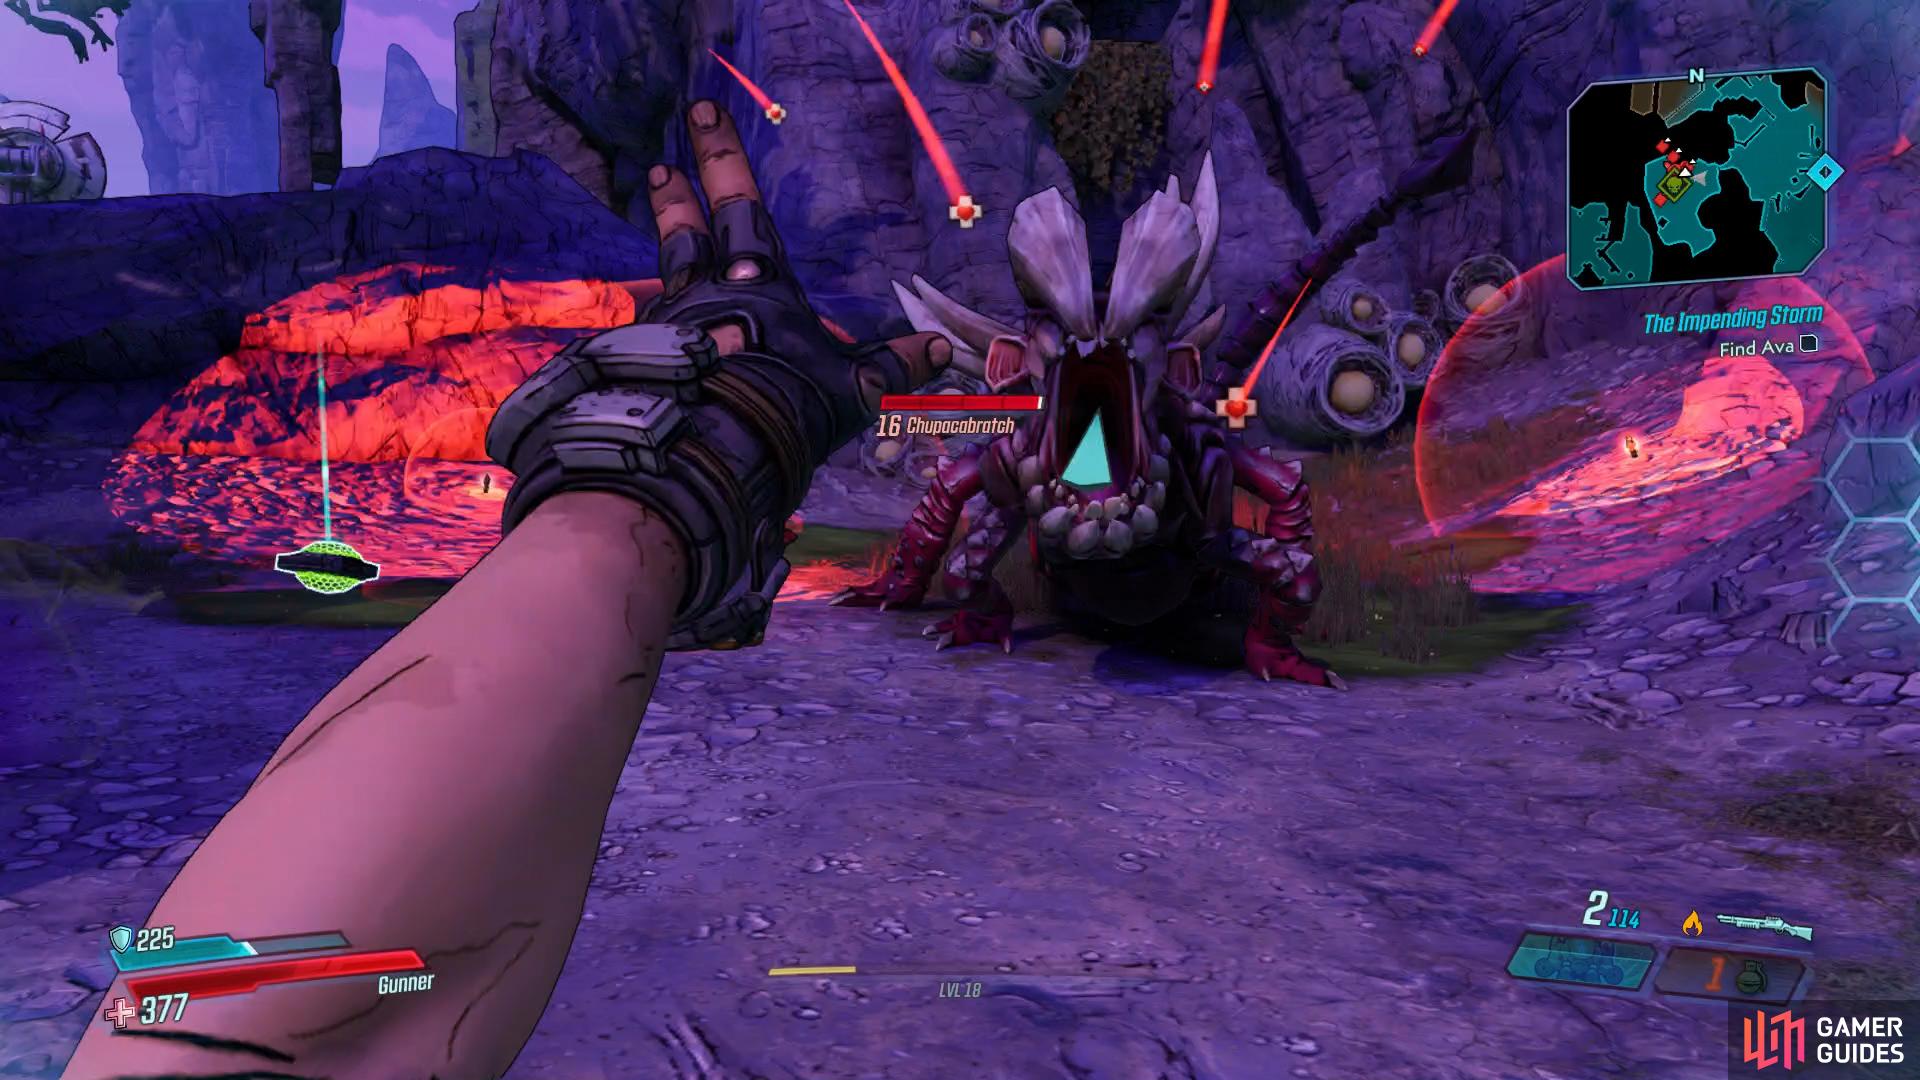
and take out the Legendary Hunt.
Additionally, before you continue to the east to meet Ava, consider heading north to The Holy Distillery where you can undertake the Holy Spirits Side Mission and loot another Red Chest at the end of it. Once you’ve taken care of these tasks, continue to the east to meet up with Ava, near the graveyard.
Follow Ava, Search crypt for Eridium
After being introduced to Ava, follow her into the graveyard and as you press forward, you’ll need to deal with another large group of Maliwan Troopers with the Heavy Gunner being your main threat. Once they’re dispatched, head into the crypt that Ava opens and rummage about to find nothing of value. AS you continue forward, the next group of Maliwan will be a lot more difficult including multiple Heavies, a Nog and the usual Flash and Assault Troopers so be sure to make use of the cover and loot the nearby containers to replenish your ammo.
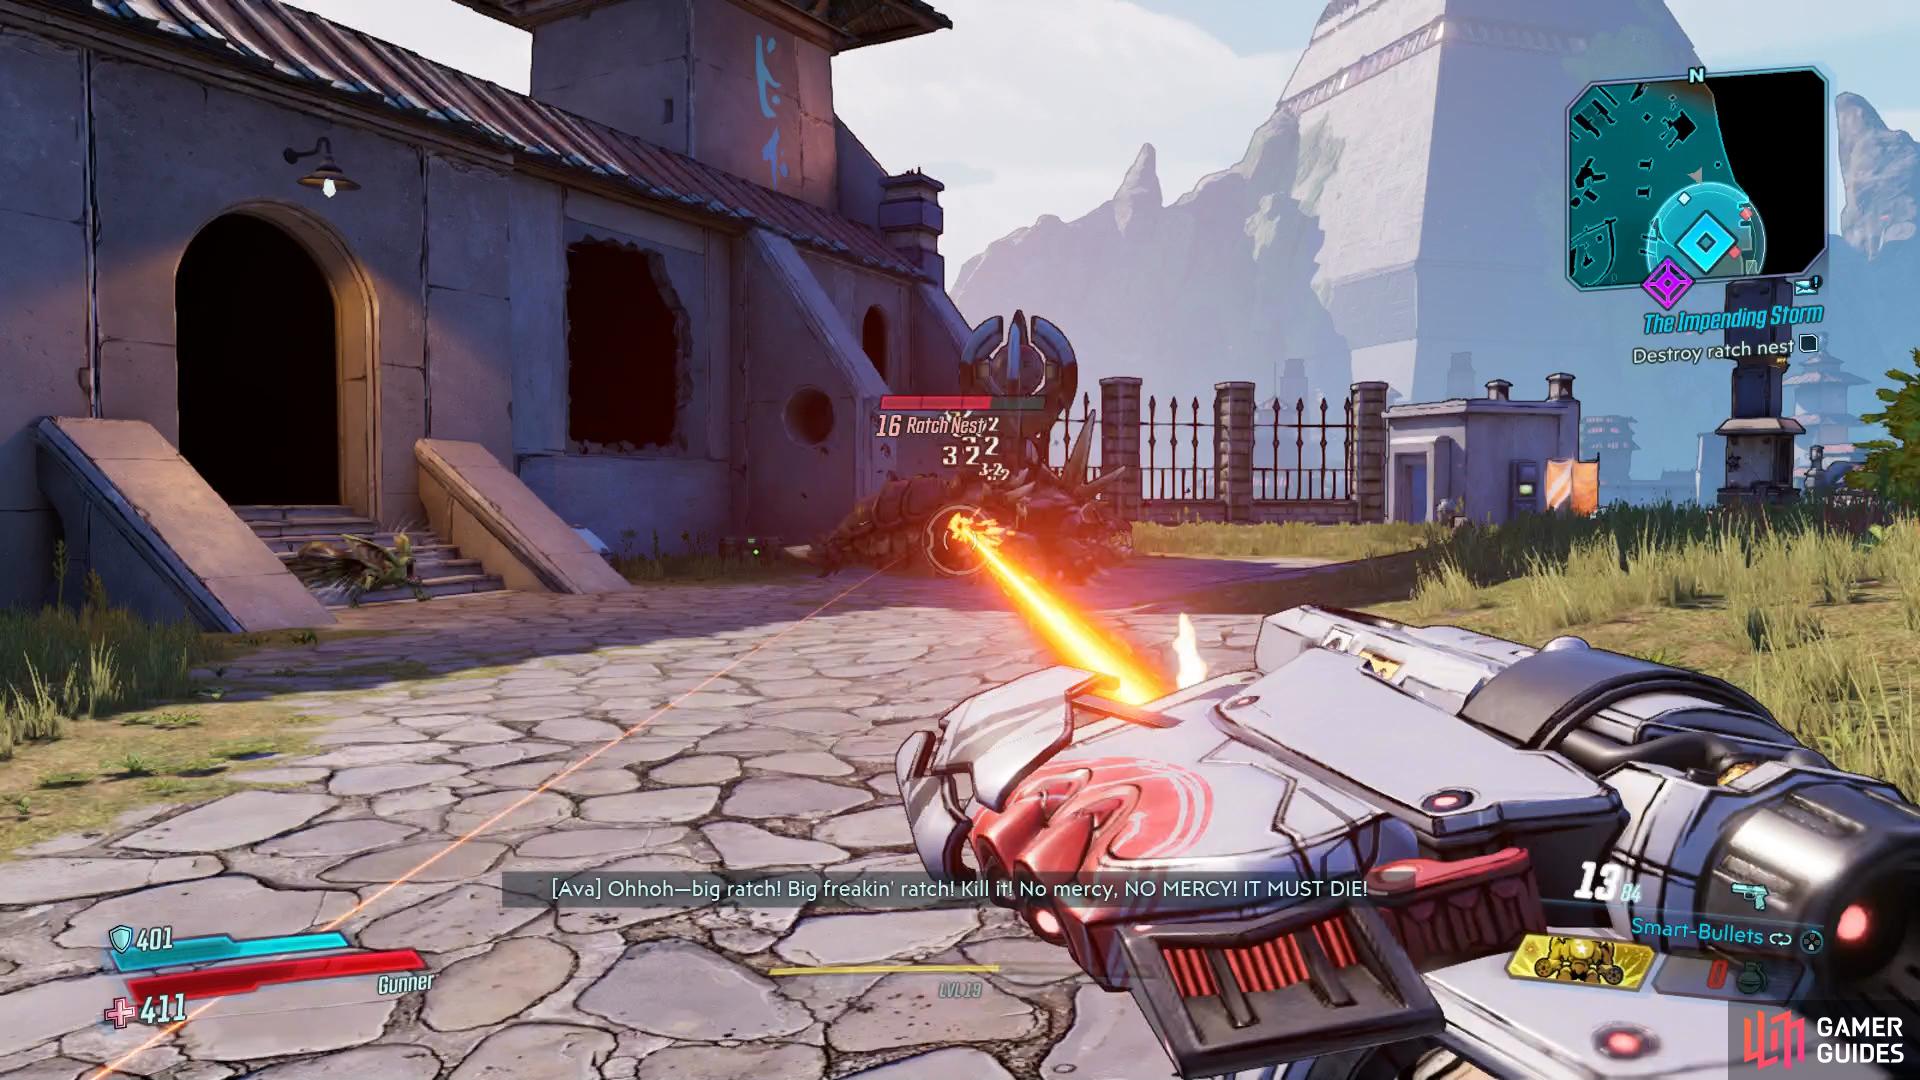
Focus all of your attention on the Ratch Nest to prevent too many Ratch from spawning.
Once you get a break in the action once more, ignore Ava for a moment and search the roof to the north here for the next Typhon Log on a stack of containers. Return to the mausoleum to find two Ratch have eaten a small amount of Eridium, take them out and then follow Ava once more. This time around, you’ll need to deal with both Maliwan and a Ratch Nest, who should be your primary target. It’s weak point is the inside of it’s mouth, wait for it to open and blast it away. Once the enemies are defeated, claim the large piece of Eridium from inside the Ratch Nest and follow Ava one final time.
Meet Maya in courtyard
Ava will depart as you enter the southern area of Athenas, The Anchorhold. As soon as you cross the bridge, a group of Maliwan Troopers will attack, it’s only a few grunt units that shouldn’t be too much bother. Once defeated, look to your right to spot a speaker and climb on to it, from here you can jump to the south to find some containers. Climb these to reach the roof to find more containers and jump to the right where you can climb to the rooftop. From here, it’s just a short jump over to a ladder to sabotage the Crimson Radio here.
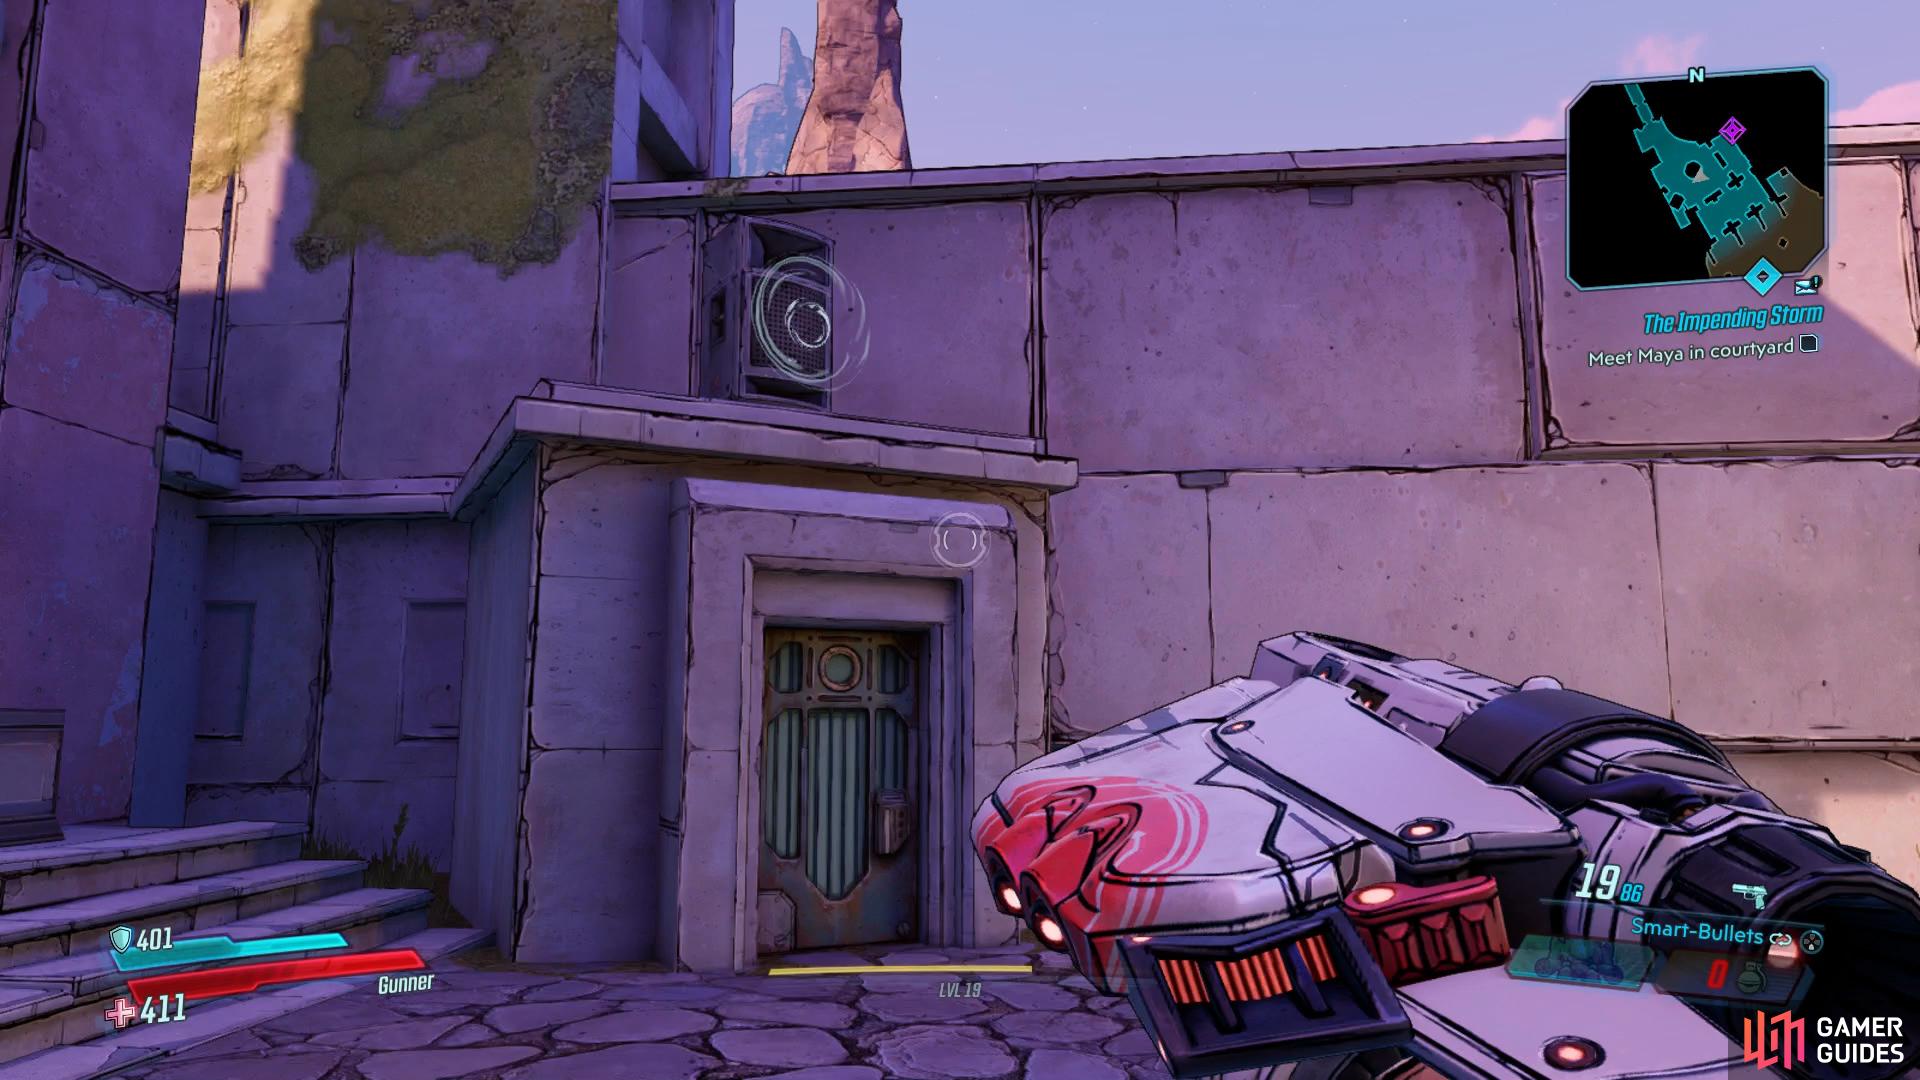
Look here to begin the climb for the Crimson Radio
then grab the Dead Claptrap after clearing out the courtyard.
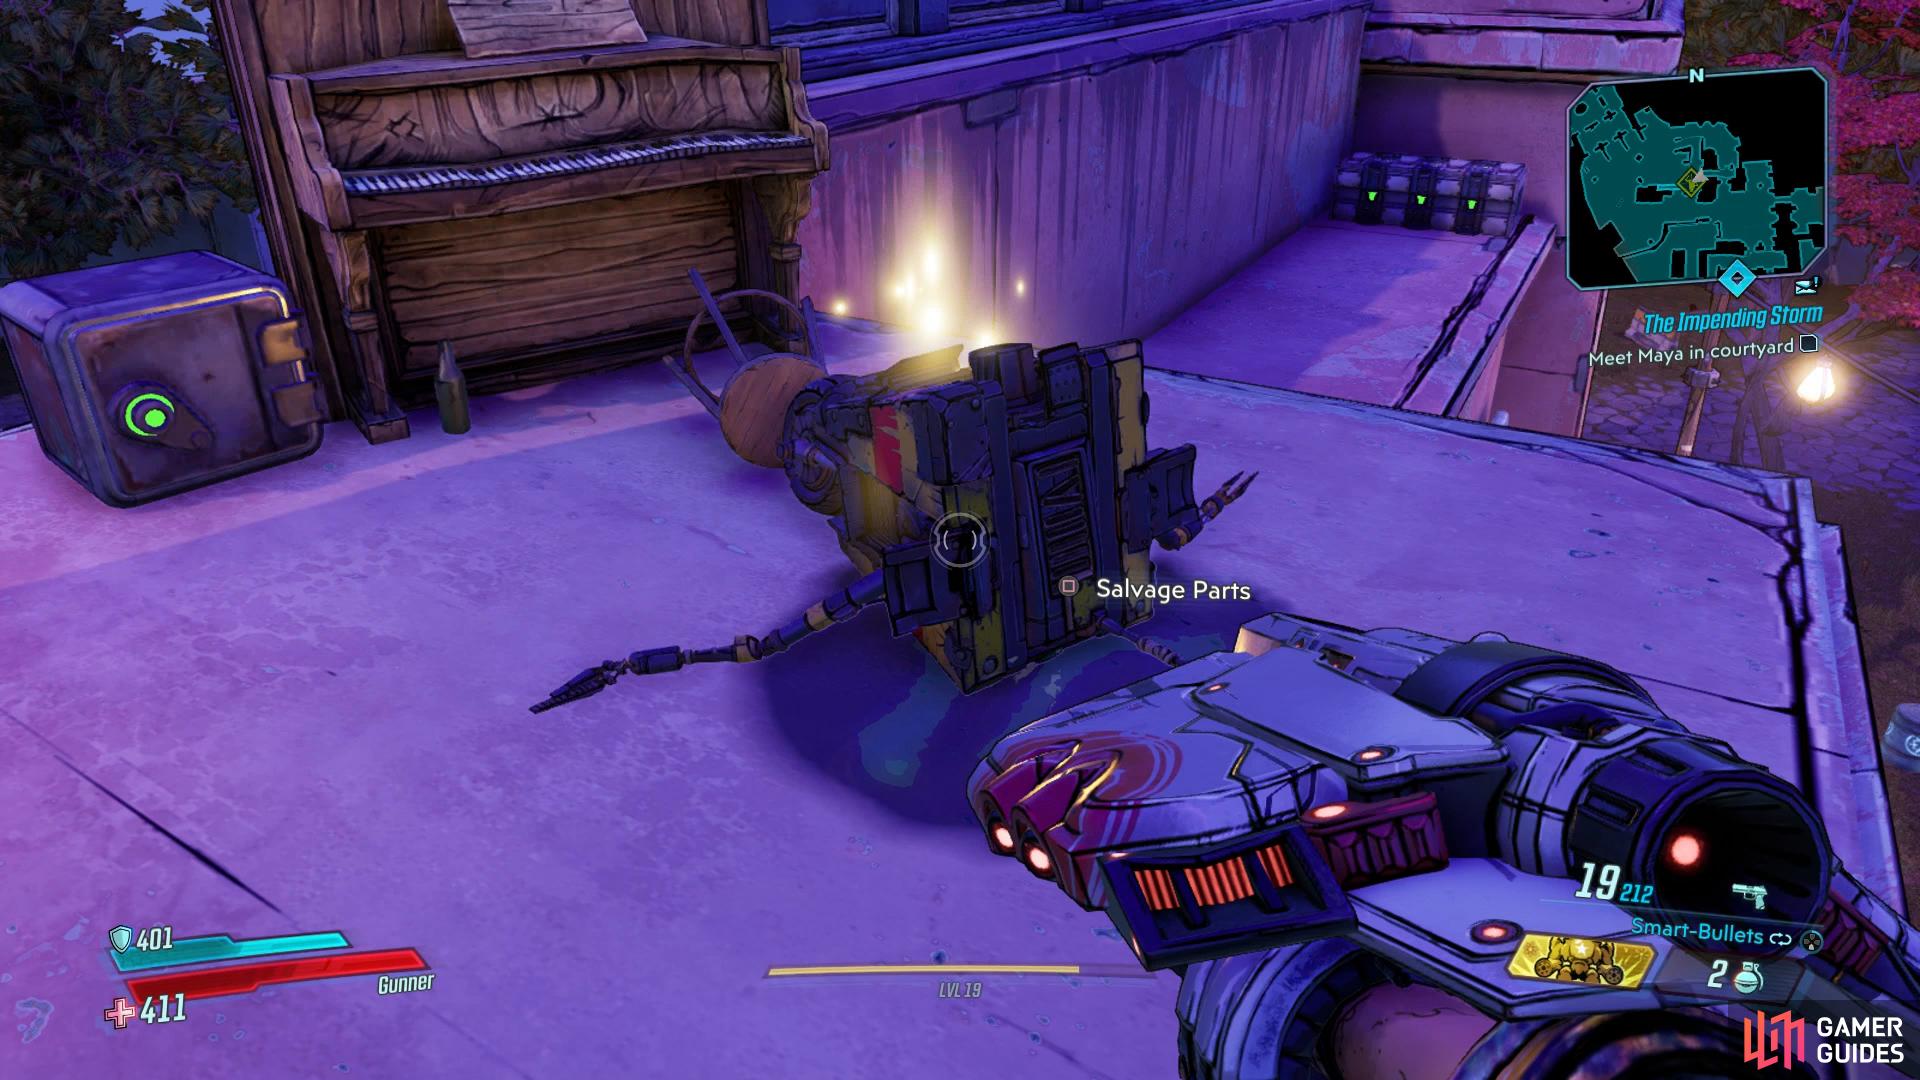
You may have noticed during all of this that you’ve been getting shot in the courtyard ahead, drop down and take the enemies out before heading into the larger open area to take on a whole host of Maliwan. Ammo may run low it so be sure to scavange it from the many containers around the area and retreat if your shields drop, it’s extremely easy to die here. With the area clear, climb the stairs in the center and follow it to an Echo Log before climbing the container here to find another Dead Claptrap and a White Chest.
Follow the path east and south again after nabbing these to encounter more Maliwan reinforcements including a Badass Trooper. Take out these last stragglers and then head up the stairs, opening all the containers as a boss awaits you after the next drop.
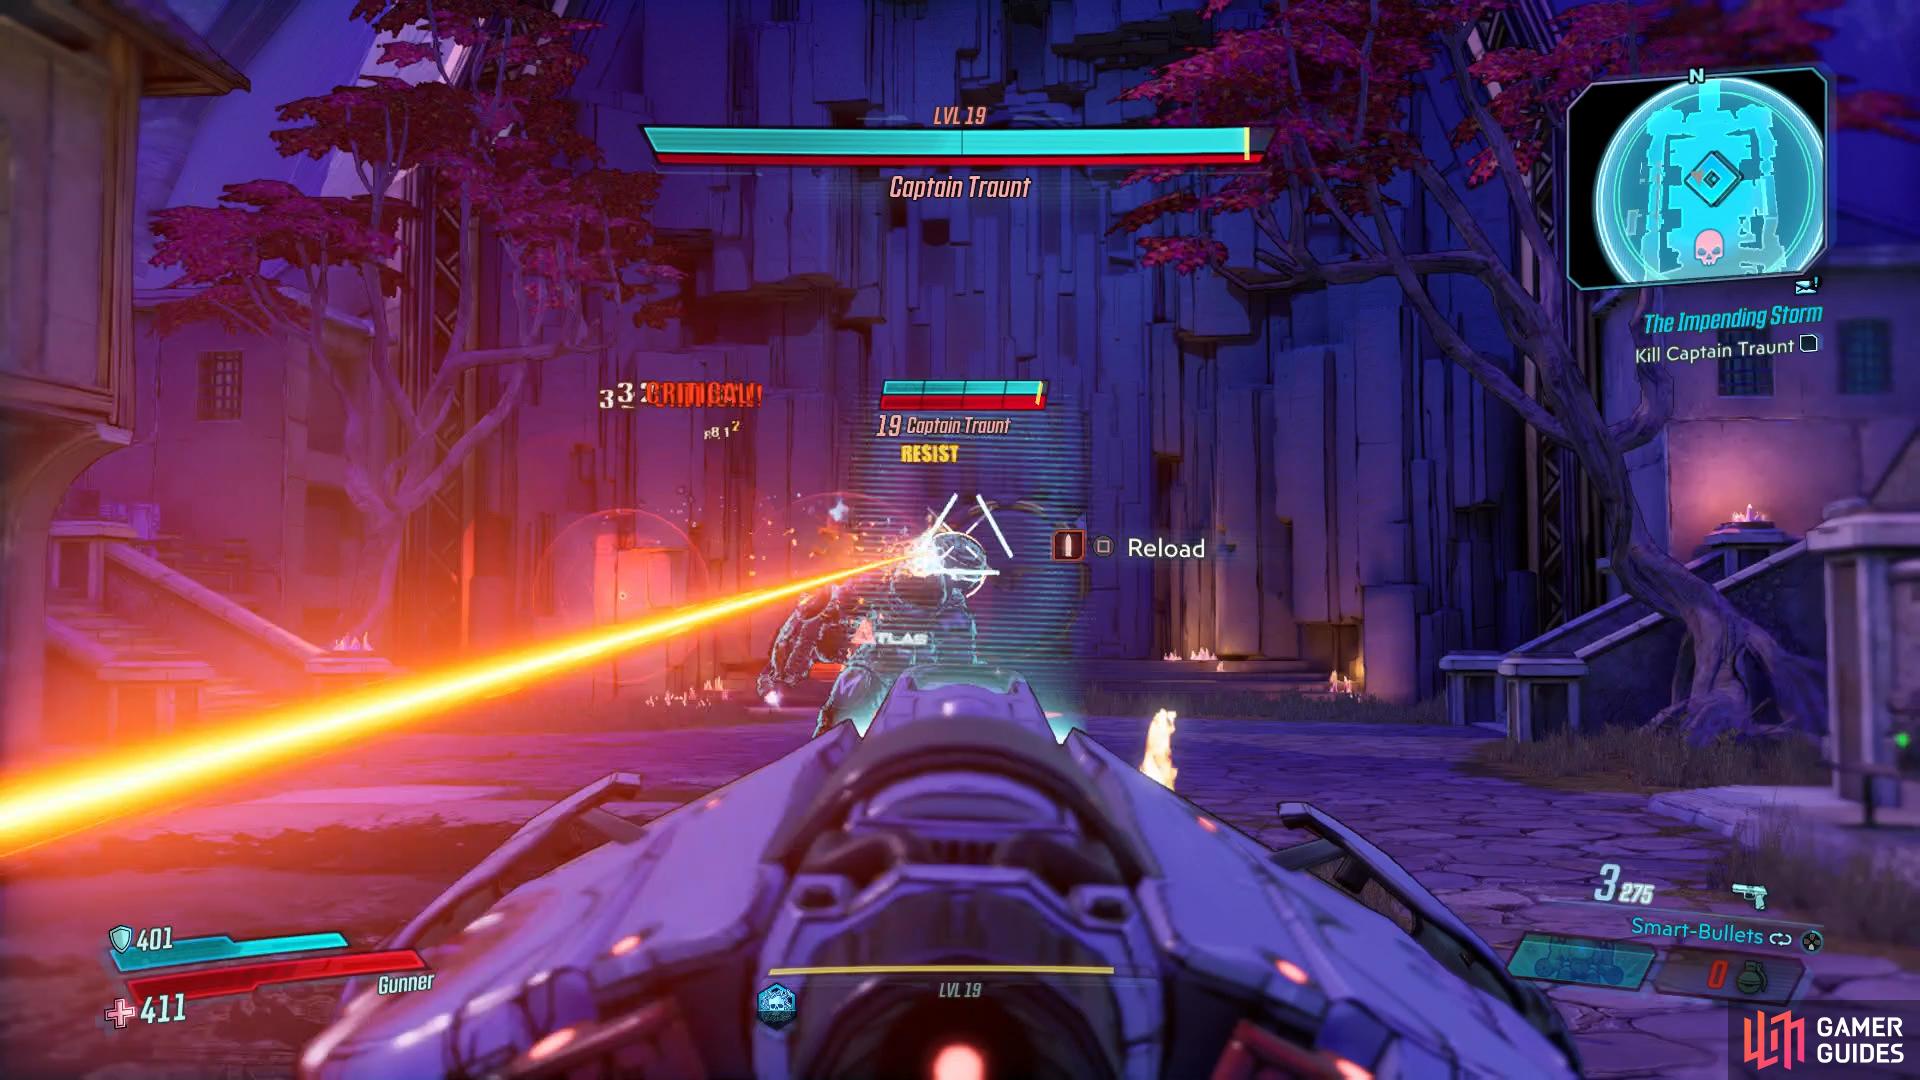
Boss: Captain Traunt
Captain Traunt is essentially a more advanced version of the Heavies you’ve fought to so far and combines both the Pyro and Cryo variants of the enemies. The arena itself is fairly narrow and you can easily be caught in his area of effect attacks so you’ll want to try to maintain cover at all times, ideally along the balconies found either side.
Traunt begins the fight in his Cryo mode and as such, his attacks take on the Cryo element. He’ll create Walls of Ice that he’ll then shoot at you, run away from the wall as you may mistake it as cover when it’s anything but. Additionally, he’ll shoot a large ball of Cryo in the air, this can be shot down in midair or alternatively, you can retreat to cover to avoid the blast. Once you bring his Shield down, he’ll enter his second phase where he’ll throw in the Incendiary attacks such as shooting large blasts of it at you. These will create flame surfaces that will damage you should you stand on it so keep moving at this stage of the battle.
As you may well know from the other Heavies you’ve fought, Traunt suffers the same weakness, namely the large orb on the back of his mech suit. Prioritize your attacks on this to deal Critical Damage and drain his health a lot quicker. As usual, you’ll have to deal with the Troopers that join the battle but use them as a means to recover from death as you’ll want to focus on Traunt exclusively.
The biggest issue with Traunt is getting overwhelmed, as the fight goes on he’ll start sending over large balls of Cryo or Incendiary around the outside of the arena so you’ll need to move off the balconies as the fight goes on. You’ll make life a lot easier for yourself should you have a shield or any skills that protect you against either Cryo or Incendiary.
So long as you stick to cover, Captain Traunt isn’t as imposing as he may look however should you stick to fighting it out on the street below, you’ll quickly succumb to his ability to coat the area in either Cryo or Incendiary effects. Captain Traunt doesn’t have any unique Legendaries of his own this time but he can drop the universal Legendaries should you choose to farm him.
Grab any loot on the ground after the battle and hand over the Eridium to Maya to press on.
Follow Maya, Get Vault Key fragment
Follow Maya into the sancum ahead to spot the Eridian Writing for Athenas and just behind it, the second Red Chest while in the water to the east is the third and final Typhon Log, inspect it reveal the Dead Drop near where the Crimson Radio was. Once you’re ready, head on over and grab the Vault Key Fragment and then consider heading back to grab the Dead Drop before you make your return to Sanctuary.
Give Vault Key Fragment to Tannis
Once back on Sanctuary, head over to Tannis in her lab to hand over the Vault Key Fragment before heading over to Lilith to complete the mission and accept the next. Before continuing on however, you may want to accept and complete the Invasion of Privacy Side Mission.
No Comments