

| Quest Giver | Reward | Lvl |
|---|---|---|
| Lilith - Sanctuary | Cash, Epic Artifact | 35 |
Following the dramatic events after opening the Vault on Eden-6, Lilith will task you with seeking out Vaughn so when you’re ready, Fast Travel over to The Droughts - Highway and make your way to the northwest to spot a gate is blocking the way forward, shoot it down and proceed through it to reach Devil’s Razor.
Go to Roland’s Rest, Meet Vaughn
Devil’s Razor is a rather large area for you to explore and there are plenty of Crew Challenges and Zone Completion tasks to be on the lookout for. The Main Mission only has you briefly passing through for now so consider taking the time to clear out the optional content before moving on.
You’ll find Roland’s Rest far to the west however as you make your way over, consider taking care of the Legendary Hunt, Antalope, found just below and north of the bridge leading to the western side of Devil’s Razor. Being an Spiderant, be sure to get behind the beast so you can inflict maximum damage on it. You’ll also find two Side Missions to the north that you can accept in the form of Buff Film Buff and Boom Boom Boomtown, both of these Side Missions will allow you to collect a Typhon Log, Crimson Radio, Dead Claptrap and a Hijack Target within that region.
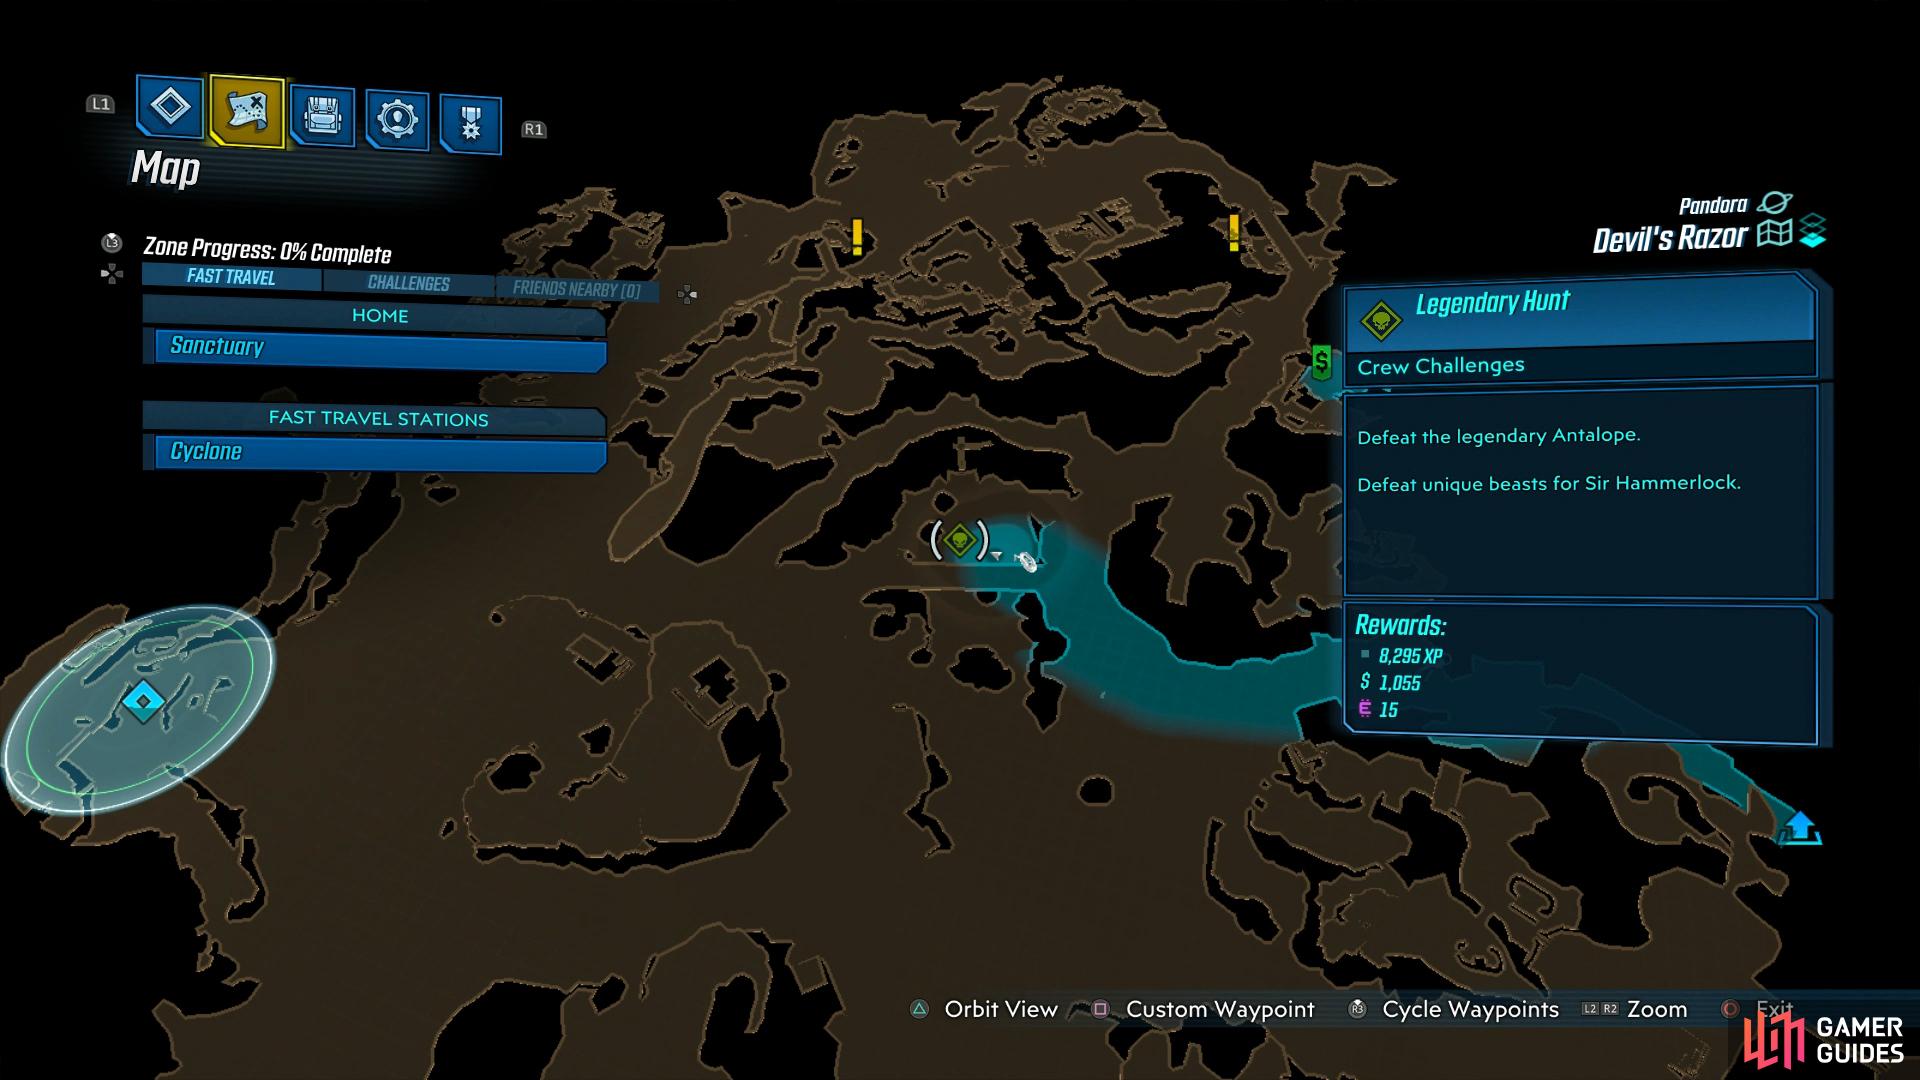
Consider taking out the Legendary Hunt
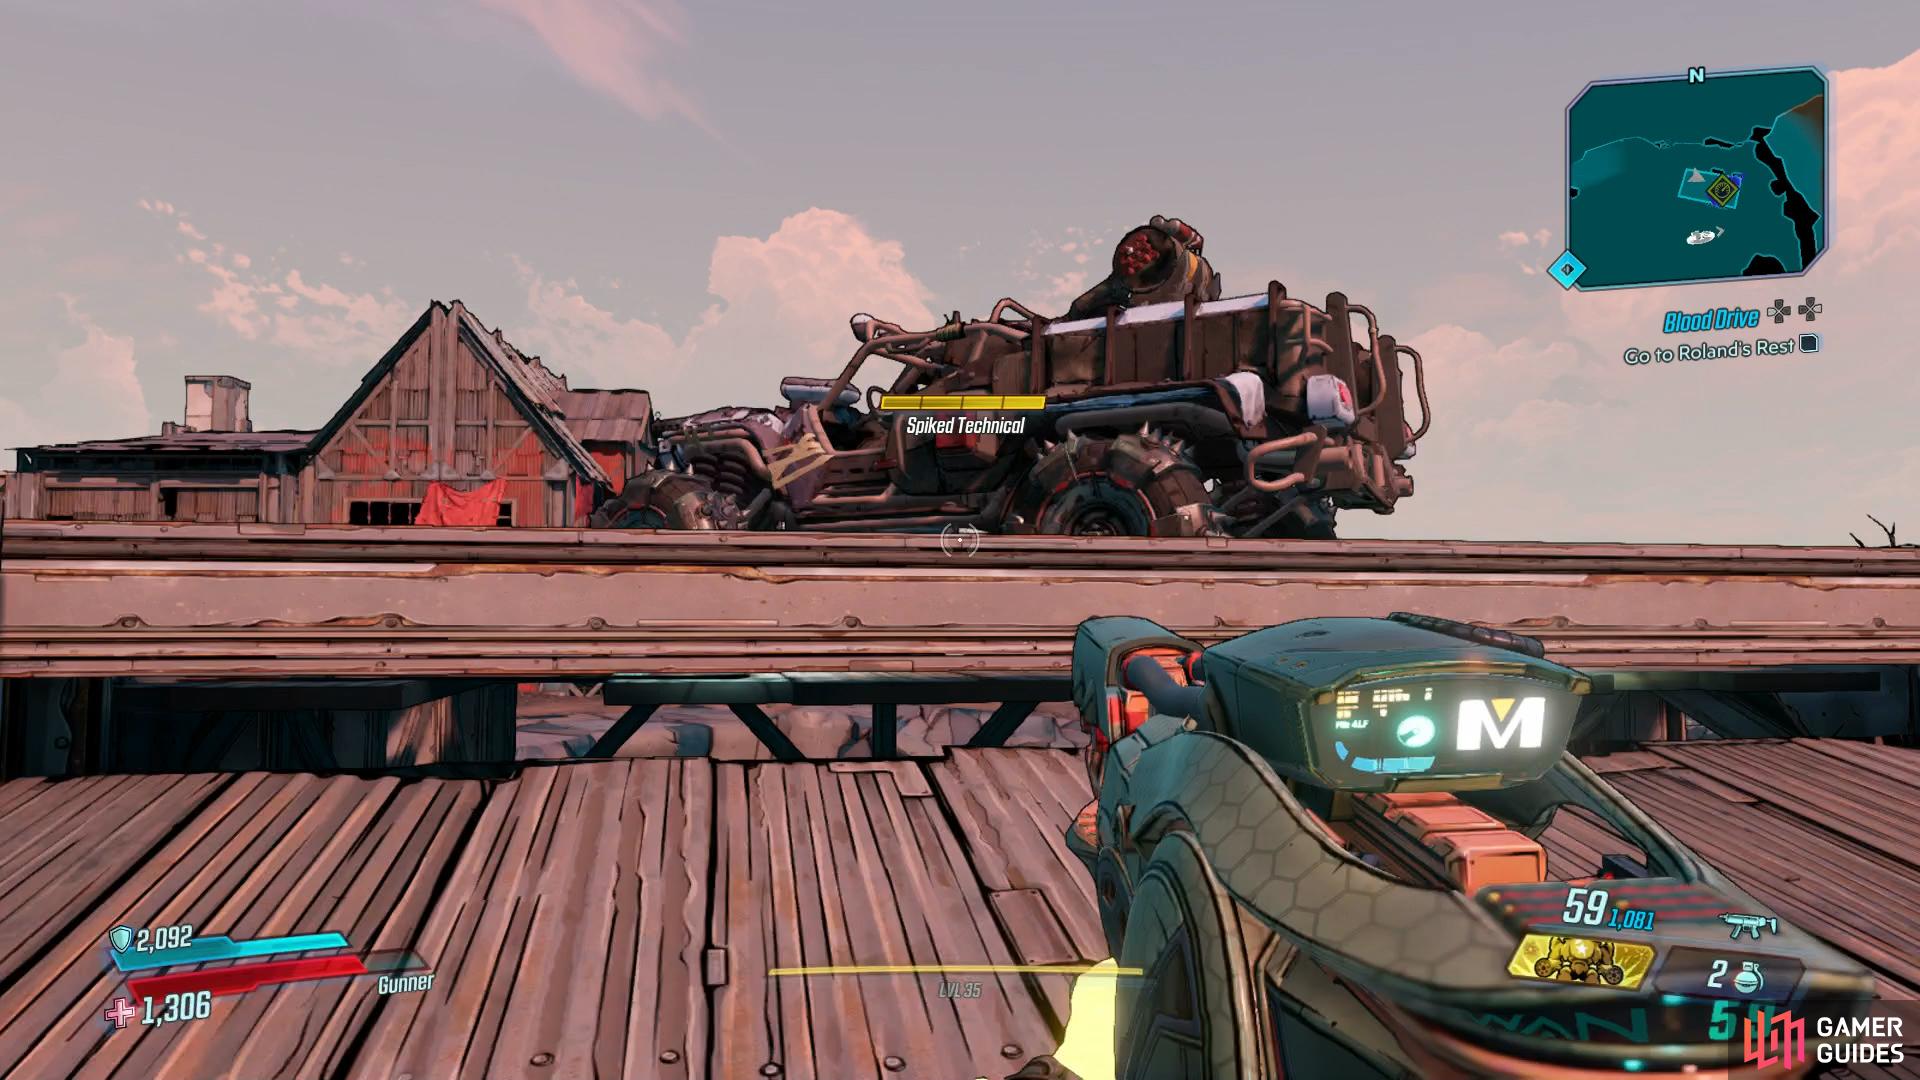
and hijacking the vehicle on your way to Roland’s Rest.
Continuing across the bridge to the west however, you’ll find another Hijack Target to the southwest in Dusty Acres, on top of the roof of the garage here. In order to reach the top, you’ll need to begin your climb from the eastern side of the garage. Once you have the vehicle, continue west to Roland’s Rest where you’ll find a Catch-A-Ride.
You’ll find Vaughn himself at the western end of the outpost, inside a building. He’ll inform you about Carnivora and tells you that you’ll need to head to The Splinterlands to reach it. At this point, there’s not much else for this mission in Devil’s Razor but this is a good stopping point to take care of some of the tasks here. You’ll find the following Side Missions in Roland’s Rest to accept and through doing them, you can clear out the zone of any tasks and challenges:
To that extent, nearby to the north of Roland’s Rest, you’ll find a small path leading up to a COV base and with it, the Target of Opportunity, Hot Karl. The biggest challenge here are all the other COV that spawn alongside him, take them out and Hot Karl himself isn’t too much trouble. Hot Karl also has the possibility of dropping the unique Legendary Shotgun, [Sledge’s Shotgun].
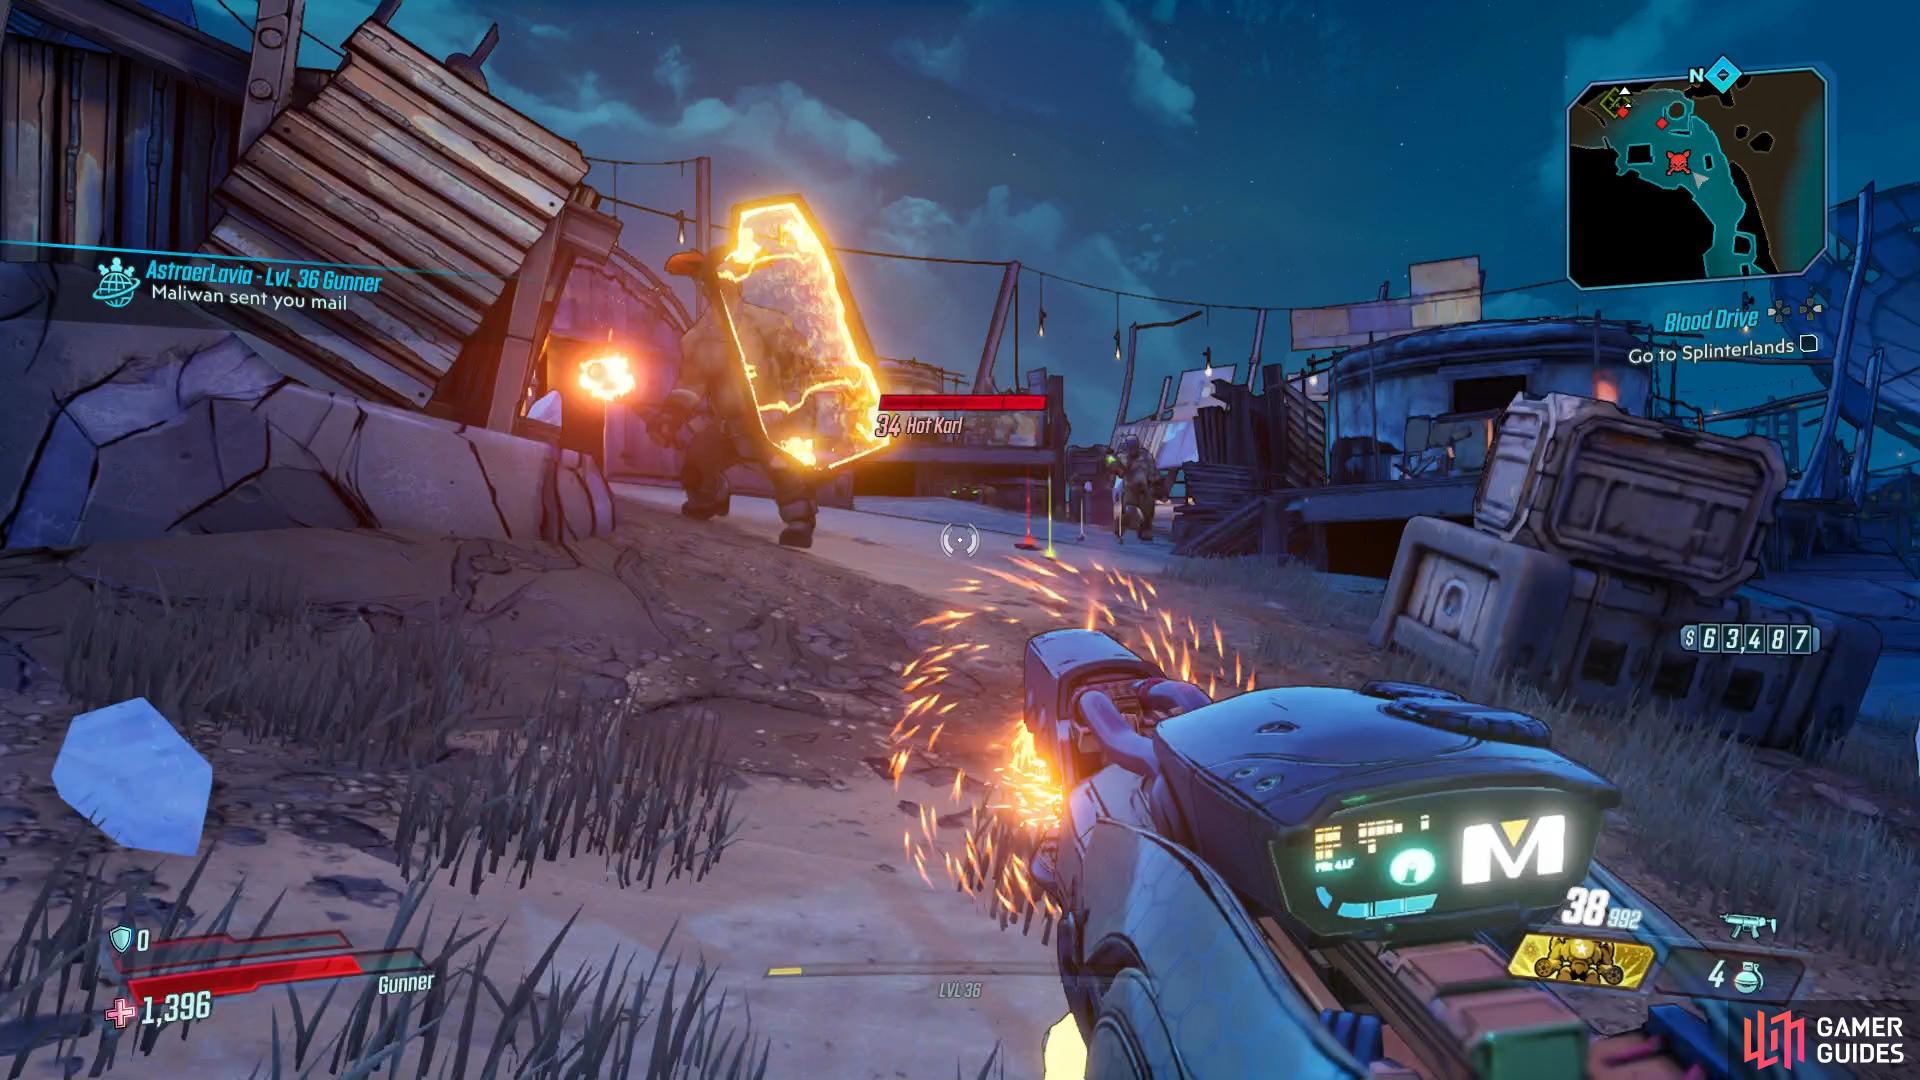
You’ll find Hot Karl at the COV camp to the northwest of Roland’s Rest.
Once you’re finished there, grab a vehicle and head north, optionally grabbing the two Typhon Logs along the way as you enter The Splinterlands to the northwest.
Get into Carnivora Festival
The Splinterlands is yet another large Zone packed full of Crew Challenges and Zone Completion tasks and like the previous area, the Main Mission will only take you by a few of them. To begin with, you’ll find another Side Mission to accept as you enter this zone, The Homestead and the first Typhon Log can be found nearby to the east, in Logan’s Spar. If you head up here and follow it to the end, you’ll also find the Crimson Radio to tick off the list.
It’s best to get the Crimson Radio now while no enemies are lurking about
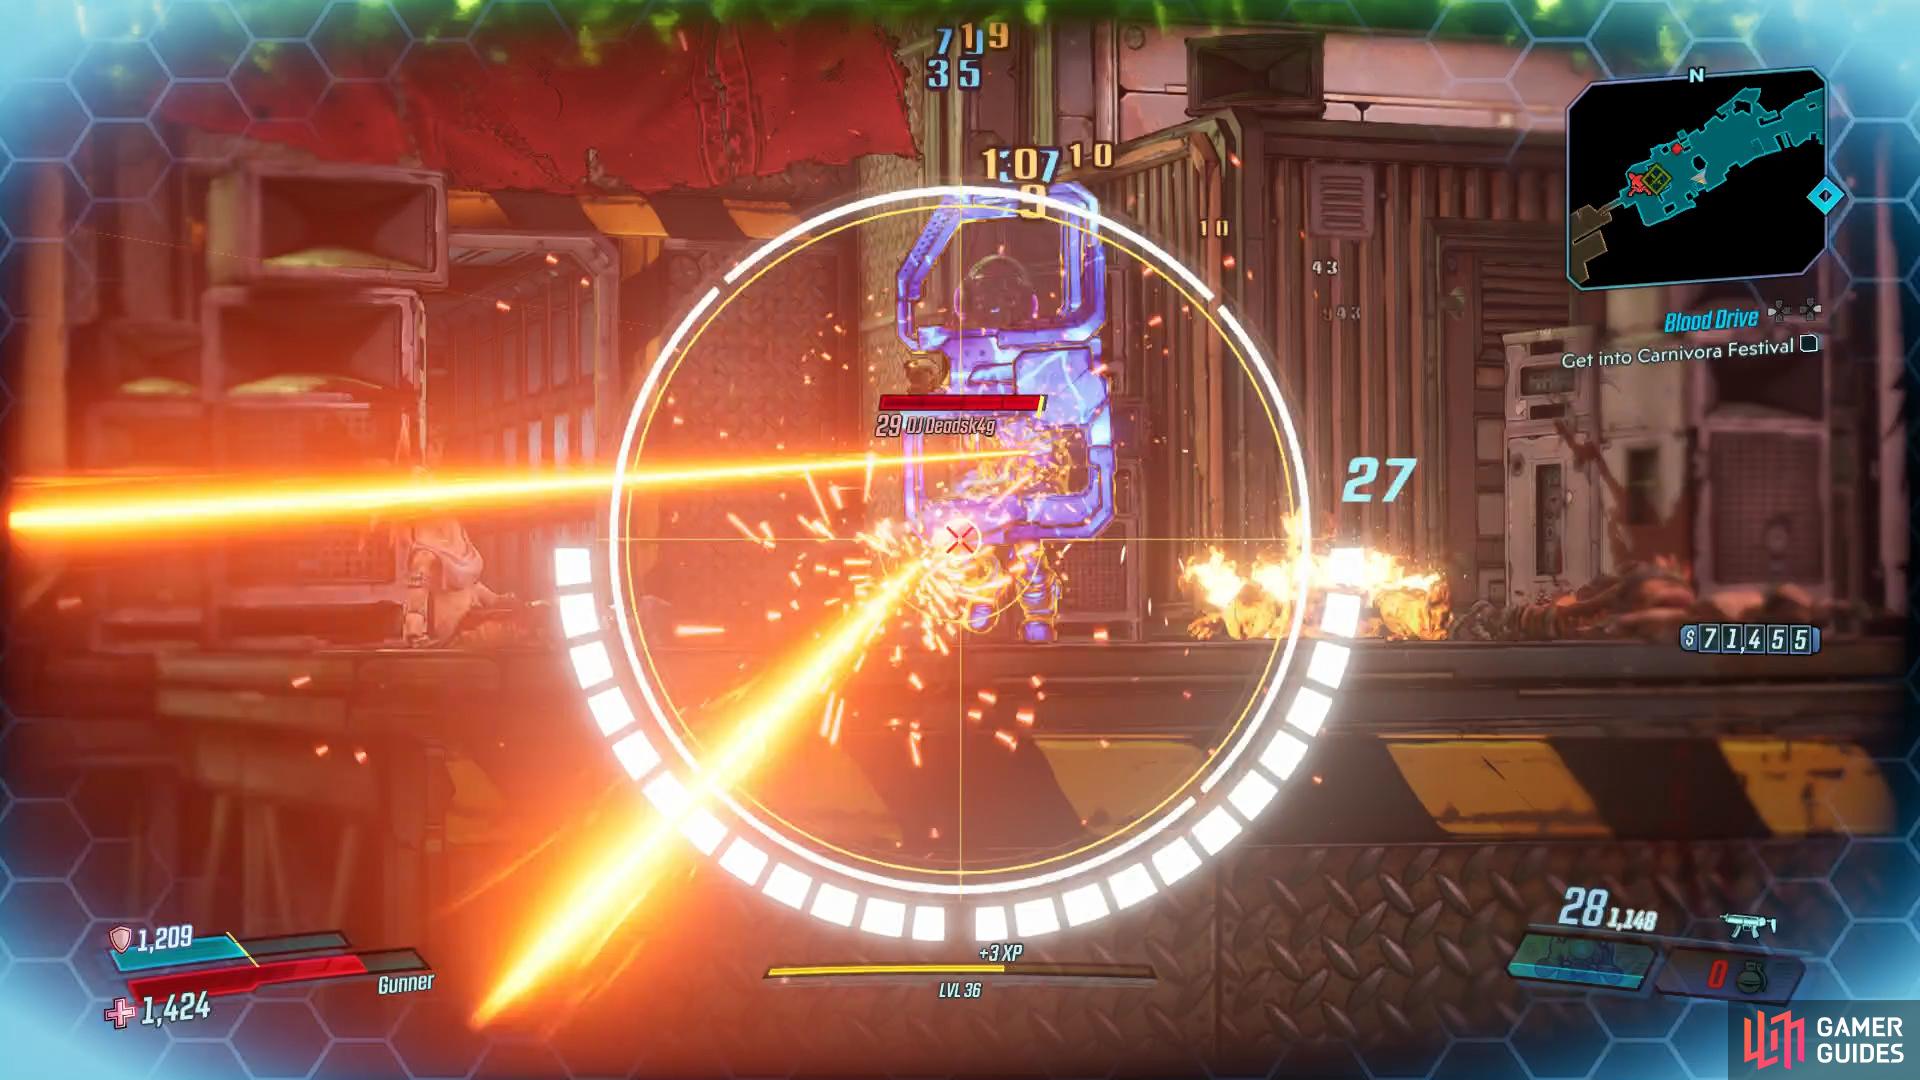
treat DJ Deadsk4g like you would any other Enforcer.
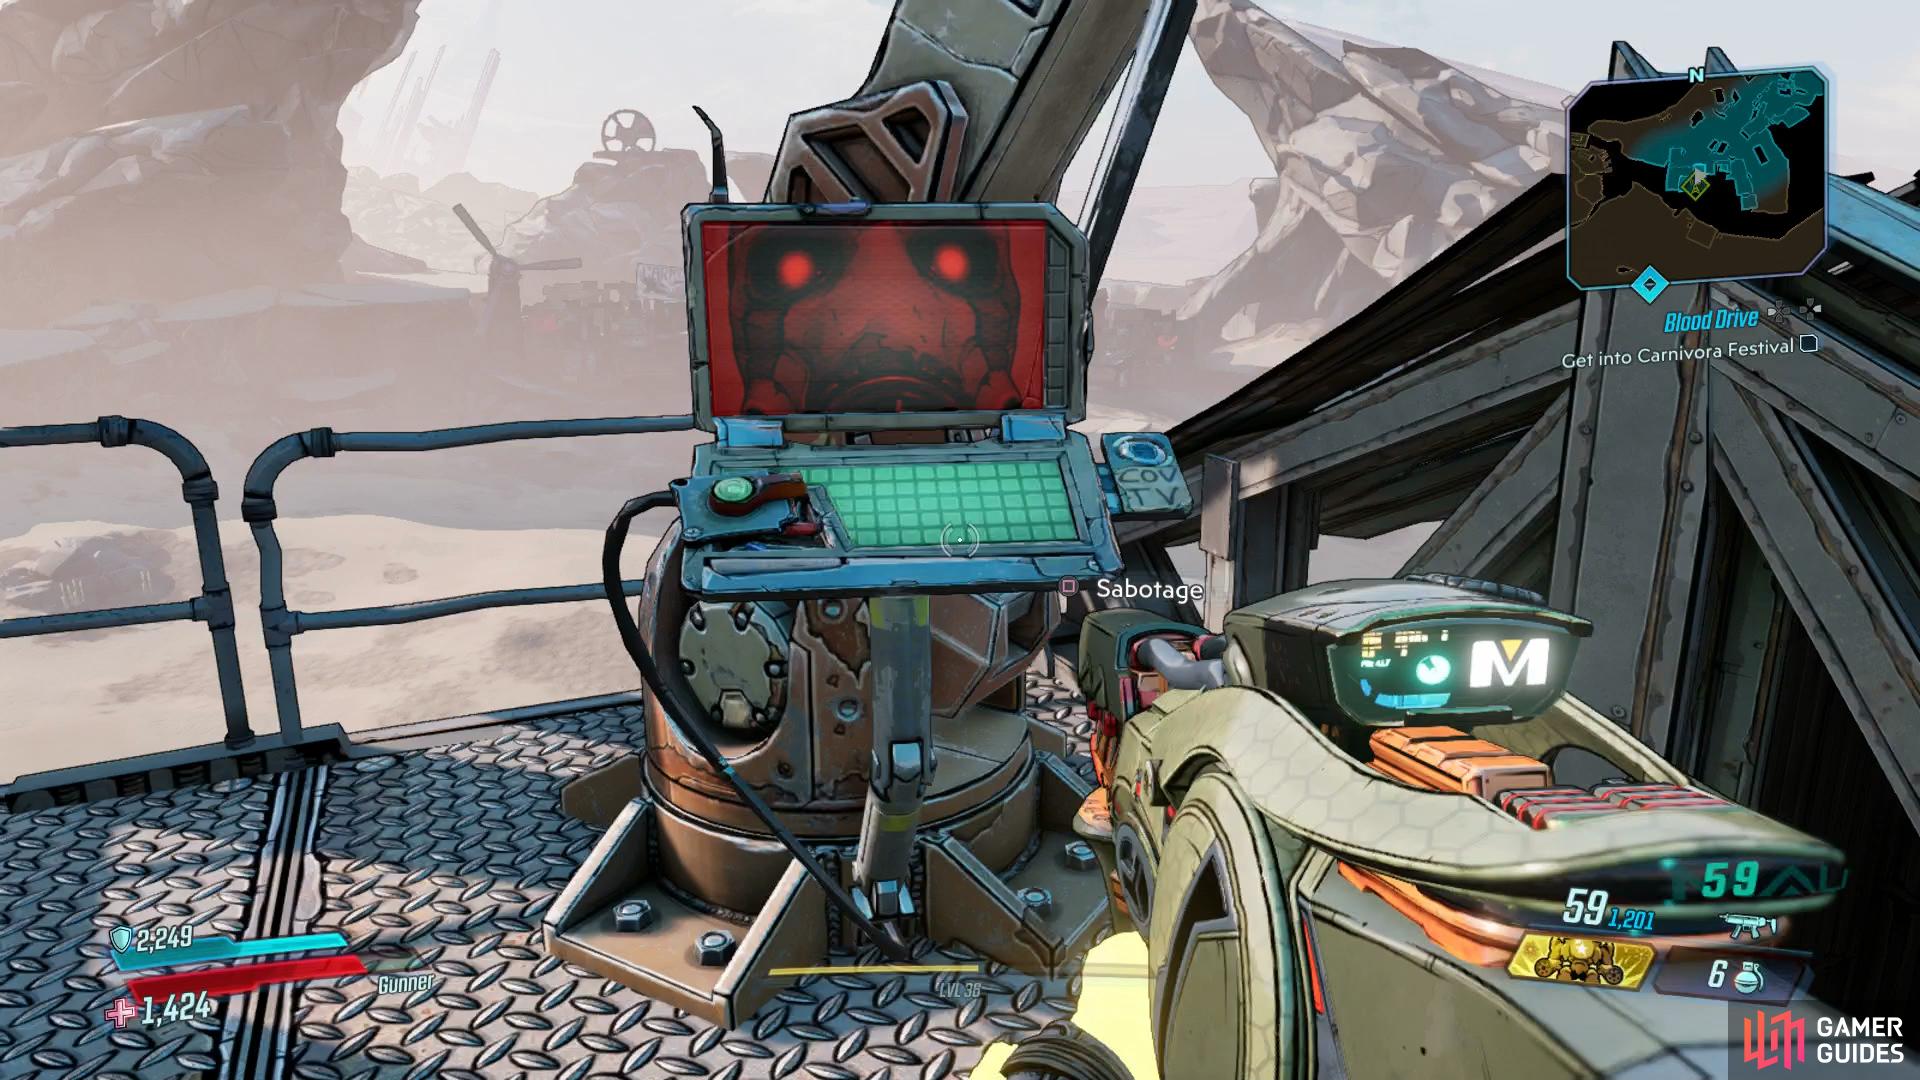
Your location is the large imposing structure to the west but if you head northwest and through to the end, you’ll located the Target of Opportunity, DJ Deadsk4g. The biggest challenge with this Target is reaching him, you’ll have to pass through The Rave Cave which is full of COVs. Once defeated, return to your vehicle and ride it onto the conveyor before pressing the nearby button.
Go to Big Donny’s Chop Shop
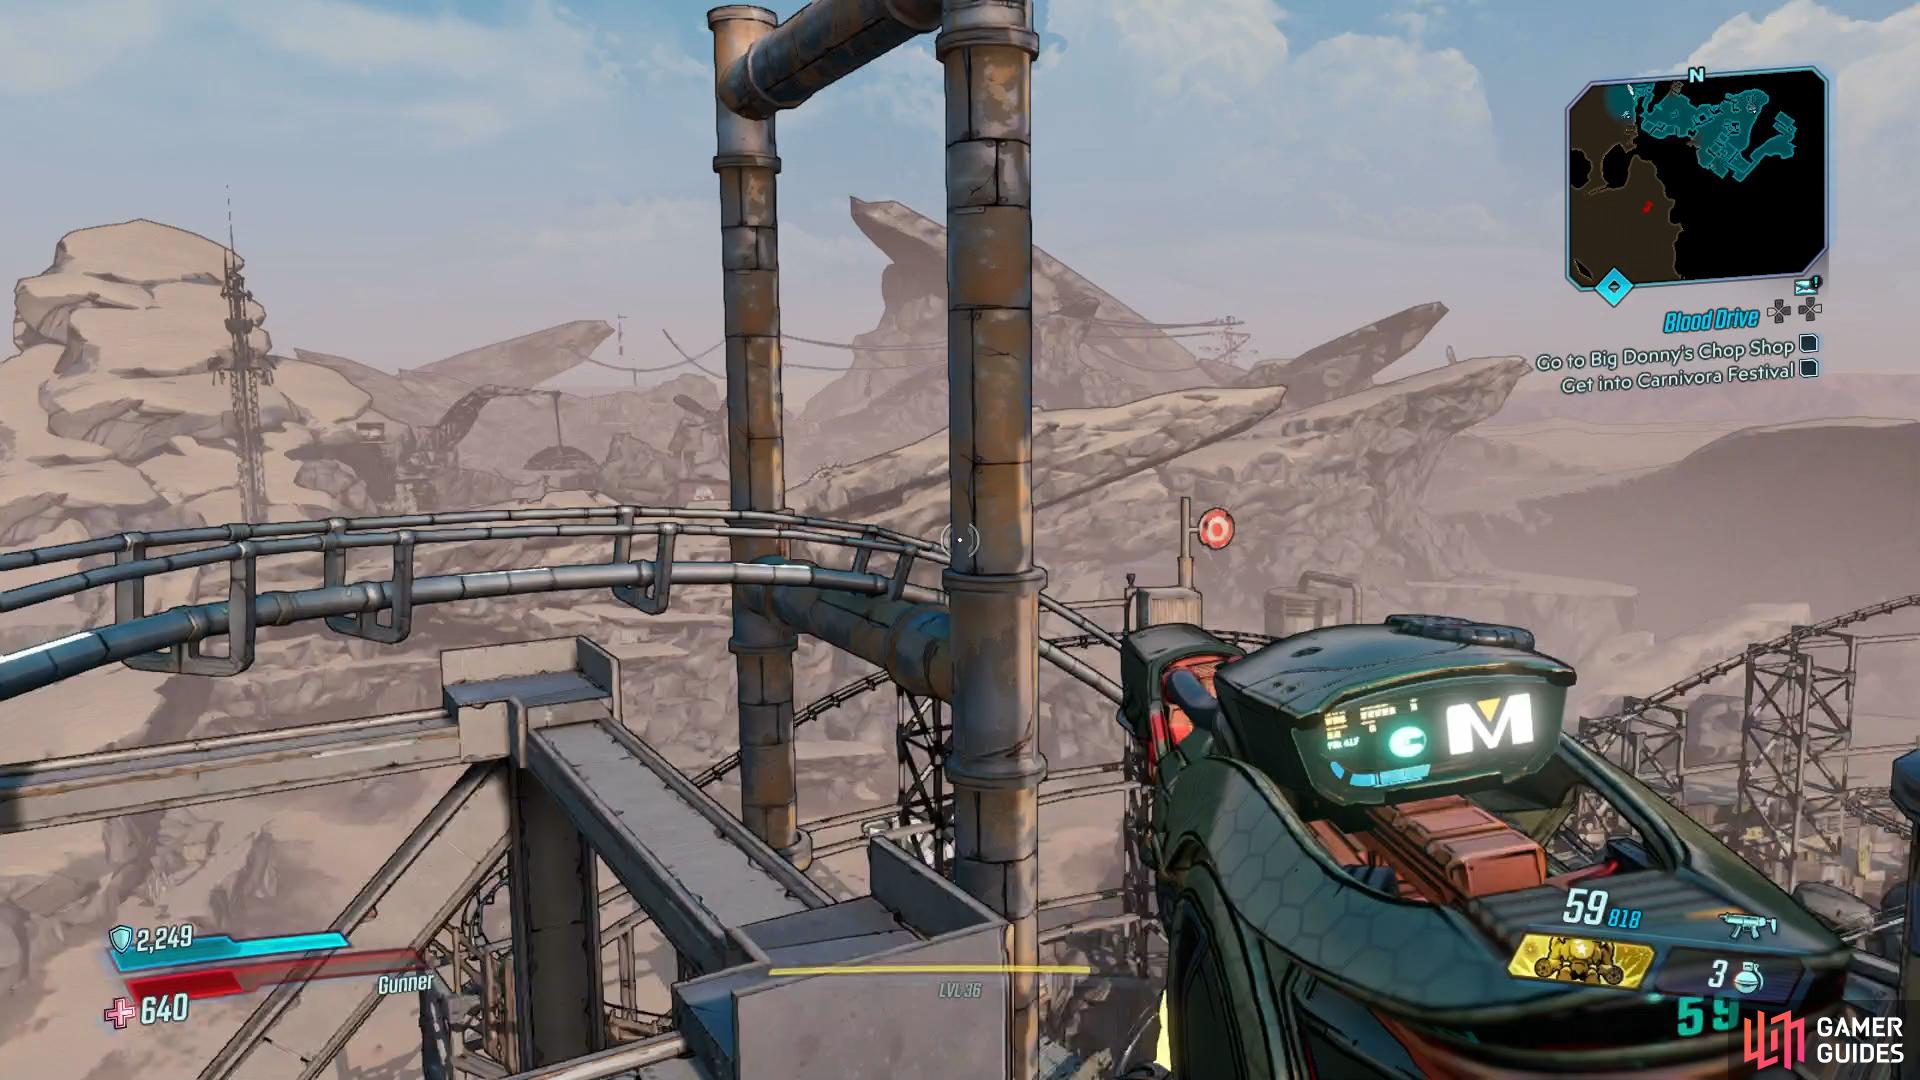
You’ll find the Chop Shop all the way to the southwest of The Splinterlands and as you’re heading down there, you may want to consider taking a detour to the east to find the Legendary Hunt, Phoenix. This particular Rakk will revive itself many times before it eventually goes down and has the ability to drop the unique Legendary Artifact, [Phoenix Tears]. Continue south by driving along the eastern wall and you’ll come to a hill overlooking the rollercoaster and with it, the Dead Claptrap.
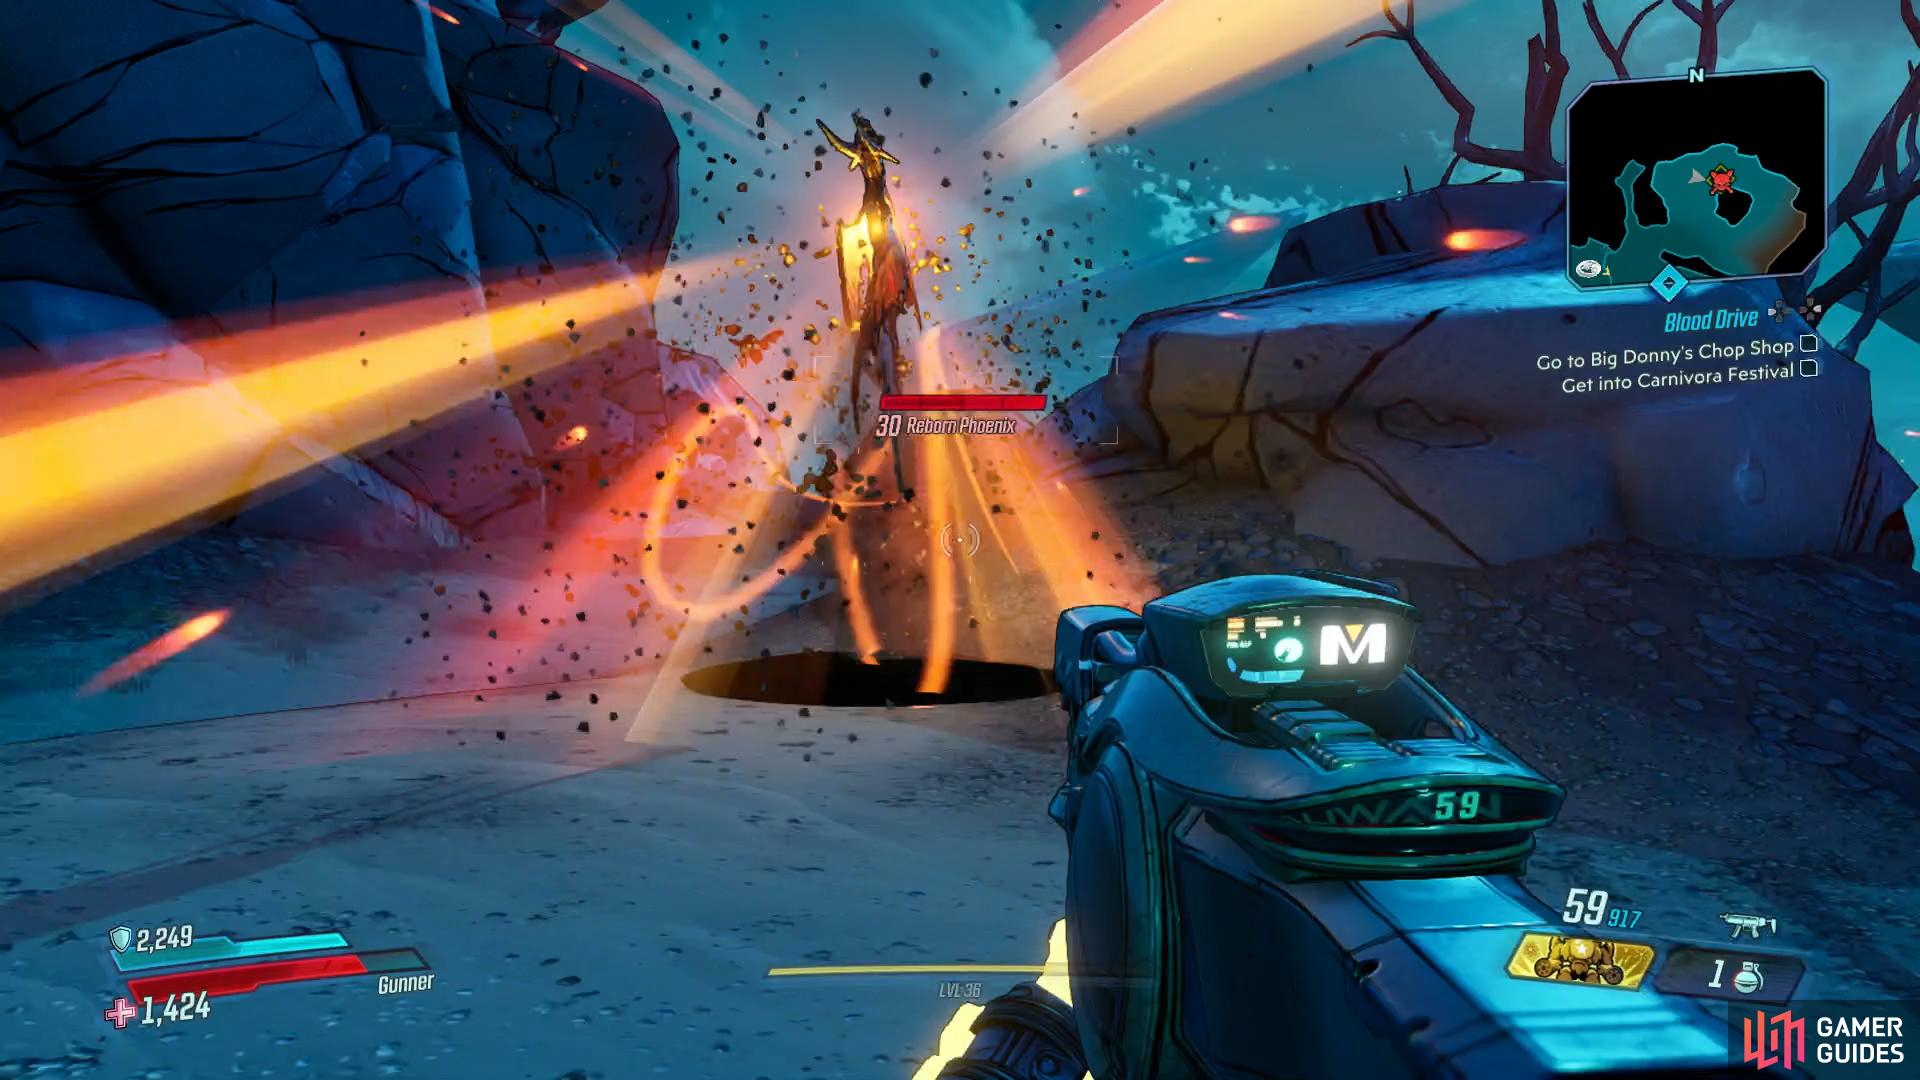
You’ll need to put the Phoenix down three times to fully kill it
hit all the targets on the rollercoaster to unlock the door for a Red Chest.
Just south of this location, you’ll find the entrance to the rollercoaster itself, head over to the eastern end here to find the second Typhon Log. The Rollercoaster itself holds a special secret too, head up to the stairs to the south to find a locked door and then some carraiges waiting for you to jump on. As you ride the rollercoaster, keep an eye out for targets, once you’ve hit each one of these at least once, you’ll unlock the door to find the second Red Chest. With those side activities out of the way, continue to the southwest to reach Big Donny’s Chop Shop.
Find Big Donny, Drive chariot to Carnivora gate
As you head down, defeat the COVs that attempt to stop you and you’ll find an even larger group of COVs as you approach the waypoint. The toughest challenge here are the Tink Sentries that may be set up and the Festering Goliath, this particular variant has the ability to spew Corrosive bile at you so keep your distance when taking care of it.
Once the enemies are down, Big Donny himself will challenge you, along with his missile launcher, The Big-D. This should be your primary target here as it will unleash a barrage of homing missiles at you, treat this like a Sentry and use a Corrosive weapon to take it down quickly. As for Big Donny, he’s essentially a tougher Shotgun Tink with Armor, so keep your Corrosive weapon out and take him down.
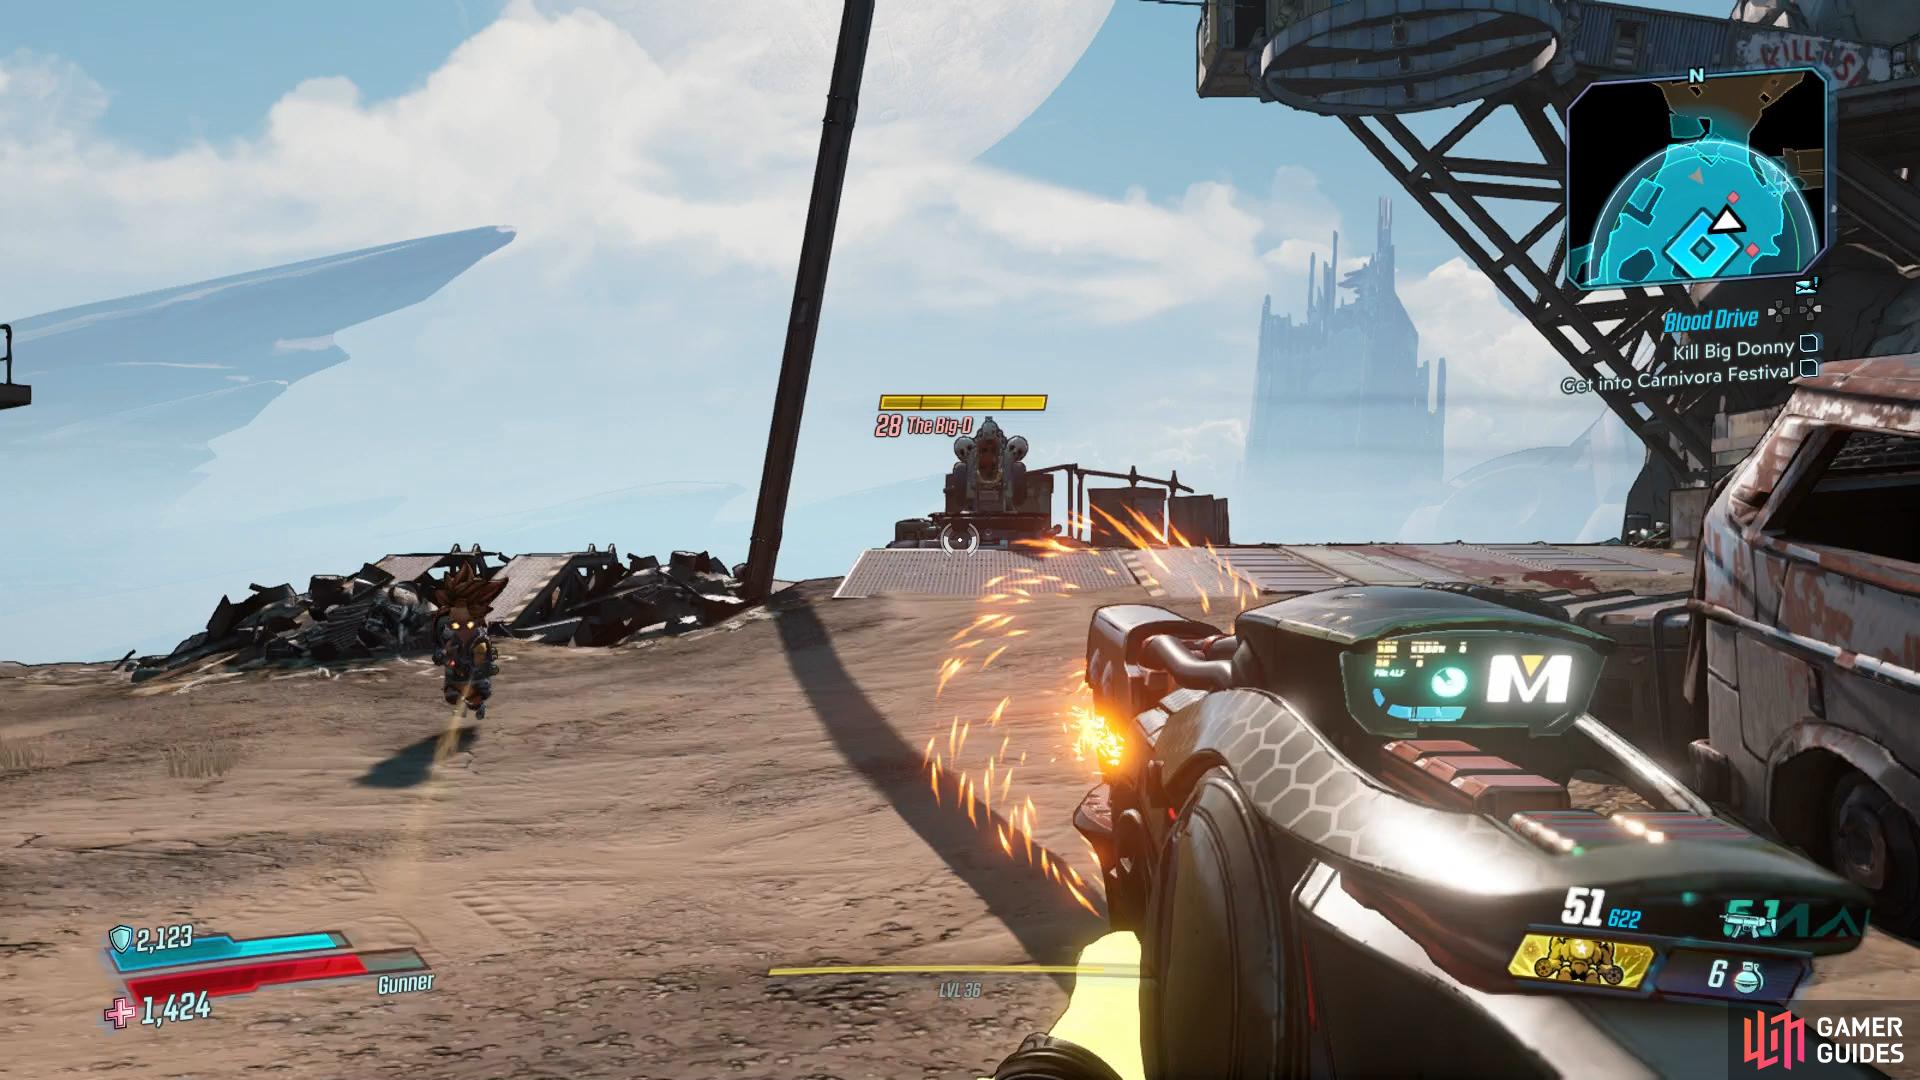
Focus on the missile launcher, The Big D, first to limit the damage you take.
Pocket the Car Keys from Big Donny’s body and then make your way up to the top of the buildings to find a switch to lower the Golden Chariot and ride it out of the Chop Shop. With a worth vehicle in your possession, ride it back to the gates of Carnivora and leave it on the conveyor and gain access to Carnivora.
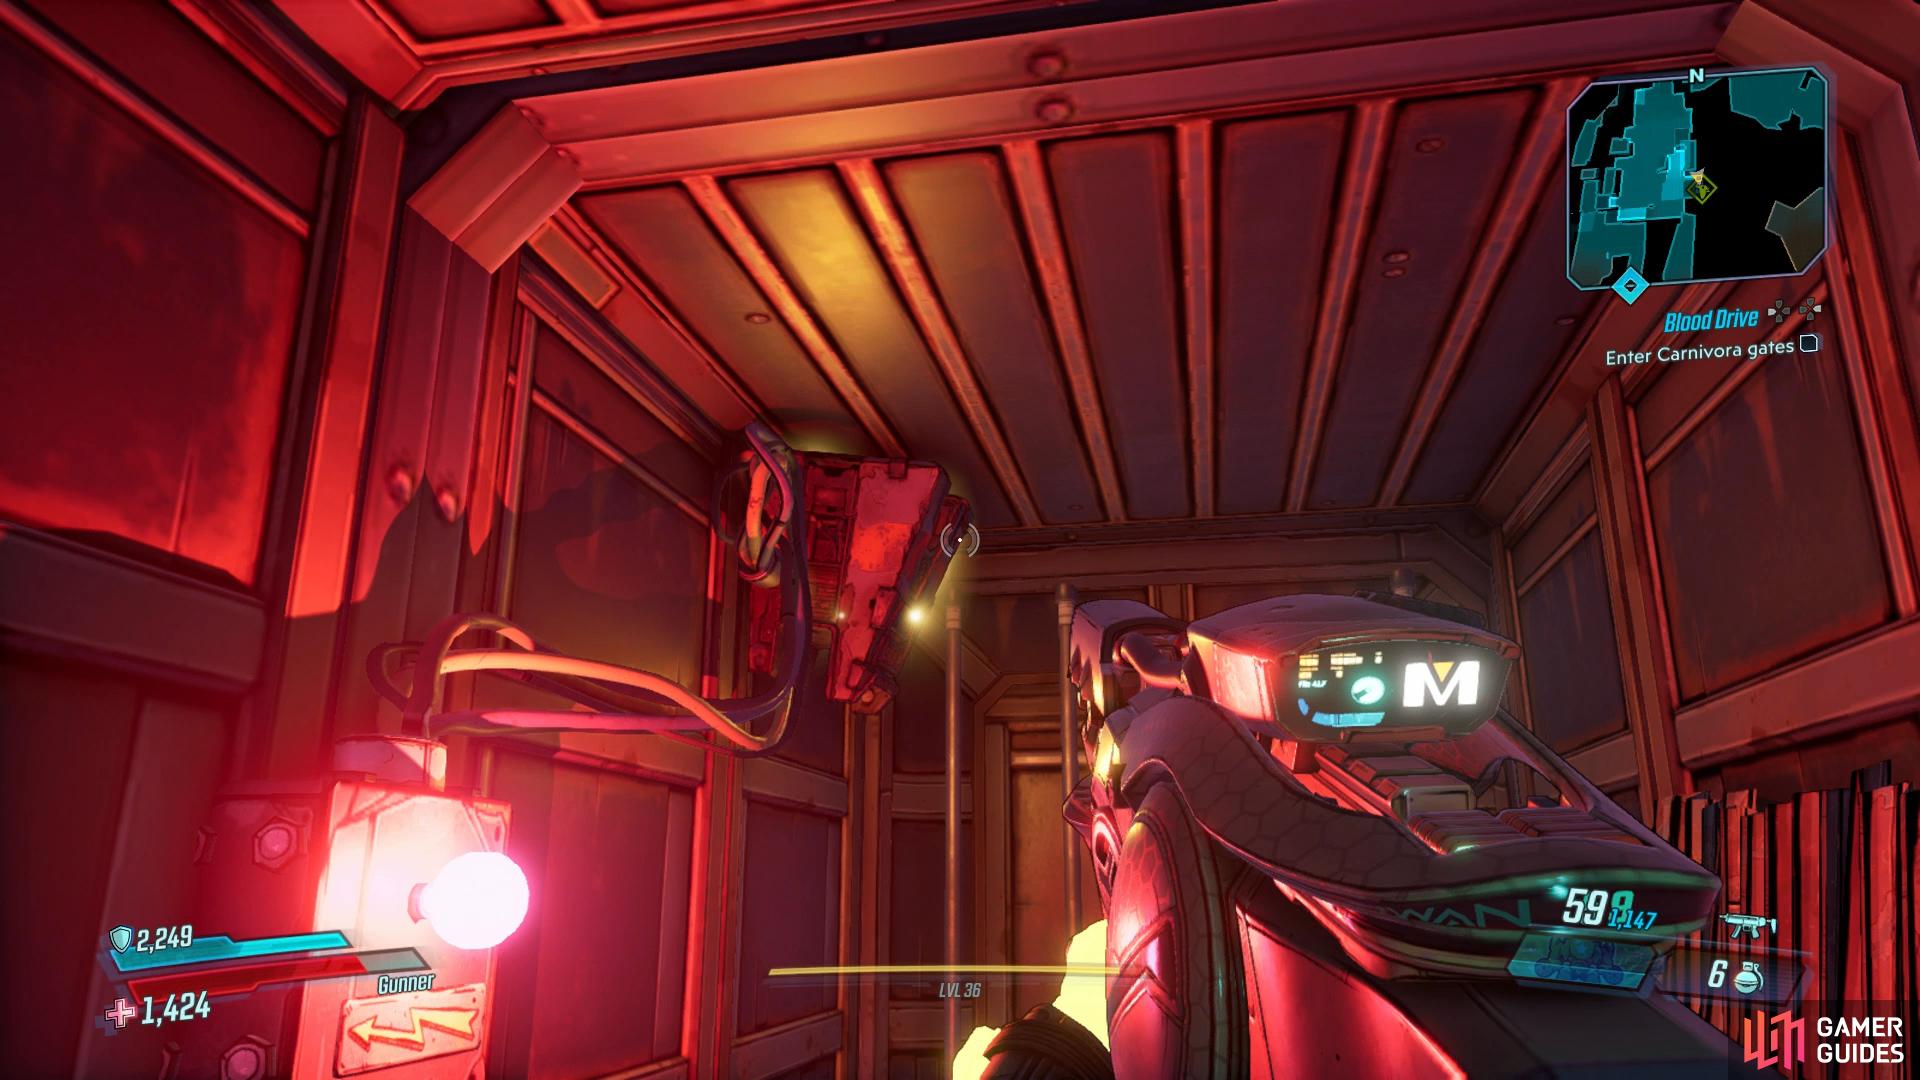
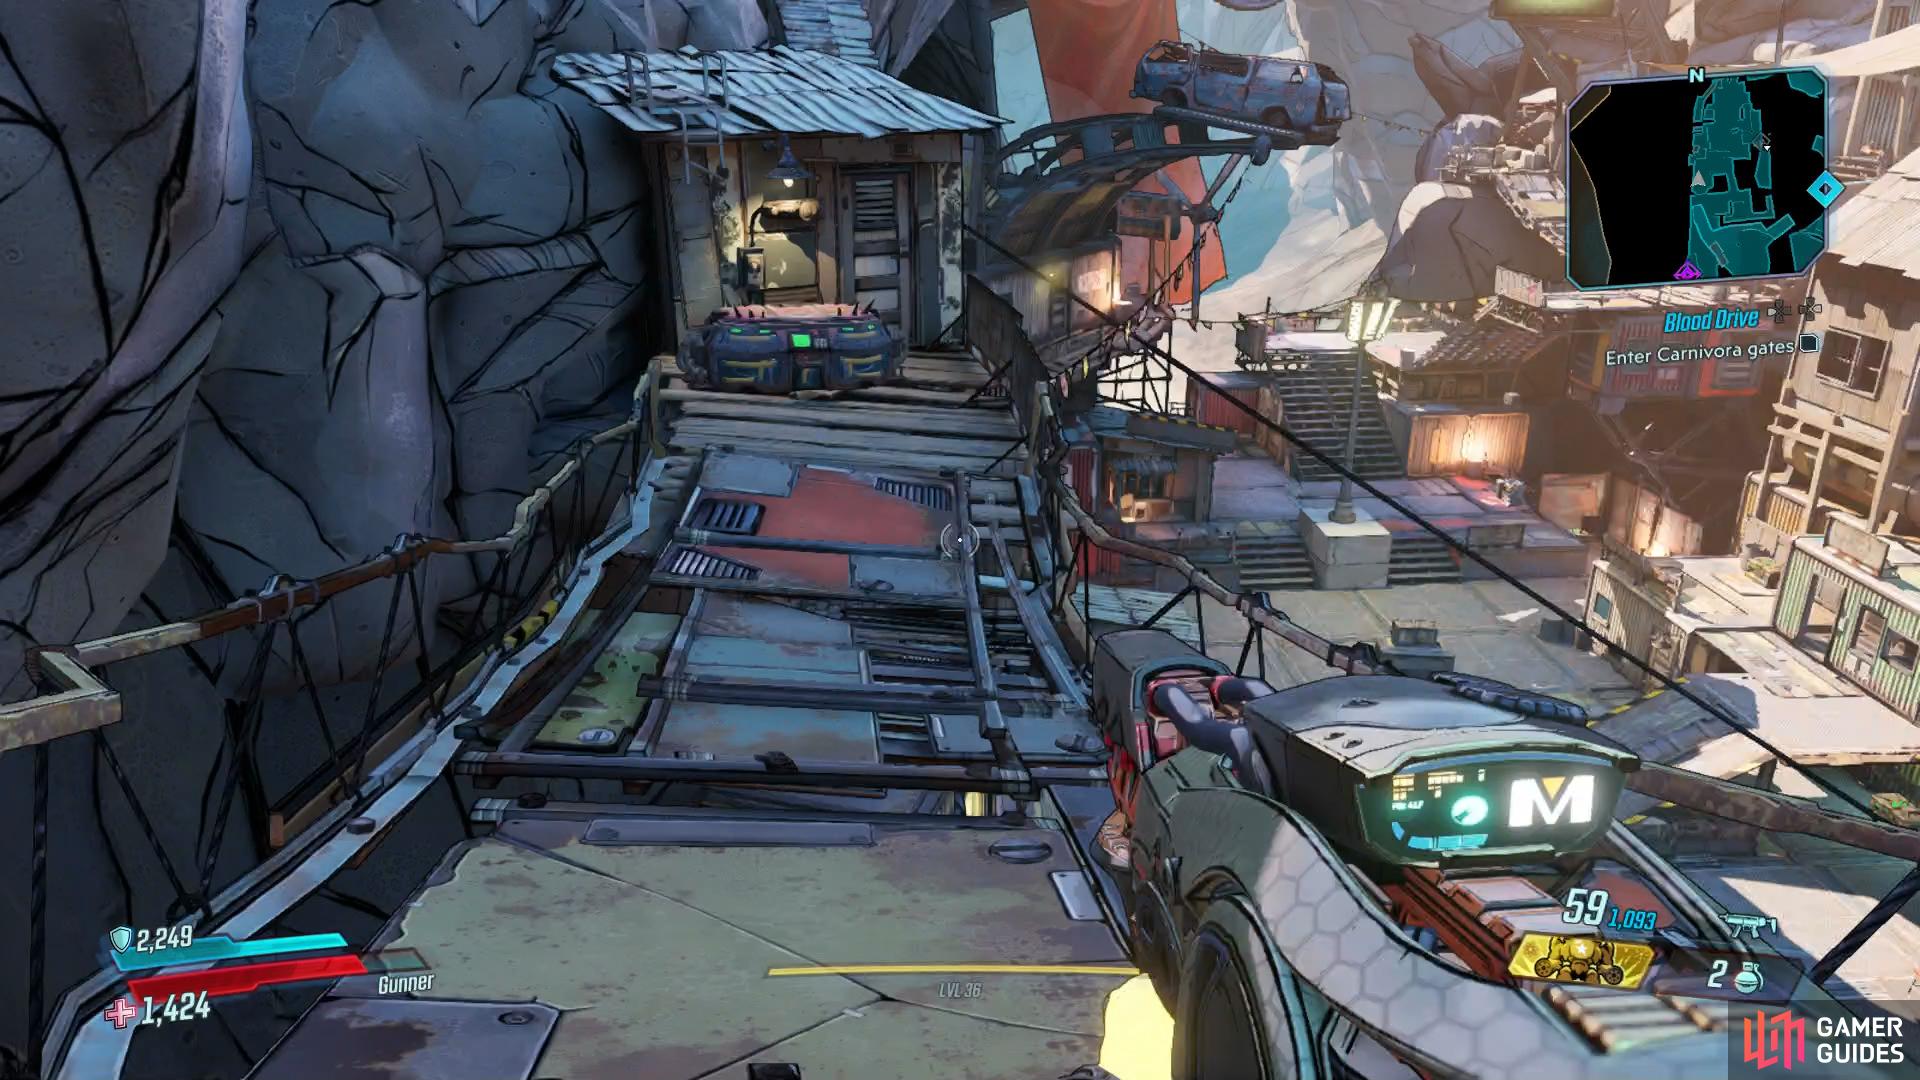
Enter Carnivora gates
Carnivora is the third new zone you’ve had to visit for the purpose of this Main Mission and once gain, you’ll find another new batch of Crew Challenges and Zone Completion tasks. To begin with, dispatch the first group of COVs in the Festival Grounds, you’ll need to contend with a deadly Gale Hag here who will shoot large rockets of Wind at you, focus your attention on him before returning to mop up the rest of the COVs.
As you press on, you’ll find a short Side Mission to your right, Let’s Get It Vaughn that you should wrap up now. Once you’re done with it, follow the linear path to reach the Stacked Deck and look to the right to spot the first Typhon Log. Drop down after listening and take on the next group of COV, pay special attention to the Bruiser and Longshot Fanatic that attack from the north. Once the area is clear, look to the eastern wall to spot an open container with a red light, head inside, drop down the hole and look up to spot the Dead Claptrap.
You’ll find a Dead Claptrap in the container with the red lights
while you’ll need to go back on yourself at the end of the Stacked Deck to find this Red Chest.
Continue up the ramps to the south and take out the next group of COV and then take the bridge over to the east. Before you continue, take the northern path here and follow it all the way back the way you came from, climbing over containers in the process where you’ll find a Red Chest at the end of it. Return back to the south once again, dispatch yet another group of COV and then continue through more gates to the north and down the lift at the end.
Once you get off the lift, you’ll find yourself in La Cage o’ Tinks, a club of sorts filled with many Tinks. Once they’ve been dispatched, climb up to the containers on the west side and interact with the second Typhon Log. With that done, head along to the west and use the switch to head up to the Carnivora gates.
Catch up to Carnivora, Stall the Carnivora
As you approach the structure ahead, Carnivora starts moving and driving away from you. Although presented as a Boss, Carnivora is more of a setpiece than anything and has no loot drops to go along with it. With that in mind, ignore Carnivora to begin with and instead head around to the right to find a container leading to the Crimson Radio.
This Crimson Radio is easy to miss, head around the corner and into the container to find it.
Once the radio has been sabotaged, head to the west to grab your Golden Chariot from before and get after the Carnivora. Your objective now turns to stalling the Carnivora itself and you’ll notice that there’s three Fuel Lines you’ll need to cut, these are all glowing and they shouldn’t take too much fire to cut. Be aware however that other Technicals will attack you during this, take them out before they can deal too much damage or total your Vehicle. Should that happen, head over to one of the many Catch-A-Rides here and respawn a new one.
Once the Fuel Lines are cut, you’ll need to take out the Technical that departs from it, this is no different than a normal Technical however so it shouldn’t take too long to destroy. Next up, the Transmission, which can be found under Carnivora, simply drive underneath it and shoot away at it to take it out. As it comes to a stop, take out yet another Technical, similar to the previous one and then return to the back of Carnivora to take out the main tank, allowing you access to the Guts of Carnivora.
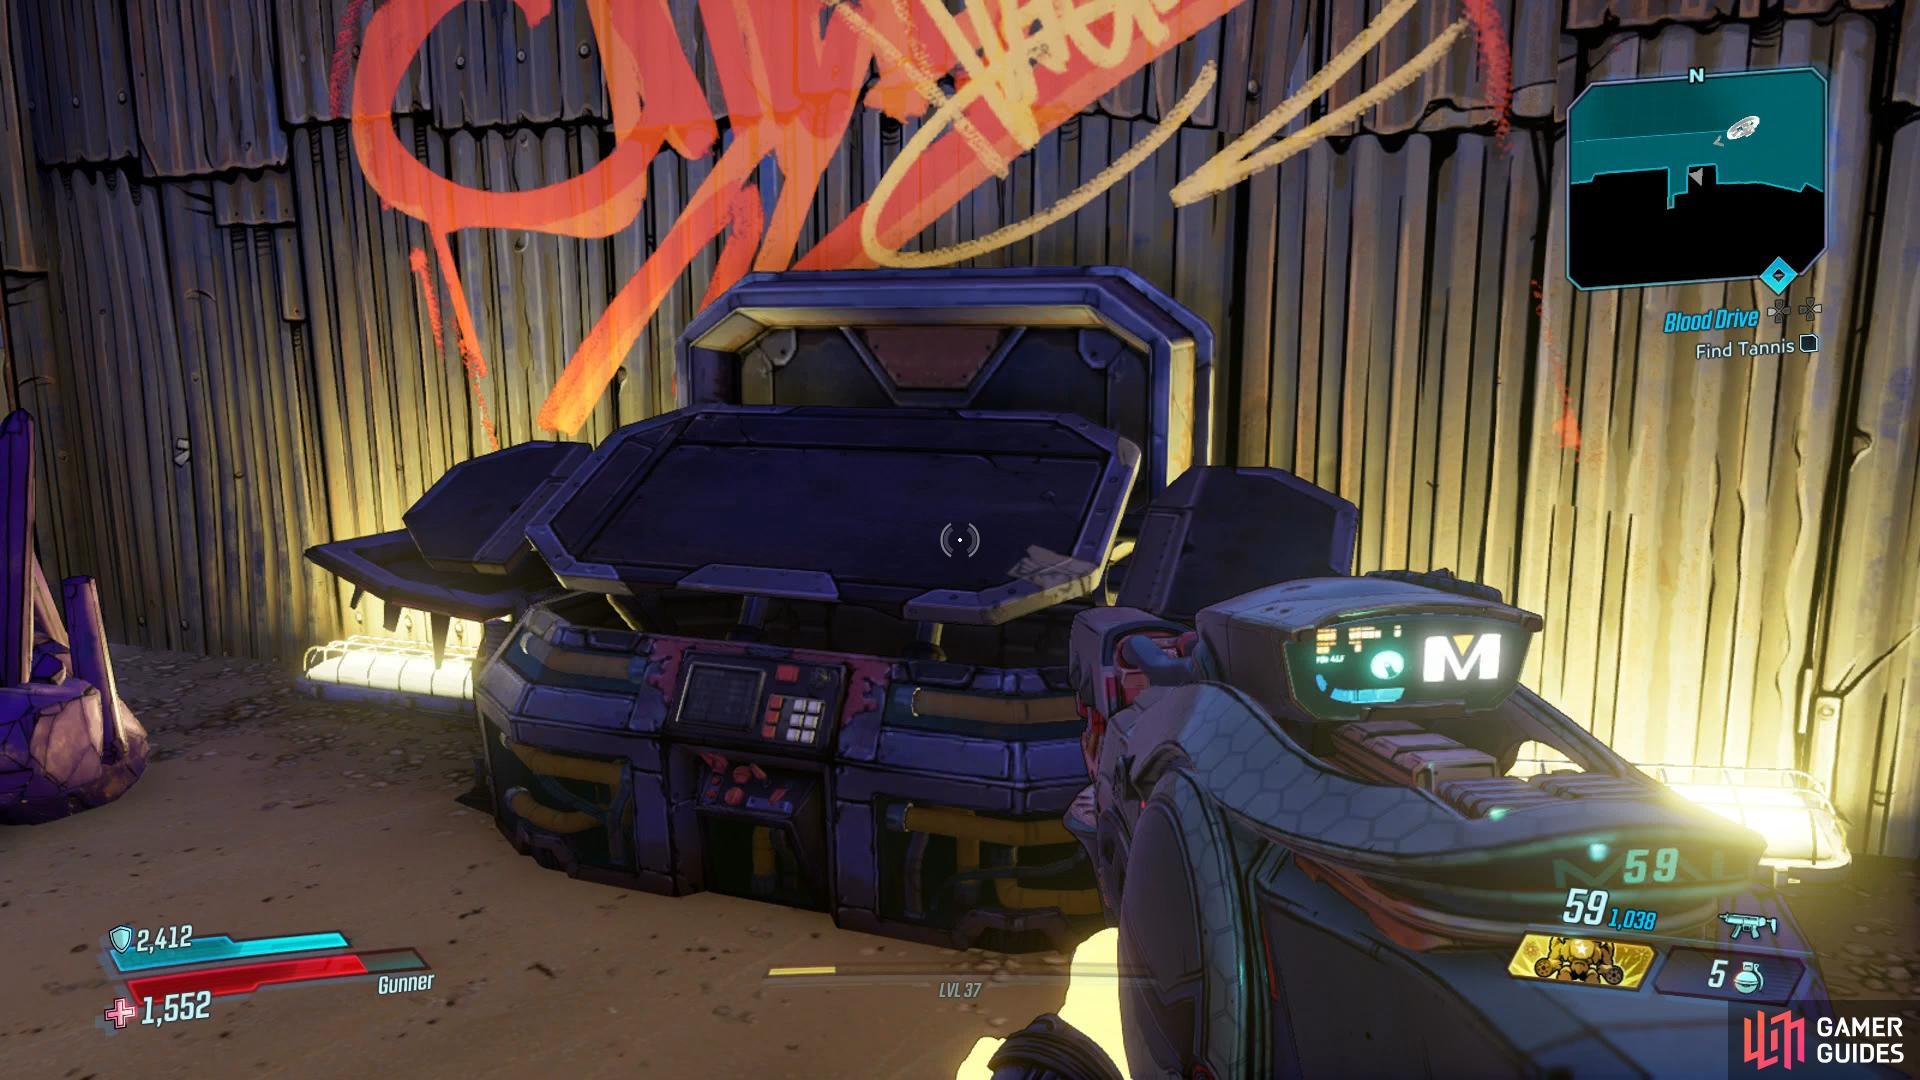
A second Red Chest can be found inside a garage in the northern part of the desert
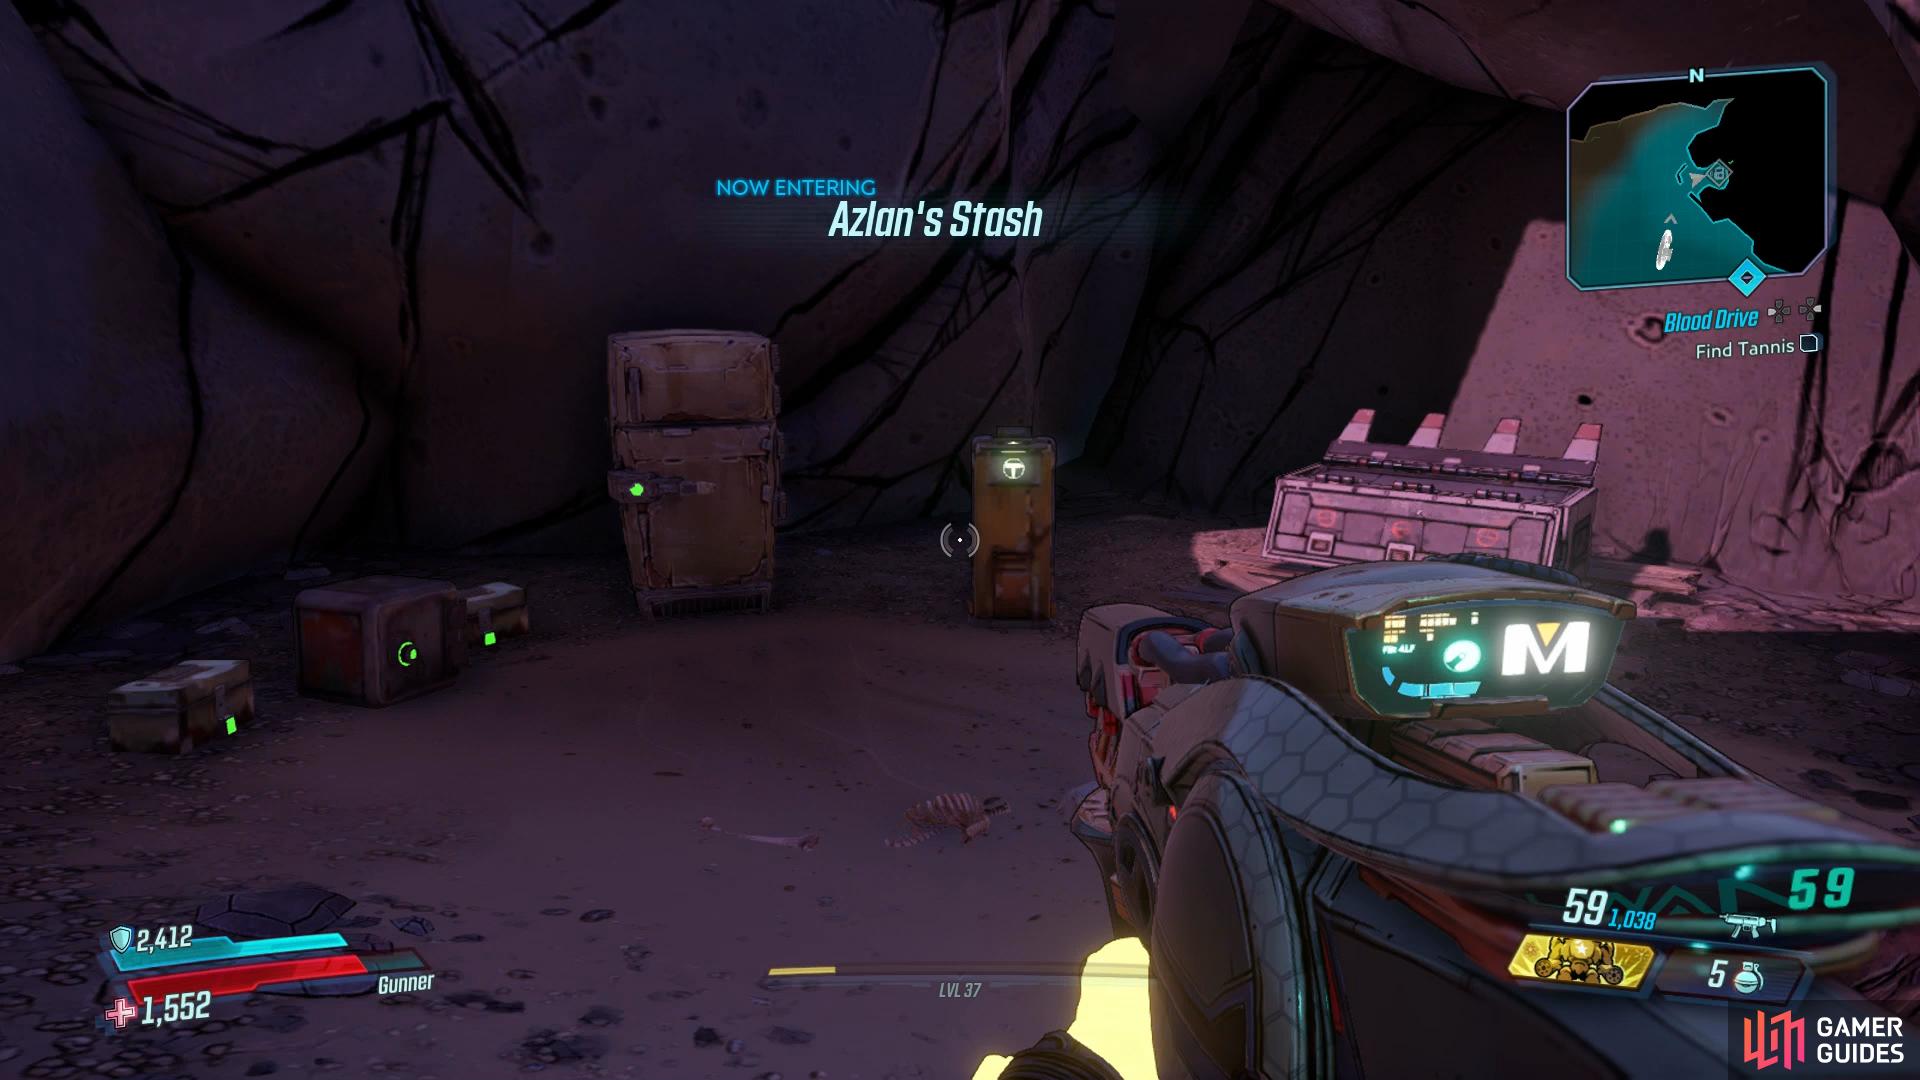
while Azlan’s Stash is found against the northern edge.
Before you do this however, there are a few more items of interest in the surrounding area. You’ll find a garage to the northwest that you can crouch into, inside you’ll find the second Red Chest while a little north of this you’ll find Azlan’s Stash which contains the final Typhon Log and a White Chest. Before you make way for your loot however, follow this northern wall to the east to spot the Eridian Writing. Finally, head back to the far east of this desert to find the Dead Drop behind a silo. With all of this taken care of, return to the Carnivora and enter it from the back.
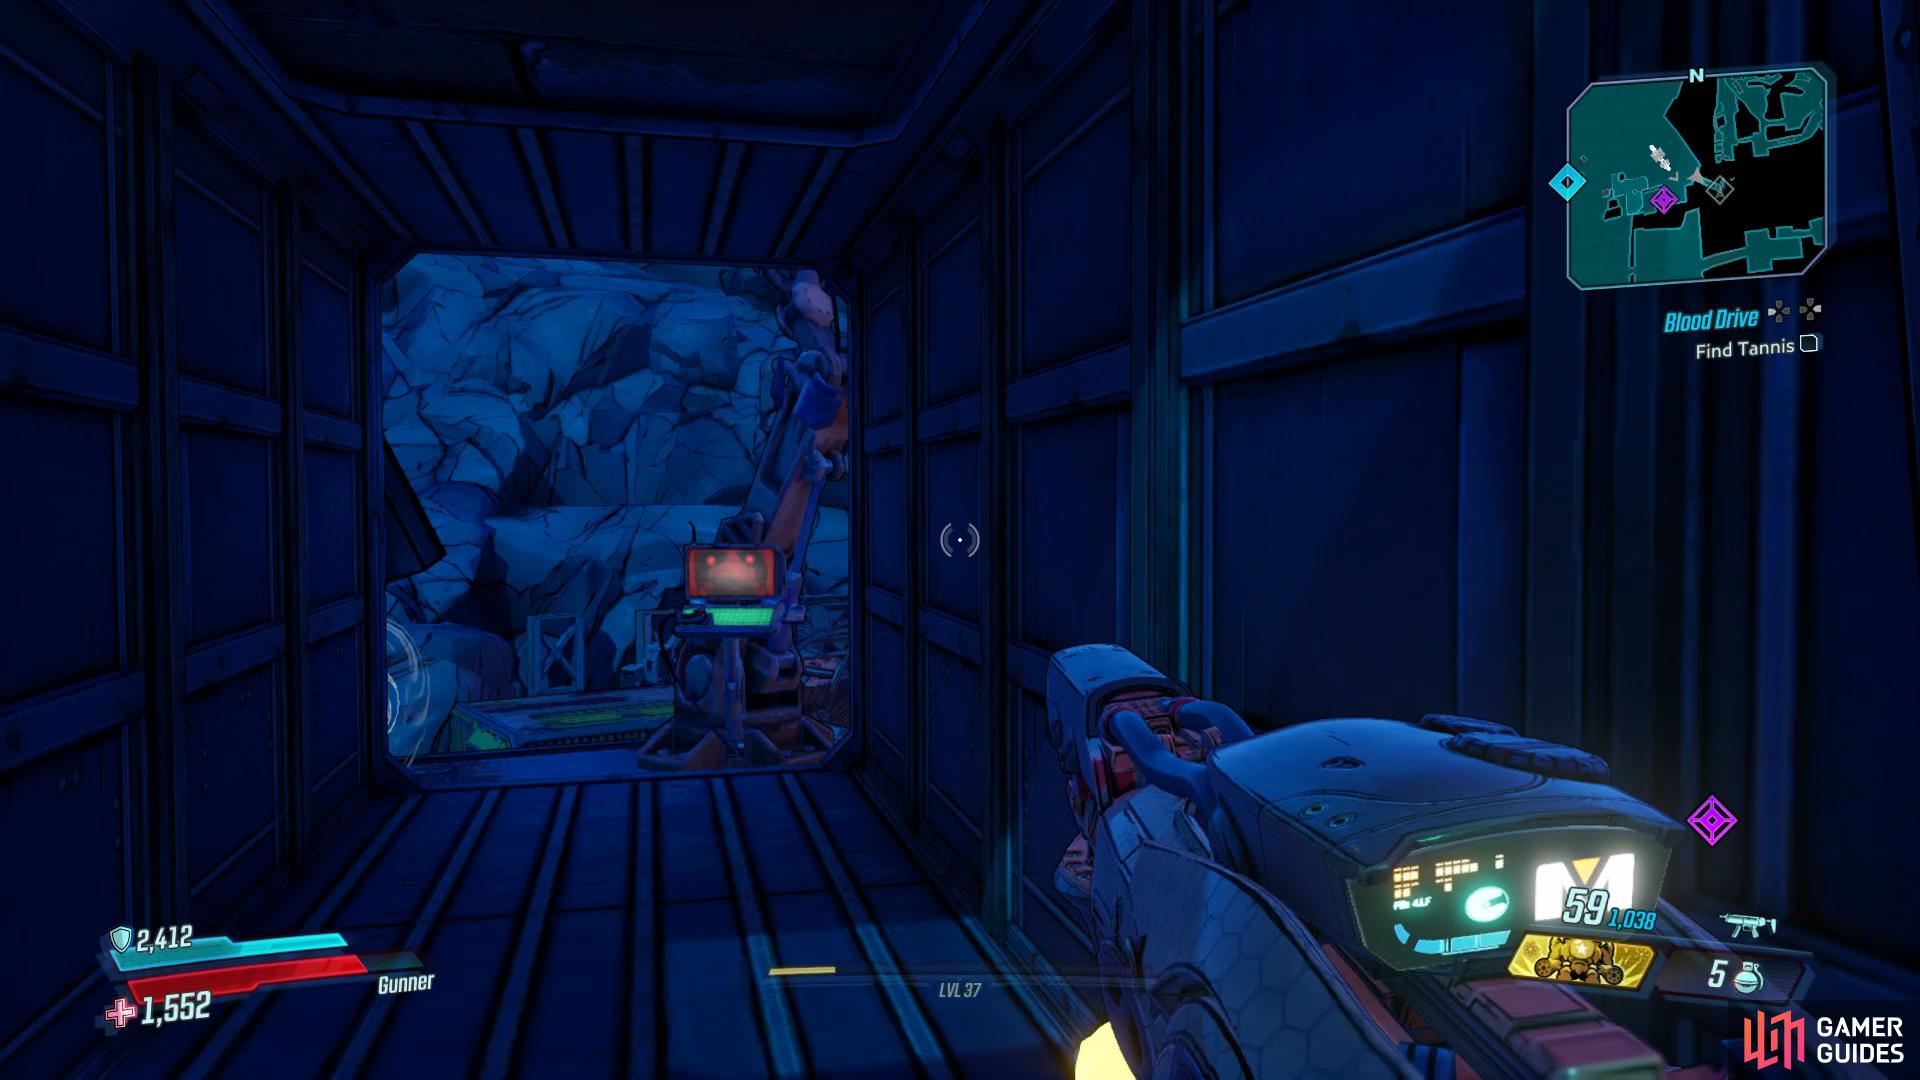
Find Tannis
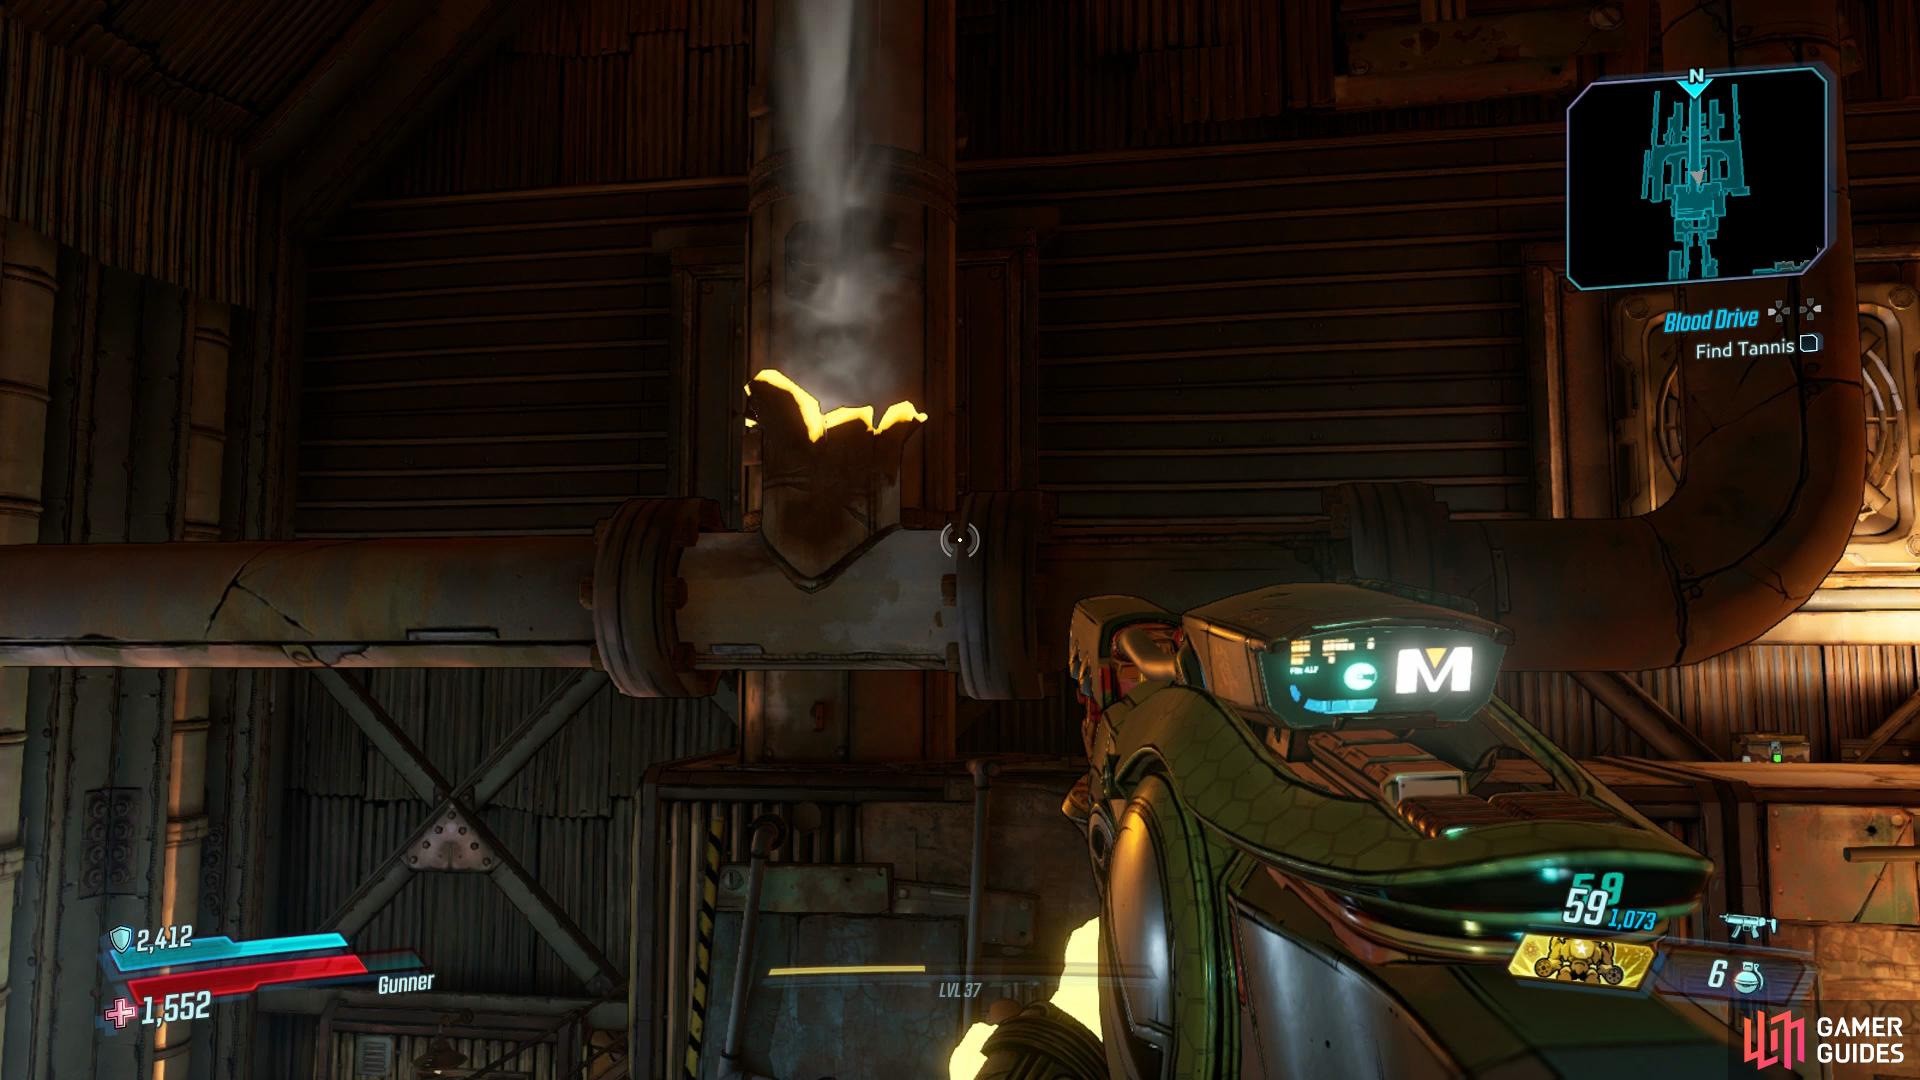
You’ve managed to narrow it down to where Tannis is being held, inside the Guts of Carnivora. This is a rather linear area and with it, just the one Crew Challenge can be found here along with a few Zone Completion tasks. For now, take the stairs up and into the Gassup Garage where you’ll find a large group of COV to take out. The largest obstacle here are the multiple Enforcers and the Badass Tink, these can all take a while to down so focus on using weapons with splash damage to take more than one out at a time.
Once the room is clear, continue to the east to take out a second, smaller group of COV and then turn the valve to activate the air vents below, allowing you to float up to the top. In the Gutworks, you’ll find a small group of Tinks to dispose of and then continue north to reach a larger room. More COV await you here but once they’re defeated, head up the northwest stairs to spawn yet another group of Tinks. Once this room is finally clear of enemies, use the air vents on the upper walkways to reach the bridge of flames above. Before you head across however, turn to face the south to spot another one you can jump too, taking you up to a small platform with a Red Chest. Drop back down to the bridge and time your crossing for when the flames aren’t active.
Use the air vent on the flaming bridge to reach a Red Chest.
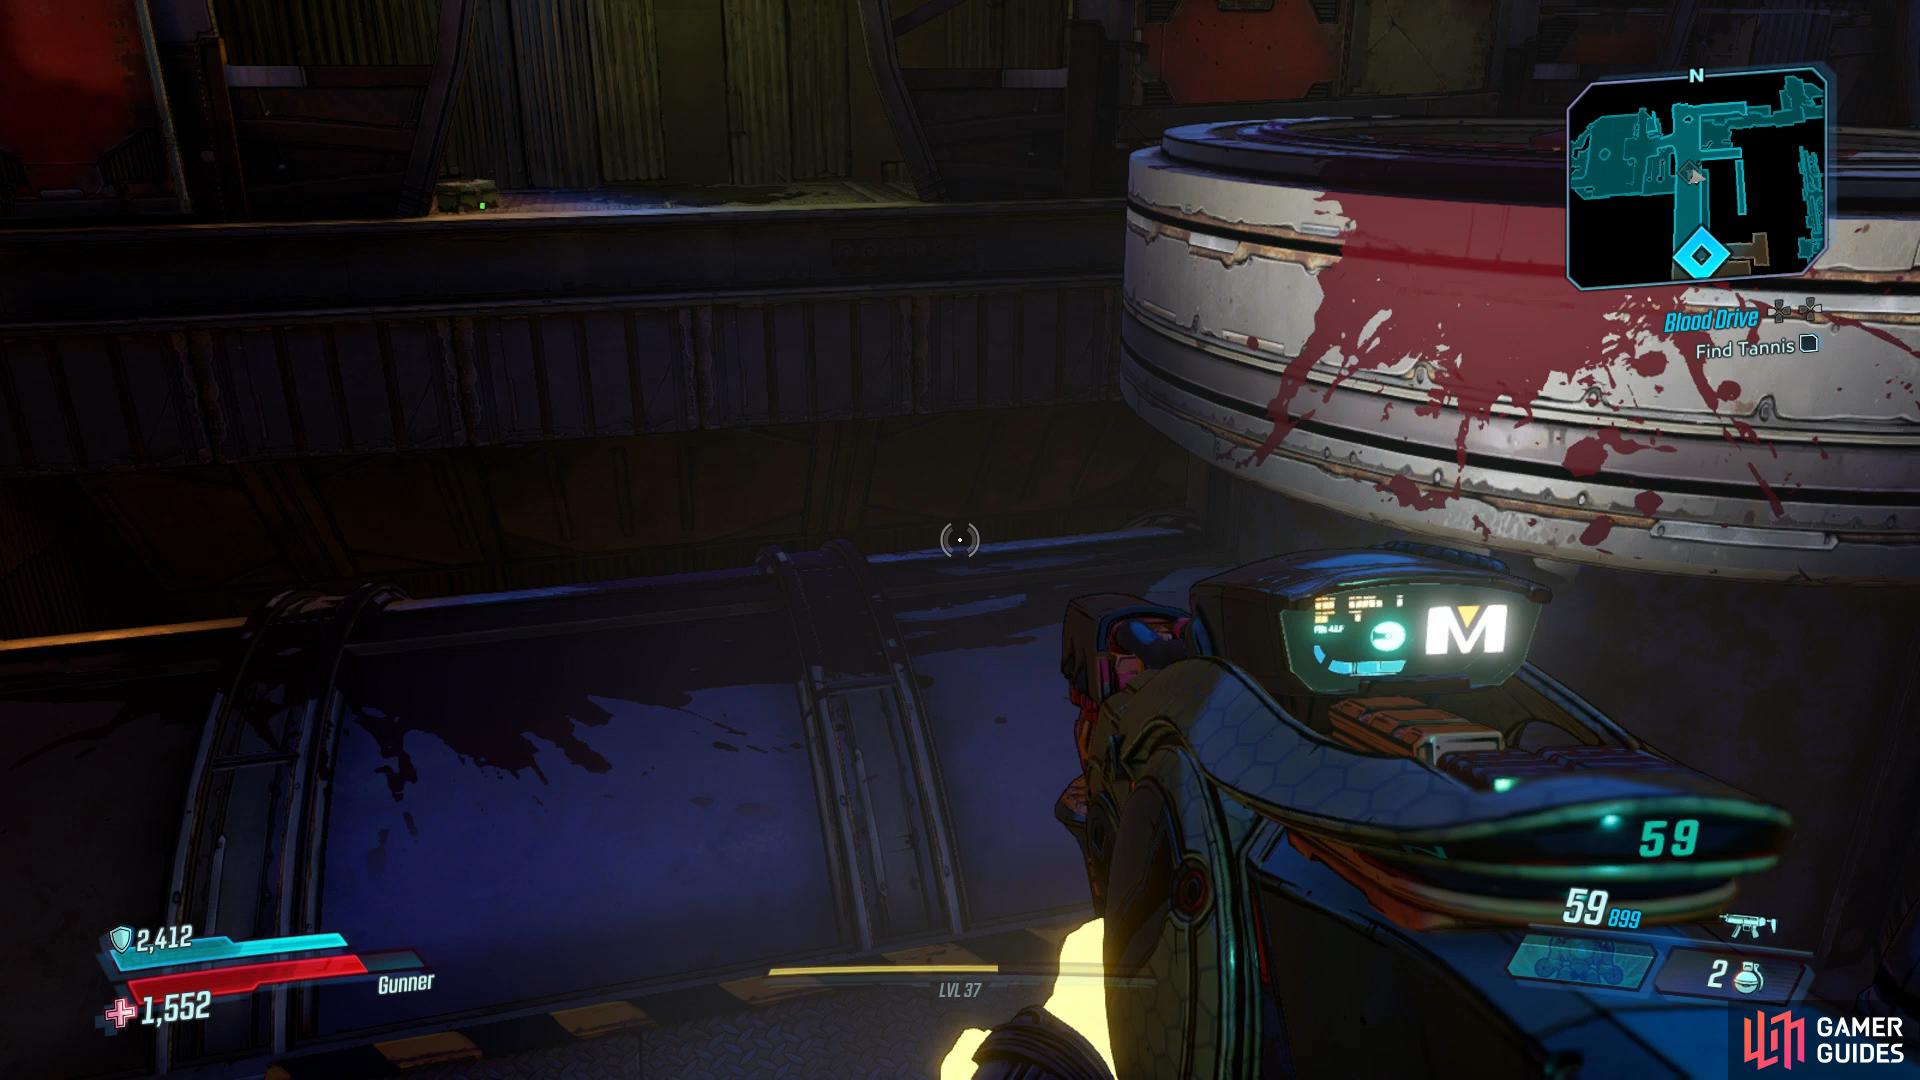
You’ll find yourself on the exterior of the Carnivora and just up ahead, is another small group of COV so dispatch them and take the ramp up. The next group will get the jump on you here and you’re at a disadvantage so try to find some cover or toss some grenades over to clear the whole group out. As you continue along into the converyor room, you’ll spot the Dead Claptrap on one of them.
Drop down the ladder just beyond here and you’ll come up against the Tink Train, a brute with Armor that will shoot Cryo rockets at you. Keep your distance from him and focus on burning his Armor down with a Corrosive weapon. Once the Tink Train falls, get ready for a large wave of COV that ambush you. Once the room is clear, you’ll find the Eridian Writing to the west and then the stairs leading up.
Look for this pipe just before you reach the waypoint

and jump across to find the second Red Chest.
Another group of COV awaits you up here including a deadly Badass Enforcer, focus on him first by using a Corrosive weapon and then proceed up the stairs to the east. As you head south towards the objective, look to the left to spot a piece of the railing broken. Jump to the pipe in the middle here and then over to the other side to find the second Red Chest to your right. Return to the previous walkway and continue down, each of the three buttons here will only affect the music that plays during the intro to the following battle.
Boss: The Agonizer 9000
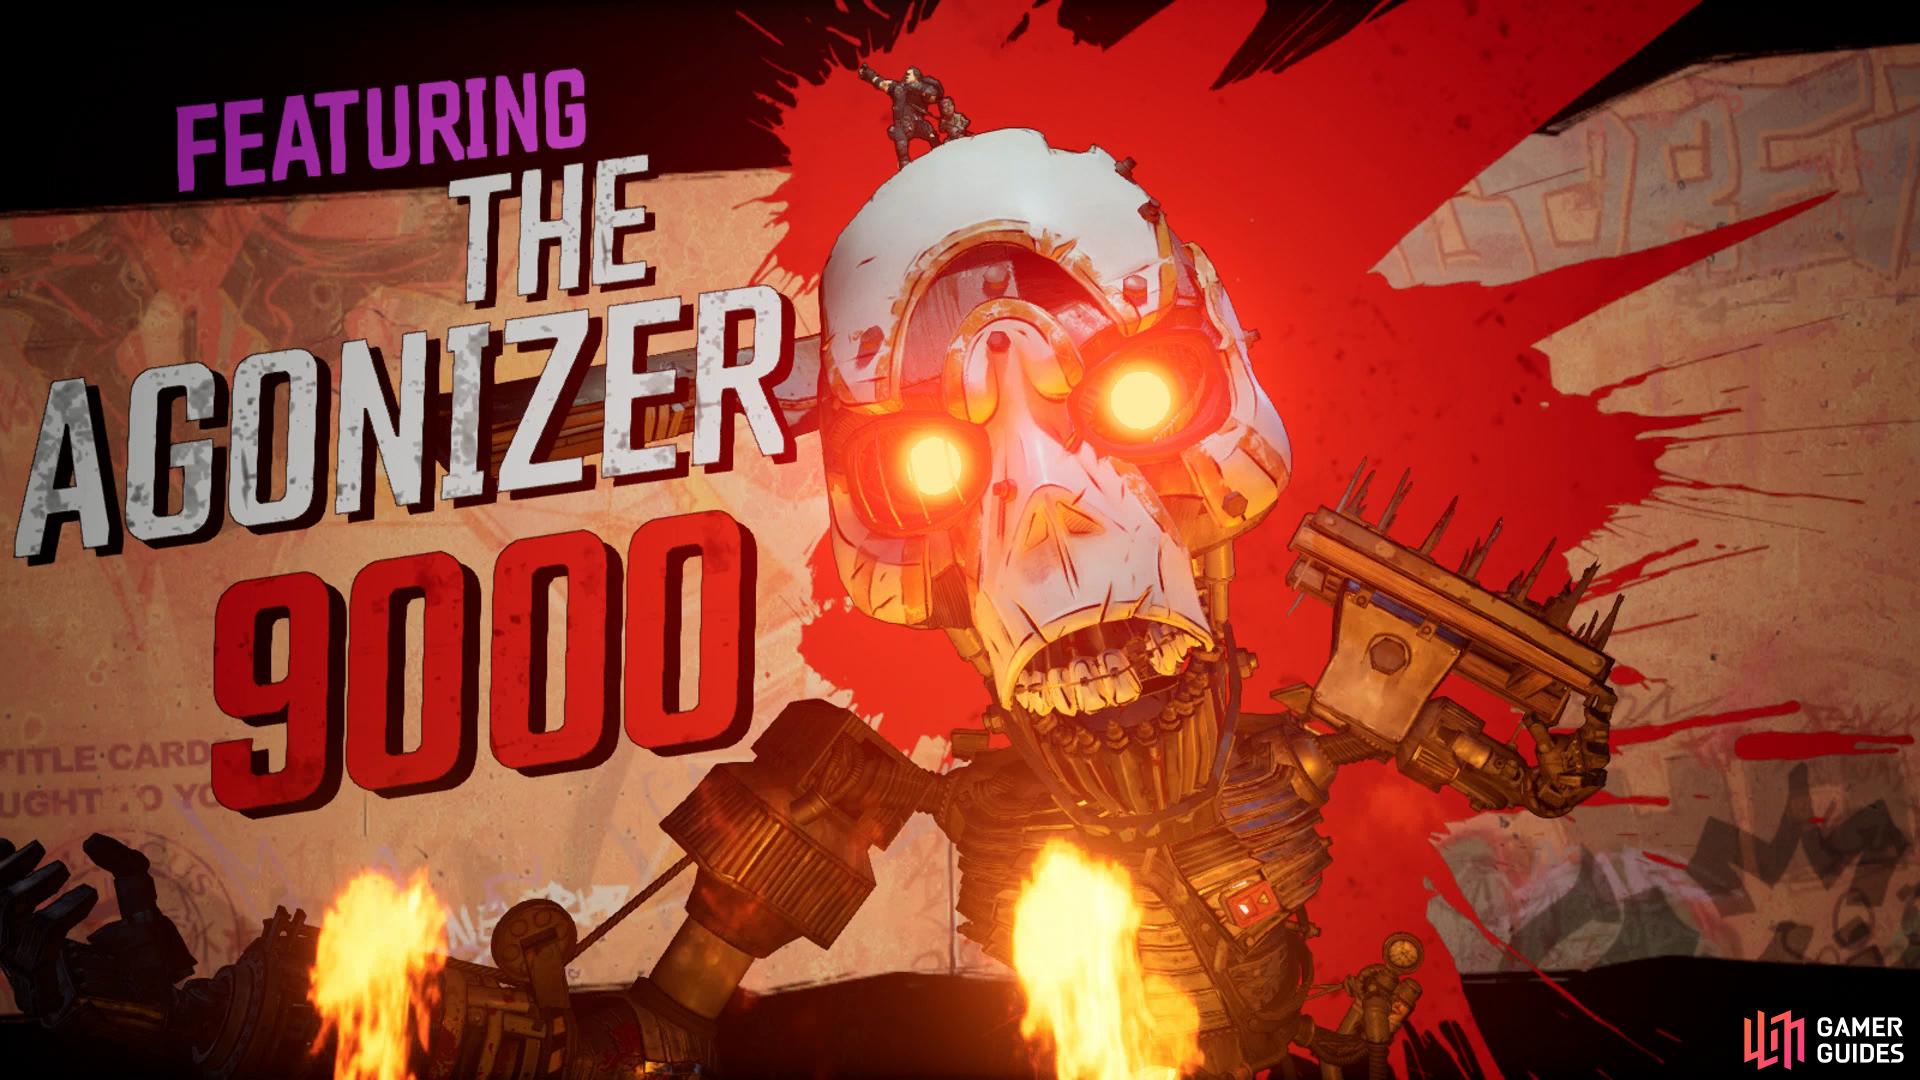
The first thing you should notice is that you’re in a circular arena in which The Agonizer 9000 takes up the central section. The Agonizer will not move from this position throughout the battle and you’ll need to keep an eye on it’s movements to dodge it’s attacks. The Agonizer’s weak spots are the many red fuel lines all over it and especially in the eye sockets, hitting these will deal Critical Damage.
The Agonizer has many attacks and identifying which ones are which will be the difference between success and failure. To begin with, The Agonizer will fire Saw Blades out of it’s chest, these can be easily avoided by running to either side of it however note that as the battle goes on, he’ll toss more Saw Blades at a time. Keep an eye on the floor that you walk on, certain parts of the arena will light up red, indicating that they will soon go ablaze so as soon as you see the floor you’re standing on change color, quickly move on to the next.
The Agonizer also has a Spiked Crusher, it will lift it’s arm above you and then slam down, this will usually occur while it’s tossing Saw Blades so keep on the move to avoid both attacks. Adds will also enter the arena as the battle goes on and the Agonizer will also pull up barriers across the arena, making it more difficult to dodge the attacks. As you can see, multiple of it’s attacks will play out at once so you really do need to stay on your toes throughout.

The most deadly attack however starts appearing after you deplete around half of it’s first gauge. The Agonizer will lower and extend a long blade that rotates around the arena. Depending on if it’s low or high, you’ll need to crouch or jump it to avoid it. At the same time, you’ll need to pay attention to the ground you’re standing on to avoid the flames. At you drain it’s health, the pattern of the flames on the ground will alter, going from back to front of the arena and the Mega Blender will rotate anti-clockwise at times.
The easiest place to attack the Agonizer is by far it’s large fuel tank on it’s back, it’s a target thats hard to miss. Try to stick to hip fire in this battle however, there are many attacks to evade and as the battle goes on, it becomes chaotic so you’ll need to be aware of your surroundings at all times. Once you deplete the first gauge, the rest of the battle is plain sailing, as you’ll just need to fire into the Eridium Core to deal massive damage to the Agonizer. Run up to Pain and Terror after the Agonizer is down and put on the finishing touches to receive your loot of which only the Epic RPG, Agonizer 1500 is the unique reward. Once you’re satisfied, head over to Tannis to complete the mission and unlock Cross The Streamers and begin the next.


No Comments