

| Quest Giver | Reward | Lvl |
|---|---|---|
| Hammerlock - The Anvil | Cash, Epic Grenade Mod | 26 |
Return to Floodmoor Basin
With Hammerlock free from captivity and Aurelia will wish to negotiate with you at Jakobs Manor, speak to Wainwright and he’ll task you with taking Aurelia’s bait. Restock at the Vending Machines and then take the lift down to the Catch-A-Ride. You’ll find the location to Jakobs Manor to the west of Floodmoor Basin, consider holding off on exploring this part just for now and continue on with the Main Mission, you’ll unlock many more Side Missions following the completion of this particular one which is a much more ideal time to handle them.
Find Vault Key clue
Jakobs Estate is another large area on Eden-6 and you’ll find many Crew Challenges and Zone Completion tasks along the way. From the start, walk forward to find Murl offering the Witch’s Brew Side Mission, this takes place heavily in the eastern side of this map and you’ll discover a Red Chest and Dead Claptrap as part of your exploration there.
To continue with your current task however, head forward and take out the large group of COVs that attack you. There are multiple levels to consider here so be sure to look high and low for all the enemies and make full use of the barrels scattered all over the place. Once the area is clear, grab both the Crimson Raido and Typhon Log situated in this area and consider heading down to the marsh to the southwest to mark the Eridian Writing on your map for later.
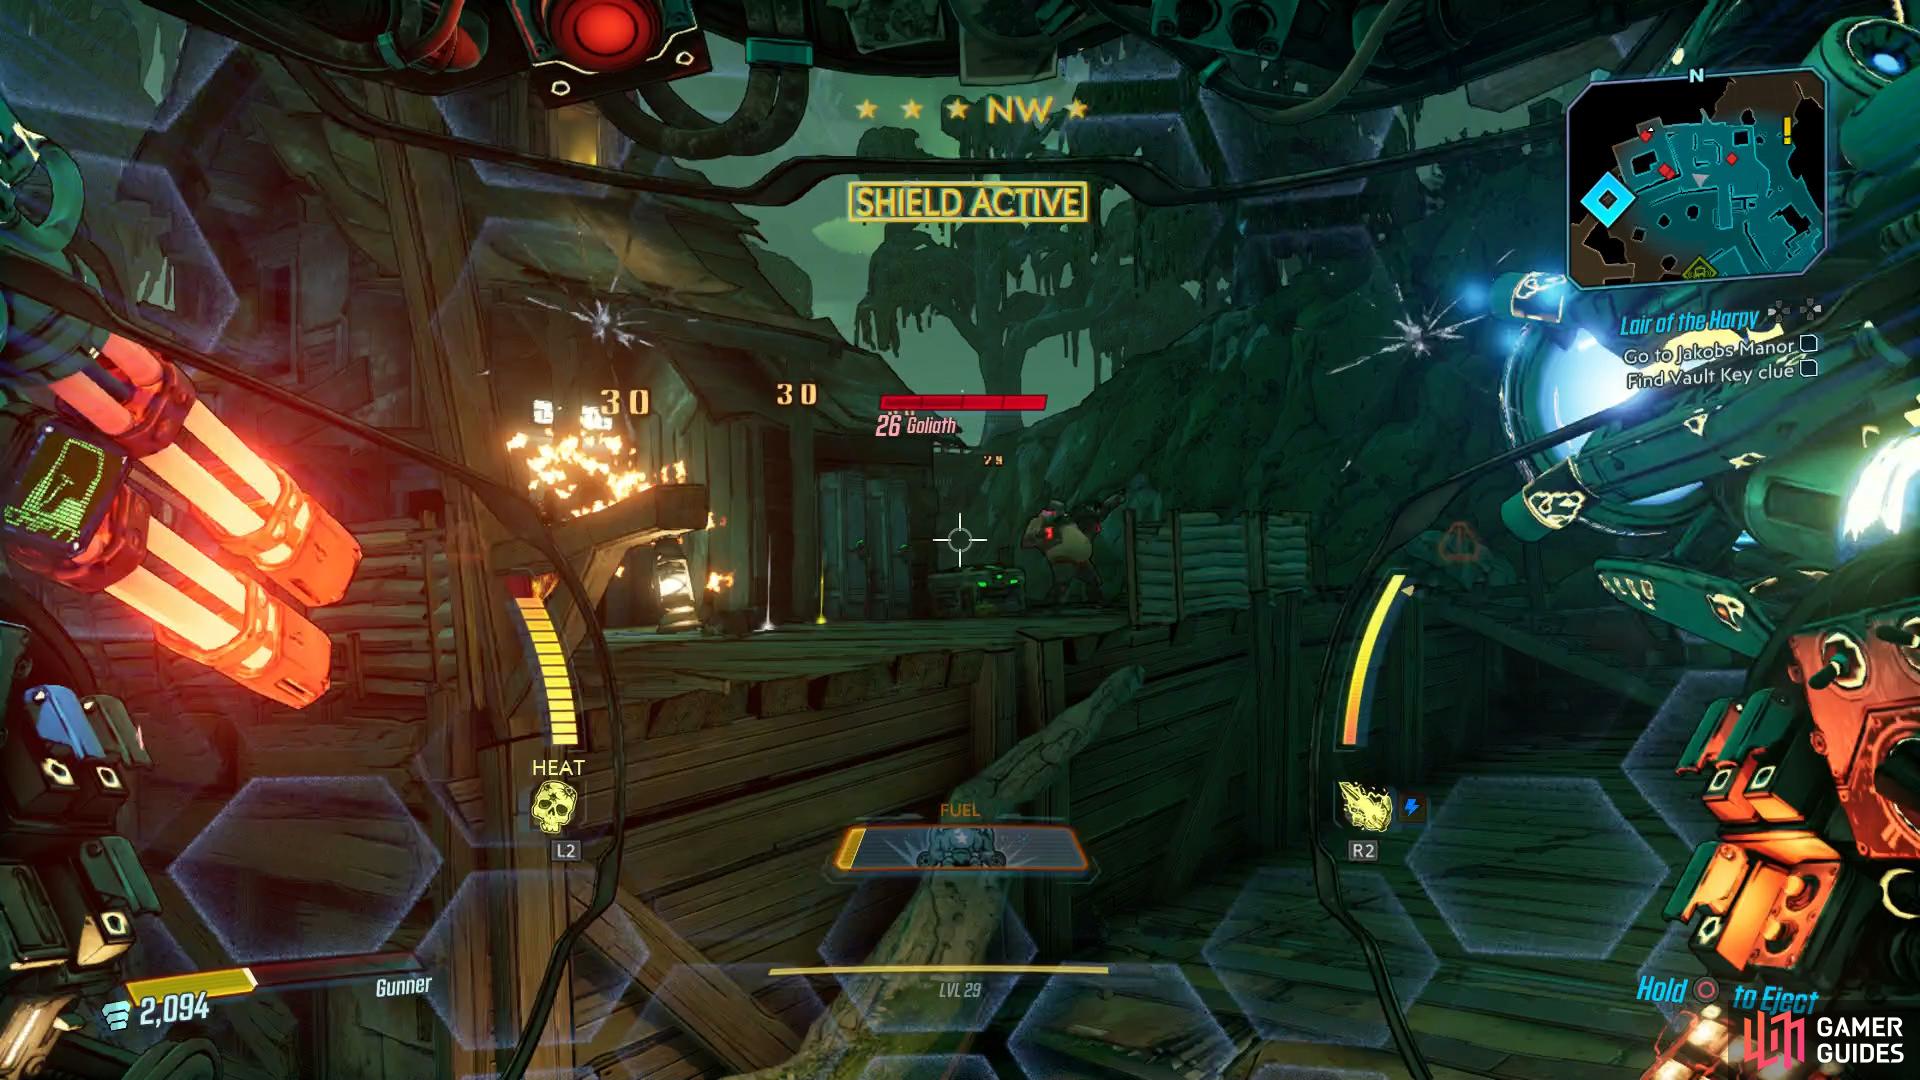
Always make Goliath’s your main focus in COV groups

Heckle will evolve into Hyde if you take too long to defeat him.
Once you’re ready to continue, head west across the bridge and when given the choice, head to the the southwest to encounter the Target of Opportunity here, Heckle/Hyde. He’s a rather easy mark to dispatch and his adds are more of the problem here, regardless he has the possibility of dropping the unique Legendary Pistol, [Pestilence] so he’s well worth taking the time to farm. Continue back to the north of this area and you’ll encounter another large group of COVs, once again they have the high ground so be sure to make use of cover and take out the enemies on the higer elevation first. Once the group is cleared, head up on to the edge and hit the switch to bring the lift back over to you and ride it back over to the other side.
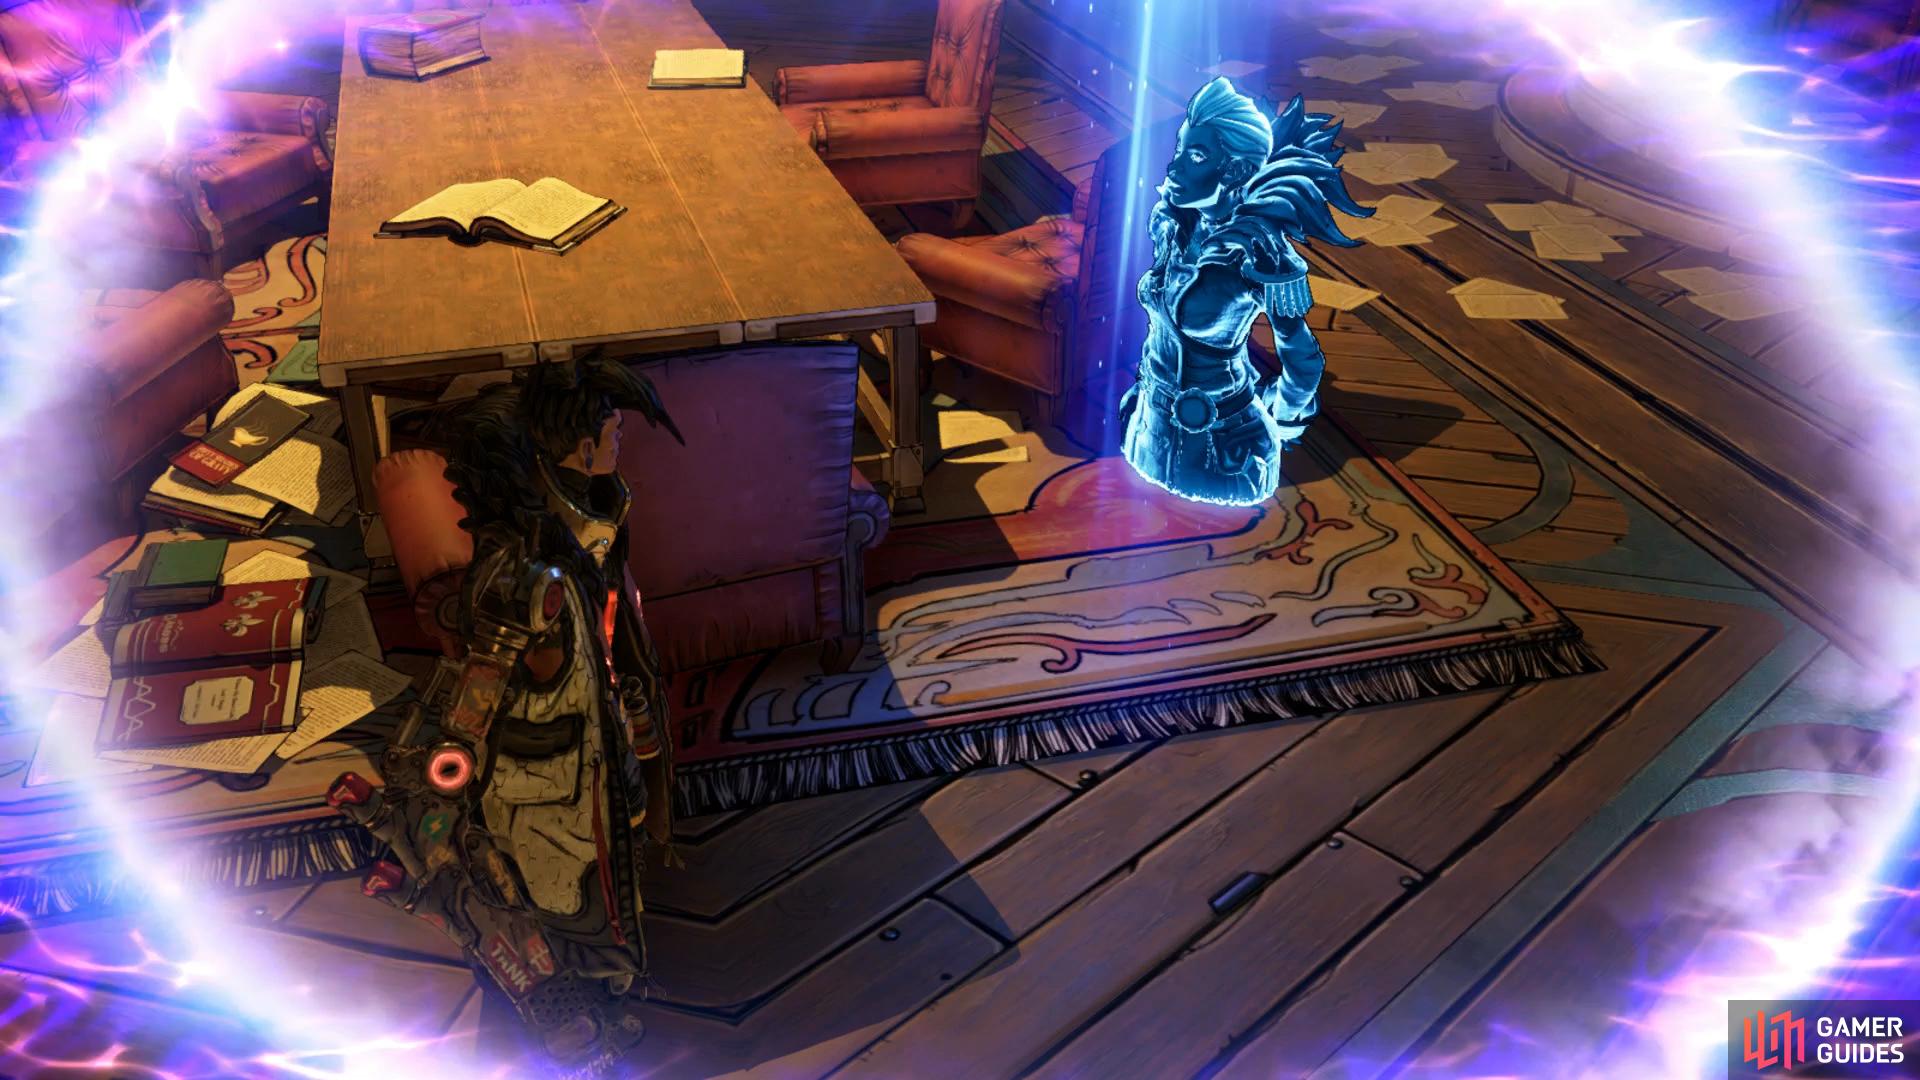
This will lead you just outside the manor and if you search north of the manor, you’ll discover the next Typhon Log before continuing on to the Manor itself. Aurelia beckons you to the Dining Hall so duly oblige, the stairs nearby will take you up and over to the Dining Hall.
Survive Ambush, Go to theater
Aurelia has been playing you for a fool and you’ll be ambushed by a large group of COV. Deal with the Goliath as quickly as possible and then stand your ground around the entrance of the Dining Hall as you let the COV come to you, that way you can control the situation better. Once the initial group is down, pick up the nearby Side Mission, Sacked, and then take out the next group of COVs including a dangerous Badass Tink Sentry, be sure to use a Corrosive weapon if you have one on hand.
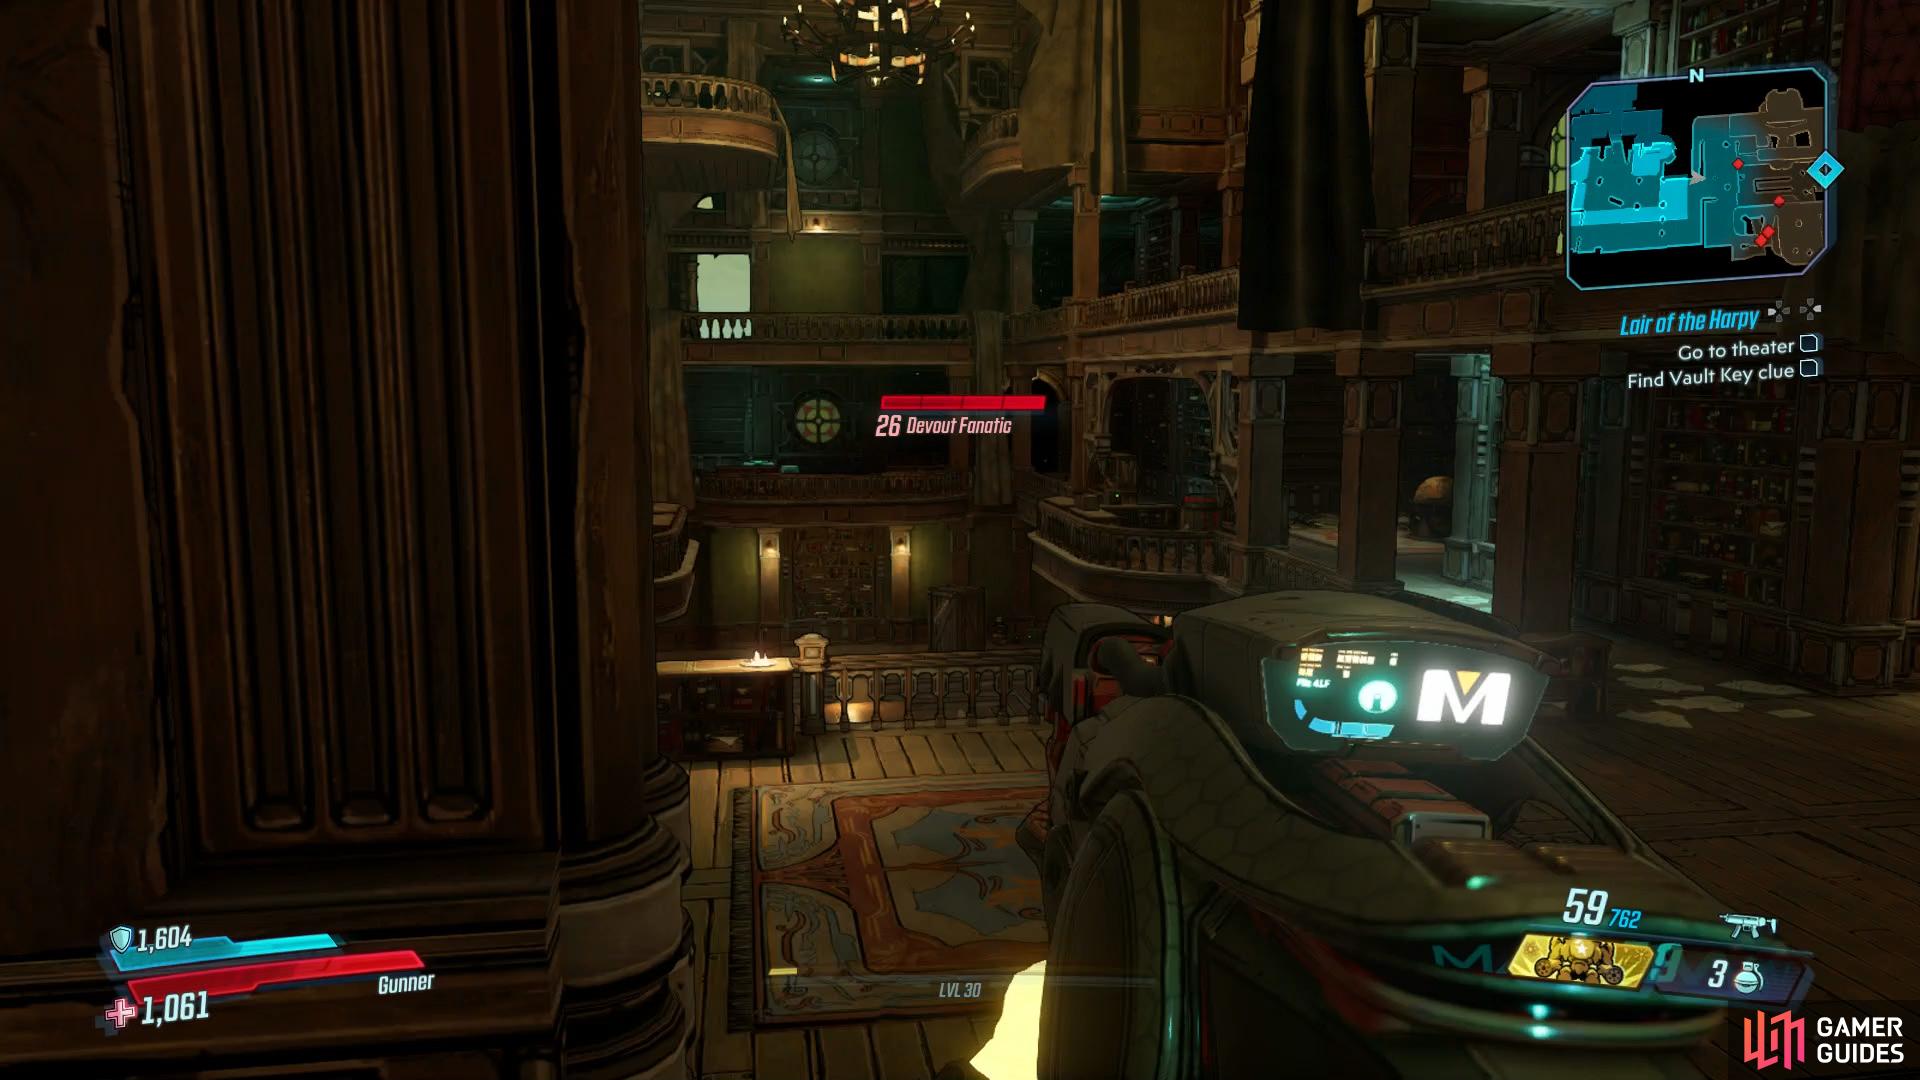
Pay attention to both floors in the Archives as you can easily get overwhelmed.
Follow the linear path to the next large open room and you’ll encounter another group of COV. Seeing as you have the high ground this time around, you should have little problem picking them off but beware when you head down to the bottom, a Goliath breaks through the wall. As you continue east, you’ll reach the Archives where you’ll be ambushed by a larger group of COV. You’ll need to keep an eye on multiple floors here as you’ll be attacked from every level while beware of another Goliath that breaks through the eastern wall.
One final group will attack you once you reach the Ancestor’s Hall, this time around the Goliath will attack from the outset. Stay at the entrance to the hall and take them out before heading over to the east side of the room to grab a Dead Claptrap. Note the Respawn beacon as you continue ahead, restock in the containers as just ahead, a boss awaits.
Boss: Billy, The Anointed
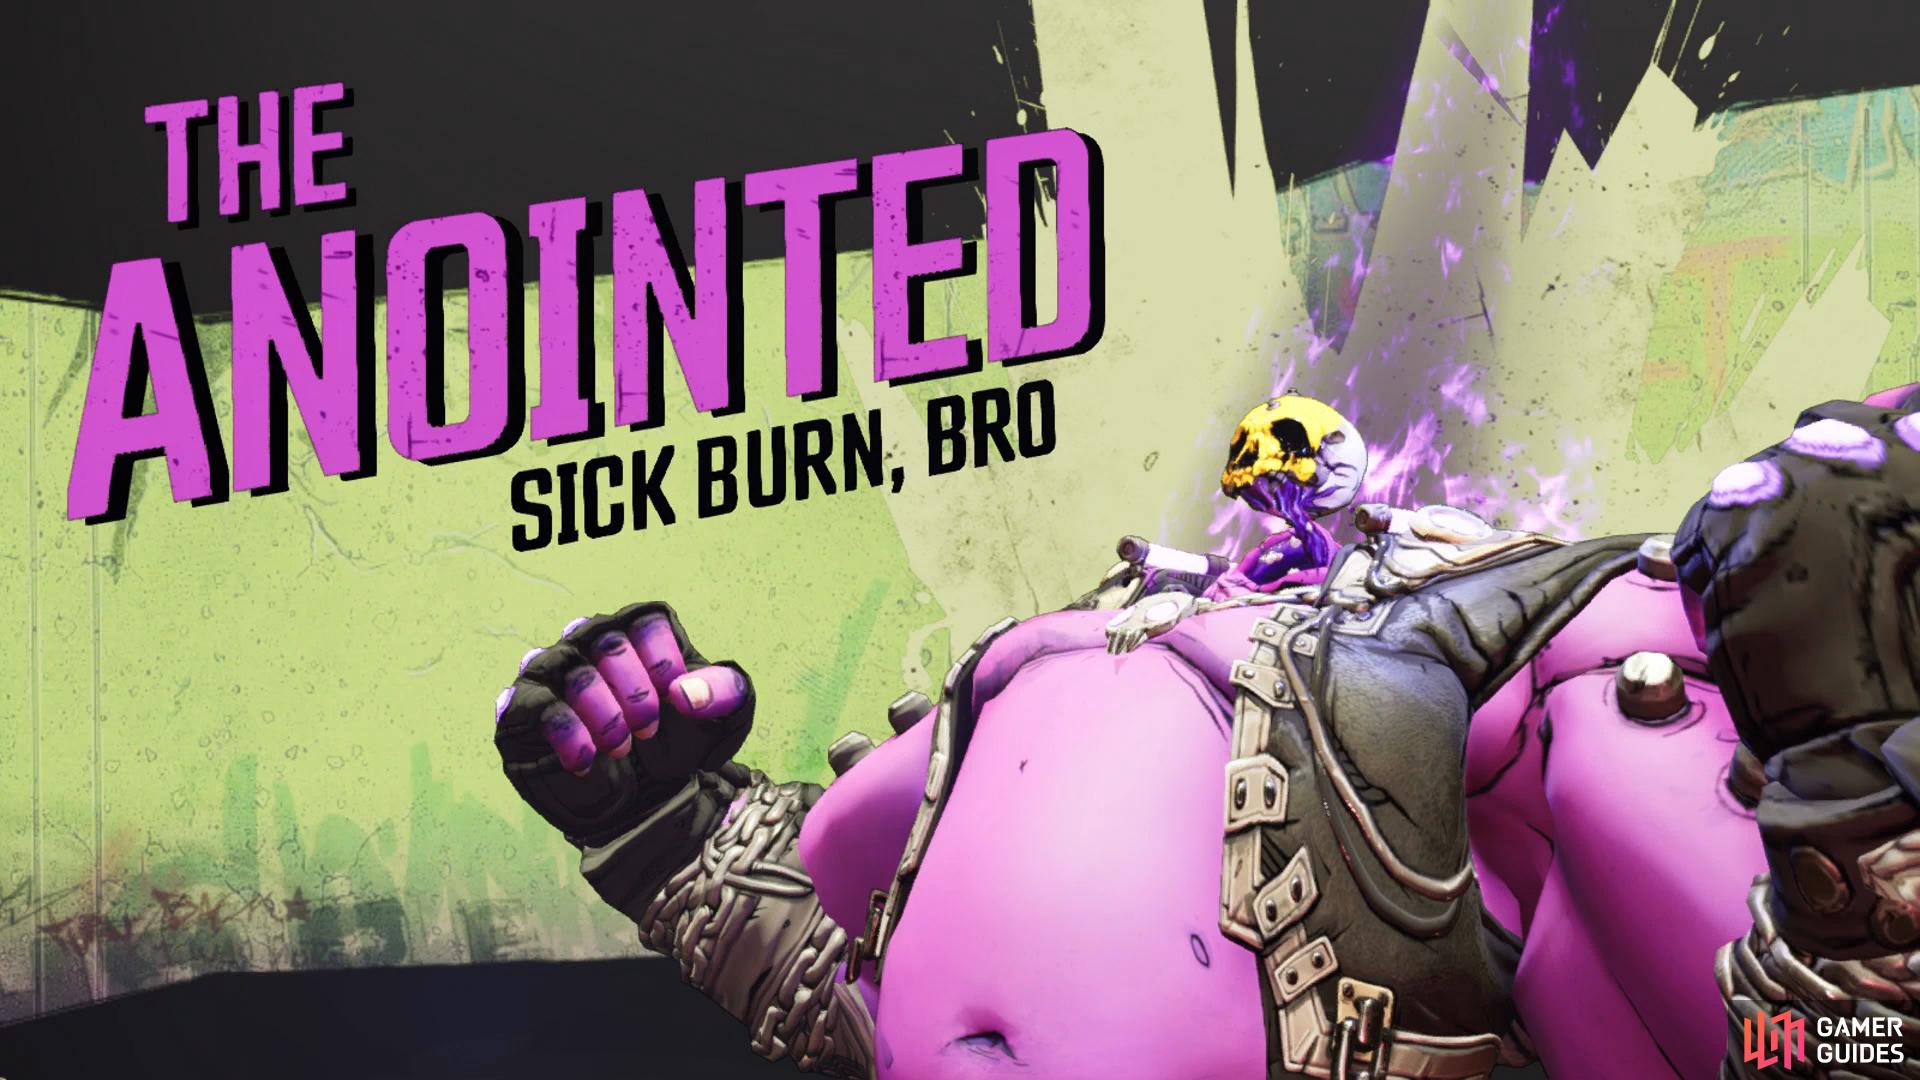
Don’t mistake The Anointed for a simple Goliath, he’s a very tough boss that will test you if you’re not careful. To begin with, take a look at the arena, your current starting location isn’t a great one. There’s not a lot of space to run around and dodge The Anointed’s attacks so your first call to action should be to head towards the stage where The Anointed first starts off, there’s a lot more room here.
The Anointed is fast and will use two primary attacks against you throughout the battle. The first is to shoot Homing Skulls at you, these are large enough to be shot down and should be done so as soon as you see them as they’ll persist until they hit you and deal massive damage. The second attack is a Shockwave attack, once he puts his hands together he’ll jump and cause a Shockwave, jump over this to avoid taking more heavy damage. Additionally, don’t let Billy get too close to you, his leg stomp will drain nearly all of your health.

On top of that, Billy has a lot of the regular Goliath attacks and can close the distance quickly by teleporting to your location, look for the purple trail to see where he’ll end up. He’ll also have adds assist him but like always, only go for these when you need a Second Wind or more ammo. His small skull is his weak point and it can be tough to hit to consider going with a weapon with a fast rate of fire to ensure you hit it some of the time.
Billy isn’t too tough a boss encounter if you know how to read his attacks, the Homing Skulls are easily dealt with and once you get the timing for the Shockwave, you shouldn’t suffer too much damage. High rate of fire guns are ideal here as is a Shotgun. Note that Billy will crystalize when you defeat him, melee him one final time for the loot to drop.
Legendary Assault Rifle, Lead Sprinkler
Billy’s unique Legendary is the Assault Rifle, [Lead Sprinkler]. Although this gun has no elements, it’ll spawn explosive projectiles every time you perform a Critical Hit, riccocheting off enemies in the process.
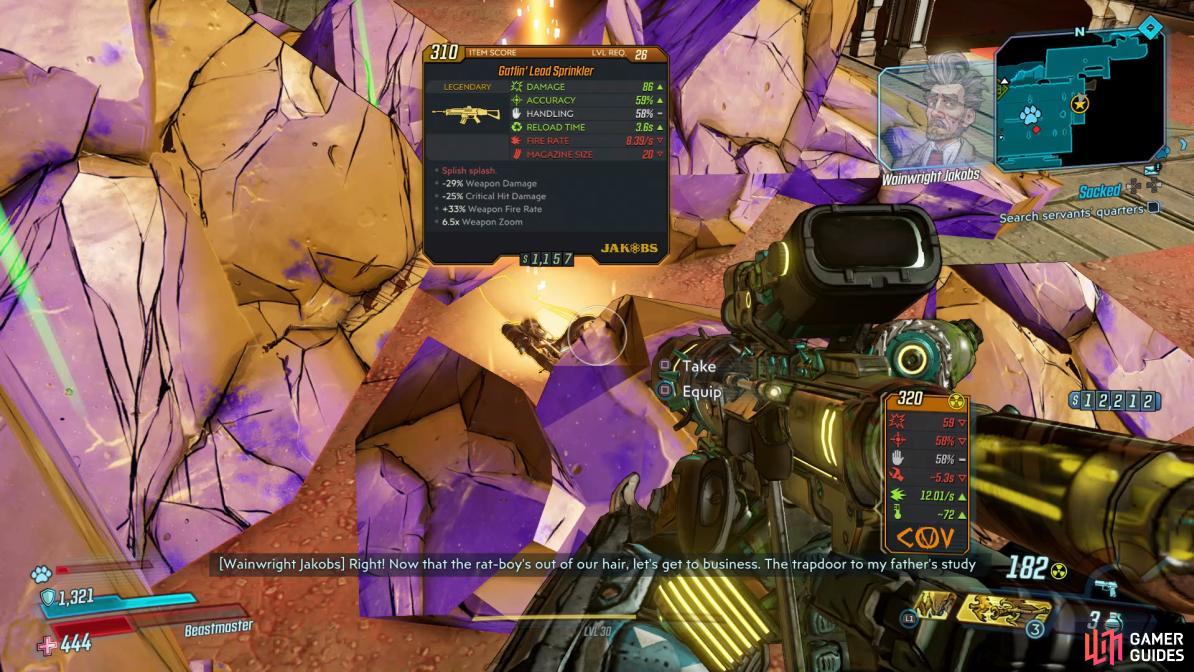
The Lead Sprinkler is a useful Assault Rifle that deals explosive damage.
Enter projection boothm Unlock trap door
Once the area is clear of any threat, head through the western door and take the stairs up to find the third and final Typhon Log along with the projection booth. Hit the switch and you’ll unlock the three levers that control the props. Take a look at the Typhon Deleon poster on the ground for a hint and then use the left lever for the Typhon Deleon prop, the second lever for the ruins backdrop and the third lever for the Vault symbol. Hit the switch again after to unlock the trap door and then head over to the stage and drop down the now opened door.
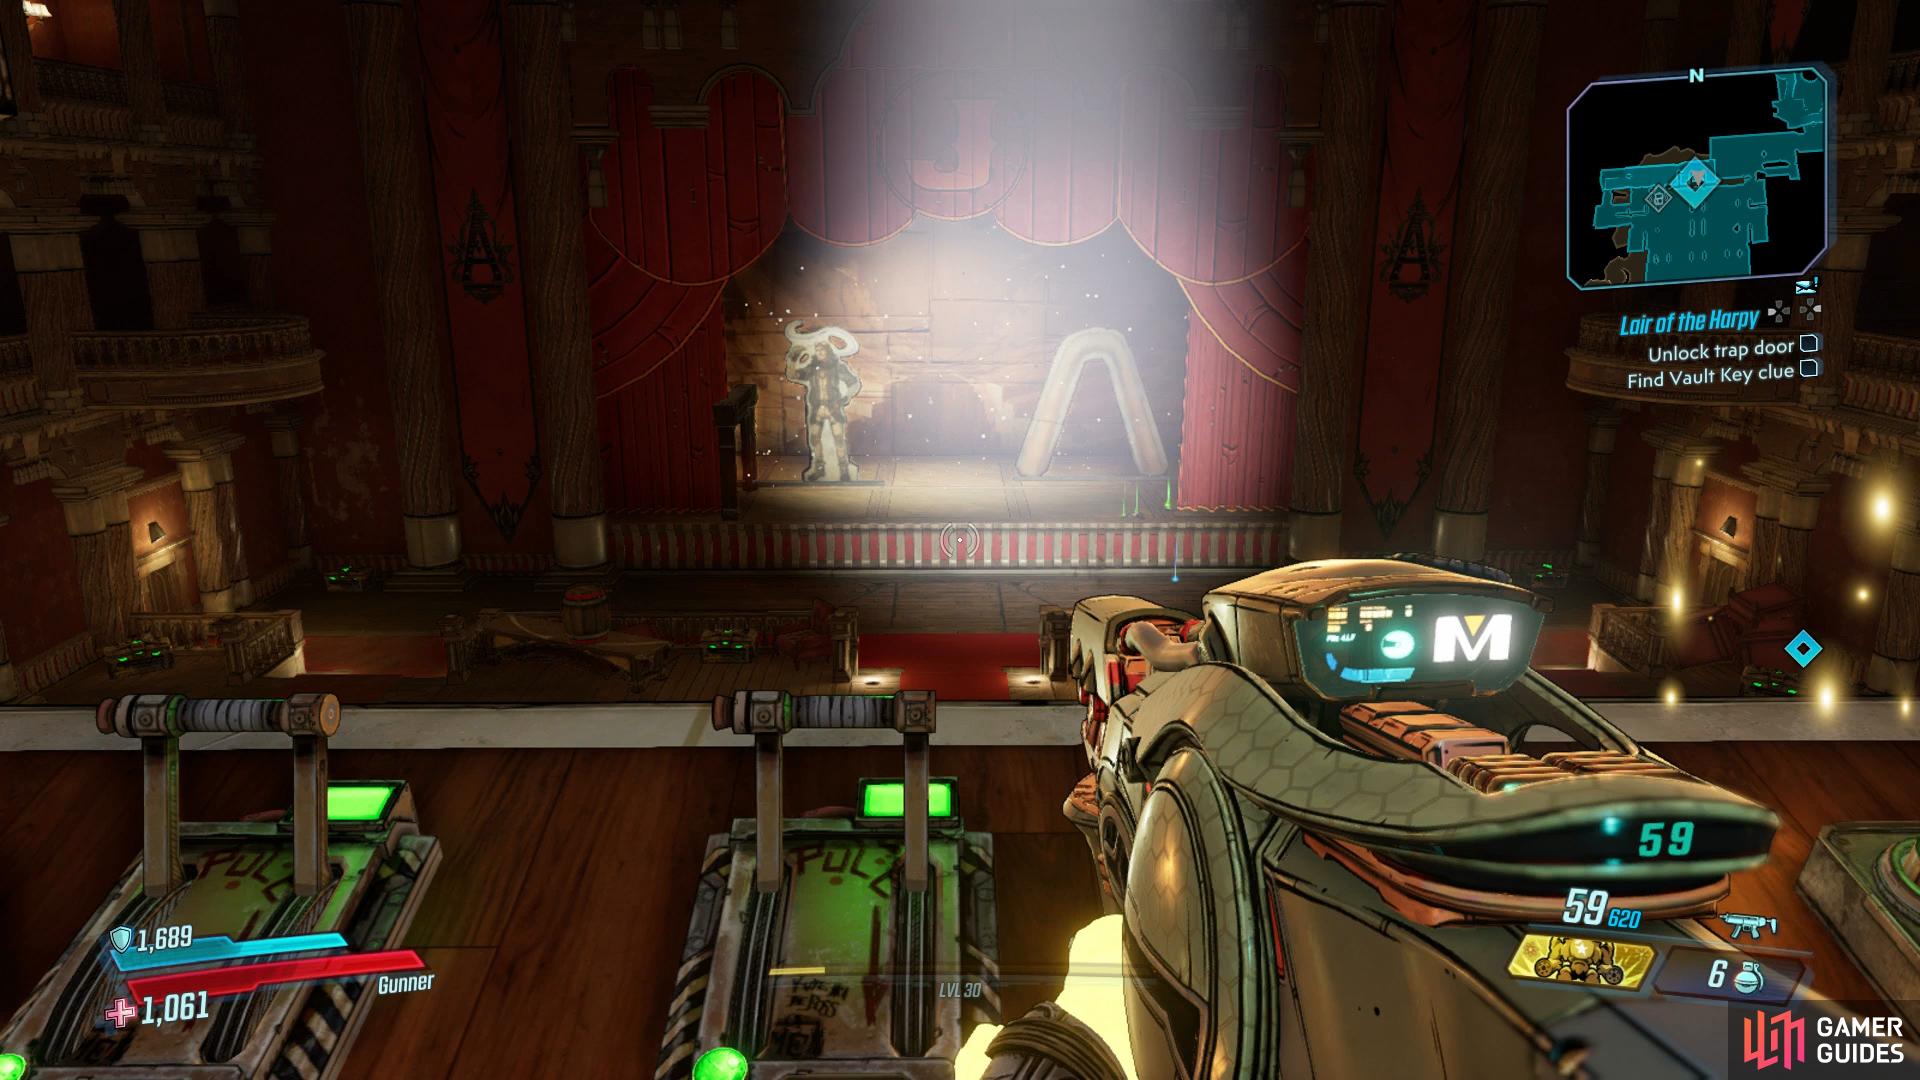
Line up the props like this to gain access to the trap door.
Find Vault Key clue, Return to Wainwright
Proceed to the west to enter Monty’s Den where you’ll find a skull you can interact with on the western bookshelf to open a secret passage. Pocket Monty’s Wooden Board inside and then open the Red Chest just beyond before dropping down to the Grotto below. Before you fast Travel back to Knotty Peak in Floodmoor Basin, open the Dead Drop and find the second Dead Claptrap. Once you return to Wainwright, he’ll comment on the situation before handing over your reward, unlocking That Was Cold and completing the mission in the process.


No Comments