

| Quest Giver | Reward | Lvl |
|---|---|---|
| Lilith - Sanctuary | Cash | 20 |
Go to Meridian Metroplex, Head to secret Atlas HQ entrance
Following the completion of the previous mission, Rhys will want to personally thank you for your assistance and hand over the next Vault Key fragment in the process. Once you’ve made your preparations, return to Meridan Metroplex and make your way to the far north of the area to find a large group of Maliwan Troopers supported by a Dropship.
Ignore the turrets of the Dropship and instead, look to deal with any Badass enemies in the area first. Once they’re dealt with, finish off the stragglers and then defeat one more group as you approach the secret Atlas HQ entrance down the stairs to the west.
Get Vault Key fragment from Rhys
Atlas HQ, while not as large as some of the other Zones you’ve visited, does still have it’s own host of Crew Challenges and Zone Completion to work through. Begin by heading forward and waiting for Liam to open the door for you before proceeding through the foyer and into the Courtyard of Innovation.
As you continue on, it becomes obvious that Rhys’ defense turrets aren’t enough to keep Katagawa out as the battle takes to Atlas HQ. The first group of Maliwan Troopers shouldn’t pose too great a threat, the only main concern here is the Heavy and he should go down quickly if you focus on him. The next group however will cause a lot more problems, you’ll find many Badass here including a troublesome NOG accompanied by Heavies, ignore the Heavy and focus on the NOG and Badass first.
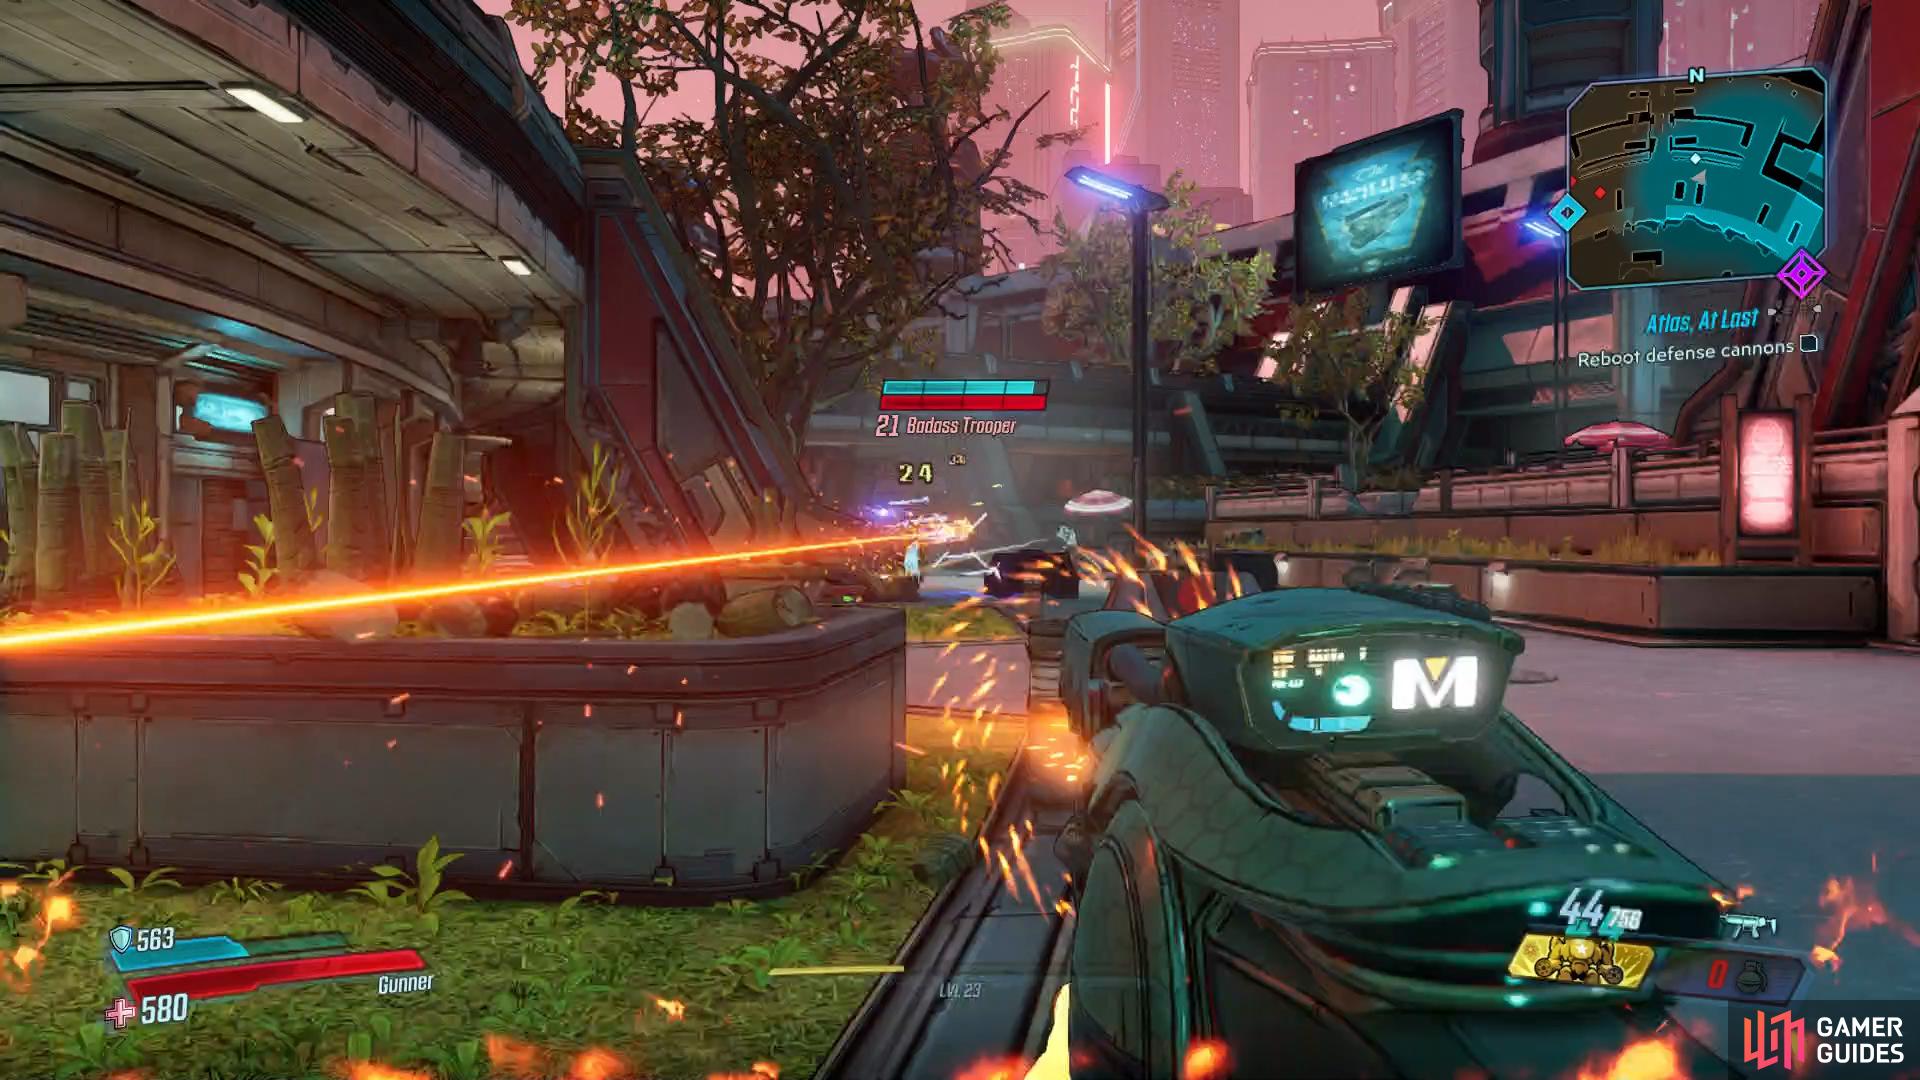
Don’t stay out in the open against the enemies in the courtyard
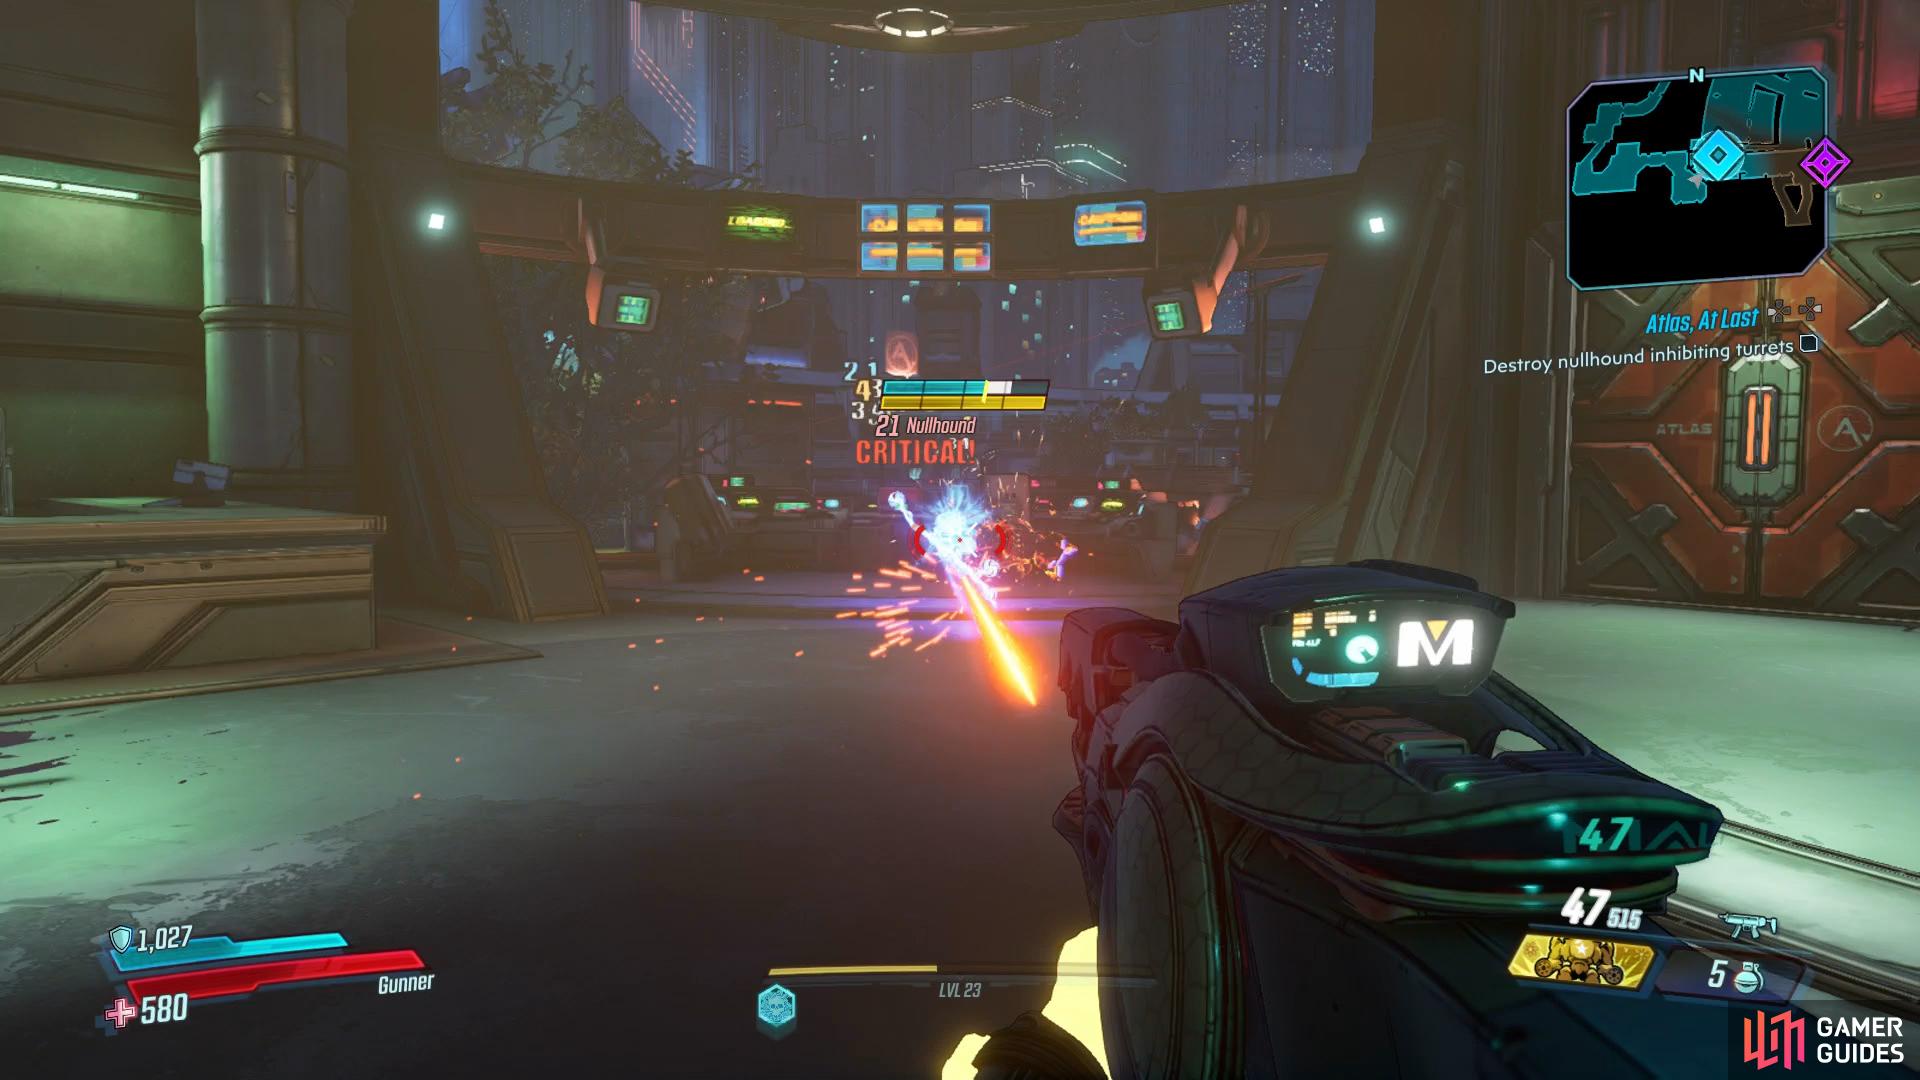
elemental weapons make quick work of Nullhounds.
Reboot defense cannons
Once the area is clear, continue along to the west to encounter a few more groups, including Overspheres being thrown into the mix. You’ll be up against the whole Maliwan assortment of enemies in Atlas HQ so knowing which targets to prioritize will make it easier on yourself. Just before you reach the stairs leading up to the upper walkway, you’ll find a White Chest waiting for you along with some containers to resupply. You’ll come across Ratch in the corridors here, just how Atlas HQ has managed to become overrun by them is a mystery for another time however.
As you reach the control room for the turrets, you’ll have to take out a single Nullhound, these enemies will rush you and have both Armor and a Shield so fire with a weapon that deals weakness to both (or better yet, use the Legendary SMG from Katagawa Ball) to put it down and reboot the defense cannons.
Head to final defense control
Exit via the door to the east and you’ll come under attack from another group of Maliwan including the new Breach Troopers, these enemies combine the attributes of the Flash and Assault Troopers. Keep your distance, take them out and then continue on until you spot the stairs leading up to the south.
Ignore these for now and follow the upper walkway to the eastern end to locate a White Chest and the first Typhon Log. There’s also the chance to encounter the Power Troopers here, needed for a randomly appearing Sanctuary Side Mission. Once your business is concluded, return to the previously mentioned stairs and head up to greet yet another group of Maliwan led by a Heavy, dispatch them and head on inside.
Once you head on inside to the lobby, the next large group of Maliwan attack along with a new type of sphere, the Defender. These have a little more health than their counterparts and will shield their allies so focus on them and the Jet Troopers first so that you can make better use of the available cover here. Once clear, head forward, take the stairs on your right and then enter the room on your immediate left to find a Dead Claptrap behind the bar. You’ll also find the next Typhon Log to the south while on the upper floor while in the offices to the left of it, you’ll find the way to the Dead Drop once the final Log has been found.
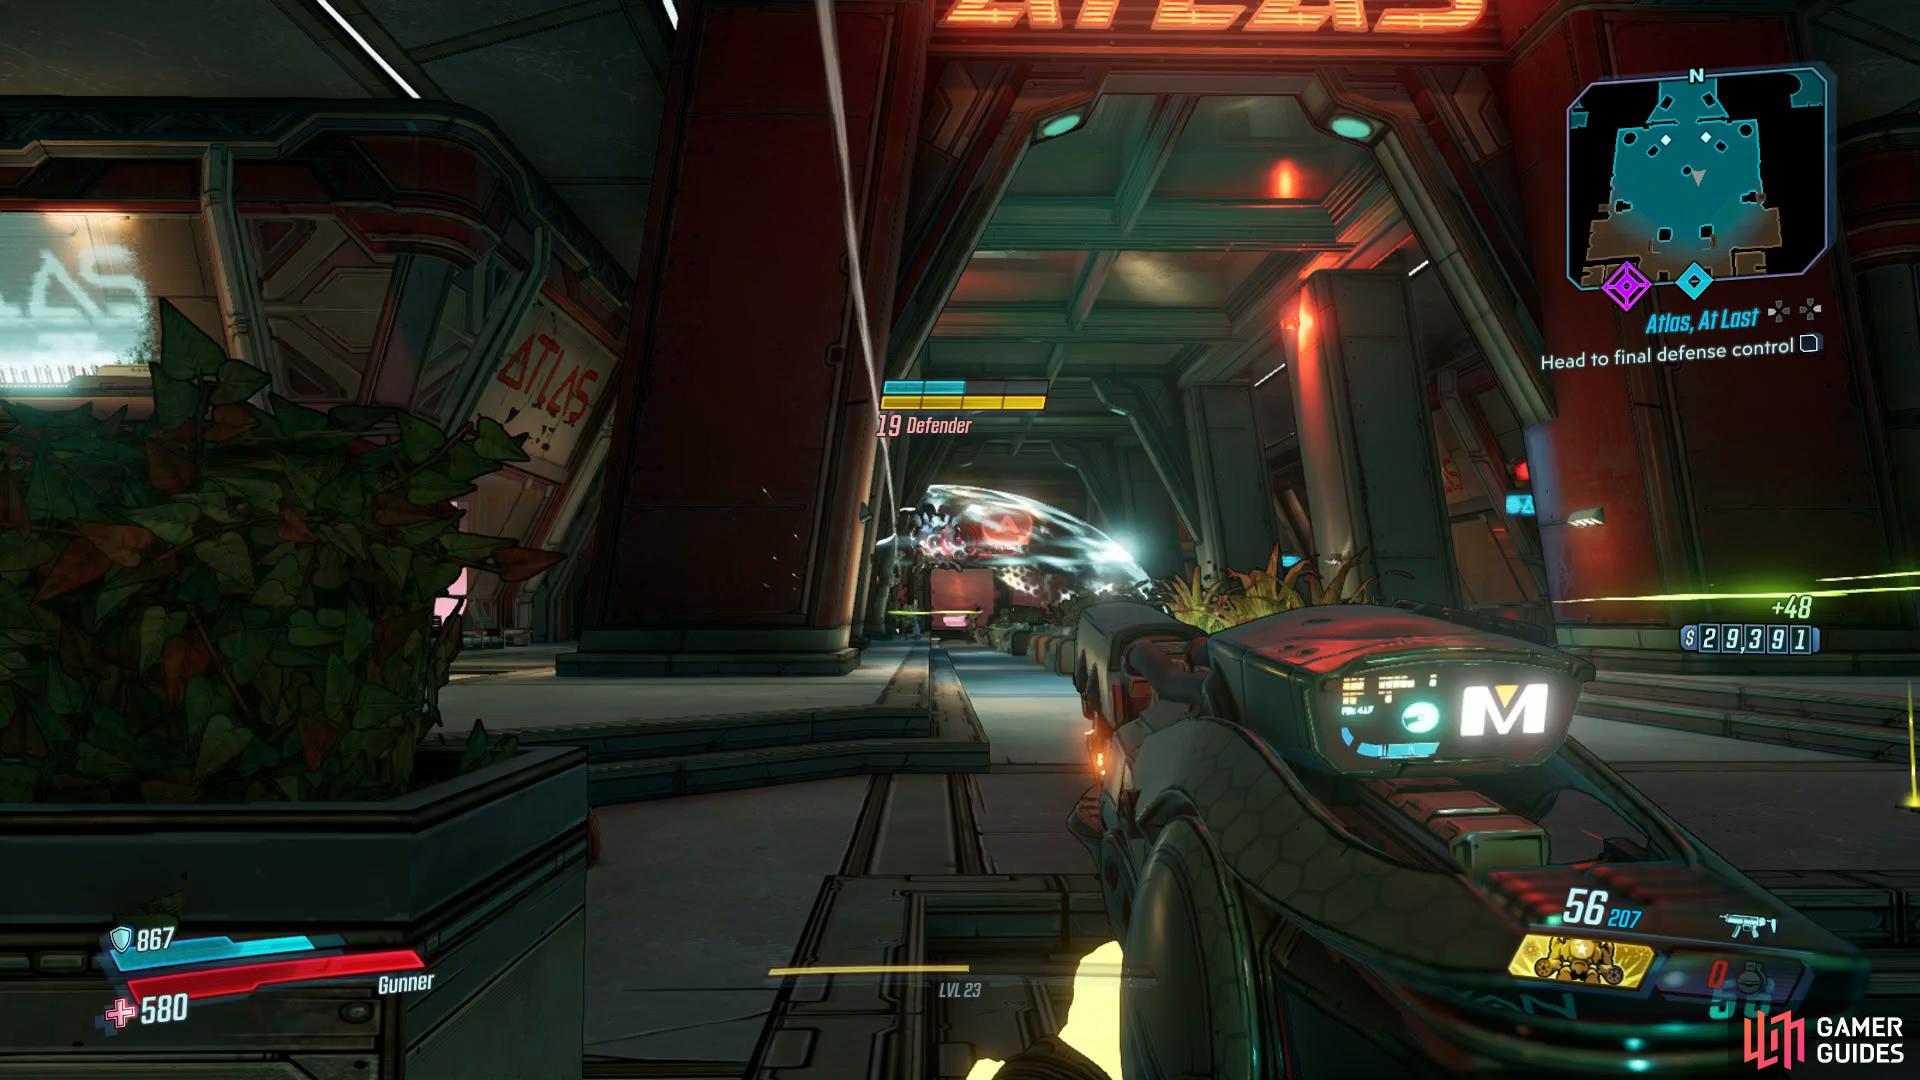
Defender’s shield their allies, take them down first.
Once you’re ready to proceed, drop down to the large lobby up ahead and prepare for a fierce battle. You’ll have another Arbalest to contend with here, these are excellent choices to use your Action Skill on should it be available and shortly after, Nullhounds join the battle. There’s plenty of containers scattered around should you need ammo and try to get out of the center as soon as possible to avoid being too open. Once the battle is over, resupply with any remaining containers and then head through the doors to reach the last defense cannons where you can hit the switch to activate them.
Hold off Maliwan forces
With the turrets down, it’s down to you to hold off Maliwan while Rhys works on the laser. Head outside and man the turrets on the walkway here, they’ll deal more damage than you would with your guns and you’ll need it against the swarms of Maliwan you’re about to come into contact with. Be sure to focus on Heavies to begin with, their elemental blasts will destroy your defenses and make sure you leave the turret to recover shields whenever the need arises.
Take elevator to Rhys’ office
Before you set off to assist Rhys, while still on the upper walkway, head to the southwest to find the third and final Typhon Log. Jump down from here and follow the edge to the southeast next and you’ll spot a walkway below, jump over to the edge and follow it to the Crimson Radio and another White Chest. Consider returning to the offices to loot the Dead Drop and then take the central elevator up.
Once at the top, follow the corridor into Rhys’ office and note the Eridium Writing to the right before touching the lamp on his desk to reveal a secret entrance down to the rooftop.
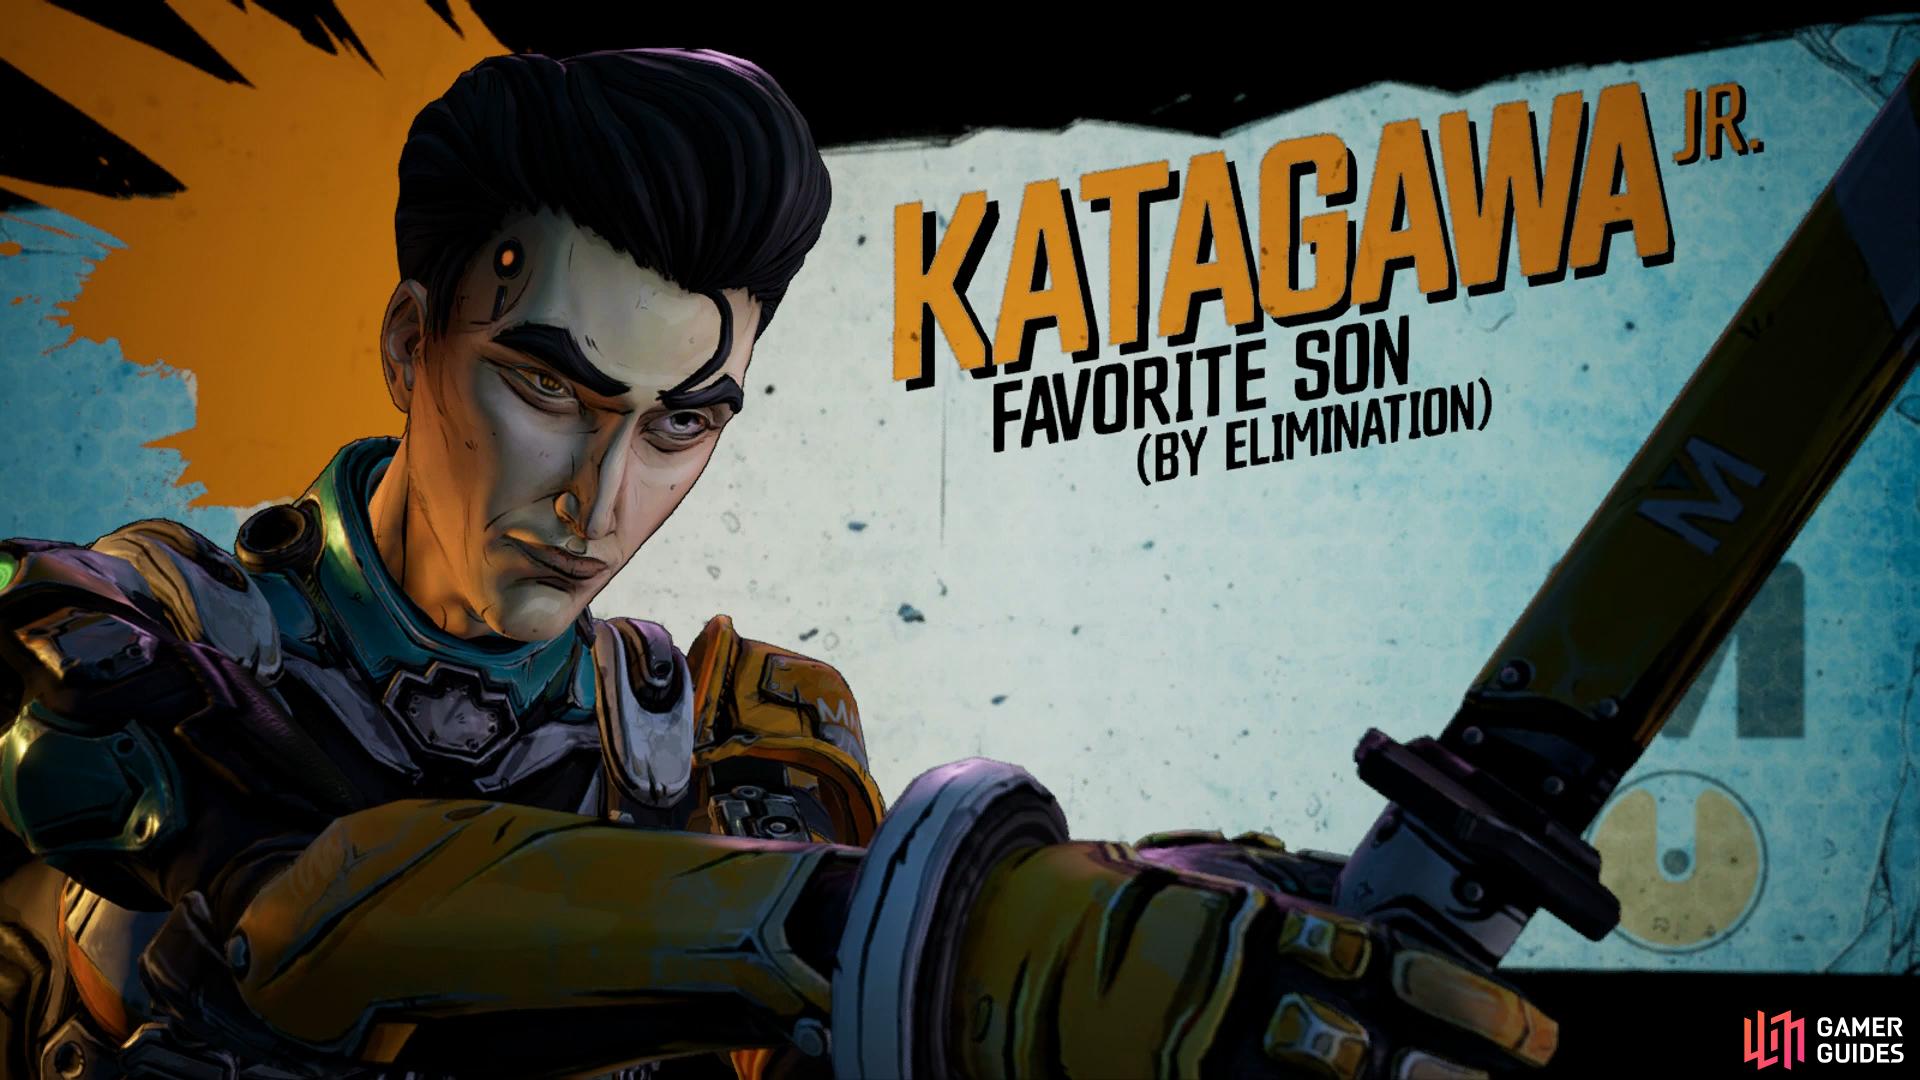
Boss: Katagawa Jr.
Almost the first thing you’ll notice with this boss is the arena is largely wide open and there’s not many places available for cover. To add to that, you can be hit from almost anywhere which means you’ll really have to make your shots count however do take note of the electrical generator in the water which is begging to be shot at some point.
Katagawa Jr. is a Ninja in the same vein as Zer0 and as such, features all of his abilities. He has clones, the ability to snipe and also use his Katana. The whole battle revolves around the clones mechanic and you’ll notice that each of them has a shield followed by health. In order to deal damage to Katagawa Jr. you’ll need to deplete the Shields and then any health damage you deal with deal damage directly to Katagawa Jr.
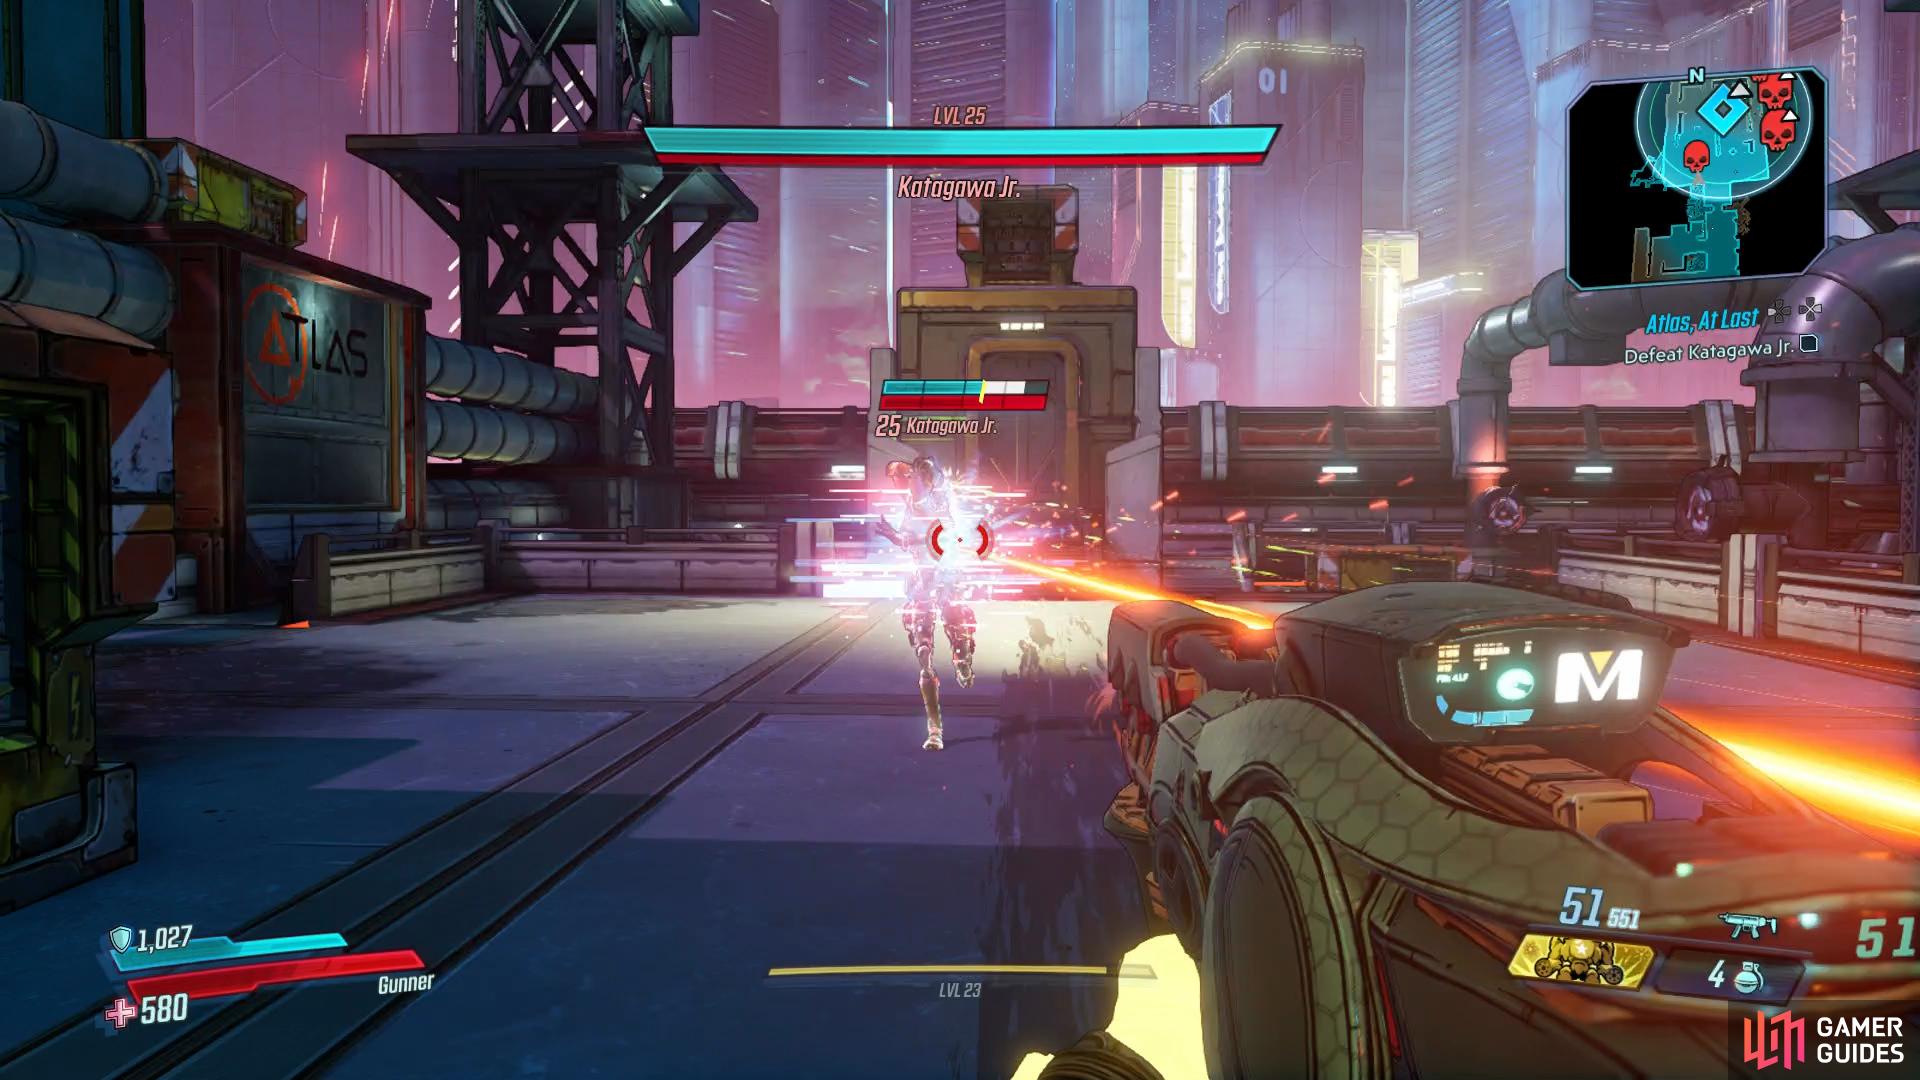
You’ll have to contend with many clones at once and they’ll divide themselves between sniping from any of the four towers in the corner, rush you at melee range with the Katana (only one at a time however) or spawn around the electrical generator. As you may assume, this is the perfect time to hit it and deal damage to all of the clones at once. A long range weapon works better for the clones on the towers and anything is useful at close range. The battle keeps this same formula throughout so it’s more a test of your own shooting abilities.
If you see a smoke bomb in your location, this is an indicator that a Katana melee attack is soon coming, so move out of the smoke and take aim to hit the clone before it can reach you. Finally, when Katagawa Jr. is near death, he’ll result to nearly melee attacks only and he’ll attack with swift combos, these are better to avoid by jumping out of the way. Once you fully deplete his health, shoot him one final time to put him down for good.
Legendary Class Mods
Katagawa Jr. has the unique ability to drop Legendary Class Mods for all characters and for this reason alone, it’s worth spending some time farming here until you get one for your current build or class that you’re playing with, it’ll help in the long run.
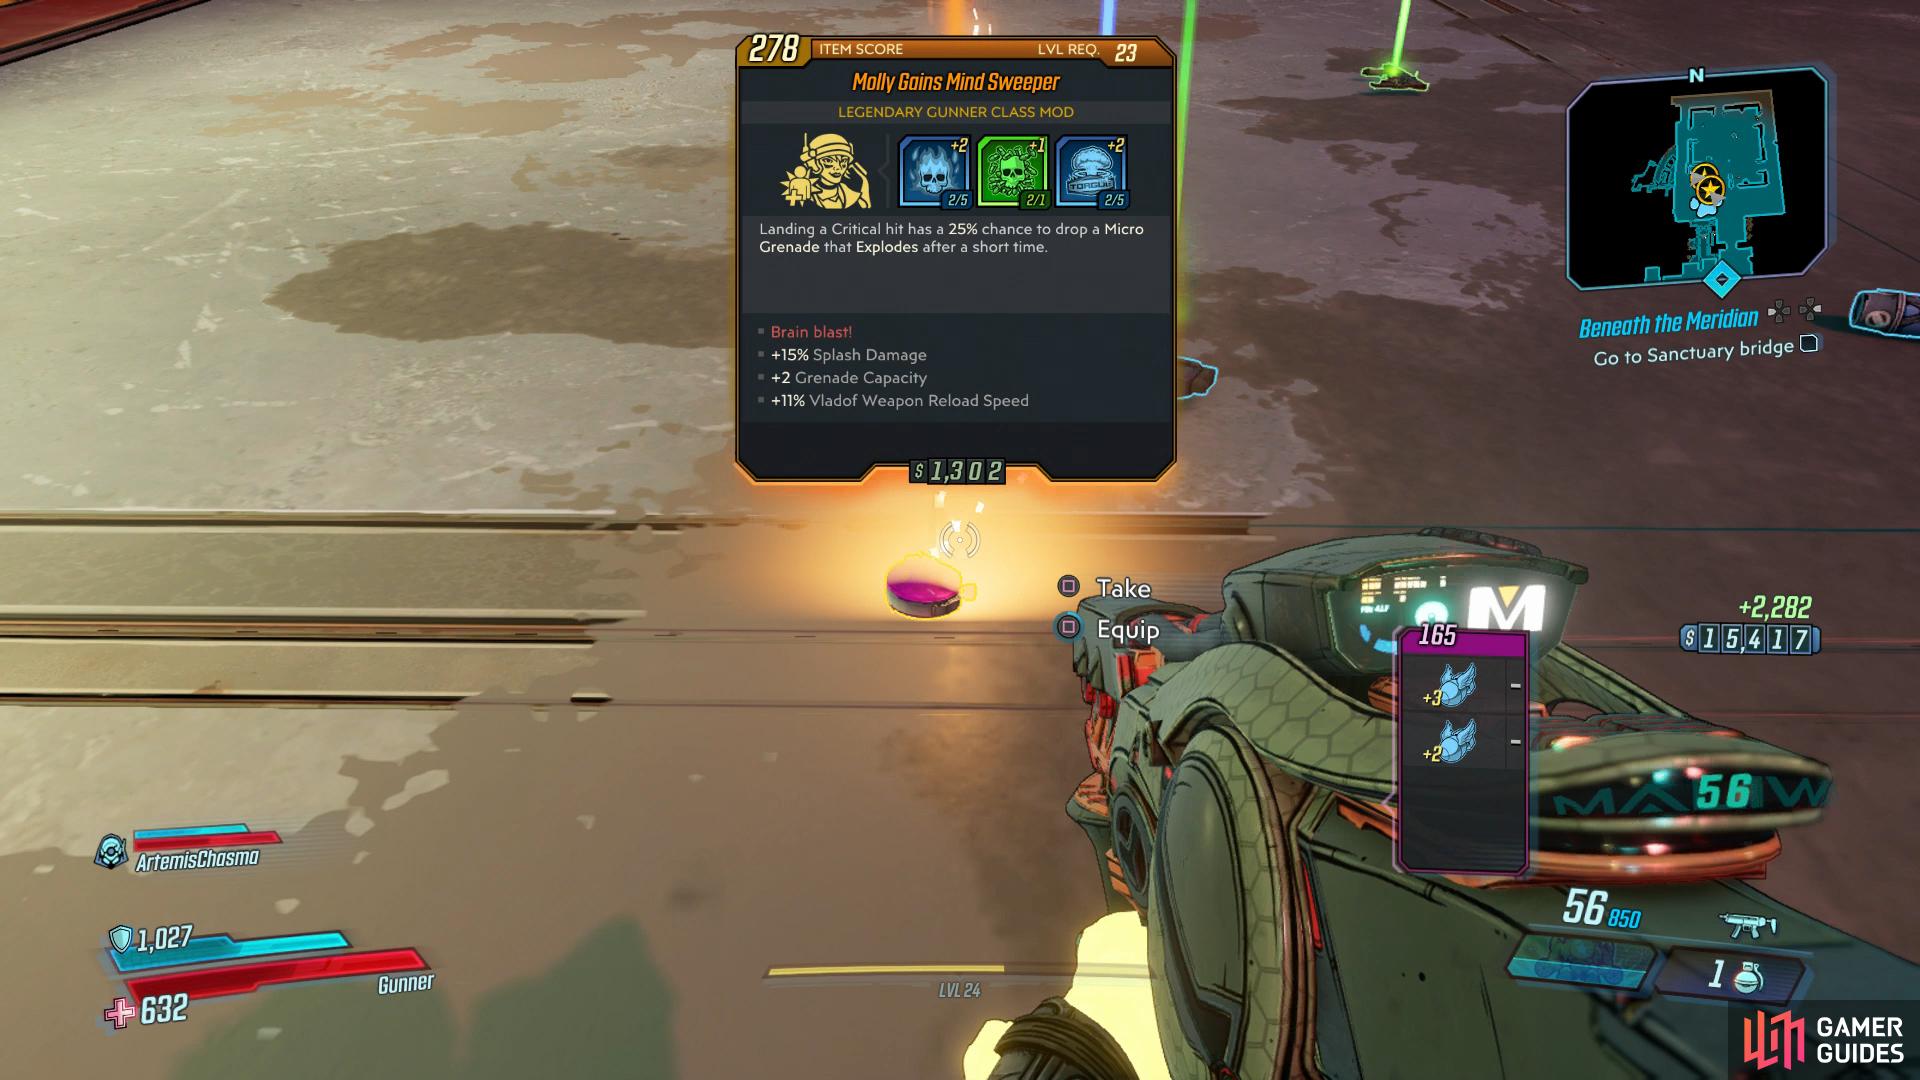
Katagawa Jr. drops a whole host of Legendary Class Mods, consider spending time to farm one.
Meet up with Rhys
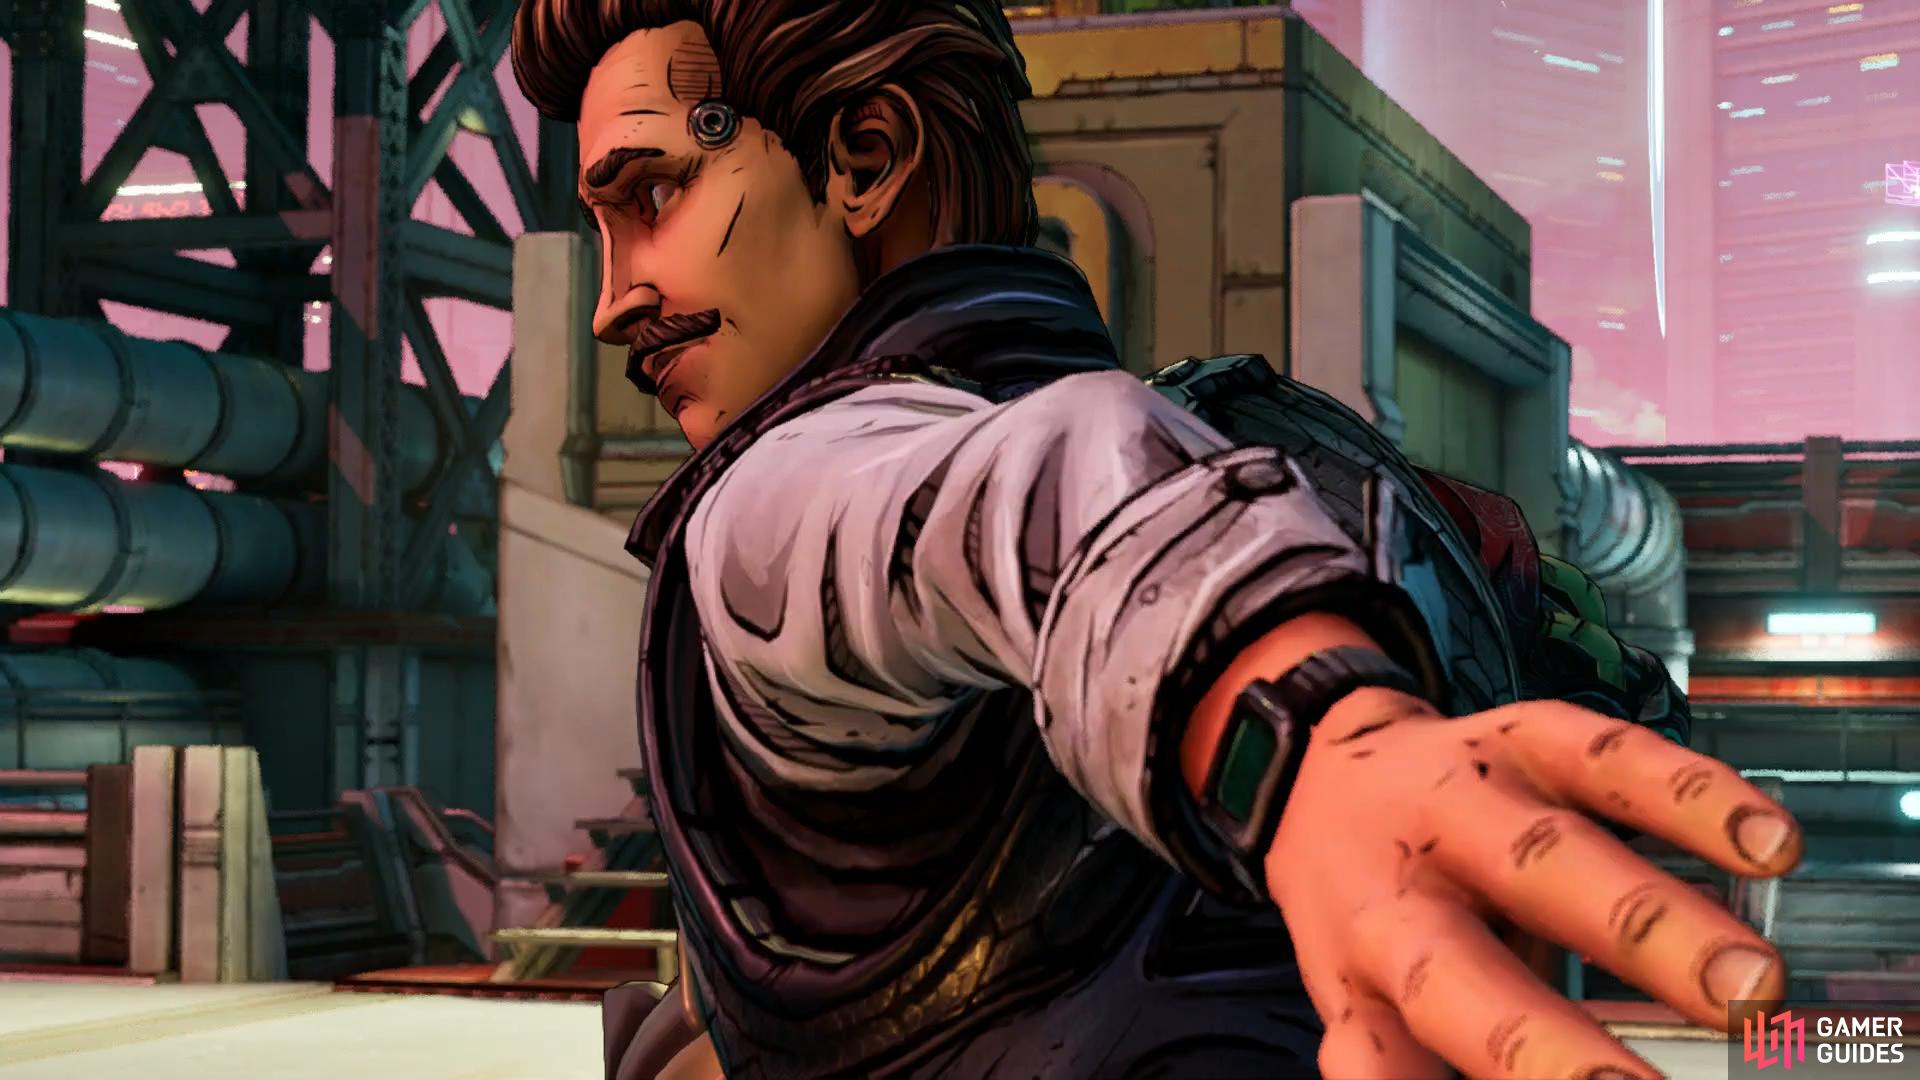
With Katagawa Jr. defeated at last, head through the doors to meet up with Rhys and Zer0 and Rhys will give you the choice to remove his moustache or not, it affects nothing so go with what you feel is best. Take the Vault Key fragment to complete the mission and unlock I Mustache You A Question and begin the next one.


Before you leave Atlas HQ however, Rhys has the Ratch’d Up Side Mission for you to accept where you’ll find one of the three Red Chests. You’ll find another one just to the right of Rhys and then continue on and then look behind the elevator to find a second.
No Comments