

| Quest Giver | Reward | Lvl |
|---|---|---|
| Lilith - The Droughts - Crimson Command | Cash, Rare Character Head | 5 |
Return to Crimson Command and speak to Lilith to get the mission underway, this time you’re tasked with storming the Holy Broadcast Center to bring back the Vault Map. This mission will take you all over The Droughts so you’ll want to pick up the Optional Missions as they come along.
Go to Ellie’s
Your first task is to head over to Lilith’s friend, Ellie, who is stationed nearby in her garage. Stock up on any ammo or health you may need and then head north to discover that there’s a new Side Mission to accept from Claptrap, Bad Reception. This is a lengthy and you’ll also need a vehicle so it’s something to work on as you progress through the zone. For now, you’ll find Ellie’s garage just over to the east and at first glance, the garage will appear to be empty. Make use of the Ammo Vending Machine if you need to and then consider taking a little detour.
Use the car to jump on to the roof of the garage here

where you’ll find a Red Chest waiting for you.
Head back outside the entrance and head around the north side of the garage to find a car with two lockboxes on top of it. Climb on top and jump to the slanted roof ahead to mantle up where you’ll discover a Red Chest, this is needed for Zone Completion and often has the chance to include very rare gear. With that little detour out of the way, jump down behind the garage to meet the eccentric Ellie.
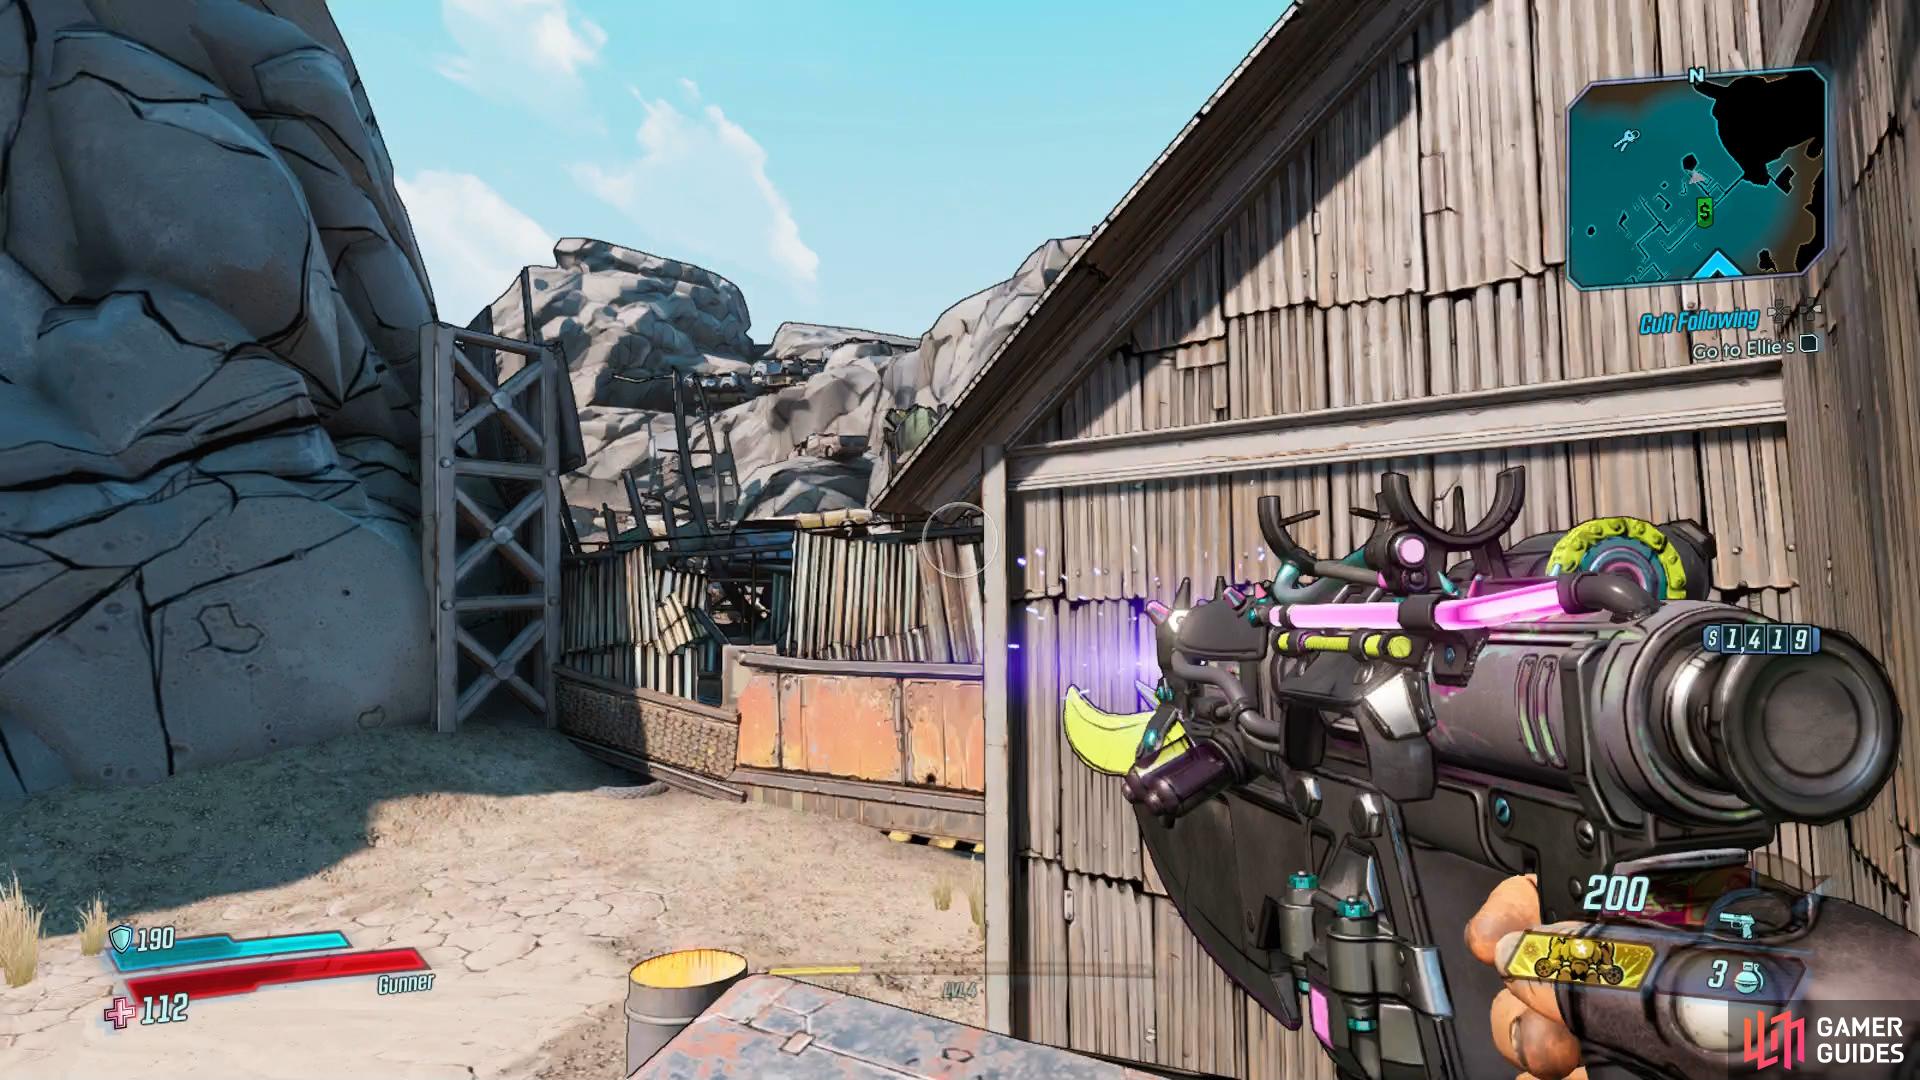
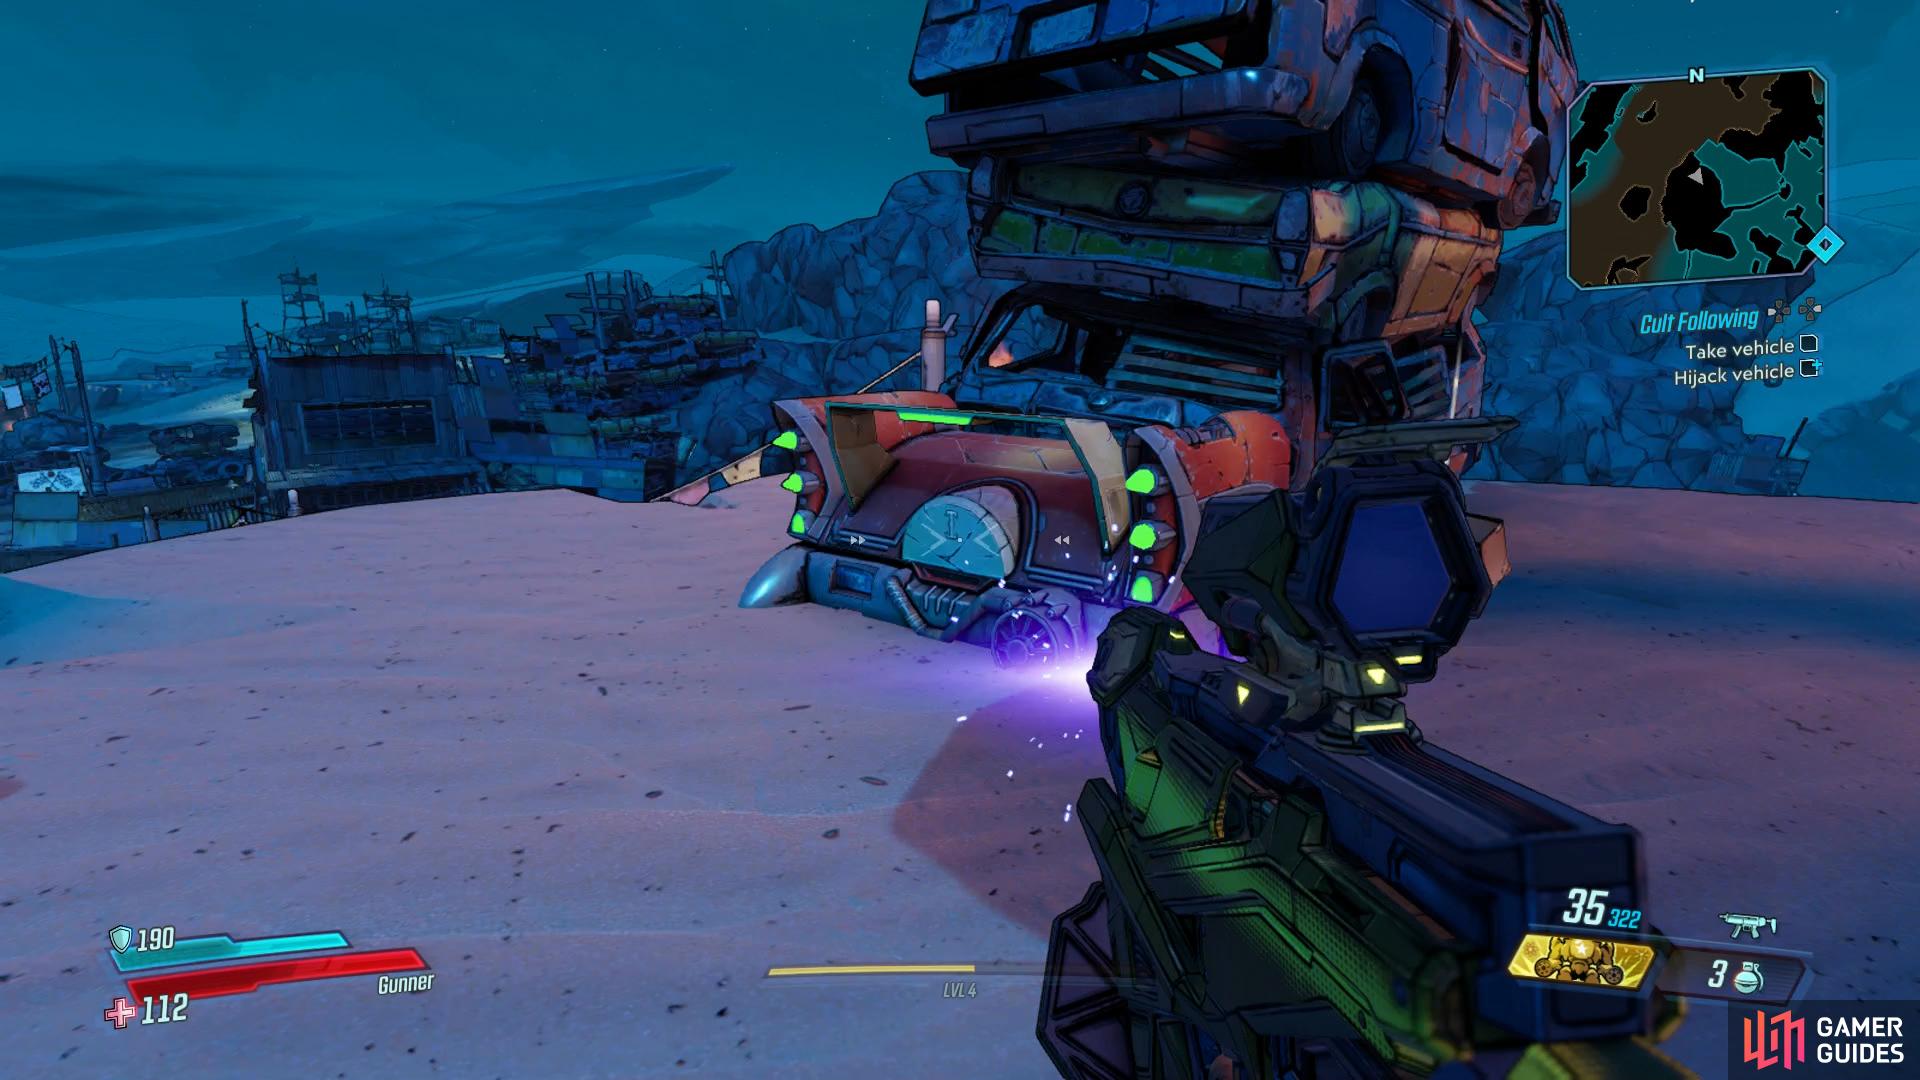
Take Vehicle/Hijack Vehicle (Optional Objective)
Like always on Pandora, you’ll have to do things your way and Ellie tasks you with finding a vehicle but better yet, Hijack one from the COVs for a bonus reward at the end of the mission. As Ellie so eloquently puts it, all you need do is run up to the side of a COV vehicle and hold the [SQUARE]/[X] button to hijack the vehicle.
For now, make your way to the northeast to Ellie’s Scrapyard to begin the search. A group of Fanatics and Psychos await you just up ahead but they shouldn’t pose a problem and as you head deeper into the Scrapyard, you’ll have to contend with a few more as they use a zipline down to your position. Again, you’ll only be facing one or two at a time and they should cause little problems.
With the current area clear, ignore the chance to head up to the track for now and instead head up the rocky path to the west where you’ll spot some cars stacked at the edge. Climb the rocks here to reach the top where the sign resides and you’ll find not only a Red Toilet which can sometimes have guns hidden them. More importantly, there’s a red car with lights here you can open to score some more loot.
The back of this Red Car is almost as lucrative as a typical Red Chest.
With that taken care of, jump back down and head over to the east now to reach the Super 87 Racetrack where you’ll spot some Outrunners driving around the place. Wait for one to approach you and then run up to the side to Hijack it before turning the weapons of your new vehicle on the rest of your foes here.
Drive vehicle to Catch-A-Ride
All that’s left to do now is drive this back out of the Scrapyard and to a nearby Catch-A-Ride but stick around and there’s one more item of interest. Drive to the south eastern edge of this Racetrack to spot a small path you can head down, at the end of it you’ll notice a Dead Claptrap hanging from a crane which will complete your first Crew Challenge when interacted with.
With this out of the way, return to your vehicle, take out any pesky Outrunners and follow the arrows to the north to find a ramp and drive your new vehicle out of there. The nearby Catch-A-Ride can be found to the south of your location and you’ll find a yellow outline for where to park your Outrunner. This will give you access to all the Catch-A-Rides, indicated with a key icon on the map, to digi-struct a new vehicle at anytime. You’ll notice here that you can change parts of your vehicles here and you’ll unlock more by driving new vehicles back to a Catch-A-Ride to harvest their parts.
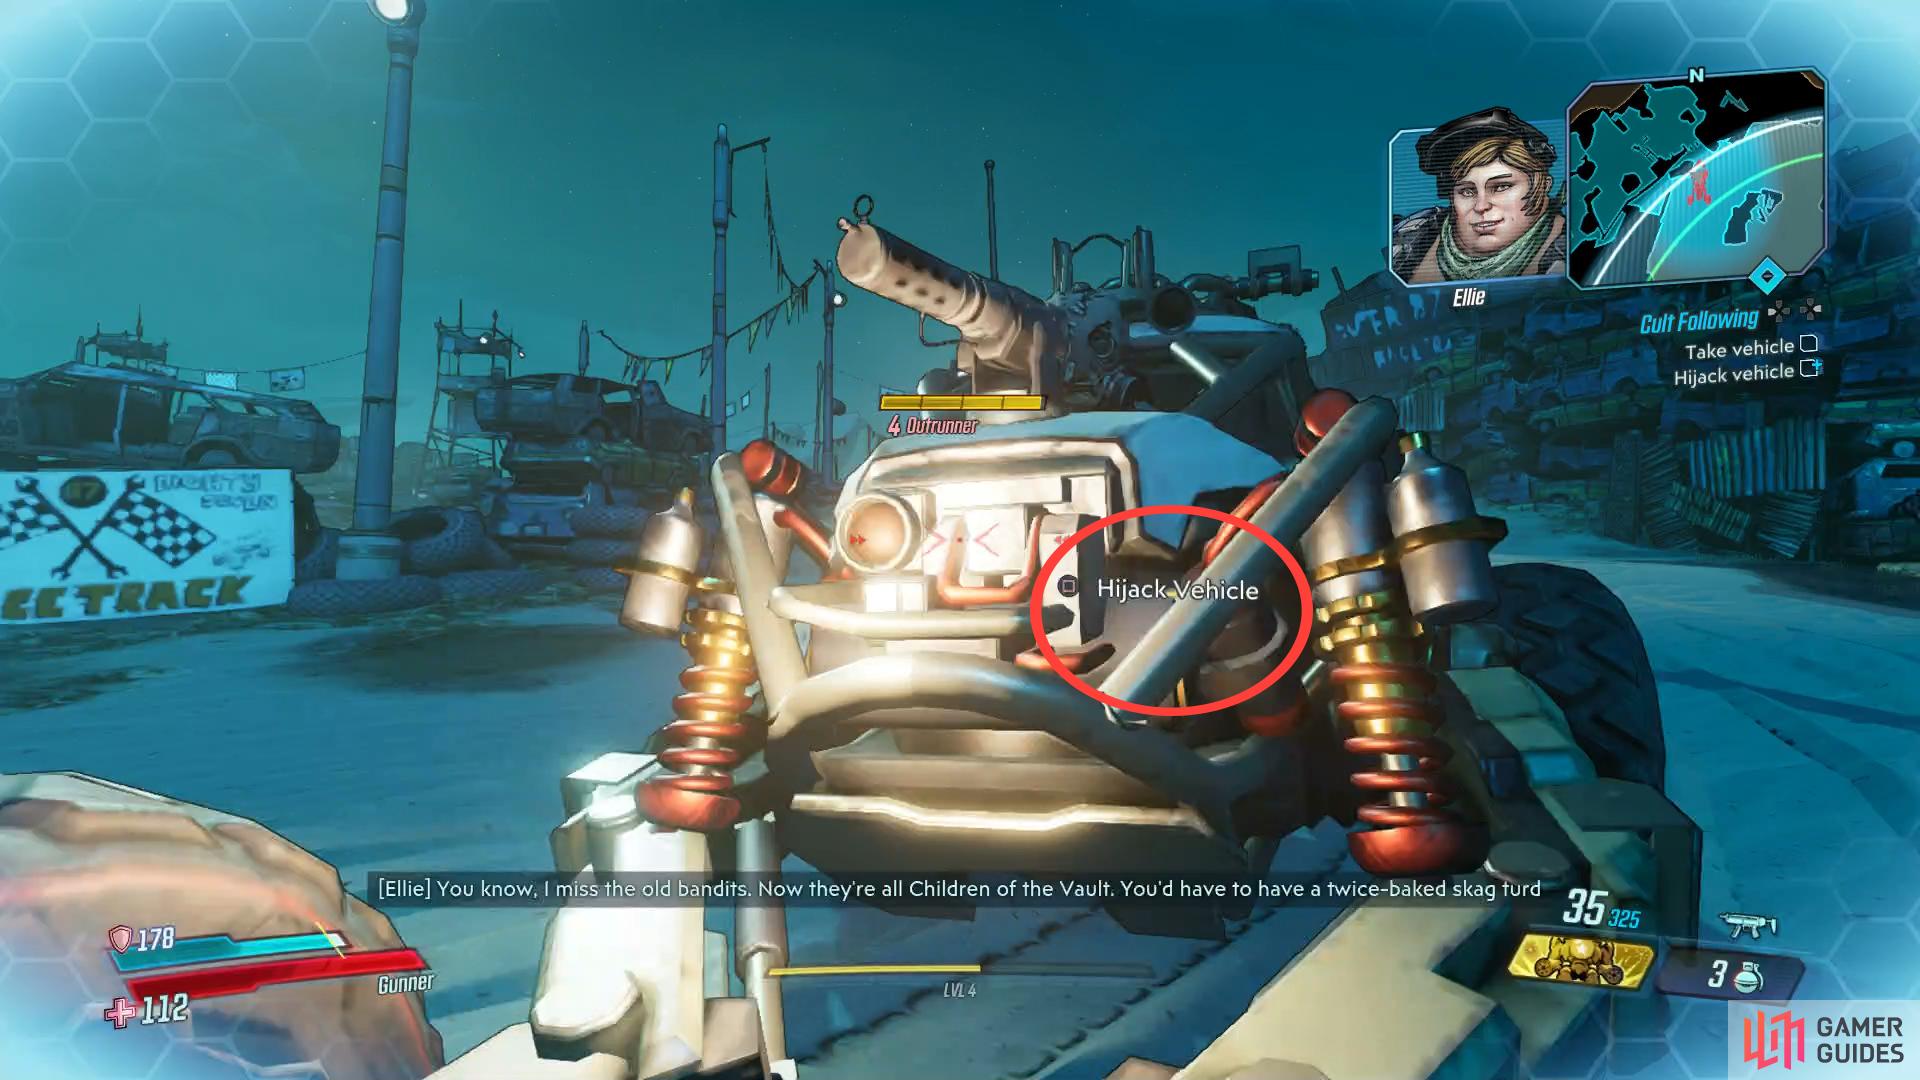
Be sure to Hijack your target for bonus rewards
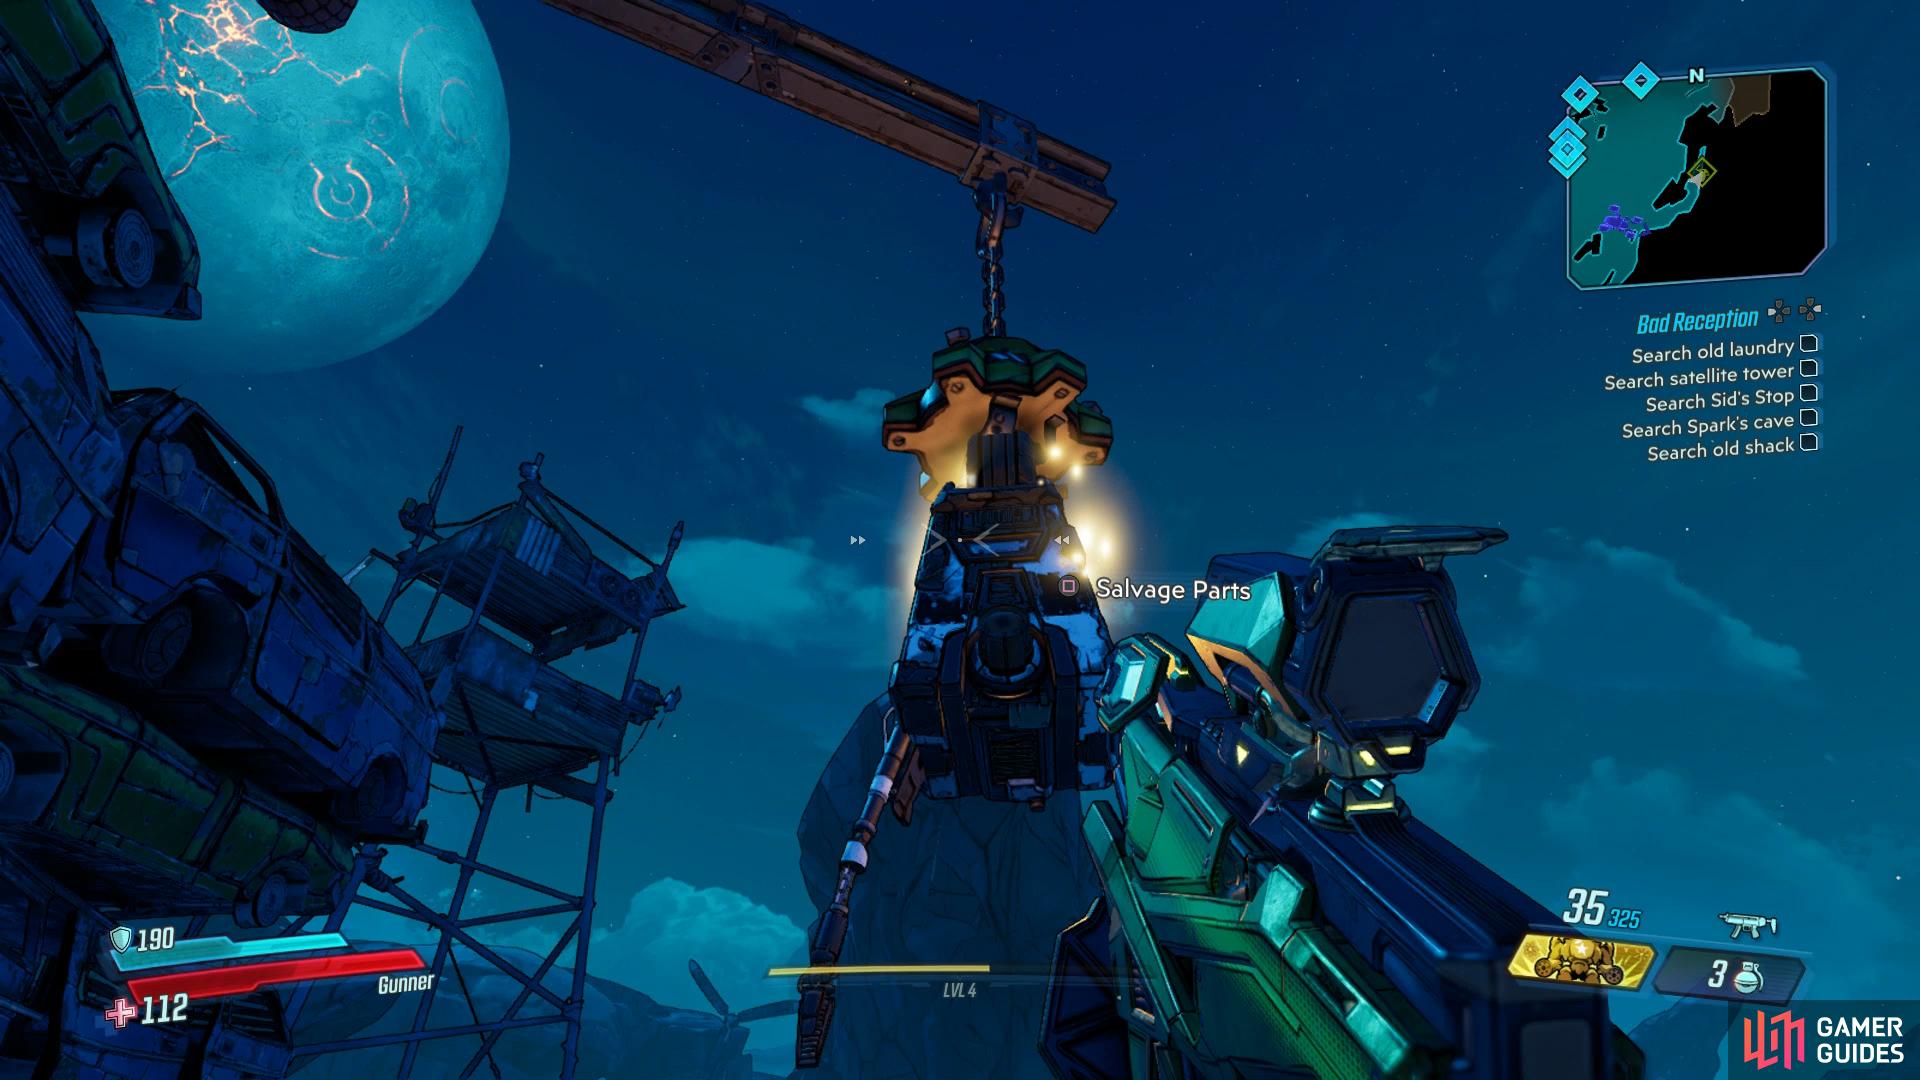
don’t forget the Dead Claptrap before you leave this area.
Your next task involves heading to the Holy Broadcast Center itself, found to the far north of The Droughts in an area named Ascension Bluff however if you take a look at your map, new Side Missions have popped up and you should consider picking up the following before you continue on with this Main Mission:
Go to Holy Broadcast Center, Get Vault Map
As previously mentioned, you’ll need to head to the north of this area so call yourself a Vehicle and head northwest from Ellie’s Garage and you’ll spot a ramp up ahead. If you wish to perform another side task, take the western path instead of the ramp to eventually come toe-to-toe with the Legendary Hunt - Lavender Crowly. It’s a Level 8 beast so you may wish to return later but you’ll be well rewarded and it pertains to the Crew Challenges of this area, check out the Full Area Coverage for more information on how to tackle it.
Additionally, you’ll find your first Typhon Log here, there are three of these found in each area and once collected, will lead to a Dead Drop full of potentially great prizes. What’s more, there’s a second one of these found just to the northeast of Ellie’s Garage so be sure to be on the lookout and check out the Full Area Coverage chapter more information.
Returning to the task at hand, make the jump over the ramp to reach a part of The Droughts that wasn’t accessible before your antics in the Scrapyard. To the west you’ll find locations that are key to the Dump on Dumptruck quest (where another Red Chest is part of the reward), along with another Typhon Log to the west of said compound and another target for the Bad Reception Side Mission, a lot of optional content that is well worth doing before you continue down the road towards the Holy Broadcast center.
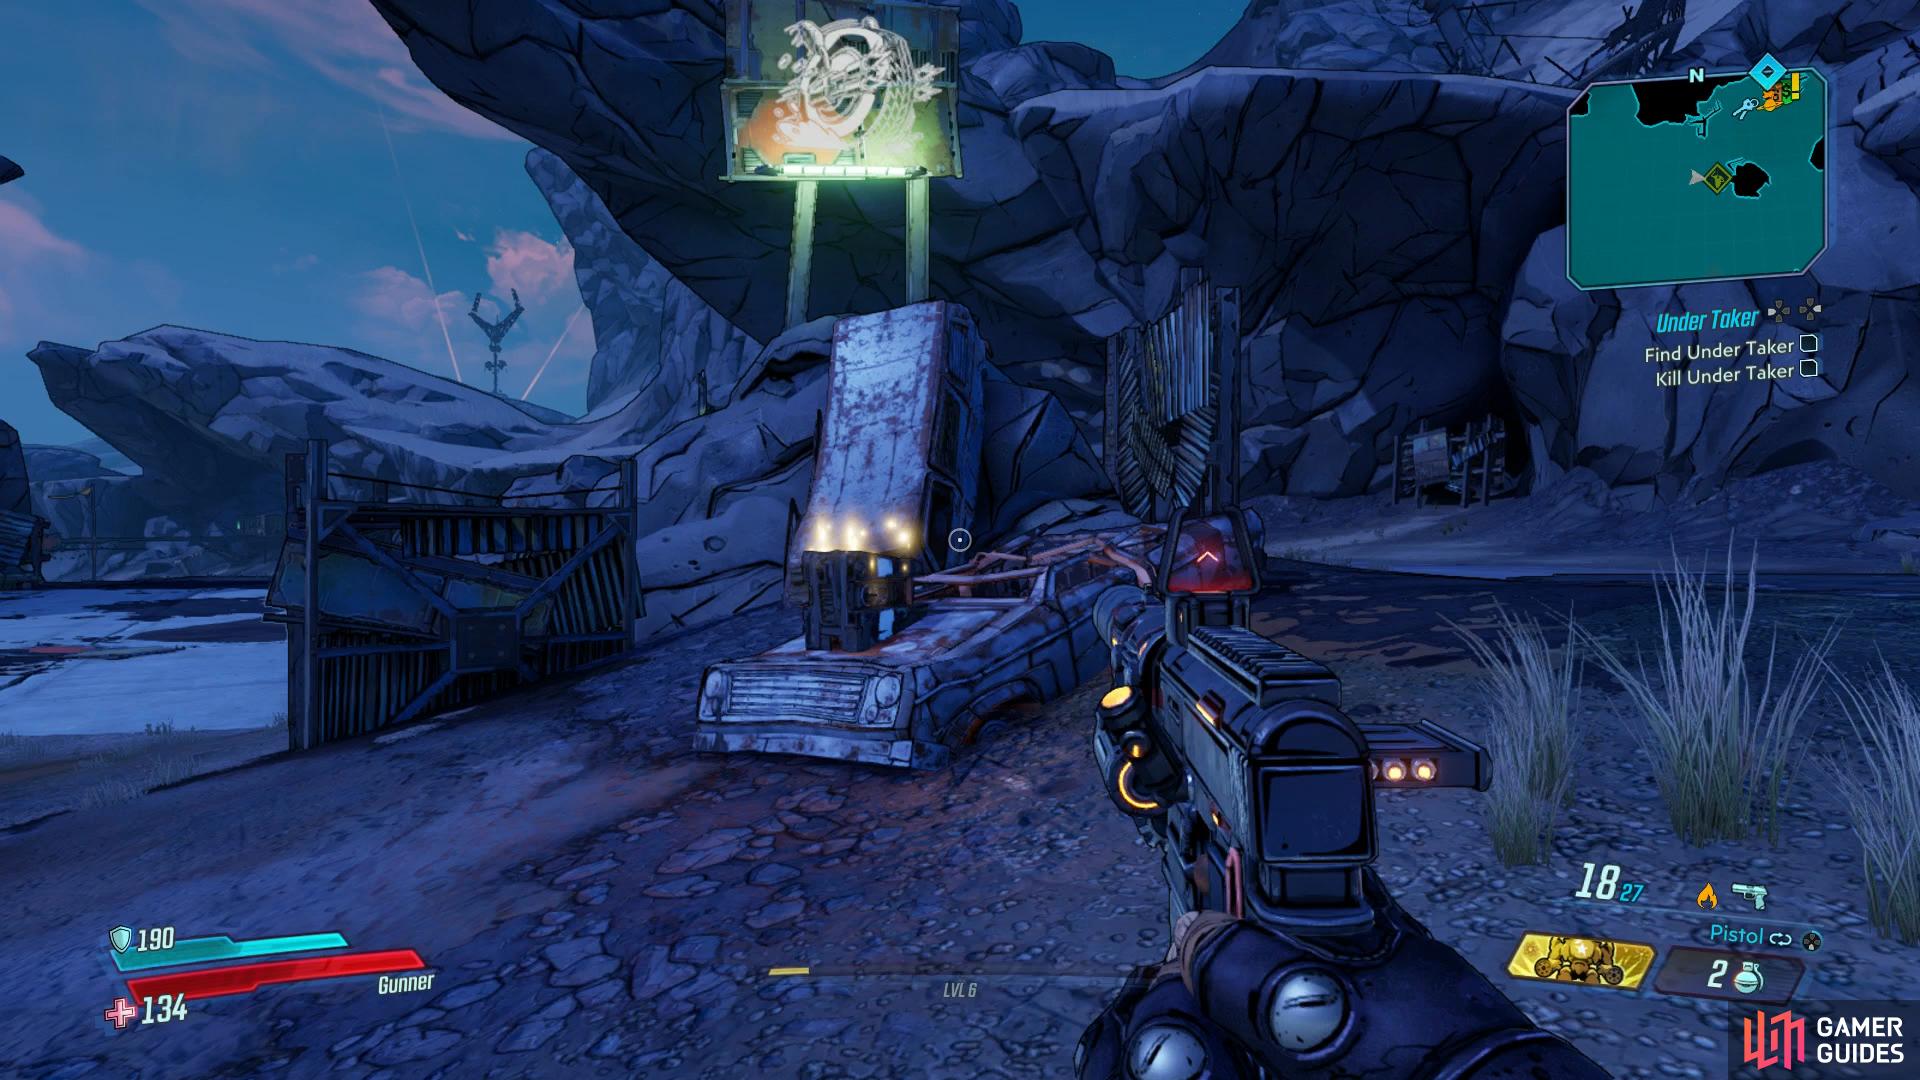
As you continue along the road, you’ll find the path splits a little, leading east or west. To the west you’ll find an area that leads to the Typhon Dead Drop once you’ve found all three logs while to the right leads to an area you’ll be visiting later. You’ll also find Sid’s Stop which is another target for Bad Reception and another Side Mission for you to take, Under Taker, a mission that has the opportunity to reward you with your first Legendary in Borderlands 3.
Regardless, continue on and you’ll reach a service stop of sorts. The COVs cars here will have some new parts for you to Hijack so try to hijack one or two and drive them to the nearby Catch-A-Ride.
Be sure to nab the parts from the Dead Claptrap outside the service stop.
Make use of this service stop to stock up for the journey ahead and look on the road just outside to spot a second Dead Claptrap. You’ll also find yet another Side Mission to accept here, Skag Dog Days, a mission that will take you close to the Typhon Dead Drop mentioned a moment ago so consider holding off on this until you find the final log and that won’t be possible until after you finish your current Main Mission.
Press onwards to the northeast towards your destination and you’ll reach Road to Ascension where a large group of COVs will be waiting for you. If you took the Under Taker mission earlier, you’ll find your target to the left here and he’s an interesting one to be sure. Of special note is his ability to drop a unique Legendary Shotgun, the Speedloadn’ Hellwalker which is an exceptional Shotgun for this stage of the game. Additionally, a Loot Tink will appear here and these enemies will run around while you shoot them before running away however should you defeat them, loot will rain down with a high chance for a Legendary.
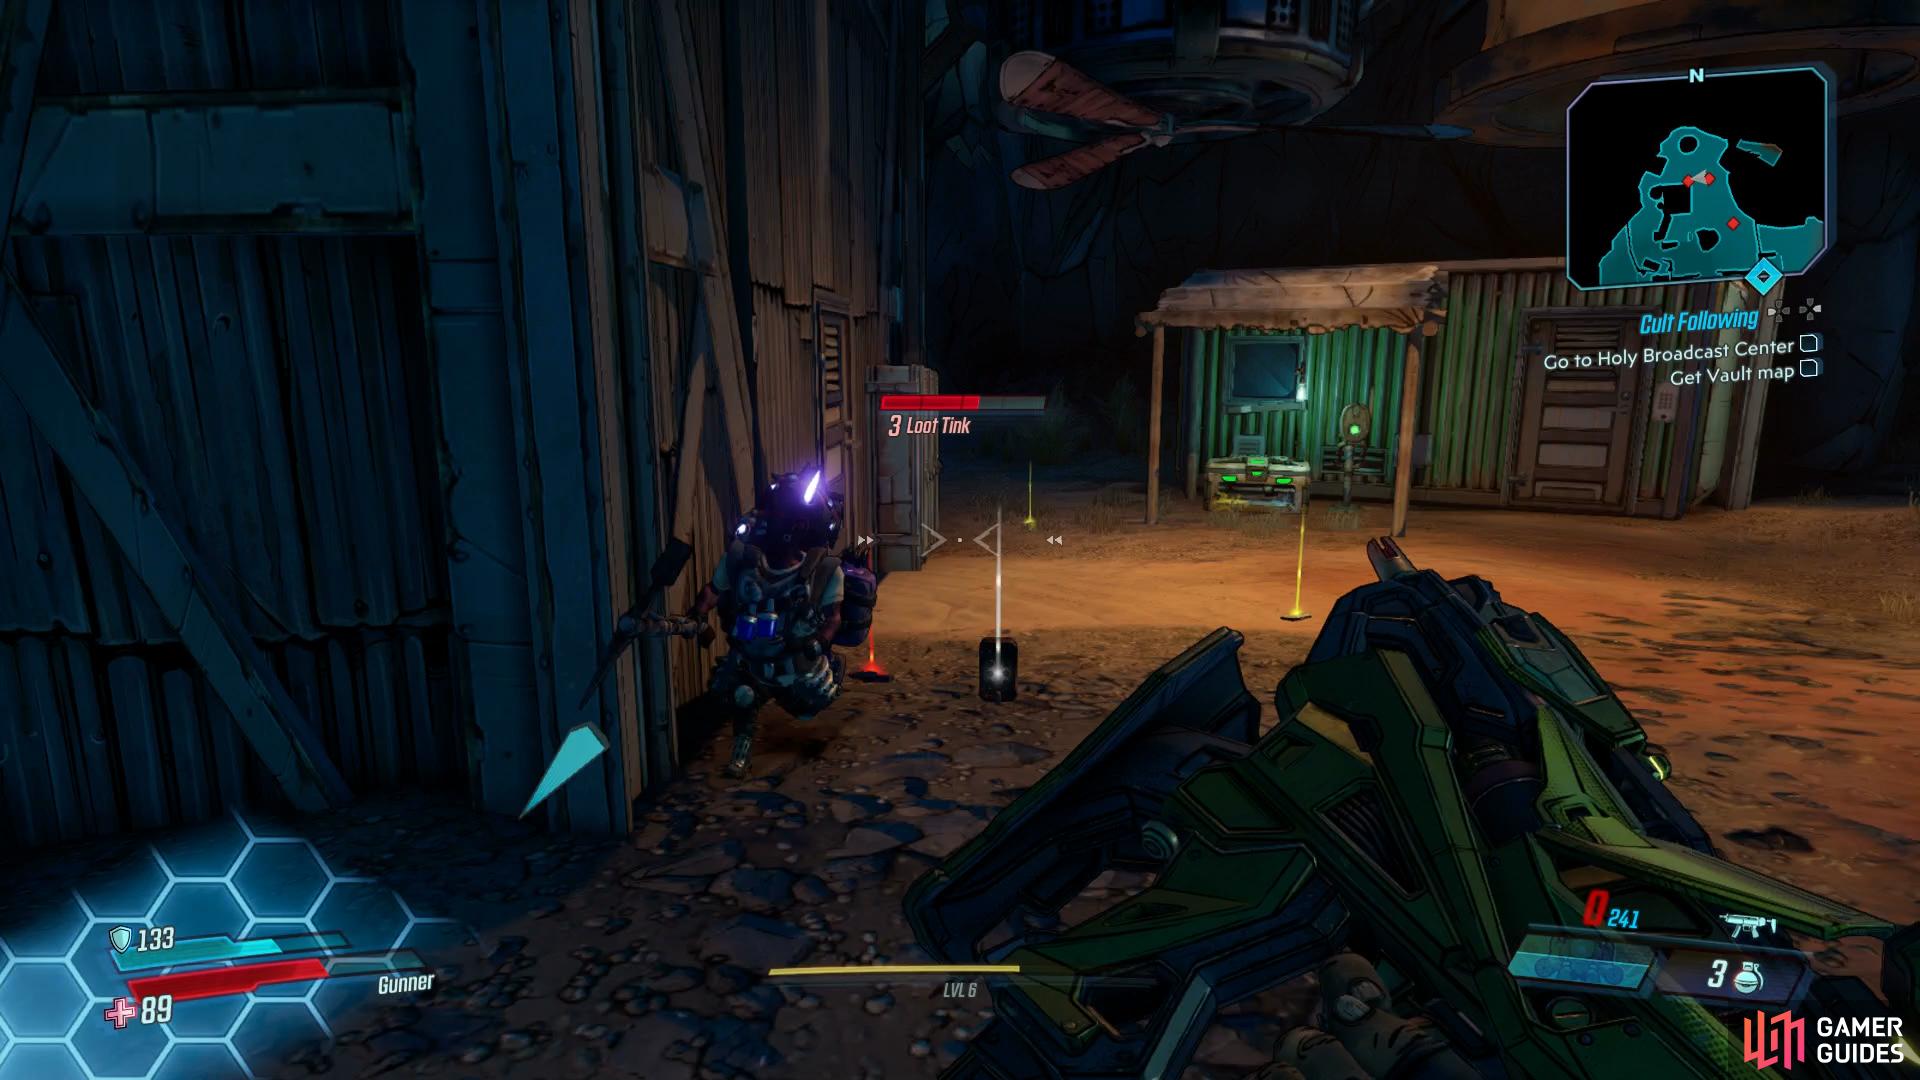
Be sure to kill the Loot Tink for potential Legendary rewards.
Continue up once you’ve dealt with these threats and look to the tower to your left, you can climb the first container then turn around and climb a platform between the next two to find a hidden White Chest containing more weapons to loot. With that out of the way, head up and access the gate to Ascension Bluff.
On the way to the Holy Broadcast Center
With a new Zone comes new Crew Challenges and the Zone Completion, check out the Full Area Coverage chapter if you wish to go off the beaten path and snag some of these now. From the initial entrance to the zone, you’ll find two Vending Machines nearby, stock up on ammo and sell your excess loot and begin the trek to the Holy Broadcast center, found in the far east of this Zone.
You have the opportunity to jump in a vehicle here and it’s a sound plan as once again, the Zone is large and not only that, you can use the vehicle as a portable Fast Travel option. As you head along this road, you’ll find a Skag den to the southeast, of which inside a White Chest is waiting for you meanwhile a little further down the southern edge here you’ll find a small ledge you can climb leading to the Legendary Hunt of this area, the Skrakk however you may wish to return as a later date as this particular beast is Lvl 9 and may pose problems if you’re under the Lvl range.
If you cross over to the north of this part of the map, you’ll come across a large tower you can climb which has a Crimson Radio for you to set up, part of the area’s Crew Challenges. While you’re out and about, look for Icons on the map with a tower on them, this means you can find a control to sabotage the COVs own radios with the Crimson Raiders. They’ll usually require a little jumping around to reach so be on the lookout for yellow paint on the side of a container or wall to indicate where you should begin.
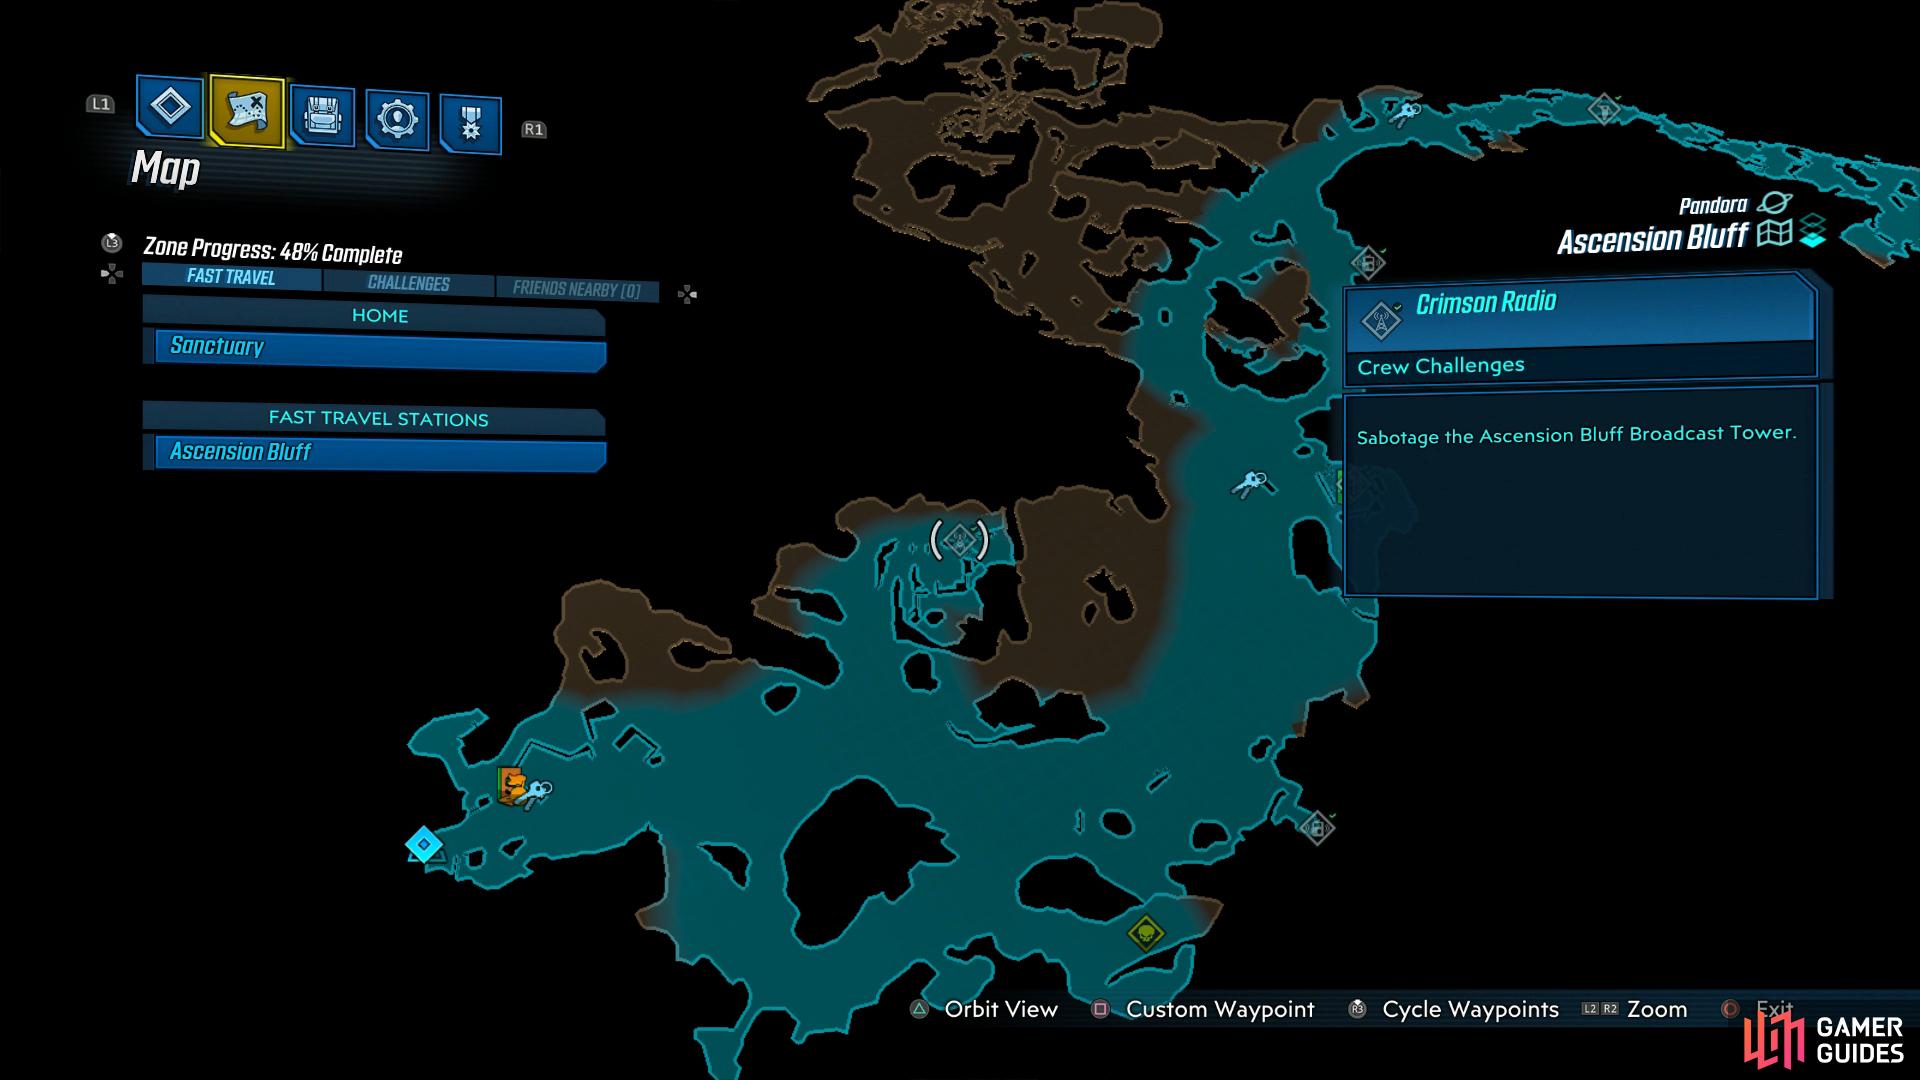
You’ll find the location of the Crimson Radio to the northeast
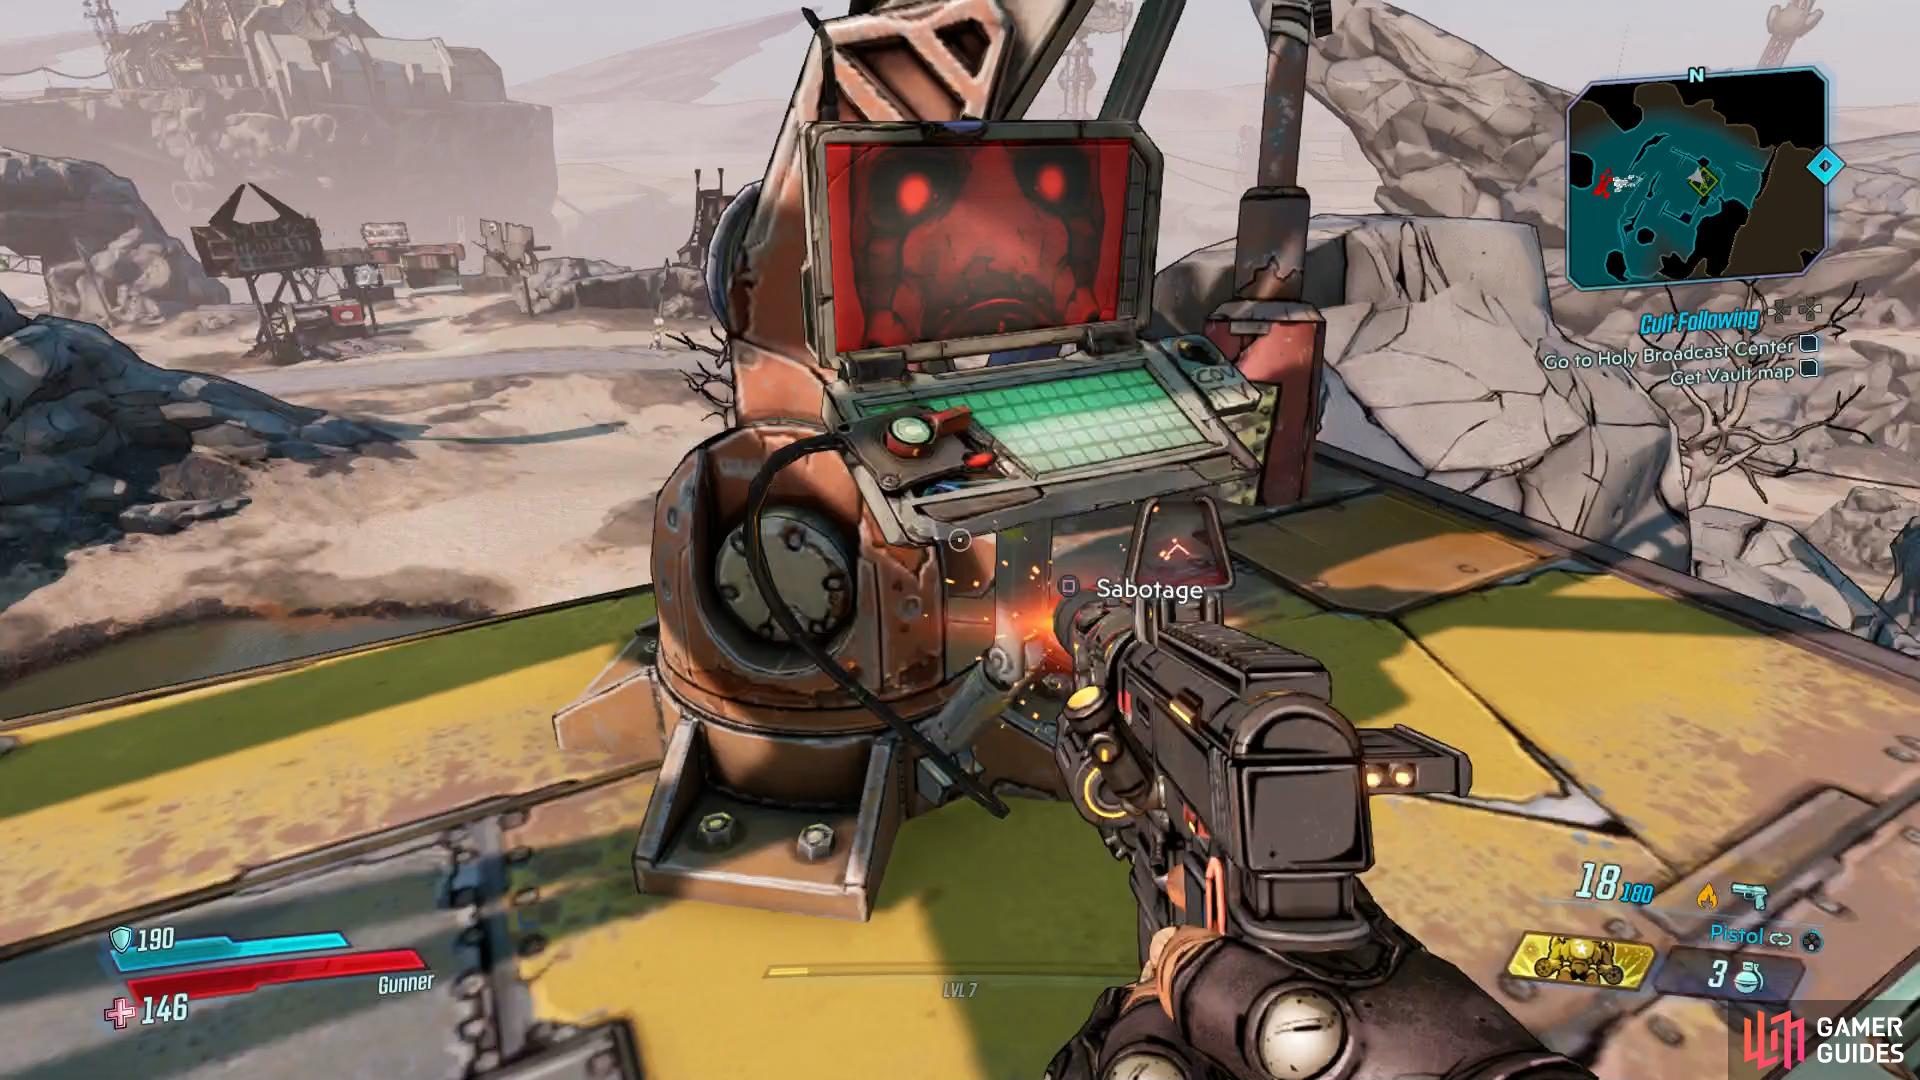
take out the bandits and sabotage the comms at the top.
Returning to the main road, as you continue east you’ll find it opens up even more and along the southern edge you’ll find the first Typhon Log of this area on the edge of the cliff. Just east of here is Spit Respite where you’ll find your first Hijack Target Crew Challenge and as it says, drive the designated target back to any Catch-A-Ride to complete it. Speaking of, you’ll find one right outside this particular area so take it back to score some more parts and then continue your journey to the east.
Your options open up once again here, you can continue to the north where you’ll find another Typhon Log along with a large area that relates to the Golden Calves Side Mission you accepted a while ago from Vaughn. The mission is a Lvl 8 one however and seeing as Cult Following is only Lvl 5, you may wish to deal with that before hand. Keep to the eastern edge however as you continue to the east to spot yet another Typhon Log overlooking a cliff, if you got the previous one mentioned to the north you should have all three and the Dead Drop will be located on your map now.
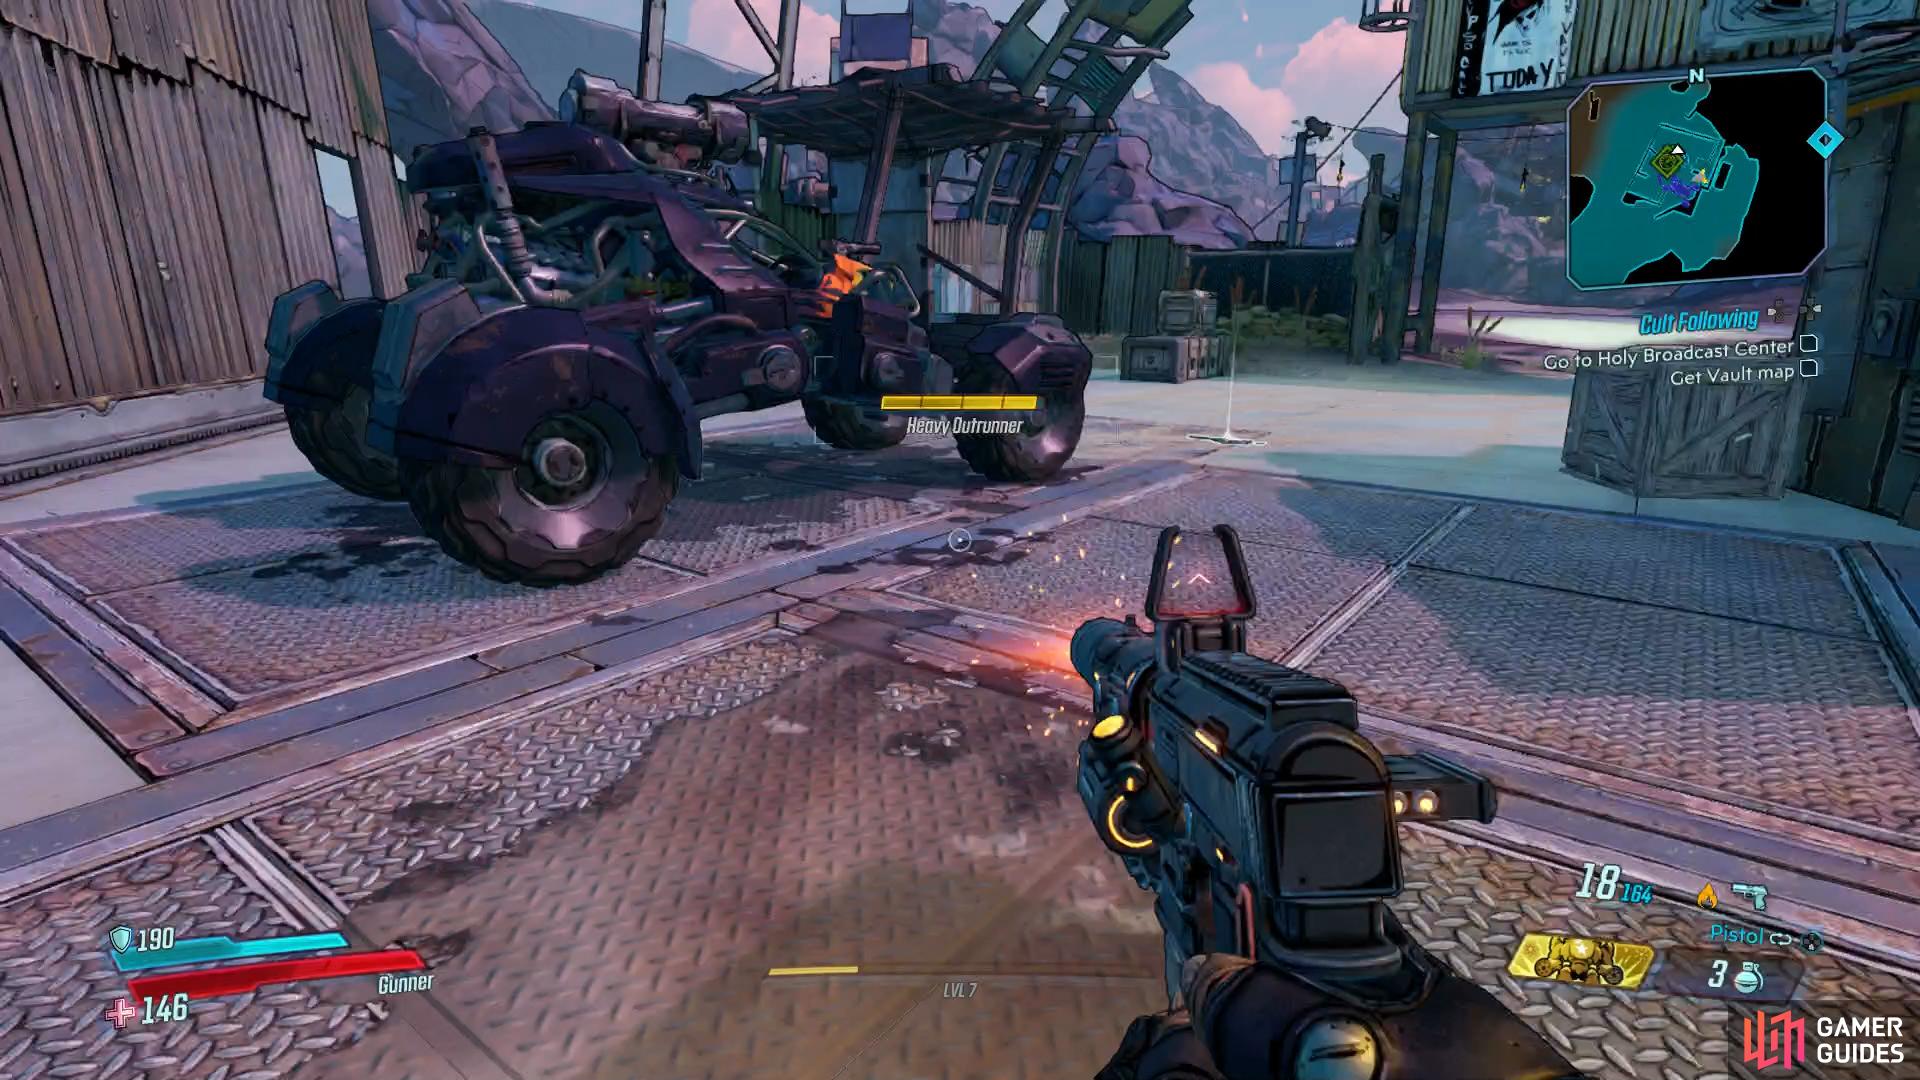
Be sure to Hijack the vehicle
and grab the Typhon Log along the way to the Holy Broadcast Center.
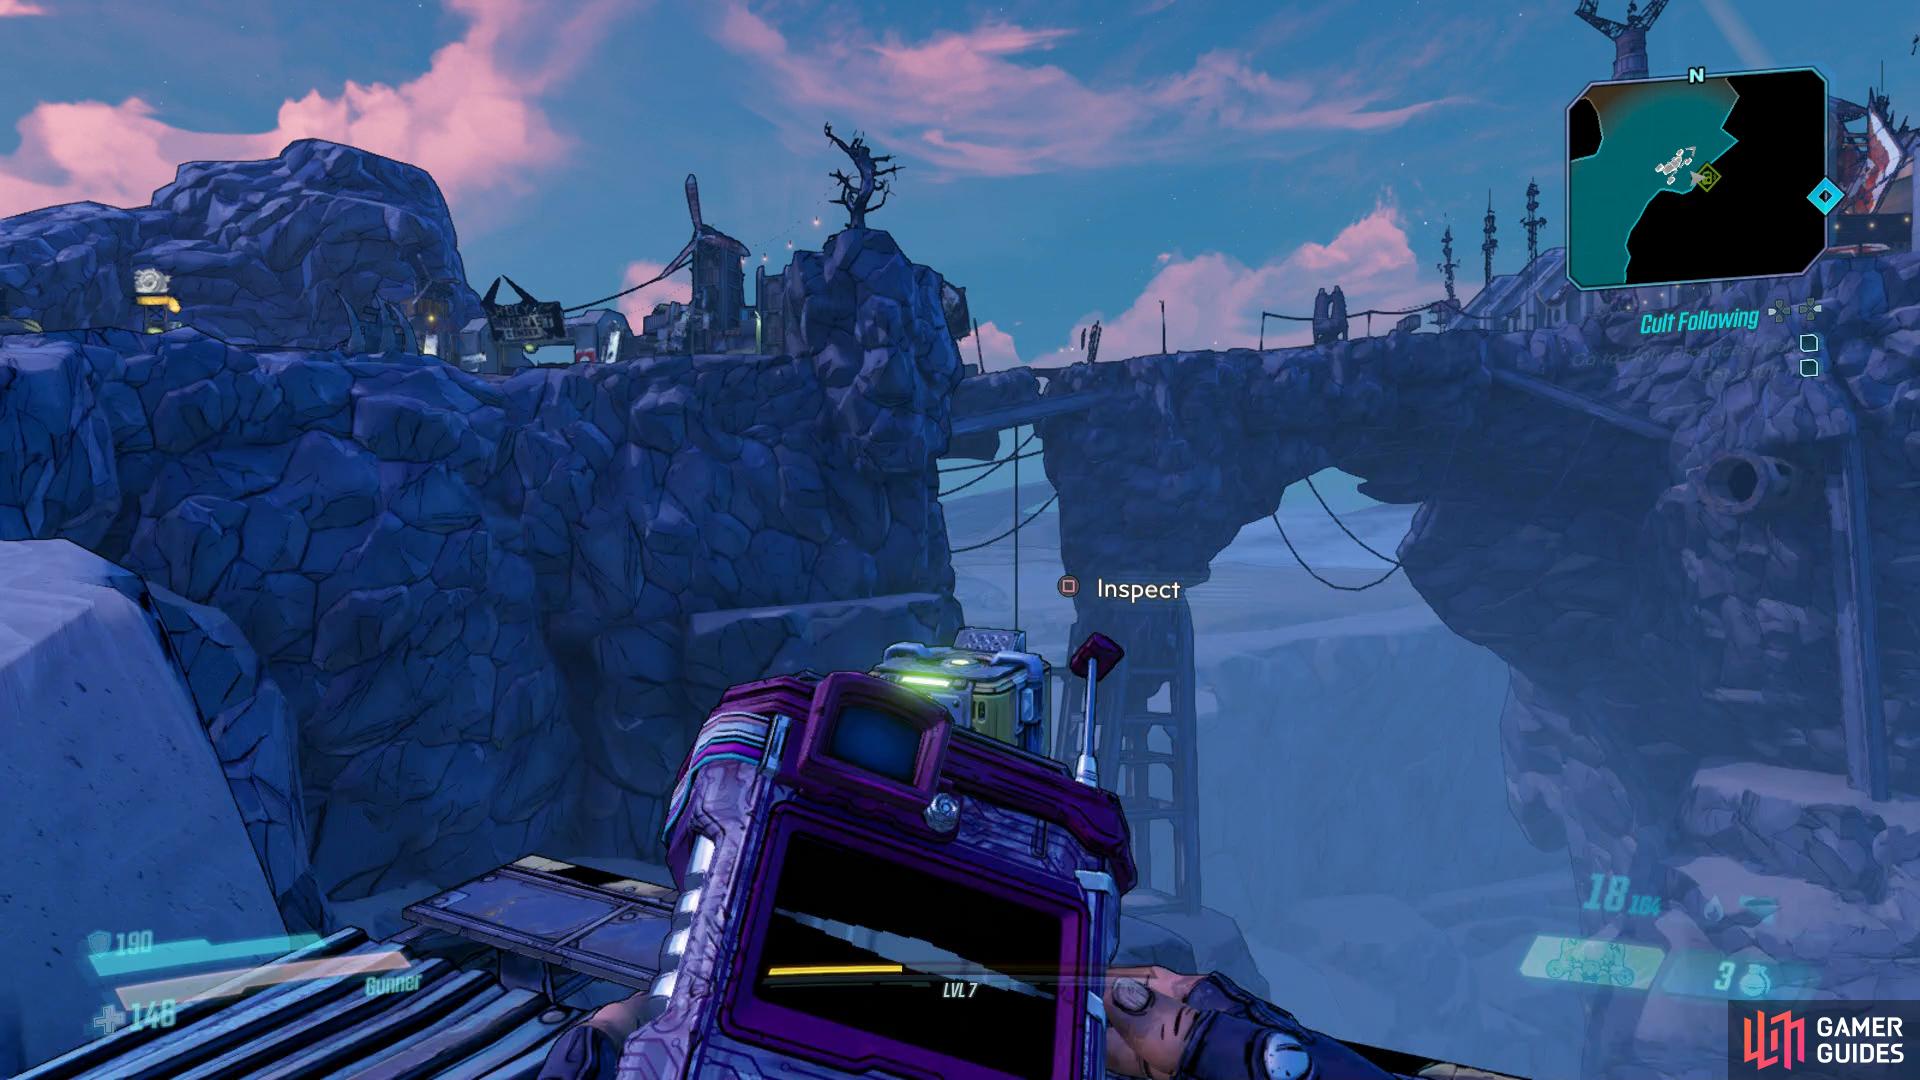
From here, it’s a straight shot to the east until you reach the next Catch-A-Ride and if you’ve unlocked the Dead Drop, you’ll find it in this location. Regardless, you’ll have to leave your vehicle here for now and go on foot as you won’t be able to get through the gate.
The Holy Broadcast Center
As you head up the path to the Holy Broadcast Center be sure to nab the Dead Claptrap on top of the container and then as you pass through the next gate you’ll be under attack as you approach the Broadcast Center. There’s plenty of cover here and you’ll be up against the usual Fanatics, Psychos and Tinks so you should know what to expect by now especially if you make use of the many barrels all over the place.
Of special note however is another Loot Tink that will spawn as you near the Broadcast Center and this is the time to make use of your Action Skill and ignore the other enemies, it’s worth being defeated if you have to be in order to kill it, the allure of a potential Legendary is worth it. With the enemies defeated one way or another, enter the Holy Broadcast Center at long last.
Find the Sun Smashers
As soon as you enter the building, you’ll see something’s not quite right, regardless, you’ll find some Vending Machines to your right that you can use to restock on ammo and sell some of the loot you’ve been picking up before continuing to the east. As you walk forward, take note of the large speaker, when these turn pink, get away to avoid a sound blast that will damage you.
Just beyond this, a group of COVs will greet you, dispose of them however you wish and then loot the nearby lootables before following the path to the south where more speakers greet you, back up once they turn pink and then press on. Yet another group of COVs await you in this larger area, make use of the Shock Barrel nearby and beware of any potential Sentries the Tinks may place down, if they do, get in cover and take it out immediately.
With the area clear, climb up to the north of this area and take a small path back to the east to find a hidden White Chest before continuing north through the Broadcast Center. As you head up the broken rubble, look to the left to find a hole in the wall, leading you to some lootables and a loot toilet. Return to the main path and once you move past the speakers, back away from the Psychos quickly to avoid being struck by the speakers.
A word about bosses and farming
Up ahead is the drop down to the boss of this area, and your first major threat in Borderlands 3 so far. If you look to your left you’ll spot some Vending Machines to stock up on and you’ll also notice a Respawn Beacon, these are always located just before a boss and are very handy.
Every boss in Borderlands 3 has the ability to drop Legendary equipment and at times, even unique one’s related to the boss themselves. You can farm these bosses until you get a drop by killing the boss and then after looting it, quit back to the menu and load. This will put you back at the previous Respawn Beacon with your character state (loot and exp included) still intact from the previous boss kill and allow you to try again. This can be repeated as much as you want until you get the drops you desire. Alternatively, if you leave an zone and come back, bosses will respawn on their own regardless. When you’re ready for the challenge ahead, drop down the platform to meet the first boss in Borderlands 3.
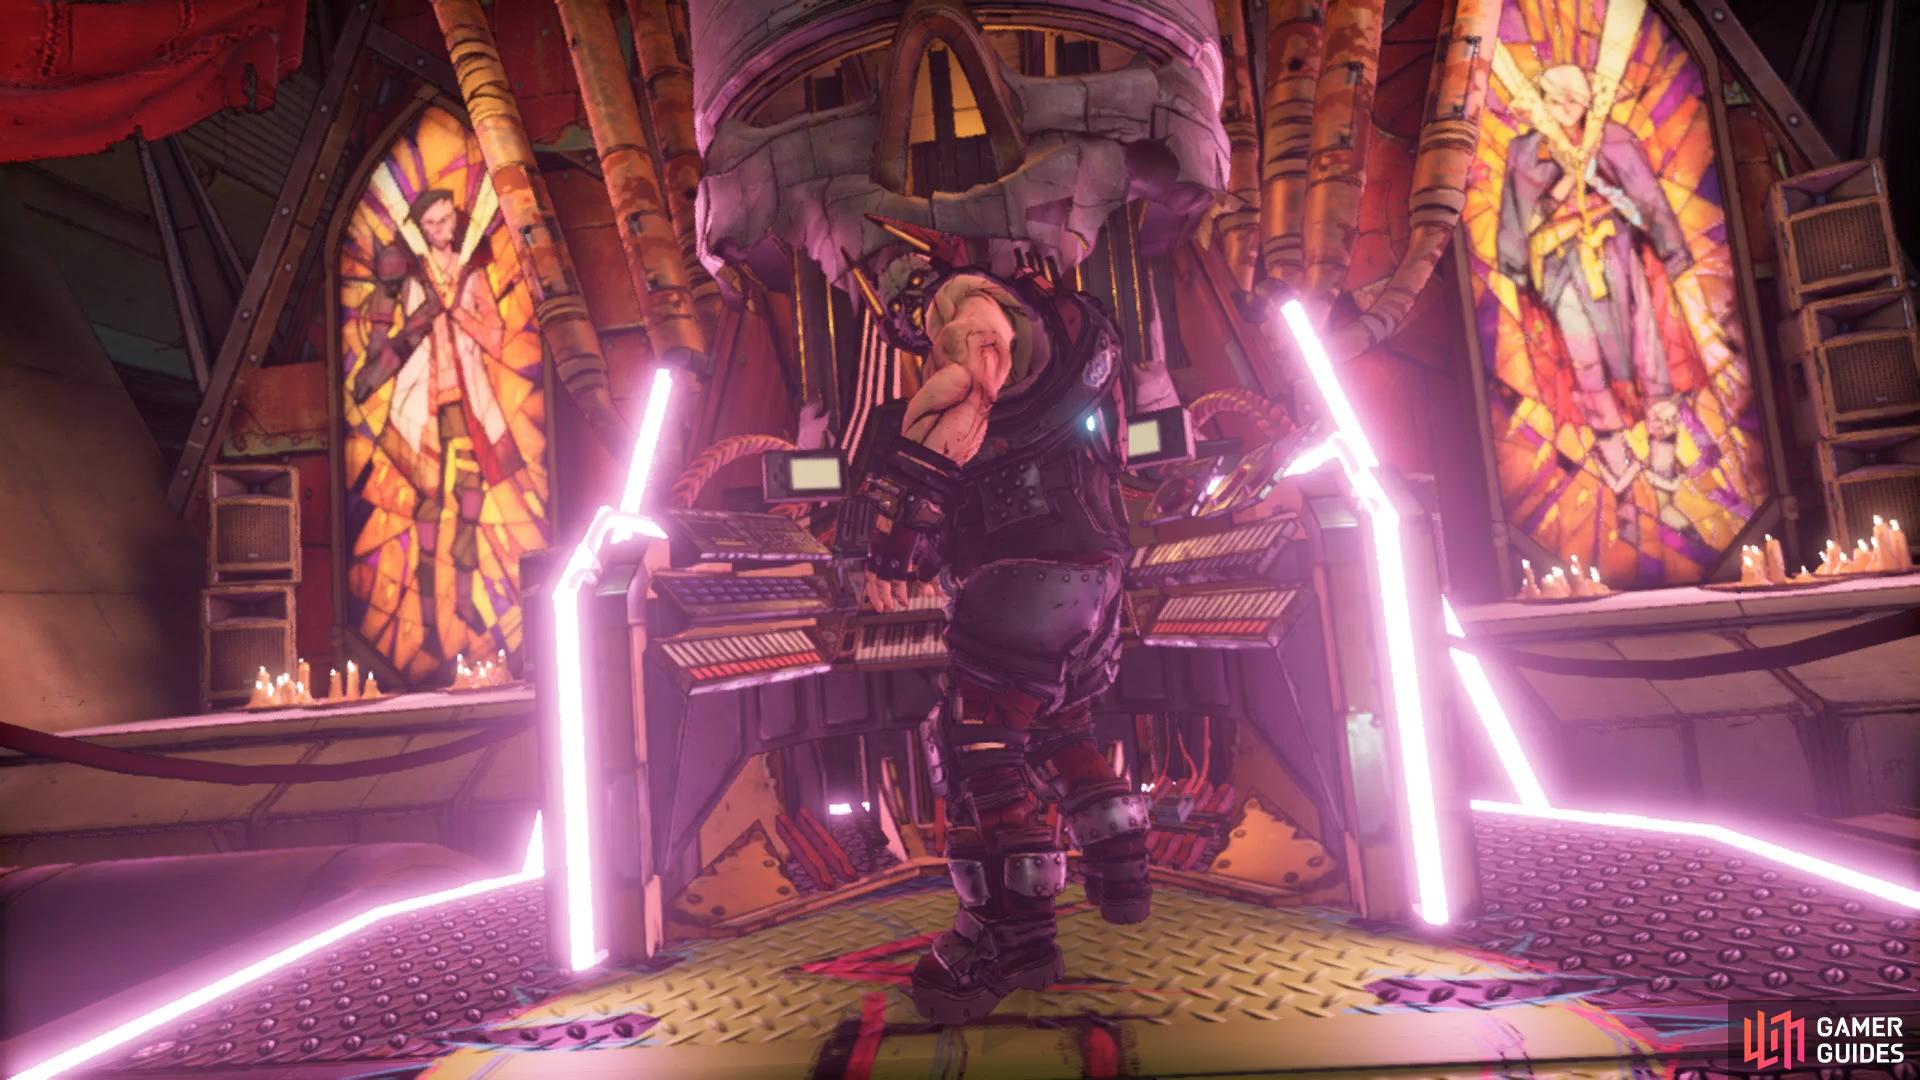
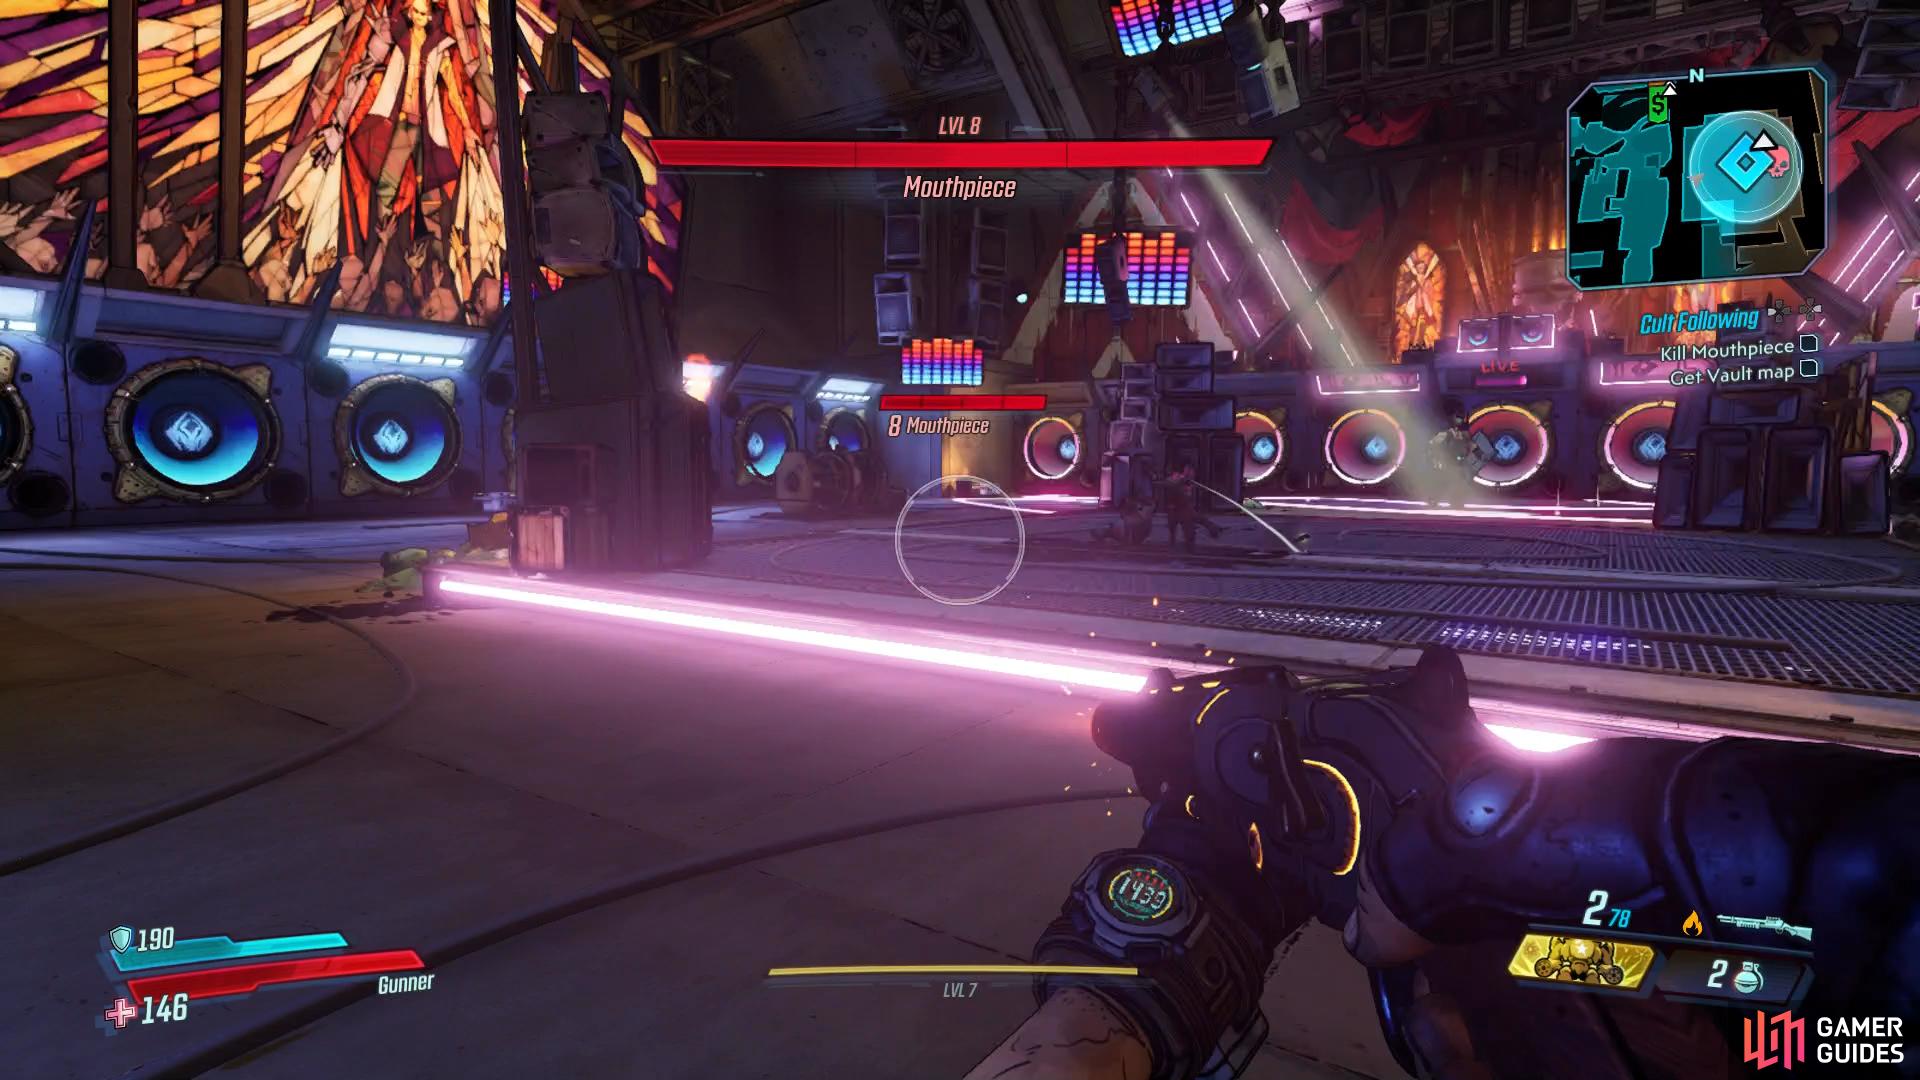
Boss: Mouthpiece
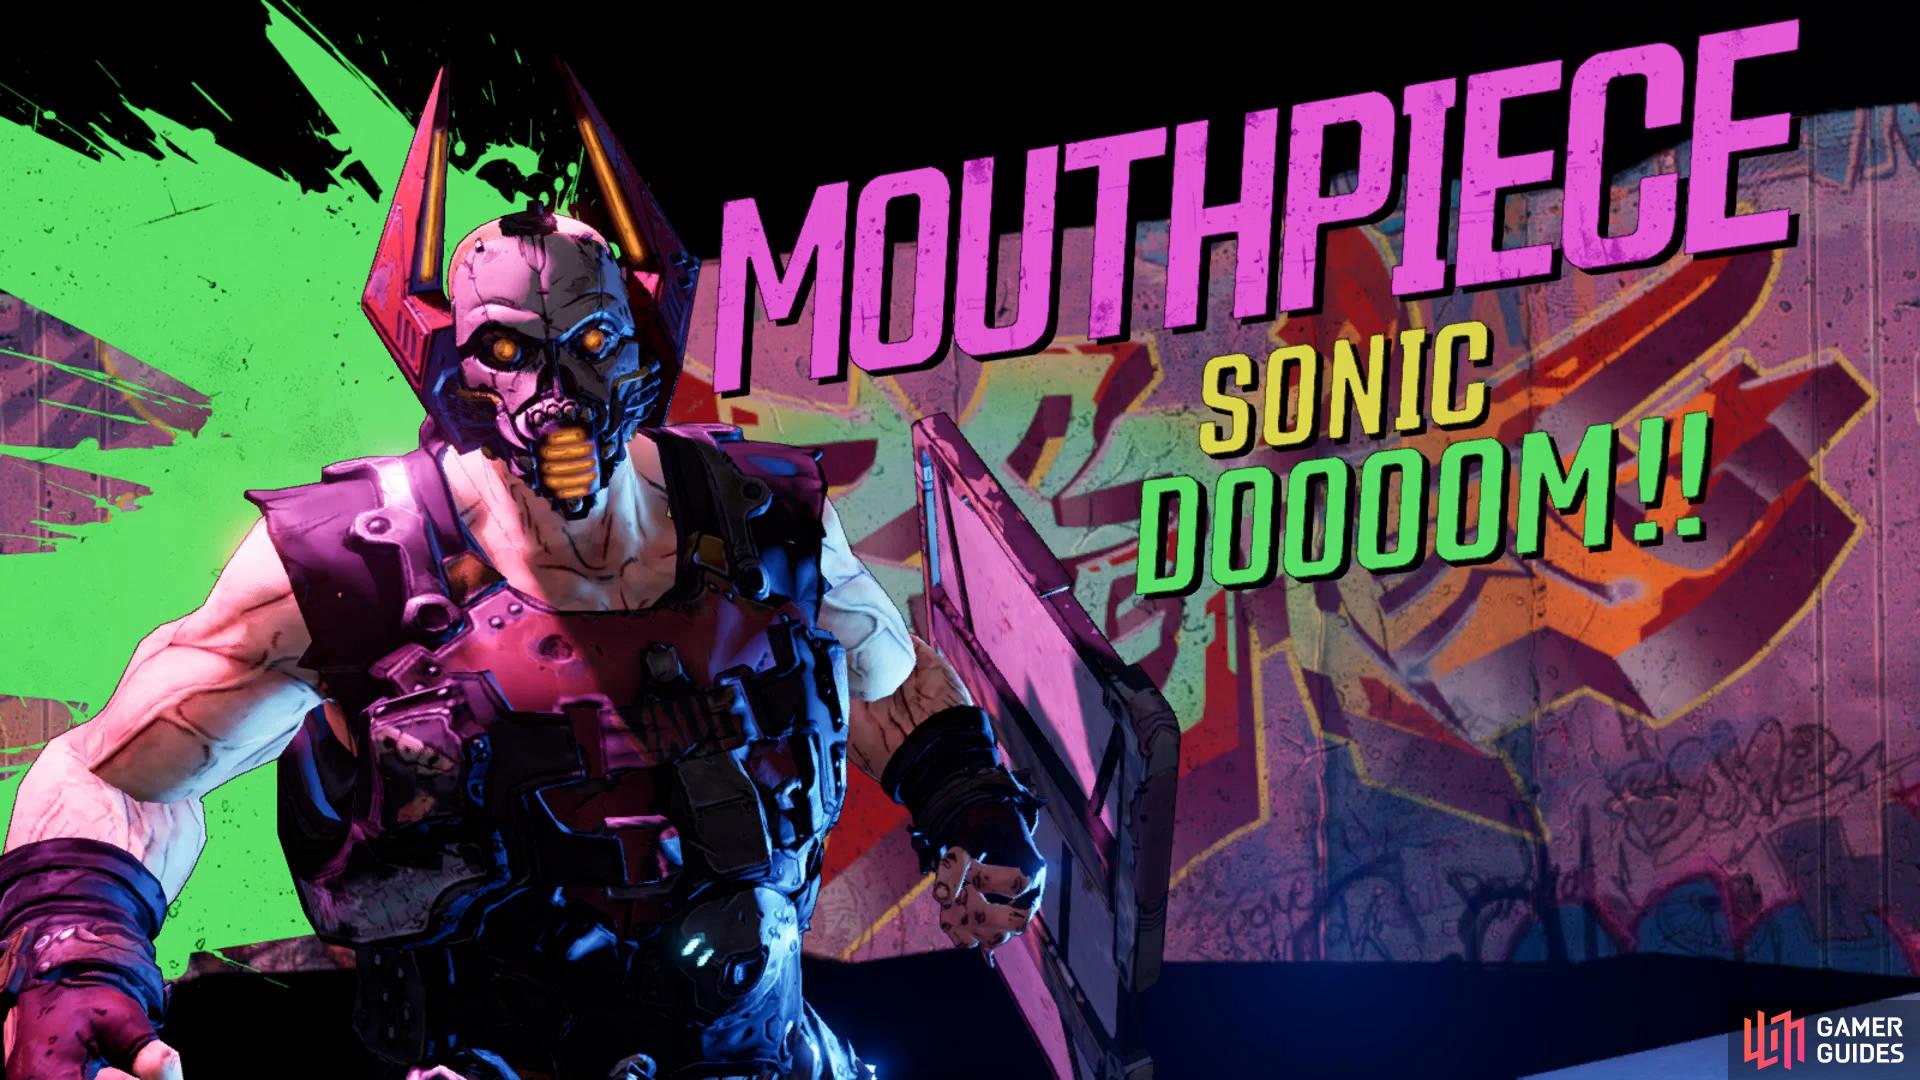
The first thing you should take note of as you enter this arena is the stacks of Speakers all around the edges and center. If you’ve been paying attention to these during the Holy Broadcast Center, you’ll know what to expect here in that once they begin to glow pink, a sound blast will shoot out in front of it dealing heavy damage. The problem here is that there’s many of them that will go off at once so you’ll need to keep an eye on which ones are pink and move accordingly, it sounds simple in practice but while you’re focusing on the boss, you can lose your bearings. The trick to identifying whether you need to run into the middle or stay on the edges is by looking at the cables on the ground, they’ll glow pink when they’re charging up.
The battle with Mouthpiece begins with him siccing his subordinates, the Apocalytes on you. These are simple bandits but you should take them out as soon as possible, the last thing you need is their damage adding to Mouthpiece owns while you fight. You can however use them as an extra source for ammo and health as the fight draws on, remember this should you run low. Additionally, you’ll find small chests all around the arena that will supply you with health and ammo so if you find yourself low, then make a run for it to top yourself up.
Mouthpiece himself isn’t too special, he comes equipped with a large shield that covers his front, this means you’ll need to shoot him in the back, a task done easier in either Group play or when controlling FL4K (use his pet as an extra target) or Zane (make use of Digi-clones). Alternatively and more lucratively, aim for Mouthpiece’s head where you’ll deal more damage as his shield doesn’t cover it.
A good Shotgun helps here, especially if you was fortunate enough to get the Legendary from Under Taker earlier and both Moze’s Iron Bear Action Skill and Amara’s Phaseslam will allow you to deal large amounts of damage to Mouthpiece quickly. As long as you keep on the move to avoid the speakers and prevent too many Apocalytes from being out at once then you shouldn’t have too many problems as Mouthpiece himself is little threat.
The potential rewards for Mouthpiece is the unique Rare Pistol [The Killing Word], a COV pistol that fires in waves. If you’re even more fortunate or take the time to farm it, Mouthpiece will also drop the unique Legendary Maliwan Shotgun [Mind-Killer] which can shoot both regular or charged shots, a fantastic Shotgun if you can grab it.
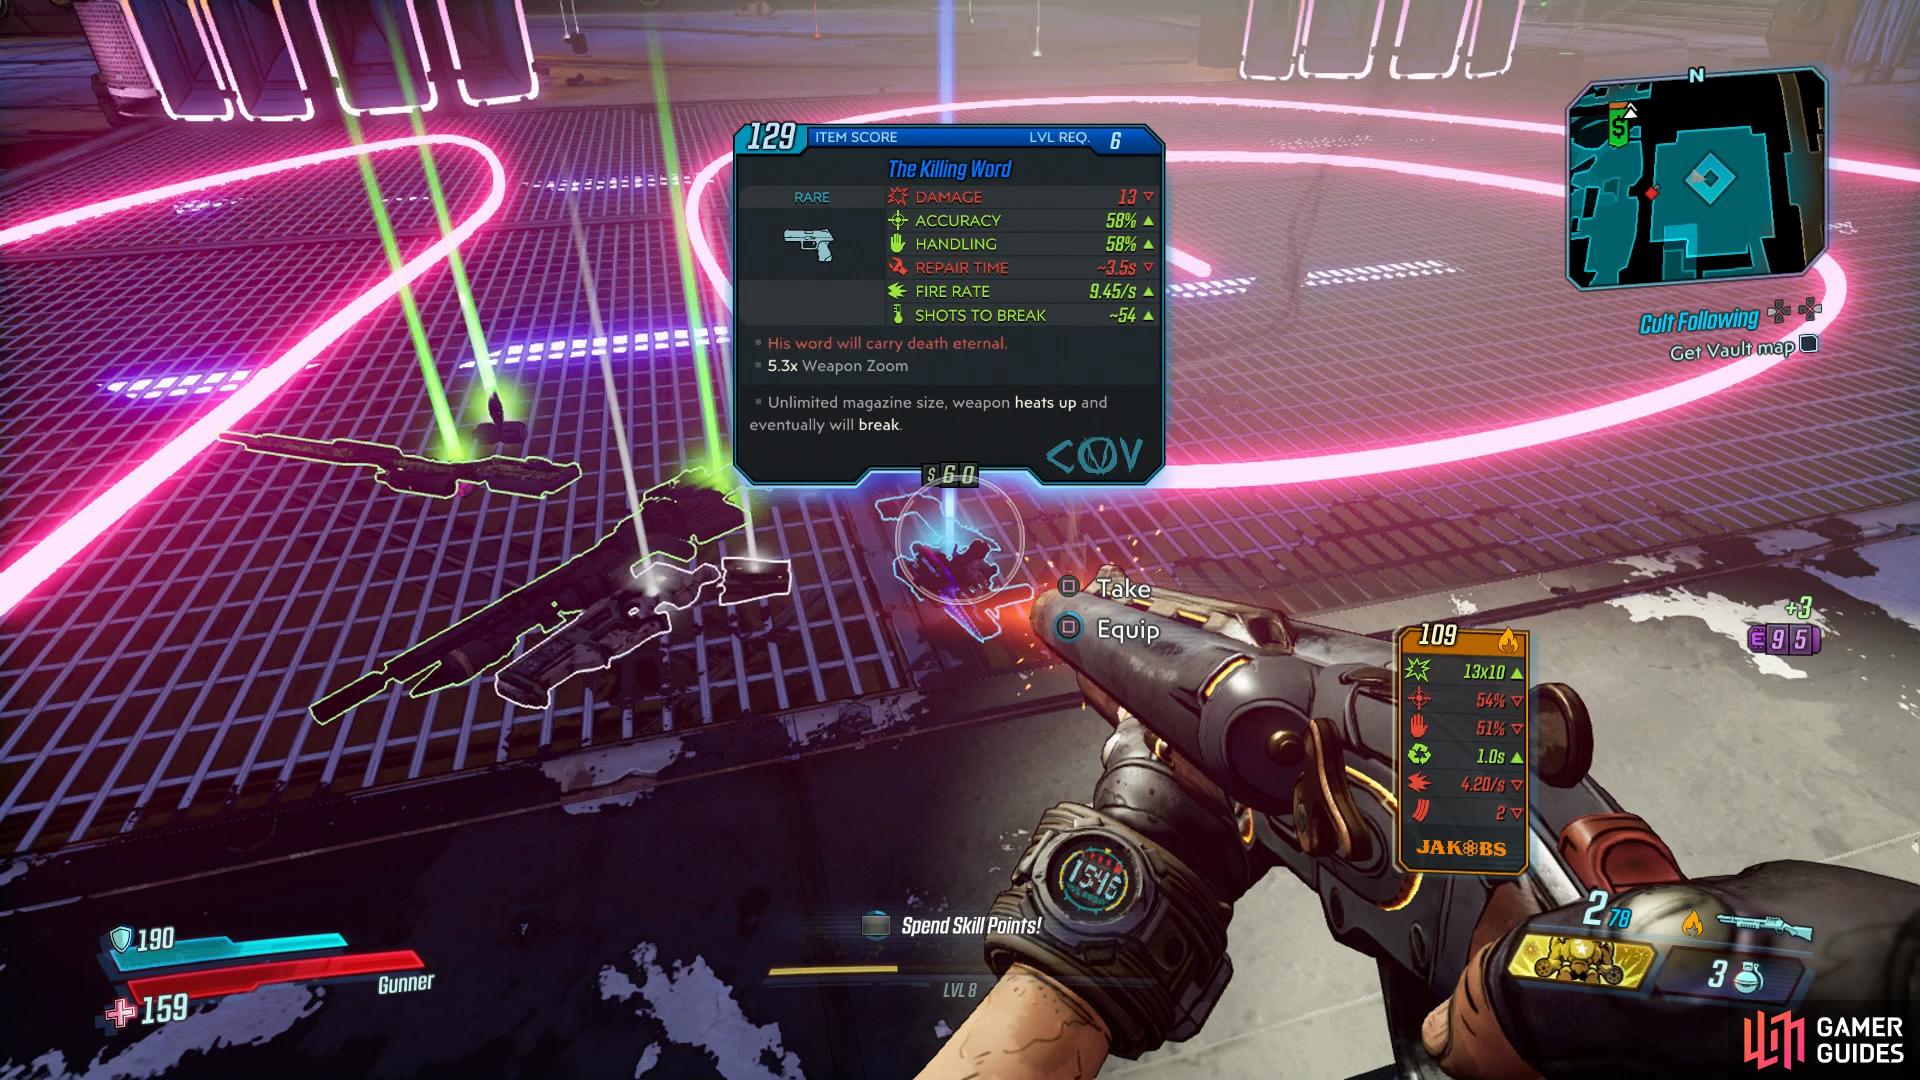
The two unique rewards are this Rare COV Pistol
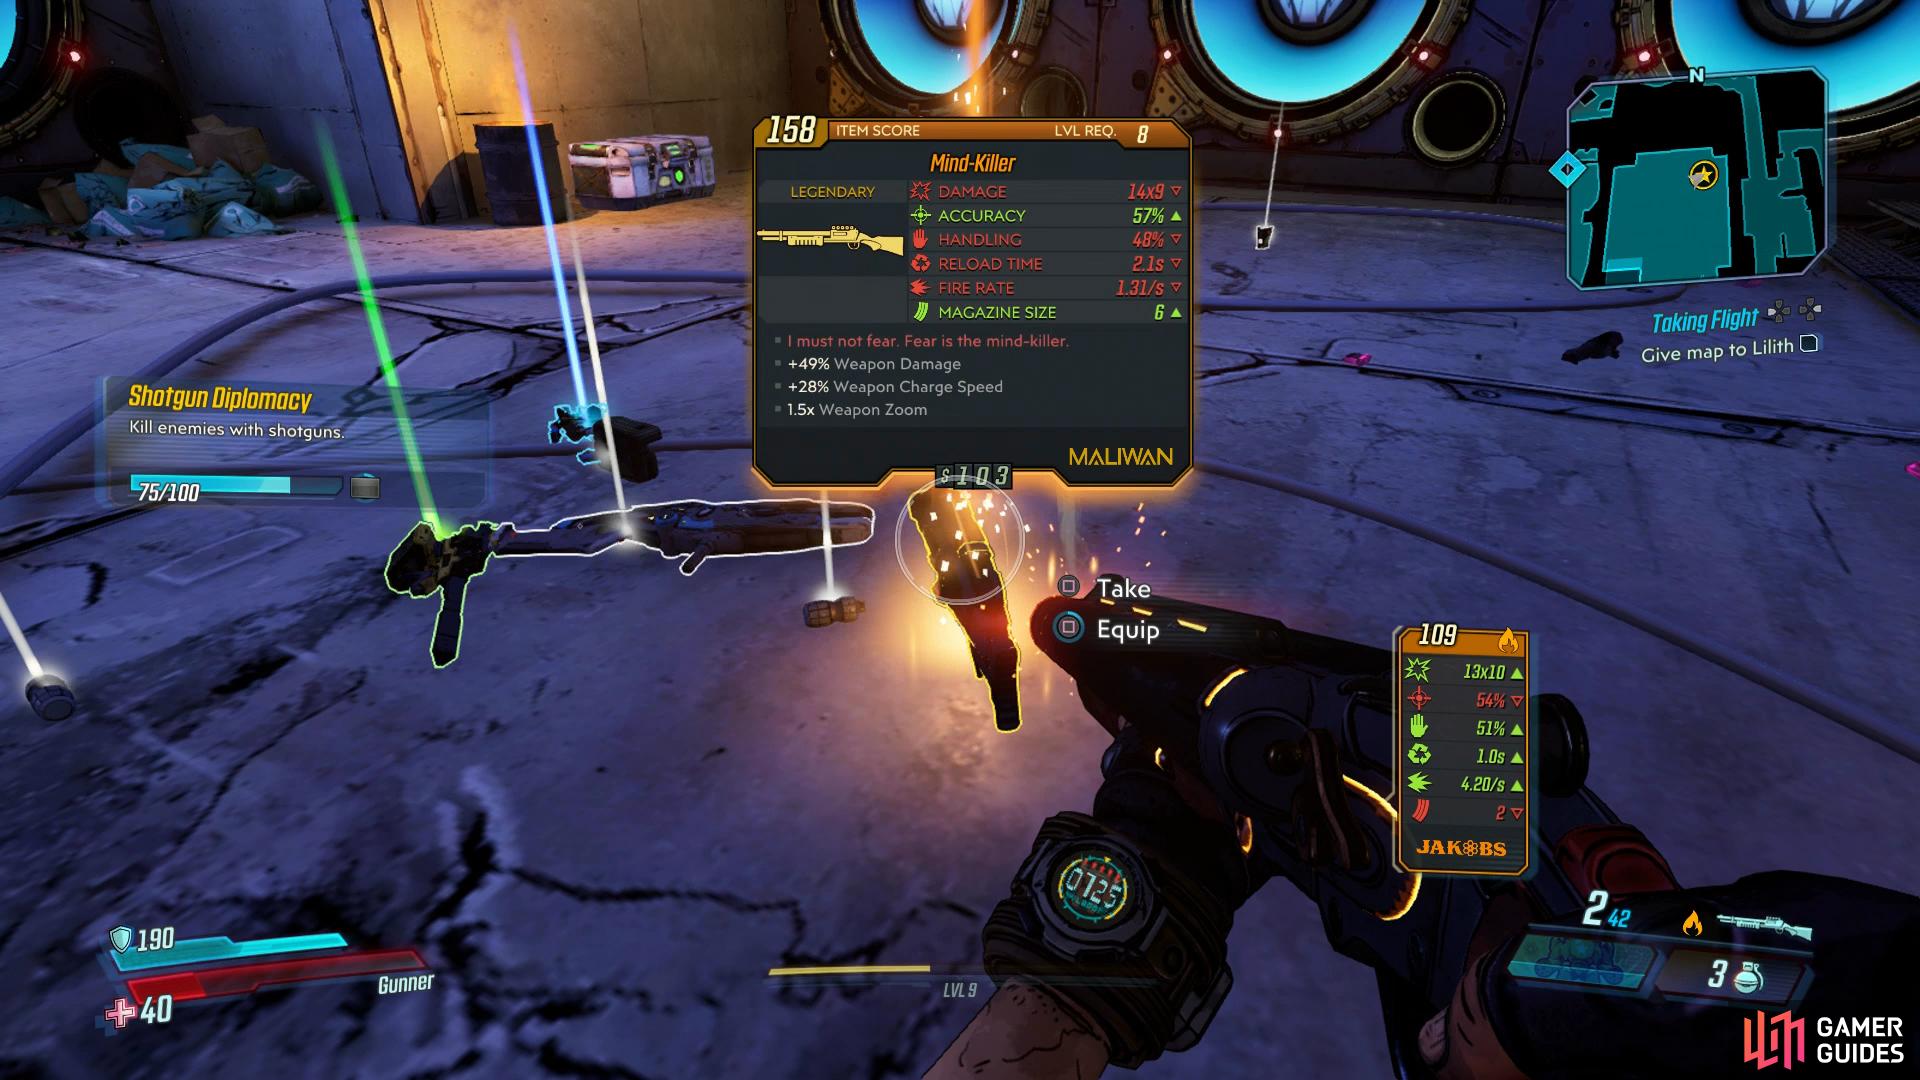
and a very useful Legendary Maliwan Shotgun.
Once Mouthpiece is defeated, grab the Vault Map that he drops and you’ll learn a bit more about the Calypso Twins. All that’s left to do now is return to Lilith but first, there’s a few more optional tasks to take care of.
Talk to Lilith
Head up the stairs to the south of the room you fought Mouthpiece and take a right when you can to find a White Chest at the end along with an Echo. Head back the other way and continue around to find a new Side Mission, Head Case. You can complete this on your way out of the Holy Broadcast Center as it all mainly takes place in the same area. With that accepted, either head to the start of this area to begin that Side Mission or Fast Travel back to The Droughts to turn in this mission and obtain your reward.
No Comments