

Dead Claptrap - Path of Sacrifice


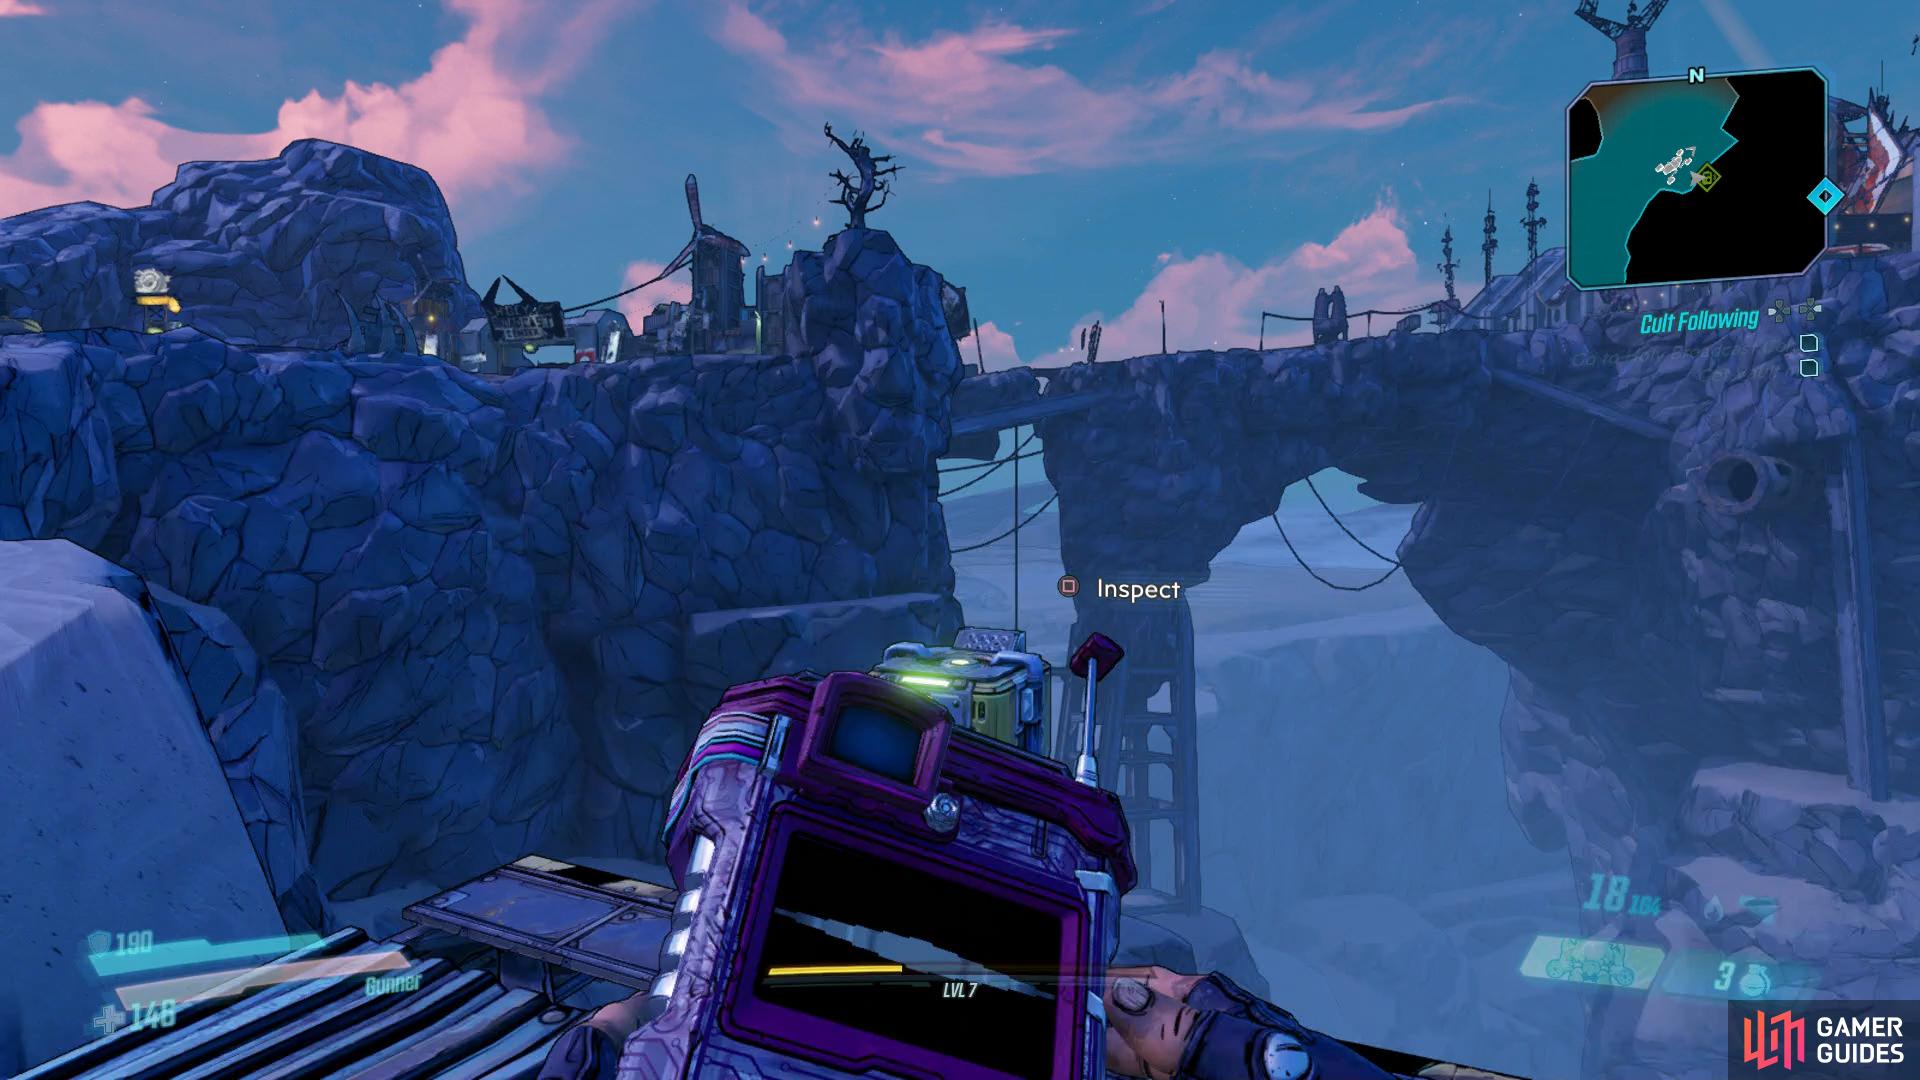
(1 of 2) Head along the Path of Sacrifice on the way to the Holy Broadcast Center
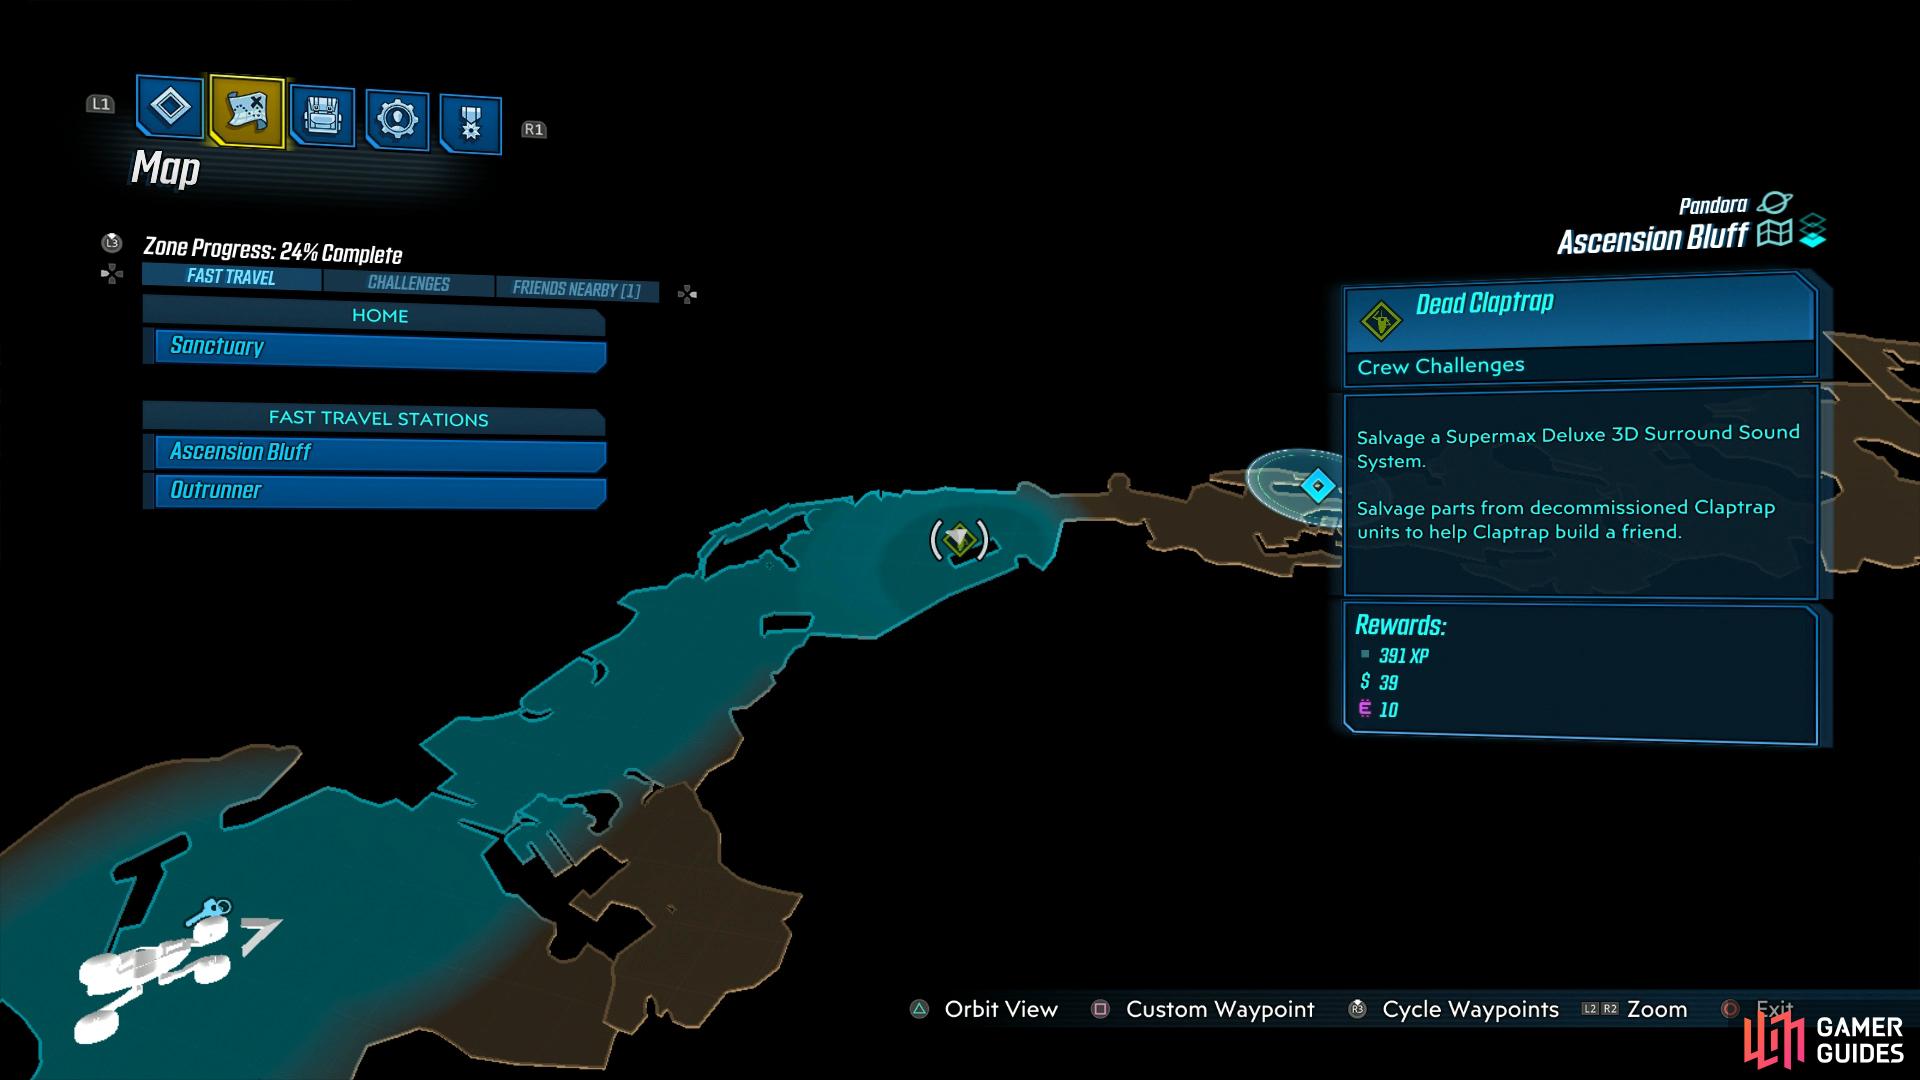
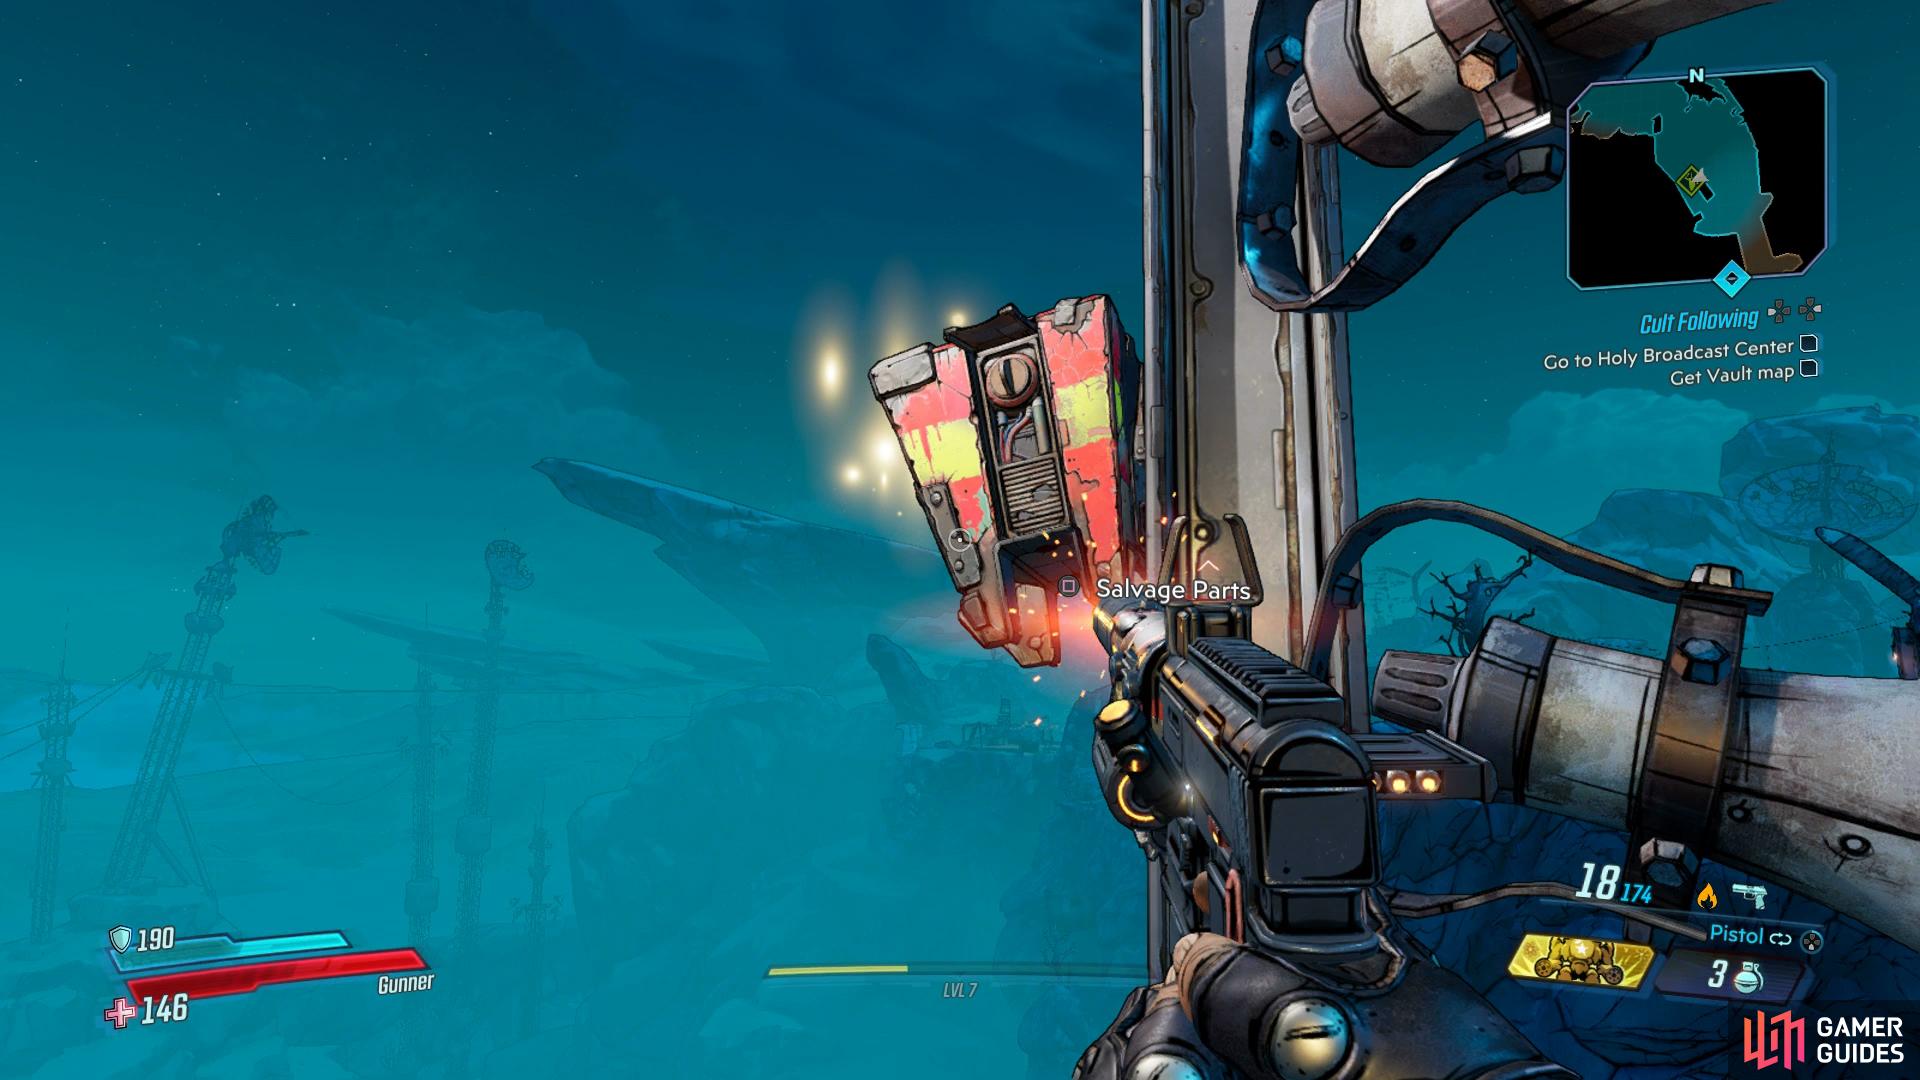
Head along the Path of Sacrifice on the way to the Holy Broadcast Center (left), you’ll find the Dead Claptrap on the container to the right. (right)
As you make your way to the Path of Sacrifice on your way to The Holy Broadcast Center, look on your right for a container. Climb on to it and you’ll spot the Claptrap.
Hijack Vehicle - Spit Respite

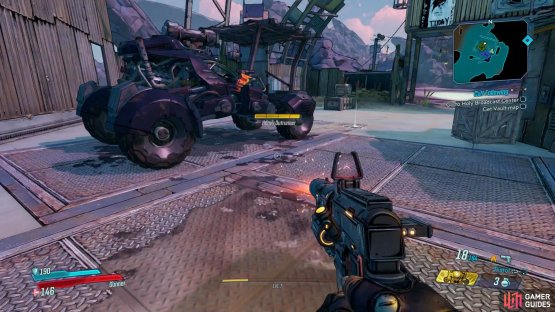
(1 of 2) Look along the south of the map for this small garage
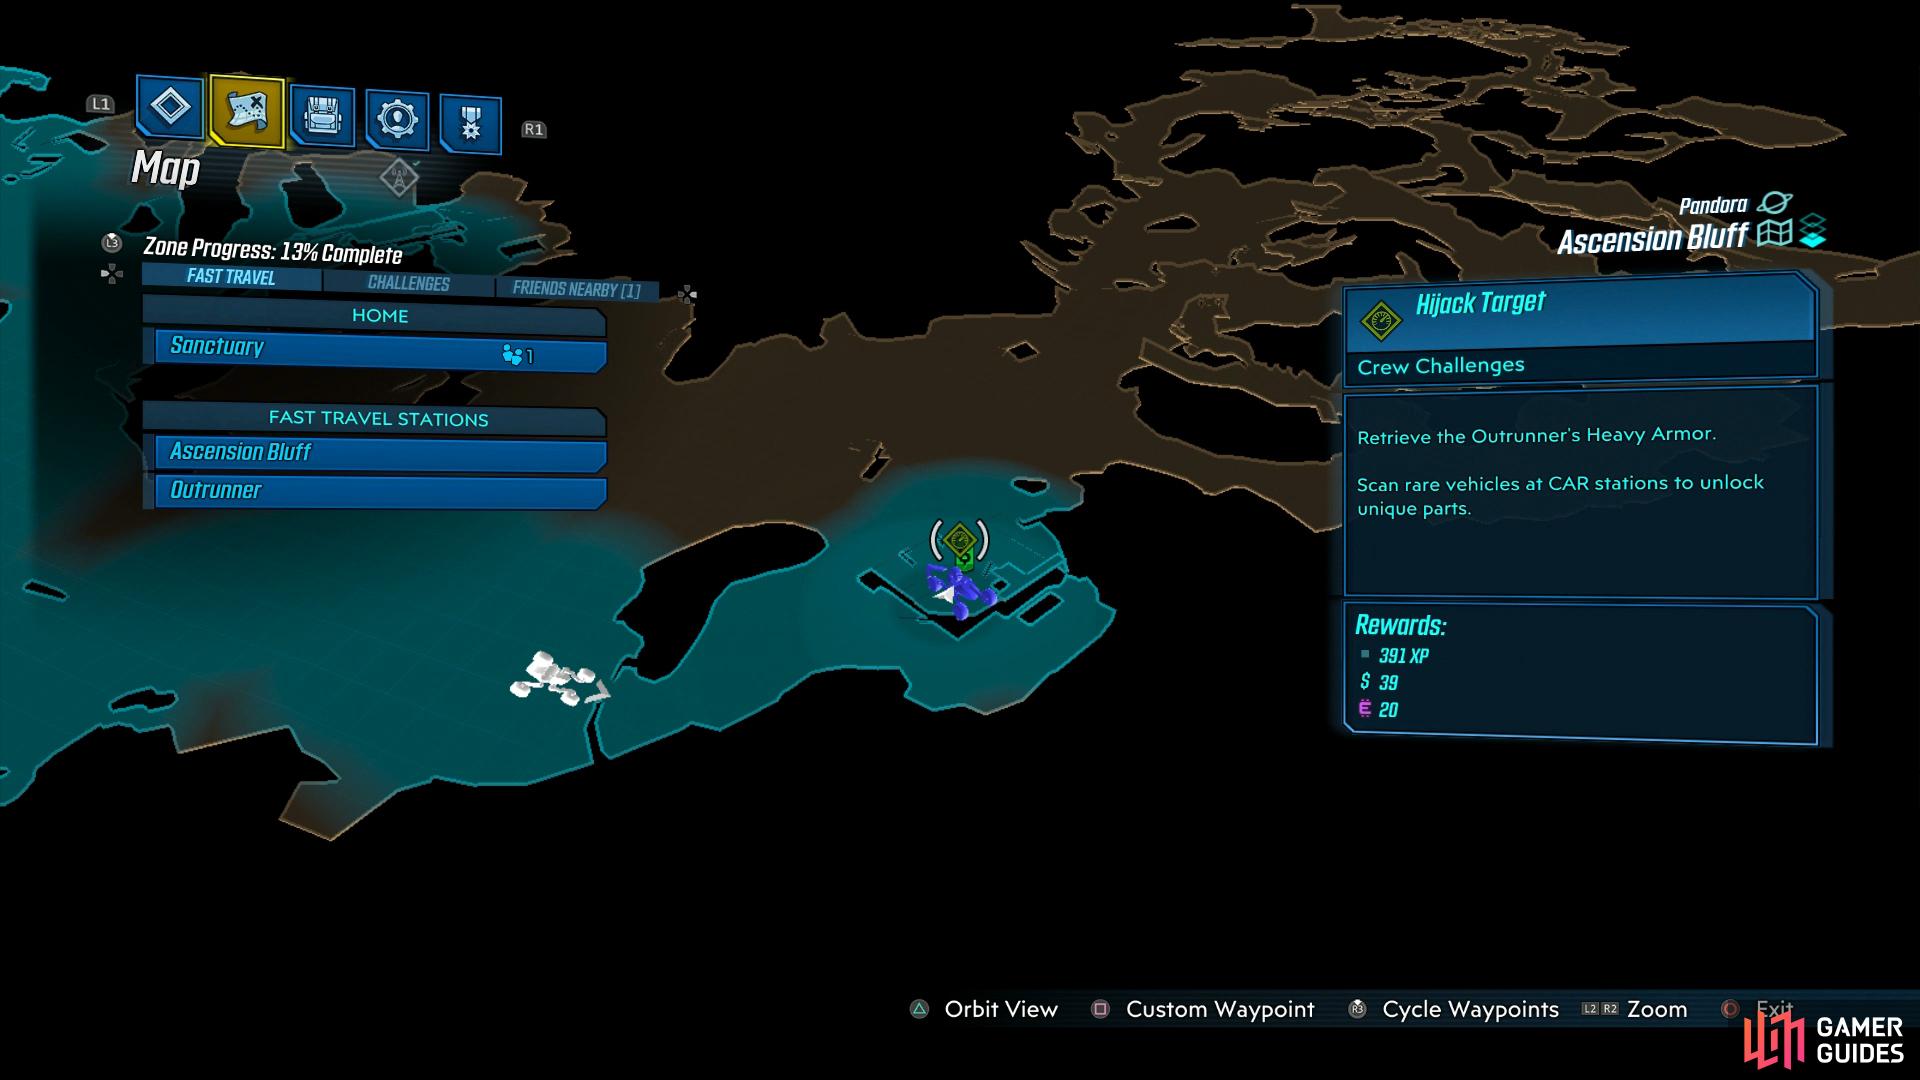

Look along the south of the map for this small garage (left), press the button on the container to open the gate and bust out. (right)
Take a look along the southern part of the map and you’ll come across Spit Respite just south of a Catch-A-Ride. Come in from the side and kill the enemies before pressing a button on the container at the back to raise the gate. From here it’s just a short drive forward to the nearby Catch-A-Ride.
Crimson Radio - The Sty
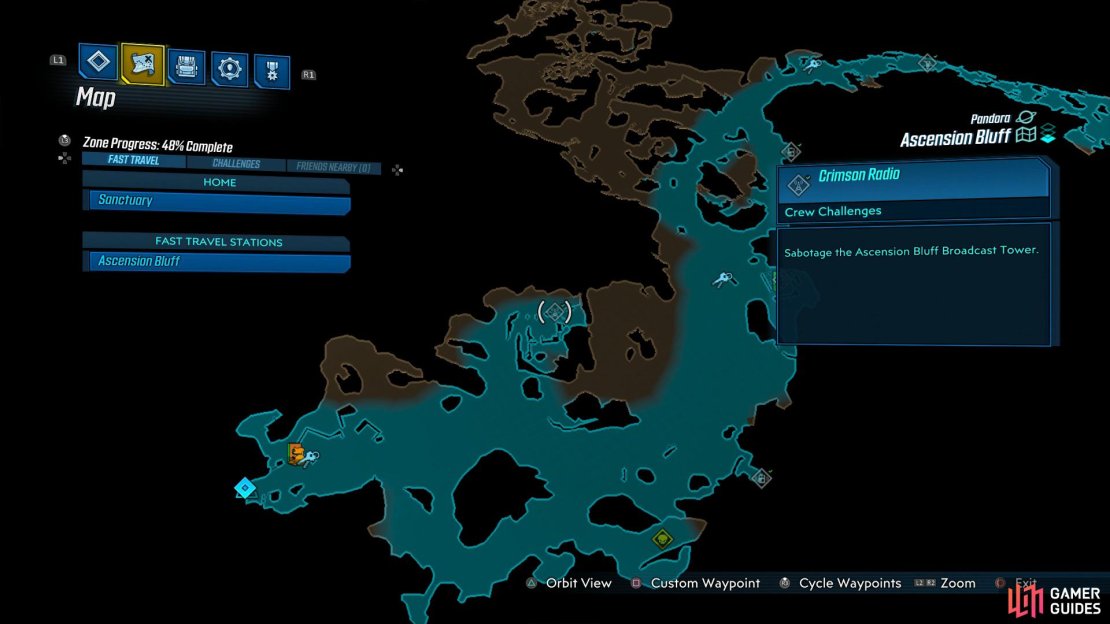
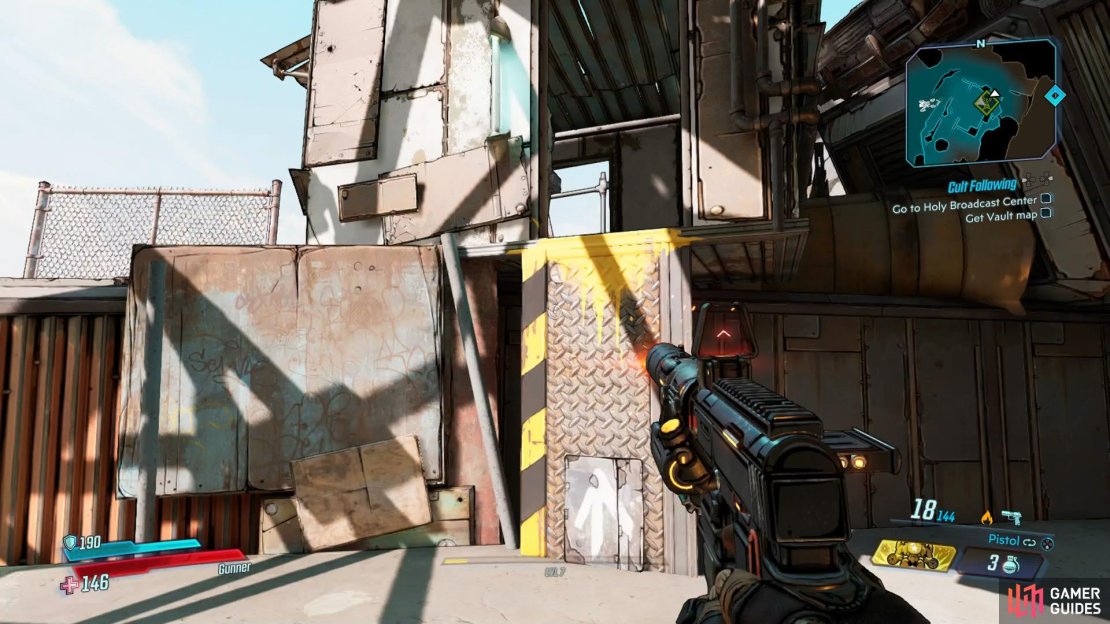
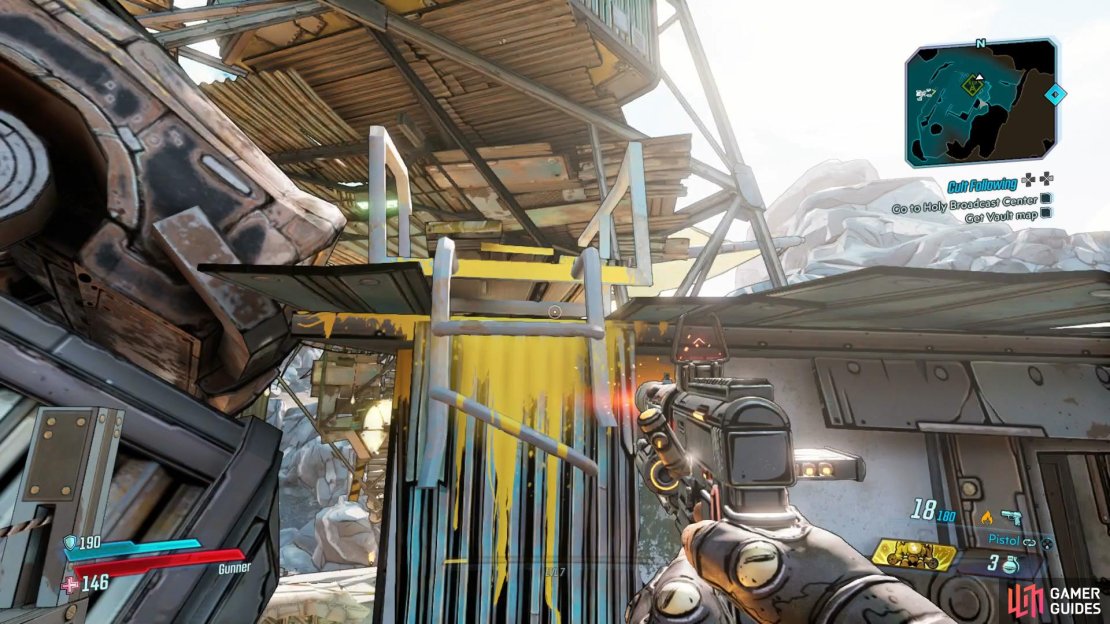
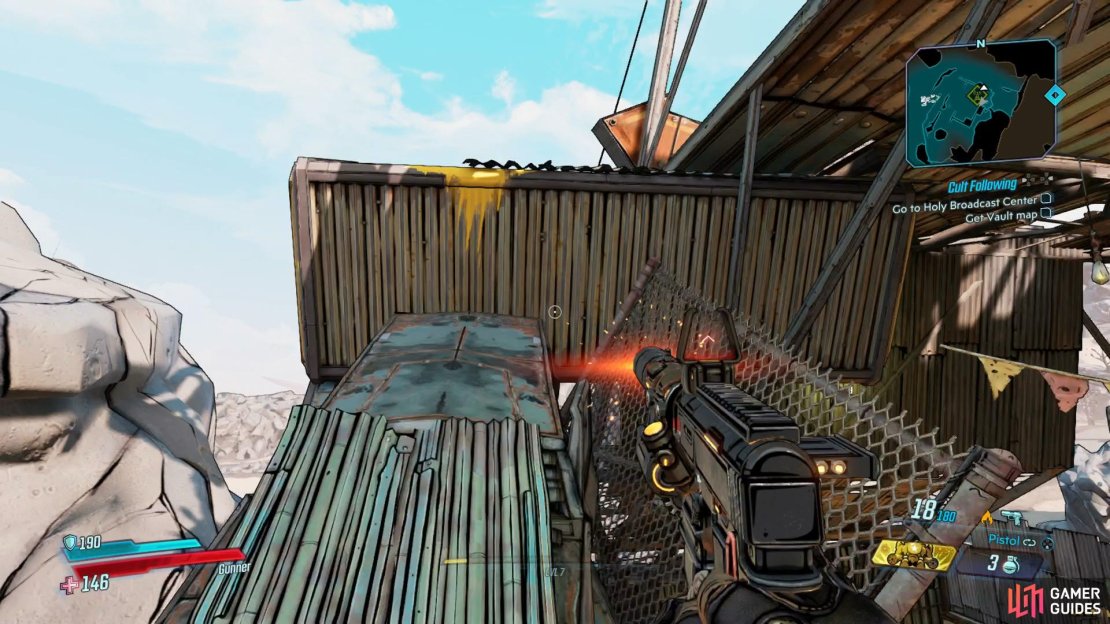
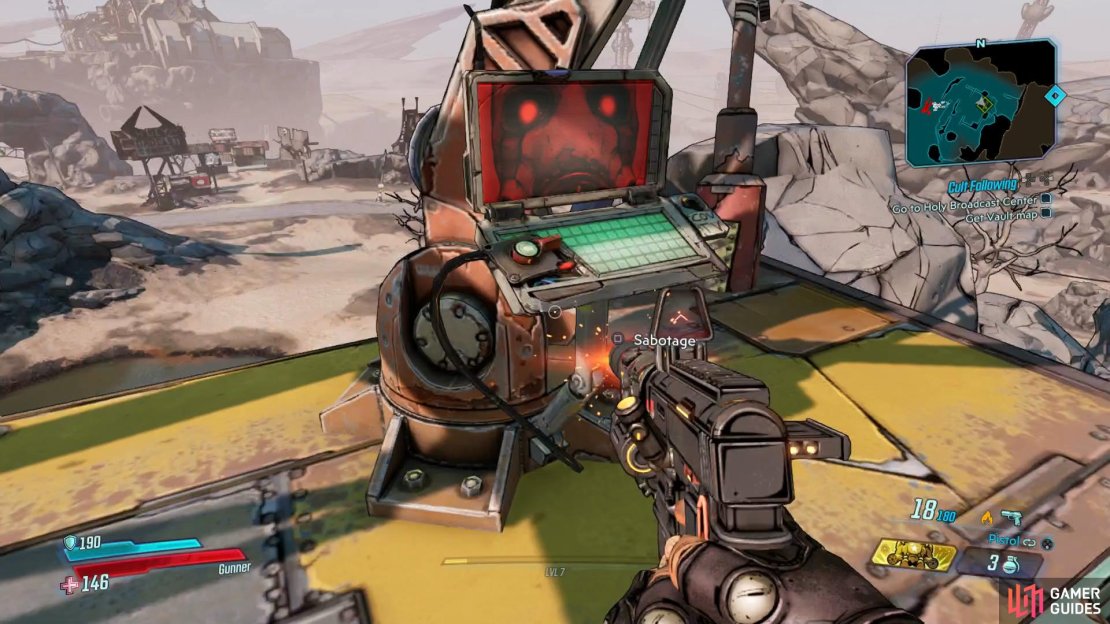
You’ll find The Sty just to the northeast of the entrance to Ascension Bluff and as you enter, you’ll need to take out a group of COVs. Once they’re dead, follow the steps in the images above to find the comms and sabotage them.
Legendary Hunt - Skrakk Lvl 9 - South of The Sty
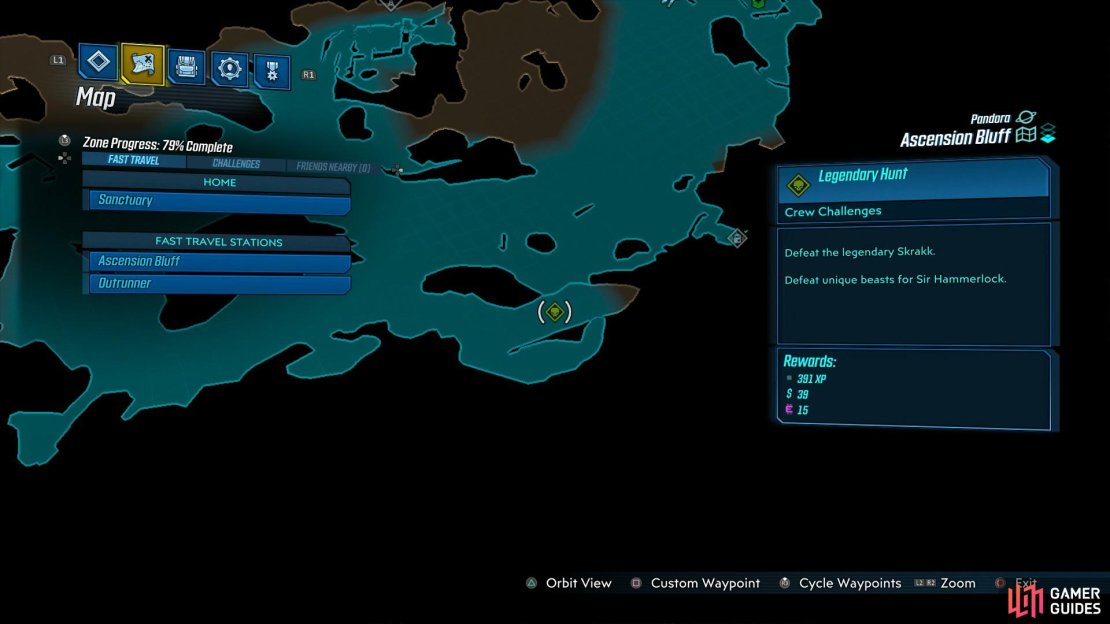


(1 of 4) Head south of The Sty from the west to reach this area
You’ll find Skrakk in an open area to the south of The Sty, to reach the area you’ll need to find the yellow pain on the west side showing the way up. Skrakk itself isn’t too much trouble so long as you fight it around it’s level. Your first task is to dispatch all of the Skags in the area, stay on the move though to avoid Skrakk swooping in. Skrakk itself is vulnerable on it’s wings, aim your shots at that position to deal critical damage and take it down.
Typhon Log #1 - East of Legendary Hunt
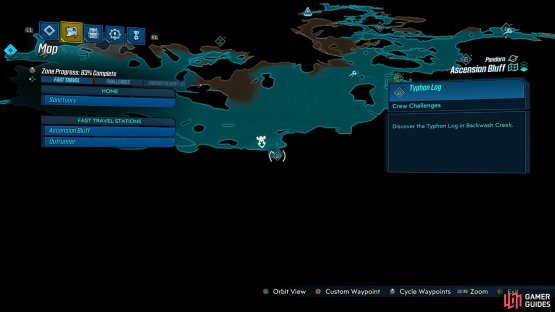

(1 of 2) Search the cliff east of the Legendary Hunt

Search the cliff east of the Legendary Hunt (left), this Typhon Log overlooks the cliff. (right)
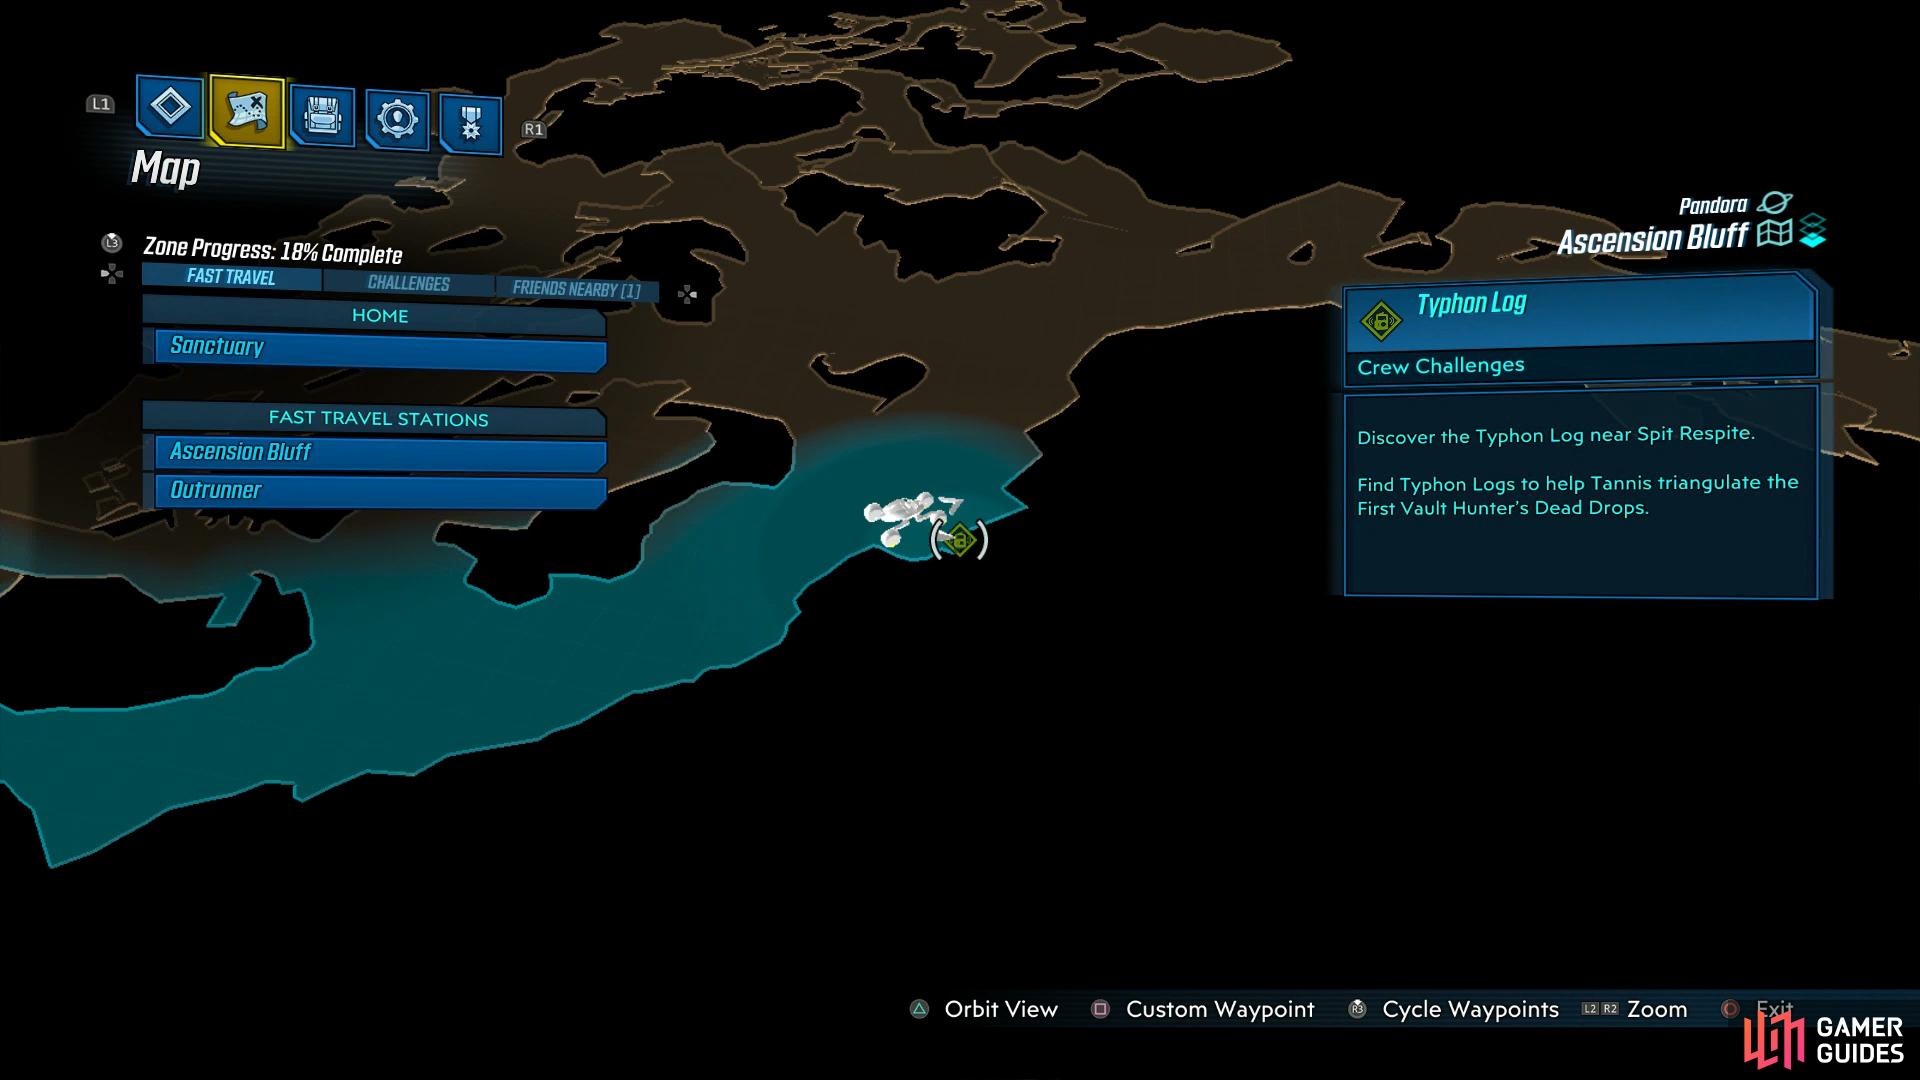
Leave the arena where you fought the Legendary Hunt and continue along the southern edge of the map to spot the first Typhon Log along the cliffside.
Typhon Log #2 - Northeast of Spit Respite


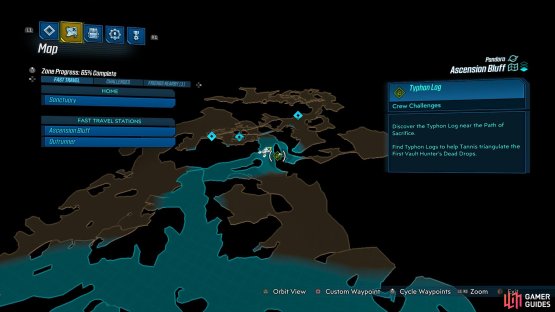
(1 of 2) Head east along the southern edge from Spit Respite
Head east along the southern edge from Spit Respite (left), this is another Typhon Log that sits on the cliff’s edge. (right)
Continue east from Spit’s Respite along the southern edge to find a second Typhon Log sitting along the cliff’s edge.
Typhon Log #3 - Northern area of the map

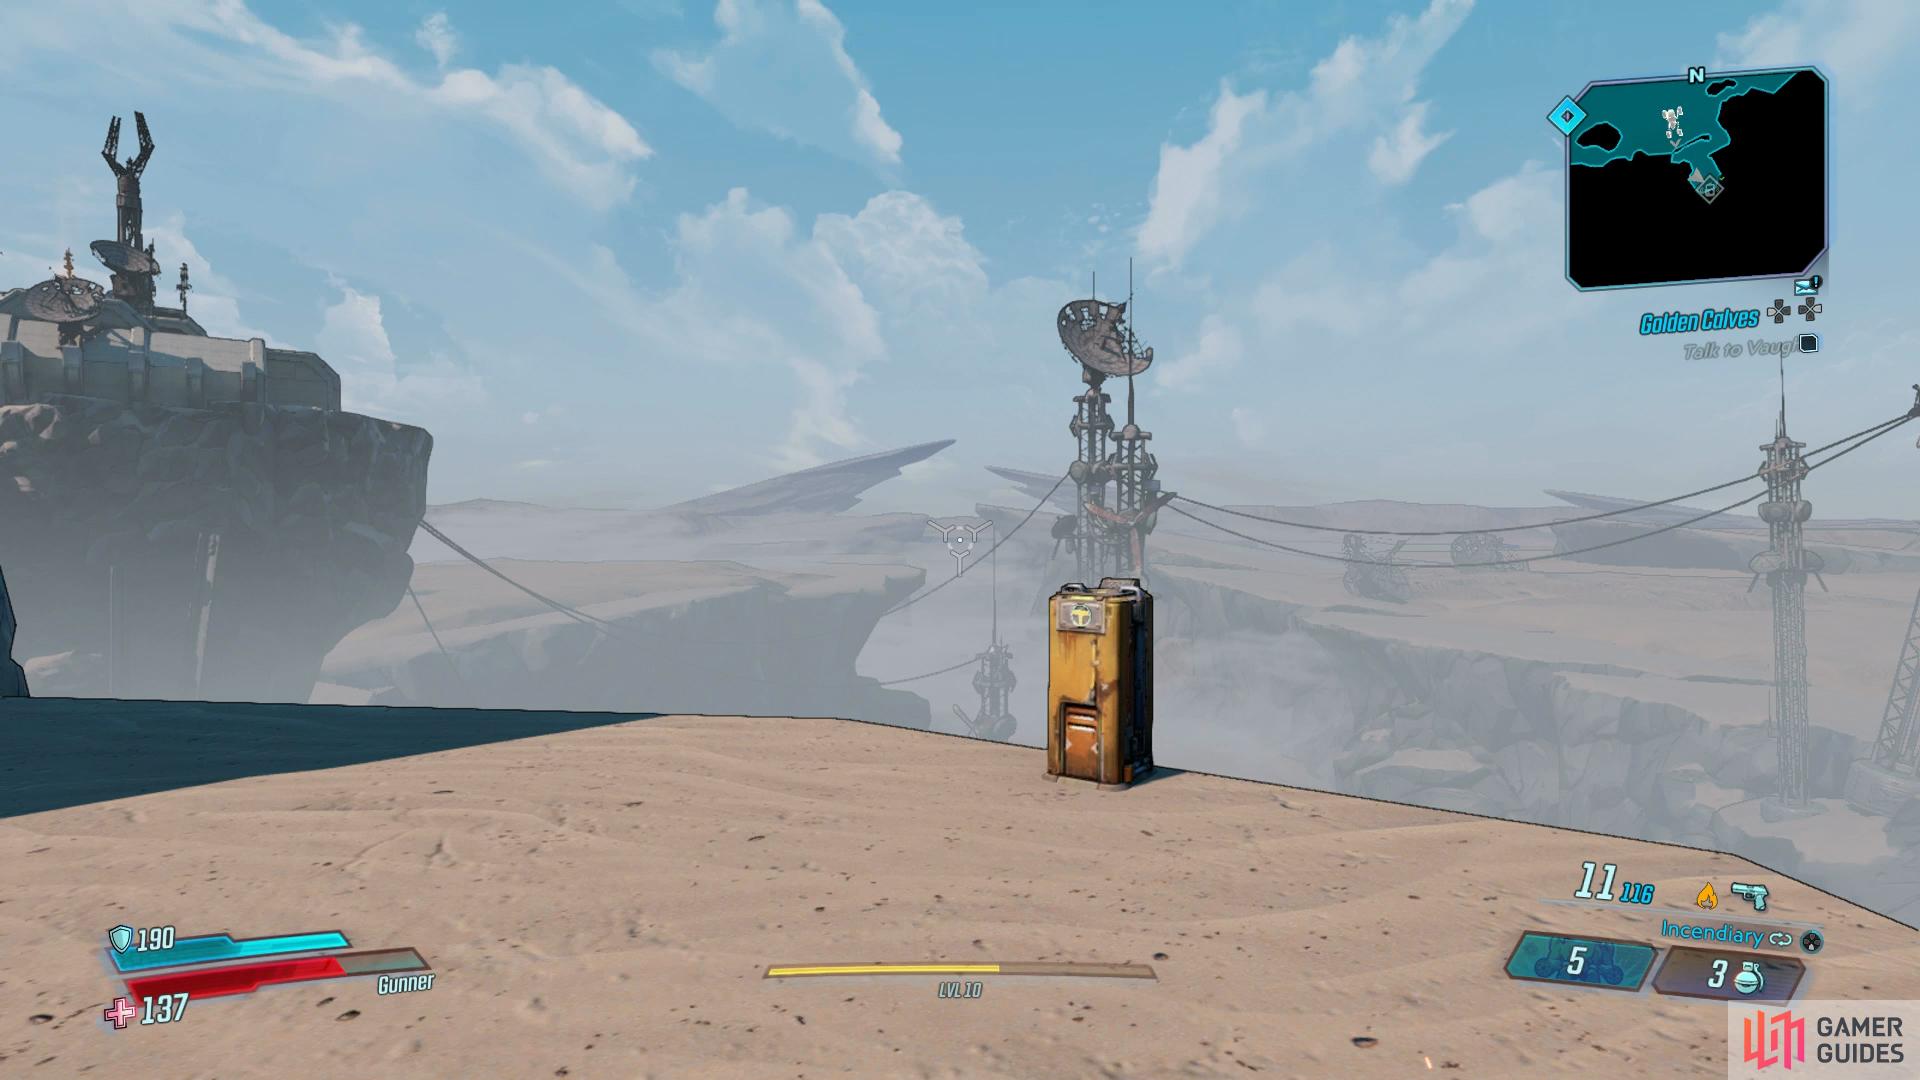
(1 of 2) You’ll find this along the path to the area for the Golden Calves Side Mission


You’ll find this along the path to the area for the Golden Calves Side Mission (left), once again, this overlooks a cliff. (right)
Once you accept the Side Mission Golden Calves, you’ll have to travel to the northern part of the map. Search around where the map indicates to find this Typhon Log overlooking yet another cliff.
Typhon Dead Drop - Outside Path of Sacrifice


(1 of 2) Head to the Catch-A-Ride just before the Path of Sacrifice
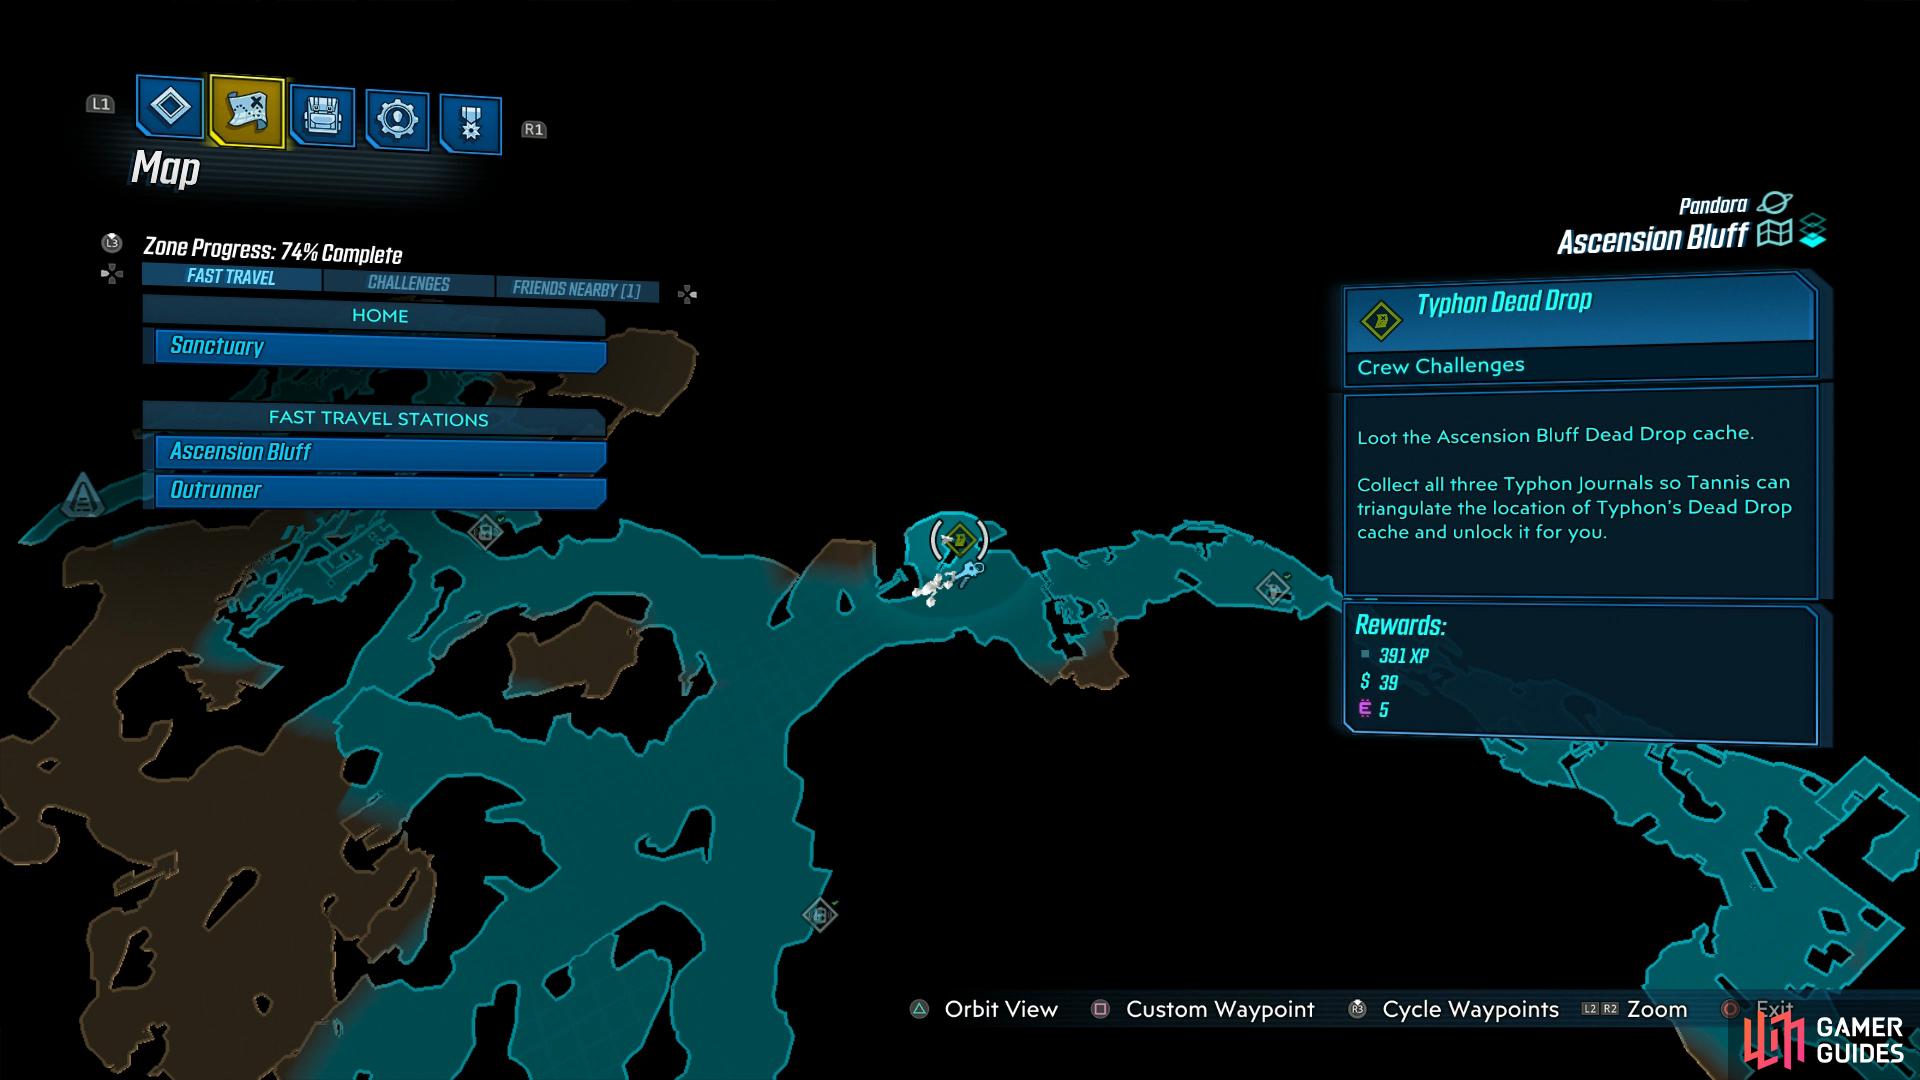
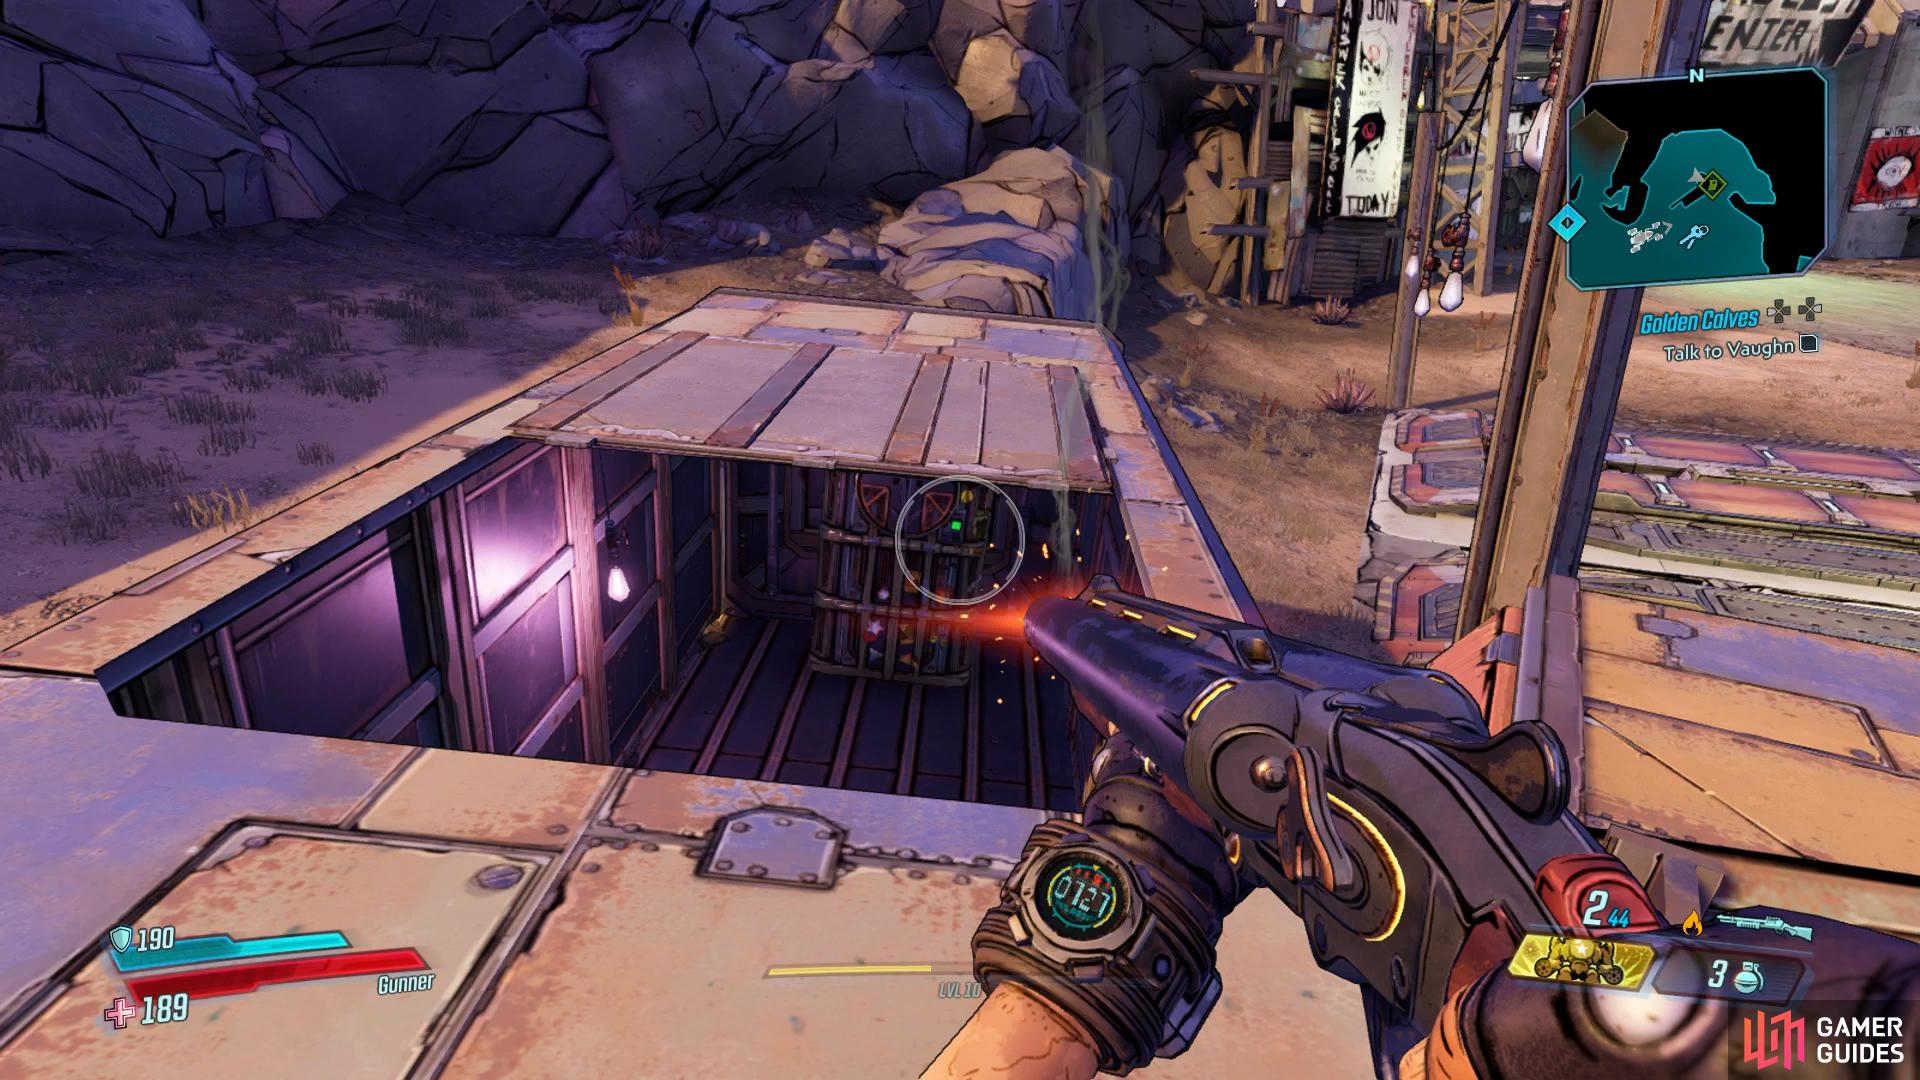
Head to the Catch-A-Ride just before the Path of Sacrifice (left), the Dead Drop can be found in one of the containers. (right)
Once you’ve found all three Typhon Logs, head to the Catch-A-Ride just before the Path of Sacrifice and climb on top of the container at the back, the Dead Drop is inside.
No Comments