

| Quest Giver | Reward | Lvl |
|---|---|---|
| Lilith - Sanctuary | Cash, Rare Head Piece | 34 |
Return to Sanctuary, Say your goodbyes
Open your map and return to Sanctuary and make your way to the bridge to speak to Lilith and then rush to the window to take a look outside. With the way matters are unfolding, you won’t get another chance to take on the Calypsos so before speaking to Lilith a second time, head around Sanctuary and say your goodbyes to all of the important people there. Of particular note, Hammerlock will hand over an Epic Pistol and Moxxi who will advise you to use the slots, this will guarantee a weapon from it this one time.
Once you’re done with them all, speak to Lilith once more before making your way back to Roland’s Rest to meet up with Vaughn. Grab yourself a vehicle from the Catch-A-Ride and race back towards where the turrets were previously and take care of the COV to the west of them. Take the stairs up afterwards to meet with Tannis and watch as she alters the turrets, allowing you to enter the area ahead.
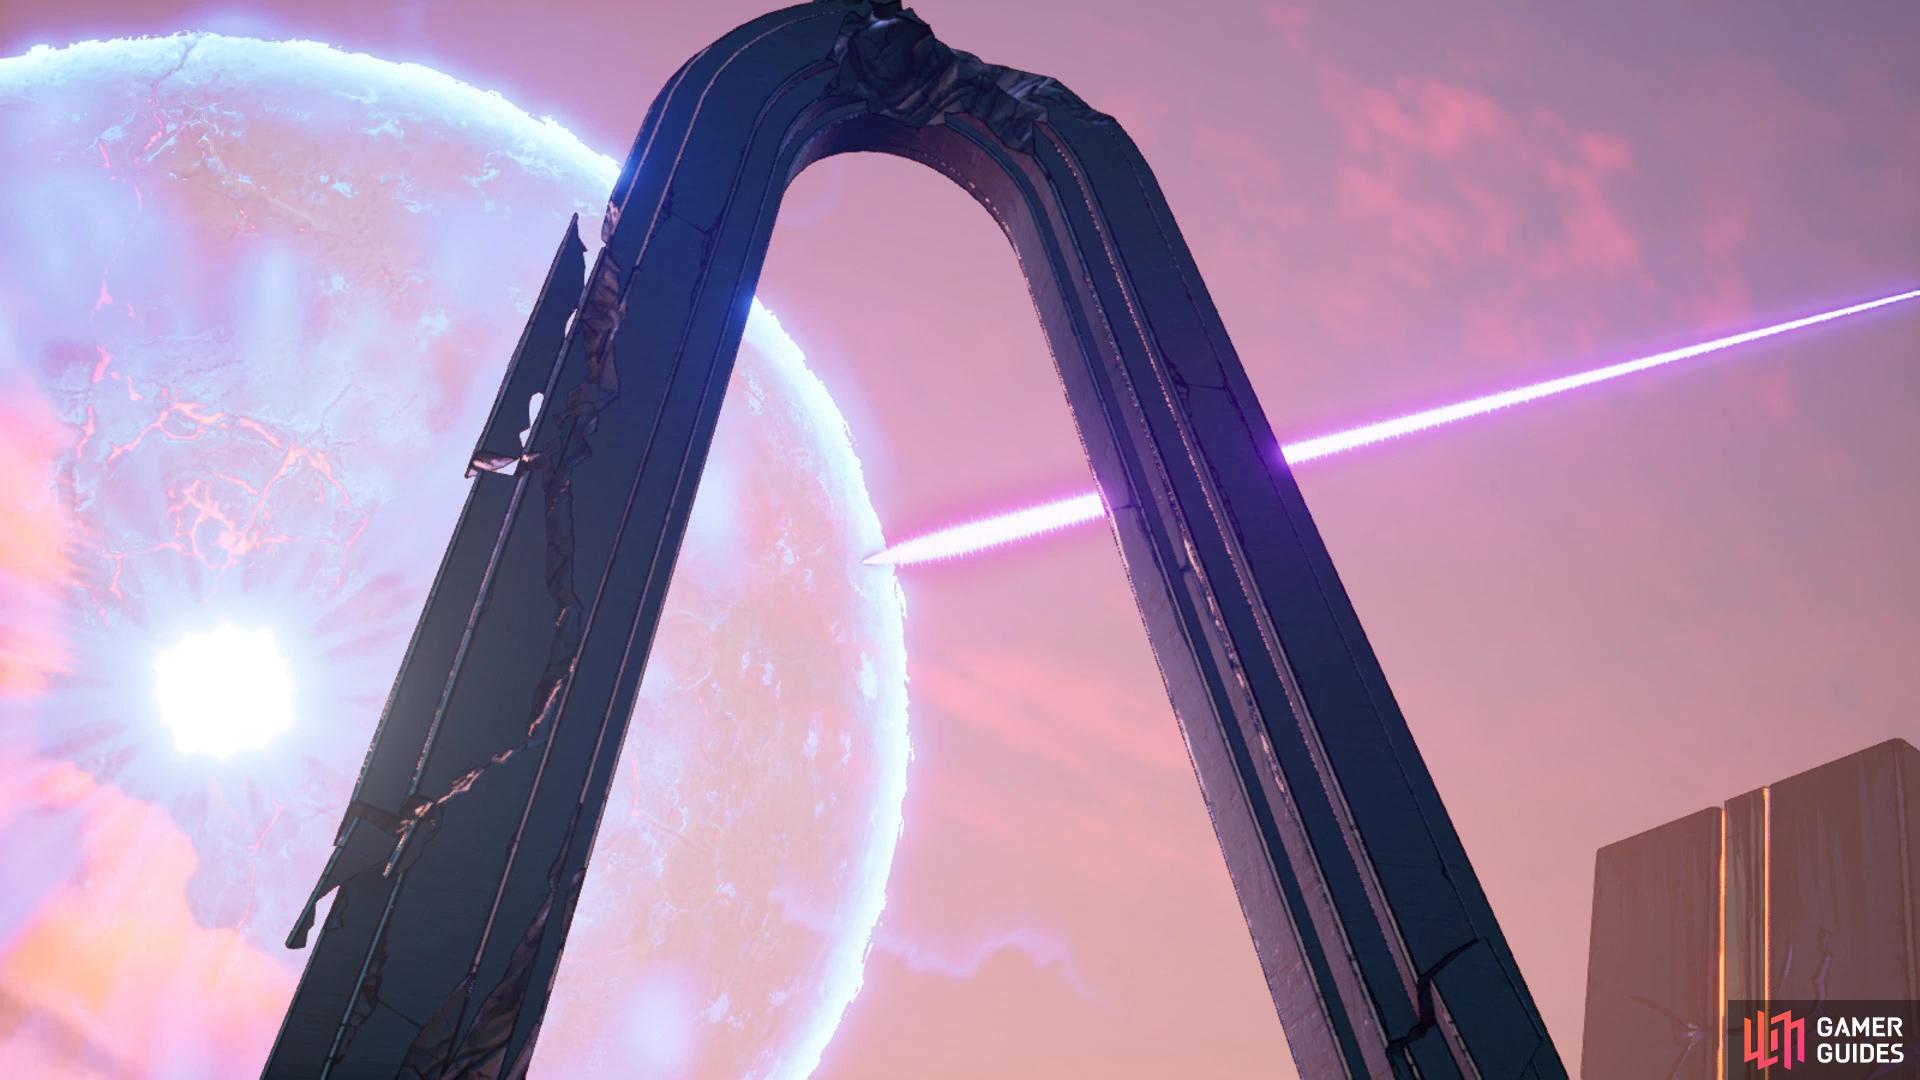
Drive to Cathedral of the Twin Gods, Follow Ava
This is another new Zone on Pandora, and the last major one which comes with a collection of Crew Challenges and Zone Completion tasks. The initial part of this area is a straight drive, follow the road north while keeping to the northeastern wall.
Eventually, you’ll reach a small hill you can travel up (take out the two Rocket Towers first however) and at the top, you’ll locate the first Typhon Log. Drop down and search along the northwestern wall, near where the COV attack you, to find a garage you can crouch into. At the end of this cave, you’ll be able to mark the Eridian Writing on your map, something that will come into play shortly.
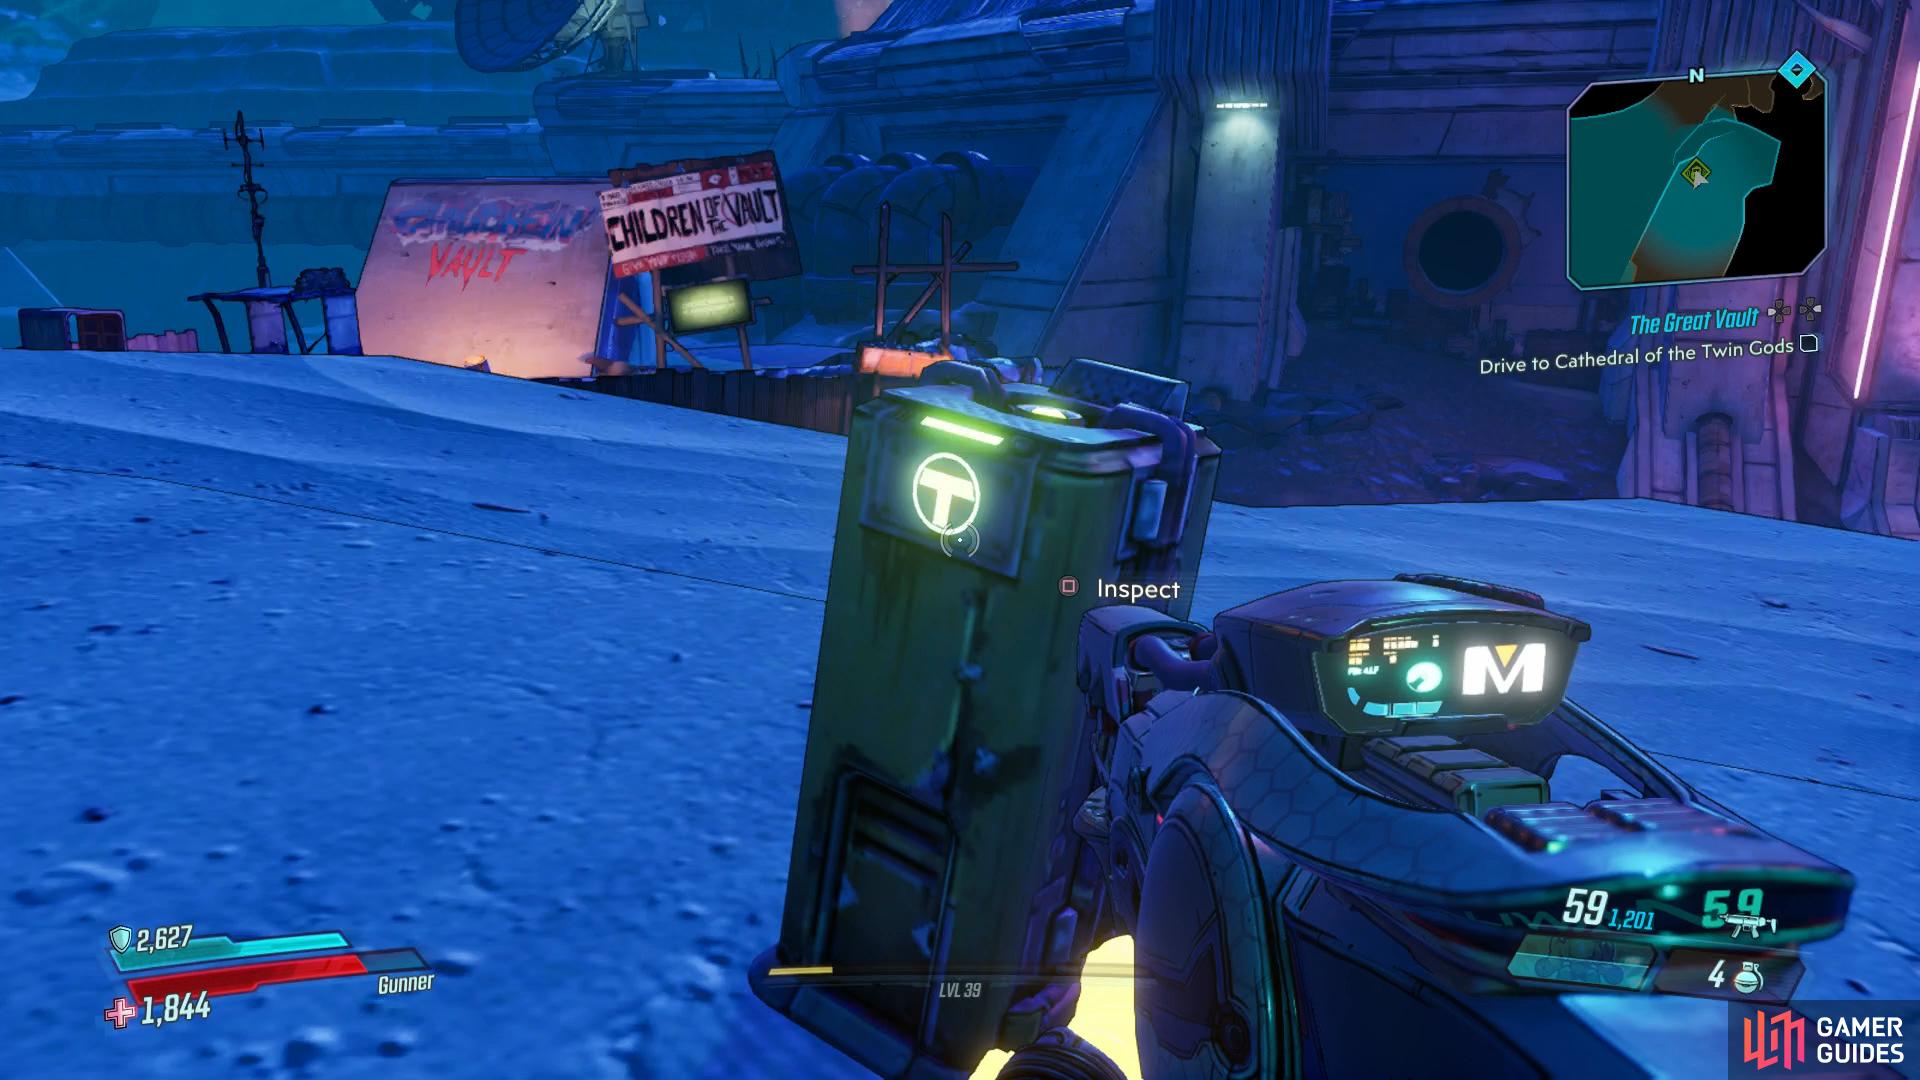
The first Typhon Log sits on the hill overlooking the Cathedral
the climb for the Crimson Radio is a tough one.
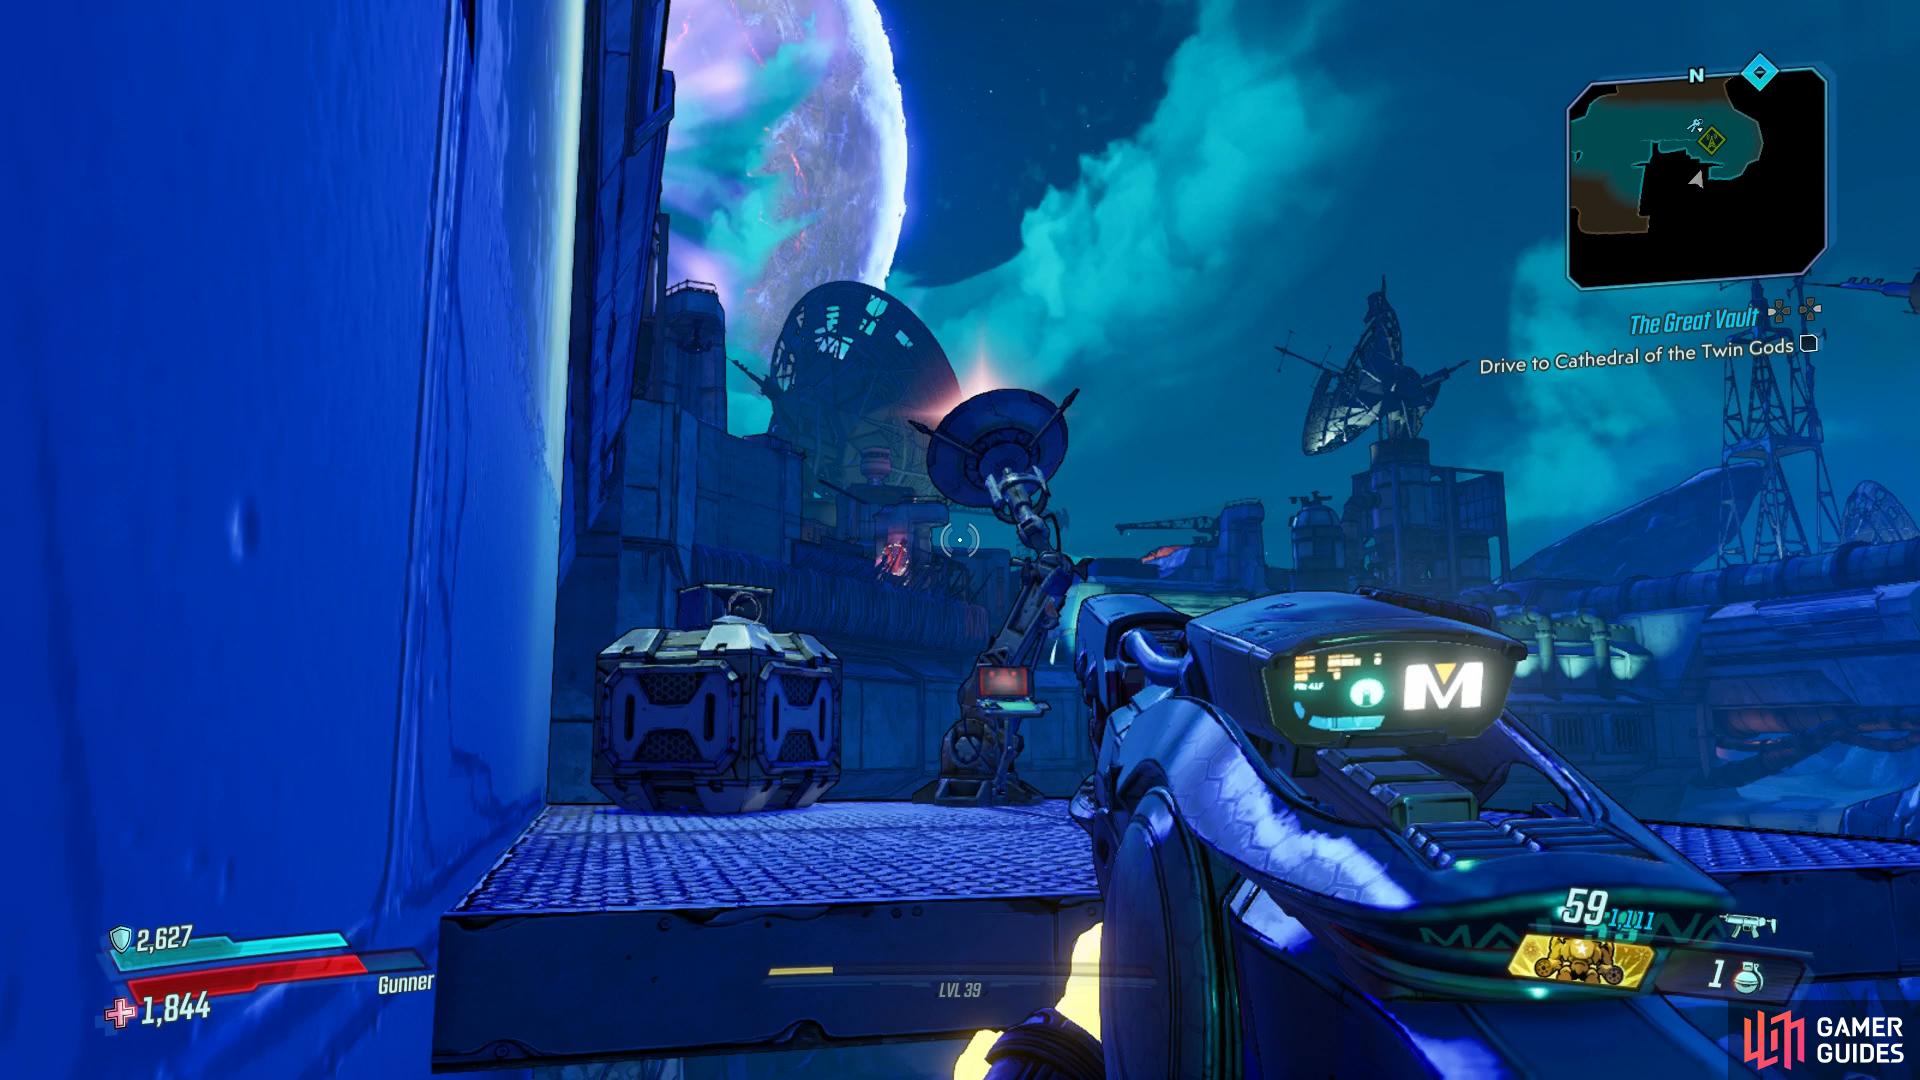
Exit this garage and continue to the east where you’ll spot a Catch-A-Ride. More importantly however, head onto the platform behind you to find some containers leading to a ladder. Continue on and then at the corner, turn to jump across the metal girders followed by jumping onto the pipe against the wall. Climb on to the top part of the pipe and then finally jump over to the platform with the Crimson Radio.
Drop back down and follow the road along until you reach the door just outside the cathedral. Before you follow Ava however, drop off to the northwest to find a hidden Typhon Log however beware of the Badass Goliath that climbs up the ledge nearby. When you’re ready to continue, head back up the ladder and shoot the explosive charge to gain entry.
Clear outer defenses
You’ll encounter a large group of COV as you head inside but you’ll be aided by Atlas soldiers, Ava and more so it should be an even battle. The biggest threat here is the Badass Goliath, don’t give it the chance to evolve and the rest of the COV should be easy enough to take down. Once the area is clear, head along the southern wall to find a garage you can duck under. Follow the stairs and climb the ladder, at the end of the walkway you’ll find the third and final Typhon Log. In order to obtain your prize, head out of the Outer Sanctum and make your way back to where you found the first Typhon Log and you’ll spot a pipe with the Dead Drop inside.
Follow this path in the Outer Sanctum to find the final Typhon Log
then backtrack to Fateward Walk to claim the Dead Drop.
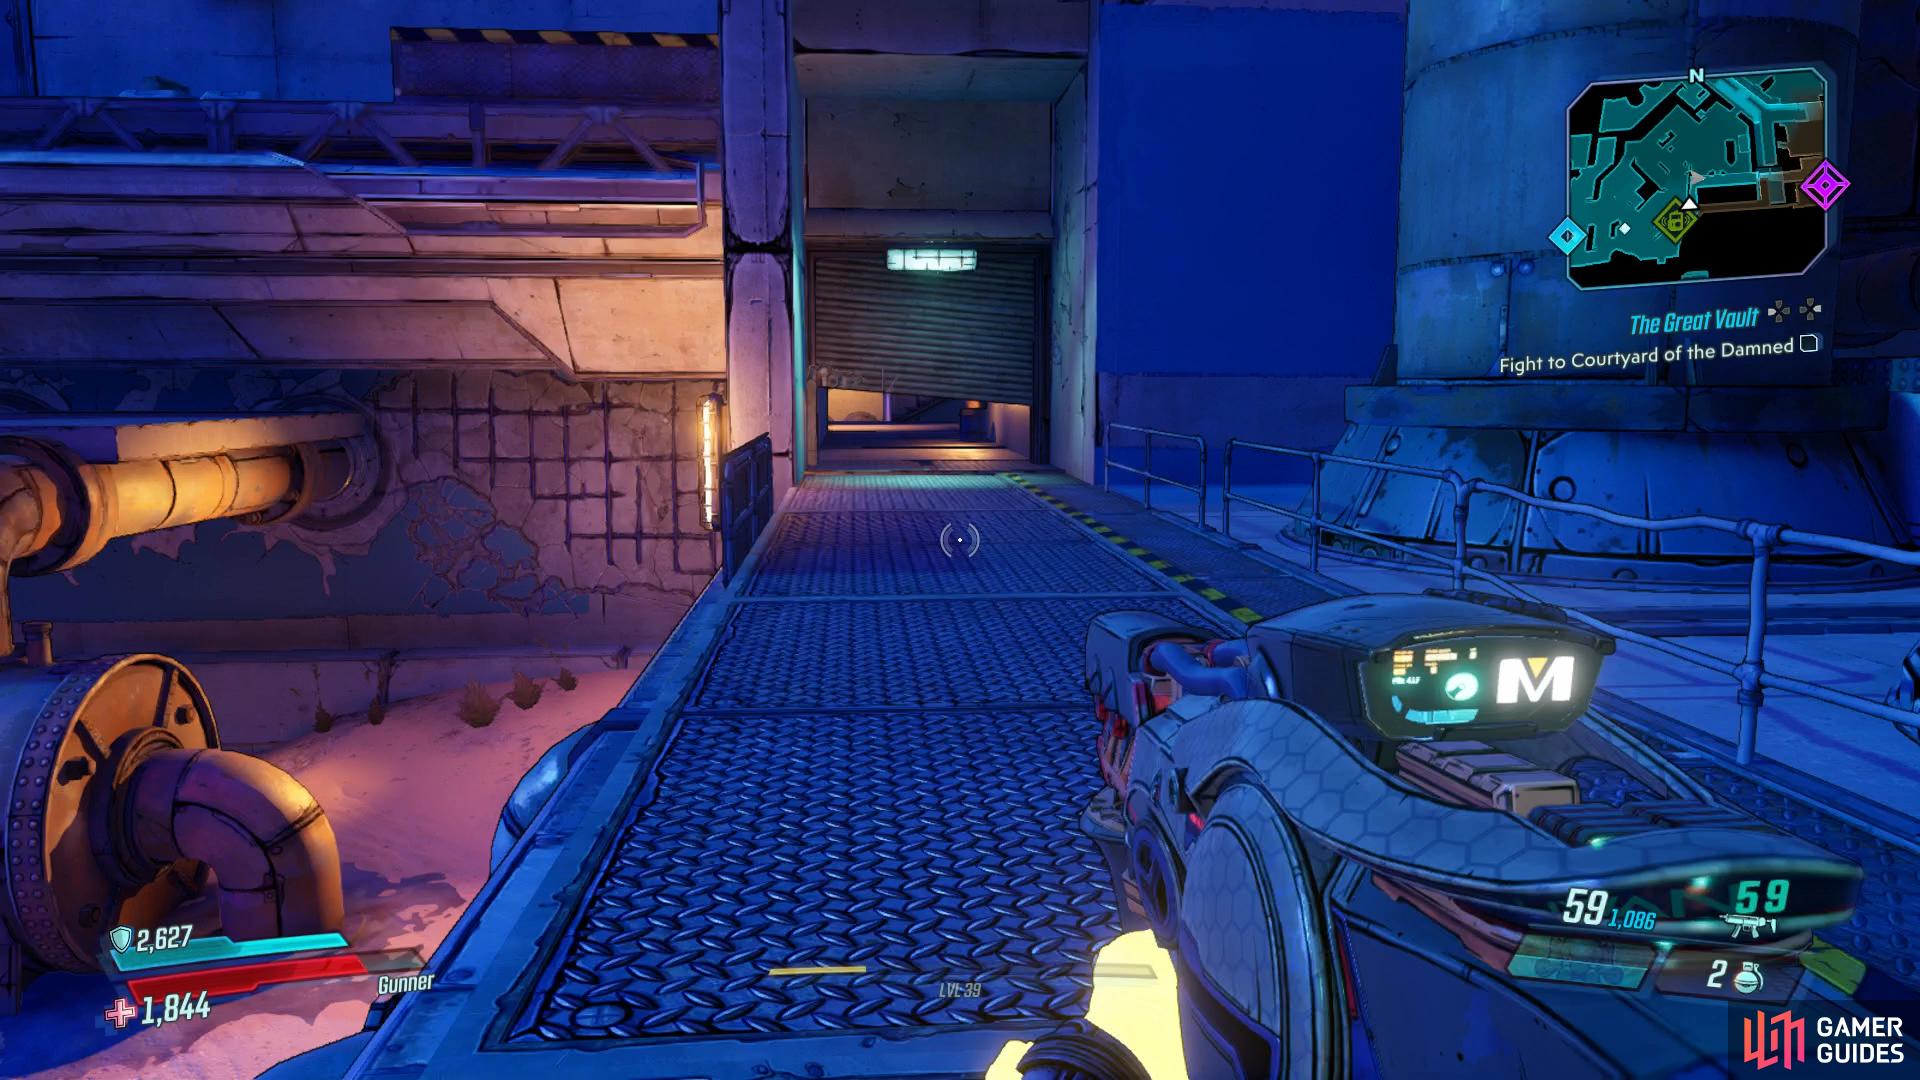
Fight to Courtyard of the Damned, Open sanctum door
Make your way back to the Outer Sanctum and continue to the west and through the pipe to encounter another large group of COV including a Badass Hag and a deadly Anointed Psycho. Wait until you encounter the Hag before using your Action Skill, the rest of the enemies should pose little threat.
Continue to the west, head under the shutter and then climb the crates to your immediate right. You’ll find a door boarded up here, melee it to gain access and follow it around to a Dead Claptrap on the wall and a Red Chest down the bottom. Return the way you came and follow the path to the west to take out another group of COV.
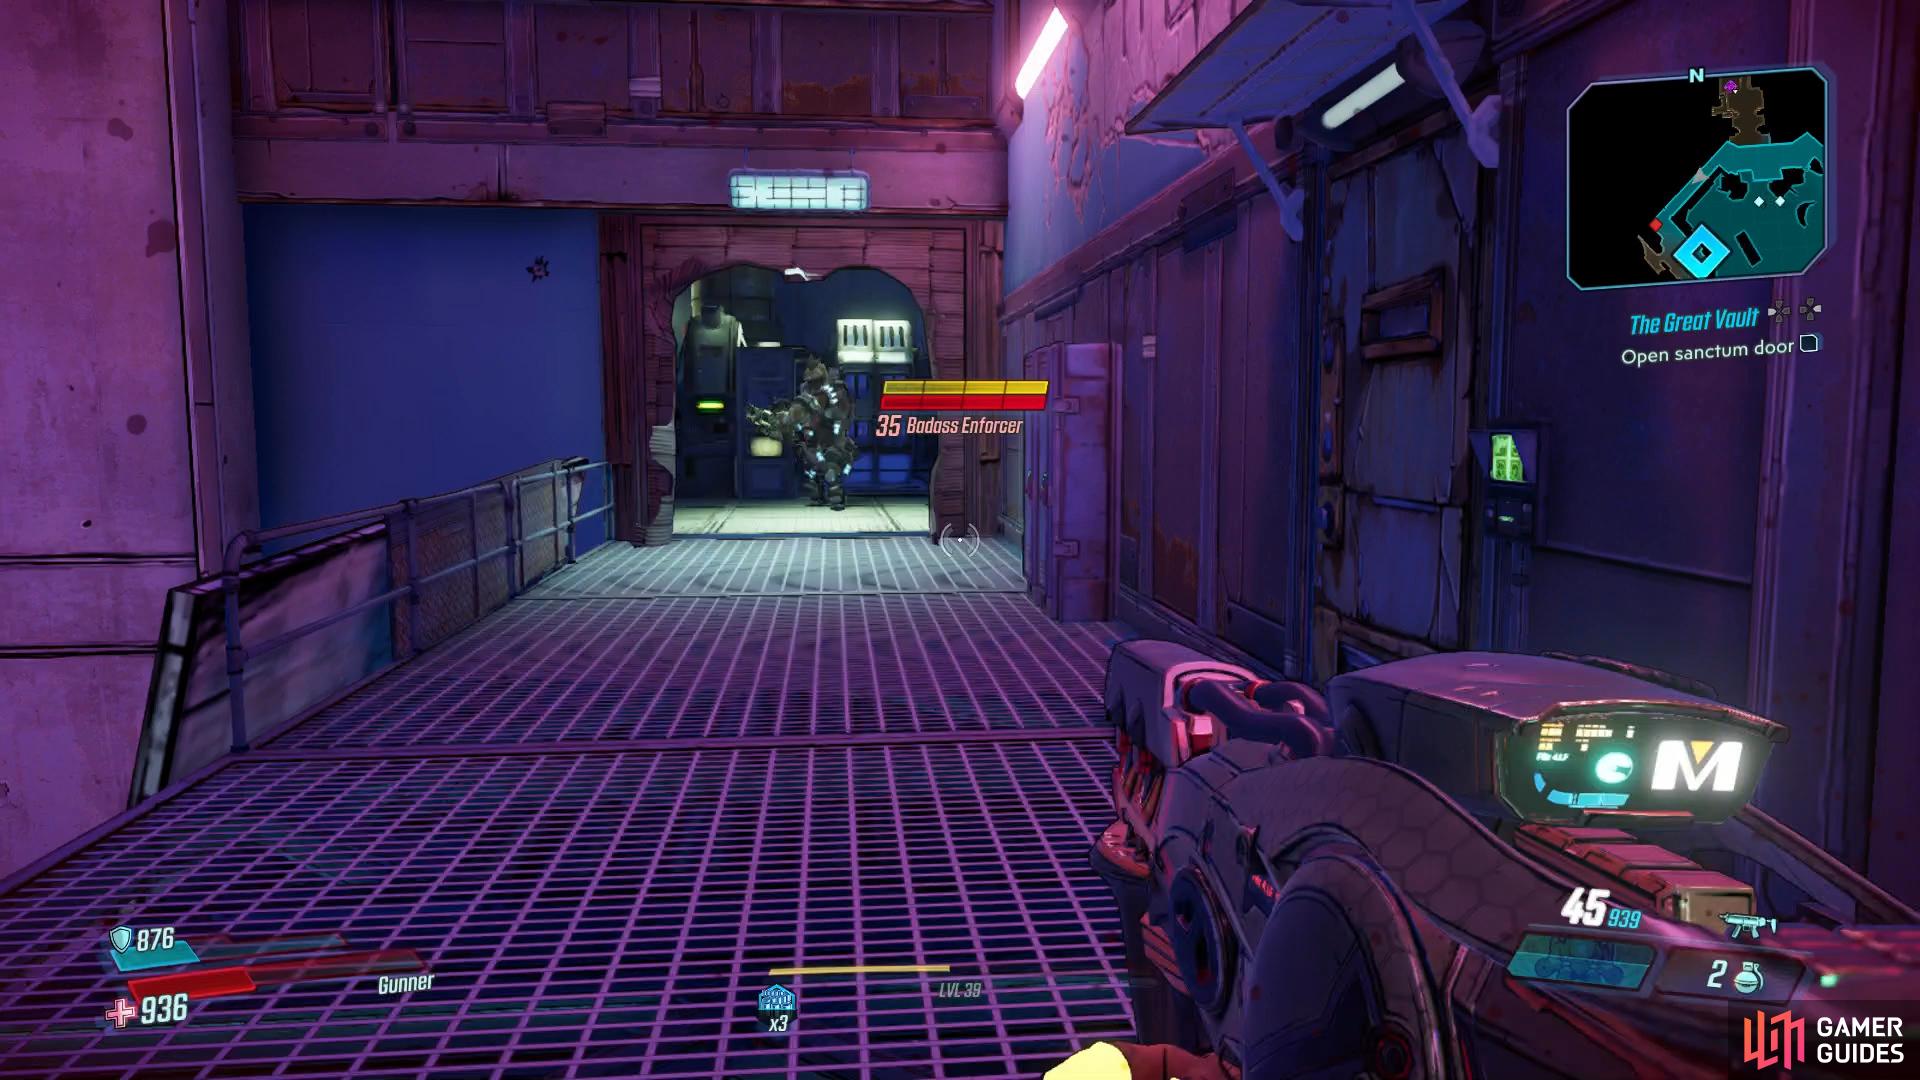
Beware of the Badass Enforcer that blasts through the door at the end here.
As you reach the Courtyard of the Damned, you’ll have to go up against yet another large group of COV, aided once again by Atlas soldiers. To begin with, take out the Dropship Turret on the right, followed by the COV in the two towers. After this, make your way around anticlockwise, taking out Hags and Bruisers as you go. Your last enemy will blast through the shutter at the end of the walkway, a Badass Enforcer, this is a great time to break out an Action Skill if it’s available. Head through the doorway here, take out the last few COV and then flip the switch to open the doors.
Kill Anointed, Raise processing tank pressure [4]
Deal with the COV that come flooding out and then proceed through to find a pair of Vending Machines you can make use of. As you pass through the doorway, you’ll need to take on some difficult Anointed. Rachel is flanked with extra COV but you’ll want to focus on burning her down as quickly as possible, if left to her own devices, she’ll deal massive damage to you. Her most lethal attack is her Eridium Laser, keep your distance and jump over it should you see it.
Once the enemies are dealt with, you’ll need to raise the processing tank’s pressure. The first two valves can be found on the ground and as soon as you turn them, two more Anointed will spawn. Follow the same tactics as before and try to focus on one at a time. Luke is the biggest challenge here, he has an Eridium shield which makes him immune when it’s out along with being able to spawn pools of fire, focus on taking Nathan down quickly so you can focus on Luke after.
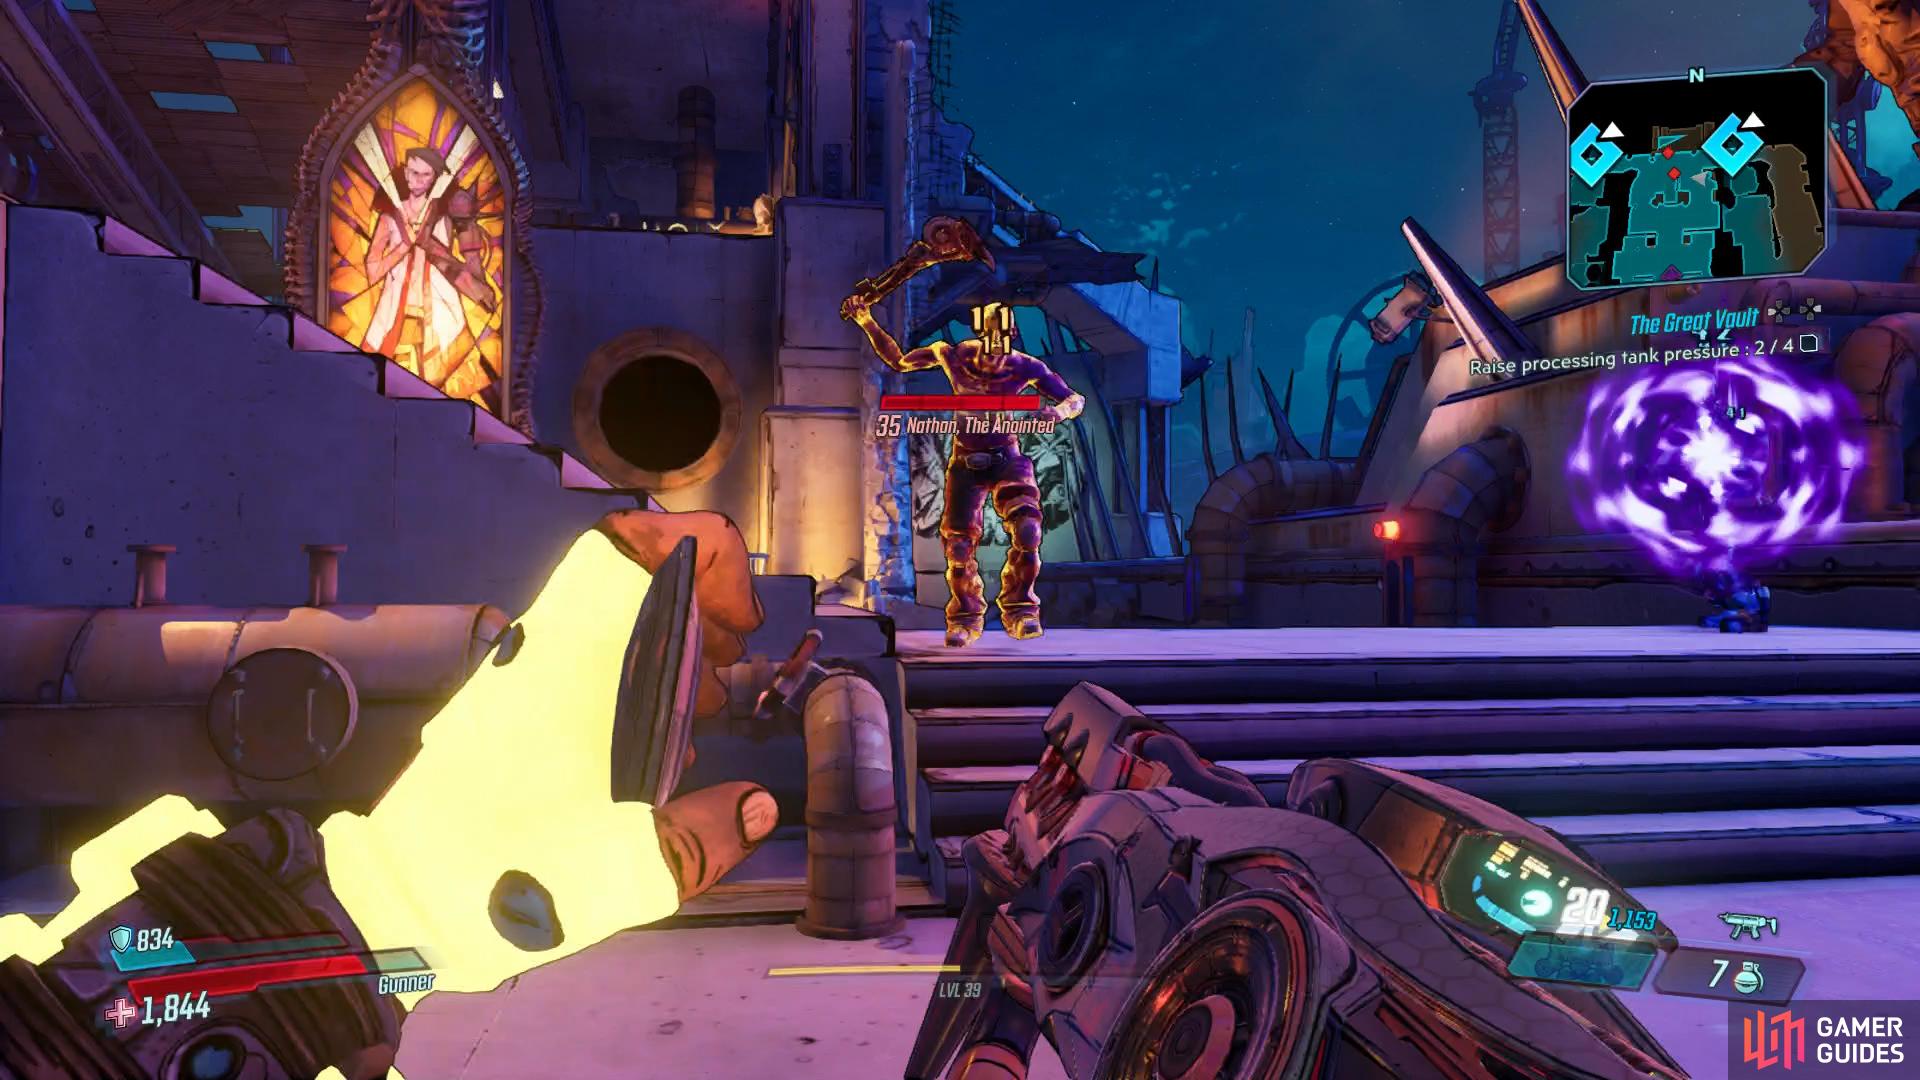
Focus on Nathan first in the double Anointed battle
take out Crushjaw before exiting to The Great Vault.
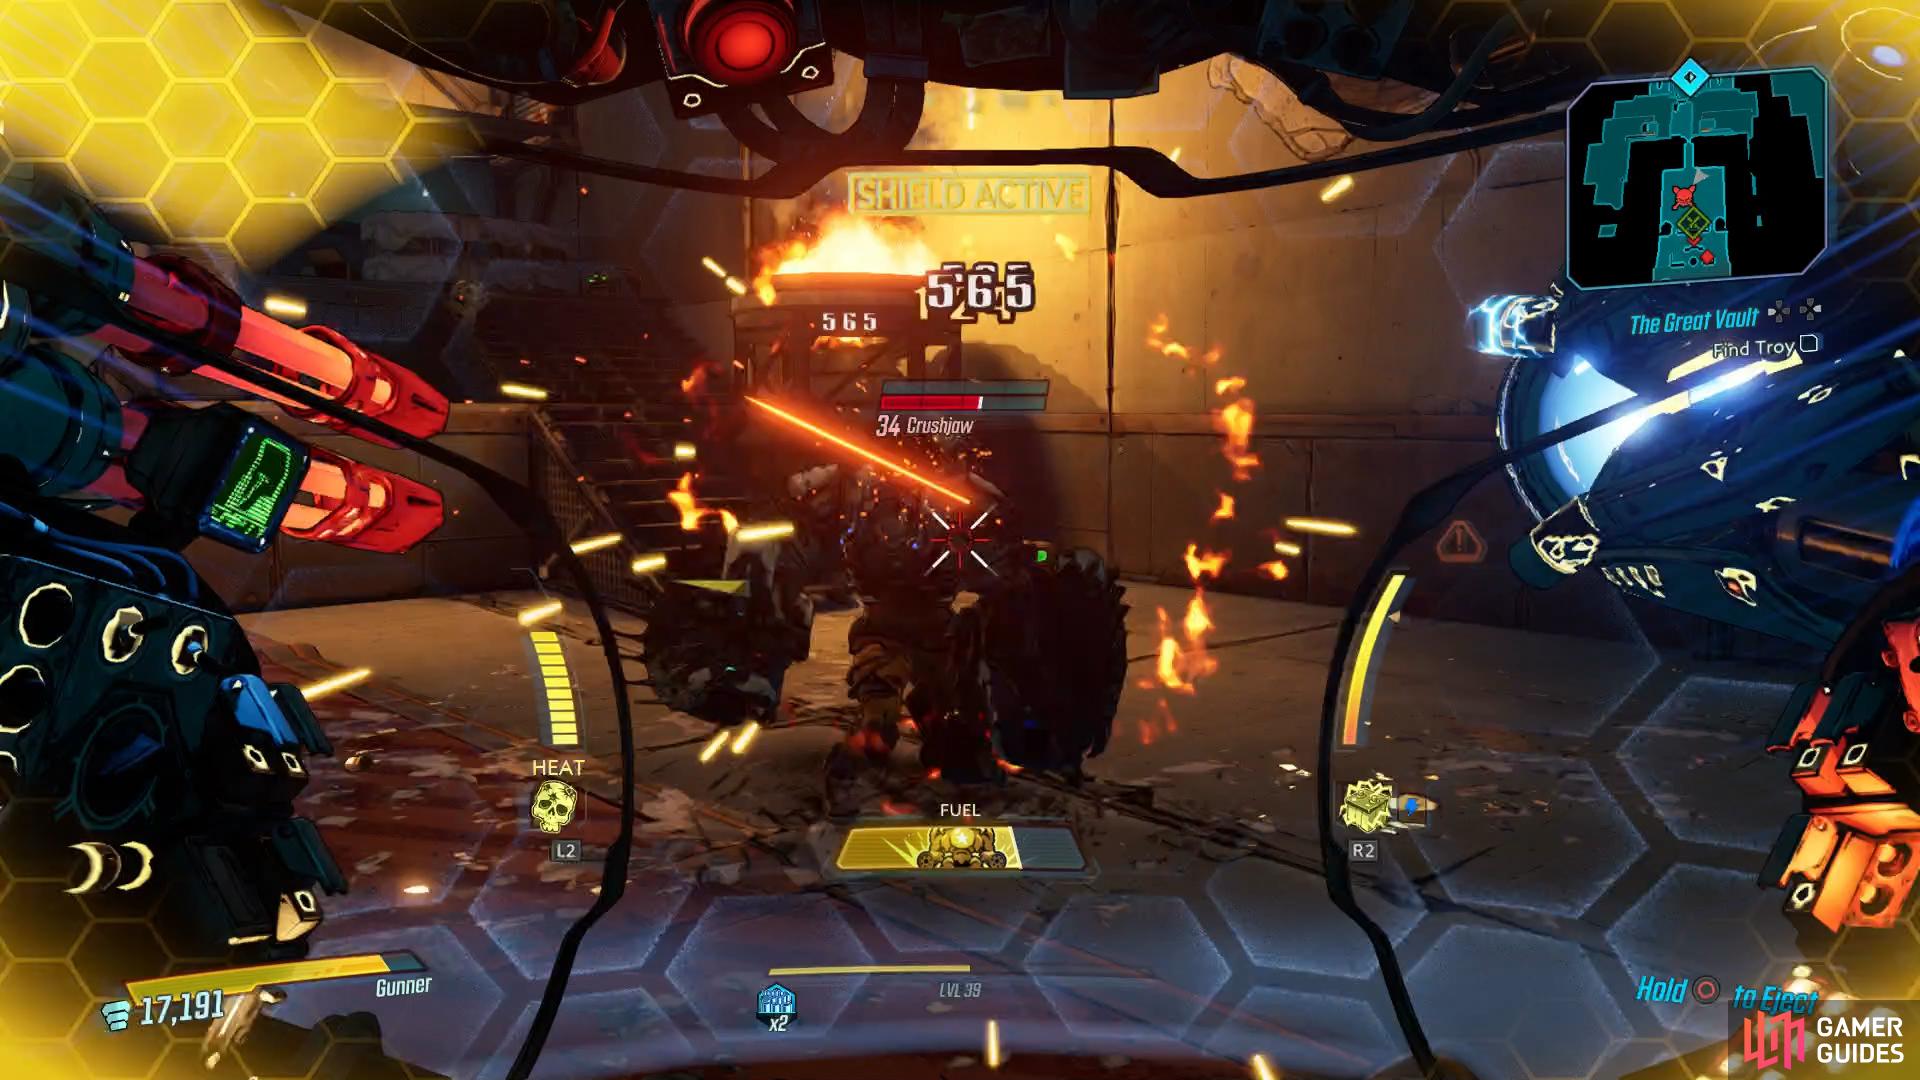
The final two valves can be found eitherside of the main altar by taking the stairs up and dispatching a few COV. Turn both valves and then return shoot the large fuel tank to drop the pipe and gain access to the manhole. As you drop into the Eridium Sluice however, ignore the entrance ahead and go behind yourself to find the Target of Opportunity, Crushjaw. This should be a relatively easy battle considering what you’ve had to deal with up to now and once he’s defeated, look to where he spawned to find another manhole to drop into, inside you’ll find the second Red Chest. After nabbing the loot, return the way you came and enter into The Great Vault.
Boss: Troy Calypso
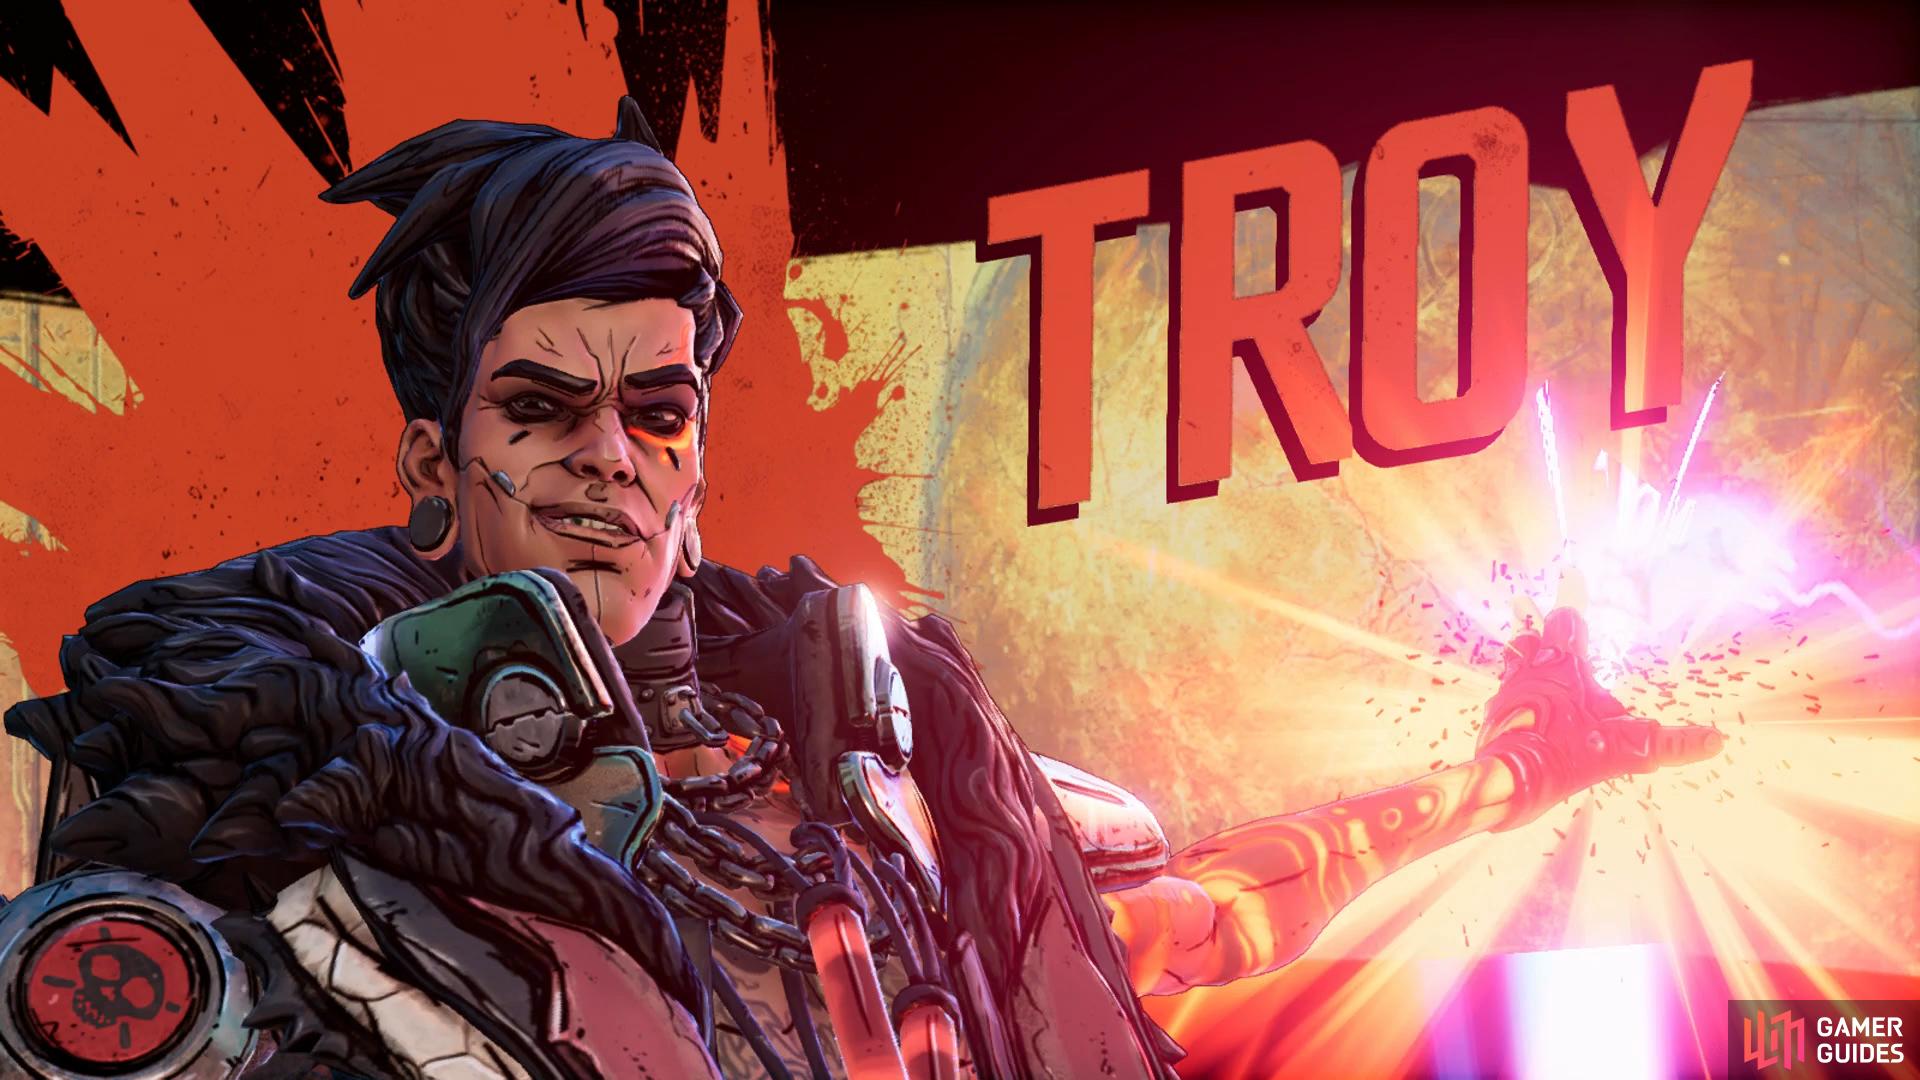
You finally get the chance to settle the score with Troy Calypso and you’ll need to cope with a lot of dodging to have any chance. The arena you’re fighting Troy is fairly large so you have more than enough space to evade his attacks and you’ll need it too. Additionally, note that there are no containers for health or ammo in this battle, you’ll need to rely on taking out the COVs that appear at regular intervals to restock.
Troy’s main method of attack is launching Purple Orbs at you, for this reason you’ll want to keep your distance from Troy as the further away you are, the easier it is to dodge between them. Troy will vary the way he sends these out, be it vertical or horizontal and this will be prevalent throughout the battle. He’s also quick, and look to close the distance by lunging at you with his sword, this can be dodged by jumping to the either side of the attack.
Troy will also launch himself in the air, creating a Flame Pillar in the same position, so long as you’re keeping your distance, this attack should never hit you. Troy’s weak point is his head as you may suspect and his health bar is misleading, although he only has one, he has a lot of health that you’ll need to take down. He’ll also go immune at certain health thresholds at which point you’ll need to take out the COV to resupply. Be on the lookout for Flame Pillars during this phase, keep an eye on the ground to see where they’ll appear from and keep moving.
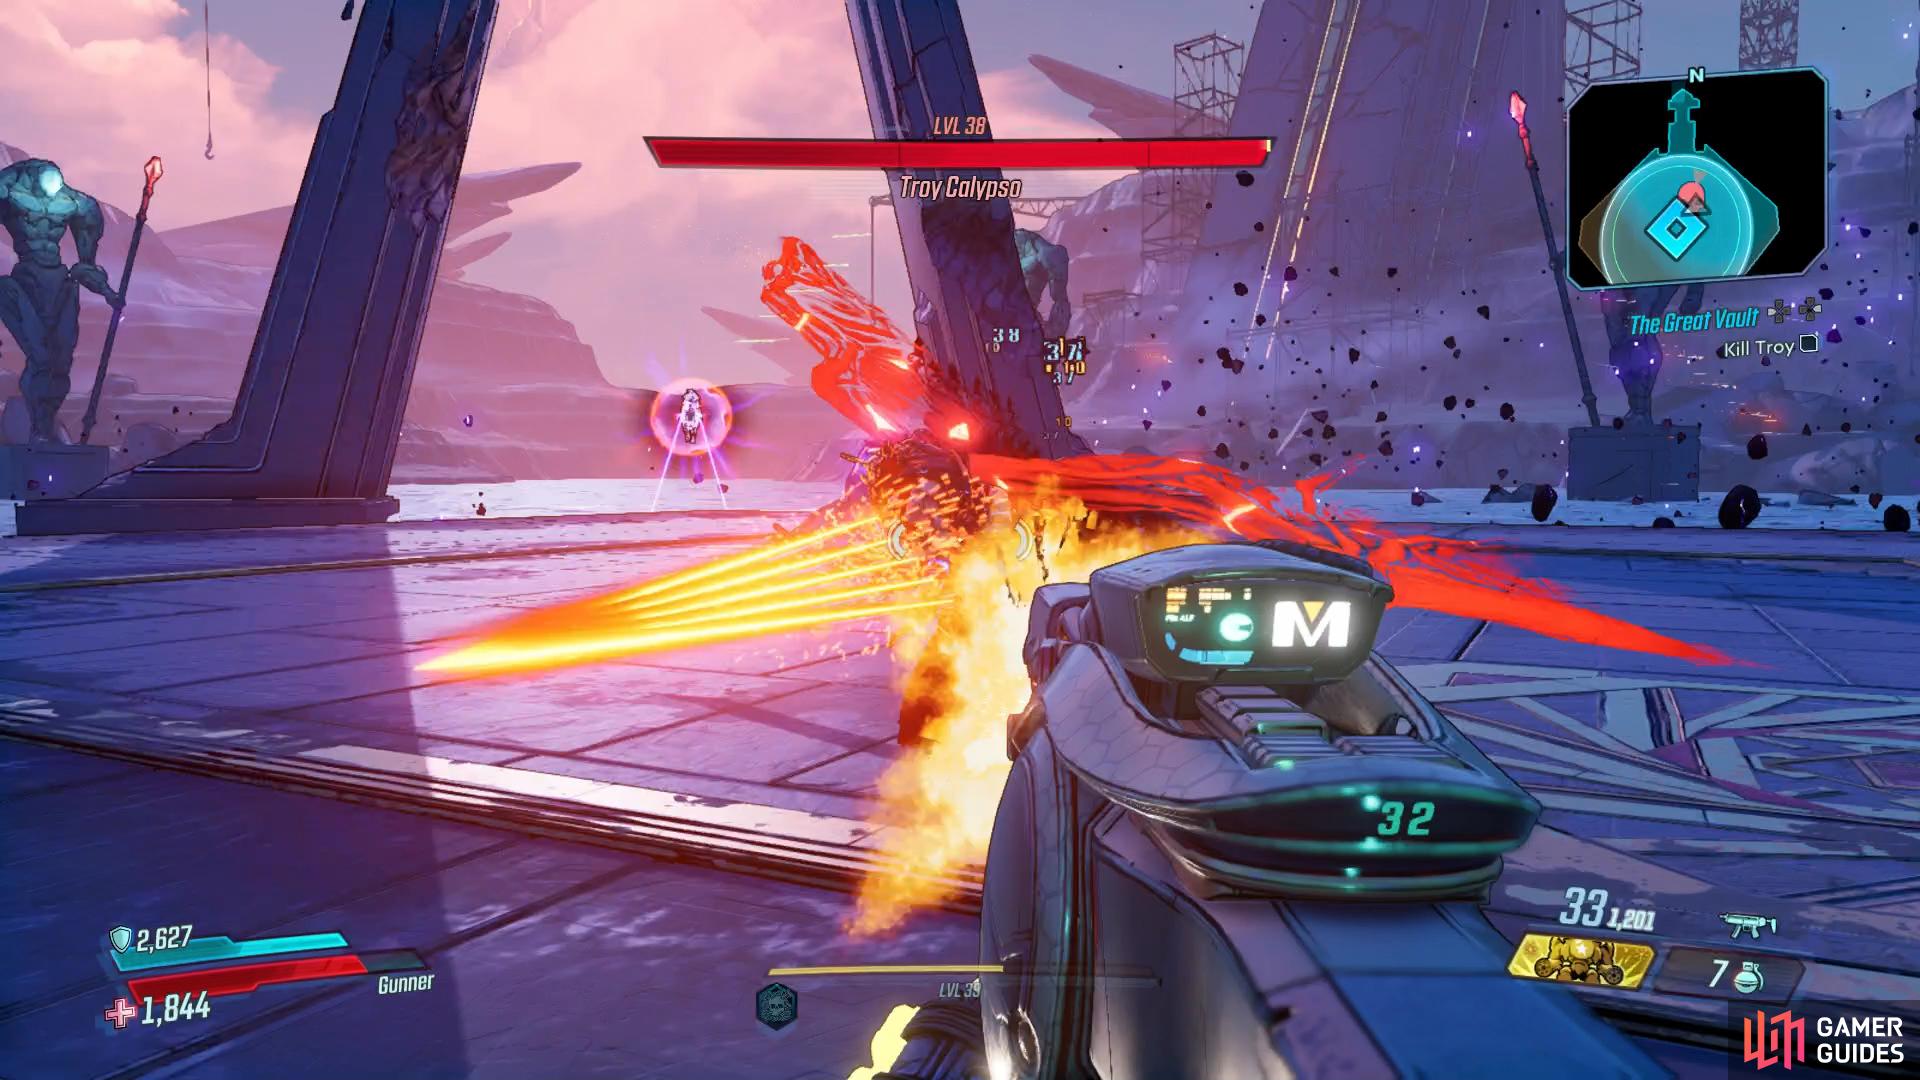
Troy will add a Shockwave Slam to his Purple Orb attack as the battle goes on, jump to avoid the blast and get ready for a follow up lunge at times. He has a Rocket Pistol that he’ll fire a volley of Rockets at you in between when he’s tossing Purple Orbs, this is his easiest attack to avoid, simply dodging either side of the barrage is enough to avoid damage. As you take Troy’s health under half, he’ll begin summoning large Comets, these can be easily avoided by moving from side to side. Finally, he’ll charge a large blade in the center of the arena, keep moving as he’ll slam it down at your position.
Troy is a battle of attrition, you’ll have to be patient while you whittle down his health while avoiding his many, yet simple, attacks. Keep aiming at his head throughout and use guns with a quick fire rate and eventually you’ll take Troy down.
Legendary Pistol, Occultist
Troy has the ability to drop the unique Legendary Pistol, Occultist. This is a fantastic Pistol that will shoot Fireballs at your enemies, do note however that the battle is a fairly lengthy one so it’s up to you to decide if it’s worth the hassle to farm.
Loot Vault
Head over to the ECHO device and listen to it before heading over to Lilith to cause the Vault to open. Inside you’ll find four Eridian Chests and then in the center, the Eridian Analyser. With this item, you can finally decipher all of the Eridian Writings you’ve encountered. Return to Tannis and speak to her to learn about your next task and complete the mission and unlock Apocalypso!.


Deciphering the Eridian Writing and the Eridian Proving Grounds
At this point, with the Analyser now in your possession, it’s a good time to head back around all of the Zones and decipher the Eridian Writings. Not only do they count towards completing a Zone, you’ll also unlock a Trophy/Achievement for deciphering every single one. On top of this, you’ll now be able to unlock the way to the Eridian Proving Grounds which are small Trials that make up the second part of Borderlands 3’s endgame. Although the missions count as Side Missions and go towards unlocking the Getting a Little on the Side Trophy/Achievement, it’s best to leave this until you finish the campaign as you’ll struggle to hit any of the optional objectives and receive the best rewards.
No Comments