

| Quest Giver | Reward | Lvl |
|---|---|---|
| Claptrap - Covenant Pass | Cash, Grenade Mod | 1 |
You’ll be given a choice of two difficulties when you begin the campaign for the first time, those being Normal and Easier. This guide is written on the basis of the Normal difficulty and really, it should be the choice most players take in Borderlands 3. Next you’ll be given the choice between a Group Mode for when you decide to jump online with a friend and blast some Psychos. Choosing Cooperation is the most sensible here, everyone will get their own loot and the game will scale your teammates level to meet your own (or vice versa). The alternative is to go with the classic Borderlands rules, every Vault Hunter for himself and no level scaling.
Finally, during the intro, you’ll be given the choice to select your character and while you’ll find more details about them in their respective chapters, here’s a few notes about them below:
-
Amara the Siren - Amara is the Siren of Borderlands 3 and, like Lilith and Maya before her, features skills that focus on elemental power. Unique to Amara however is the more melee focus you can take with her if you wish to venture down that route. She’s great for either a Solo or Group playthrough and can be as diversified as you wish.
-
FL4K the Beastmaster - FL4K is unique to the Borderlands series in that he’s essentially a pet class from other RPGs. This means you’ll have your choice between Skags, Rakks and more. You can choose to spec FL4K as a stealthy marksman from range or you can charge ahead with your Skag partner to bring the fight to your enemy, the possibilities are limitless. FL4K is fantastic for solo play and arguably the number one choice due to the extra survivability his pets bring (along with another target for your enemies).
-
Zane the Operative - Zane operates with a unique assortment of gadgets that can turn the battlefield in his favor. You have a deployable shield which can not only shield you from bullets but also increase your damage output when shooting through it. Unleash Digi-clones of yourself that you can trade places with at will or even unleash a drone. Zane is very much a support character, especially early on and for this reason, is more suited for Group play. While Solo is an option for him, it will make the early parts of the game a lot tougher.
-
Moze the Gunner - Finally, there’s Moze the Gunner and she does exactly as it says on the tin. She’s your typical frontline character in the Borderlands series and as such, has many passives which increases her damage. Her Action Skill revolves around her mech, the Iron Bear which increases her armor and unleashes a flurry of explosions and bullets. Moze is another excellent choice for a Solo playthrough, the increased damage helps and the Iron Bear is great for survivability.
All four characters have their strengths and weaknesses, choose one that fits your playstyle.
Follow Claptrap
Fresh off the bus, you’ll find yourself at the Covenant Pass bus stop with a Claptrap that greets you. This friendly Claptrap gives you the lowdown on the Children of the Vault, a new gang that has risen in Pandora. Claptrap will also hand over the useful Echo 3 which acts as your menu.
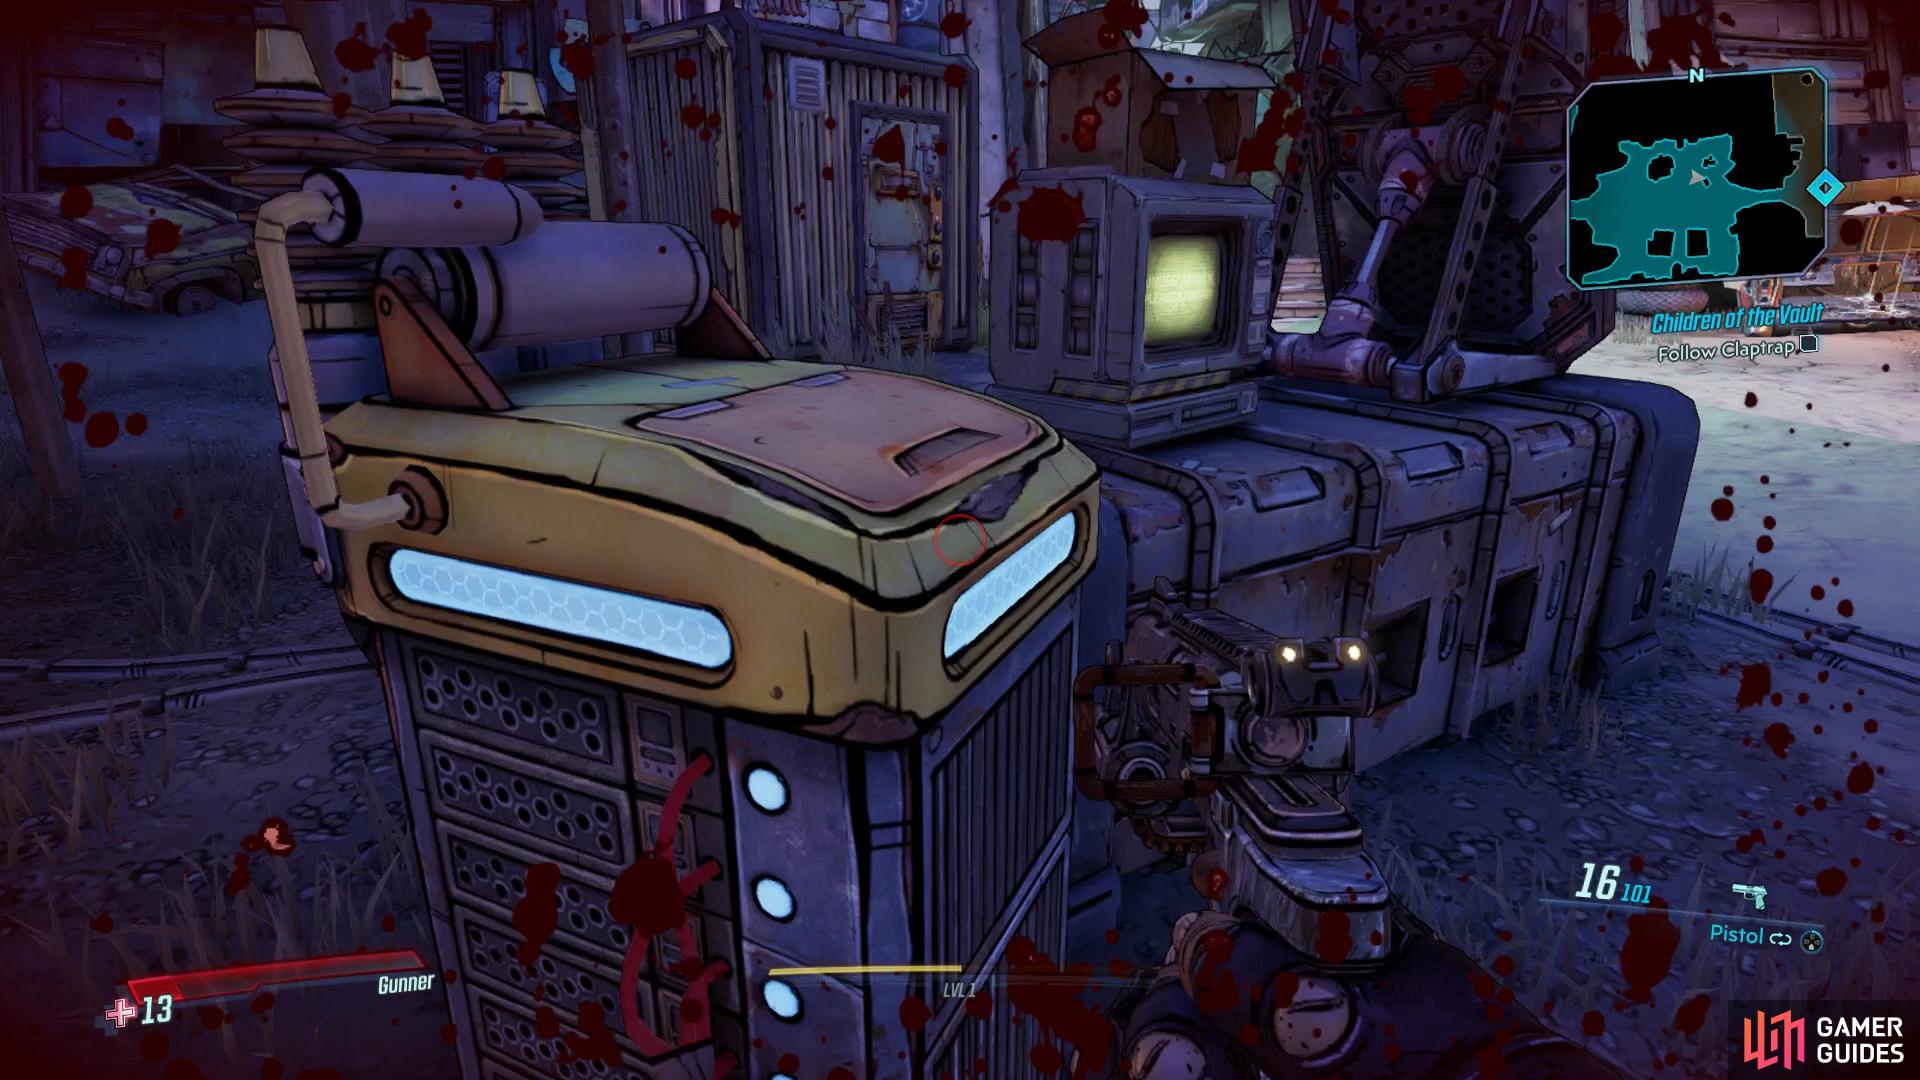
There’s not much to see in Covenant’s Pass save for the actual mission at hand but you can choose to ignore Claptrap for now and search around the immediate area for some loot. Anything that has a green light on it indicates that it can be interacted with and as such, should be opened whenever you come across it. Take the time to loot all the lockers and fridges to give yourself a bit of starting cash and then head over to Claptrap to proceed with the mission.
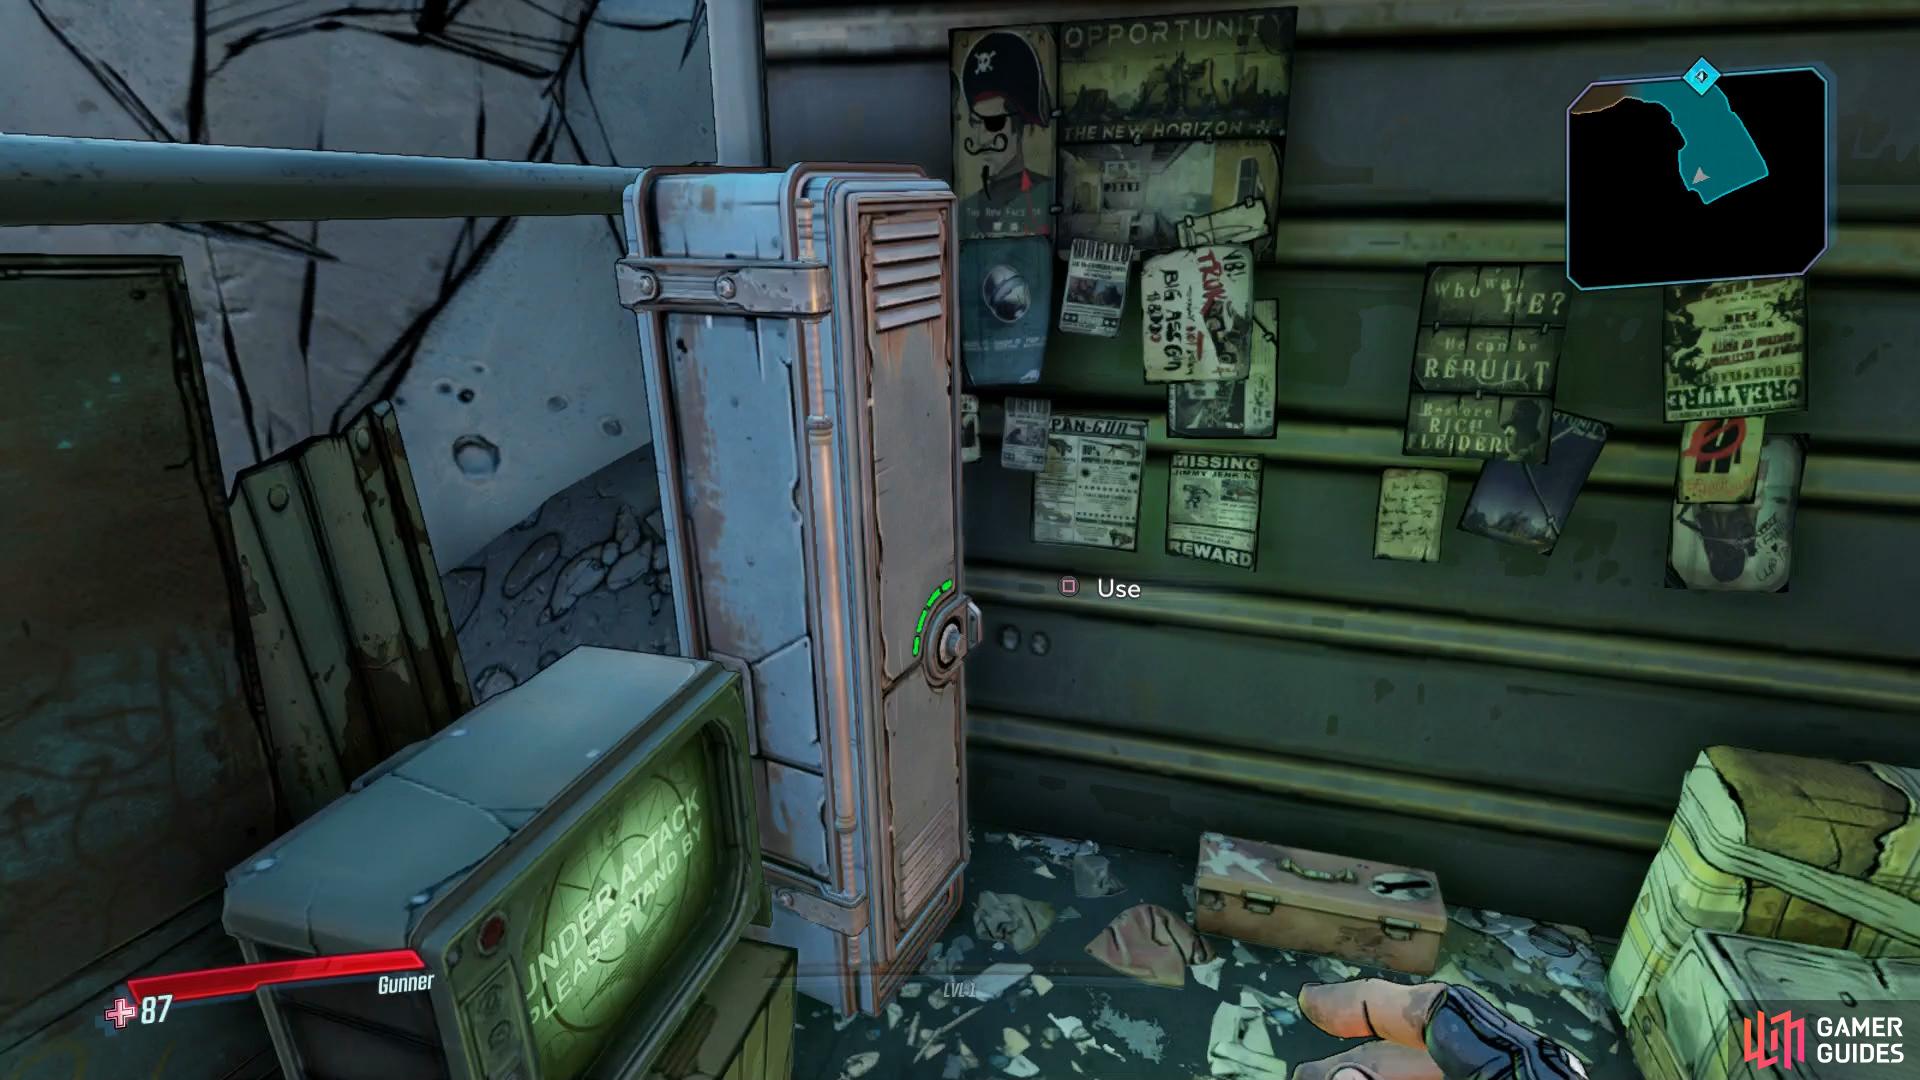
Anything with a green light can be opened
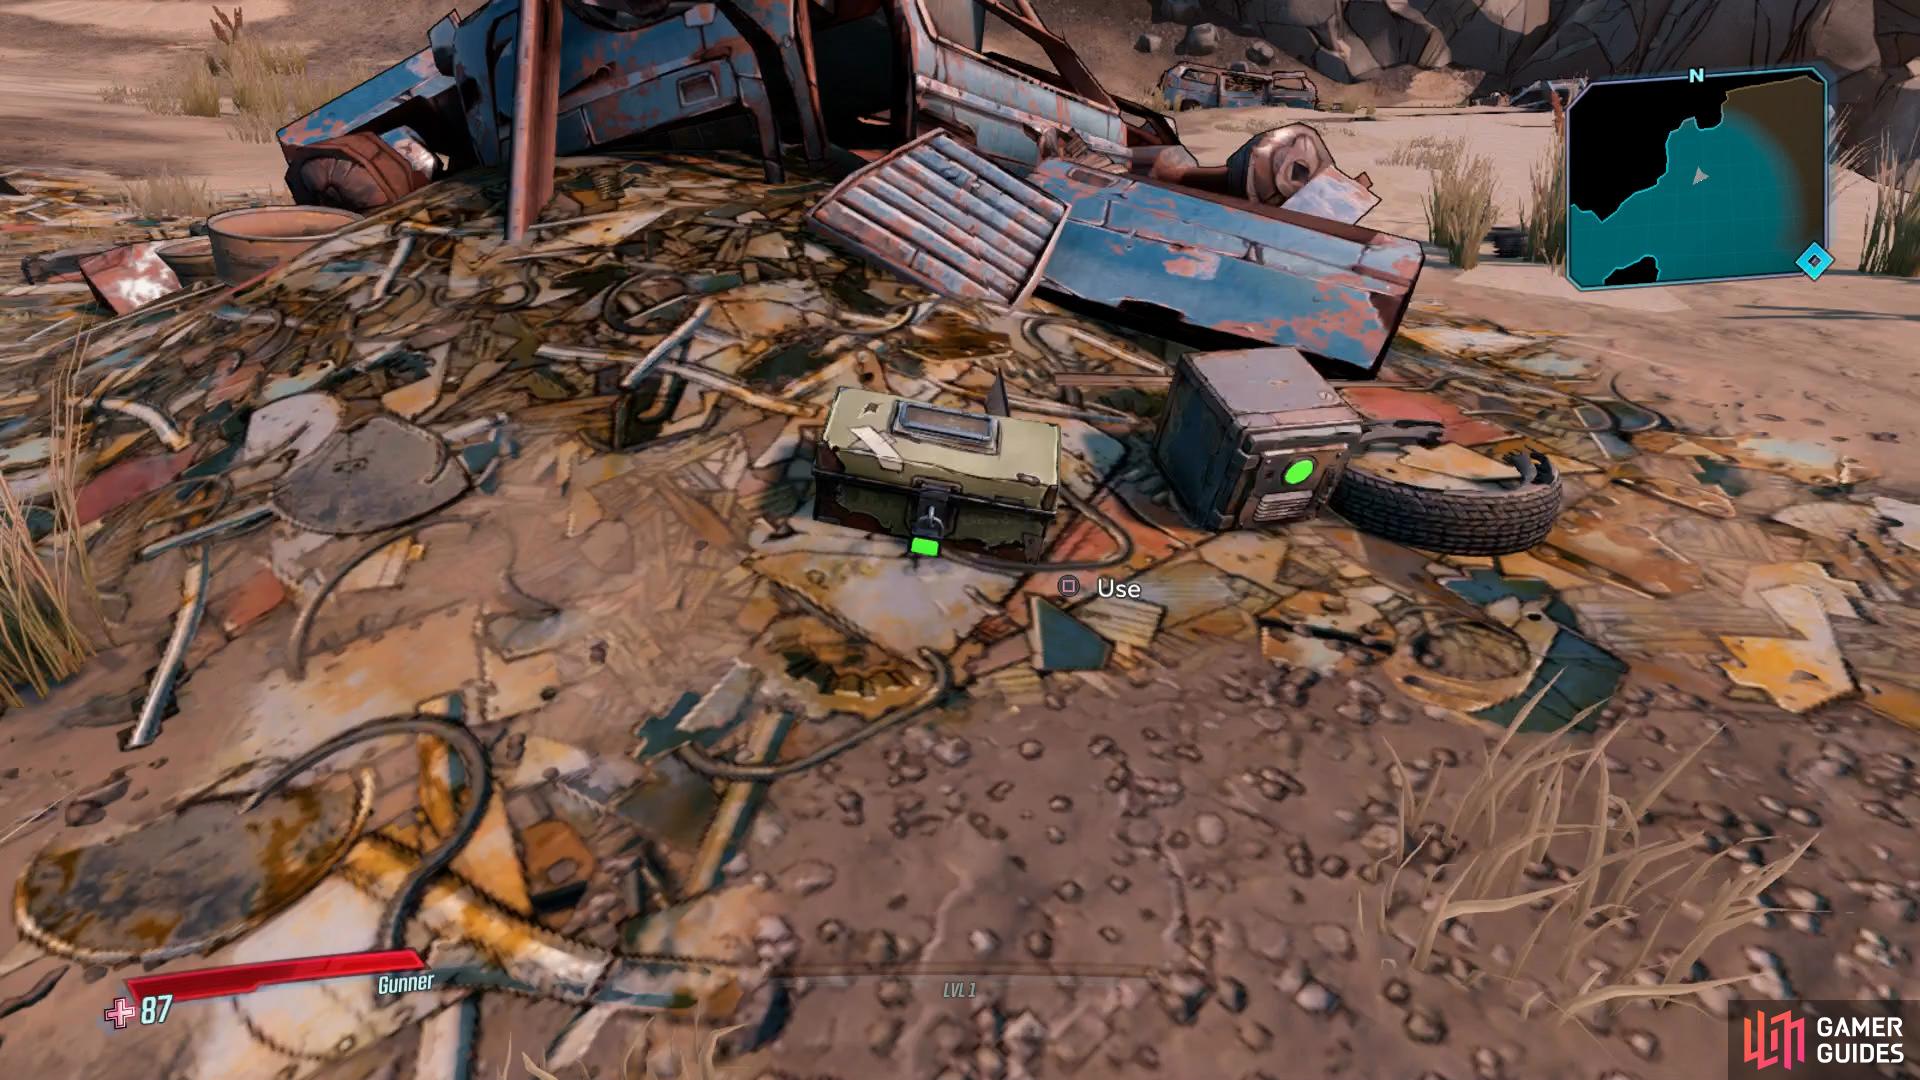
such as Lockers, money boxes and safes.
Claptrap will direct you to make use of the nearby Quick Change station to register your Echo. These are where you can come to alter your appearance with the many cosmetic items you’ll find throughout your adventure along with changing your name or respeccing your skills, it’s a convenient machine that will be seeing a lot of use.
Following this, Claptrap will head forward where he comes to a standstill at the nearby car pile. Head over to the lever to the right to give him a helping hand and then crouch under the raised car to continue following him. As you press on, you’ll find a gap you’ll need to jump over, do so and should you miss the jump, climb back up the ledges and try again. Humour Claptrap some more and follow him as he unearths his stash Pandora style.
Open Chest, Get gun from cache
Interact with the nearby chest to claim your first gun, a simple Moloko Pistol which comes loaded with two fire modes. New to Borderlands are alternate fire modes which can be switched on some guns by pressing [DOWN D-PAD]. This affects how your weapons behave and some will have game changing abilities such as switching between elements or ricocheting your bullets around the area. For now, this current Pistol comes with the ability to shoot Zip-Rockets, handy for a bit of explosive fun.
Follow Claptrap once more to the gate of the Propaganda Center as you witness his attempts to get the door open. He succeeds but not without consequences that you’ll be left to deal with.
Kill COV enemies
It’s time to take the fight to the Children of the Vault (COV) as Fanatics and Psychos come out guns blazing. Fanatics are you typical run of the mill enemy that will hang back and shoot from range, make use of nearby cover to take care of them easily. Meanwhile, Psychos are a little different and will rush you to inflict the pain with melee attacks, make these your main priority whenever you’re in a firefight.
Take note of the hazards around the area too, you’ll notice a radiator you can shoot to electrify your foes for example. You shouldn’t have too much trouble with this initial group of enemies but should you find yourself low on ammo or health, be sure to open all of the lootables around the area to replenish your stocks.
Melee a radiator while low on health for an easy Trophy/Achievement.
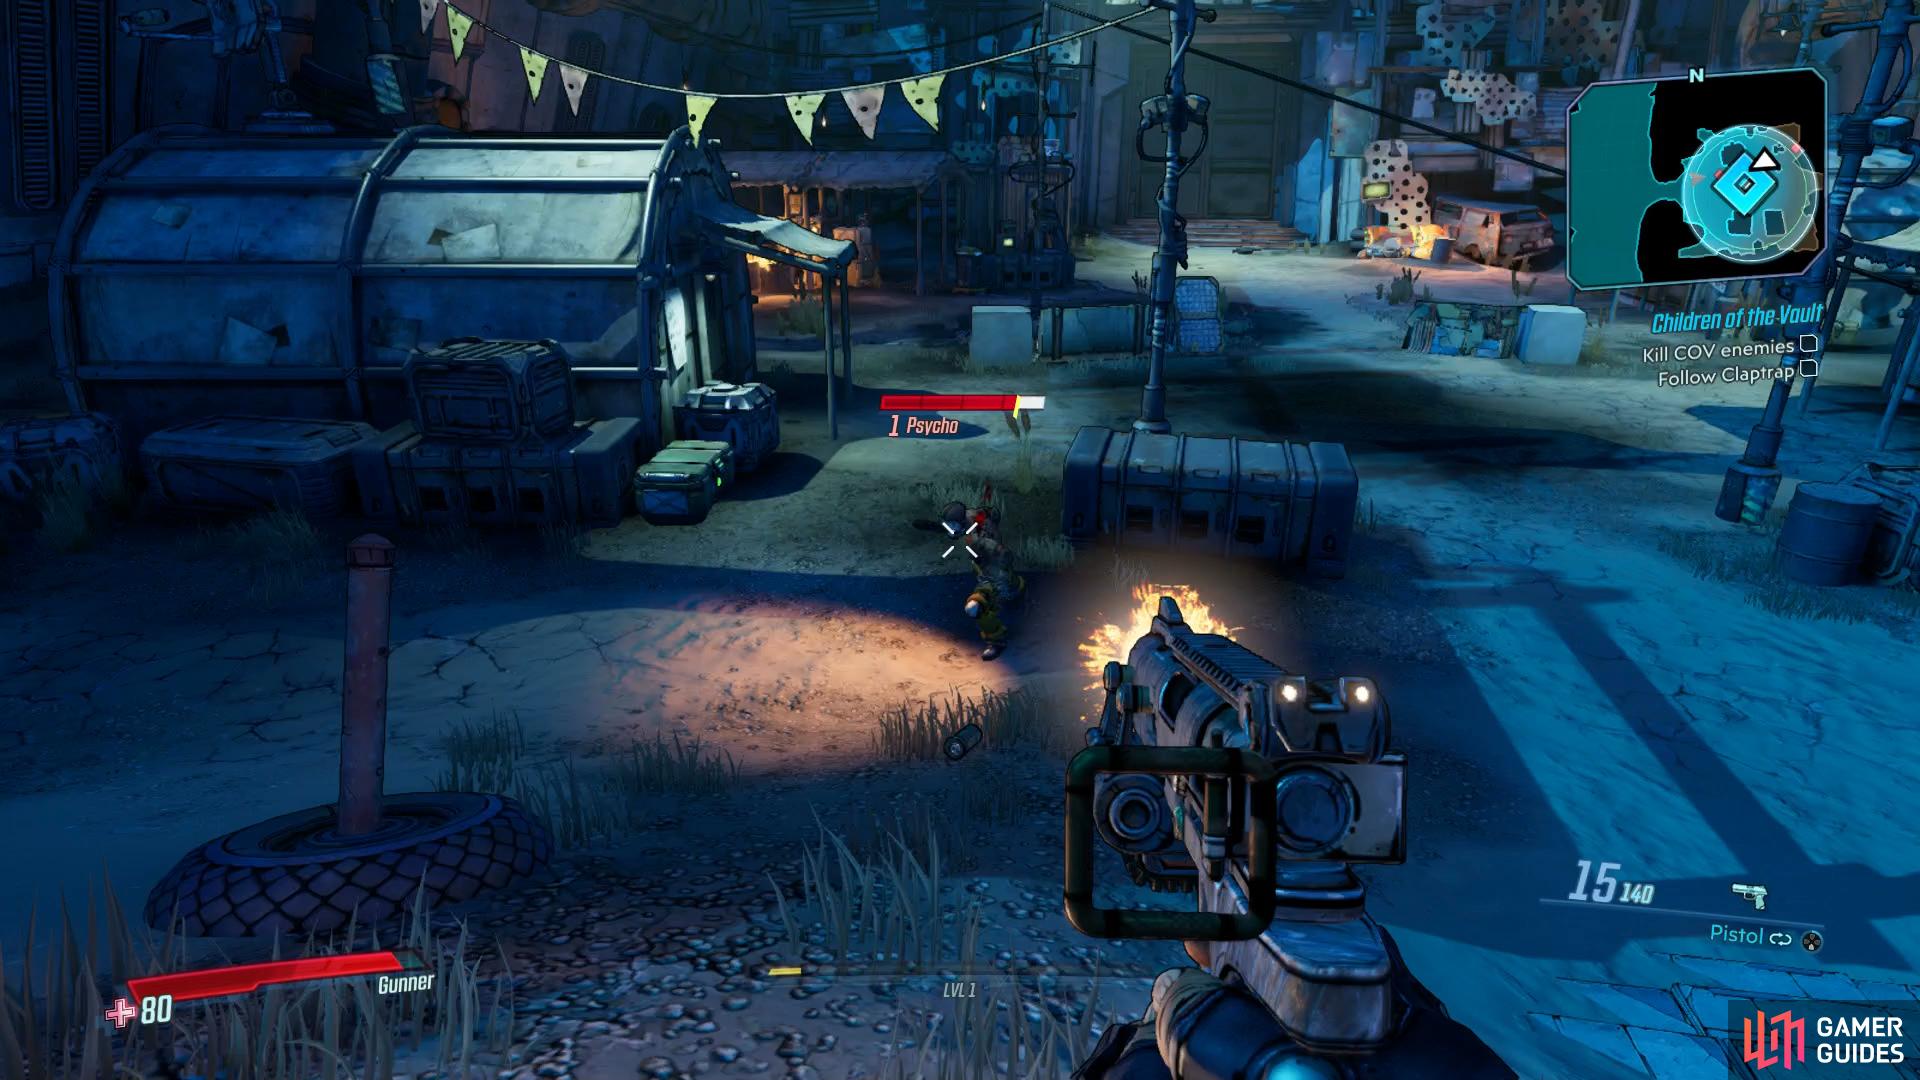
Keep your distance from Psychos
Once the enemies are clear, you can actually take this moment to earn an easy Trophy/Achievement Florida Man while you don’t have a shield still. Head over to the radiator and melee it until you’re low on health, then strike it once more to kill yourself and unlock the Trophy/Achievement, respawning you just outside. Additionally, if you’re in a Group game, you can take this time to revive each other to unlock a second easy Trophy/Achievement Stay Away From The Light.


Once you’re content with killing yourself, head through the now opened door and into a larger area where more enemies will attack. You’ll need to make much better use of the available cover here as the area is a lot more open, causing you to be attacked from all sides. Make use of the Fire Barrels around the courtyard and remember to loot all of the lootables to replenish your ammo and health, there’s plenty around.
Search area for a shield
Once the area is free of COV again, take the time to finish plucking the area clean of all lootables before you set off to look for the Shield. While doing this, Claptrap will reveal the location of the chest for you saving you the hassle. Once you’re ready, head over to the northwest of the area and climb on top of the containers where you spot some yellow paint. You’ll spot these all over in Borderlands 3 and they usually indicate a path you can take so be on the lookout for them at all times.
At the top of this stack of containers, you’ll find yourself a Red Chest, ususally these Red Chests are well hidden throughout each zone and contribute to the Zone Completion. You can expect to find valuable items in these so they’re well worth hunting down but for the purposes of this mission, you’ll find your much needed Shield. All four are identical so pick one up and equip it immediately, remembering to take the rest with you to pawn off later.
Find Shiv
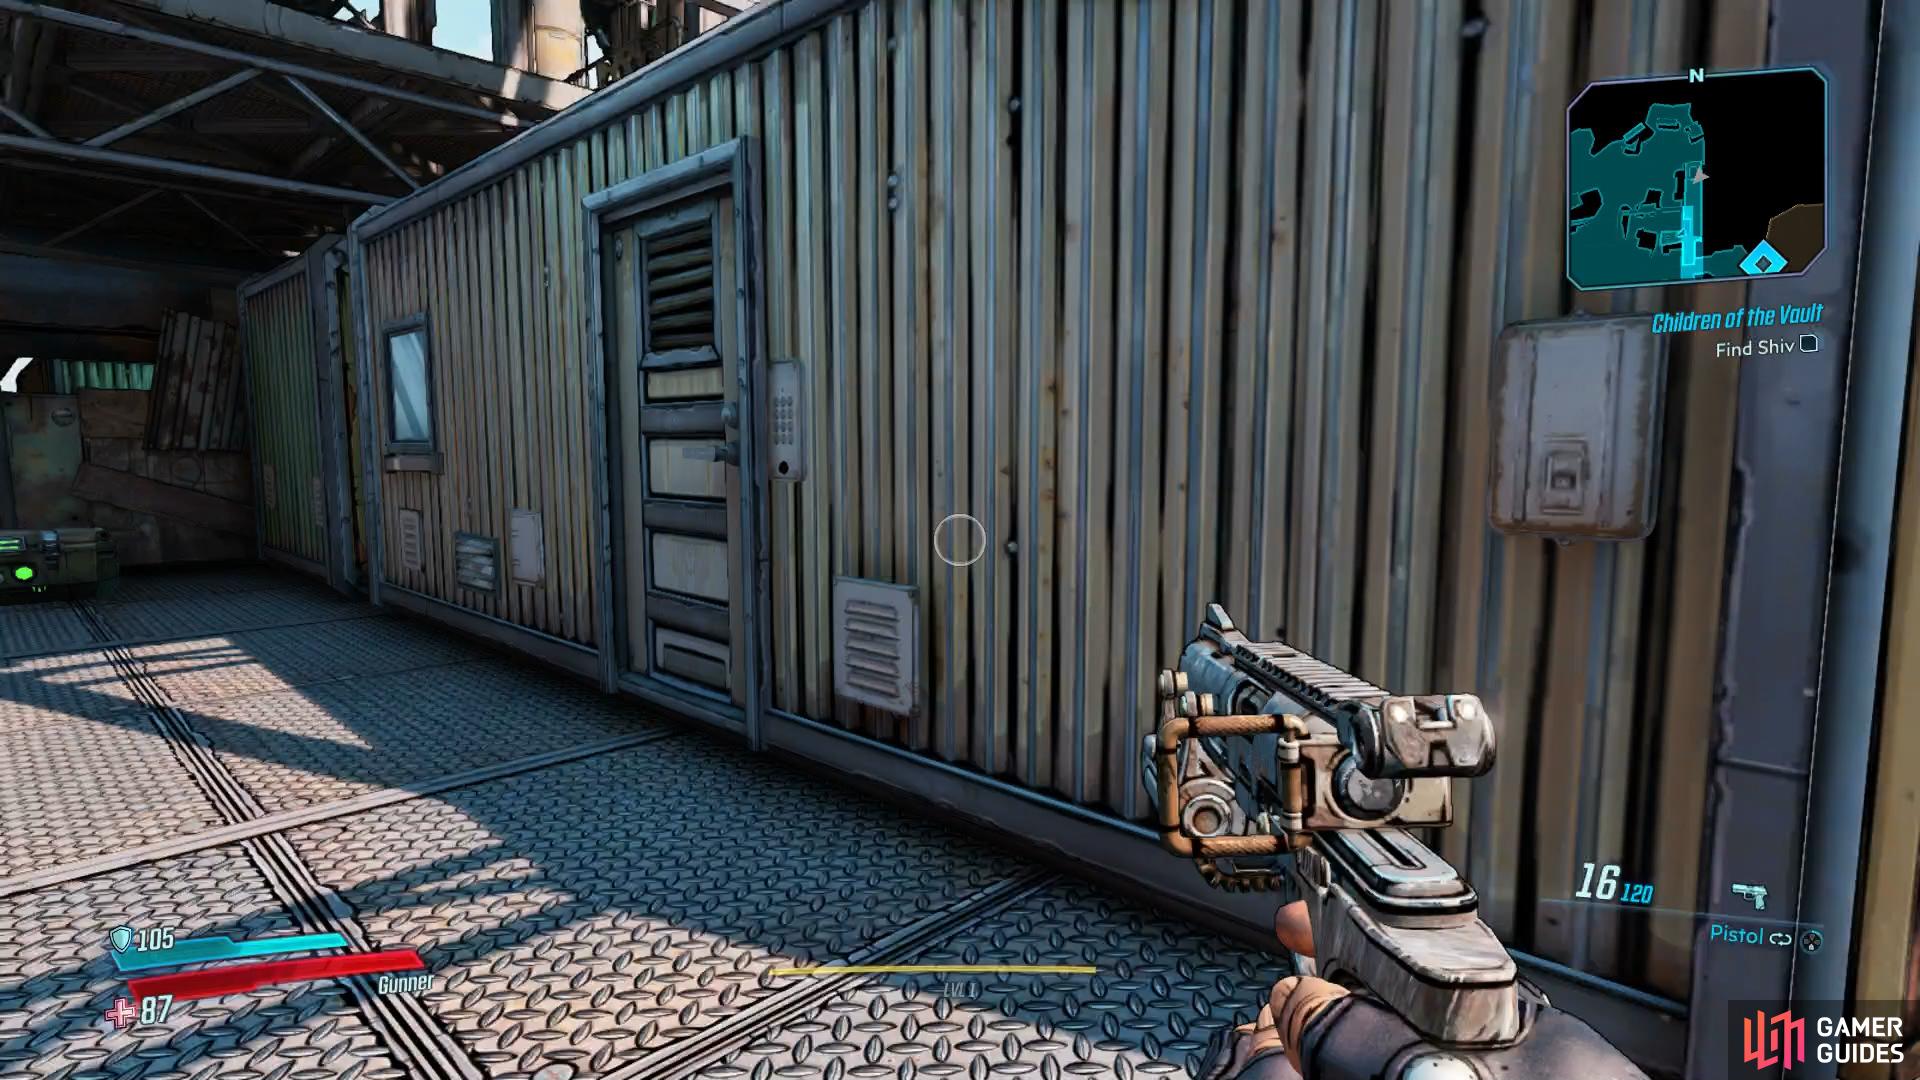
Head up the stairs and climb the container to the right
to find a White Chest full of weapons.
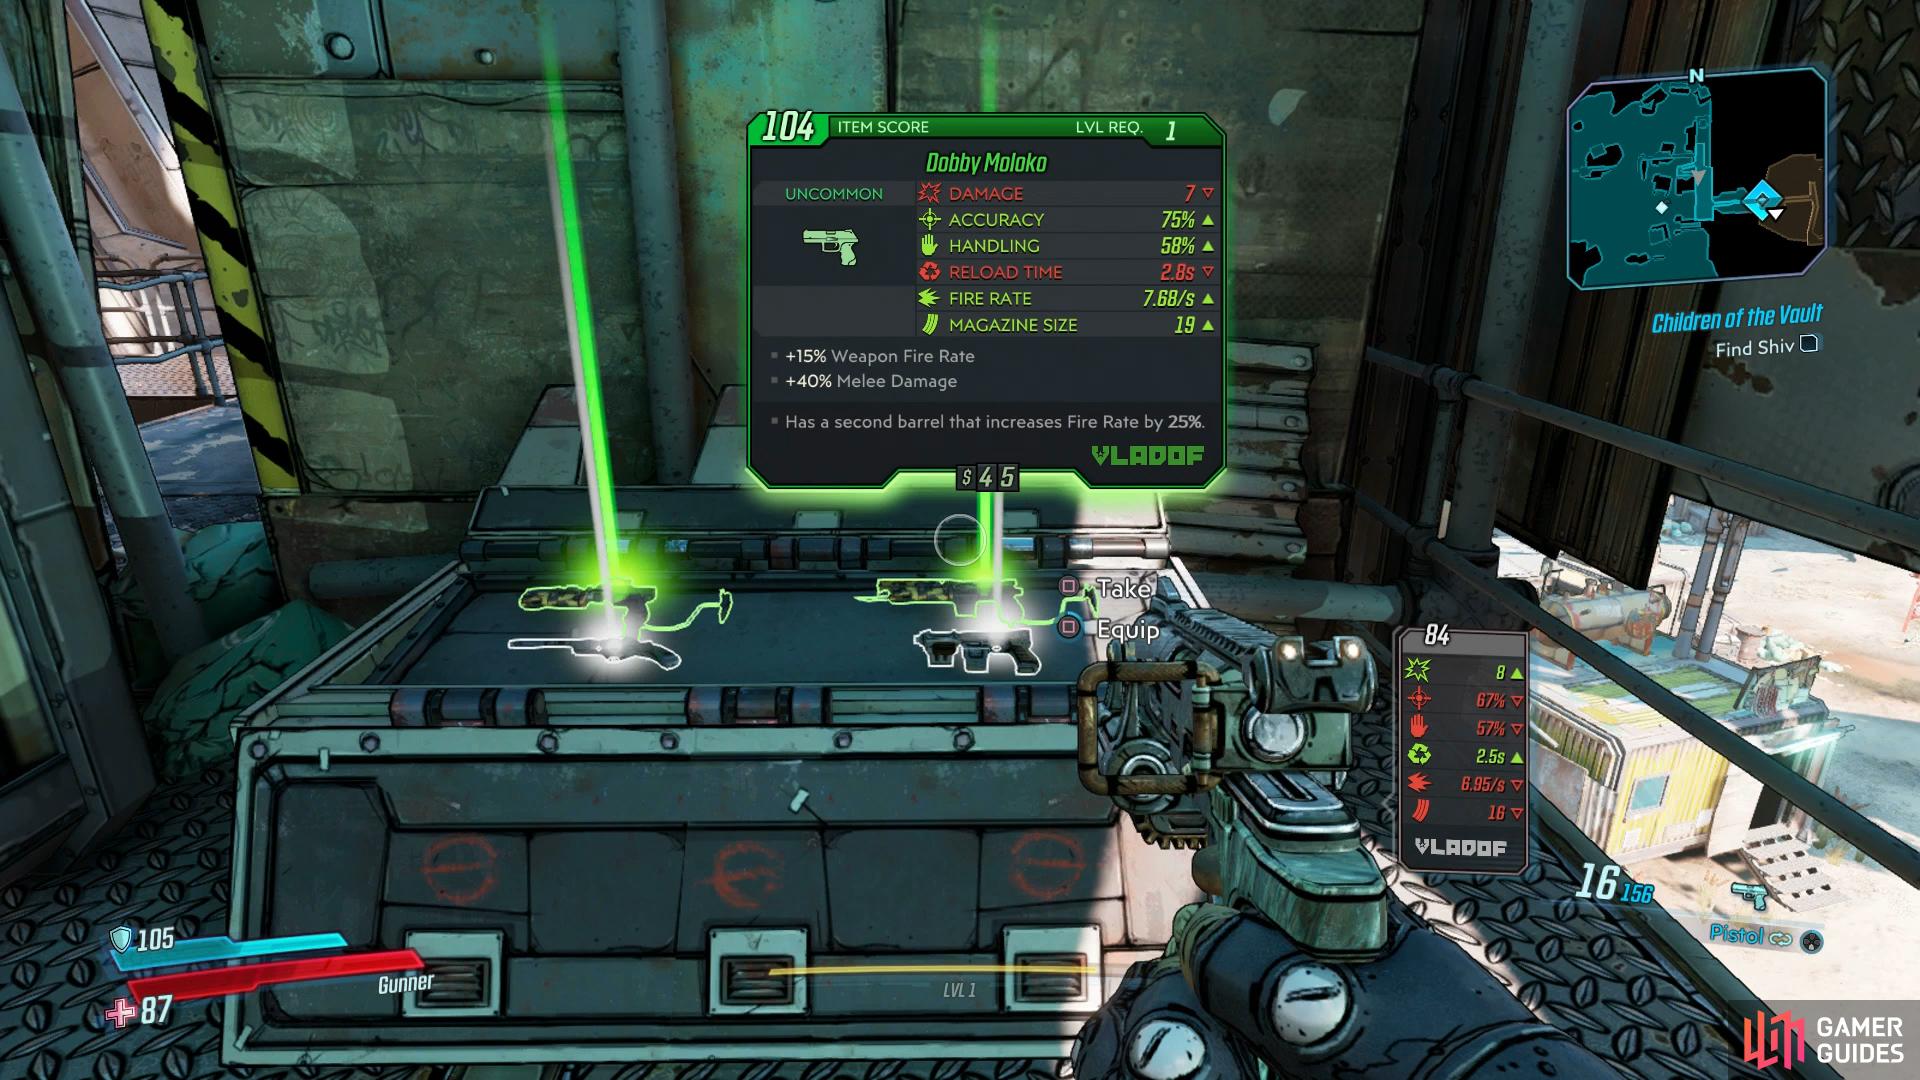
Before you head off to face Shiv, climb the stairs and when you reach a dead end with a lootable chest, turn to your right and climb on top of the container, at the end a large White Chest awaits you. While these chests aren’t as lucrative as Red Chests, they’ll still include weapons for the most part and seeing as you only have a basic weapon, you may well find one here that will be useful for the upcoming battle.
Be sure to equip any of your weapons you may find, for now you have two weapon slots and it’s a good idea to have two different weapons that use separate ammo so that you have a backup should your primary weapon be out of ammo. Once you’re ready, head through the now open doors to face off against your first mini boss.
Shiv
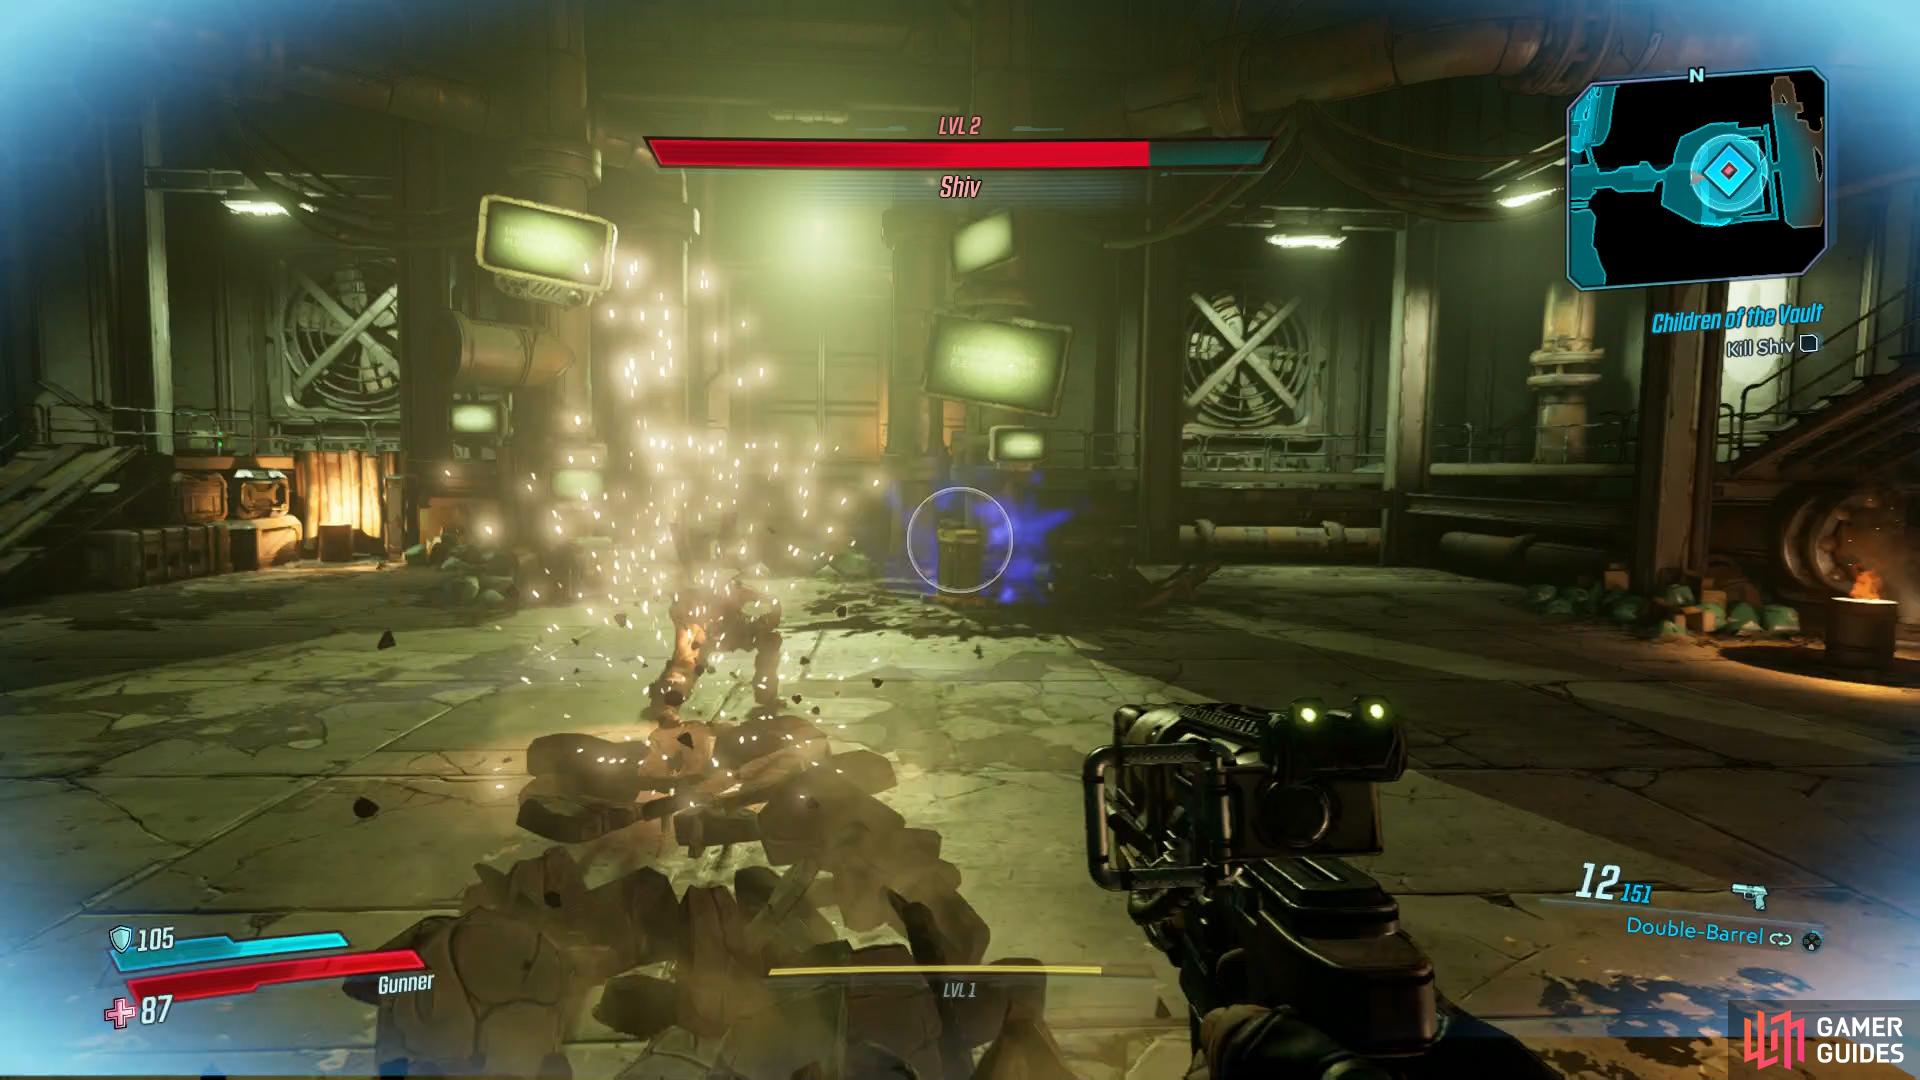
The first thing to pay attention with Shiv is that he actually did bring a knife to a gun fight, meaning that your largest threat here is letting Shiv close the distance on you. His attacks only consist of meleeing you, which will inflict reasonable damage on you, and a Ground Slam which will affect the area around him, this is easily avoided by simply jumping to the side of the attack when you see him go to perform it. Shiv is however fairly fast so be sure to stay on the move at all times.
The arena is of special note however, you’ll notice all around you that there are many opportunites to shock Shiv by shooting the two Radiators located here. Alternatively, you’ll discover a couple of Fire Barrels situated around, if you can lure Shiv close to one and explode it on him, that will do most of the work in putting him down. Thankfully, there’s no Legendary drop to farm here so don’t be alarmed if none of his drops are worthwhile. Pick up whatever is waiting for you on the ground and then pay attention to the more worthwhile news here.
The Ground Pound is Shiv’s most dangerous attack, jump to the side to avoid it
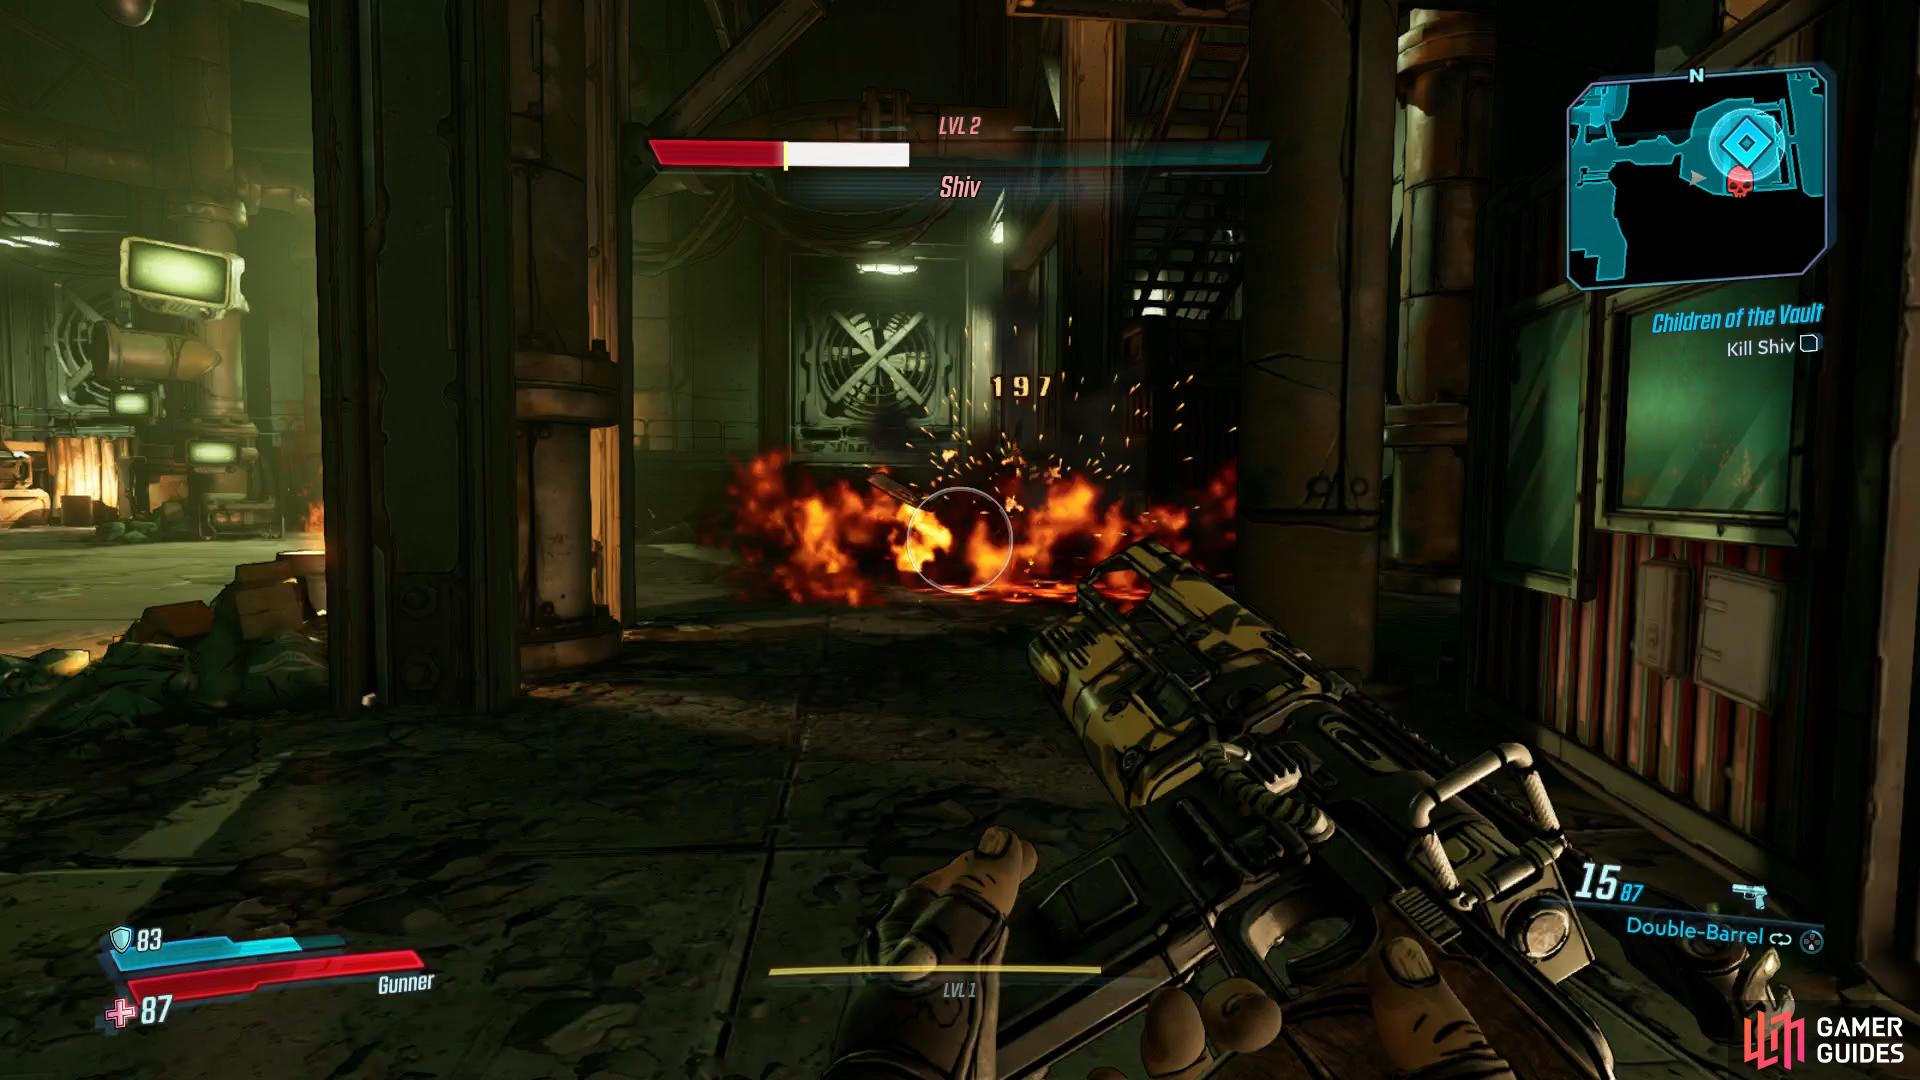
explode a Fire Barrel on Shiv to deal significant damage to him.
Your first skill point
With Level 2 comes your first skill point and while it will be a long time before you go crazy over finding builds and other such tasks, for now just go with any Action Skill that piques your interest. There are three trees for you to choose from and once purchased, you can swap the Action Skill at will. You’ll also notice further down on the trees, Augments, which are situated to the left and right of any particular tree. These are new to Borderlands 3 and will affect your Action Skill in many interesting ways. Don’t be afraid to experiment as you can Respec your skill points at will from any Quick Change machine. For more information on the what builds to aim for down the line, check out the [Builds] section in the Appendix.
Use Magnet Controls
With Shiv out of action, loot all of the nearby lootables and then head up to the second floor to make use of the Magnet Controls and send poor Claptrap crashing to the ground. Jump back down to the bottom and revive Claptrap by holding down the [SQUARE]/[X] buttons while targeting him. In return, Claptrap will signal to Lilith, the Siren who has been communicating with you, who will make her entrance in a blaze of glory.
Head on over and speak to Lilith to learn a little more about your current situation to bring the opening mission to a close and unlock Welcome to the Crimson Raiders.

No Comments