

| Quest Giver | Reward | Lvl |
|---|---|---|
| Tannis - Guts of Carnivora | Cash, Unique Legendary Shield | 35 |
Return to Sanctuary, Have Vaughn rally support
Once you accept the mission from Tannis, Fast Travel back to Sanctuary and make your way over to Lilith at the bridge. Once you learn of your next destination, go ahead and Fast Travel back to Roland’s Rest in Devil’s Razor.
Defend Roland’s Rest, Kill Brayden
No sooner than you arrive, you’ll find Roland’s Rest under attack from the COV. You’ll need to deal with a few regular COV to begin with and once the initial wave is defeated, Troy will send in Brayden, an Anointed. Before you focus on him however, take out the other COV first including a nasty Badass at the bottom of the hill. As for Brayden, he will teleport around the area and attack by launching large orbs at you, avoid these and keep firing to take Brayden out. With Brayden out of the picture, head up and speak to Vaughn.
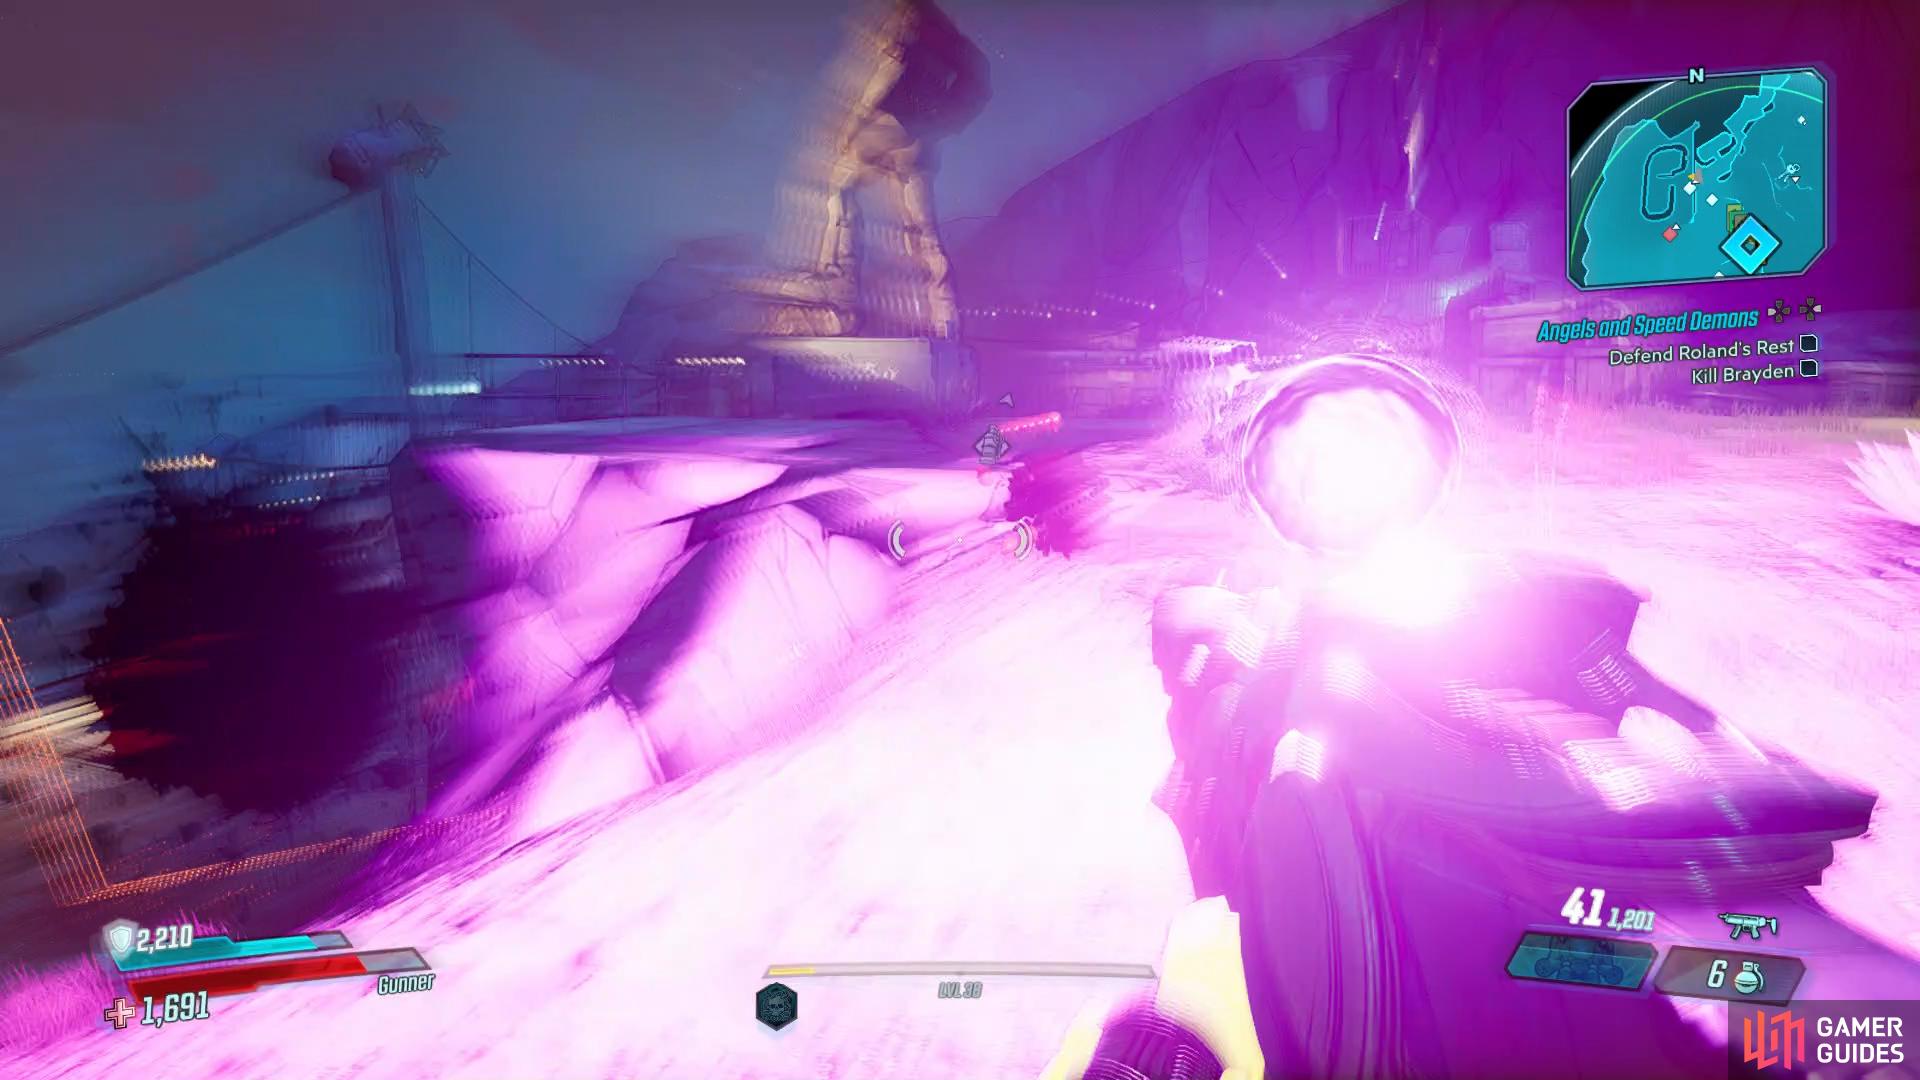
Brayden’s purple orbs will deal huge damage if they connect.
Drop down to the Catch-A-Ride and grab yourself a vehicle before heading off to the east to assault the Calypso stronghold. The assault (if you can call it there) ends abruptly due to the turrets that are set up so return to Vaughn and then follow him to the gate to reach the next zone.
Find Tannis’s hidden lab, Go the long way around
Konrad’s Hold is a rather large area with a few Side Missions to take care of and many Crew Challenges and Zone Completion tasks to take care of. From the outset, you’ll notice that you can travel north and south and if you completed the Side Mission Life of the Party back in Devil’s Razor, you’ll find a follow up here, Wildlife Conservation that takes part in the southern part of the map.
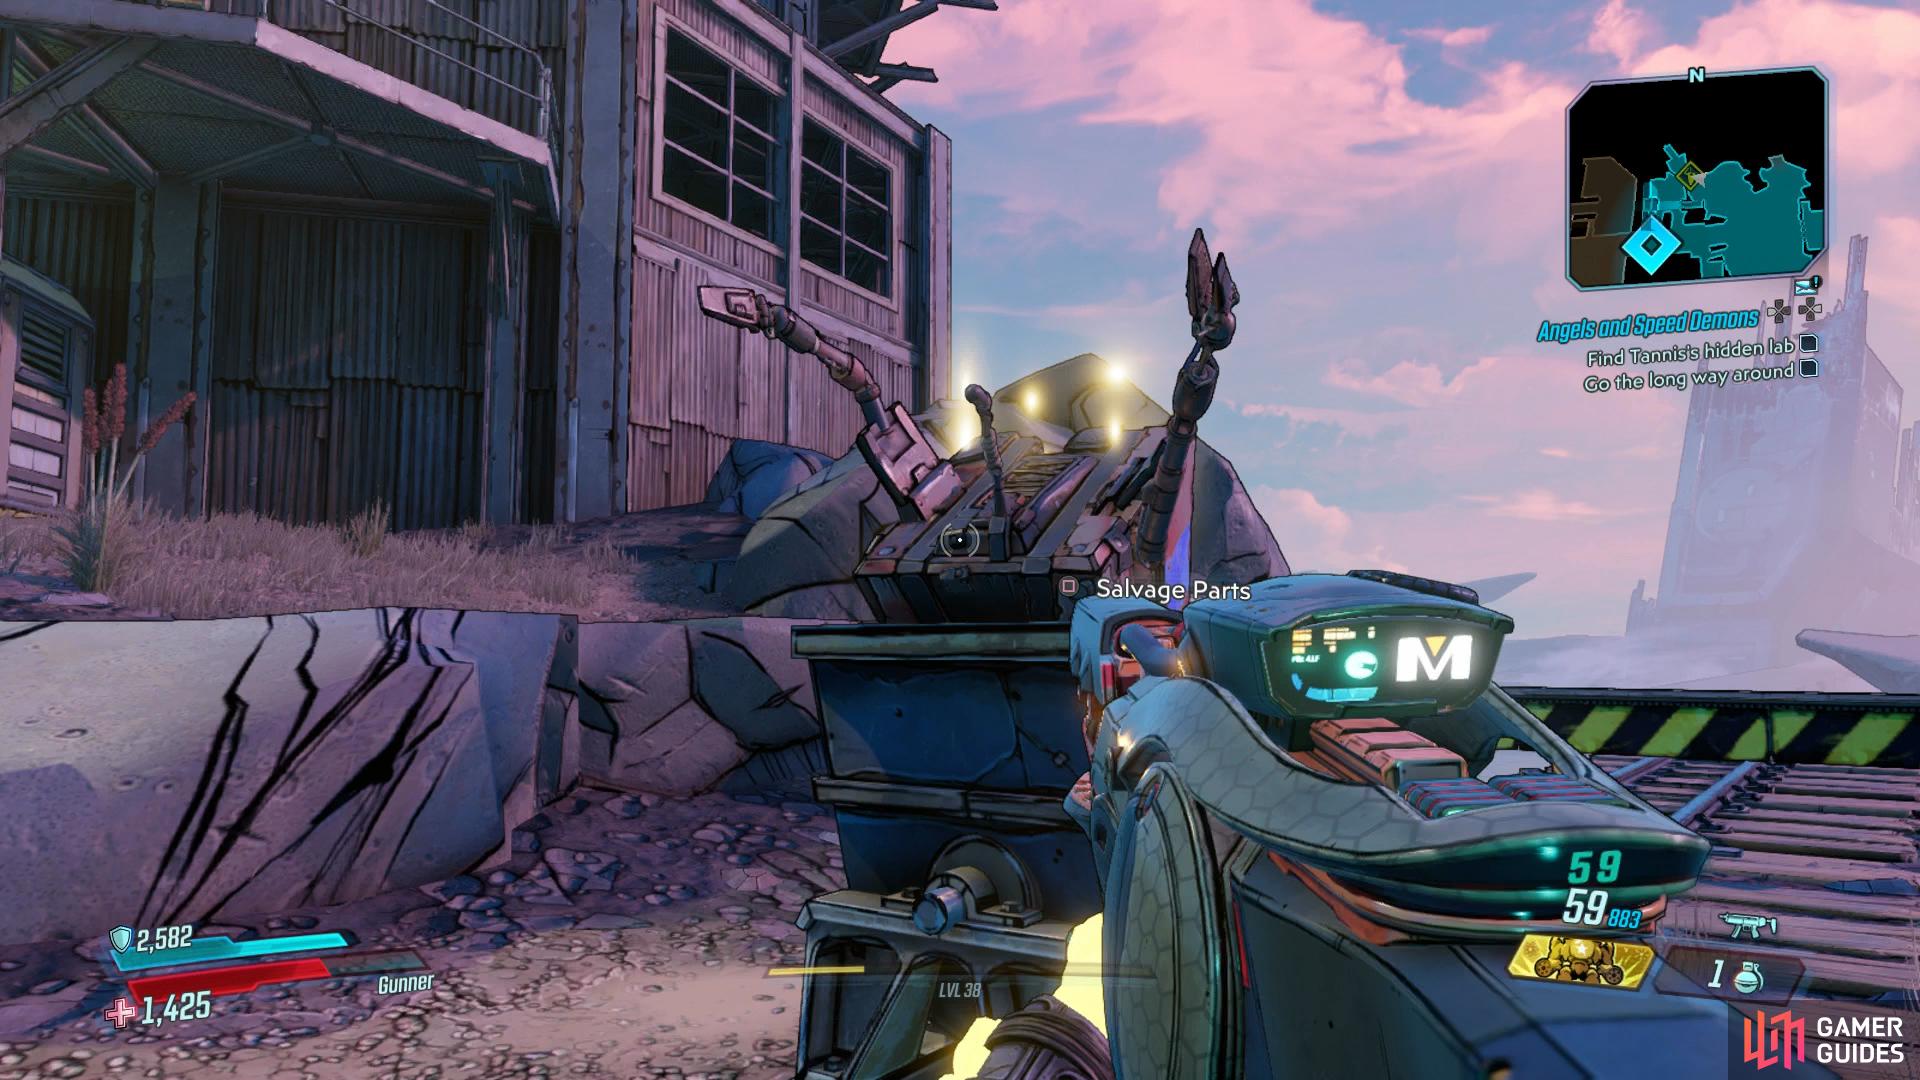
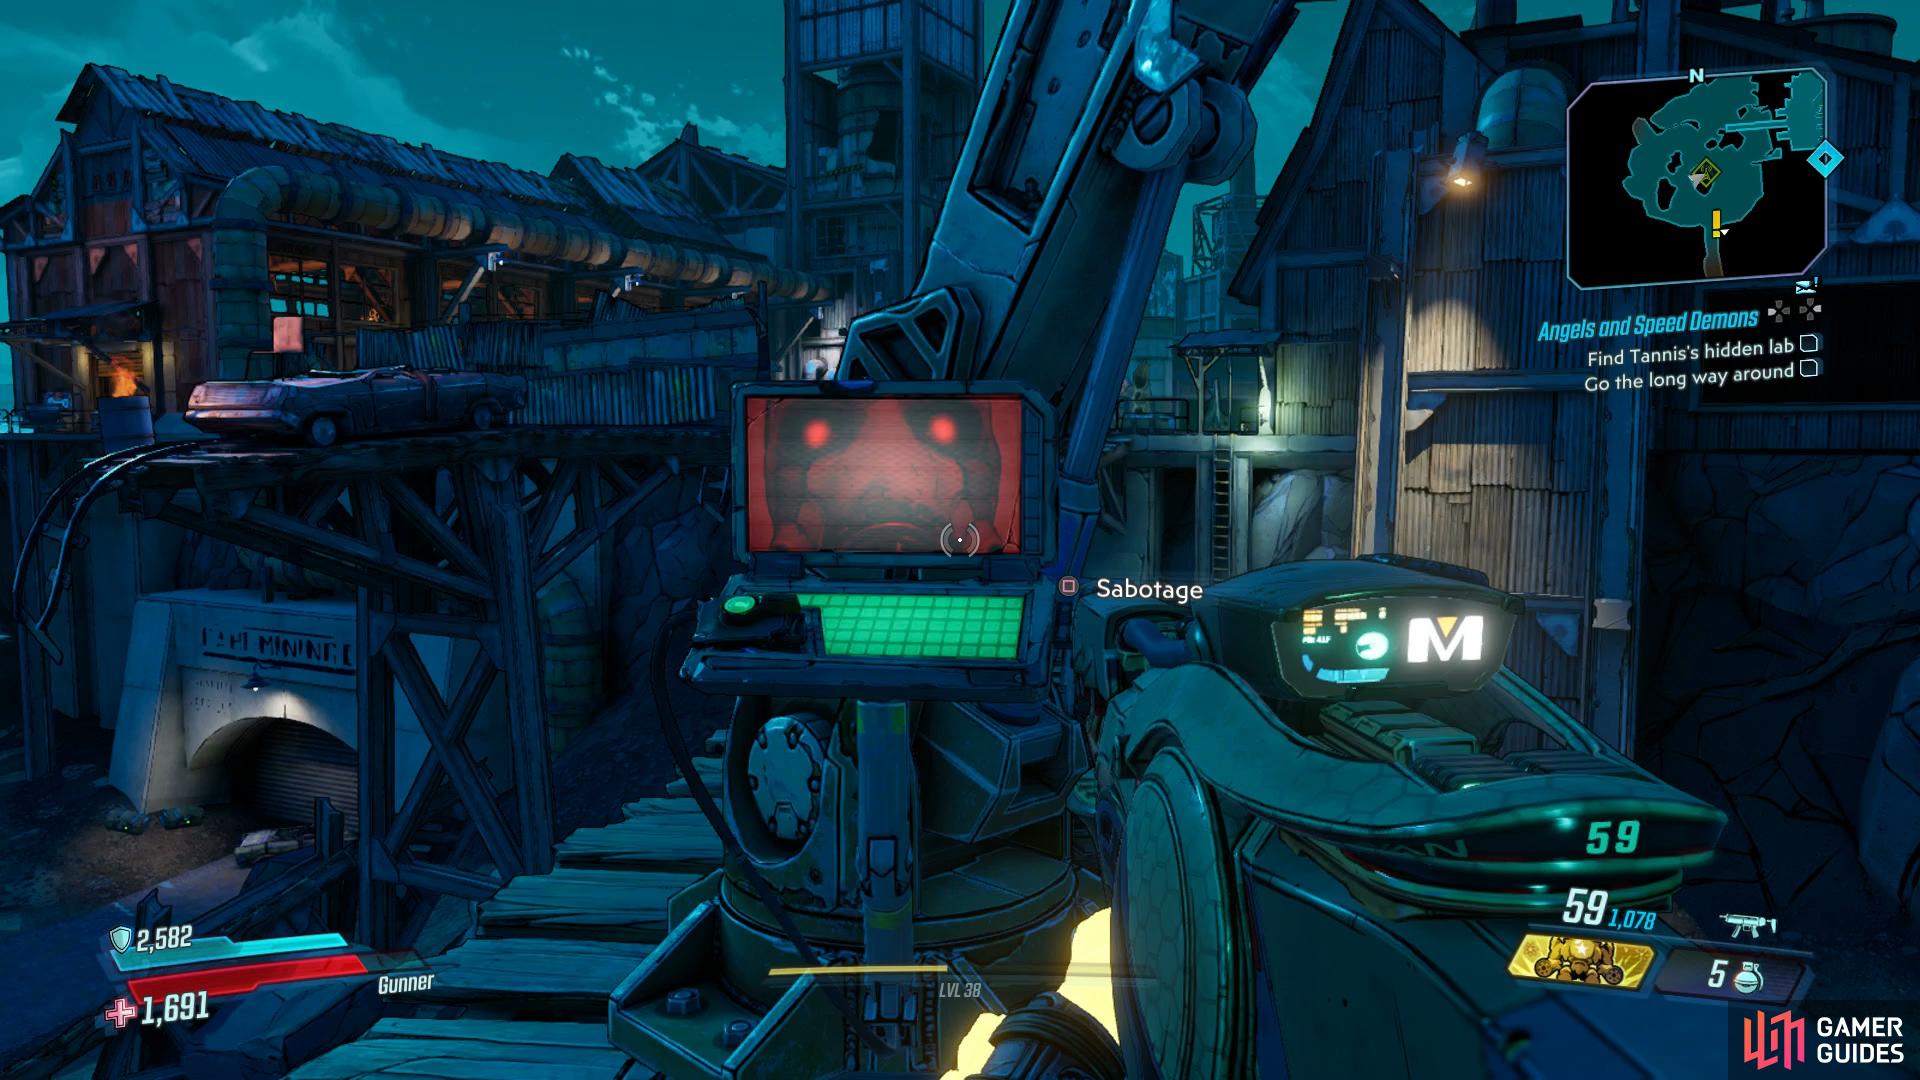
Whether you decide to do the Side Mission or not, head north to encounter a large group of COVs including two tough Badass enemies. Focus your attention on them first, with a Corrosive weapon if possible, and keep working your way north. Once the area is clear, head along the northern cliff to locate the first Typhon Log. As you approach the western door, you’ll need to take out one more group of COV before flipping the nearby switches. Turn around and run up the rails after and melee the minecart to create an opening.
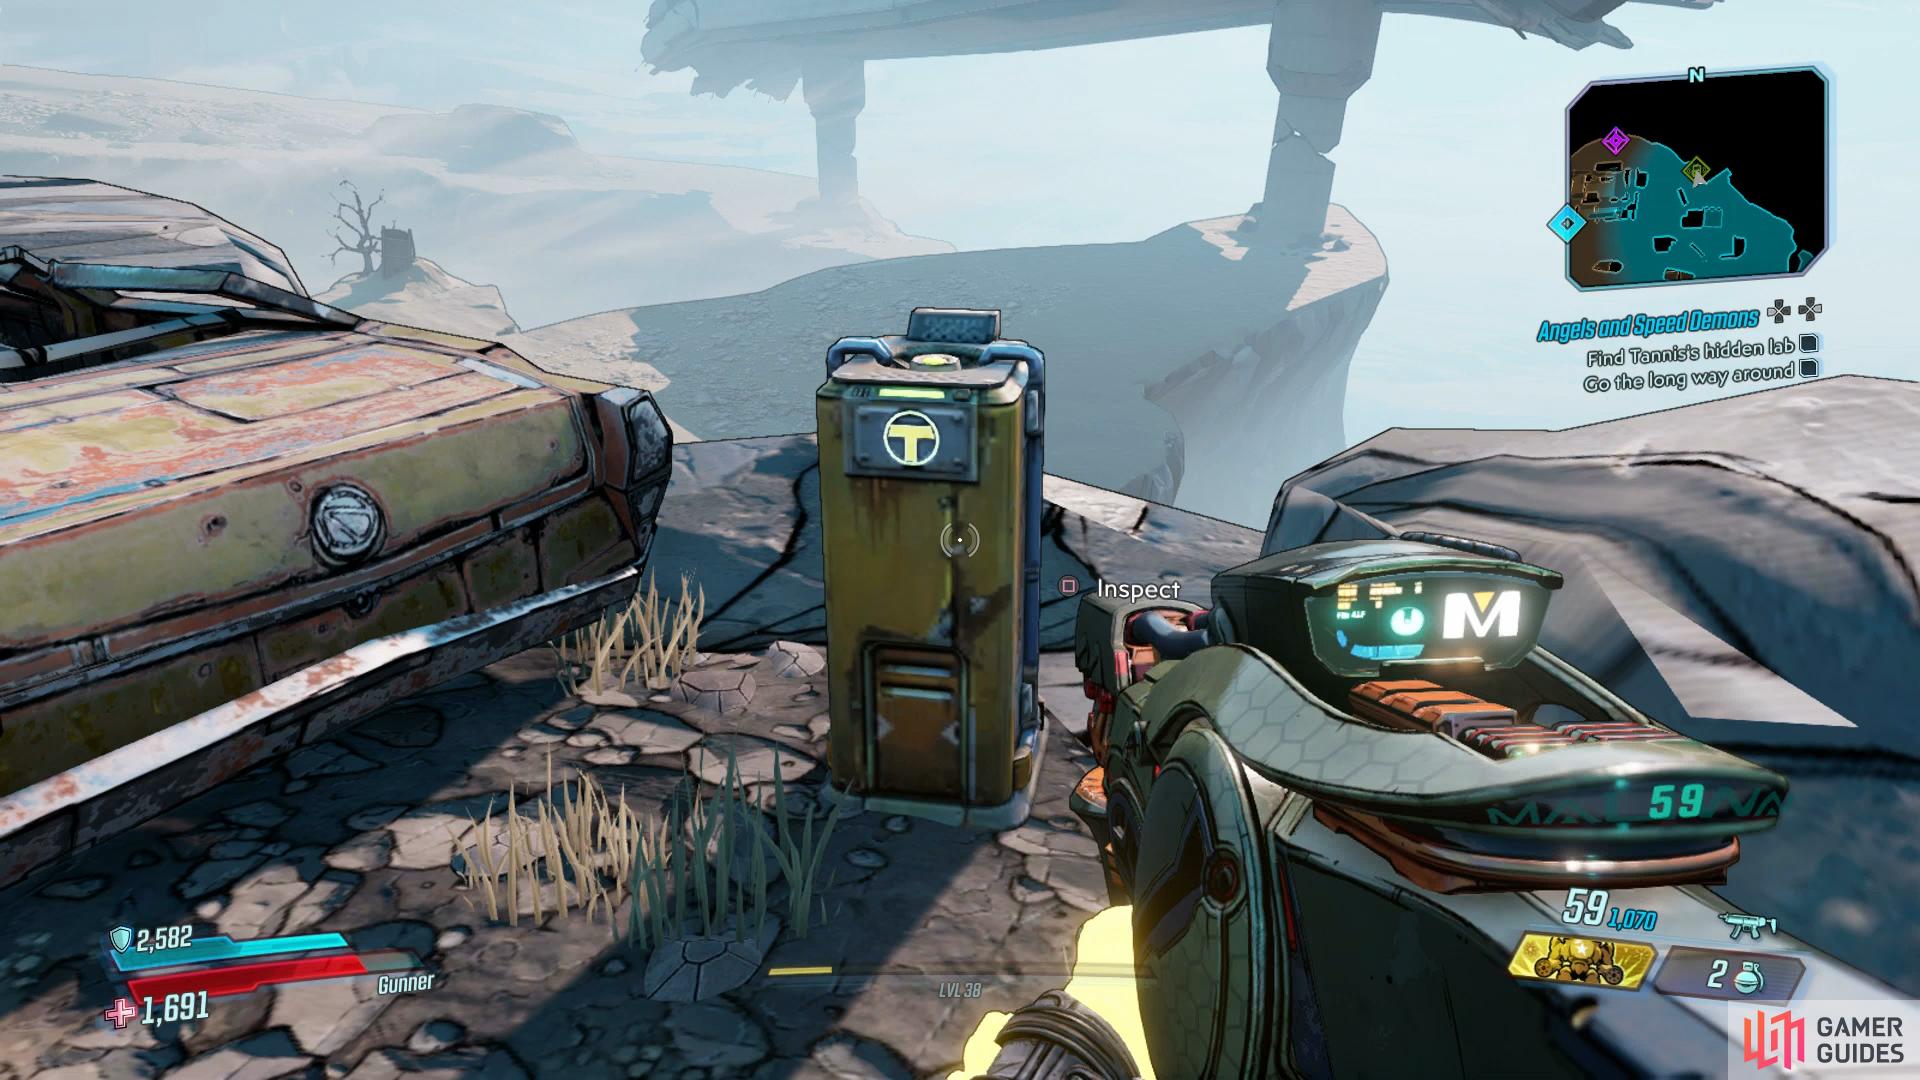
You’ll come across the first Typhon Log along the northern cliff
while the first Dead Claptrap can also be found just before you take the conveyor up.
You’ll encounter another group of COV inside, mainly made up of Tinks including a Badass Tink, focus on the Hag and Badass first before clearing out the rest. Take the southwestern stairs up and out of the building and then drop down to where you’ll find some Vending Machines. Yet another group of COV await you here and then just beyond them, a larger group made up of a Badass Enforcer and Badass Hag. Attempt to keep the two away from each other and make use of your Action Skills if at all possible to take them down quickly.
With the area finally clear of all hostiles, head over to the northwest corner to locate the Dead Claptrap and then take the nearby conveyor up and into the factory. Drop down and take out yet another large group of COV (a pattern is beginning to form here) and then from the ground floor, make your way over to the lift in the western end of the building. Another group of COV await you at the top and upon defeating them, open the White Chest and then take the stairs up on the left to reach the roof to unlock General’s Perch and another White Chest.
Return down the stairs and leap over the gap in the skybridge to reach some more Vending Machines you can use to restock. As you exit out into Last-Stand Yard, you’ll notice Varkids around the area and that the path splits. If you drop off to the southwest, you’ll be able to find the second Dead Claptrap, a Crimson Radio and a Side Mission, The Demon in the Dark which will lead to the Eridian Writing.
You’ll find a Crimson Radio on one of the tracks here
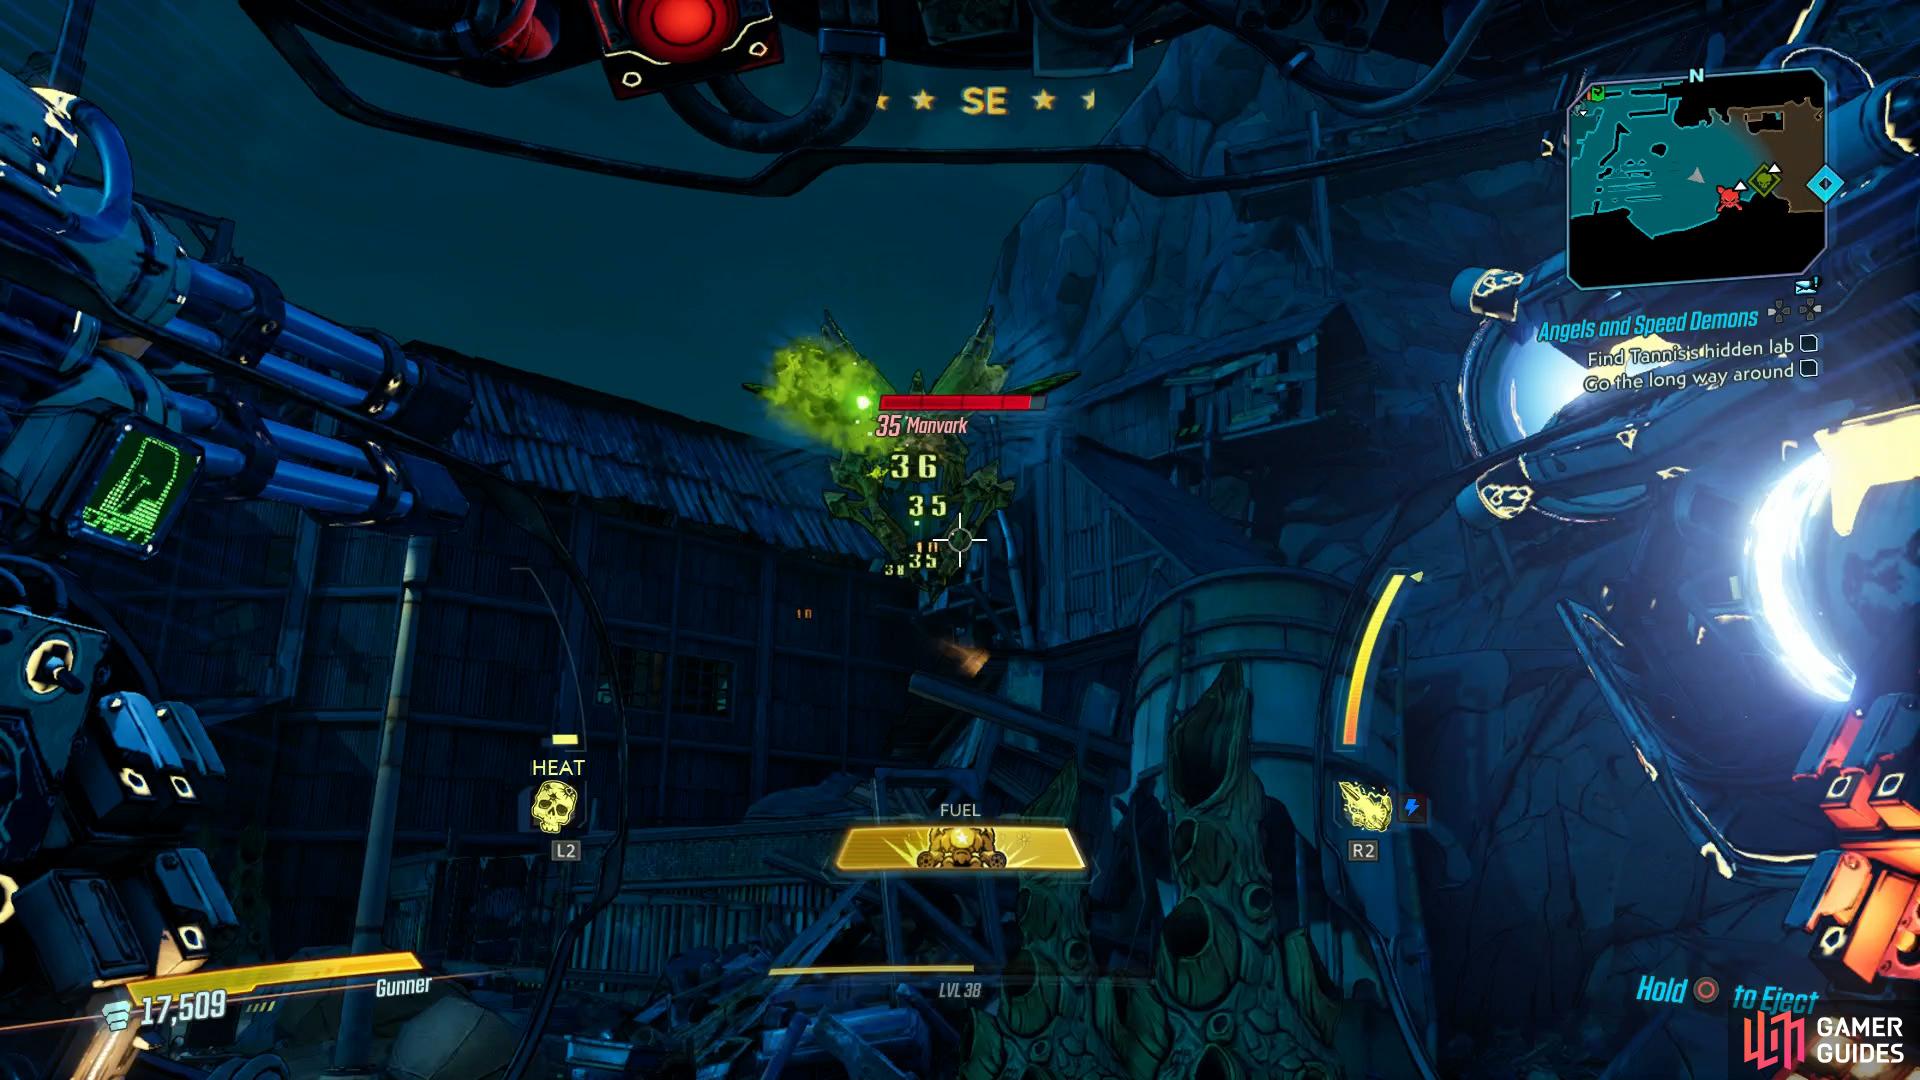
while the Manvark can drop the Legendary Sniper, Headsplosion.
When you’re ready to continue, head east and you’ll encounter the Legendary Hunt, Manvark, a nasty Varkid that can cause trouble if you’re not careful. It also has the possibility to drop the unique Legendary Sniper, [Headsplosion] if you’re fortunate enough. As you head east, you’ll find the entrance to The Slaughter Shaft, an optional area with a single Side Mission, [The Slaughter Shaft]. These Side Missions are best saved until the closing stages of the game and form one part of the End Game. Feel free to accept it and grab the Fast Travel but then leave this for later.
Return to Konrad’s Hold and continue your journey to the east to reach Bleedout Smithy, another factory full with Varkid. Dispatch the enemies here and then climb up to the upper walkway to find the second Typhon Log. Drop back down and head to the southeast and then look up to see a pipe that you can shoot at. Doing so will cause it to smash into the ground and allow you access below.
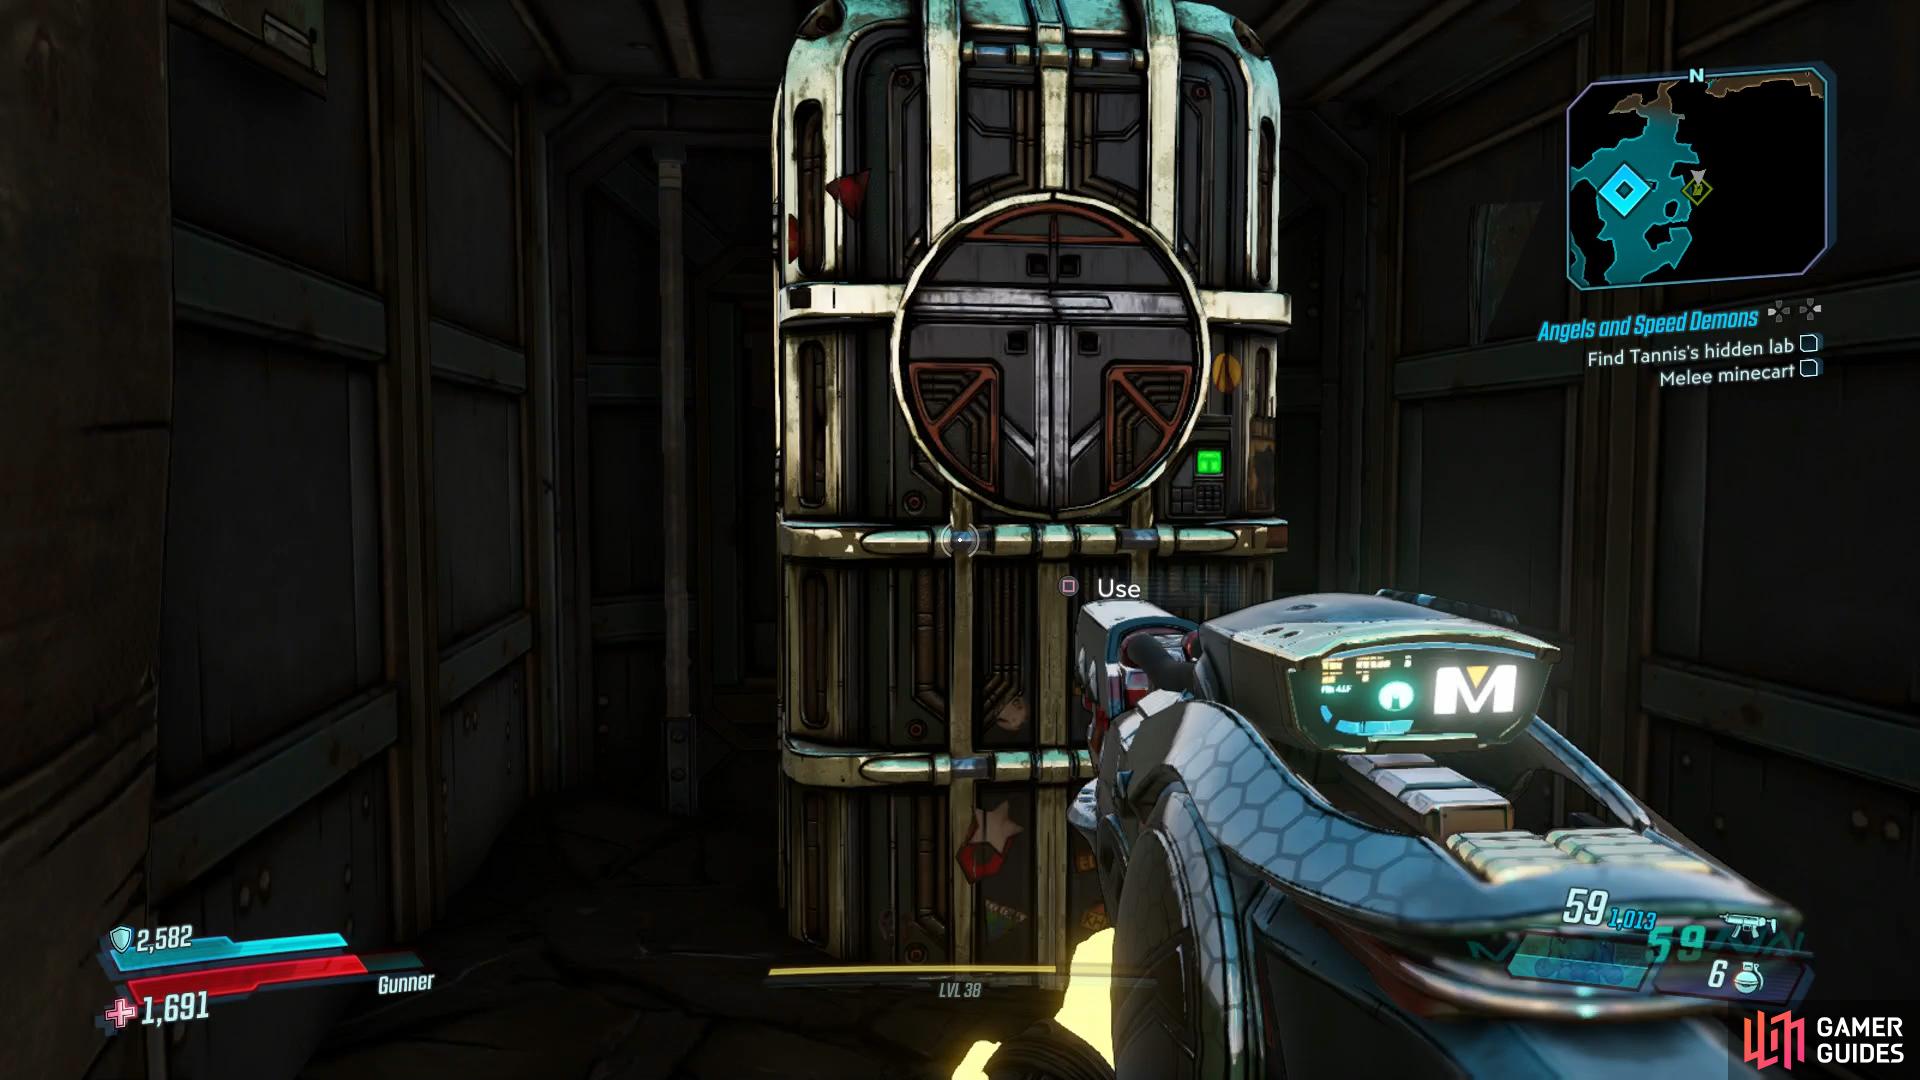
You’ll find a White Chest here and then once you drop down, follow the path to the third and final Typhon Log. Continue to follow the path and you’ll find a larger cavern with yet more Varkid. Once you’ve dispatched them, head over to the nearby minecart, melee it and defeat the Varkid before meleeing it again to open the doors. Before continuing however, head to the east to climb onto the containers to find the Dead Drop.

It’s hard to miss the final Typhon Log as you head into the Crawling Dungeons
the Dead Drop can then be found in the containers to the east.
Disengage couplings [4], Load reactor
At long last, you reach Tannis’s lab and she’ll ask you to disengage the couplings. You’ll find a Side Mission to the east here, Childhood’s End which will lead to the Red Chest of this Zone. When you’re ready, shoot at the four couplings in the air and then head over to the control panel to the south and flip the switch. With the reactor loaded, head over to the entrance to Sandblast Scar and exit out to the garage.
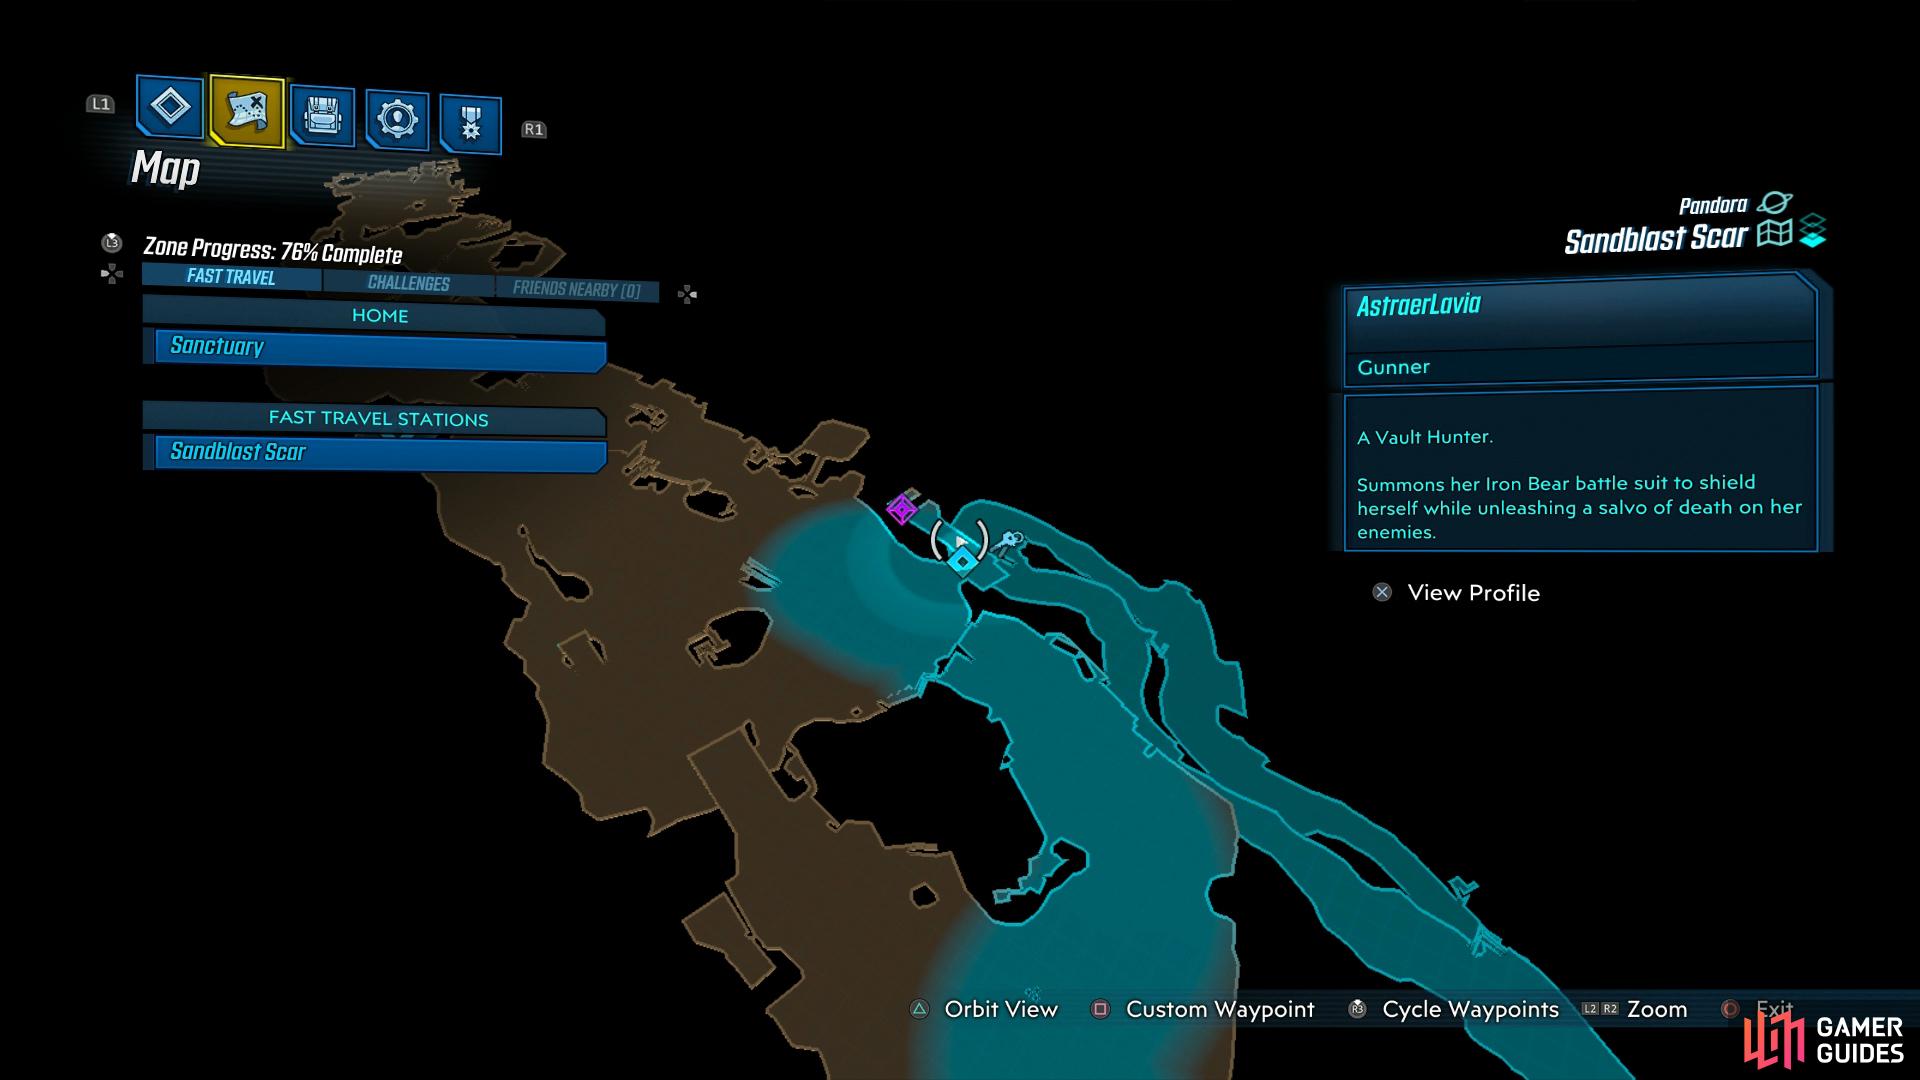
Drive reactor to safety
With just a straight road ahead of you, the objective is to drive through Sandblast Scar and make your way back to Roland’s Rest. There’s nothing of interest here save for the Red Chest near the end of the area. As you race down the straights here, you’ll need to contend with numerous amounts of COV and should your vehicle be destroyed, you’ll need to hike back to the nearest COV to respawn another. Keep an eye out for COVs with RPGs in the towers as you go, these will cause a lot of trouble if you’re slow. For the most part, you can ignore everything and just keep on the throttle.
As you race towards the end of the area, look to the east to find a path
follow this to the end to find a Red Chest.
Once you reach the end of the area and are advised to shoot the tank, get out of the vehicle and search the building to the northeast to find the only Red Chest in the area. Shoot the large tank after to open a way forward and park the vehicle on the lift at the end to return to Devil’s Razor. Make your way over to Vaughn in Roland’s Rest and speak to him to complete the mission, obtain the unique Legendary Shield, Retaliation Red Suit and begin the next.
No Comments