

| Quest Giver | Reward | Lvl |
|---|---|---|
| Hammerlock - Floodmoor Basin | Cash, Rare Pistol | 30 |
Take Record, Go to Voracious Canopy
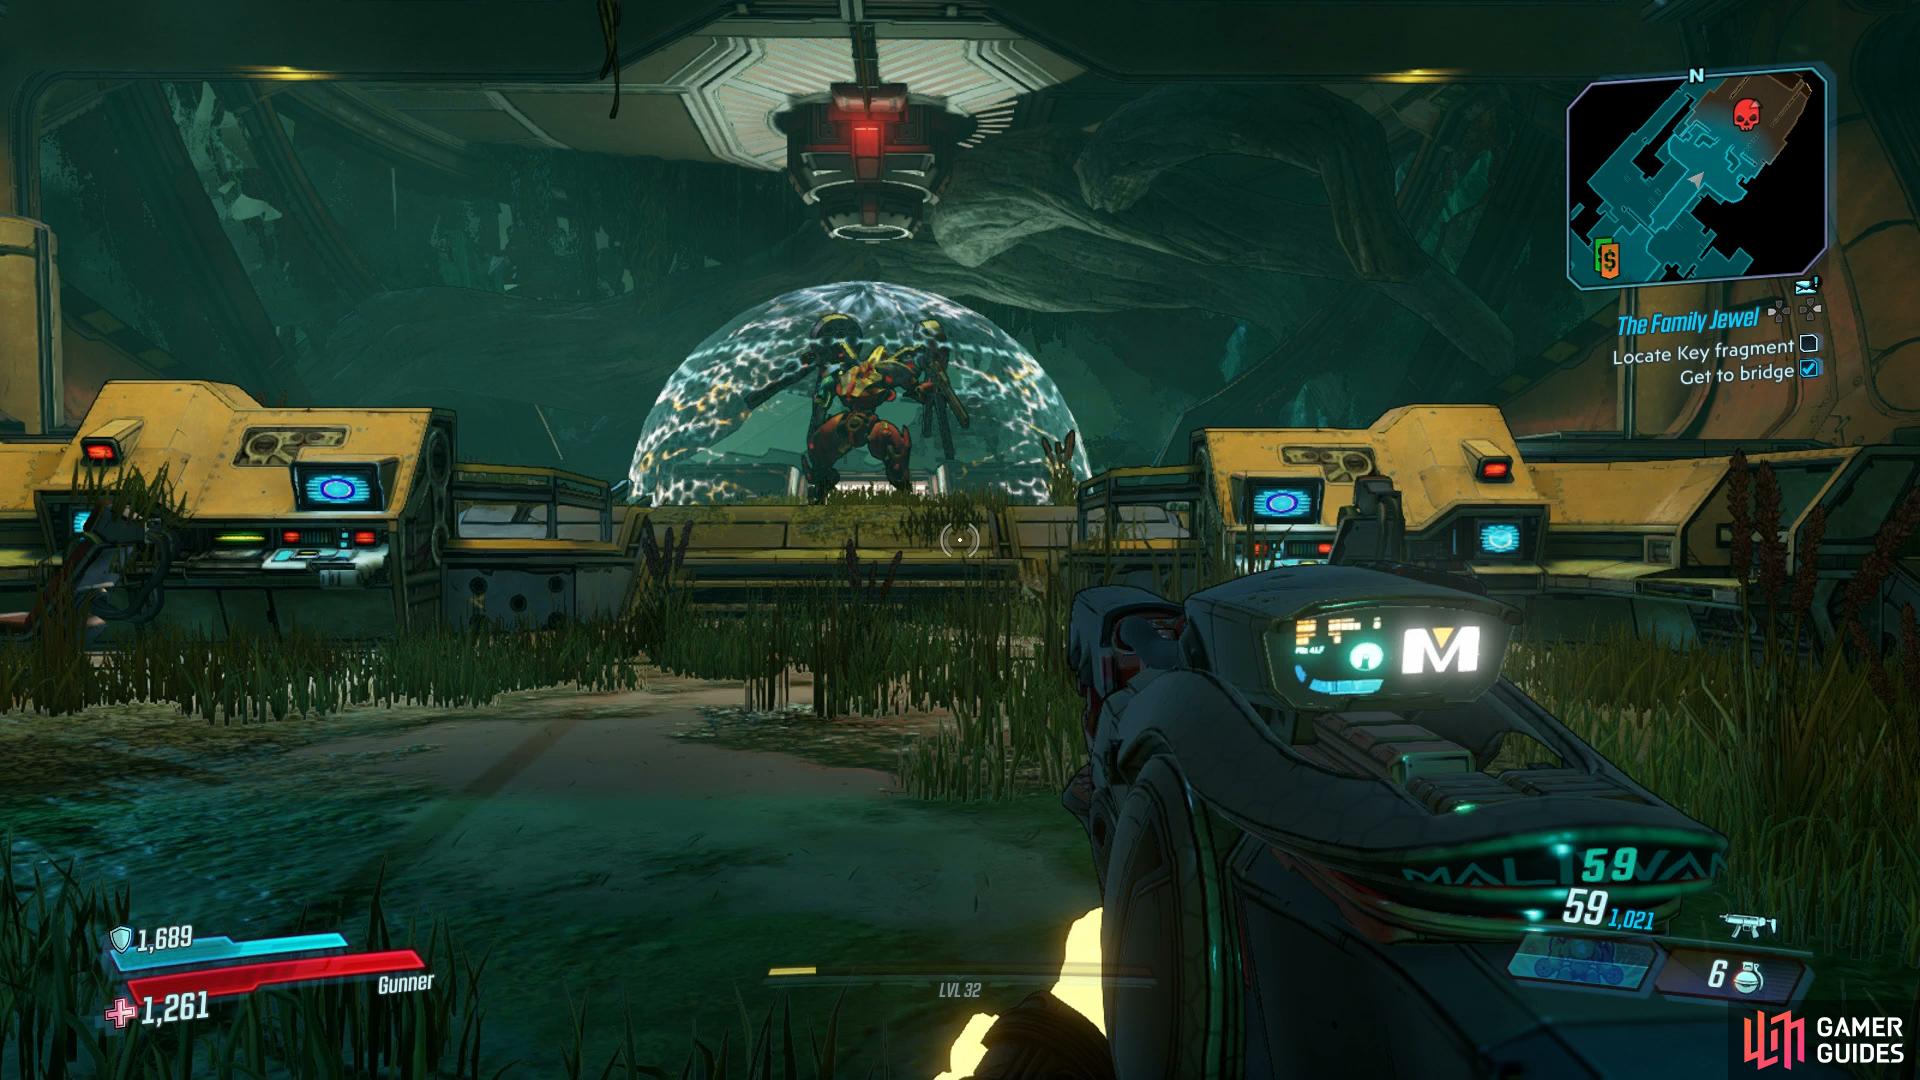
Upon heading back to Knotty Peak and speaking with Hammerlock, Wainwright advises you to take the record and play it. Oblige and you’ll discover that the Family Jewel, the Jakob’s family ship that crashed in the Voracious Canopy. Take the Headlift down and grab yourself a vehicle, the entrance to Voracious Canopy can be found to the far northeast of the swamp, just east of where you find the Dead Drop here.
Voracious Canopy is split in two directions, the north and the south and depending on your goal here, you’ll only need to visit one of the directions. To the north is where you’ll find the Side Mission, [Rumble in the Jungle], a rather lengthy Side Mission where you’ll be able to find the majority of the Crew Challenges save for a Typhon Log. As always, there’s named locations and Red Chests to discover too so check out the Zone Completion page for more information.
Find BALEX
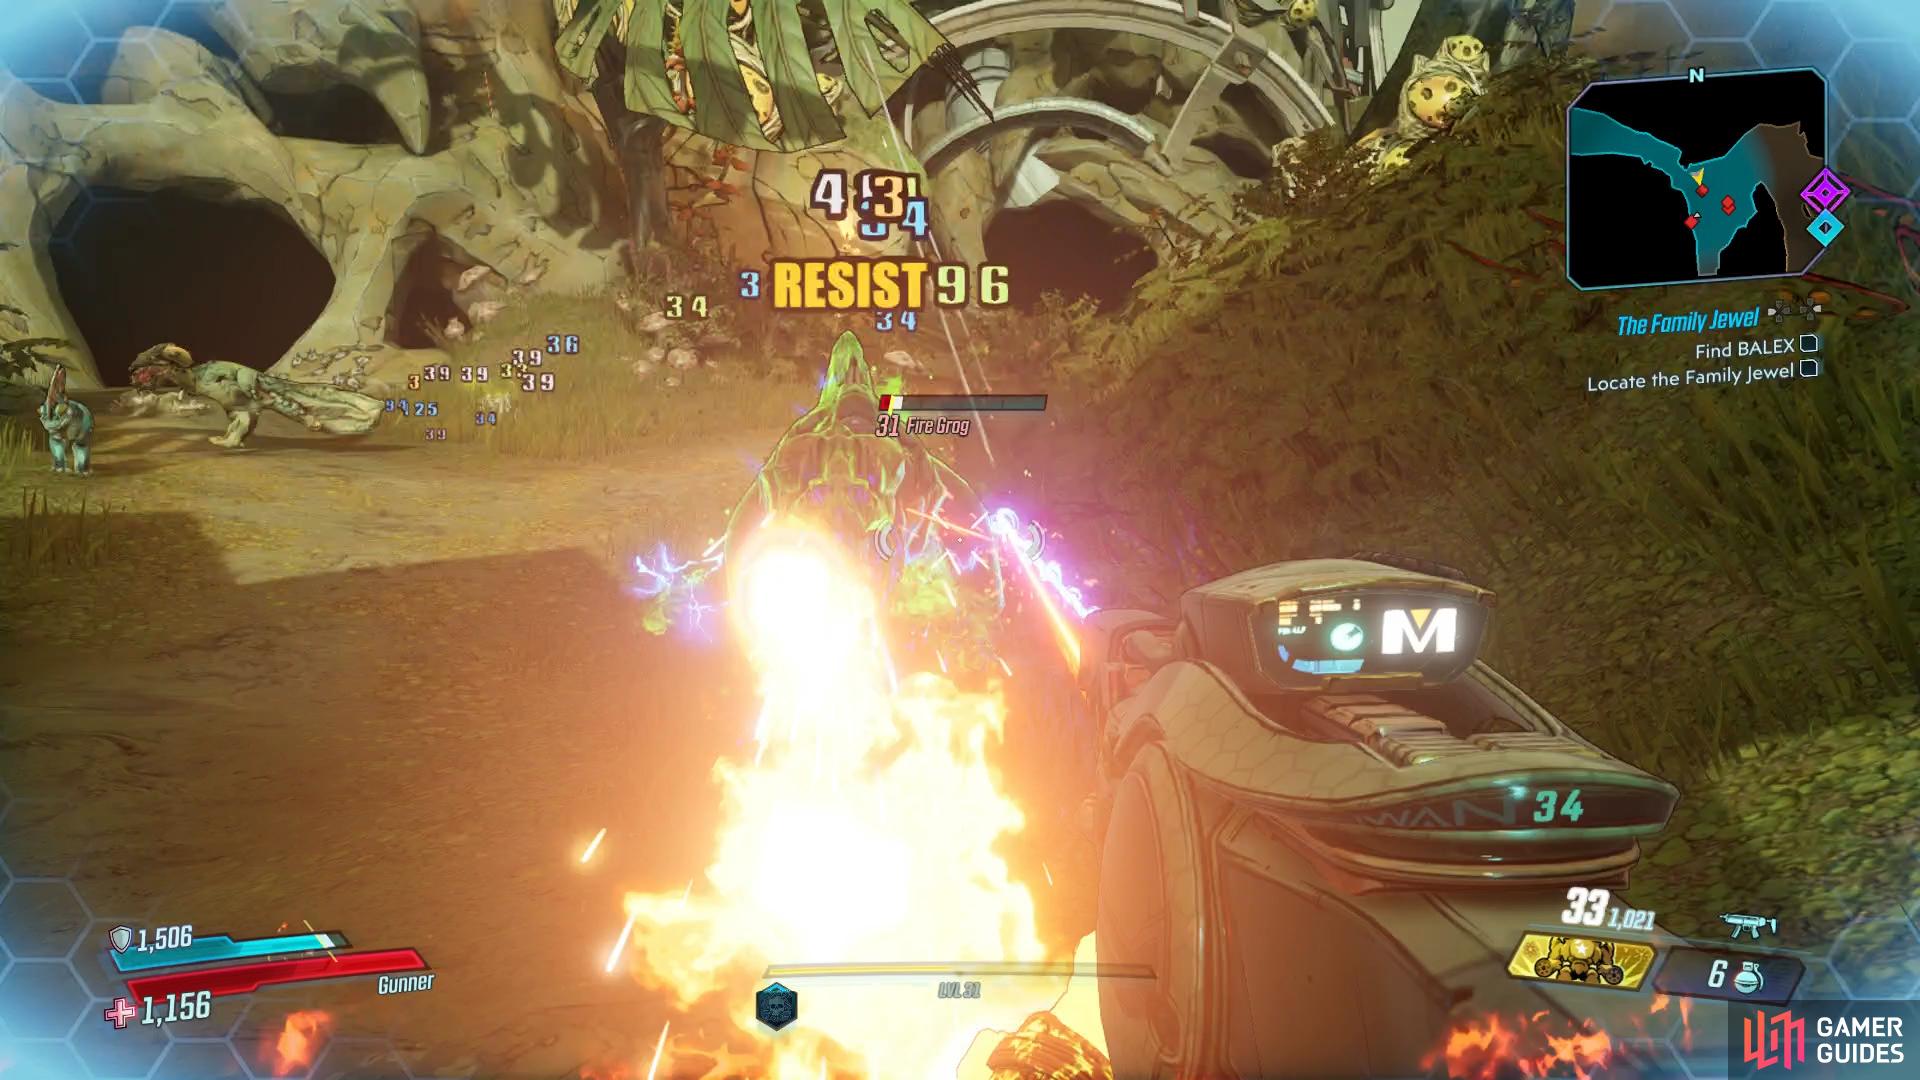
Beware of Fire Grogs, their flame breath is deadly if left unchecked.
Back to the matter at hand, as you walk down the path you’ll be contacted by someone named BALEX, who will provide you with a waypoint to his direction. You’ll encounter large groups of Saurians throughout Voracious Canopy but always prioritize Fire Grogs whenever they appear, they are incredibly deadly if you’re not careful.
After the initial two groups of enemies, you’ll reach the previously mentioned fork in the path, it’s well worth taking on the Side Mission to the north, you’ll be well rewarded in both items and Crew Challenges to tick off as the majority of them are focused in that part of the map. To continue with the main mission however, head south and drop into the water below.
Kill Tyrant
You may have encountered a Tyrant before but if this is your first time, these creatures are extremely deadly if they get up close to you so keep your distance at all times, choosing to run away should it get too close. You’ll want to focus your attacks on it’s mouth when it’s open, the best time to do this is when it attempts to breathe fire, keep your distance and fire away. Upon it’s defeat, run over to the loot to find an Ugly Pink Plushie, pick it up to find BALEX.
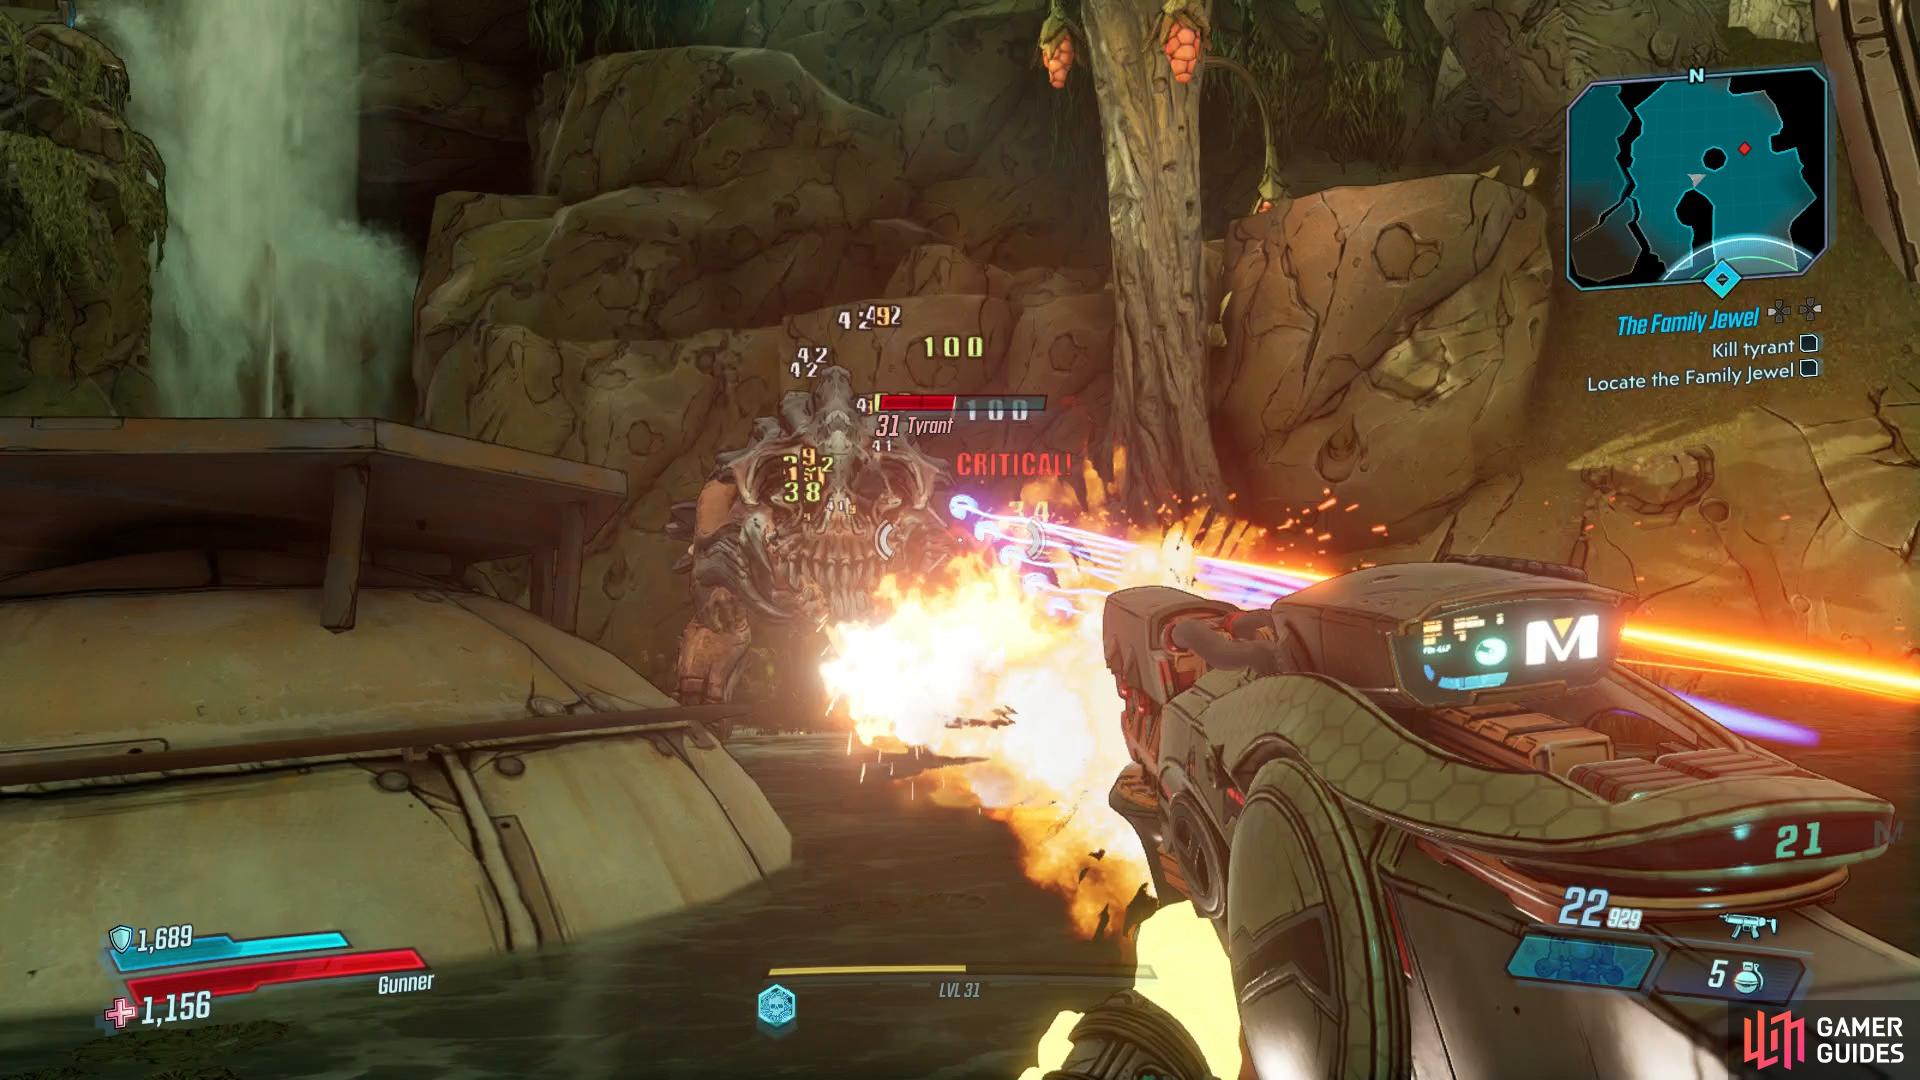
Shoot at the Tyrant’s mouth whenever it breathes fire

head in the cave behind the waterfall to find a Dead Claptrap.
Before you continue to the south, head north behind the waterfall to discover a purple-hued cave where you’ll find some Eridian Writing and then if you climb further, you’ll find the Dead Claptrap for this Zone. Drop back down once you’ve salvaged the parts and continue your trek through the water to the south and BALEX will open the large gate for you where you’ll discover the Wreck of the Family Jewel. With BALEX acting as your navigator, head south to the entrance and melee the panel to gain access to a Ratch Swarm and the hydraulic lines, take out the Swarm and cut the lines to gain entry to the Family Jewel.
Locate Key fragment, Go through medical bay
Use the control panel to open the door and follow the corridors and you’ll need to deal with a large group of Ratch, this should pose little threat and you can gun them down with ease. The next room will see you set upon by an even larger group of Ratch from both directions, keep an eye on the radar and use anything you have that can cause splash damage to take them out quicker. The final room of the medical bay will contain a Badass Ratch, this can take quite a beating so focus you attention on it first before taking down the smaller Ratch.
GenIVIV has locked the doors so pay attention to what BALEX suggests and grab the nearby wires which has an unfortunate side effect of killing yourself however a friendly bot is on hand to revive you. Continue through the now open door and you’ll be refused entry once more, melee the EMS Robot and place BALEX on top to continue.
Go to security bay
Follow the linear path with BALEX to reach another door that he opens for you, allowing you access to the Cargo Hold. You’ll be immediately set upon by Saurians and Robots in a rather large room. Focus on any Saurians first, especially the Fire Grogs and then focus on the Robots after. There’s many enemies bunched up here so once again, splash damage works fantastically here to cull the numbers. BALEX will also provide assistance here and it’s greatly appreciated to give the enemies another target, especially when playing Solo.
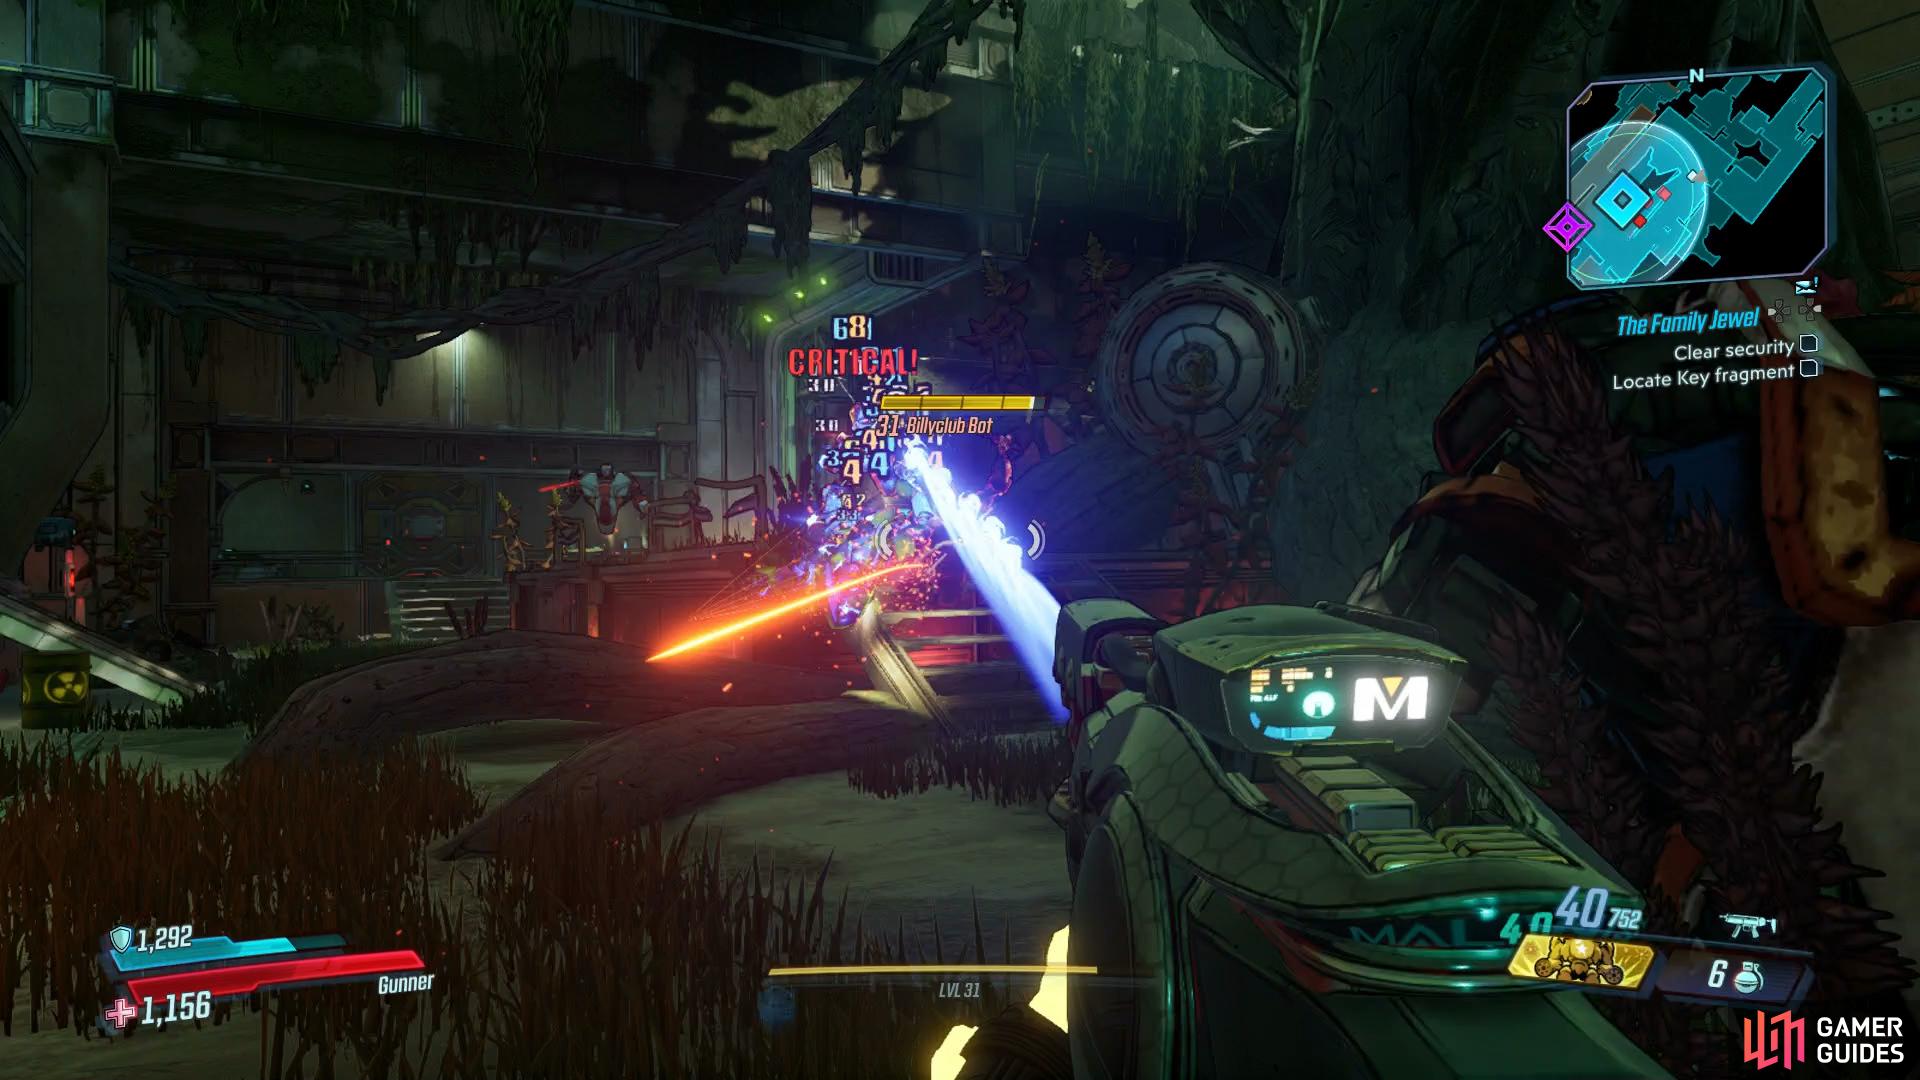
Once the area is clear, head up to the upper walkway and approach the door to have BALEX open the way. Follow the linear path until you reach the door to the security bay and you’ll get ambushed by a group of Bots, with the Fire Bot being of the main concern so focus on that one first. Once the room is cleared of any hostiles, make your way to the freight entrance to gain access to an alternate route to the security bay however be alert as the door opens, a tough Family Jewel Security turret will attack. Follow the linear path through the corridors and access the security bay.
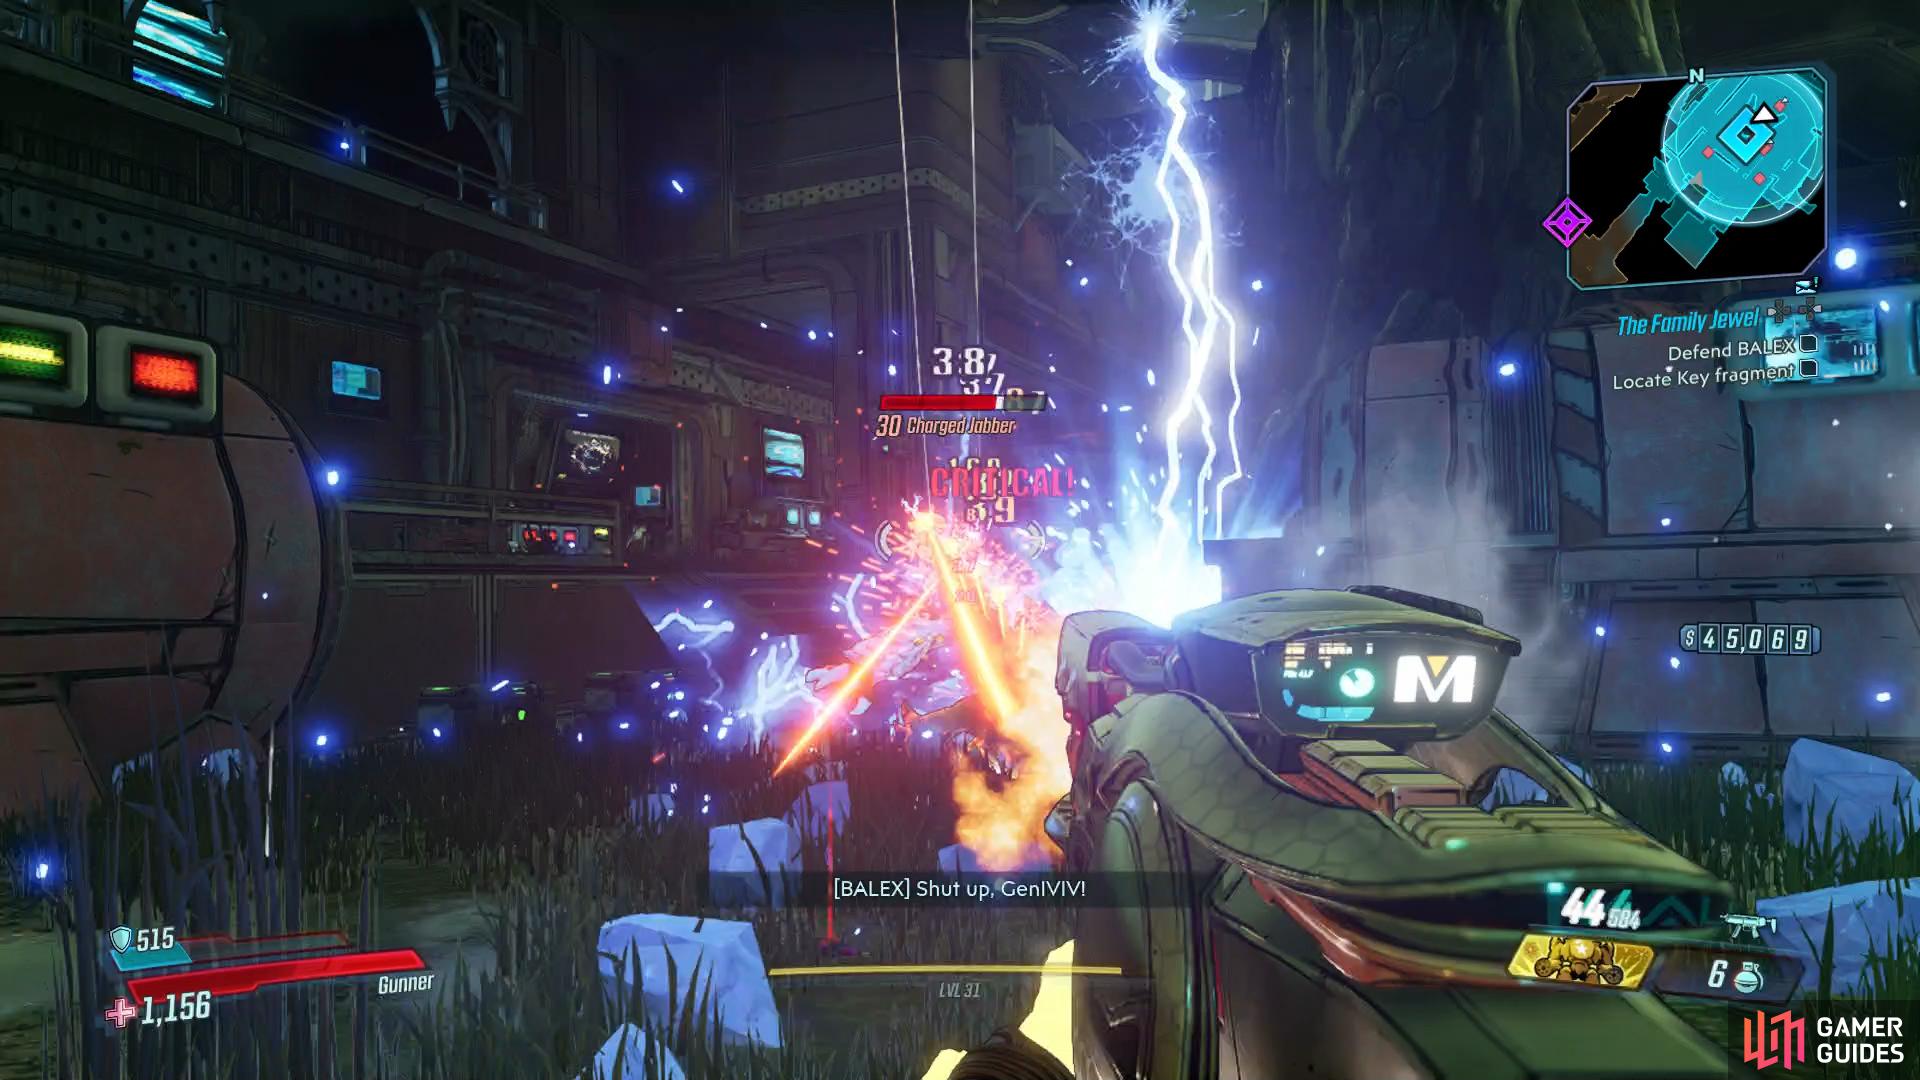
Clear security, Defend BALEX
Another large open area awaits full of Bots, focus on any Recycler Bots first before defeating the rest of the enemies. While you wait for BALEX to access the door, you’ll then be set upon by Jabbers in great numbers, make use of grenades or other splash damage and near the end of the battle, you’ll need to deal with elemental infused Jabbers, focus on the Charged and Burning ones first as they’re the more deadly of the duo.
Take out the Bots easily with Corrosive weaponry
the elemental infused Jabbers are deadly, keep your distance.
There are turrets outside the room pointed towards the center where BALEX is, these will assist in gunning down all your foes here so try to keep your battles around the location of the platform that BALEX is to bring them down faster. Once the battle is over, head over to the door with BALEX and be prepared for a Badass Jabber. An SMG works really well here if you have one, especially a Corrosive one as you can lock it down without sustaining too much damage yourself. Once defeated, retrieve BALEX and head into the room beyond.
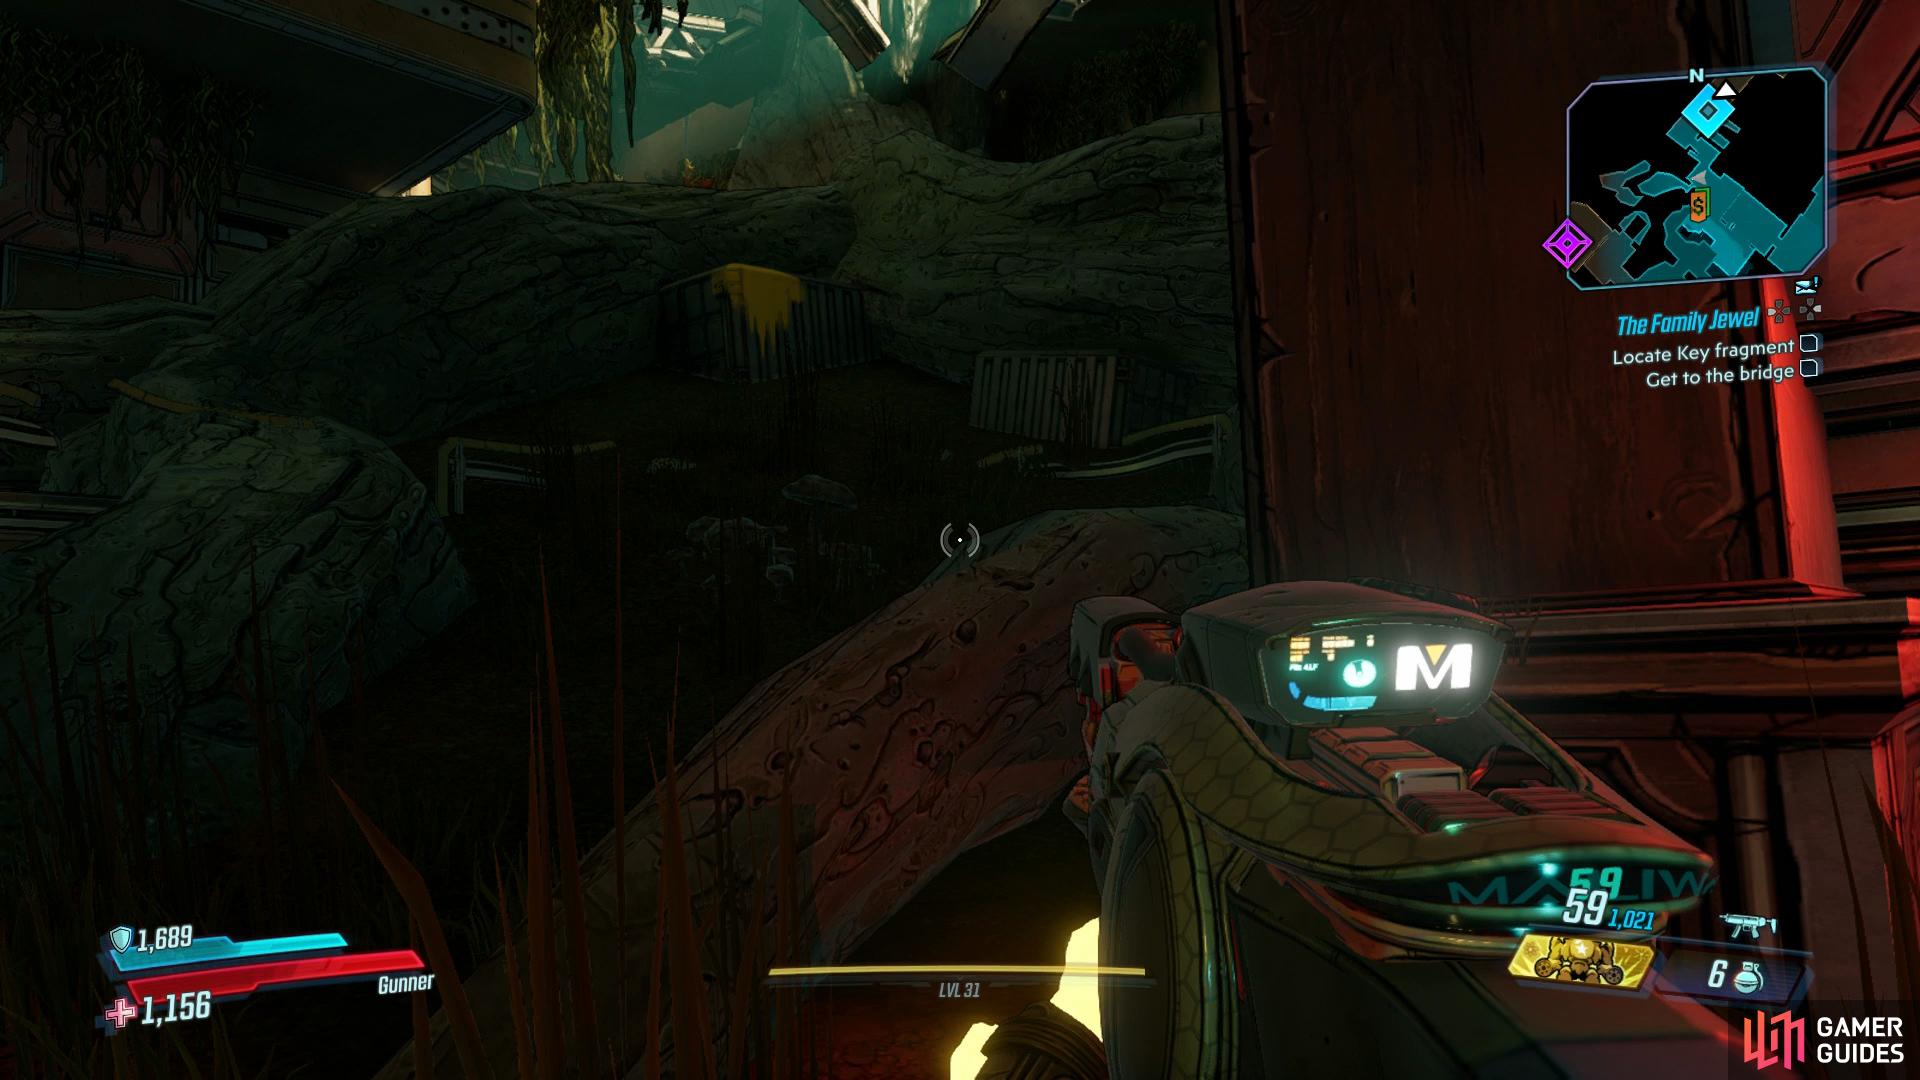
Go to bridge
Take the southern door out of this room and defeat yet more Ratch in the next room. Follow this around to some much needed Vending Machines and then as you head northeast, look to your left to find some yellow paint. Follow this up and defeat the large group of Jabbers beyond including two more difficult Badass Jabbers, at the end of this path you’ll come across a Typhon Log.
This path behind the Vending Machines leads to a Typhon Log
and a Red Chest.
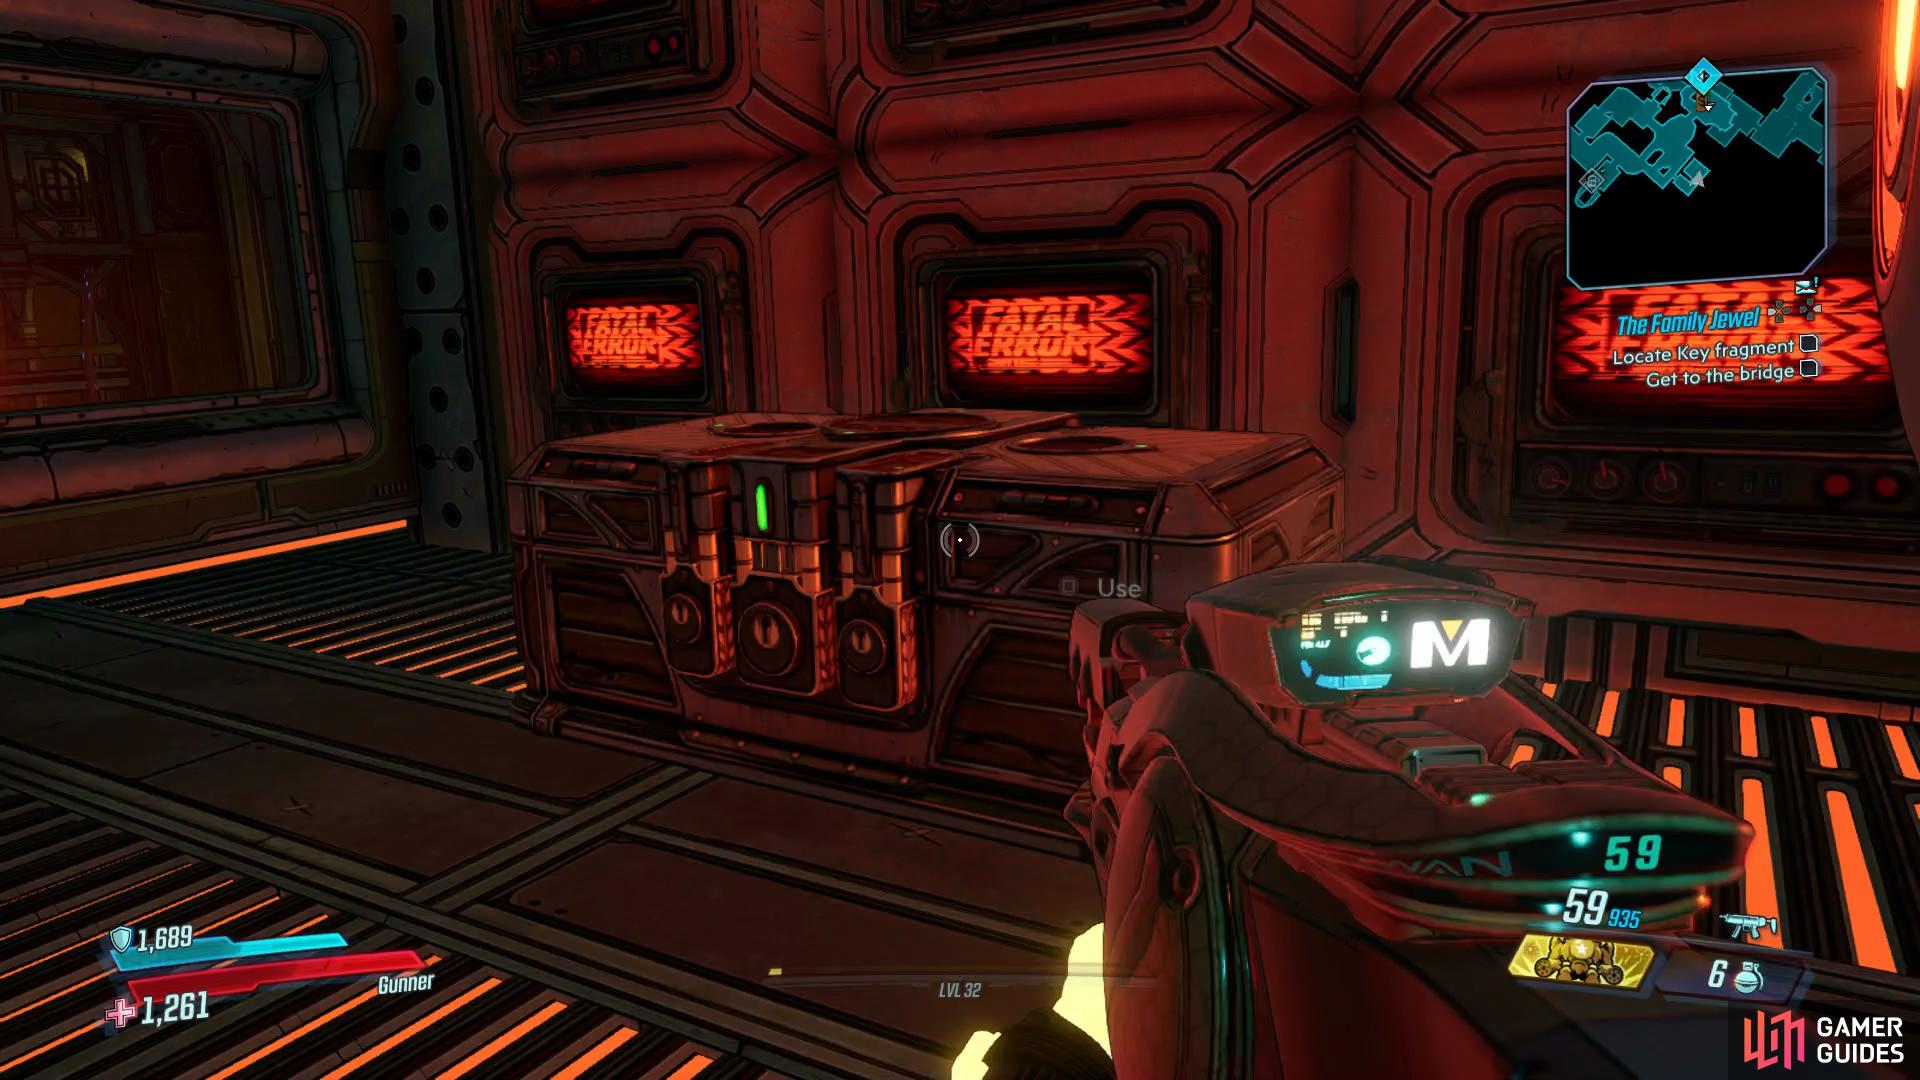
Continue along to the eastern side up here and you’ll come across a locked door, follow the yellow cables to the south and dispatch the large group of Ratch before you look to the left to spot a pipe you can shoot. Doing this will cause the cables to spark and open the door back to the east, where you’ll find a Red Chest waiting for you. Return to where you shot the pipe and drop down the hole to the left to return to the Vending Machines and then follow the path to the northeast to continue.
Go to container, Kill Ratch
Once you reach the large open area with the mech, you’ll see a battle break out between Ratch and the Bots, you can choose to take them out if you wish but for now, your primary goal is to reach the container. Head over to the other side of the room and take the stairs up to the upper walkway where you’ll spot some yellow paint, follow the containers over to the center and knock the mech down to the ground and insert BALEX inside.
BALEX will now assist you in the mech as you’re swarmed by Ratch, focus on keeping yourself alive as BALEX will do a lot of the killing. Be sure to keep an eye out for any Badass Ratch that spawns and focus on killing them as quickly as possible. Once they’re defeated, head back up the northern walkway and make your way through the now open door. The path is rather linear from here however there is a chance for the Rare Enemy Maxitrillion to spawn who can drop the unique Legendary Shotgun, [The Horizon]. Follow the stairs up and you’ll reach some Vending Machines at The Bridge of the Jewel, be sure to stock up as once you drop down the hole to the bridge, you’ll be attacked.
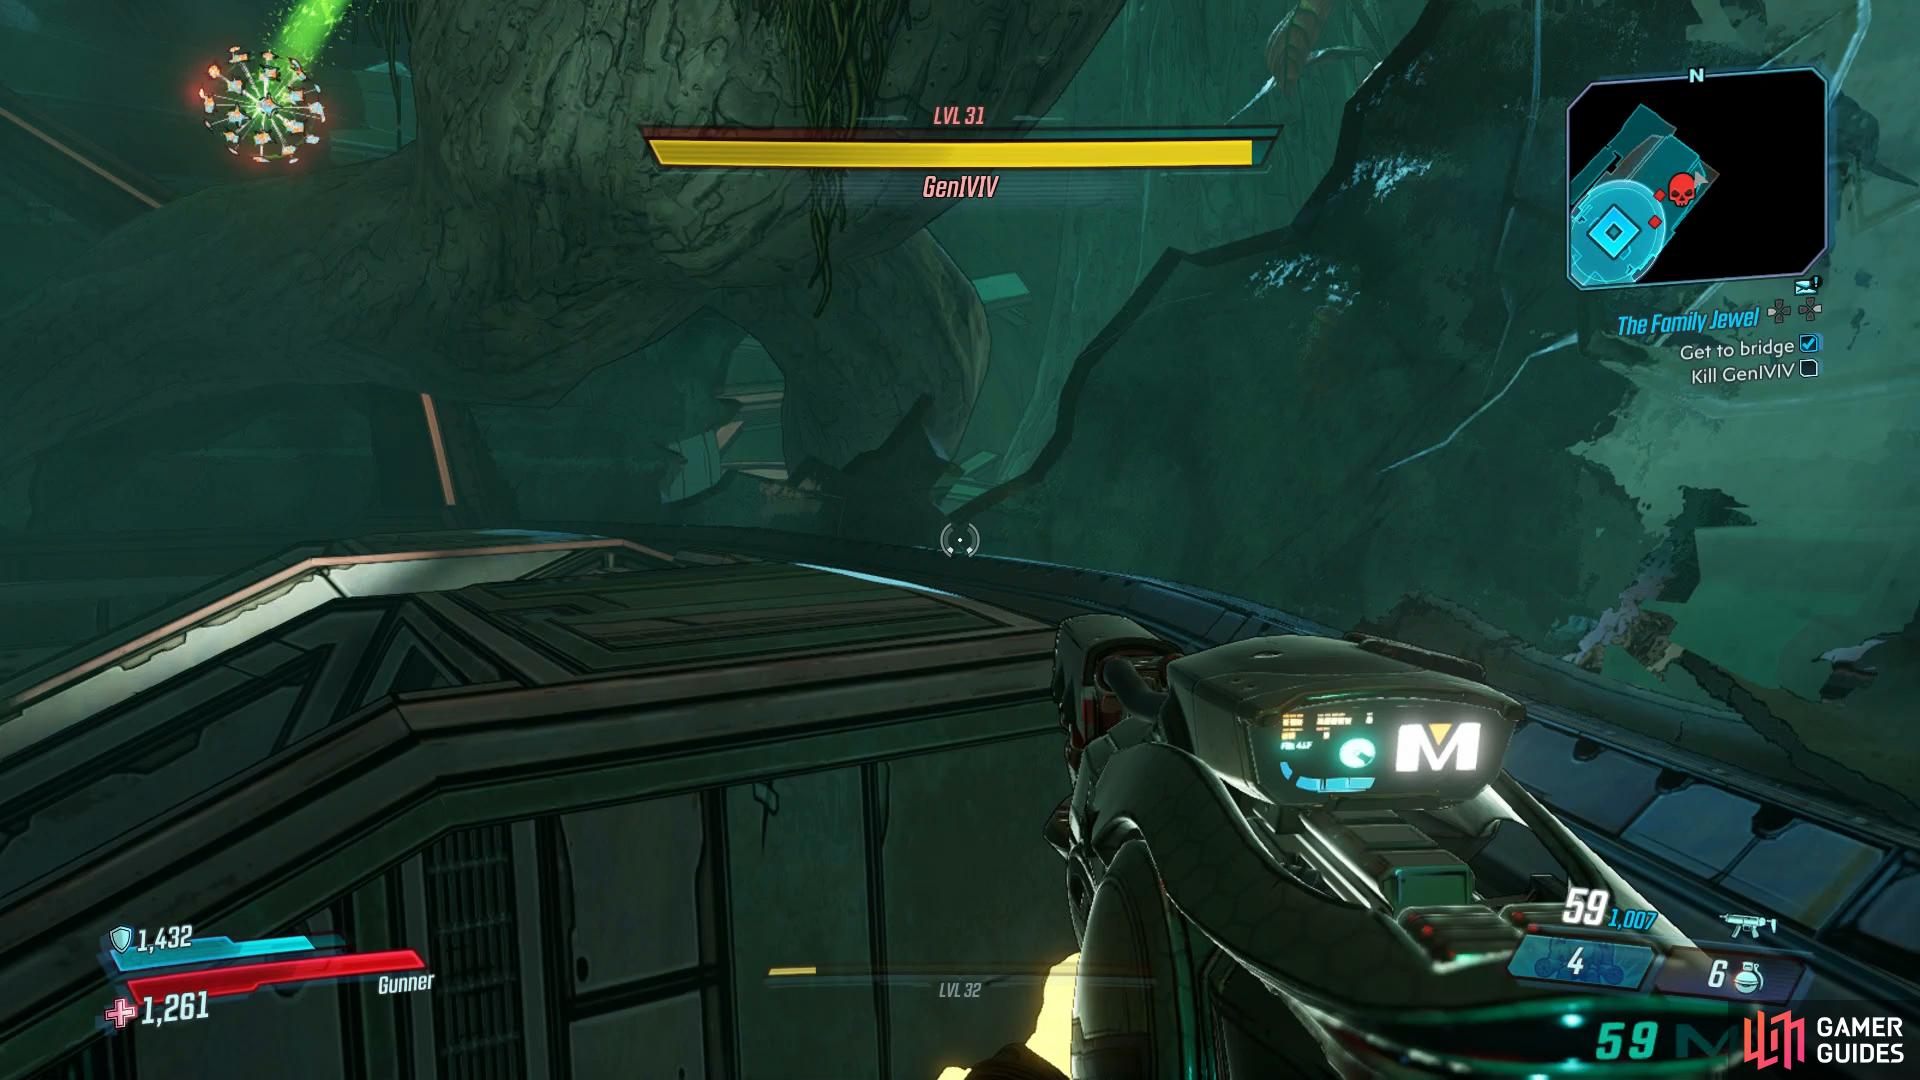
Boss: GenIVIV
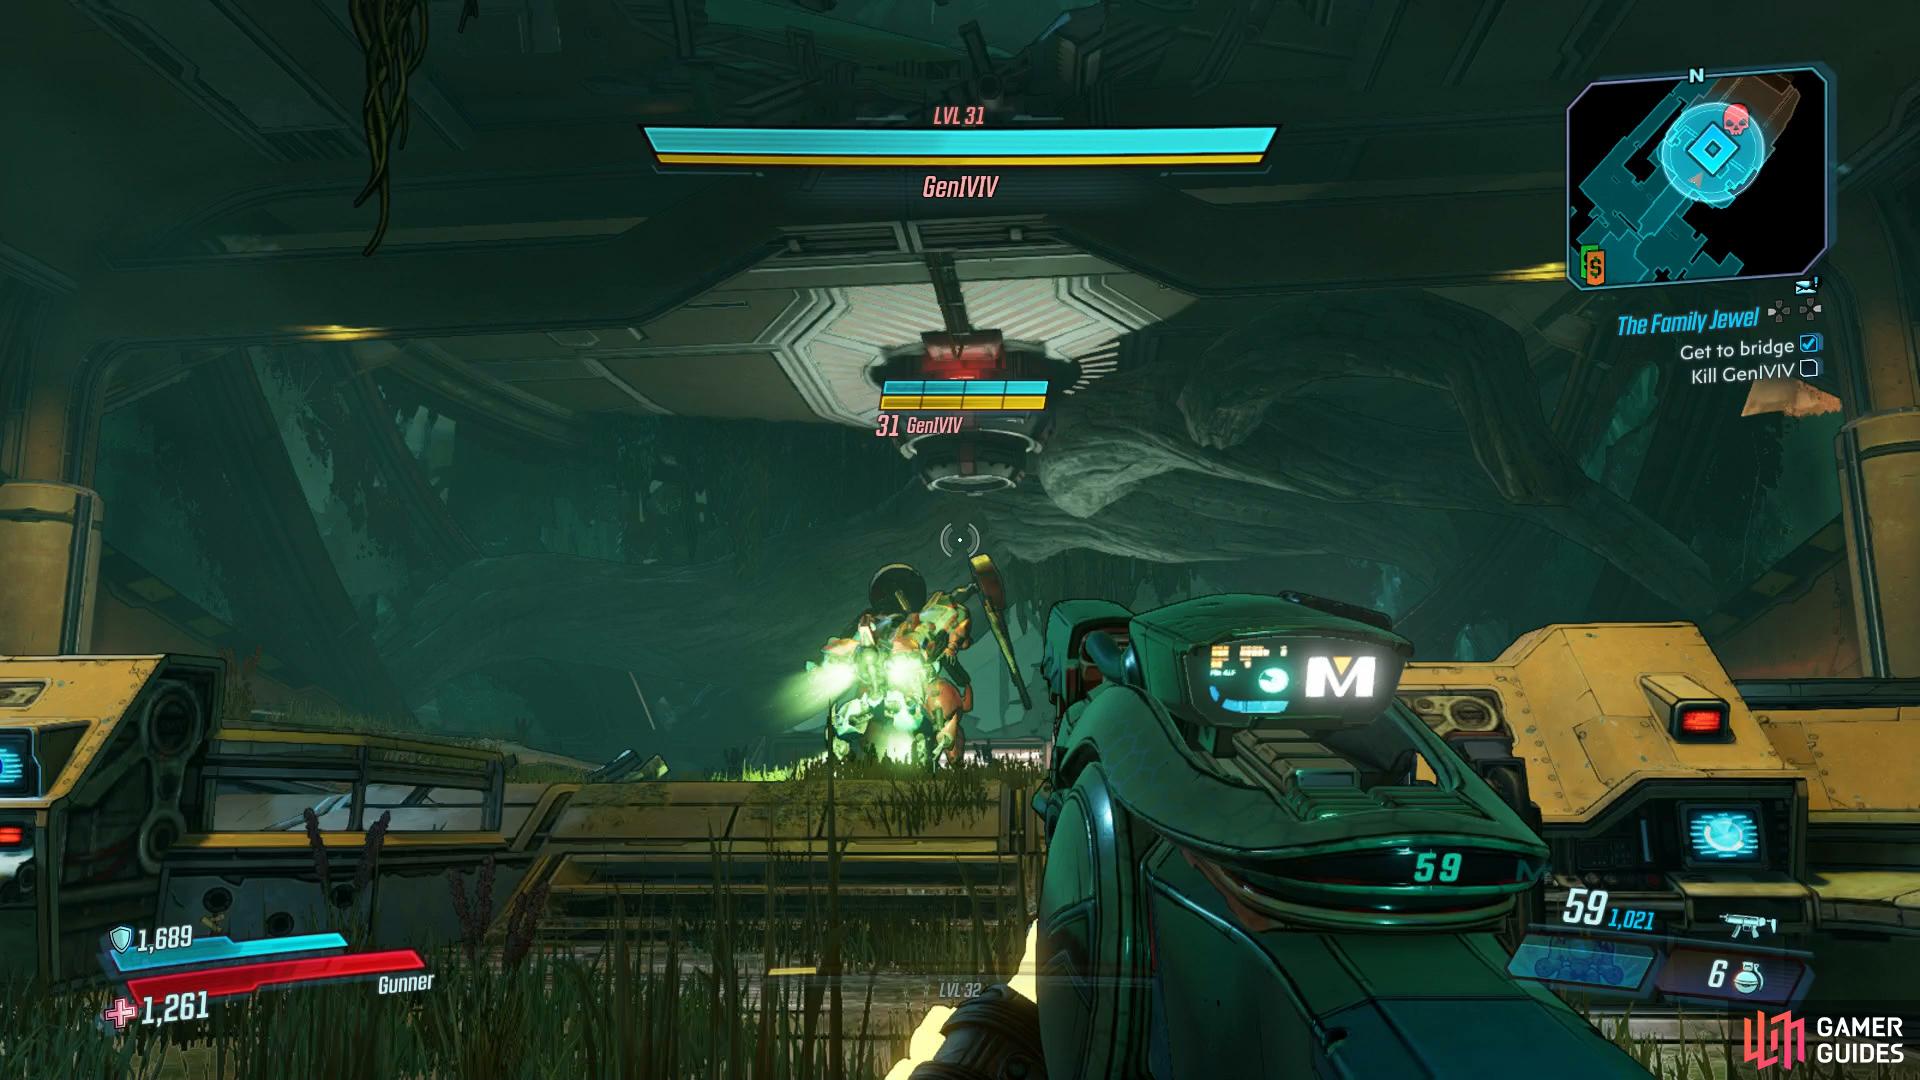
You’ll be up against GenIVIV in her combat mech and this one is a lot more deadly than the one BALEX was in. To begin with, take a look around the arena, you’ll notice you can stand on the sides of it and you’ll want to aim for this, a lot of GenIVIV’s attacks are focused in the middle and if you decided to tough it out in the middle, you’ll find an early grave waiting for you.
GenIVIV’s first health bar is a Blue Shield so you’ll want to go with using a Shock based weapon to inflict greater damage on it. Once you drain the Blue Shield, you’ll have to deal with the Armor itself so it’s the ideal time to swap back to your Corrosive weapon to inflict greater damage. As GenIVIV is large, it’s rather difficult to miss her with your attacks so a weapon with a fast rate of fire is ideal here too.
She’ll attack by shooting large Green Orbs at you, these will ricochet around the arena dealing massive damage if they come into contact with you. This is the primary reason you’ll want to stay away from the center while continuously strafing. Once the Shield drops, she’ll put up a large shielded wall in front of her, at this point, you’ll want to be up behind her, near where the cracked glass is, to avoid the attack and get some free damage on her.
You’ll also have to deal with a few adds in this battle and these will rush you to try and melee you, for that reason, it’s easier to take them out rather than avoiding them. She’ll also spawn Drones at this point that will shoot laser beams at you, these can be damaged yourself but it’s best to ignore them and focus on shooting at GenIVIV. Additionally, she’ll shoot regular laser shoots at you in a horizontal spread, these can be easily avoided by strafing around her.
GenIVIV isn’t too much of a problem so long as you avoid fighting in the center, you’ll avoid most of her nasty attacks and can focus on dealing damage to her. Bringing Shock and Corrosive weapons to the battle will make this smoother and help you put this mech down for good.
Legendary Shield, Messy Breakup
Amongst her pool of loot, GenIVIV has the chance to drop the Legendary Shield, [Messy Breakup], a Shield that will give you a small Drone yourself, it’s a bit situational but still useful all the same.
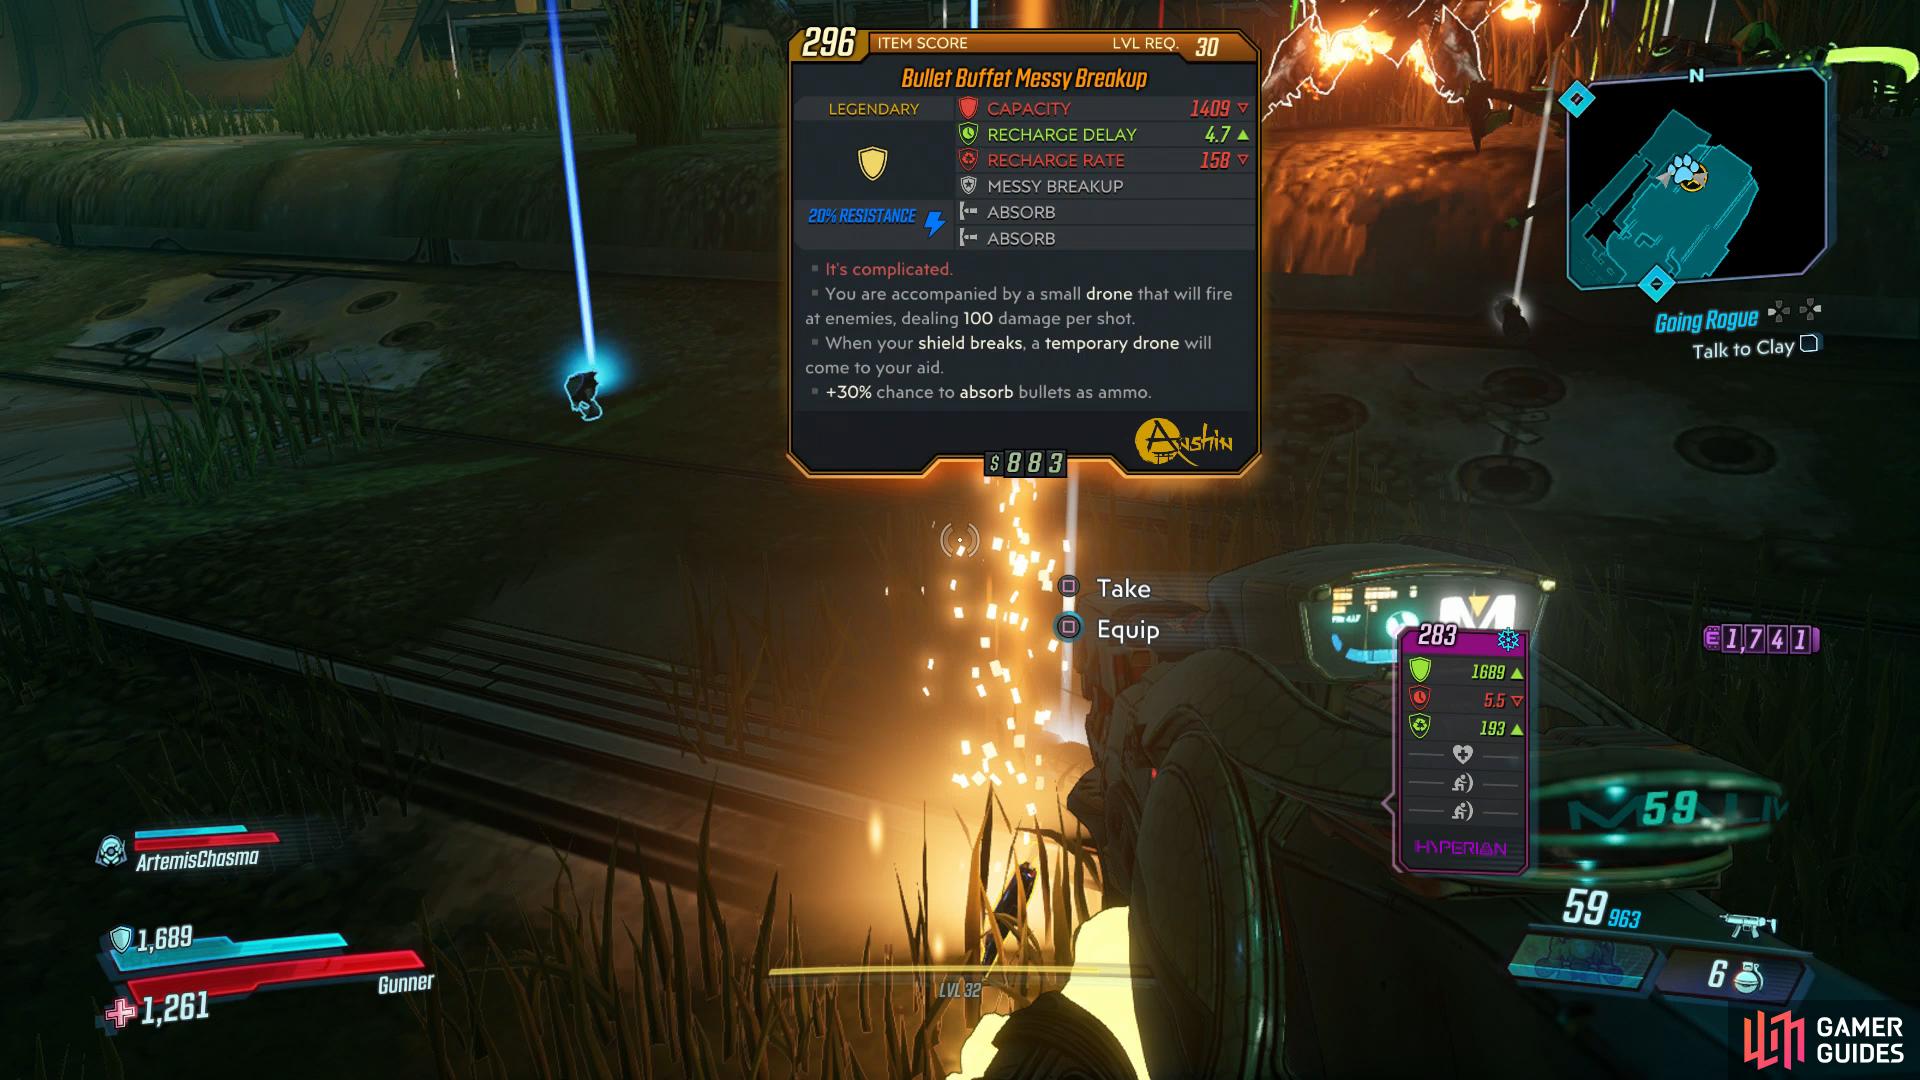
Messy Breakup is a useful Shield if you can handle hearing GenIVIV’s voice all the time.
Collect the Vault Key fragment, Collect BALEX
Once you’ve collected your loot, pocket the Vault Key fragment and then head over to BALEX and pick him up too. Your next task is to return to Sanctuary but before you do so, head through the newly opened door to find another Red Chest to ransack.
Return to Sanctuary, Get to bridge
GenIVIV has one last attempt at trying to stop you and unleashes some Bots on Sanctuary, these should pose little threat however and you can simply gun them down with the help of the Atlas personel on the ship before making your way to the bridge. Once given the opportunity, plug BALEX into the ship to stop GenIVIV and then bring the Hard Drive with you to Marcus. All that’s left to do now is bring the Vault Key fragment to Tannis to complete the mission and begin the next.
No Comments