

| Quest Giver | Reward | Lvl |
|---|---|---|
| Wainwright - Floodmoor Basin | Cash, Unique Legendary Assault Rifle | 27 |
Meet Clay at Reliance
When you make your return to Knotty Peak in Floodmoor Basin, Wainwright will task you with seeking out a colleague of his, Clay, at the town of Reliance. You’ll also find Hammerlock here offering the final mission in The Anvil, Malevolent Practice and there are some good rewards to be had there if you wish to do it now.
When you’re ready to continue, take the lift down and grab yourself a vehicle at the Catch-A-Ride. You’ll find the town of Reliance by taking a right and crossing the bridge, before following the road to the left and around to meet Clay.
Follow Clay, Kill COV enemies
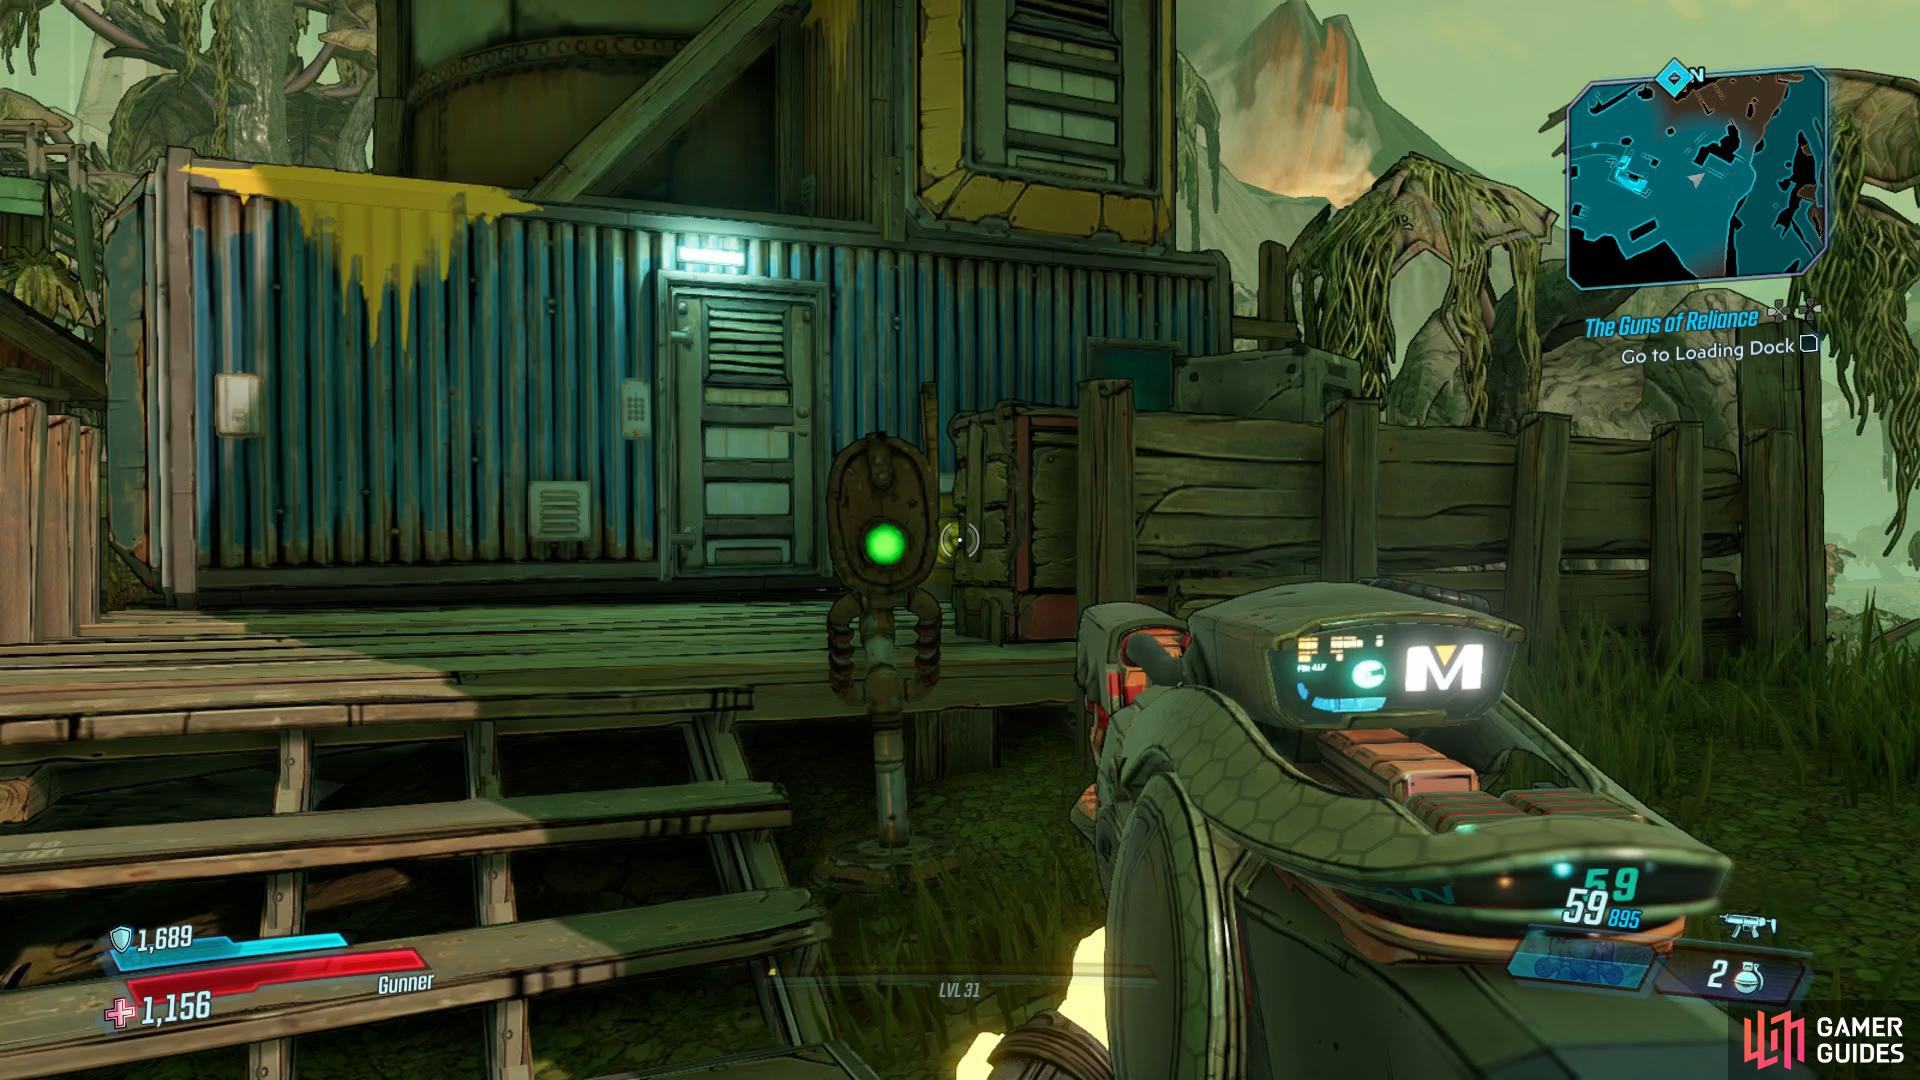
The front gate is locked so follow Clay around the back and climb the crates to find an alternative path. Once you gain entry, look below to find a large group of COV and you should make use of the vantage point you currently have. Once defeated, drop down to the ground below and make use of the Vending Machines should you need to restock.
Free Rebel Kyle, Jon Ryan, Kill COV Guarding Cages
The next three objectives all align together, just ahead of your position is a large group of COV. Take them all out and of immediate concern are the Badass Psycho and Enforcers, focus you attention on the Psycho to begin with as it’ll only rush to your position anyway. After this, switch to a Corrosive weapon and focus on taking out the Badass Enforcer, be sure to make use of cover and refrain from attacking him in the open.
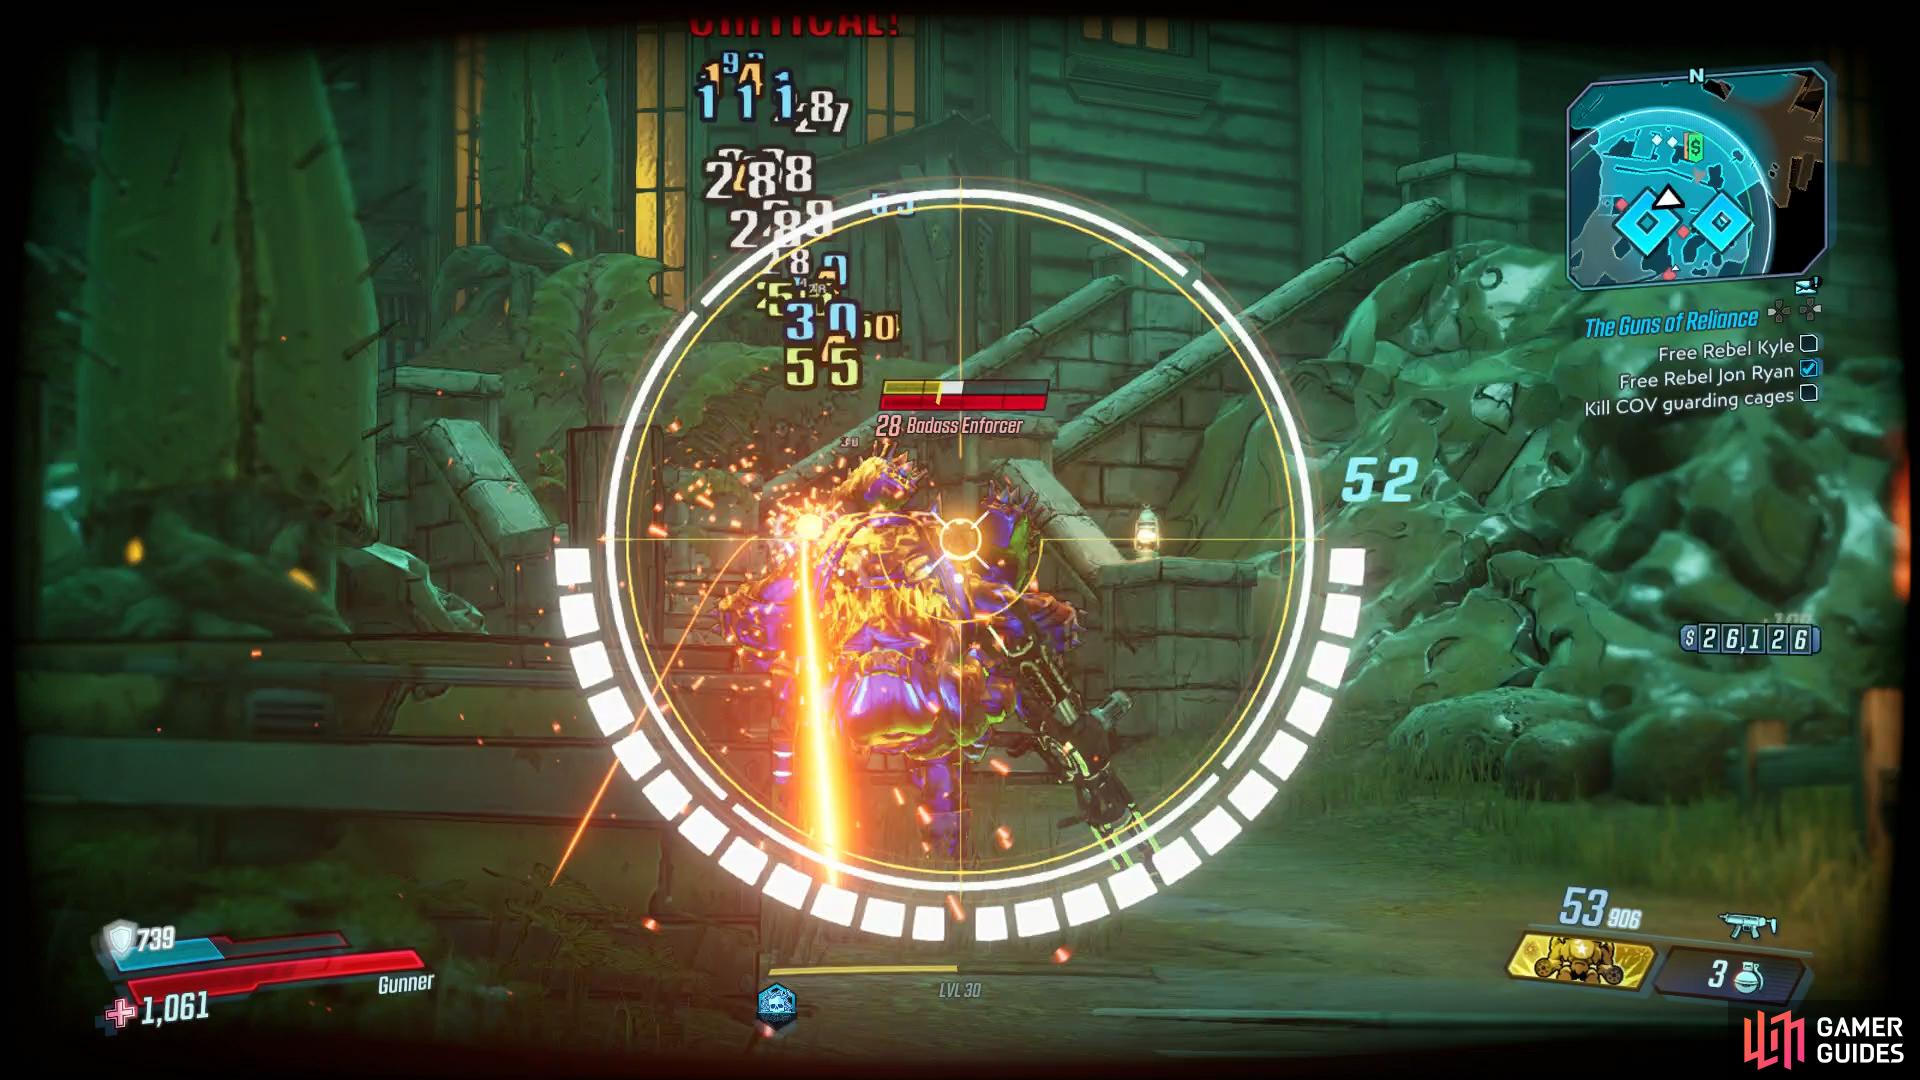
Use Corrosive weapons against the Badass Enforcer
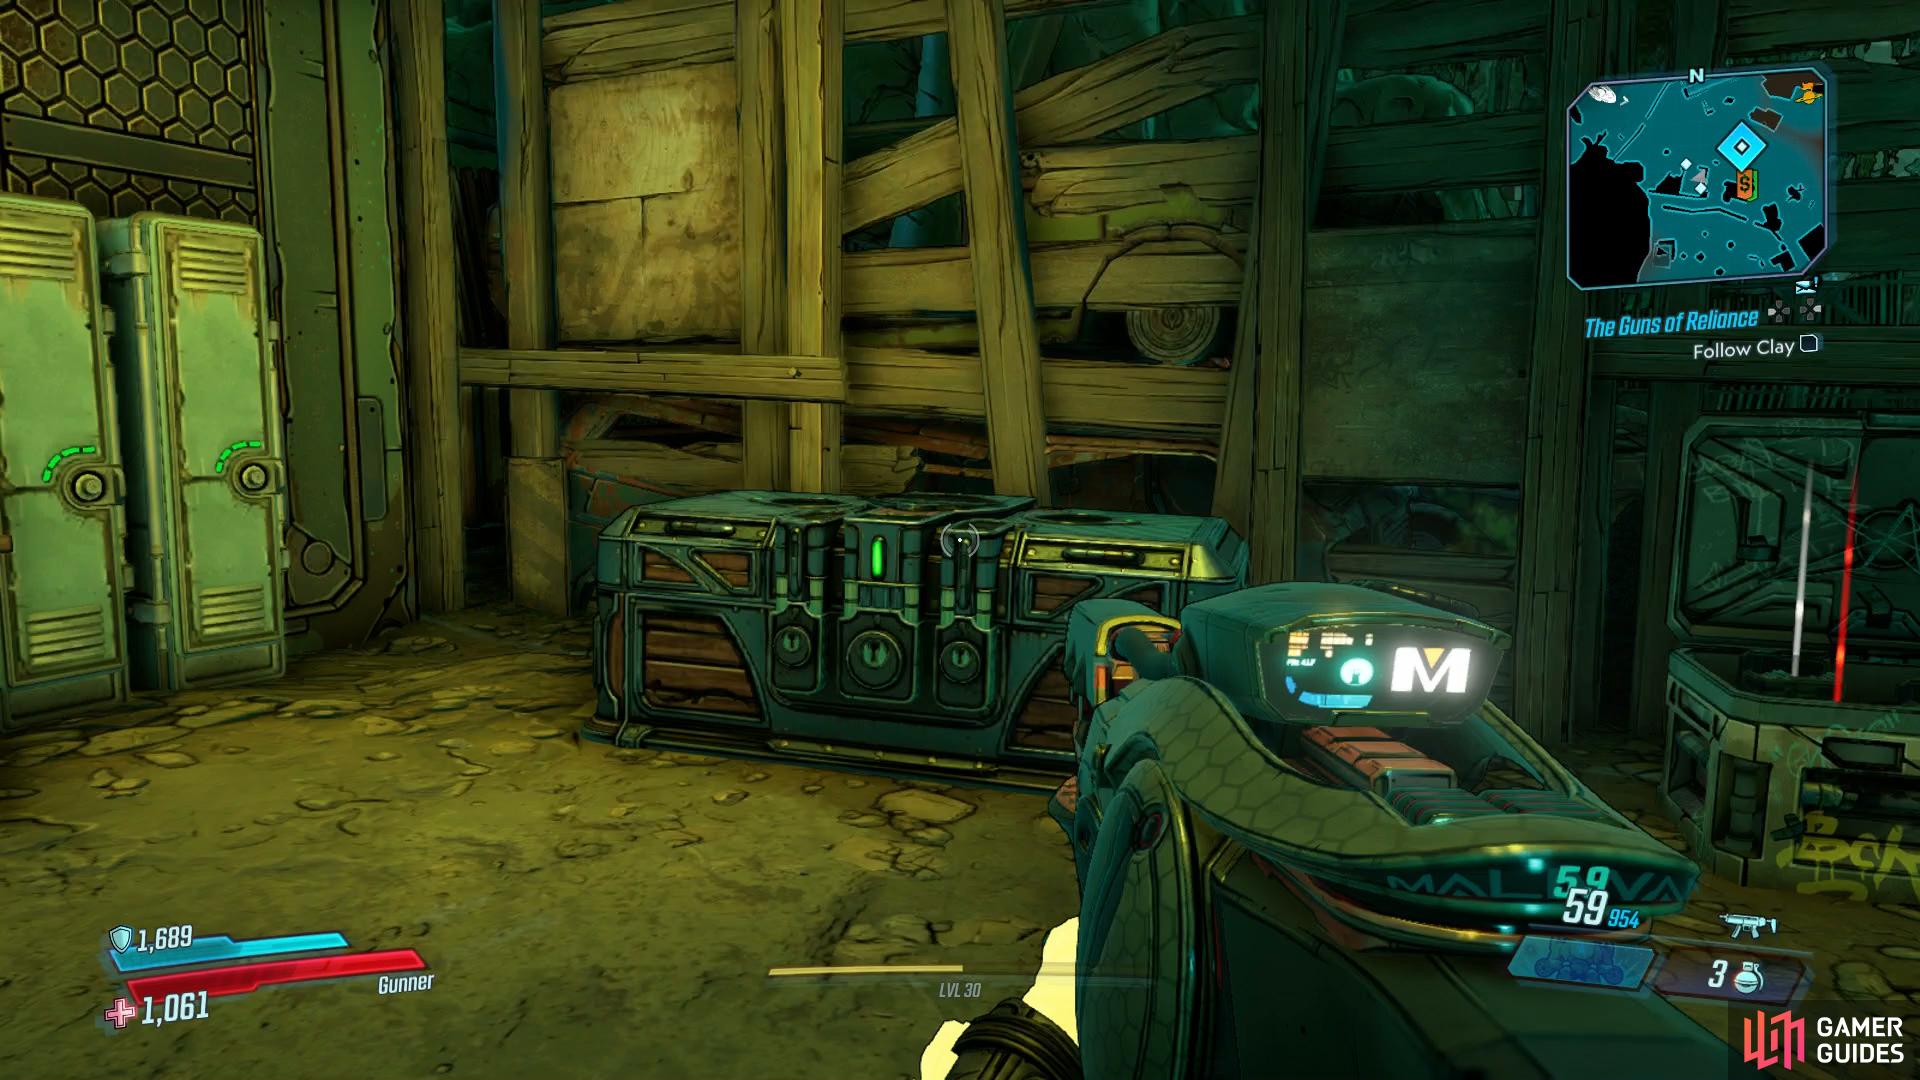
you’ll find a Red Chest in the storage shed.
Once the enemies are defeated, head over to the cages to free Jon Ryan and Rebel Kyle before returning to Clay. After shooting the control panel, loot the Red Chest and then continue to follow Clay.
Kill COV attackers
The next group of COV will attack you at this point and as you’re already out in the open, quickly find a place to take cover and take out the enemies. The first group will attack from where the cages were and contain a few troublesome Bruisers. Once they’re dispatched, the next group will attack from the Saloon, head that way and keep an eye on the rooftops, many COVs will take cover behind the crate up there.
The next location will be around the Gas Station, fall back and you’ll need to take out another group by the hotel, these should be basic grunts however and should pose little threat. The final group will spawn and surround you around the gas station, immediately drop back into cover and take them out as quickly as possible, you’ll want to be fighting fit for Long Arm the Smasher that appears at the end.
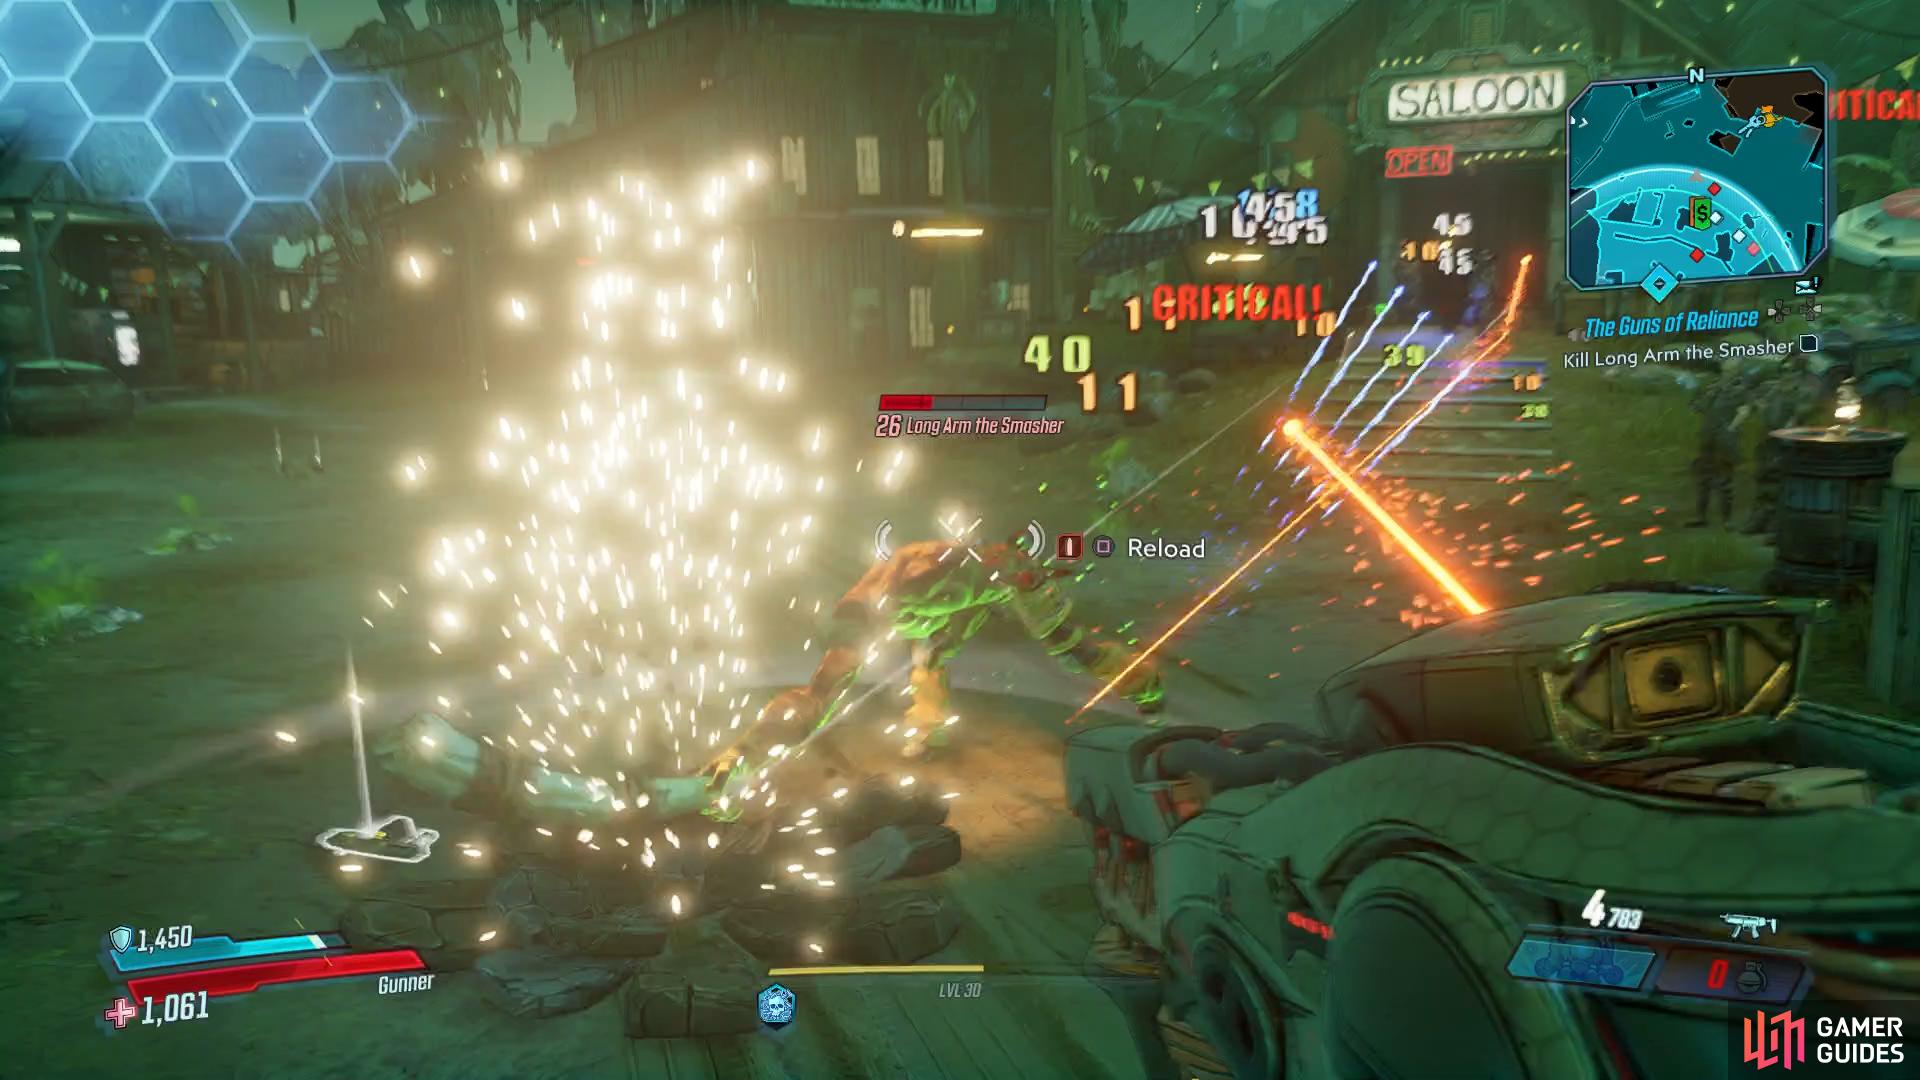
Treat Long Arm the same way you would a Badass Psycho, back up while shooting.
Long Arm the Smasher is essentially a larger Badass Psycho and as such, you should treat it the same. If you’ve been saving your Action Skill, now would be the time to use it and focus your attention on Long Arm while backing up, ignore the other few COV until after Long Arm has fallen. Return to Clay and then do the honors by climbing the roof of the gas station to restore power to Reliance.
Go to Fort Sunshine
Before you set off for Fort Sunshine, make use of the Vending Machines to restock on ammo and then consider picking up and completing the Irregular Customers Side Mission. Fort Sunshine is on the eastern side of the map so return to your vehicle and and back into the swamp to the east, picking up the Typhon Log, Crimson Radio and the second Hijack Target. Should you have been diligent in collecting the Logs, you’ll find the Dead Drop to the far north of the map, hidden behind a shack. Finally, you’ll find a Dead Claptrap to the west of this location, you’ll just need to clear the COV out first.
With all those side tasks taken care of, continue west to reach Fort Sunshine to discover a Maliwan Dropship waiting for you, dispose of the COV and then immediately turn around as another group spawn behind you. Once the coast is clear, head around to the north to find the Historical Lookout.
Go to Lumberyard, Go to Loading Dock
You’ll need to head into the Lumberyard if you’re to reach the overhead cranes and the nearest place to reach there is the town of Reliance so go ahead and Fast Travel over. Head out the west gate and take the road leading north to find the Lumberyard, you’ll have to go it on foot from here, climbing up the ledges along the way.
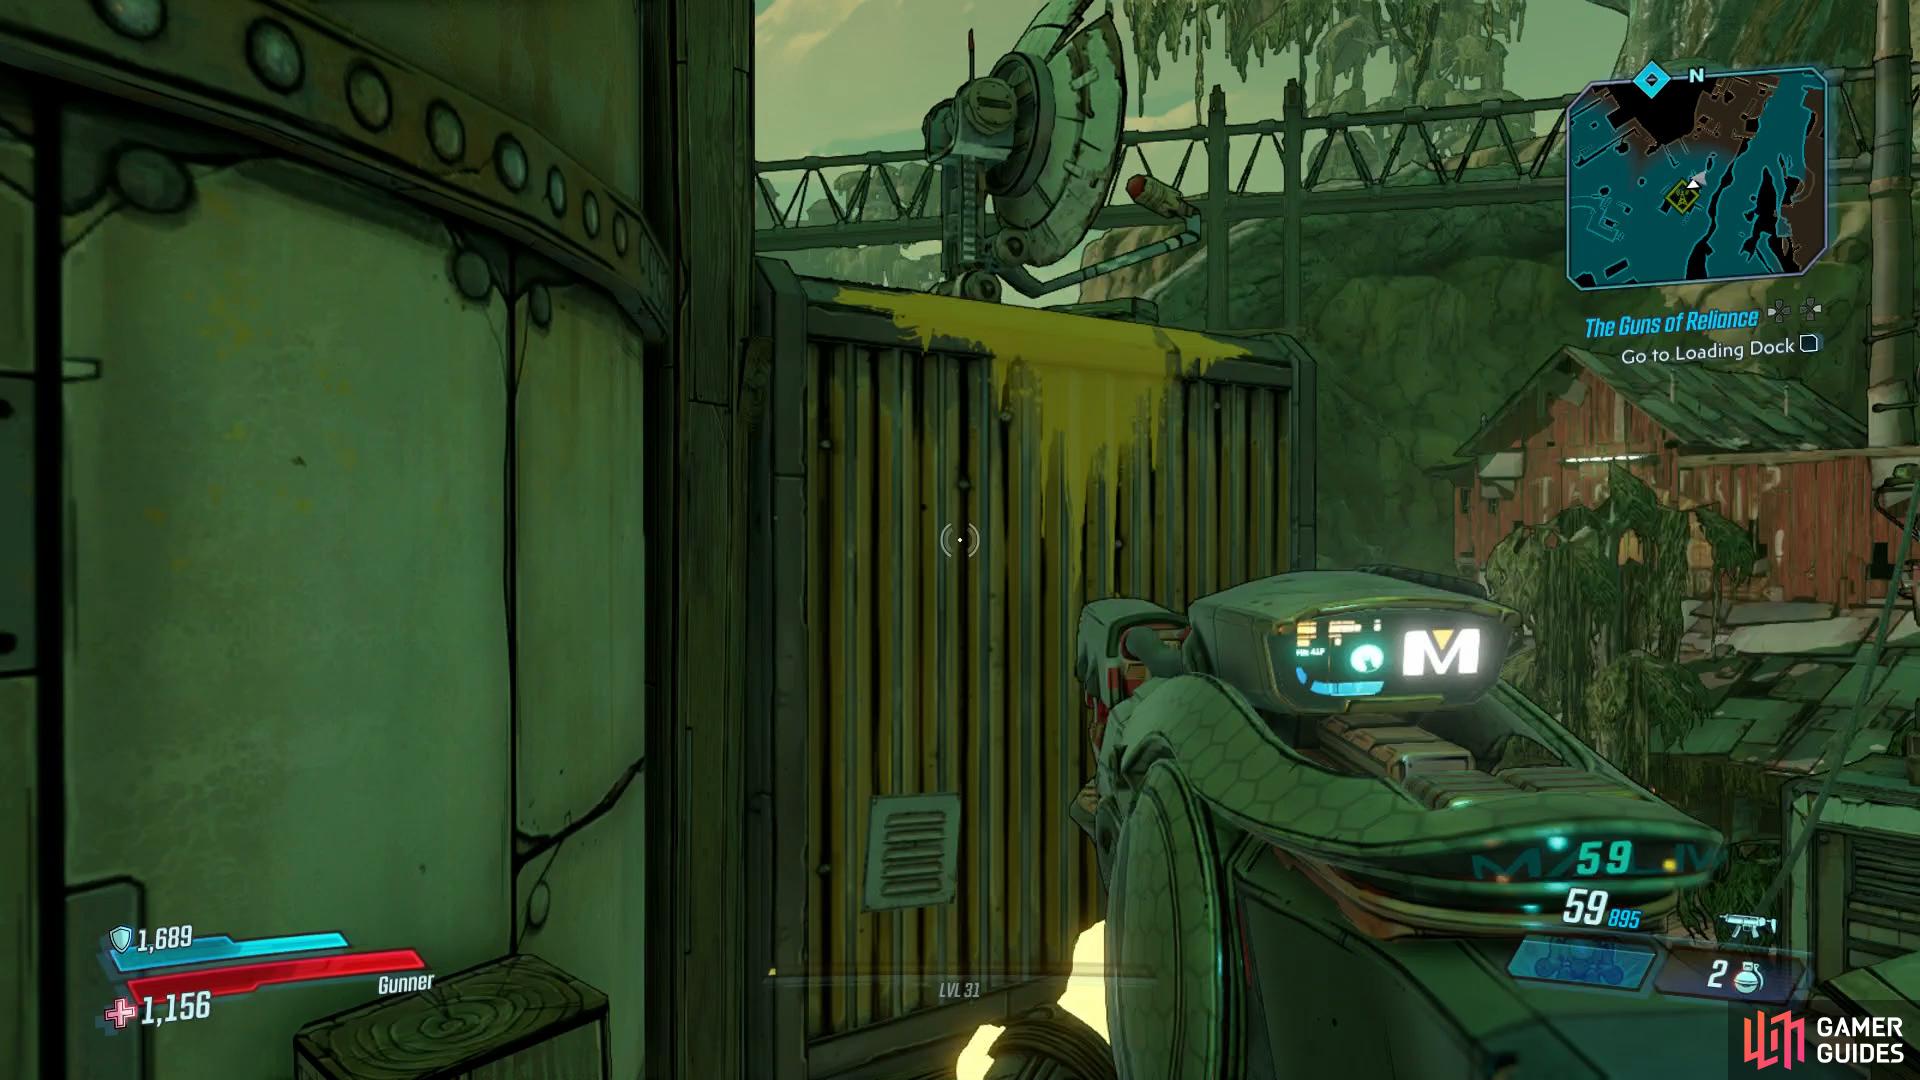
Spot the yellow paint here to begin your climb
be sure to stand at the edges of the platforms to make the next jumps.
Once you enter the Lumberyard itself, be prepared to deal with a large group of COV. The area is large and open and there’s plenty of containers scattered around should you need to replenish your health. Once you enter the Lumberhold, look in the corner to spot some yellow paint, this will take you up and around the silo to reach the Crimson Radio located here. Drop back down from here and follow the path either way to encounter more COV, you’ll come across lots of small skirmishes as you head to the north end of the Lumberyard. The last group of COV in particular, at the Loading Dock, are the most troublesome, keep to the nearby crate for cover and take them out.
Catch-A-Rail, Ride to Fort Sunshine
With the area clear, wait on the platform for a crate or stack of logs to come pass and jump on to it. Be careful while riding, the last thing you want to do is fall and have to make your way back to through the COV to the Loading Dock. Along the way, you’ll be attacked by a few COV but you can safely ignore them and enjoy the ride (as much as it’s possible while Troy speaks) and then once you reach the top of Fort Sunshine, make the jump and land on one of the higher buildings.
Clear Fort Sunshine
As you may expect from a prison, this area is teeming with COV however the main initial concern are the Tink Sentries scattered around the walls, these should be your first targets. From there, you should be able to pick off the rest of the COV if you landed higher up, otherwise take cover and make full use of the barrels. Turnkey Tim is another one to watch out for, he has lots of health and his Cryo Launcher is devastating if you’re caught up in the blasts, this is an ideal target for your Action Skills. The final group that attacks include a group of Firebrands that shouldn’t pose too much of a threat and then Muldock, The Anointed.

Focus fire the Tink Sentries to begin with

stop firing at Muldock when his shield is up as he’ll become immune.
This is the real threat of Fort Sunshine and although you’ve fought a few Anointed by now, they still pack a punch. This particular one doesn’t have the mobility of the previous ones but he makes up for it with a Shotgun that deals heavy damage and the ability to put up a spectral shield which will make him immune, stop firing at this point and wait for him to toss it before continuing your assault. He also has the ability to conjure pools of fire around your location, he’ll be immune during this also so turn to evasion during this attack.
Once you manage to put him down, melee him for your loot and then free Dalton by interacting with the control panel. Take the key from Dalton, loot the Red Chest and then Fast Travel back to Reliance and open the locker to obtain the Legendary [Hand of Glory] Assault Rifle before speaking to Clay to complete the mission. You’ll also unlock the following Side Missions to undertake:
- Capture the Frag
- [Dynasty Dash: Eden-6]
- Swamp Bro
No Comments