
Note that Bracken will temporarily join your party for this task, and she uses both hammers and guns, so you don’t have to worry about making any new equipment, should you decide to use her in your active party. If you exited Broadleaf, then return to Dome Park and make your way back to the top. Approach the elevator droid up here and after a little “persuasion” from Bracken, you will be able to enter the Factory.
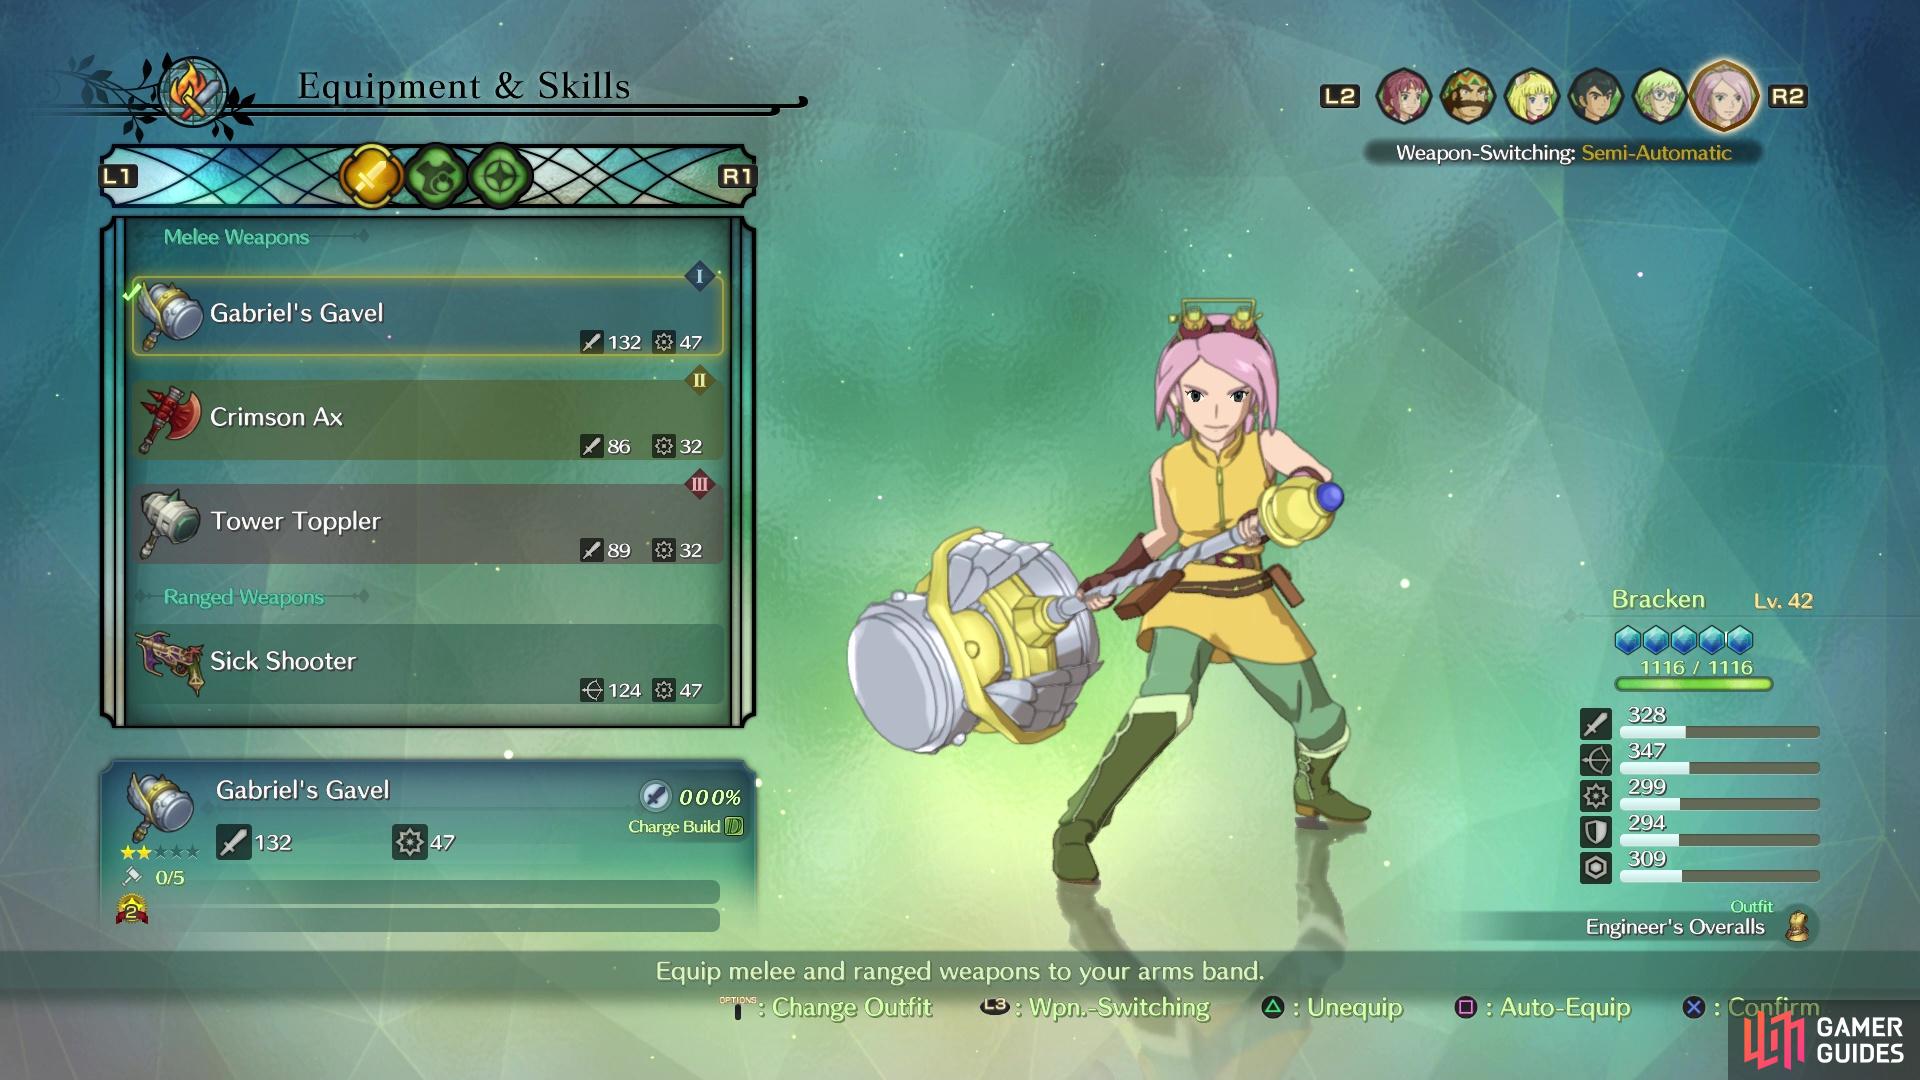
Bracken uses hammers and firearms for her weapons
Factory Floors Dynafloor No. 1
| Sparkles List |
|---|
| Bad Egg, Chic Ribbon, Cozy Cloth, Creamy Cheese, Dark Crystal, Raincloud Cotton, Slate-Grey Thread, Snuggly Wool, Steely Nugget |
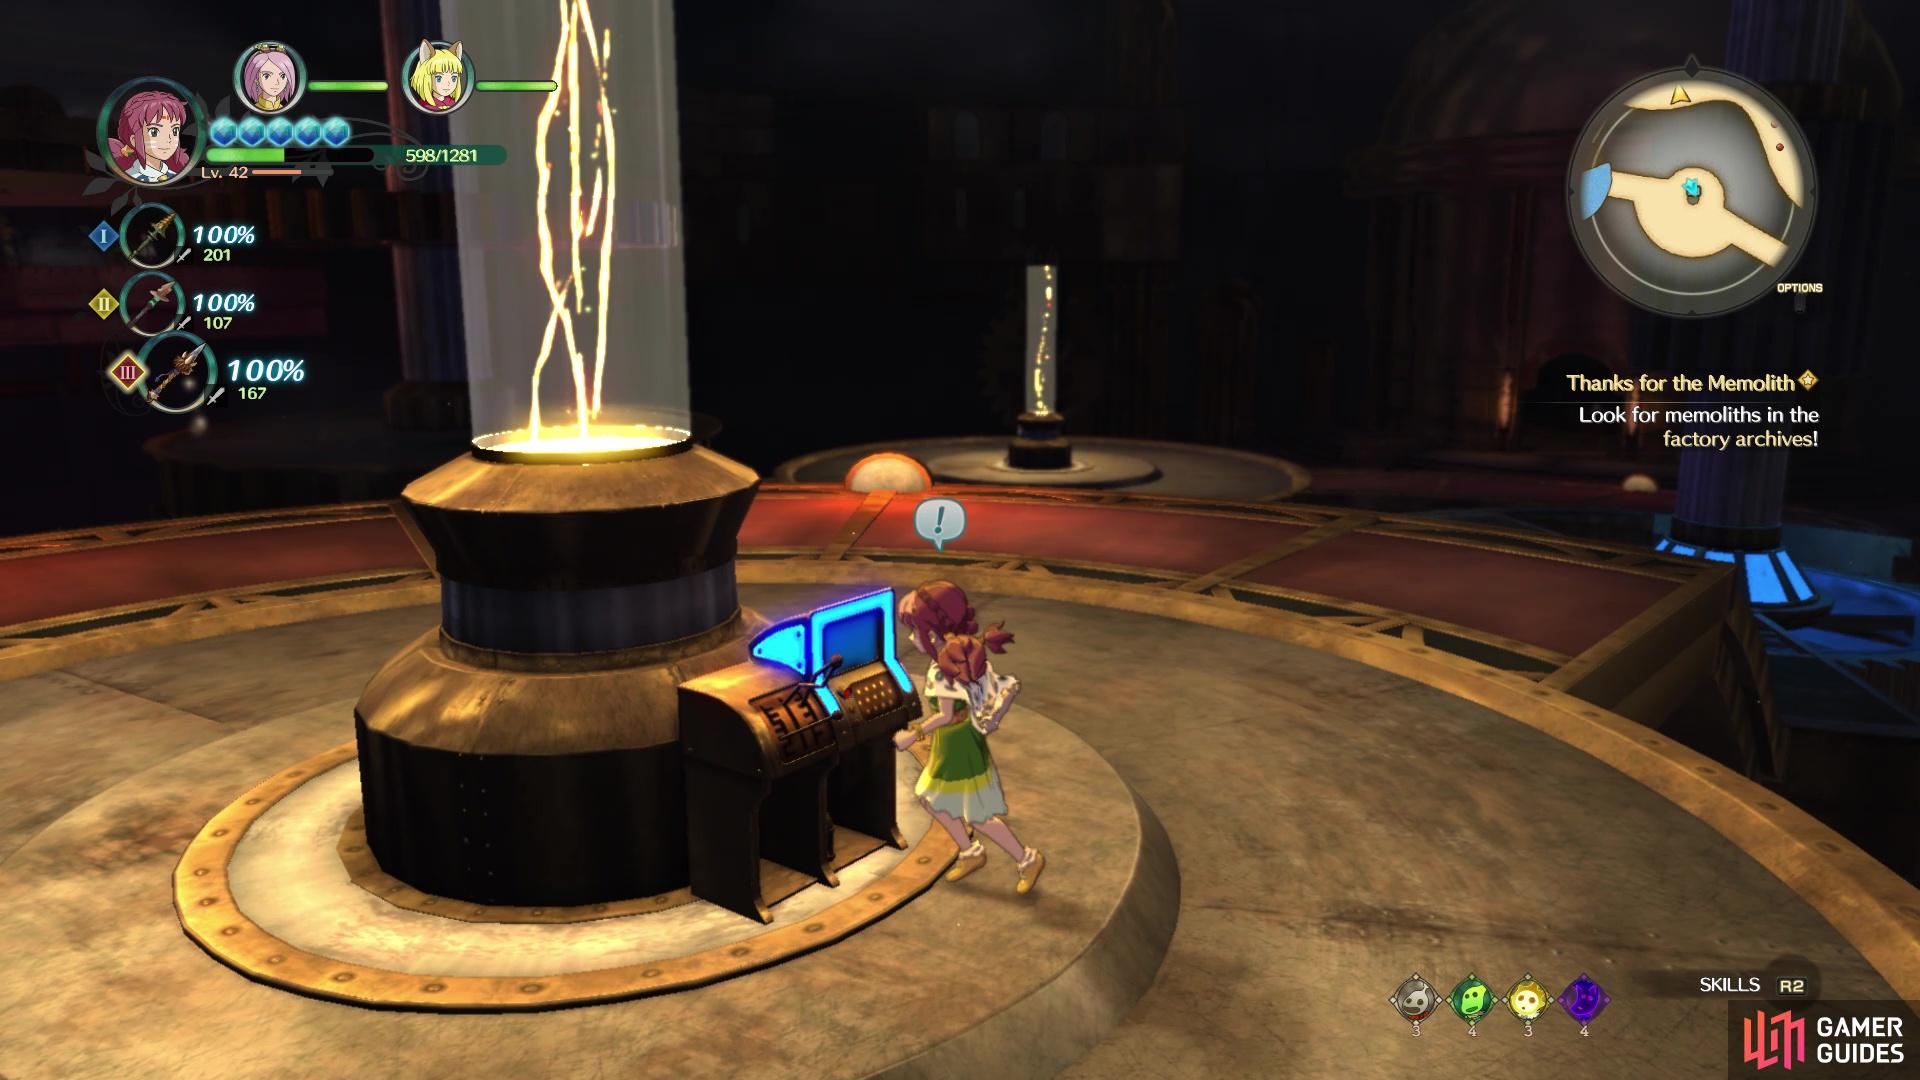
Thanks to a handy program, Bracken knows the location of the memoliths, but the factory is on lockdown, so you’ll have to fire up the boilers in order to get around. As soon as you regain control, look to your immediate south to spot a chest (5 Steely Nuggets). There will also be a Trip Door (Dynafloor No. 1) and waystone nearby, so use them and it’s time to get cracking. Continue west and you see the way north is blocked off, so you can only go south for now. You can only head in one direction right now, which is northeast across the blue spot on your map. Ignore all other paths and make your way to the top, where you’ll find the emergency boiler.
In order to light it, Bracken teaches Evan a new spell, Kindle. Similar to the puffer whelks in The Abyss and clovers in Cloudcoil Canyon, you simply need to interact with the boilers to cast the spell on them. Go ahead and do that now, then you’ll be able to change the way the gears are turning with the consoles throughout the floor. As Bracken quickly points out as you go back, there are two consoles on this floor and both are marked on your map. They may be a touch hard to see, but they look like tiny screens.
Start with the console slightly north of the boiler on your map, which will change a few platforms around on the floor. Double back a slight bit to the path just below the boiler one, which leads to the southwest. Reach the end to find some enemies guarding a chest, which contains a Strong Sixth Censer. In between the two blue platforms not that far back, you will be able to drop down to a gear that houses another chest (Untouchable Brute’s Boots). With this, drop down once more and make your way to the north side of the map, where you’ll find the Archives.
Note that there’s a chest being guarded by a few enemies just west of the entrance to the Archives (Good Ol’ Eggnog). Enter the Archives for a short scene, then you’ll have to hunt down the memolith. Fortunately, it’s easy to spot and is on the bookshelf in the back, so grab it to view its content, then you can be on your merry way to find the others. The next memolith is on the next floor, which is to the southeast, after a few more enemies.
You will find small consoles around the floors
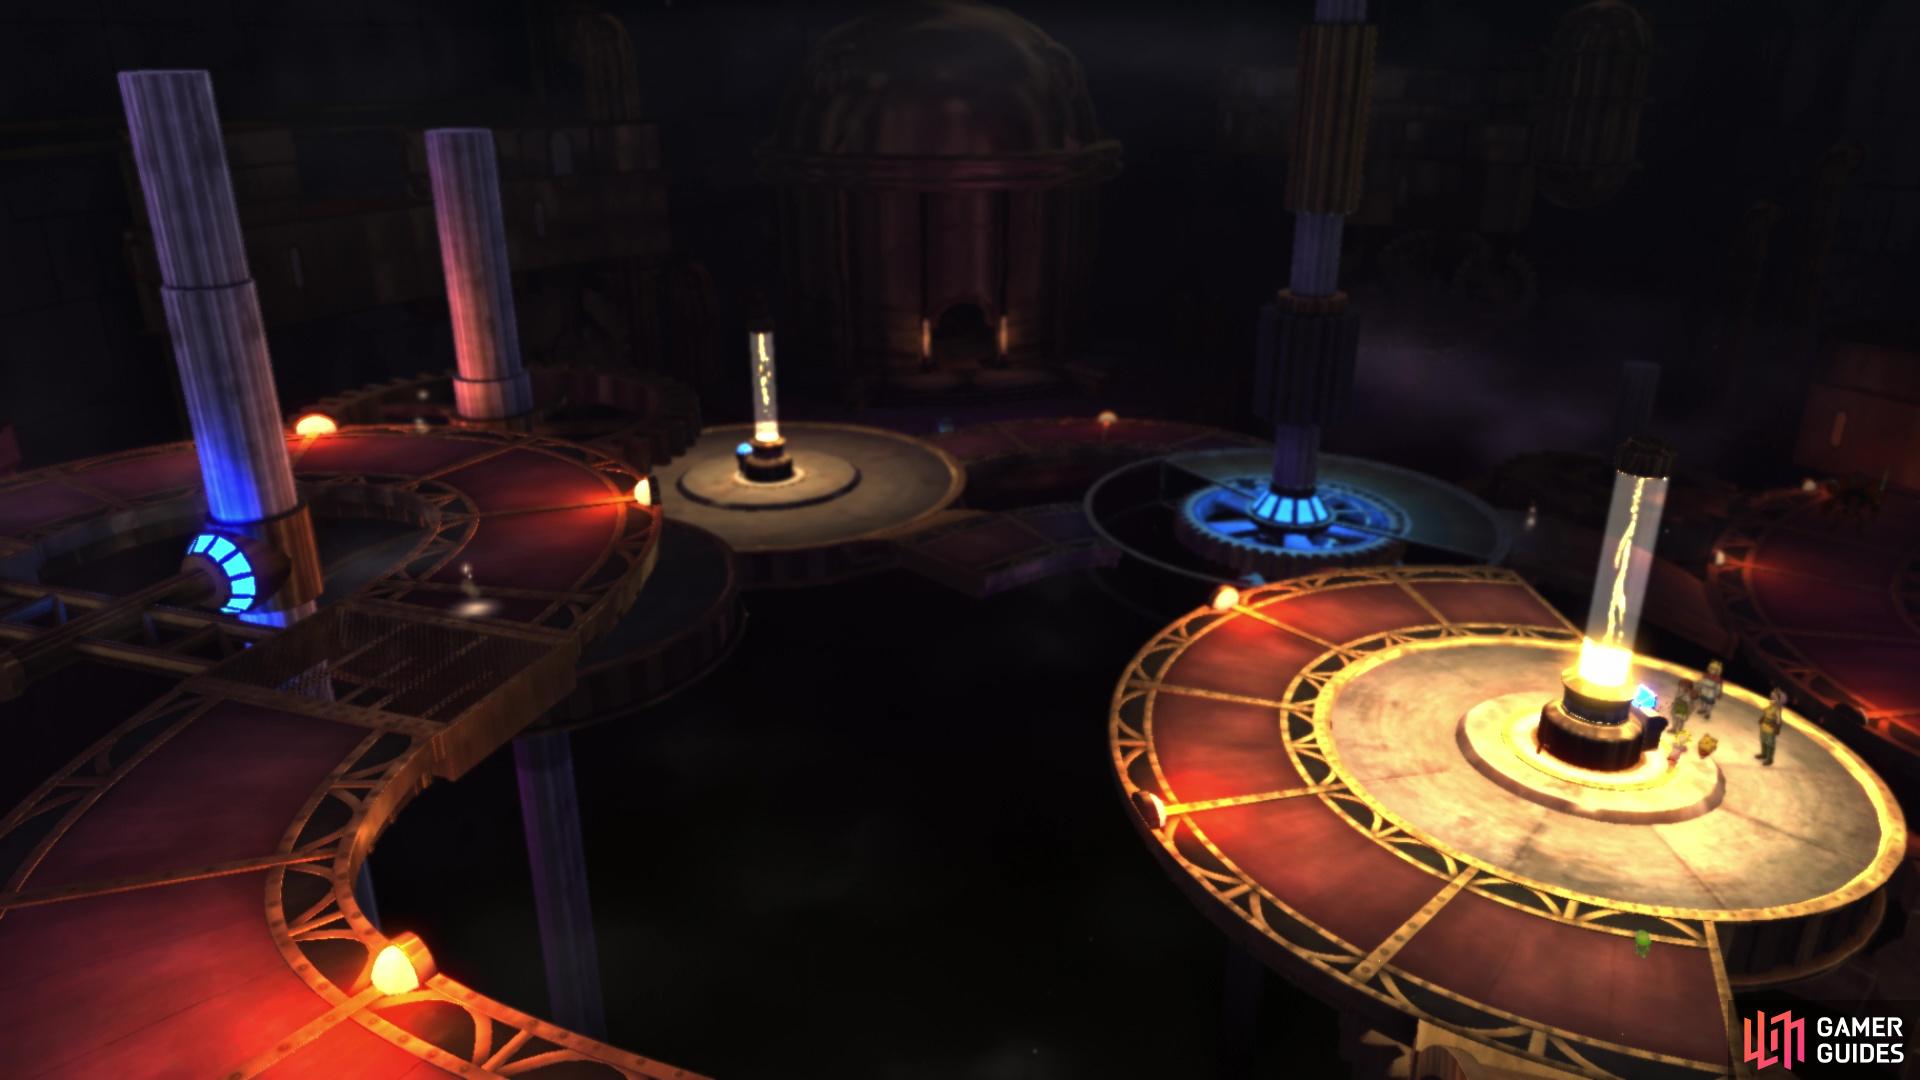
which will allow you to rearrange some of the gears to allow progress
Factory Floors - Dynafloor No. 2
Once you reach the second floor, follow the path before you until you come across another security measure, the dreaded red cog. The ones on the previous floor were blue and were controlled by the blue boiler, so it makes perfect sense that the red one is controlled by the red boiler. When the little scene with the boiler colors are over, you can only go one way, so follow that trail until you reach a split in the path. Southwest will just lead you back towards the beginning, so ignore it and head east/northeast to the marker.
After clearing the area of enemies, look in the little area just below the boiler for a chest (2500 guilders), then activate the boiler. This is the blue one and the console is right near it, so change the gears and follow the path ahead to the southeast. Once again, enemies are occupying the area, so defeat them all and you’ll find the red boiler. Things will get a tad bit complicated once you activate the red boiler, especially if you want to grab all of the treasures.
Return to the blue console and use it to reset those back, then head south and west to the red console. Back to the blue console, activate it again and you will be able to reach the platform with all of the goodies. Follow the blue gears straight south, as well as the red gear and you should see the treasure chest (Gutsy Enchanted Armor), two sparkles and a higgledy stone. This one wants some scented sap, so hand it over to have Topturvy the Testy join you. Go all the way back to the blue console and use it once more.
Remember the red console you used prior to this? Go back there, but don’t use it this yet, instead following the path to the southwest that leads back to the beginning of this floor. This will allow you to reach the southern of the two red consoles, but you probably won’t need to activate it. Look just north of this console to see a red gear, which should be pointed to the south. With it in this position, you can jump onto it and gain access to the blue switch on the western side.
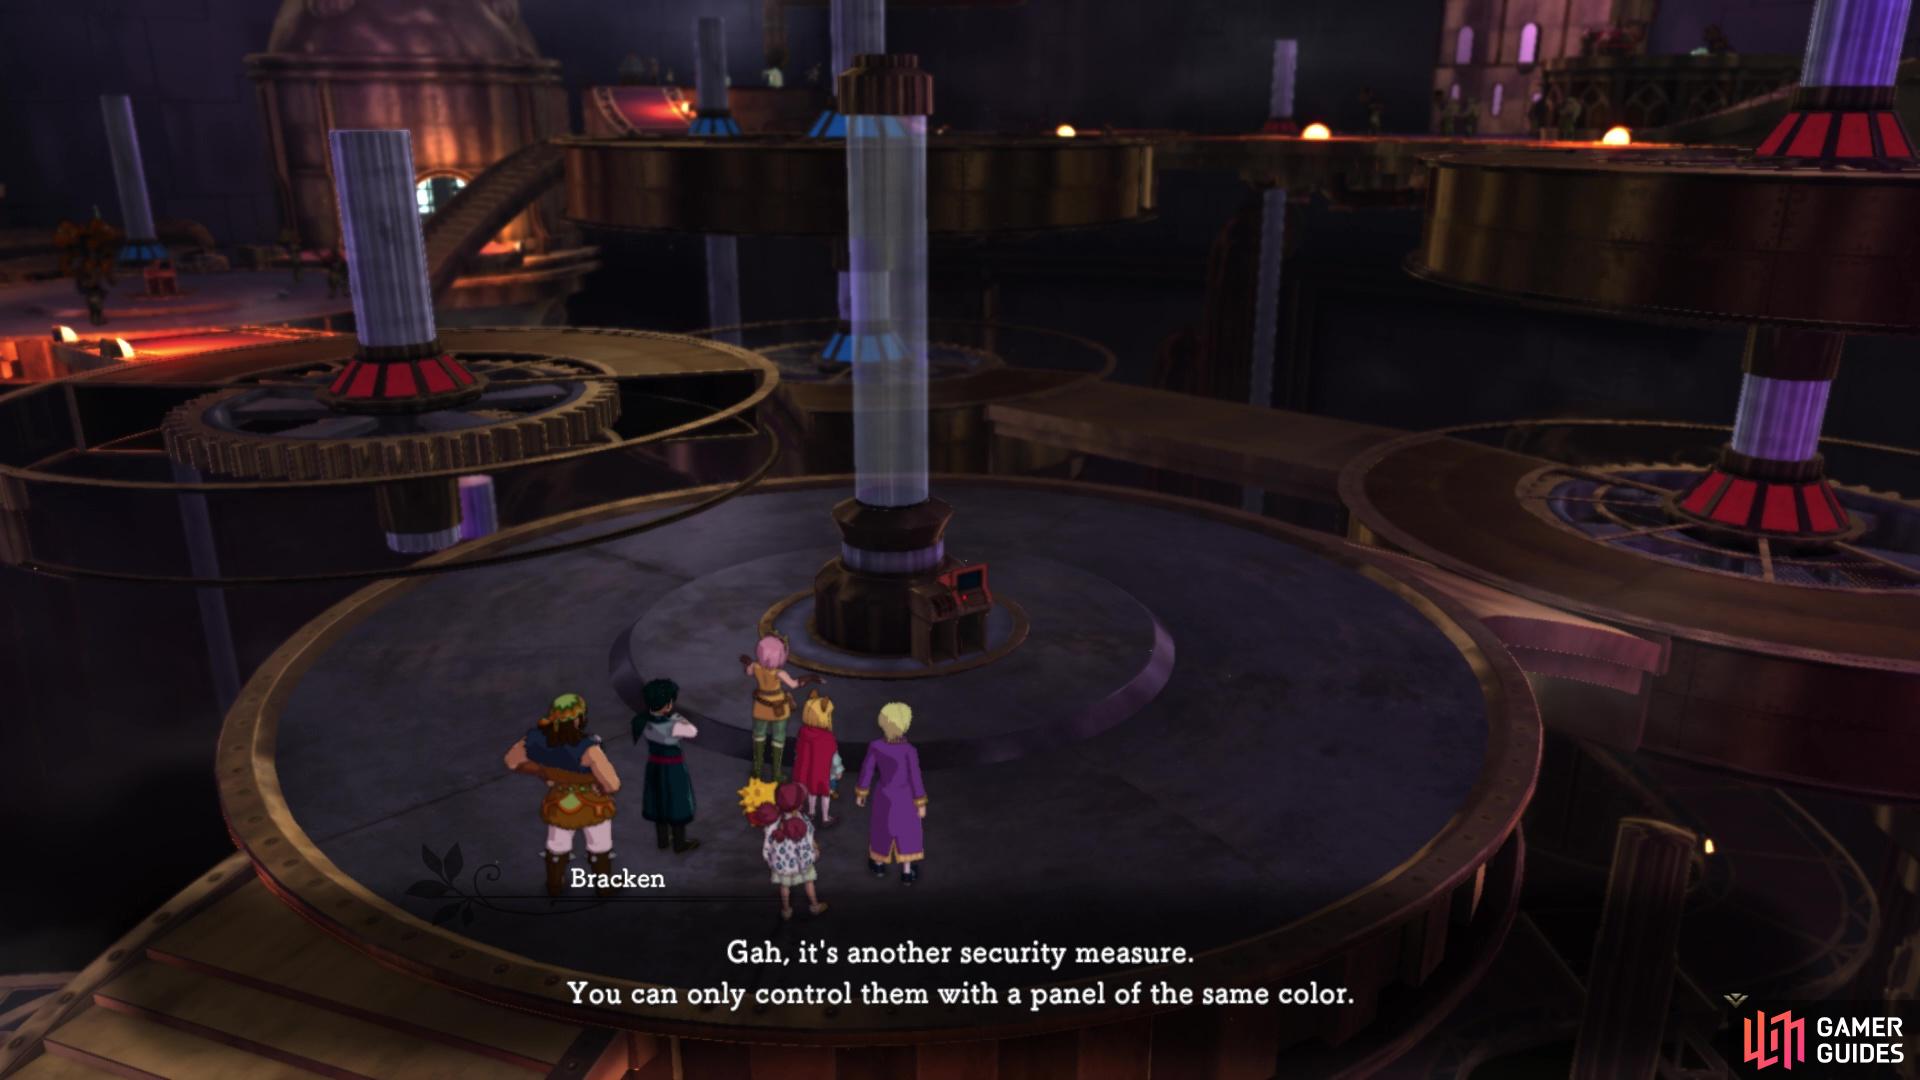
The red cogs can only be controlled with a panel of the same color
Use it to turn the blue cog in the northwest corner and make it face to the southeast. Drop down, cross that blue cog and enter the room with the waystone, opening the chest on the one side (5 Dark Crystals). Use the waystone to heal up and save, then climb the stairs to gain access to the Smartstick Lab, where you will need to find another memolith and view more scenes. The next memolith will be on the next floor, the production line.
Factory Floors - Dynafloor No. 3
On this floor, follow the pathway to the southwest until the southern section, where you’ll want to climb the stairs to find a chest (Songbook No. 16). Head back down and continue west, stopping at the split to find more stairs leading down and to the central section of the floor. Clear the area of enemies, then look on the northern side to find a chest next to one of the pillars (Four-Leafed Soreaway). Go back up to the main section and head north, where a scene will happen at some big door. As Bracken points out, the door won’t open until all three lights above it are lit; there are three switches you need to hit to turn on all the lights.
Continue north to find the first switch at the top of some stairs (look for the marker); underneath those stairs will be another chest, with an Angel’s Tear inside. There are two sets of stairs to your immediate east, with the southern of the two leading to some enemies. The northern stairs, though, lead to another boiler (blue), so go ahead and activate that, then return all the way back to the beginning. Activate the blue console to gain access to a path to the north, which allows you to reach the red boiler and console.
Do that now, activating both of them, and look to the north to spot a higgledy stone you can now reach. This one will want some whole milk, so hand one over to have Slingsby the Scorcher pop up and join you. Reset the red cogs/platforms back to the default spots, then head north of the red console to find stairs that lead to the second switch for the big door. Keep going up to find a chest in the center up top, which contains an All-Be-Gone. Go back to hit the red console again, then make your way over to the big door once more.
The platforms should now be in position so you can reach the third switch, so jump onto the blue one, then the southern of the two red ones and onto the middle platform. Collect the sparkles, then open the chest here for a Castle Crusher. From here, it’s a simple jump to the southeastern blue platform and then the final one with the third switch. The big door is now open, so backtrack to it and pass through it. The last memolith is on the desk at the top of the stairs, across from where you entered.
More scenes will occur and Bracken mentions one final memolith, which is more of a personal log. Go through the nearby door to find a Trip Door (Testing Floor) and a waystone. To the east is a big, open area - almost fitting for a boss fight, but ignore it and go inside the Chief Engineer’s Office. With Bracken’s Personal Log acquired, you can leave through the door on the northern side of the eastern area, but it looks like security has been triggered.
BOSS - BL-Iterator
This boss is similar to the big robots you have seen throughout the factory and region, only beefier and more annoying. Whenever the boss swings its sword, it will shoot out waves of energy, meaning you not only have to dodge in melee, but also in ranged. It typically uses two normal swings (with the beams), then it will jump into the air and form a ball, crashing down to the ground, causing a small area-of-effect upon landing. This will be followed by the boss zooming around while in ball form.
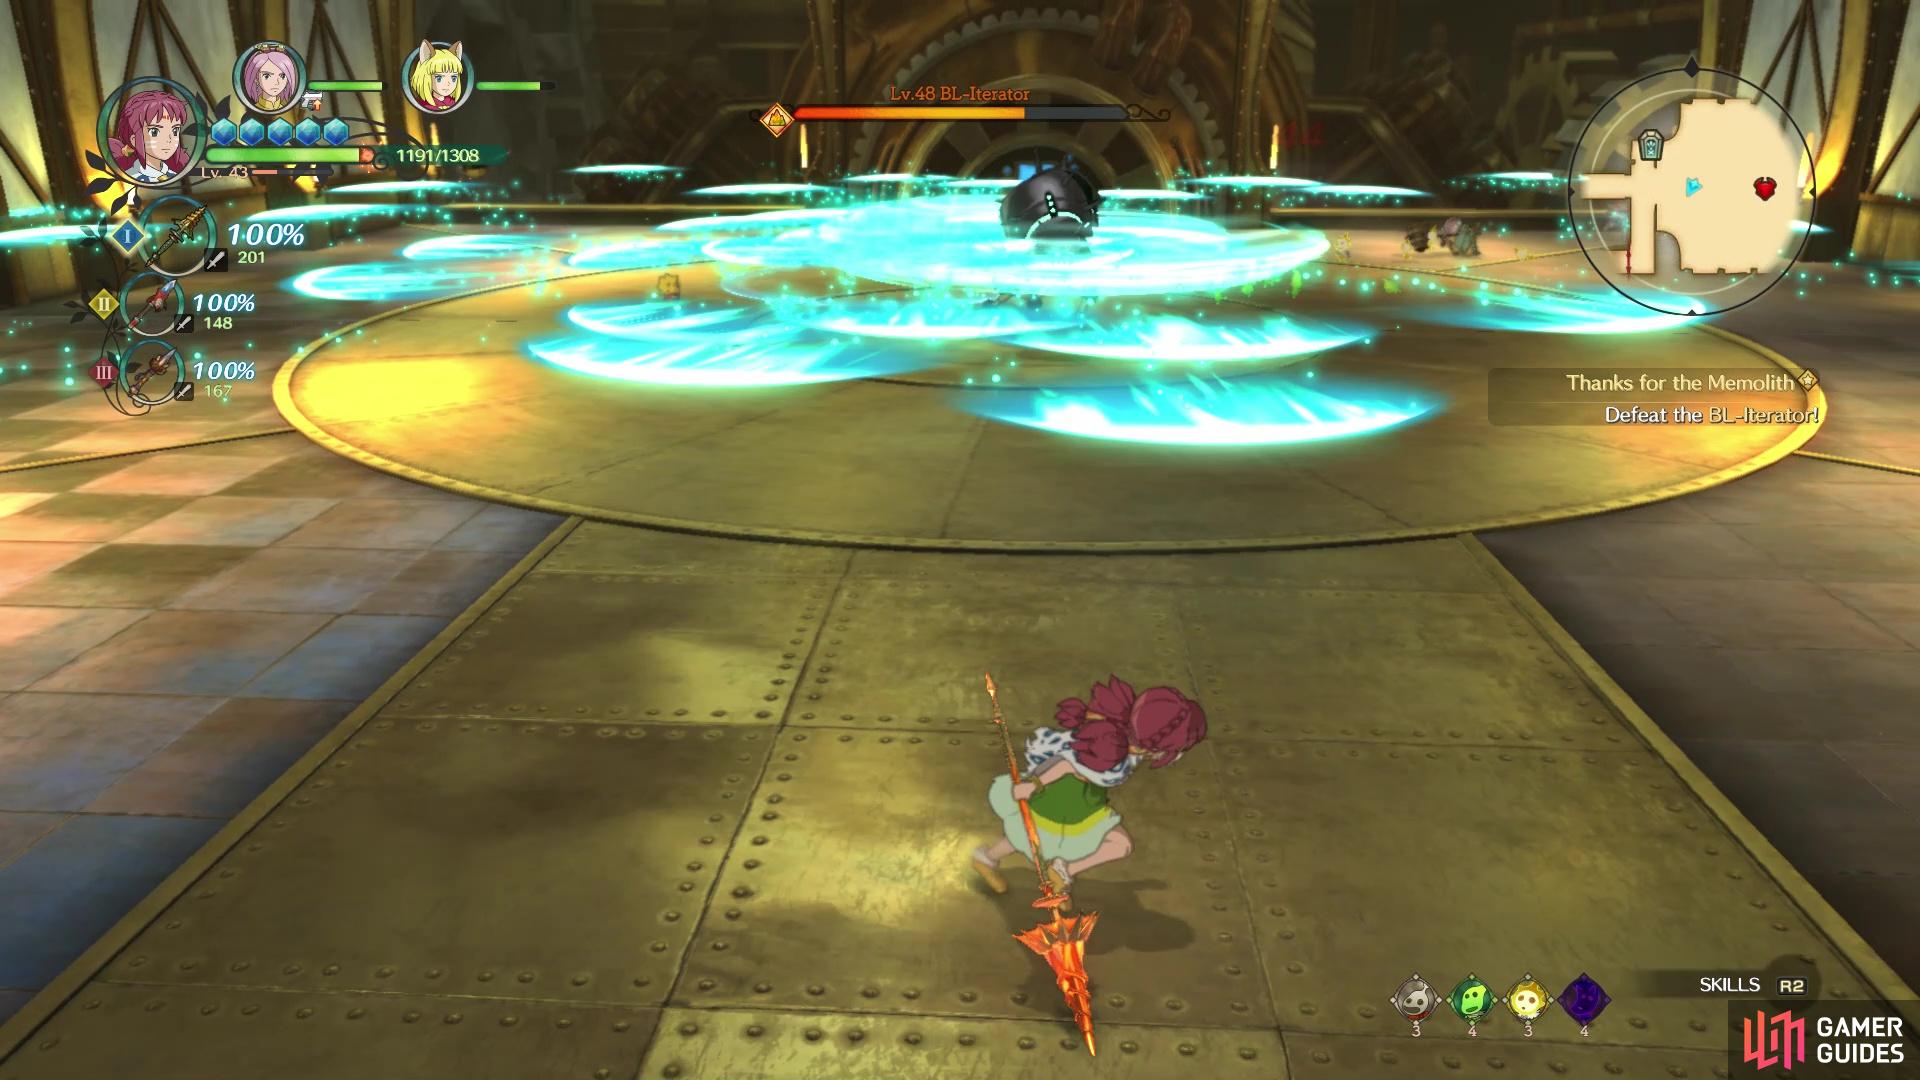
It’ll be hard to dodge every single energy wave spam
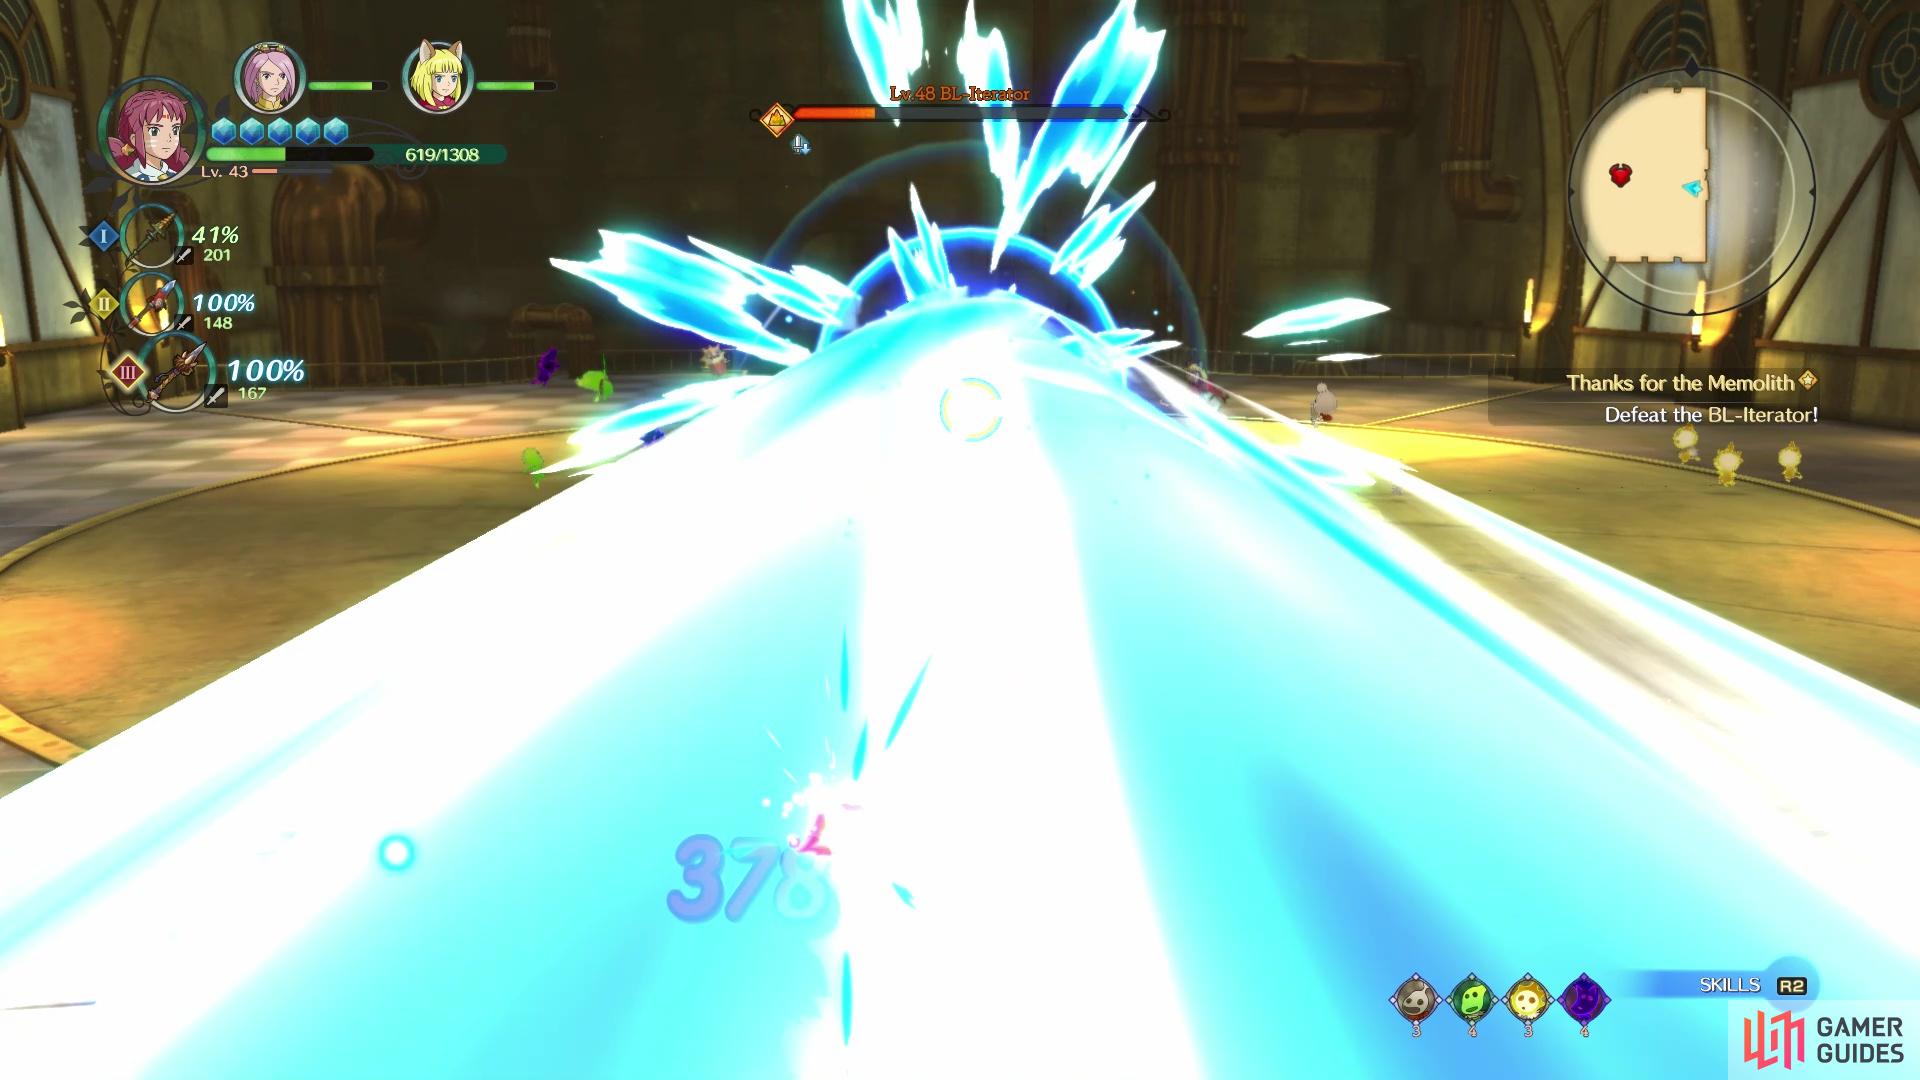
Watch out for the large beam attacks when the boss is charging
In addition to the above, the boss can also do a complete 360 attack with its sword, should you be in melee range, but this doesn’t have any beams. By far the most brutal move this boss has is when it goes towards the middle of the arena, and it will just send out a plethora of beams. This is very difficult to dodge completely and while each beam doesn’t deal that much damage, it’s very possible it will add up quickly. When you see BL-Iterator charging up, it will be shooting a large beam. Note that you can knock it out of the big beam by constantly attacking it, where the machine will lay on the ground for a few moments defenseless.
At some point during the battle, you will see the boss power up (Bracken will also point this out), which increases its attack and defense. It will also change its behavior a bit, as it tends to stick to the center and do both the large beams (no charging up as much) and mass smaller beams, although it still has its full repertoire. One of the best tactics for this boss is to do hit-and-run attacks, as you don’t want to be too close to it. Ranged attacks will also be good here, although your limited MP will make that a prolonged problem.
When the boss is finally dismantled, use the waystone to heal up, if you want, then pass through the northern door. Take the elevator up to the Reactor Floor (the roof is off-limits) to find Zip. Approach him for a bunch of scenes, ending in a big problem.
No Comments