
So, with the knowledge that it’s a trap, make sure you restock on any supplies you need, then teleport to Ding Dong Dell. Well, let’s put that on a backburner for a few, as you actually have full reign over exploring the region around Ding Dong Dell.
Exploring Around Ding Dong Dell
First up is Nogo Plateau, which is to the northeast of Ding Dong Dell. You should have entered Hermit’s Hollow earlier, so using that as a position, there will be a Tainted Monster a little southeast of it. This is Grimbaba, a level 54 grimchilla that uses a hammer. The only attack it will do is a jumping strike with the hammer, usually preceded by the creature raising the hammer twice in the air. You’ll receive a Steelpounder for winning the battle. After you regain control, look southeast for a bridge on your map, in the lower section. North of that bridge, on the Nogo Plateau, is a treasure chest along the southern edge (Cozy Curry).
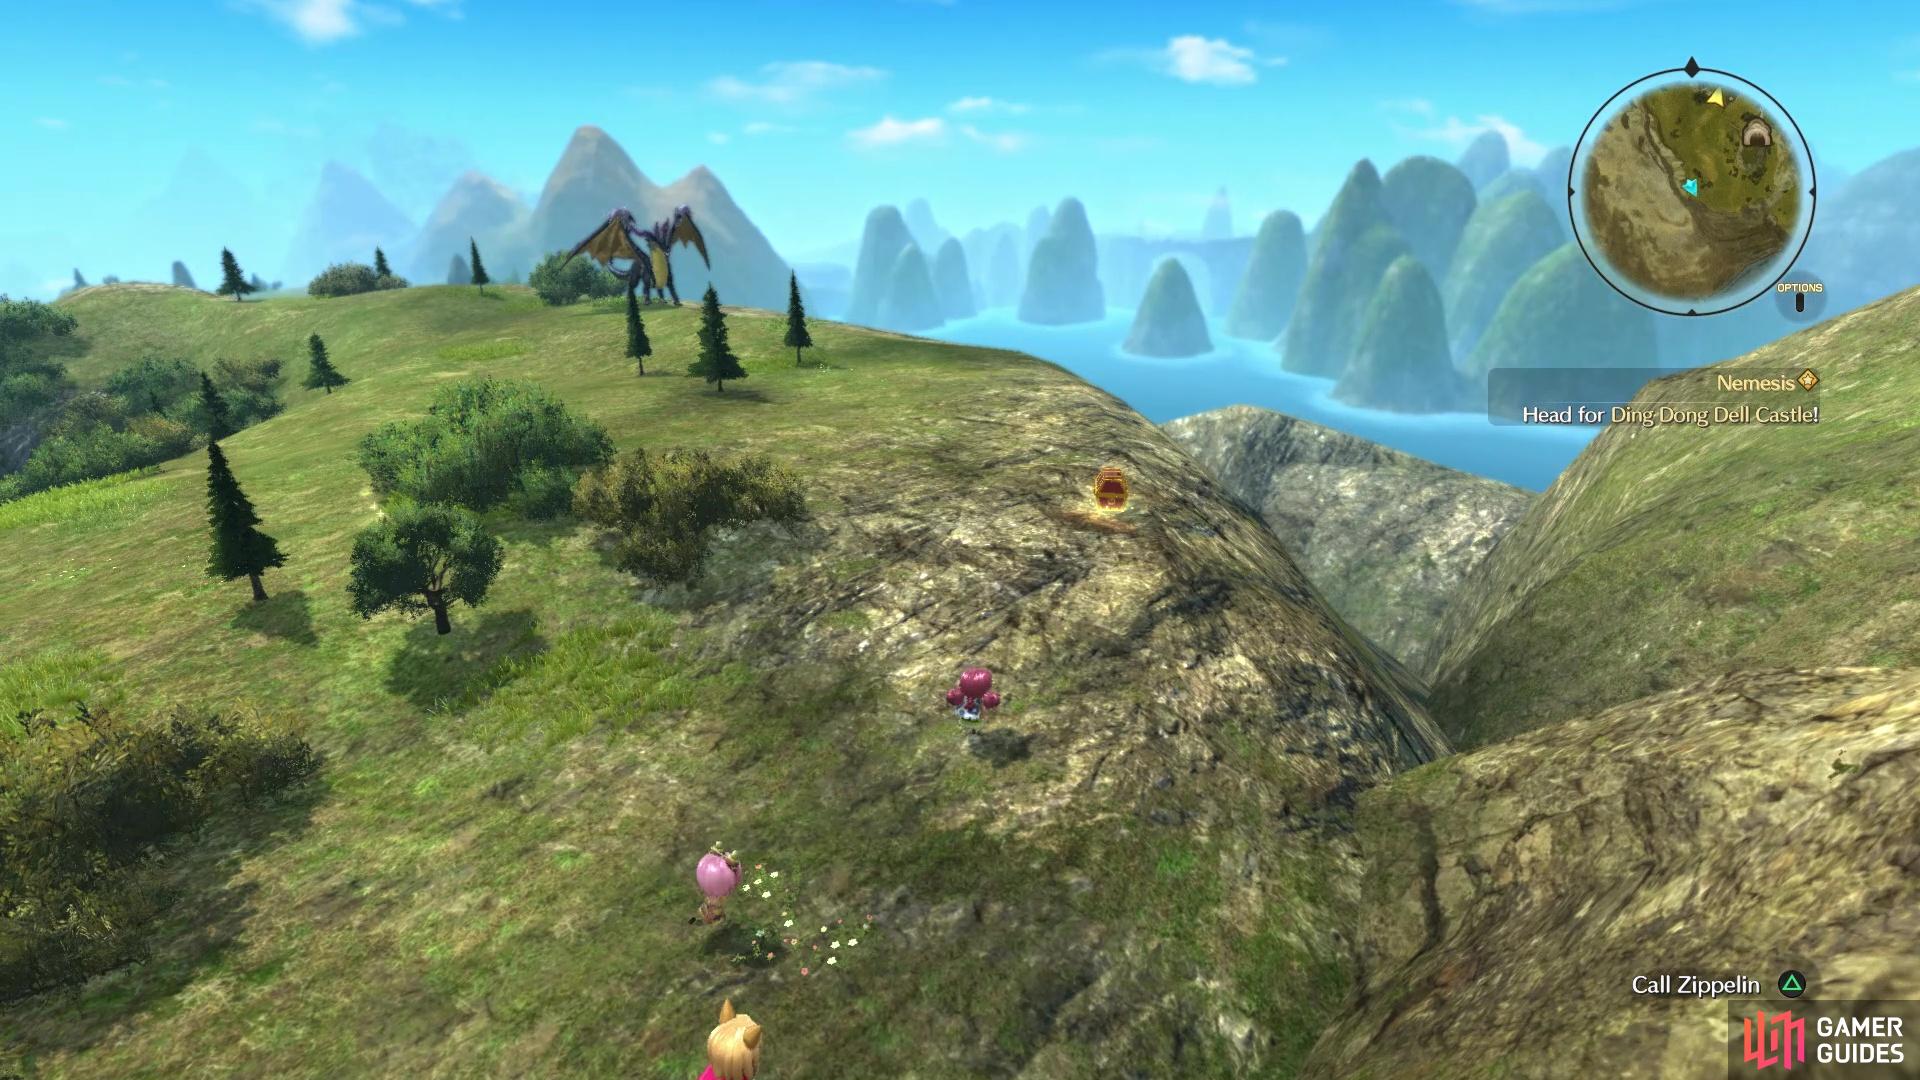
Continue east, then southeast to the large ledge that is sticking out over the lower area; at the end will be a chest (Sage’s Secret). Fly over to the Crypt of the Cat Kings, then head south a little bit to find a shrine, which is Tumbledown Shrine. There is a chest inside, guarded by a Windwyrm, which contains an Elite Warrior’s Ring. There is also a Tainted Monster inside, level 58 Boarzerker, which hits very, very hard. However, should you manage to defeat it, you will receive some Super-Safe Warlord’s Armor, plus the beast is guarding a higgledy stone. It wants a Clear Prism, something you should have a lot of, which prompts Tilly-Loo the Twinkly to join you.
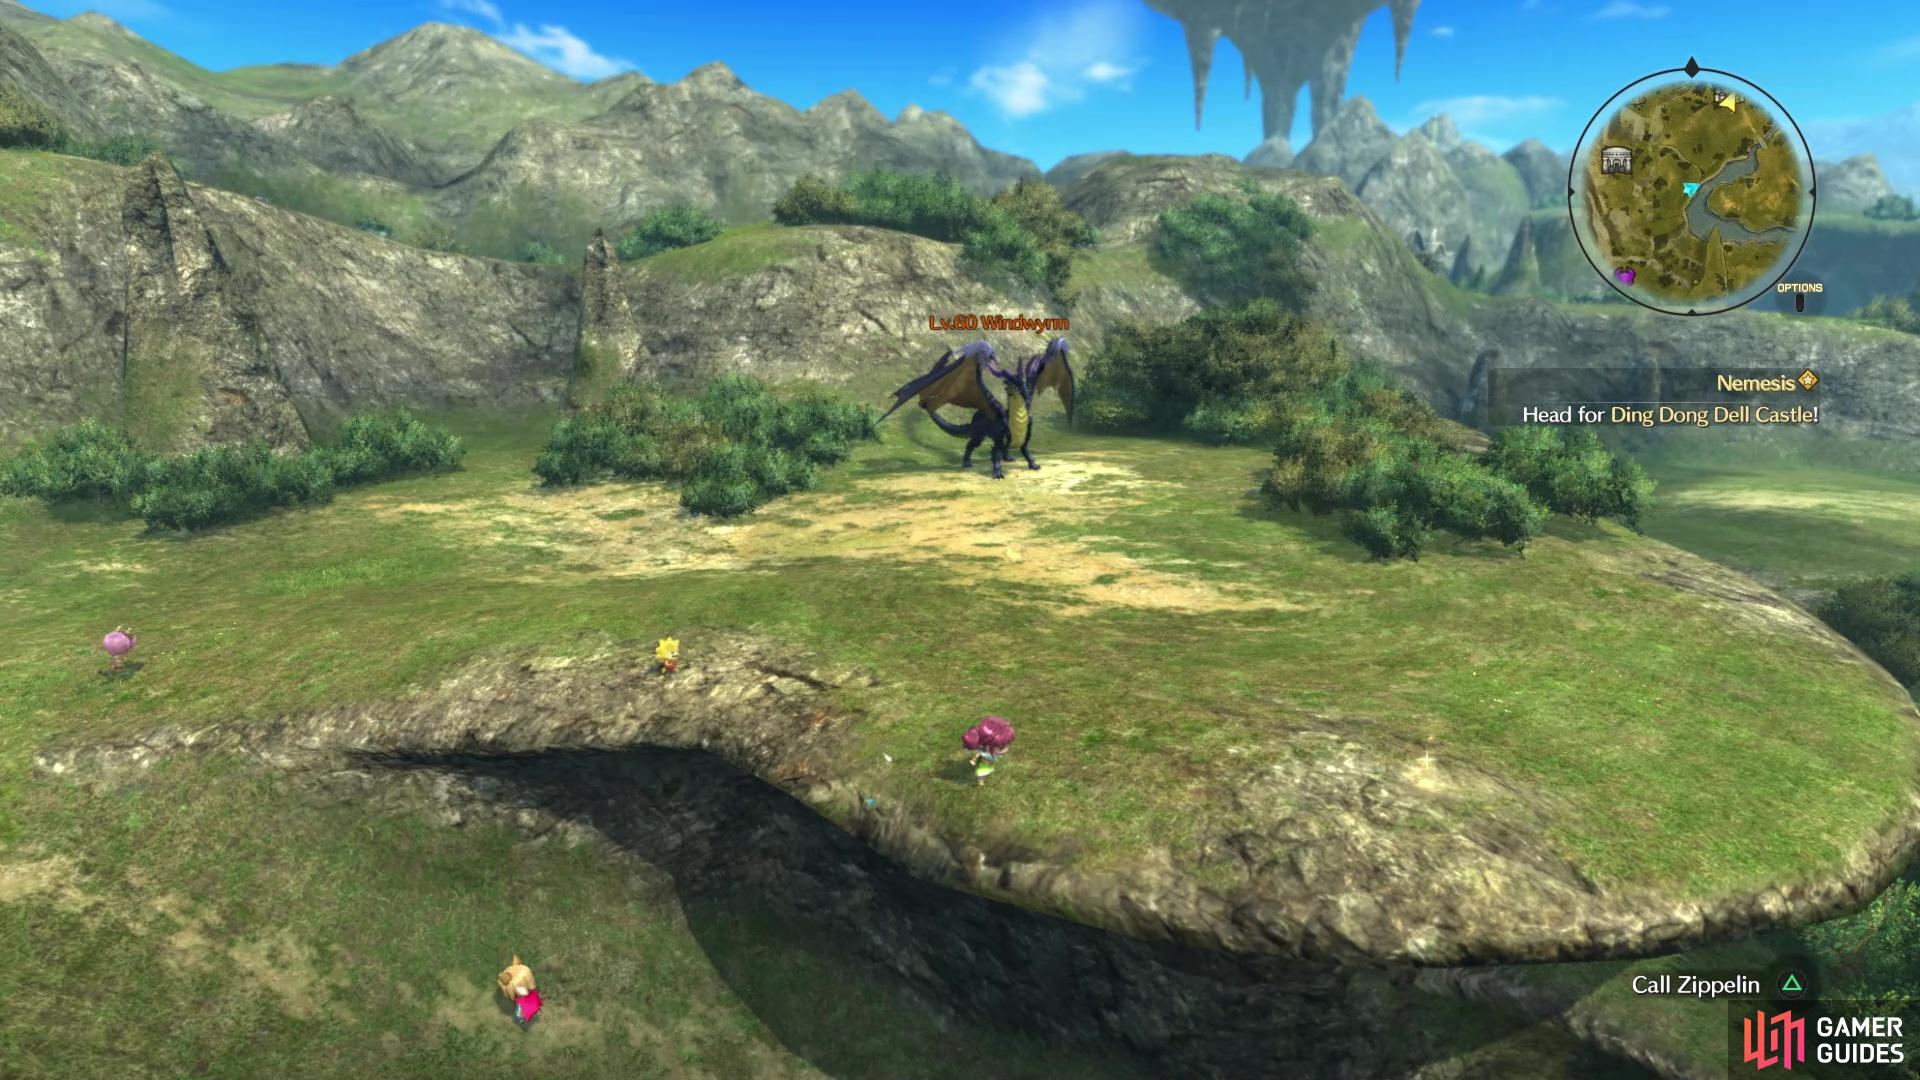
You will find some high level Windwyrms while exploring
and gathering treasures in the upper areas around Ding Dong Dell
Back outside, there’s an area below with another Windwyrm, so fly down there and look behind the Western Woods for a chest (Savior’s Tear), then head to the southern end for another chest by the pillar (Steak Dinner). Enter Western Woods now, where you’ll find a chest at the end of a side path with 5 Wonder Wheats. That’s about all you’ll find in this mini-dungeon, so exit back to the world map. Head south and you should see another chest on the ledge sticking out (Bright Lodestone Laser).
Southwest of the previous chest is another Tainted Monster on the higher area, which is level 35 Grimwit. At this point in the game, this enemy should be a pushover, and you’ll receive an Elite Warrior’s Ring for bringing it to its knees. Head all the way south, hugging the mountains to the west, until you find a chest in the southwest corner (Songbook No. 5). There is another chest to your east, but there’s also a level 70 Windwyrm in the way, so you might want to just skip over it using the zippelin; the chest contains a Harpist’s Costume. You’ve exhausted your options, and the entirety of the world map should now be explored, so let’s continue with the story.
An Obvious Trap
Teleport to Ding Dong Dell, and approach the castle for a quick scene. After it’s over, you will be able to enter without any hassle. Despite the urge to explore the castle, you can’t, so head straight to the throne room and approach Mausinger to get things started.
BOSS - King Mausinger
Mausinger is a boss that moves quick, plus he also likes to teleport around the arena. Luckily, he doesn’t have many attacks in his repertoire, and most of them revolve around his sword. They always tend to follow a teleport or after he stands still for a second or two. Note that all of the attacks will produce fire on his sword, so there is a bit more of a hitbox than normal. The first one is an almost 360 degree sword swipe, meaning you’ll want to either block or dodge away. Another attack of his is a combo one, where he’ll step forward and swing his sword from one side of his body to the other twice.
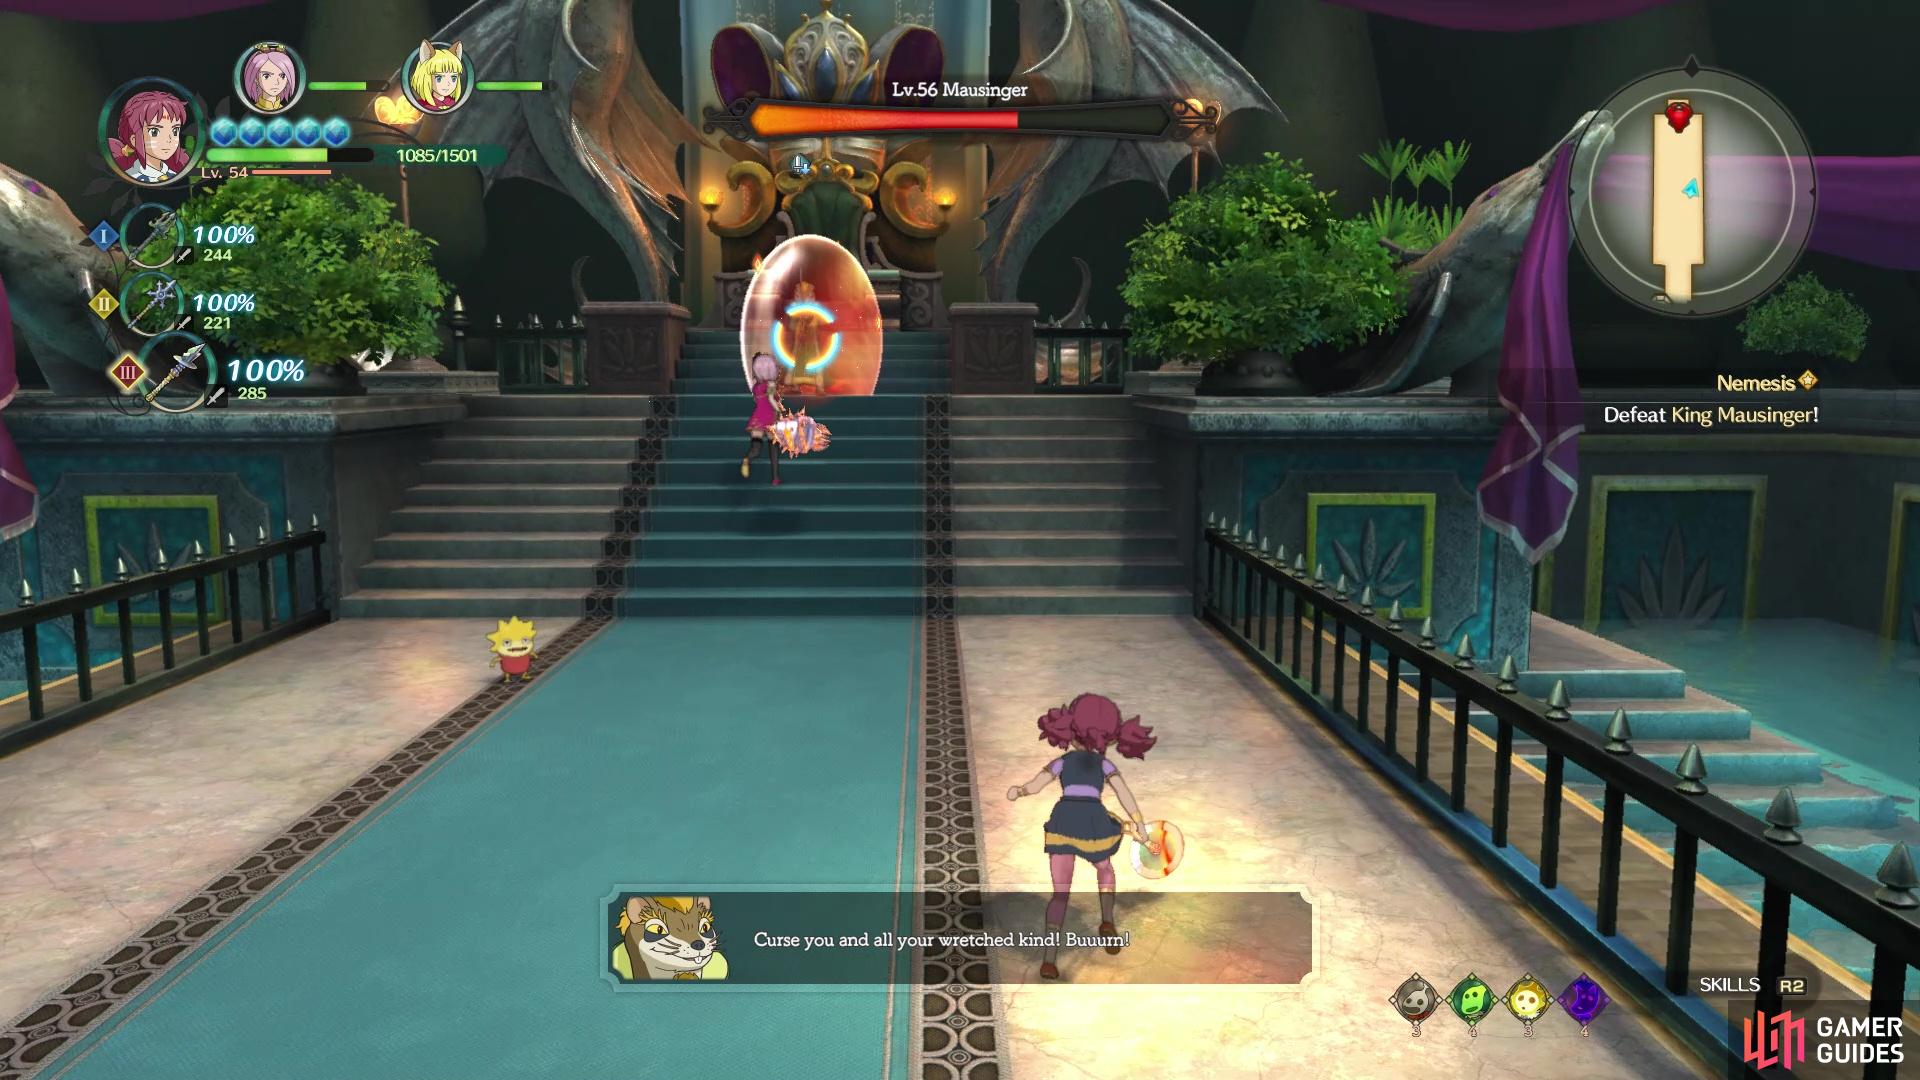
At some point Mausinger will teleport to the throne and erect a barrier
Break the barrier and he will be stunned for a few moments
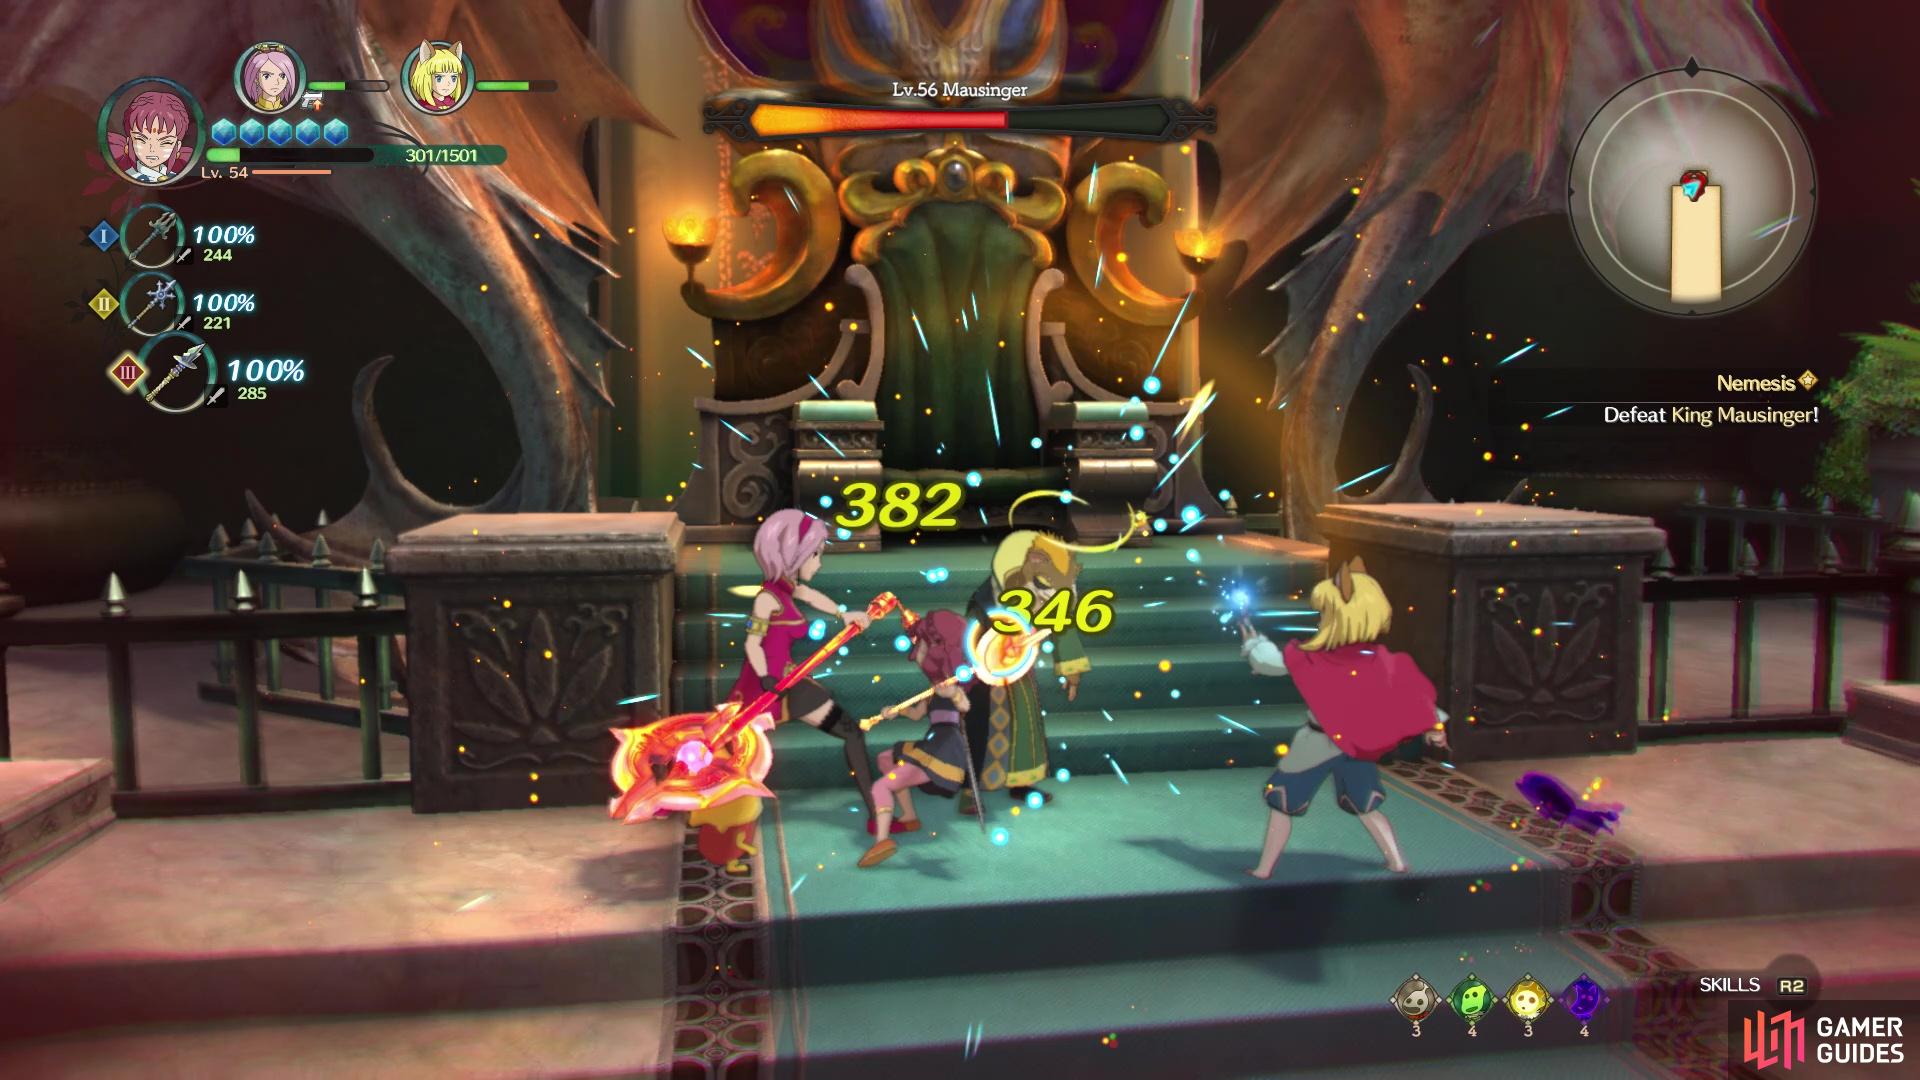
This attack can usually be followed up with the first, and sometimes you might see Mausinger lunge forward with a jab. Once he loses around 35-40% of his health, Mausinger will teleport to his throne, erect a barrier around him and start shooting fireballs at you. These fireballs are in a horizontal line, with usually a break on either side so you can just move to that spot to dodge them. This will usually follow up with fireballs raining from the sky, in rows. You can approach Mausinger here and attack the barrier, but the fireballs will continually hit you here, so it’s best to just sit back and dodge.
Should you destroy the barrier, then Mausinger will be stunned for a few seconds, allowing you to tack on some good damage. Eventually, the barrier will dissipate on its own and Mausinger will return to the first phase of the battle, although he will add one more attack. Every so often, he will conjure some fireballs above his head, that he will then fire at you. Simply running around will let you avoid these. Keep attacking Mausinger and he will eventually go down, triggering another scene, then another boss battle.
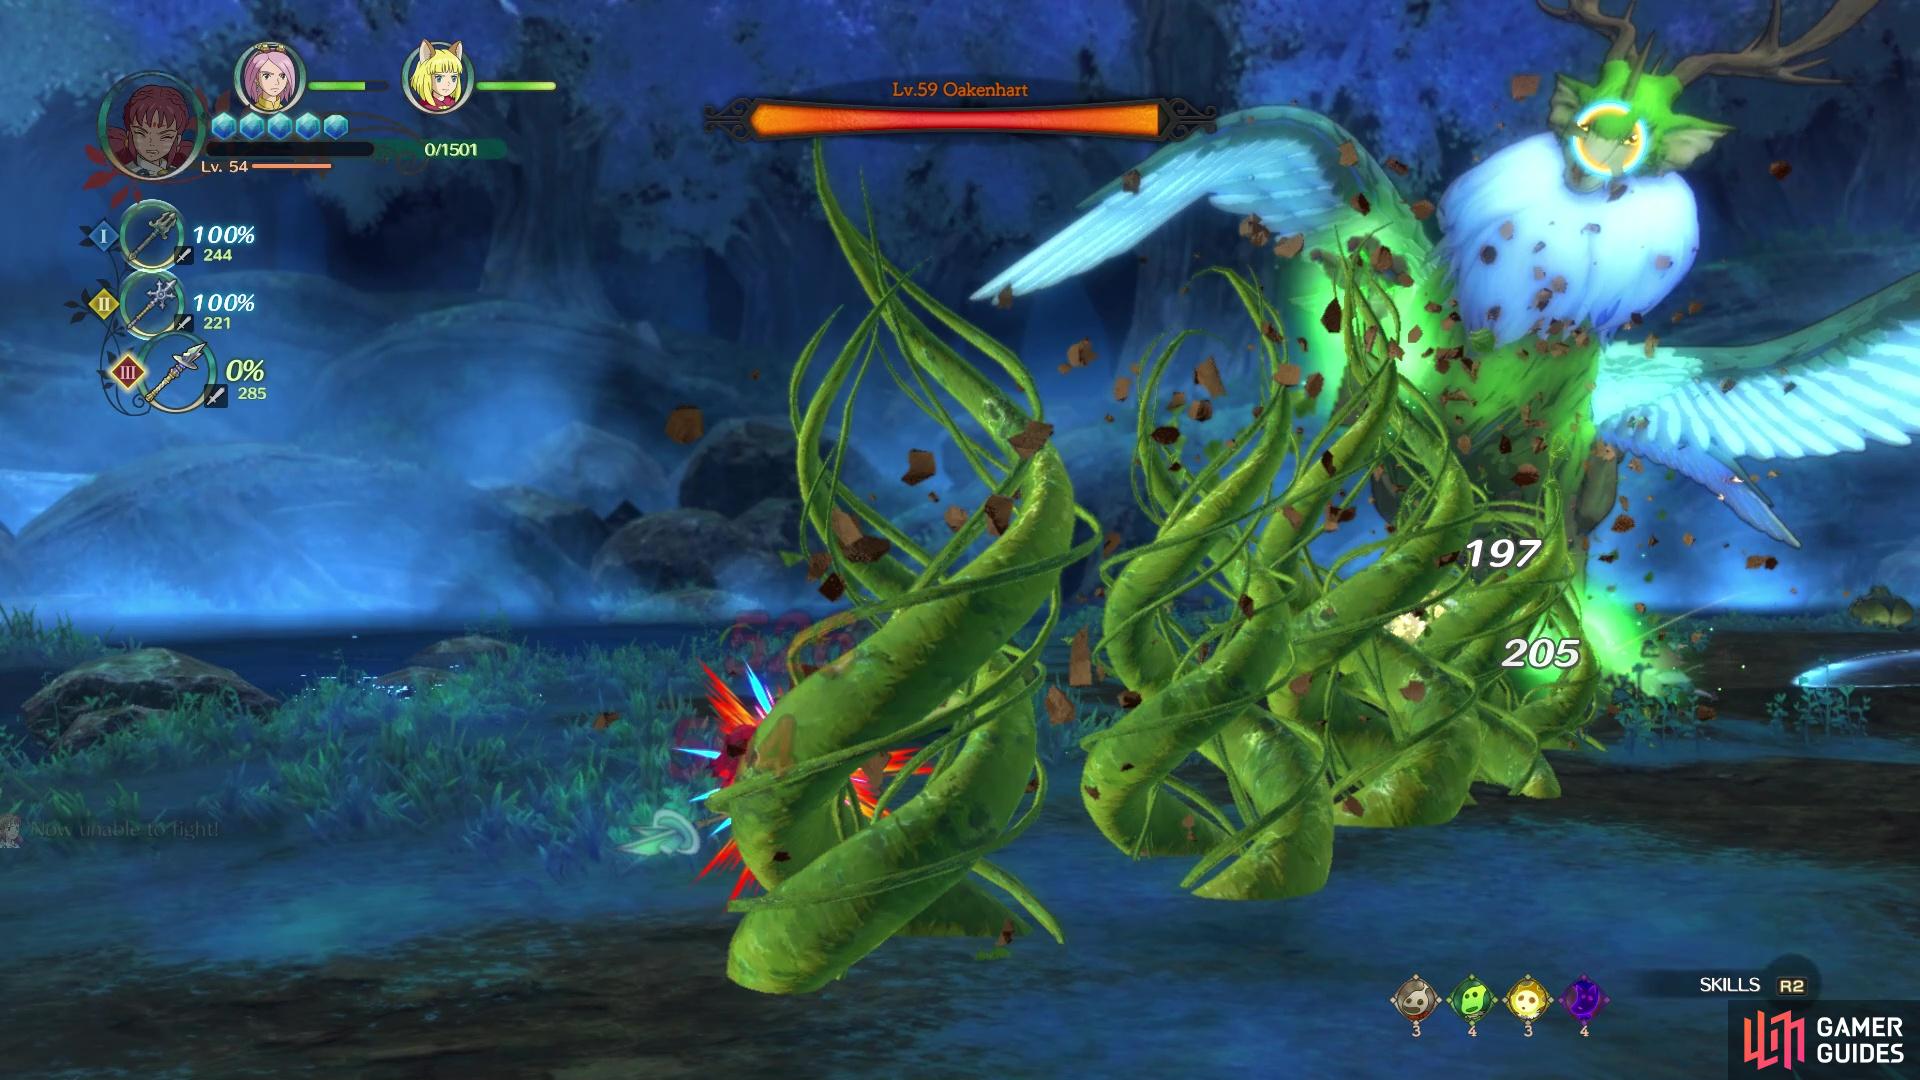
BOSS - Oakenhart
At the beginning of the battle, Oakenhart will roar and some flower pods will spawn all over the arena. These will shoot out pollen that will poison you should it touches, but you can just hit them to get rid of them; it’s probably best to shoot them from afar, just in case. As for Oakenhart himself, he can use his tail as a flail, swinging it to his sides. He will also rear back and slam into the ground, causing a shockwave. This doesn’t actually hurt you, but he does create some vines with this attack that home in on you and when they reach your position, the vines will pop out of the ground.
The higmakers that spawn in this battle, once enough have been created, will create a wind barrier around your characters that blows away poison. His weak points will be on his feet, so that is where you’ll want to concentrate your attacks. Break them and you will cause Oakenhart to fall to the ground, where you can deal some massive damage. Sometimes when he rears back, he will breathe poison clouds onto the arena, so try to avoid these at all costs.
Oakenhart’s vines can be quick so keep a lookout
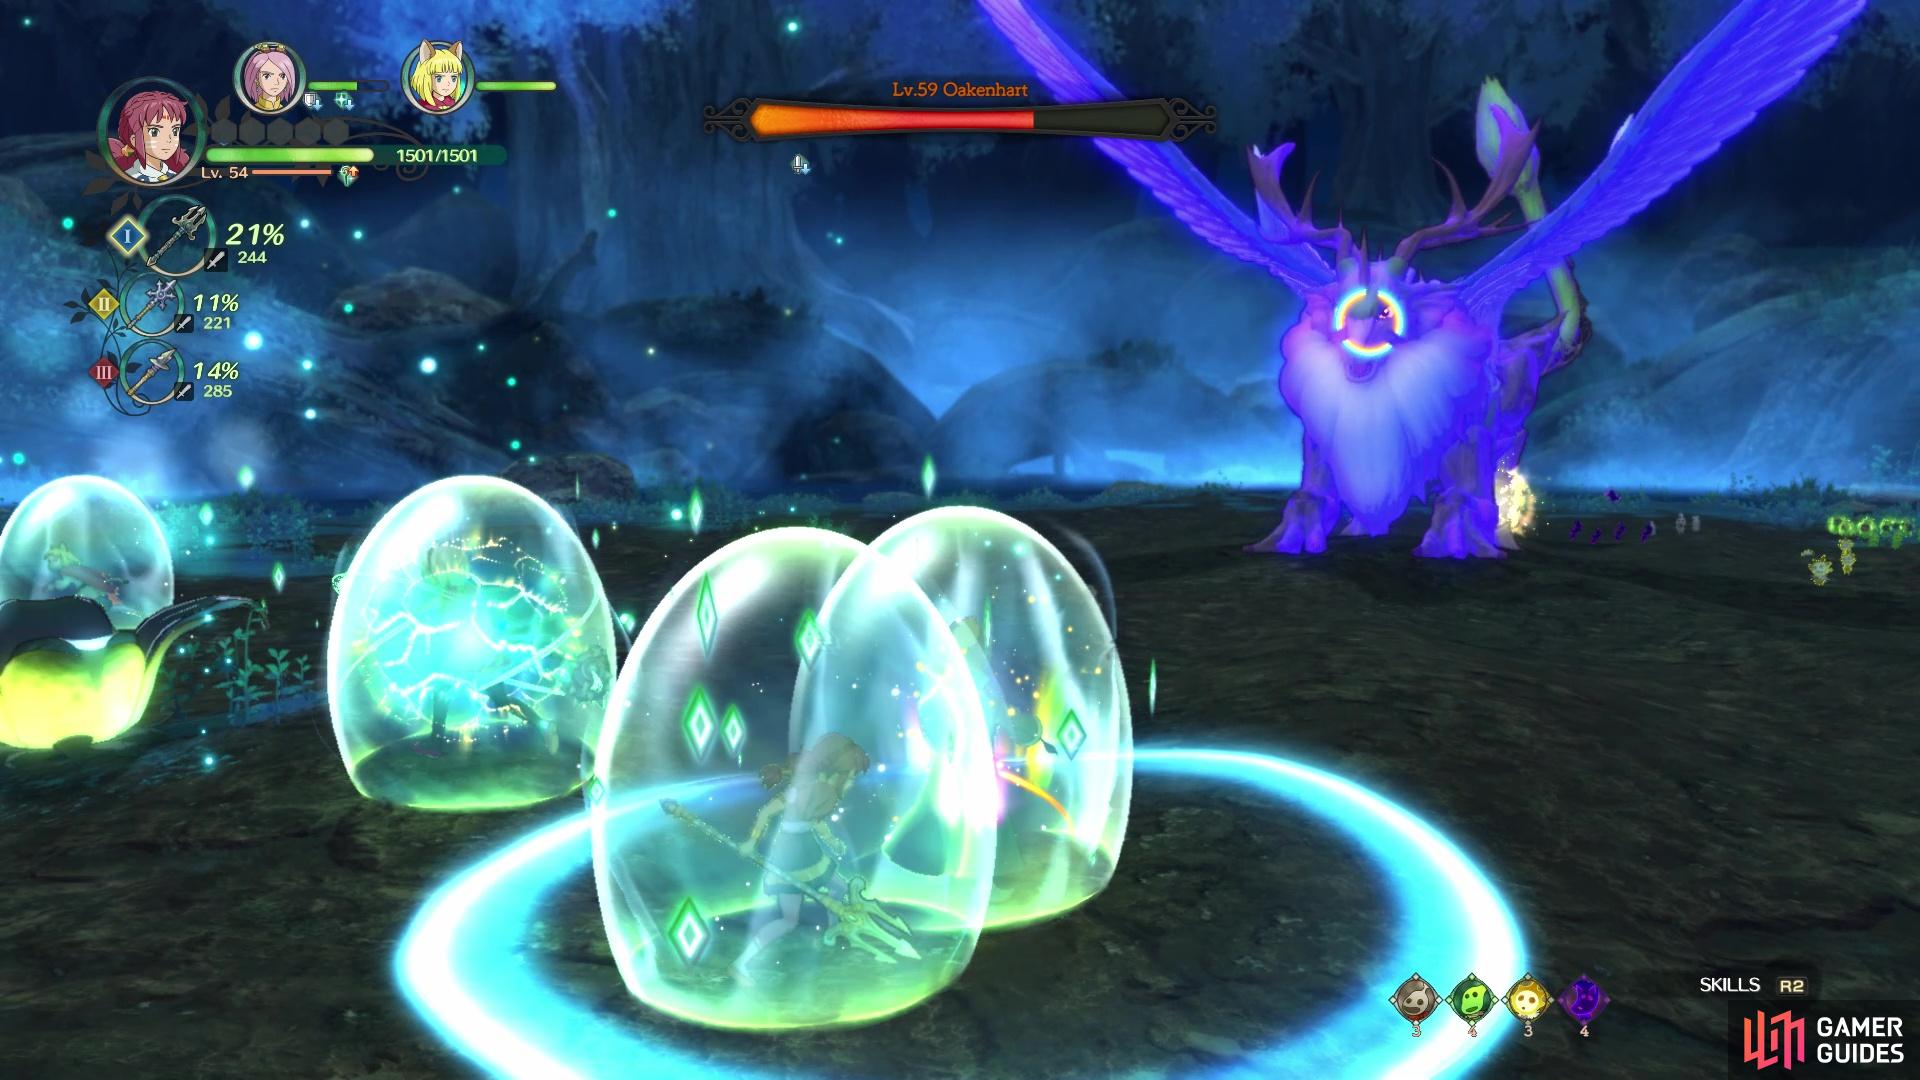
Get inside Mausinger’s barrier whenever Oakenhart turns purple
Eventually, Oakenhart will turn his entire body purple, which will cause Mausinger to get the spotlight. Mausinger will create a barrier and you will want to get within the circle on the ground, as this will pass the barrier onto you. This barrier will protect you from the attack that will be coming, which involves Oakenhart spewing poison out all over the place. He will also start divebombing around the arena later on in the battle. Keep striking his feet, as well as his head when given the opportunity, helping yourself to the free barrier when you need it, and Oakenhart will eventually be defeated.
Ding Dong Dell Joins the Union
Watch the touching scene after the battle is over, which will bring you to this bit, where you need to have Mausinger sign the Declaration of Interdependence. Simply approach the king by his throne and speak with him to set things in action, with the final major kingdom signing the Declaration, ending this chapter for good.


No Comments