


Search for the Nopon Village
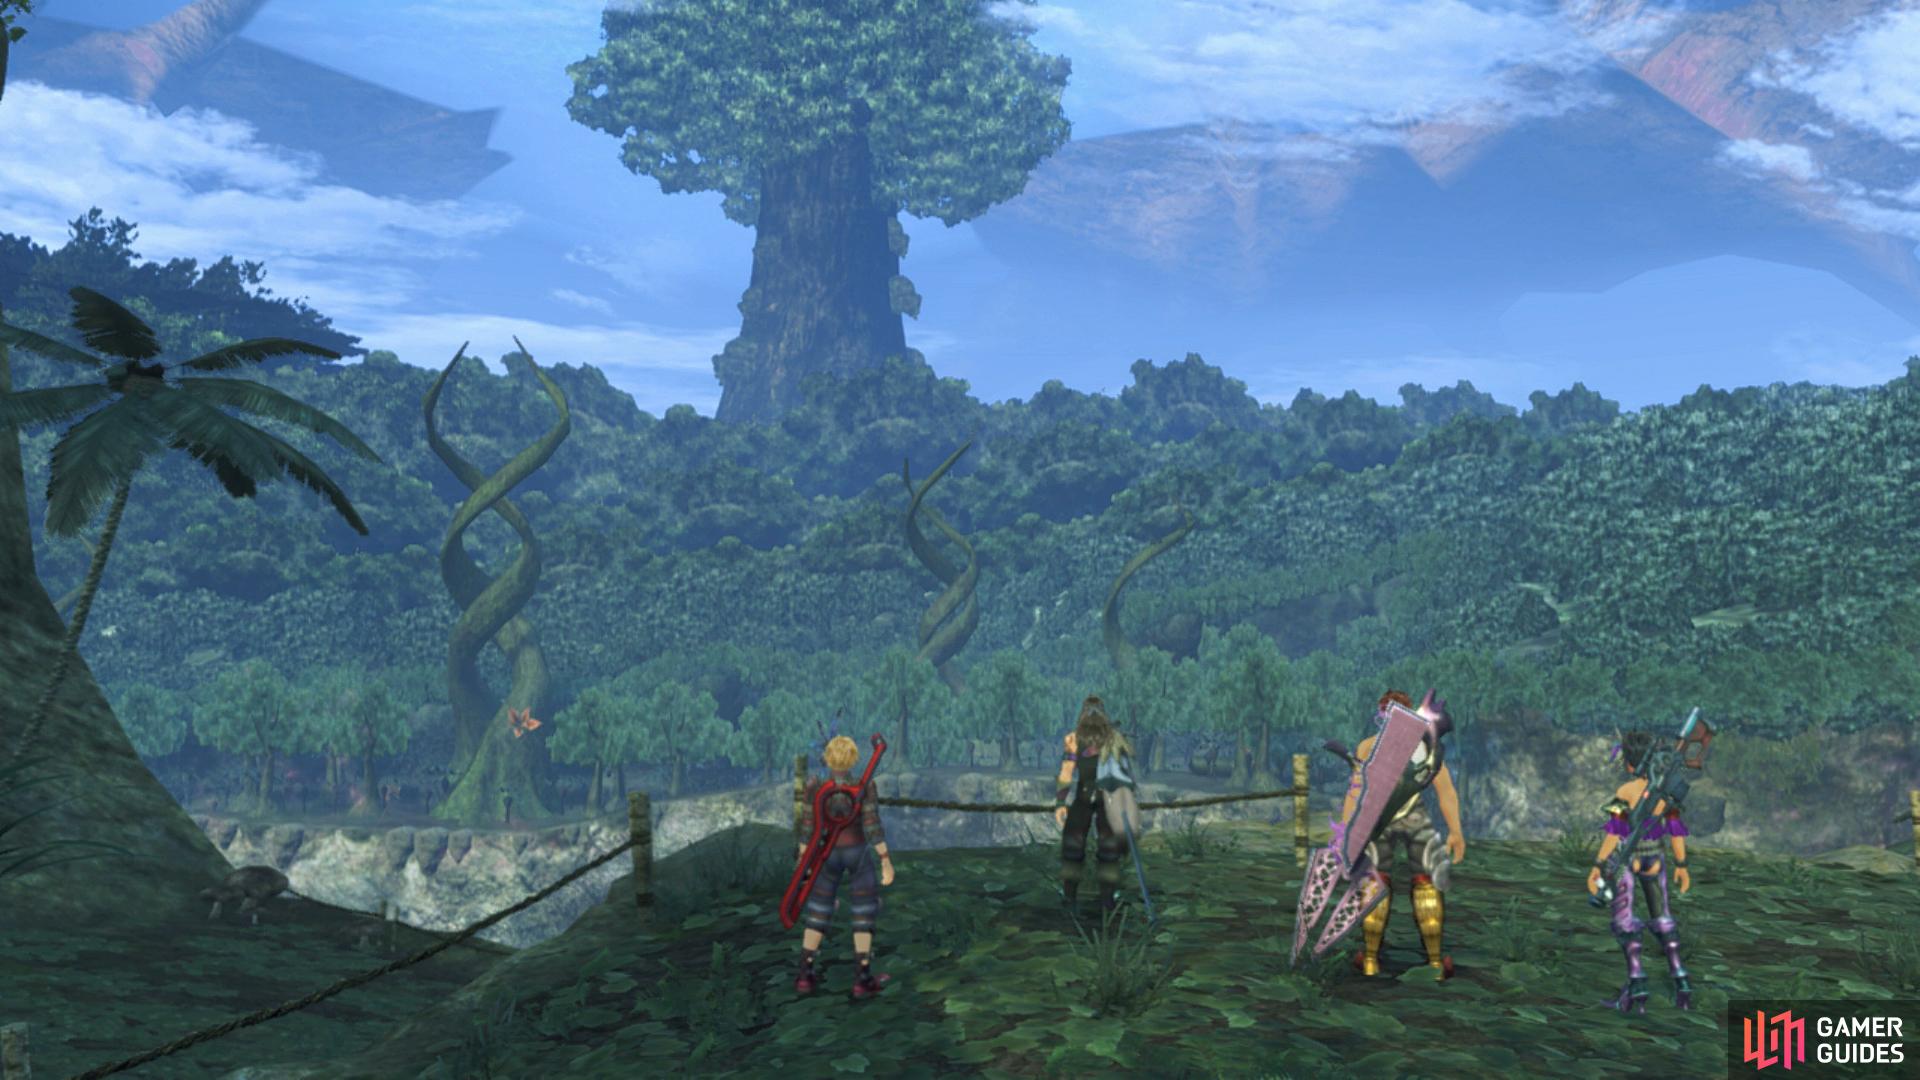
The great forest before you stretches across the Bionis’ back and lies along the path to Prison Island. Head forward to the Story Flag to trigger a series of scenes and then once you regain control, follow the path down towards the Agni Tablet Landmark, a new Heart-to-Heart to register and a small group of Nopon. Speak to them and accept Monster Quests 1 - 4. Ignore the rope bridge for now and take the path leading southwest to the bottom to unlock the Lakeside Landmark. Leap into the water now and follow it all the way over to where the waterfall is to unlock Great Makna Falls and then warp back to Agni Tablet.
Head along the rope bridge to unlock Bridge One and then once you reach the other side follow the path to unlock the Waypoint Beacon Landmark which acts as a crossroads for this part of Makna Forest. Head south to begin with and follow the slope up and along the treetops (taking out the Quadwings in the process) to continue your trek south. Pass through both tunnel and eventually you’ll reach the Secret Area, Divine Sanctuary. While you’re here, you can throw the Mushroom Cap off the side as part of the Rest in Peace Quest from Colony 6. Warp back to deliver the news to Satata and complete the Quest before warping back to Waypoint Beacon.
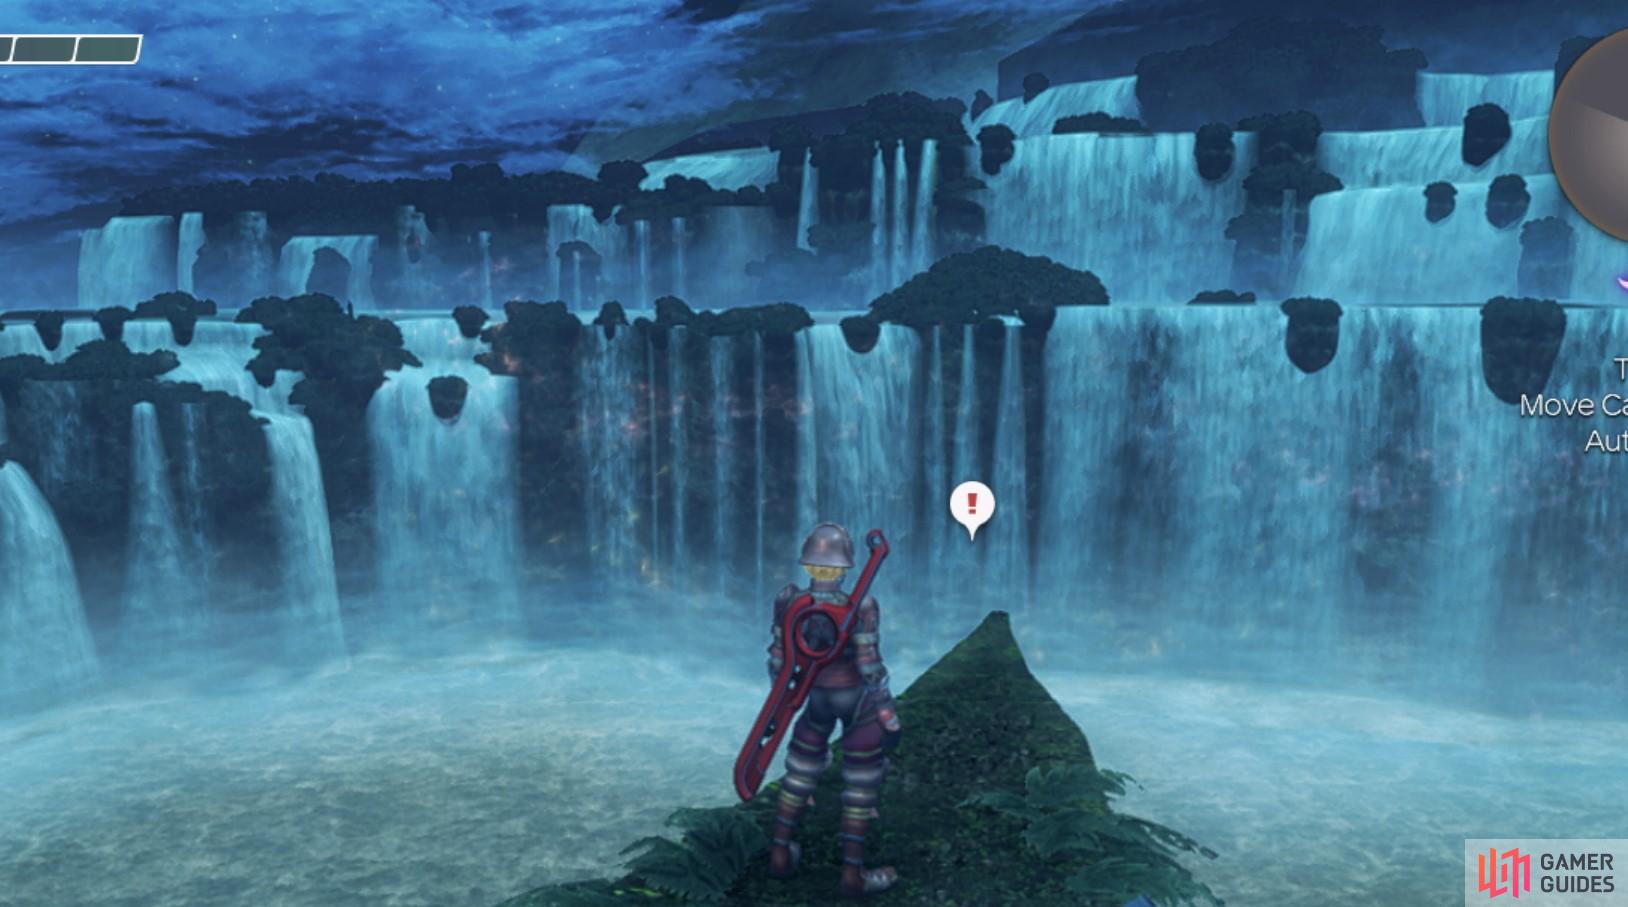
A perfect panorama of Great Makna Falls
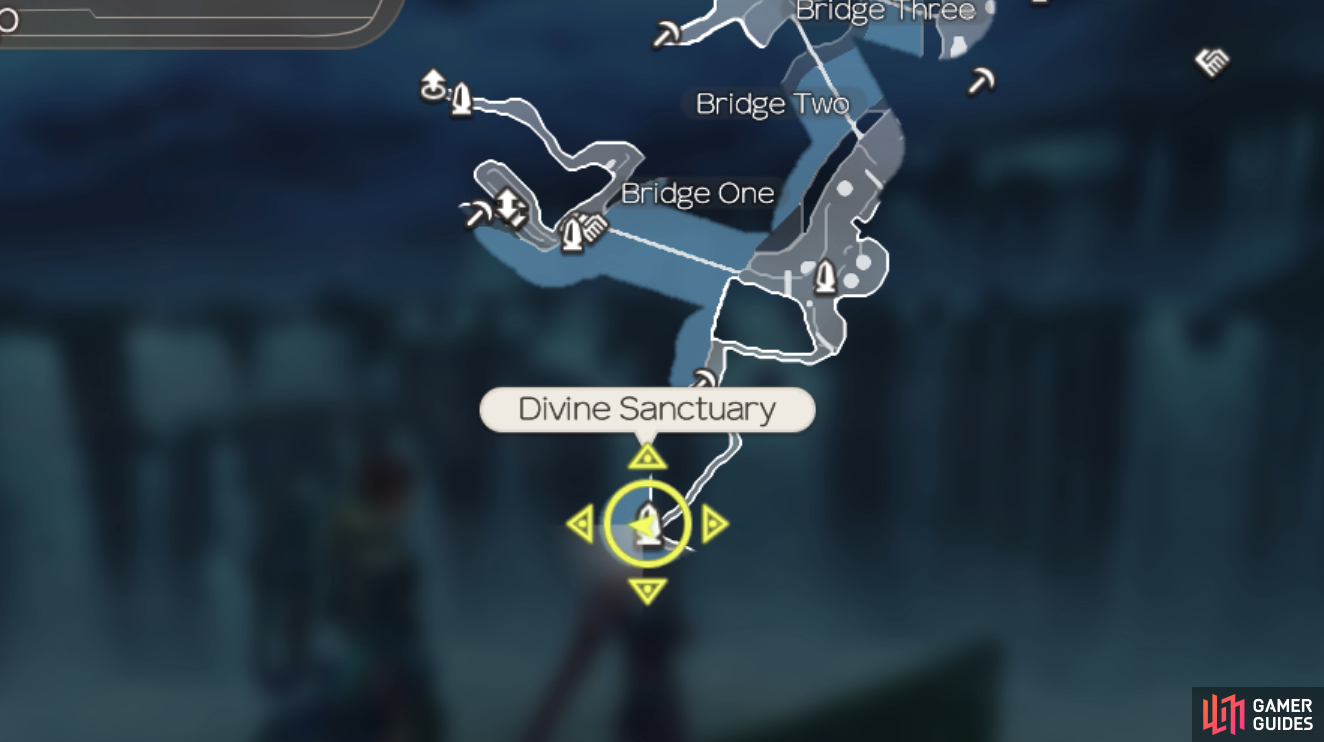
location of Secret Area, Divine Sanctuary
Continue north from here and head towards the next rope bridge to unlock Bridge Two before taking it over to the other side and head west to find an Earth Ether Deposit before heading east back down the slope and taking a look at the nearby tree to find a glowing red sphere, head over to it to obtain an Ancient Document, an item needed for later. Continue along to the east and use Bridge Three to return to the other side and then continue forward to the eastern wall here to find a cave, unlocking Sap Cave which contains three Algora Saps. If you climb the slope above the cave, you’ll find a Wind Ether Deposit and then continue on to the Story Flag to trigger a cutscene.
Mystery Girl Rescue
The girl seems to have Ether deficiency and in order to help her, the group will need to locate some Water Ether Crystals, a task that Shulk opts to take on alone. This is easier than it may sound and thanks to unlocking the Lakeside Landmark earlier, you can simply warp on over and collect the Crystals to complete the Quest and trigger a cutscene.
Once you regain control, you’ll find yourself in battle with three Lv 28 Purea Telethias and you’ll have Alvis for company. Once again, this battle is nothing more than a tutorial for your new Monado Art, Monado Purge. This handy Art will allow you to remove Aura’s from enemies (unless they resist Purge which is rare) and prevents them from activating it again for a short while. You’ve seen Auras a few times on some of the bosses and Telethia enemies have a particularly nasty one, Soul Read which will allow them to read your attacks. As such, it’s vital you activate Purge on them before you begin their assault on them.
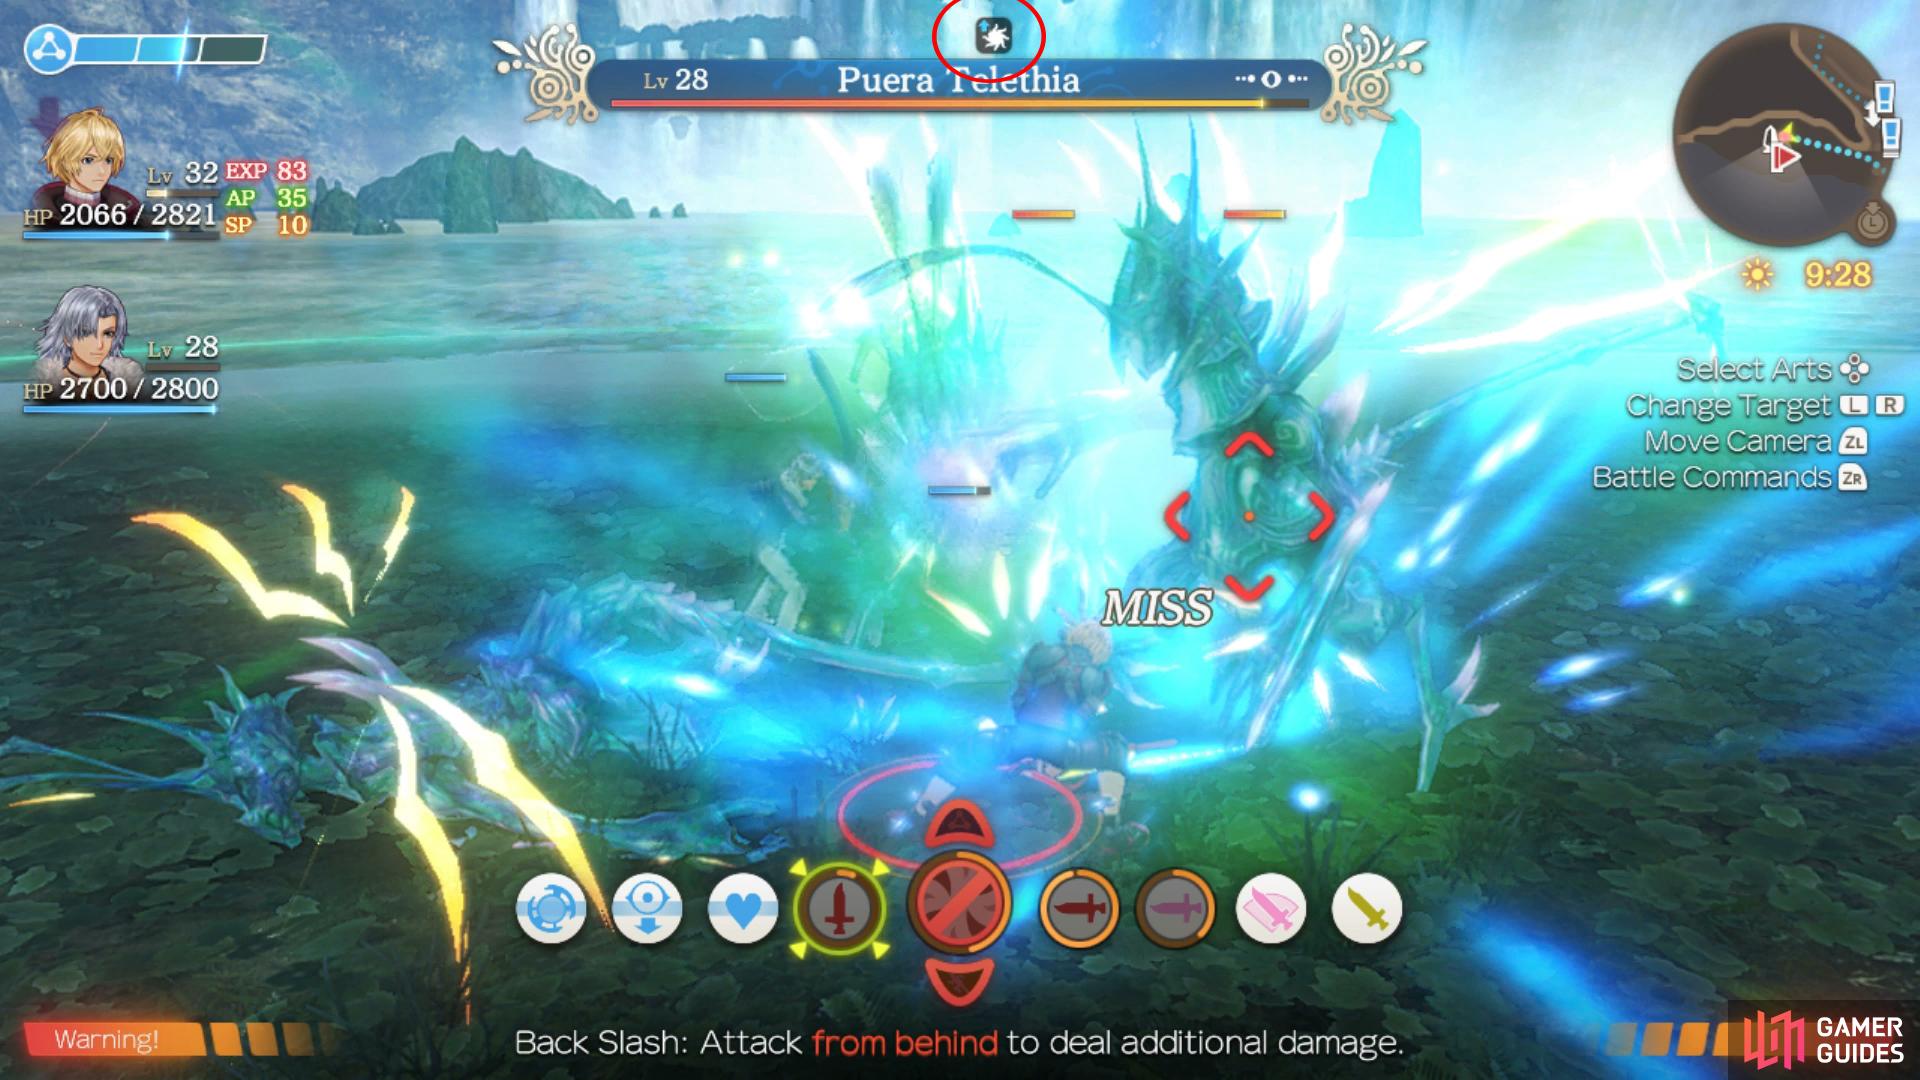
Watch for when the Telethias use Soul Read
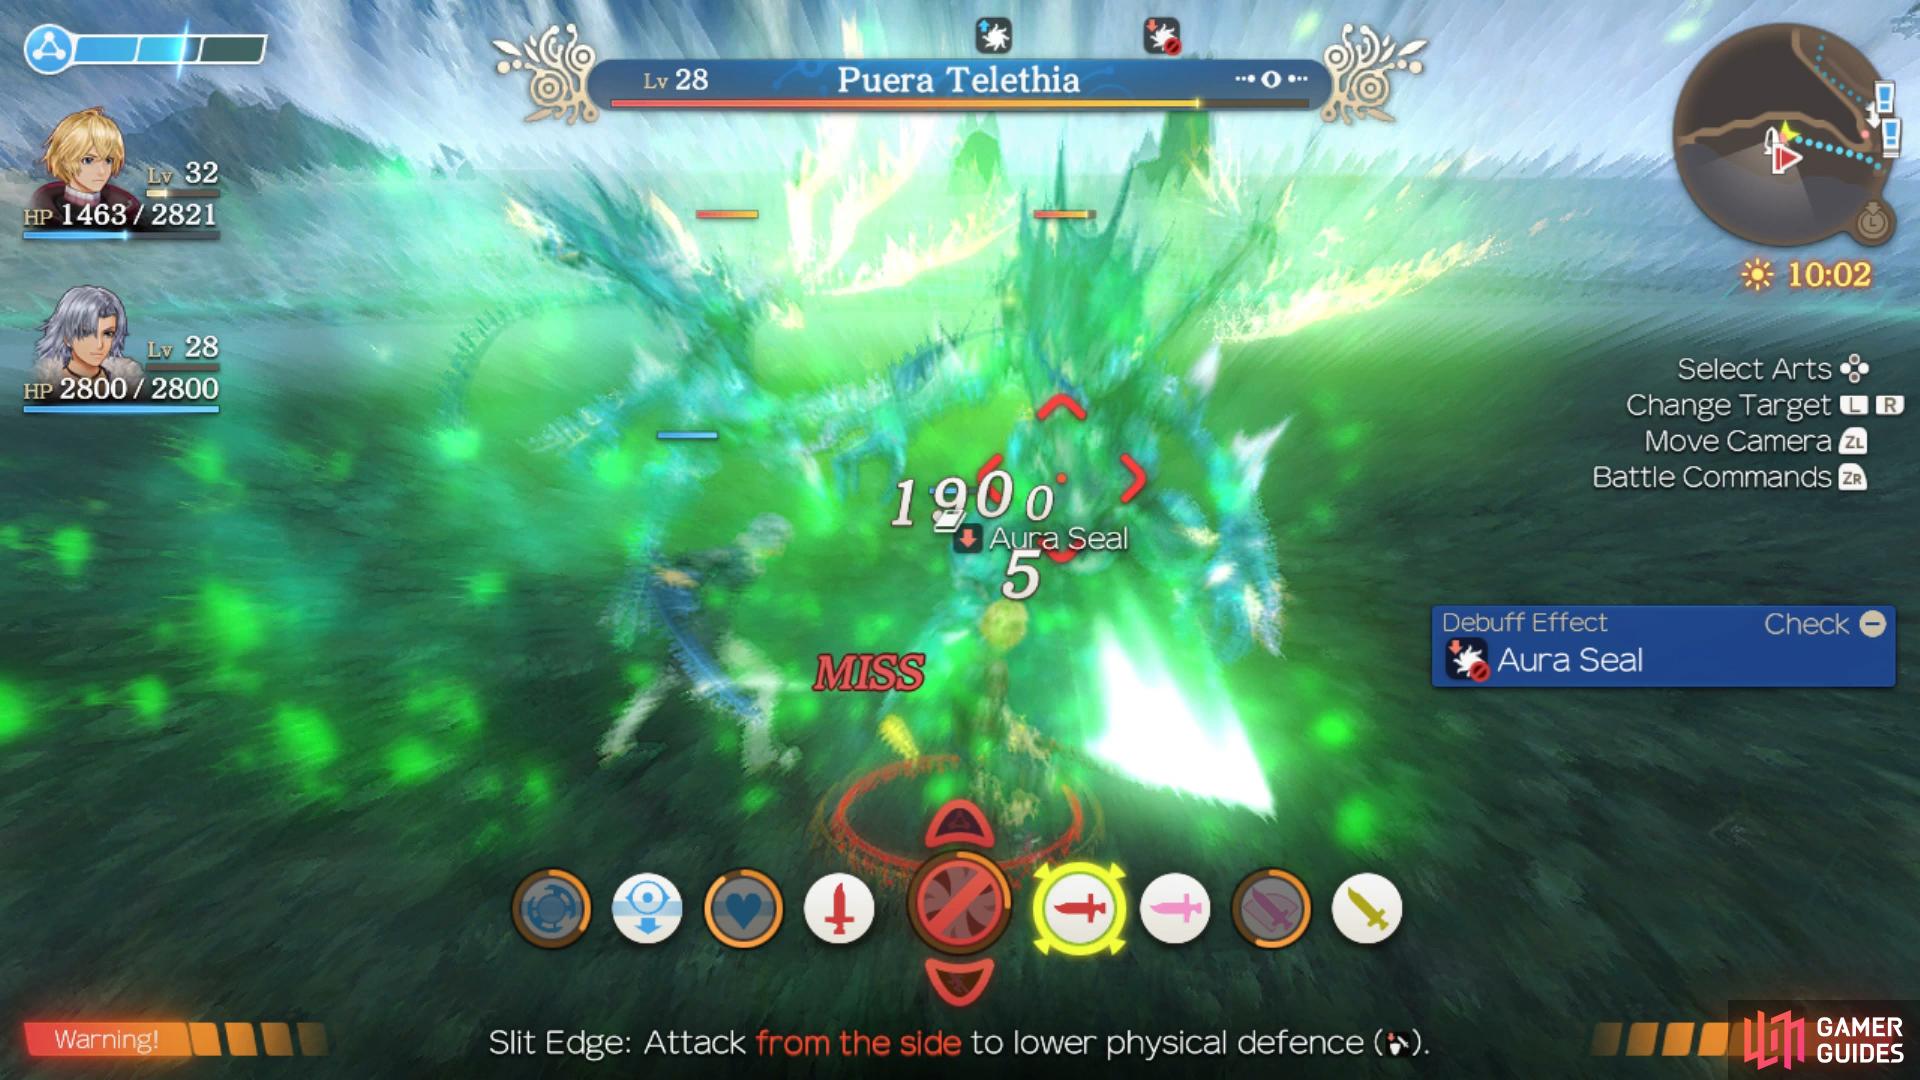
then activate Monado Purge to remove the Aura.
Alvis himself is a useful ally and you won’t need to worry about him but still focus your attacks on one Telethia at a time to take them down easily and trigger yet more scenes. Once you regain control, Melia will join the party and you’ll gain a tutorial on Spike Abilities. Essentially, whenever you see a target name with spikes in it, it indicates that an enemy has Spikes active. These can range from debuffs when you strike it, damage reflected back or even worse from just being close to them. You can remove these however with your newly acquired Monado Purge Art or reduce the damage with a Spike Defence Gem.
Melia is a rather unique character and a proper explanation on what she can do is in order. Melia has many unique Arts not found on any other character such as inflicting debuffs and Damage over Time (DoTs) effects, what makes this even more unique is that DoTs don’t generate Aggro, allowing her to really pile on the damage without worrying about Aggro. She starts of rather weak and it’s not until she gains both Summon Earth and Summon Ice where she truly gets powerful. She’s the strongest Ether user in the game and her playstyle revolves around summoning Elementals for Buffs and then discharging them for damage and DoTs.
The catch with Melia is that the AI doesn’t do a good job of handling her, making her almost a bad idea to put her in your party. When controlled however, once you learn her unique playstyle, she’s arguably the most powerful character in the game. It’s up to you whether you think that trade-off is worth it however if you’re currently running Shulk, Reyn and Dunban as your party, consider dropping Shulk due to the fact that his AI is also on the rough side. For now, it may be better to bench her and let her soak up Quest EXP until you unlock Summon Earth.
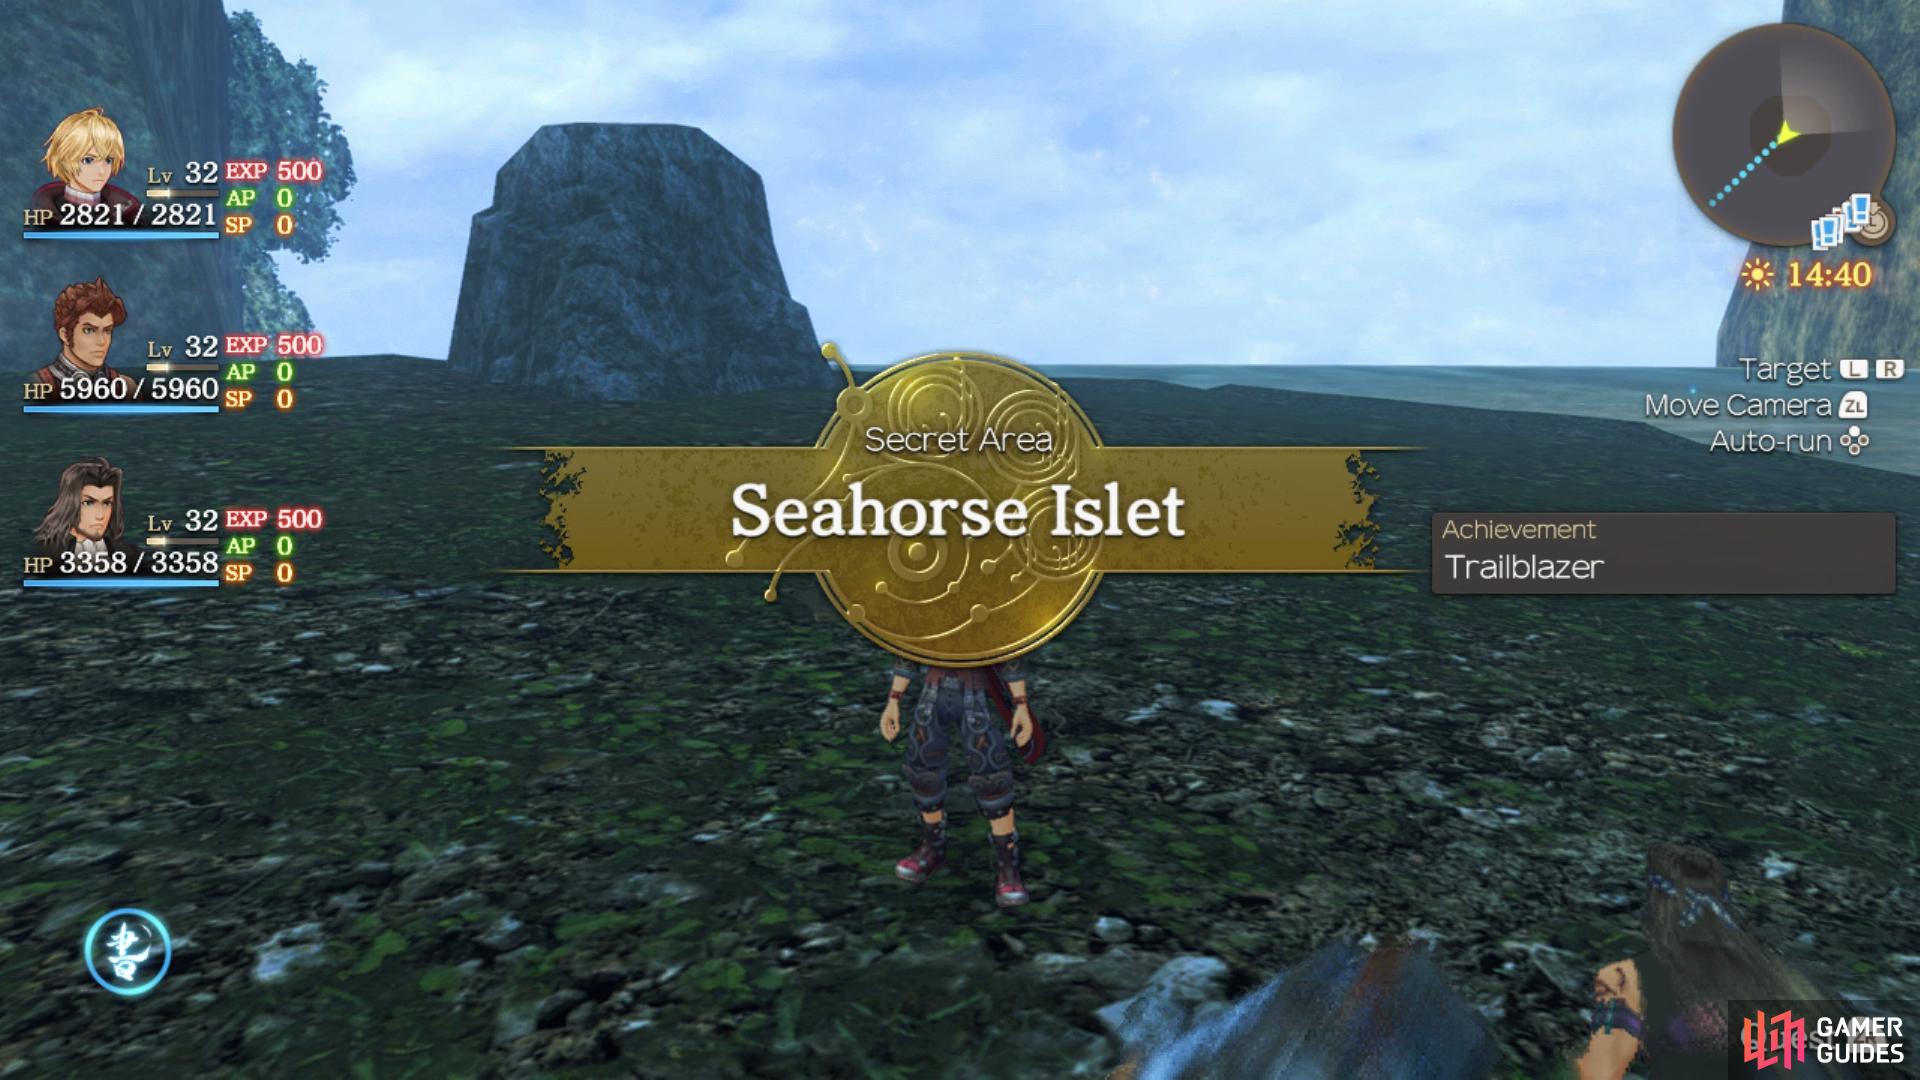
Whatever the party you decide to go with, head west along the northern edge until you reach a broken bridge. You won’t be able to do anything with it for a while but leap into the water below and swim all the way to the northeast to unlock the Secret Area, Seahorse Islet. Return to Nopon Arch and follow the path east until the area opens up, allowing you to go north or east. Continue east to unlock Eks Watering Hole and then make your way far to the south by taking the tree up from the pool of water and you’ll eventually unlock another Secret Area, Sparkling Pool where you’ll find another Heart-to-Heart to register.
Follow the stream all the way to the northeast to reach Seahorse Islet
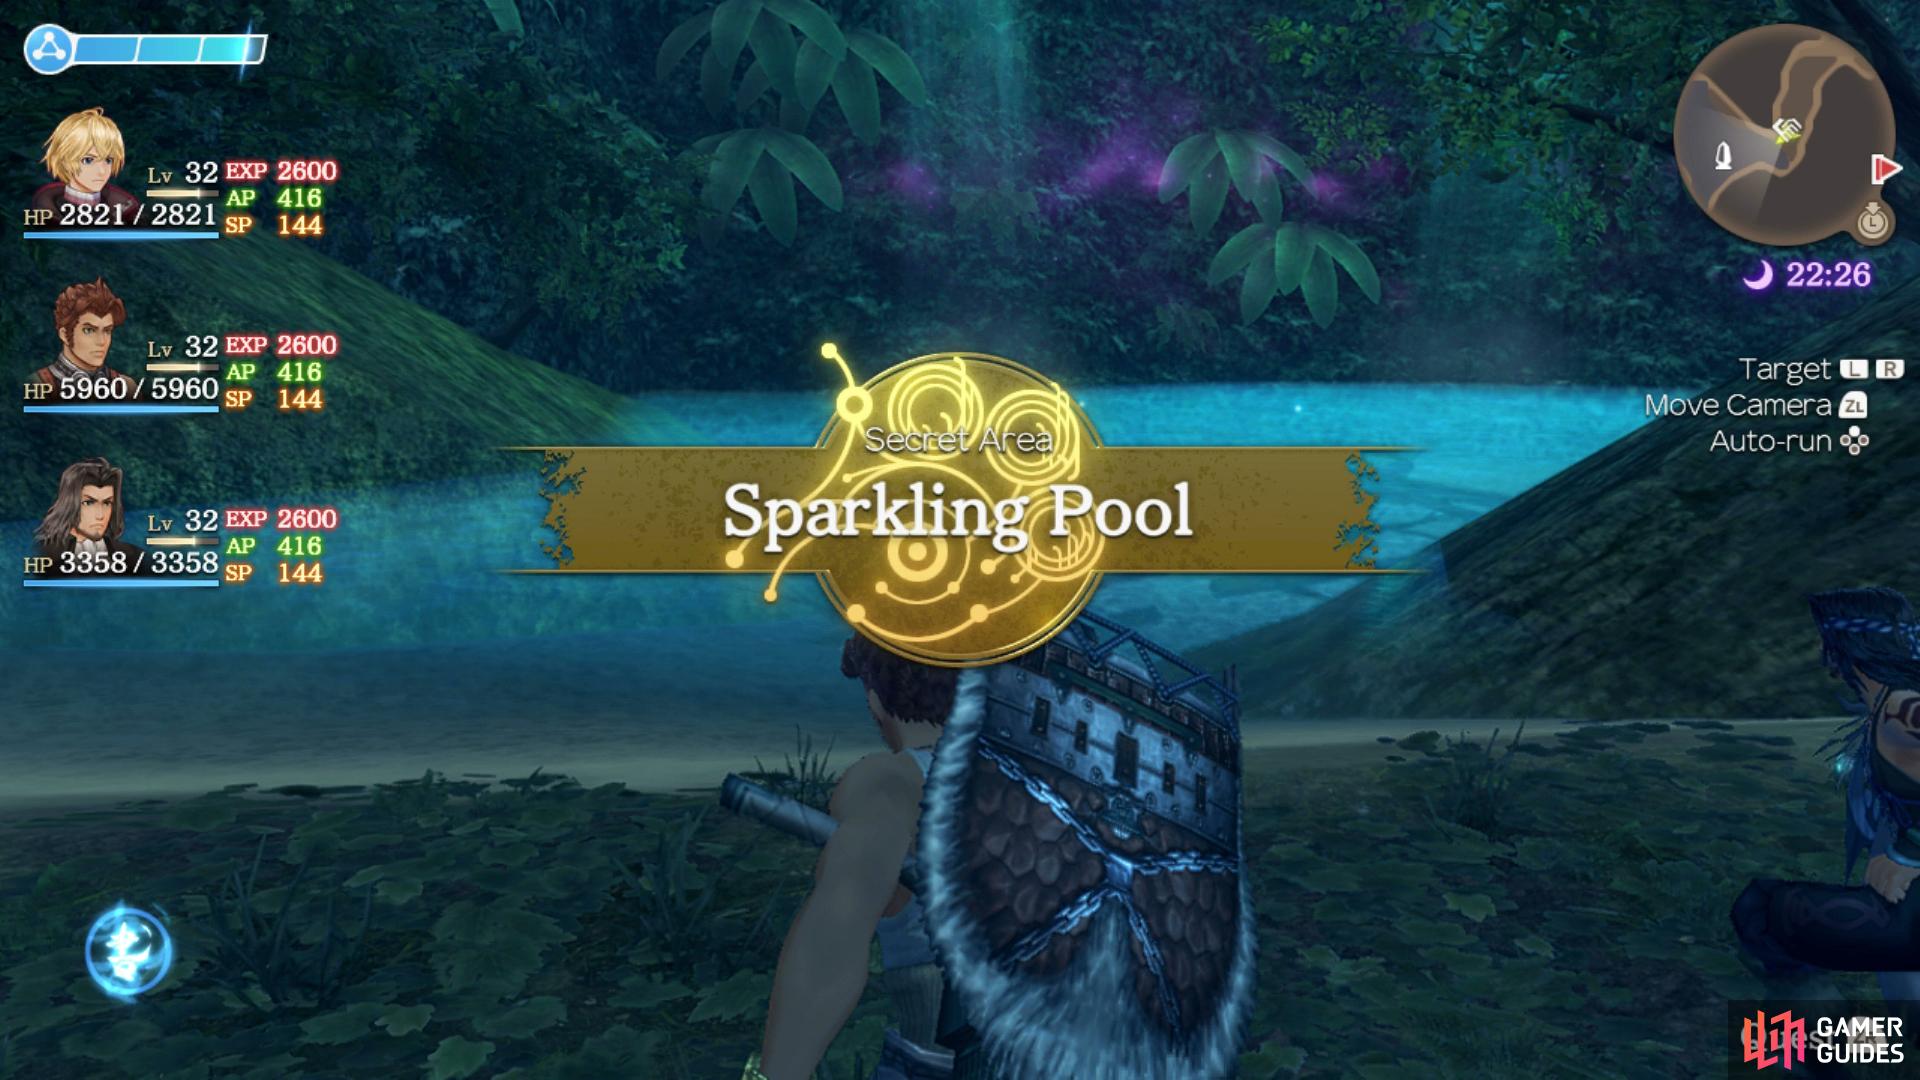
head south from the Eks Watering Hole to locate Sparkling Pool.
Return north and head east now and then as soon as you can, take the slope to the north back up to the west to find a Heart-to-Heart to register and an Earth Ether Deposit to plunder. Head back down the slope to the east and unlock the Twisted Tree Gate Landmark and then climb the nearby ramp to reach the upper path. Follow this path south to reach the Village Entrance Landmark, your next objective but ignore it for now and head east across the bridge and then south as there’s more to explore still. Continue to follow the bridges, sticking to the southwest wall as much as possible and you’ll eventually head back down, unlocking the Windmill Pavilion in the process.
Continue to make your way down to the southwest here and you’ll unlock Abyss Basin. Return to Windmill Pavilion and this time head east across the stream and you’ll come across Glowmoss Trihenge. Follow the stream to the north from here and eventually it’ll open up, allowing you to unlock Clear Waterfall to the northeast. Follow the path around to the east, leading south and you’ll unlock Yellow Flower Grove followed by Decayed Forest to the far east where a Fire Ether Deposit awaits. Continue along to the southwest here and you’ll find a rocky bridge that extends over the large expanse below unlocking Precipice Bridge. That’s everything that you can achieve in Makna Forest right now so warp back to Village Entrance and head towards the Story Flag to trigger a cutscene and enter Frontier Village.
No Comments