


More Questing in Gran Dell
Back in Gran Dell, the party has a renewed objective, to track down a high enough concentration of Ether to use against the Fog King. Before you set off on that however, a whole new set of Quests has opened up for you and now is a good time to take care of them. You’ll find Quests to accept in Gran Dell, near Cragmaw Caverns and the Old Expedition HQ so be sure to accept them all and get working on them.
Hook, Line and Sinker
Vredda can be found near the Grand Arch in Gran Dell. She asks you to collect some materials for her so that she can make a new fishing device. She needs 3 Snare Wires and 3 Half Parts. Both are collectables found across the Bionis’ Shoulder. Once you have the parts, take them to Vredda. She will then give you the Katchafish DX to give to Bartholomew. Bartholomew can be found on the bridge near Heroes’ Rest, south of Prayer Rock. Giving Bartholomew the new device will complete the quest.
Rival Hearts
This quest can be picked up once you have witnessed the events at Teelan’s Laboratory. Ardred, who is found near the Gran Dell Approach, has asked that you find someone who can make a ring for Winnie. Speak to Qarz, who is located near the Grand Arch. He will make a ring but he needs one Brightite. This can be found near the entrance to Zekr Marga Quarry in the Forbidden Hushland. Once you have retrieved it, return to Qarz so that he can make the ring. Then, to complete the quest, you’ll need to give the ring over to Ardred.
Steady on, Grandad!
To access this quest, Shulk must be the party lead. Miles can be found between Gran Dell Approach and Grand Arch. He asks you to collect a First-Aid Kit. Head over to the Junks to acquire one. When you reach the Junks, you’ll discover that the first-aid kit has gone missing. Your next objective will be to look for the person who took the kit. The person in question is Sorthas, you’ll be able to find him in a tunnel to the south in Nerthis Necropolis. When you approach him, you’ll be given two options in the dialogue. You can pick whichever option as the outcome and rewards are the same. He will give you back the first-aid kit and you can return to Miles in Gran Dell to complete the quest.
The Junks First-Aid Kit has gone missing!
Sorrow
Nestinor wants to place some flowers at a grave at Heroes’ Rest. He asks you to fetch him 3 Dawn Smiles from Lamentation Ridge. To get to Lamentation Ridge you’ll have to fast travel to Xen’s Thoroughfare and then walk north until you reach the ramp that takes you up to the ridge. The Flowers you need to collect are right at the end of the ridge, so you’ll have to walk up for a bit. One of the flowers is also guarded by 3 Kromar enemies that attack on sight, so you’ll likely have to fight them. When you have all 3 flowers, head over to Prayer Rock and swim to Heroes’ Rest, where you’ll find Nestinor standing near a grave. Speak to him to complete the quest.
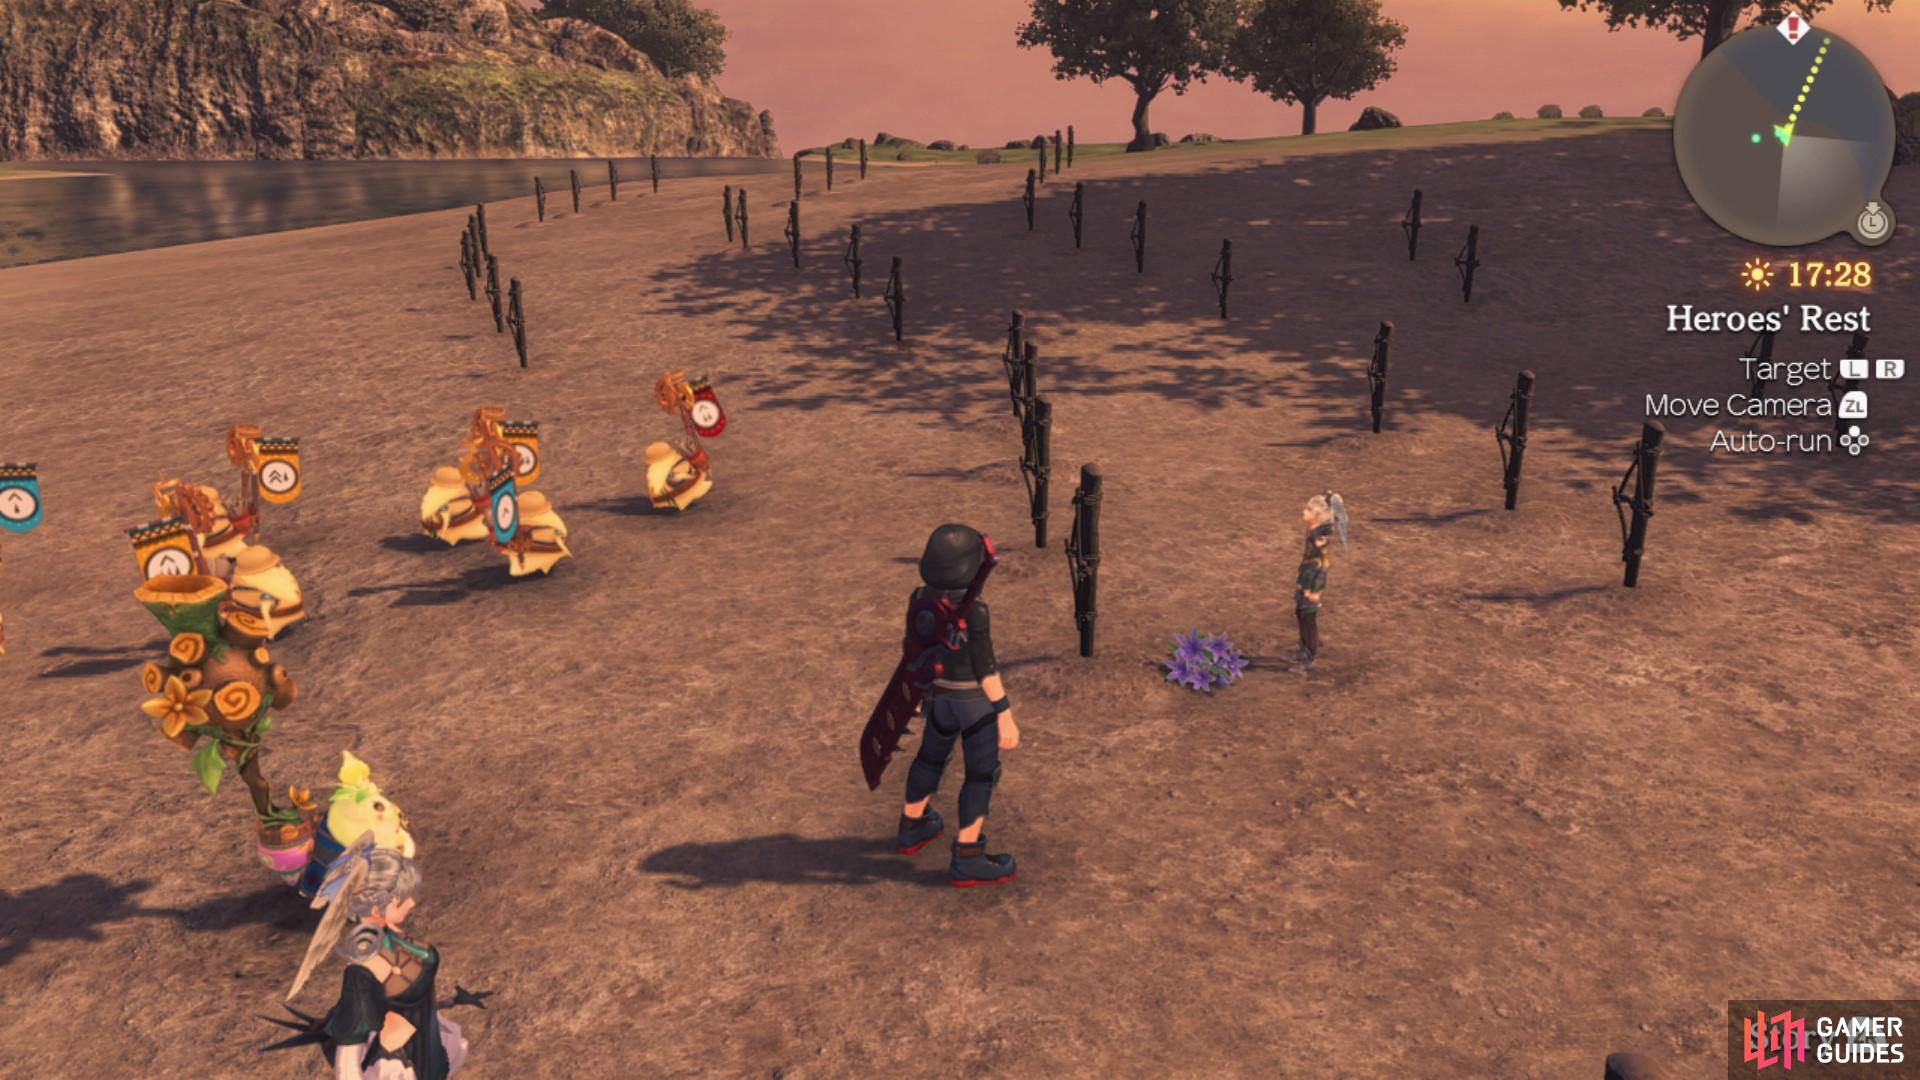
Nestinor will place the flowers at a grave at Heroes’ Rest.
Shoulder Survey Snaps
Melekanze can be found near the Old Expedition HQ, east of Quarry Colonnade. Shulk must also be party lead in order to pick this quest up. Melekanze will ask you to take a photo of a Glow Deinos and a Dozy Eluca. The Glow Deinos is in the Forbidden Hushland and the Dozy Eluca is nearby the Abaasy’s Dorsum landmark. To take a photo, all you need to do is get into range of them and a cut scene will be triggered. Return to Melekanze when you’ve taken both photos, to complete the quest.
The Dozy Eluca is found near Abaasy’s Dorsum
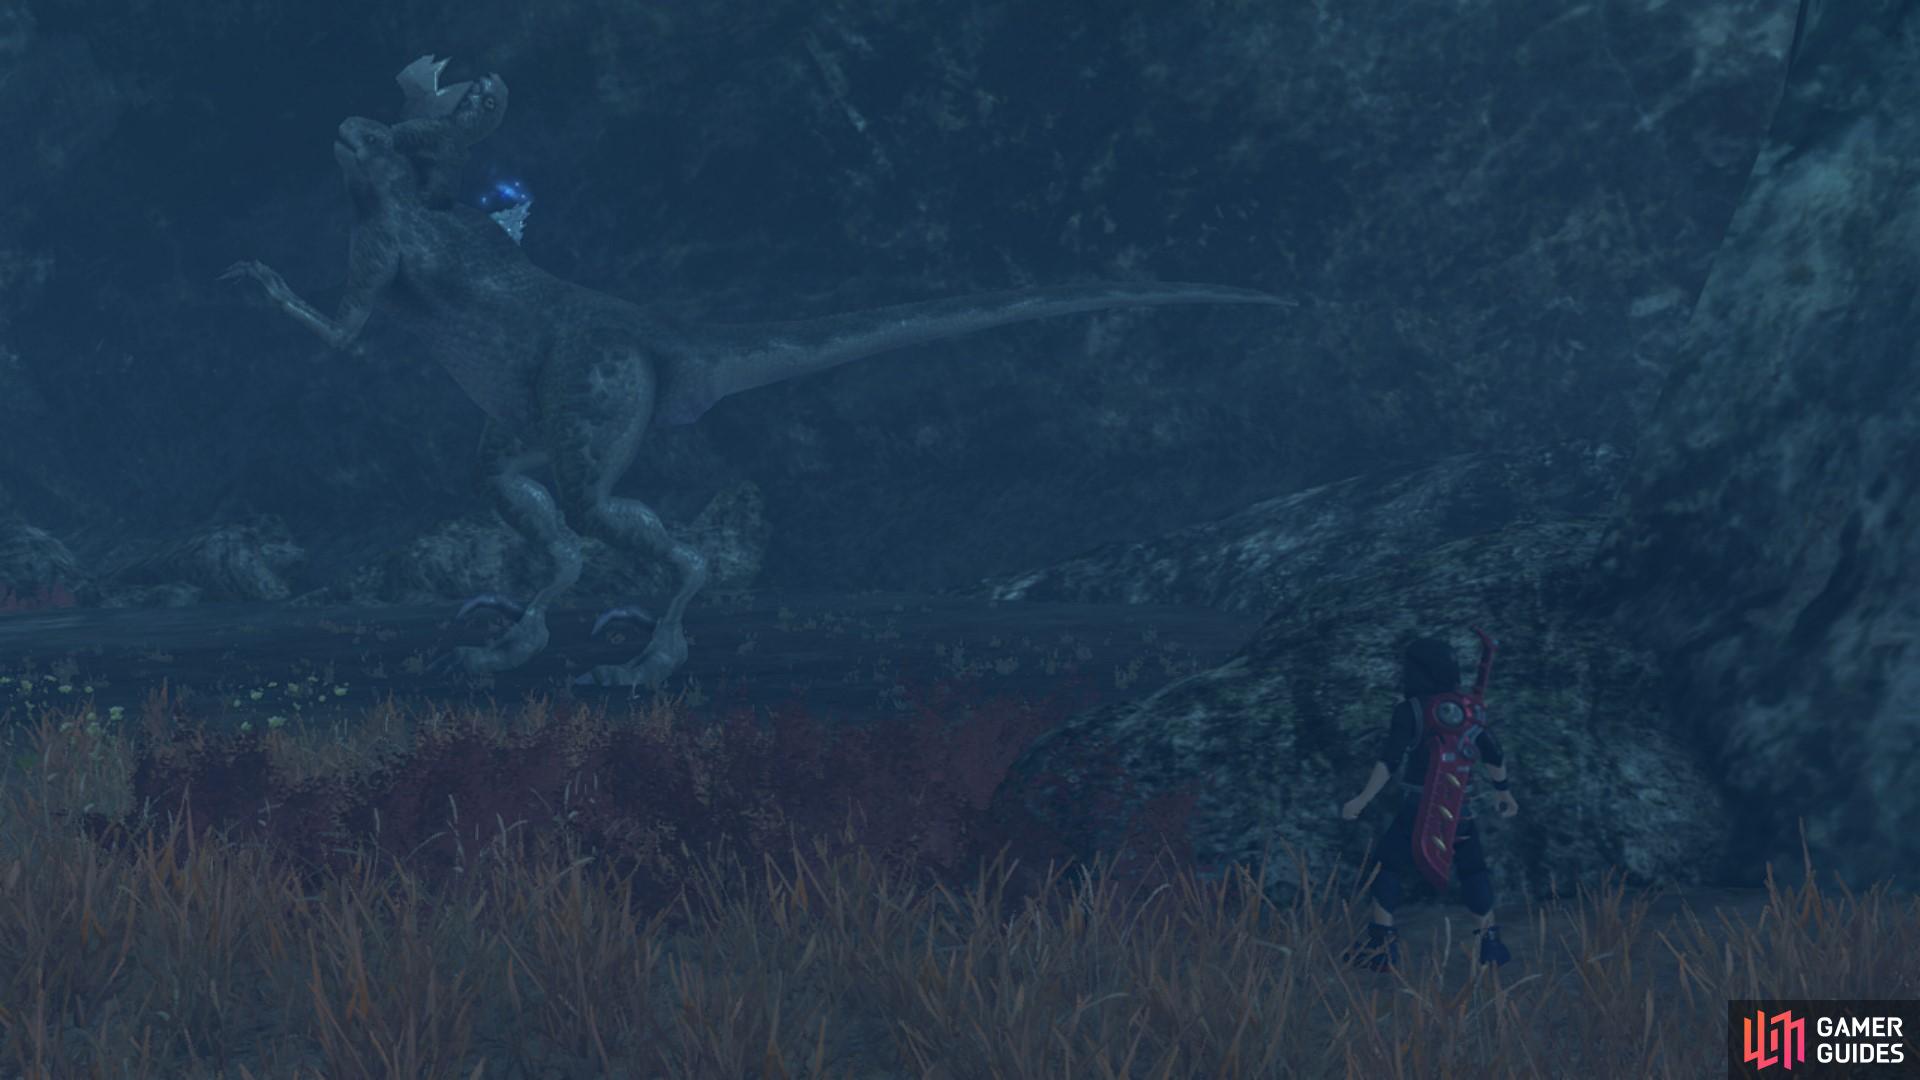
and the Glow Deinos is in the Forbidden Hushlands.
Secure the Area
You can find Mithril on the banks near the Junks. He asks you to help him secure the area surrounding the lake. Your task is to take out 3 Clamouring Paguls that are on the south shore from the Junks. Once you have defeated those, head back to Mithril to complete the quest.
Brace for Friendship
After you have completed Sorrow, you’ll be able to pick this quest up from Angela. Kino must be the party leader, though. Firstly, she will ask you to collect 5 pieces of Elastic Ivy, which can be found nearby Thulles Way. When you return them to her, she will then ask you to fetch her 5 Sparkle Stones from near the rocks by the lake that Junks is currently in. When you have all pieces, you can return to Angela to complete the quest.
That’s all you’ll be able to complete for now (the final Ponspector Quest deals with the highest level enemy in Future Connected) so make your way to the Gran Dell Approach Landmark and speak with the Gran Dell Militia there to learn that someone at the Ramparts might know more. Head on over and speak to the High Entia stationed on the wall (near the tower housing the Giants’ Trove) to then learn that Sarja near Heroes’ Rest may know more so go to the southwest of Gran Dell to find and speak to her. Head back to Radzam at Gran Arch to give him your findings and learn of a place to begin your search.
You’ll now have to make your way to the Zekr Marga Quarry and if you’ve been following this walkthrough, you’ve already been there so simply head to the Marga’s Weeping Landmark to conclude the search. If you haven’t been there yet, you’ll have to take the path northwest from the Thulles Way Landmark and follow the lower part of Bionis’ Shoulder all the way to the west. Once you reach Quarry Colonnade, head inside and when you reach the western edge, take the southern stairs around to avoid the large group of enemies in the middle. From here you can see the large Ether Deposit, head on over to it to pick up the High Ether Crystal and then make your way back to Radzam in Gran Dell to trigger a scene.
Fogbeast Assault
Once you regain control, Gran Dell will come under attack again from Fogbeasts, ensure you’re at least Lv 71 and make your way to the Ramparts for another forced battle with a Lv 71 Fogbeast Laeklit Mammut. Like your previous encounters against the lesser Fogbeasts, this is not much different than a regular encounter. It does have the ability to use the Riot Aura that all Fogbeasts possess but this should be of little consequence due to the lack of supporting enemies. Focus on hitting it with Poison and Chill and then make use of the Union Attack should you need it.
With more Fogbeasts on their way, the party decides they need the aid of the Companions if Gran Dell is to hold them off. Make sure you’re fully prepared and then warp on over to Companions’ Cape for another forced battle. You’re up against a Lv 70 Antol King here and like the Mammut before it, this is nothing more than a regular encounter with slightly more HP. This time around however, it does have support in the form of lesser Antols so it’s Riot Aura will be a lot deadlier if you leave them on the field for too long. For that reason, focus your attacks on the lesser Antols first, making use of Summon Ice and Monado Eater to hit groups of them at once. Once you’re left with just the King, make use of your Union Attack and try to Topple it, alone it poses no threat.
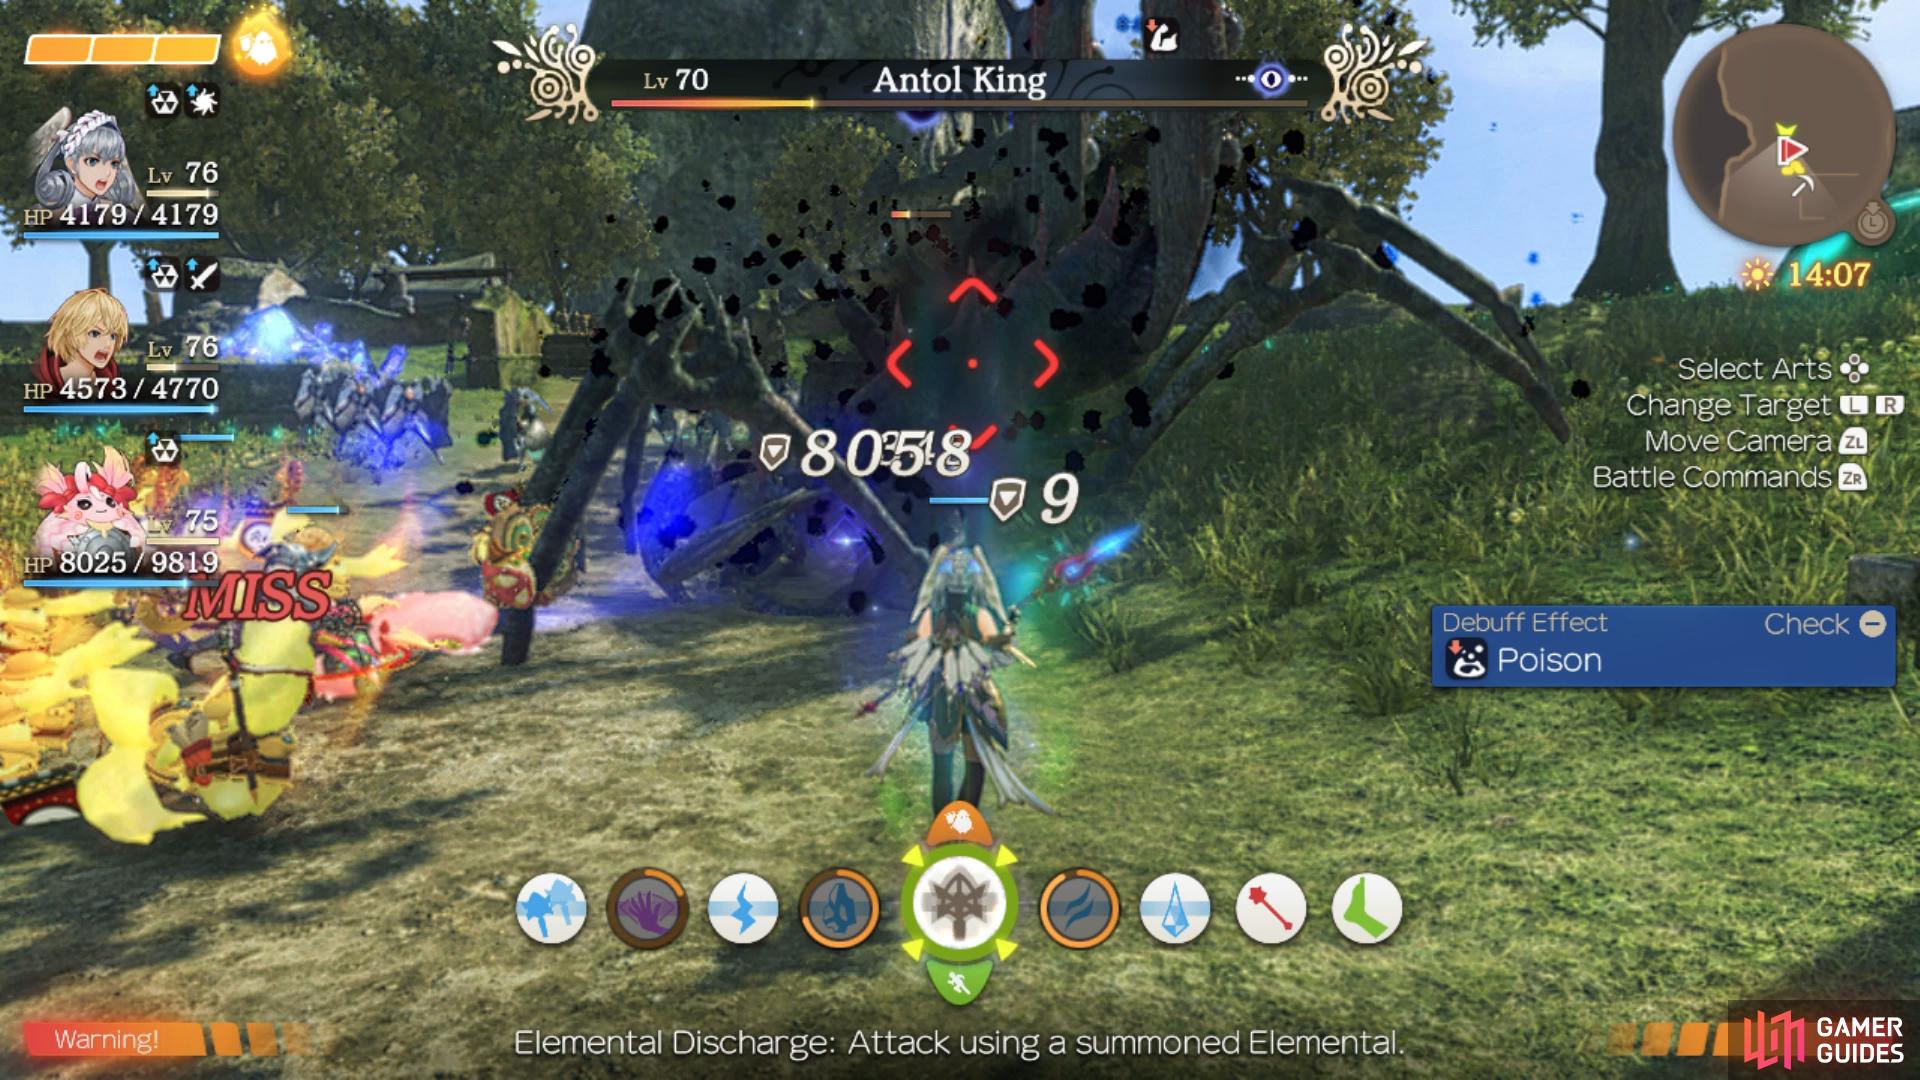
The Antol King should be a pushover
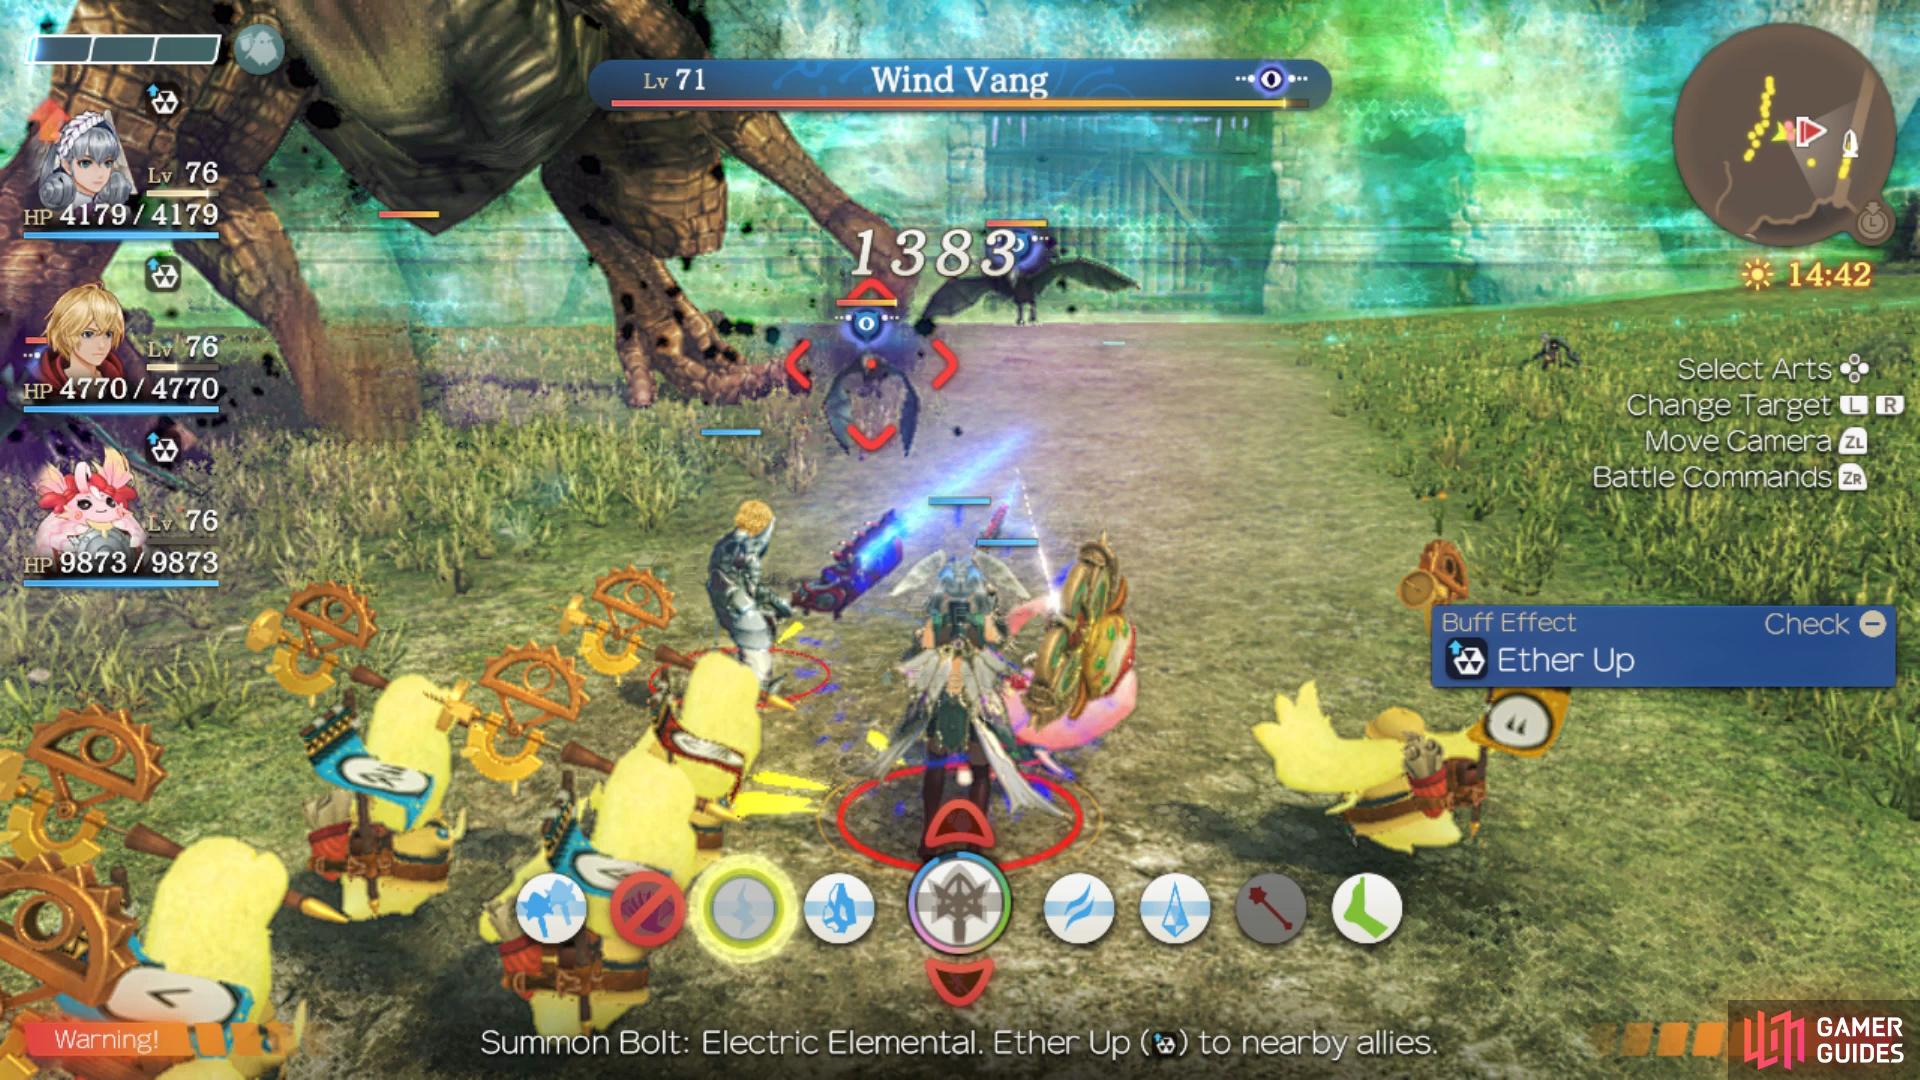
while the Deino Sauros is simple if you take care of the Wind Vangs first.
Once you regain control, ensure you’re around Lv 71-73 and then make your way back to the Gran Dell Ramparts for one final battle against the Fogbeasts. Your final target is a Lv 73 Fogbeast Deino Sauros and it be supported by Wind Vangs which should be your first target so that they’re not impacted by the Riot Aura. Once defeated, focus on the Deino Sauros using DoTs and Union Attacks. It’s a large monster but again, you’ve fought plenty of these by this point that it shouldn’t be too much of an issue.
Once the battle ends, more scenes will take place and once you regain control, open the map and take a look to see that the final set of Quests have now opened up so head inside and pick them all up to get started on them.
A Surefire Hit
Thad can be found near the Grand Arch in Gran Dell. He has a crush on Tyrea and wants to make a home-cooked meal for her to impress her. He needs 3 bunches of Cream Wheat, 3 Gentle Clams and 3 Angel Breams. Both the Gentle Clams and Angel Breams are collectables that specifically spawn on the lake near Prayer Rock. Cream Wheat is found in Halcyon Wheats fields near Agni’s Birthplace. When you have all of the collectables, return to Thad to complete the quest.
Sweetest Debt
Firstly, you’ll be asked to collect 7 Kilopumpkins, which are a collectable found across the Bionis’ Shoulder. Then, you’ll need to pick up the Sweet Cherry, which is located around Tranquil Tarn. After you have collected these you’ll need to bring them to the chef, Thad. But he will only make the cake once you’ve helped him out with his quest. After he has accepted your request, return to Arara to complete the quest.
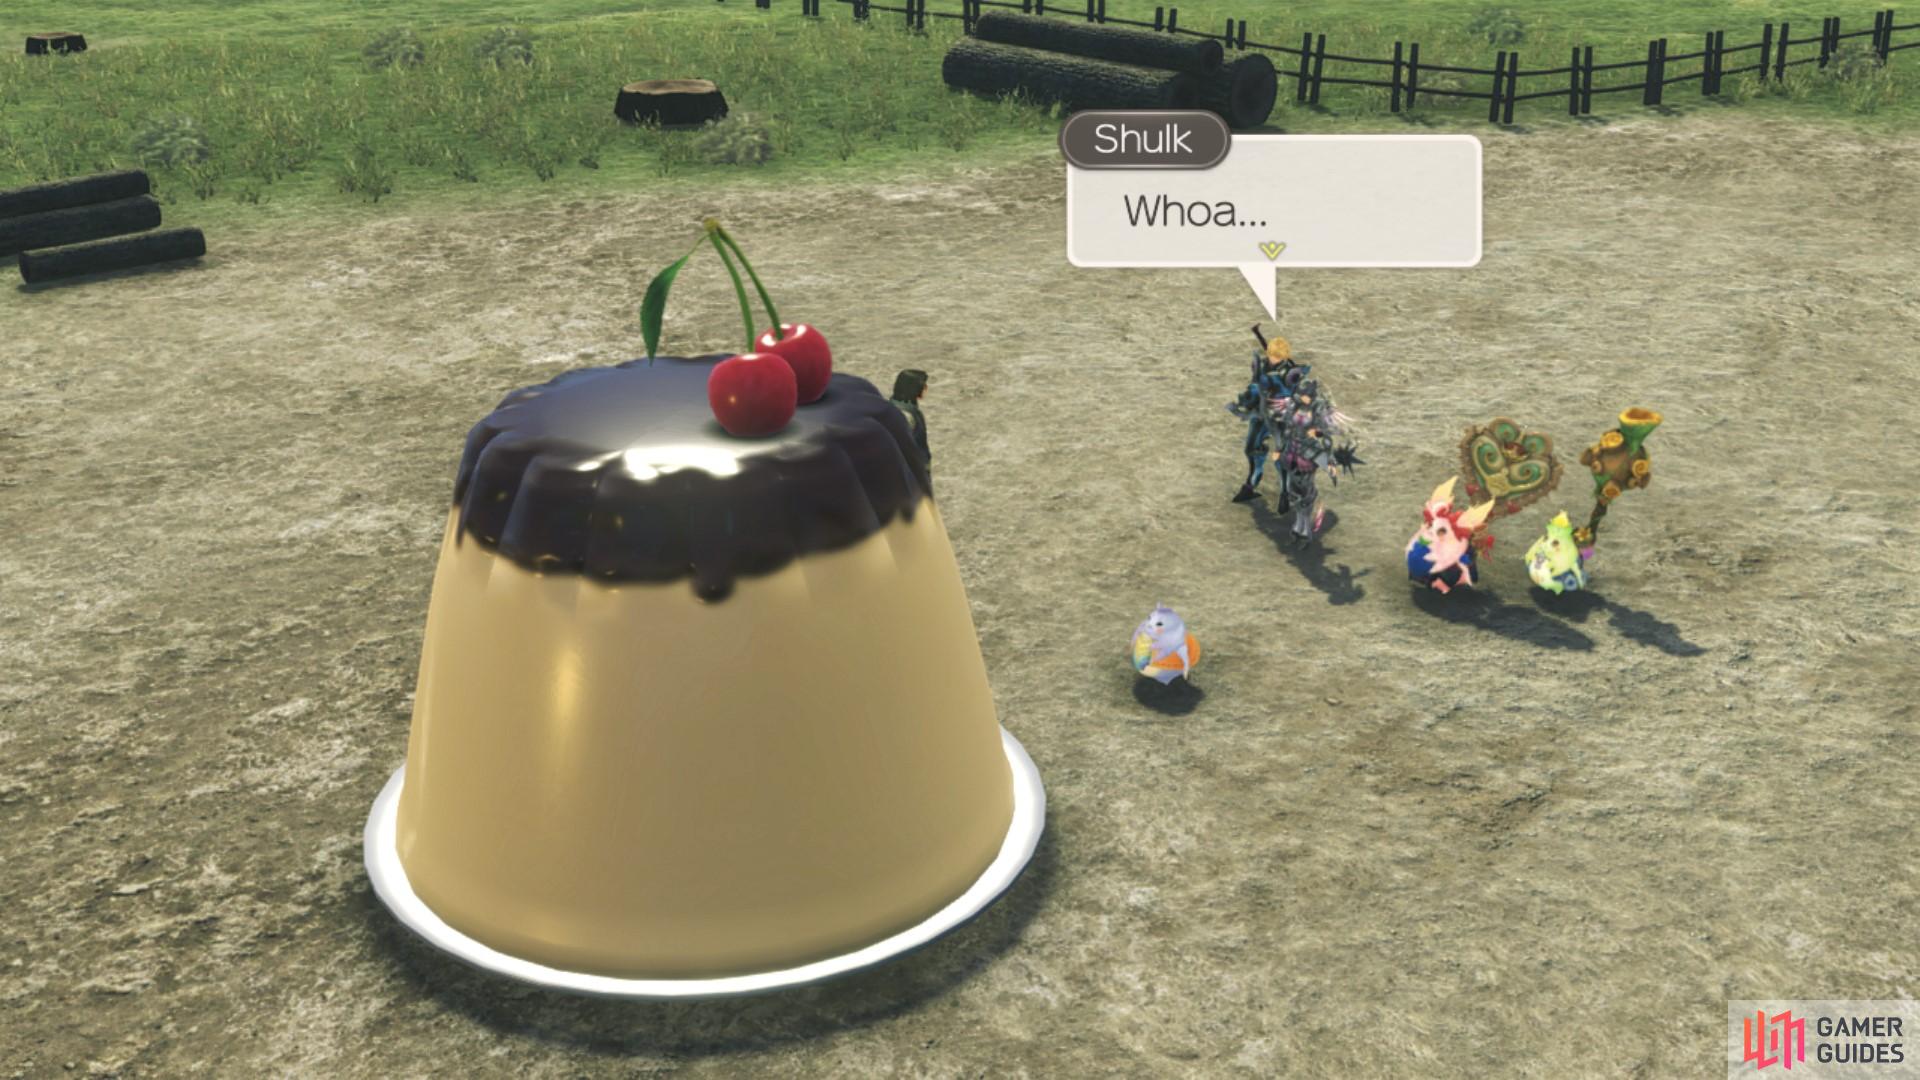
Arara eats this whole dessert in one big gobble.
The Quest for Radzamalt³
This quest becomes available from Radzam once you have witnessed the Fog Beast attack. Radzam can be found near the Grand Arch in Gran Dell. He asks you to gather 3 Glutton Herbs so that he can make his nutritional solution, Radzamalt³. You can find all 3 of the herbs in Agni’s Skygarden Ruins near the Old King’s Testament. When you have them, return to Radzam to complete the quest.
Stubborn Minds
Winnie, who is found near Gran Dell Approach. She will ask you to find both Ardred and Qarz at Zekr Marga Quarry. They are on opposite ends of the quarry, both at ether deposits. You do not need to fight any enemies in there, but do tread carefully as to not aggro any (if you don’t want to). When you have spoken to both men, return to Winnie to complete the quest.
The Fallen
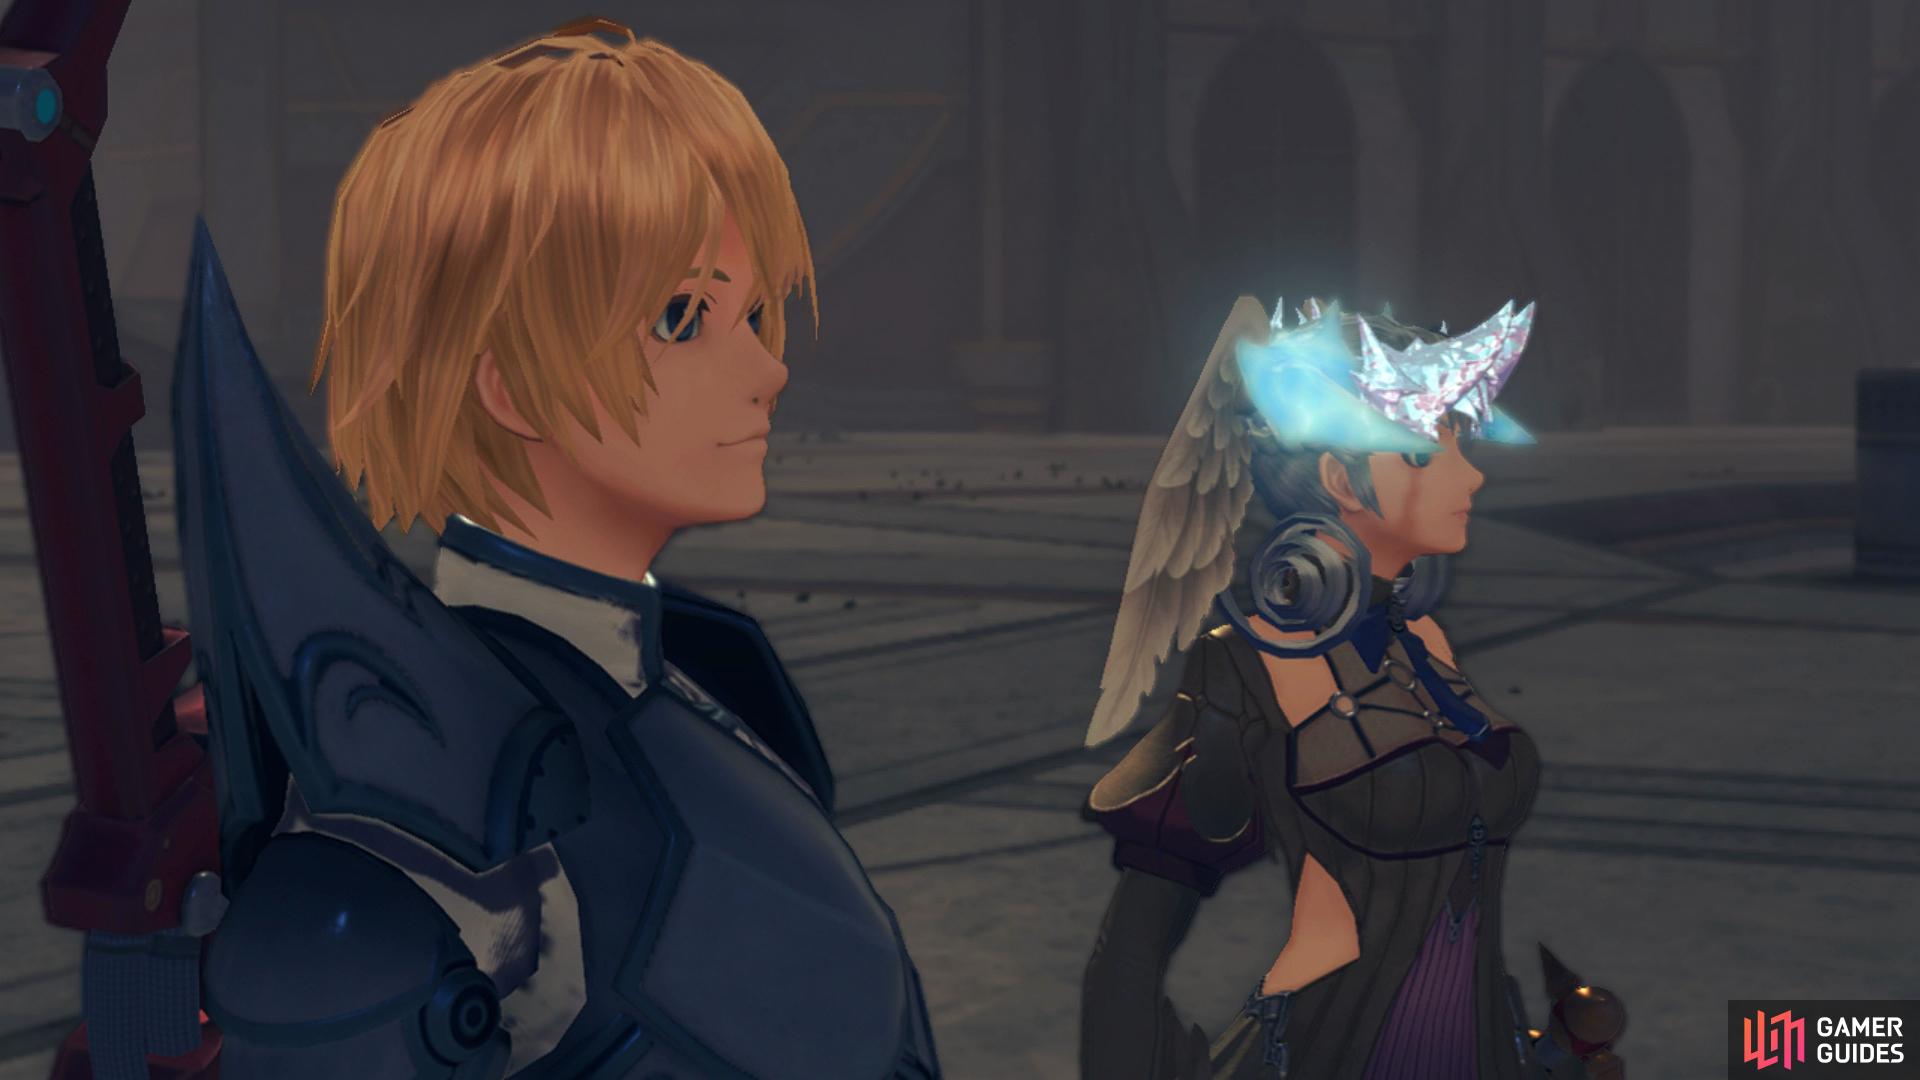
To access this quest, you must have completed a Brace for Friendship. Selene will give you a letter addressed to Melia, telling her to meet the note sender at Companions’ Cape. You’ll have to walk all the way south from Companions’ Cape to the cliff’s edge to meet the mysterious note sender. The mystery letter sender turns out to be Gael’gar, who lures you there to defeat you. You will have to once again fight him, though this time he is referred to as Resentful Gael’gar. When you have defeated him, speak to him again. The quest completes automatically after Gael’gar takes his own life.
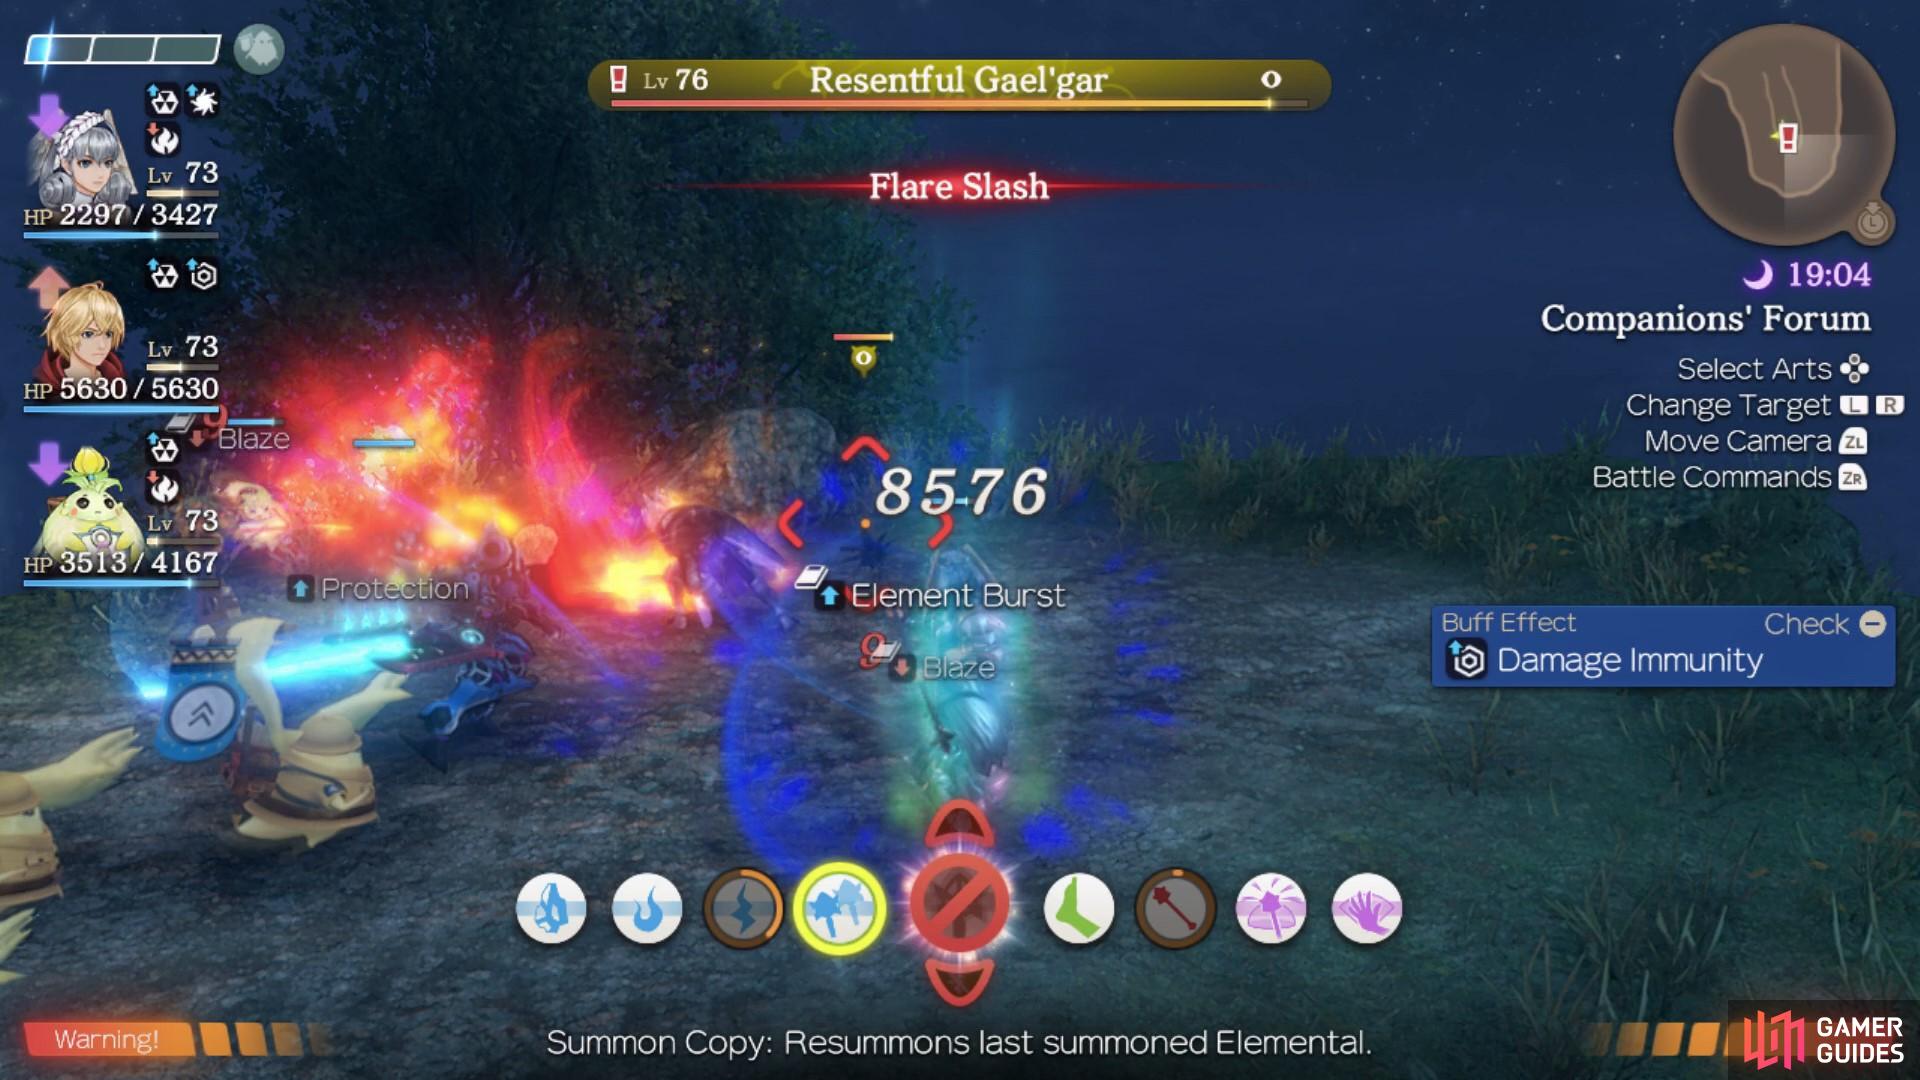
Gael’gar is rather…resentful?
Ponspectors Till We Cry
After you have gathered all of the Ponspectors, Wunwun will ask you to help them with searching for the treasure in the ruins of Nerthis Necropolis. Due to the quest being a good few levels higher than you likely are at the point of picking this quest up, it is recommended that you complete a few side quests and then return to this mission at a later date. The reason for this is because when you reach the treasure in Nerthis Necropolis, you’ll then need to fight the strongest enemy in Future Connected, who is the level 80 dragon, Prosecutor Davrum. This enemy is still weaker than the superbosses of the base game, however, you’ll need to gear up and plan your attacks in advance if you want to succeed. Here are some tips on how to battle the Prosecutor Davrum.
-
You’ll want to have Shulk as your party leader so that you can use Monado Shield and Armour as frequently as possible. Both will go a long way in protecting you from being damaged too much by the enemy’s constant spike attacks.
-
You’ll also want to consider having Kino in your main party for this quest, as his heals really help counter the enemy’s spike attacks.
-
Building up the party gauge to activate a Ponspector attack is hugely beneficial to this fight. You’ll want to fill the party gauge in advance of entering the Dragon’s range, and you can do this by fighting the antols in the corridor prior to the treasure room. When you fill up the party gauge, use the red attack to deal massive amounts of damage to the enemy. You should be able to trigger 2 Ponspector attacks during this fight, if you’re successful (and 2 should be enough to defeat him too!).
-
Gems are also very important! Debuff Resist gems will be very useful, and you can obtain these from a few places. If you buy the full stellar armour set from the shop in Companions’ Cape, not only are they great for defence, but two of the items also come with Debuff Resist gems. The boots are particularly strong because they come with a Debuff Resist V gem. You should also have another Debuff Resist V gem from Poroporo’s quest, Lost & Found. Putting gems on Shulk’s Monado Replica EX+ will also be a huge advantage. Haste and Double Attack gems are very useful for getting in extra damage and more frequent auto-attacks. 2 Haste IV gems can be harvested from the large Ether Deposit near Marga’s Weeping in Zekr Marga Quarry. The Talent Boost gem is also a good weapon gem you may consider, since it means you can trigger Monado arts faster, meaning you can shield yourself from the damage more frequently.
Defeating the Prosecutor Davrum leads to the completion of this quest. The Ponspectors find some treasure that will stop them going bankrupt, and the Archaeology Centre is saved!
The Future Within Our Grasp
To activate this quest, Melia must be the party lead. Maxis, found in the square between Grand Arch and Gran Dell Approach, asks you to investigate why some people have been acting strangely as of late. Firstly, you’re tasked with speaking to Poroporo, who can now be found near the Grand Arch. He will then tell you to speak to Maxis again about a “mystery drink”. When you do so, you will trigger a cut scene that reveals the return of Bana the Betrayer! He will run off to Halcyon Wheats, and your next objective will be to chase him down. When you approach him in the fields, you’ll trigger another cut scene, which will then lead to a forced fight between your party and Diabolical Bana. The fight is not as challenging as the fight in the final Ponspector quest, but it will still be quite a tough battle. When you have defeated him, talk to Bana for a final time to complete the quest.
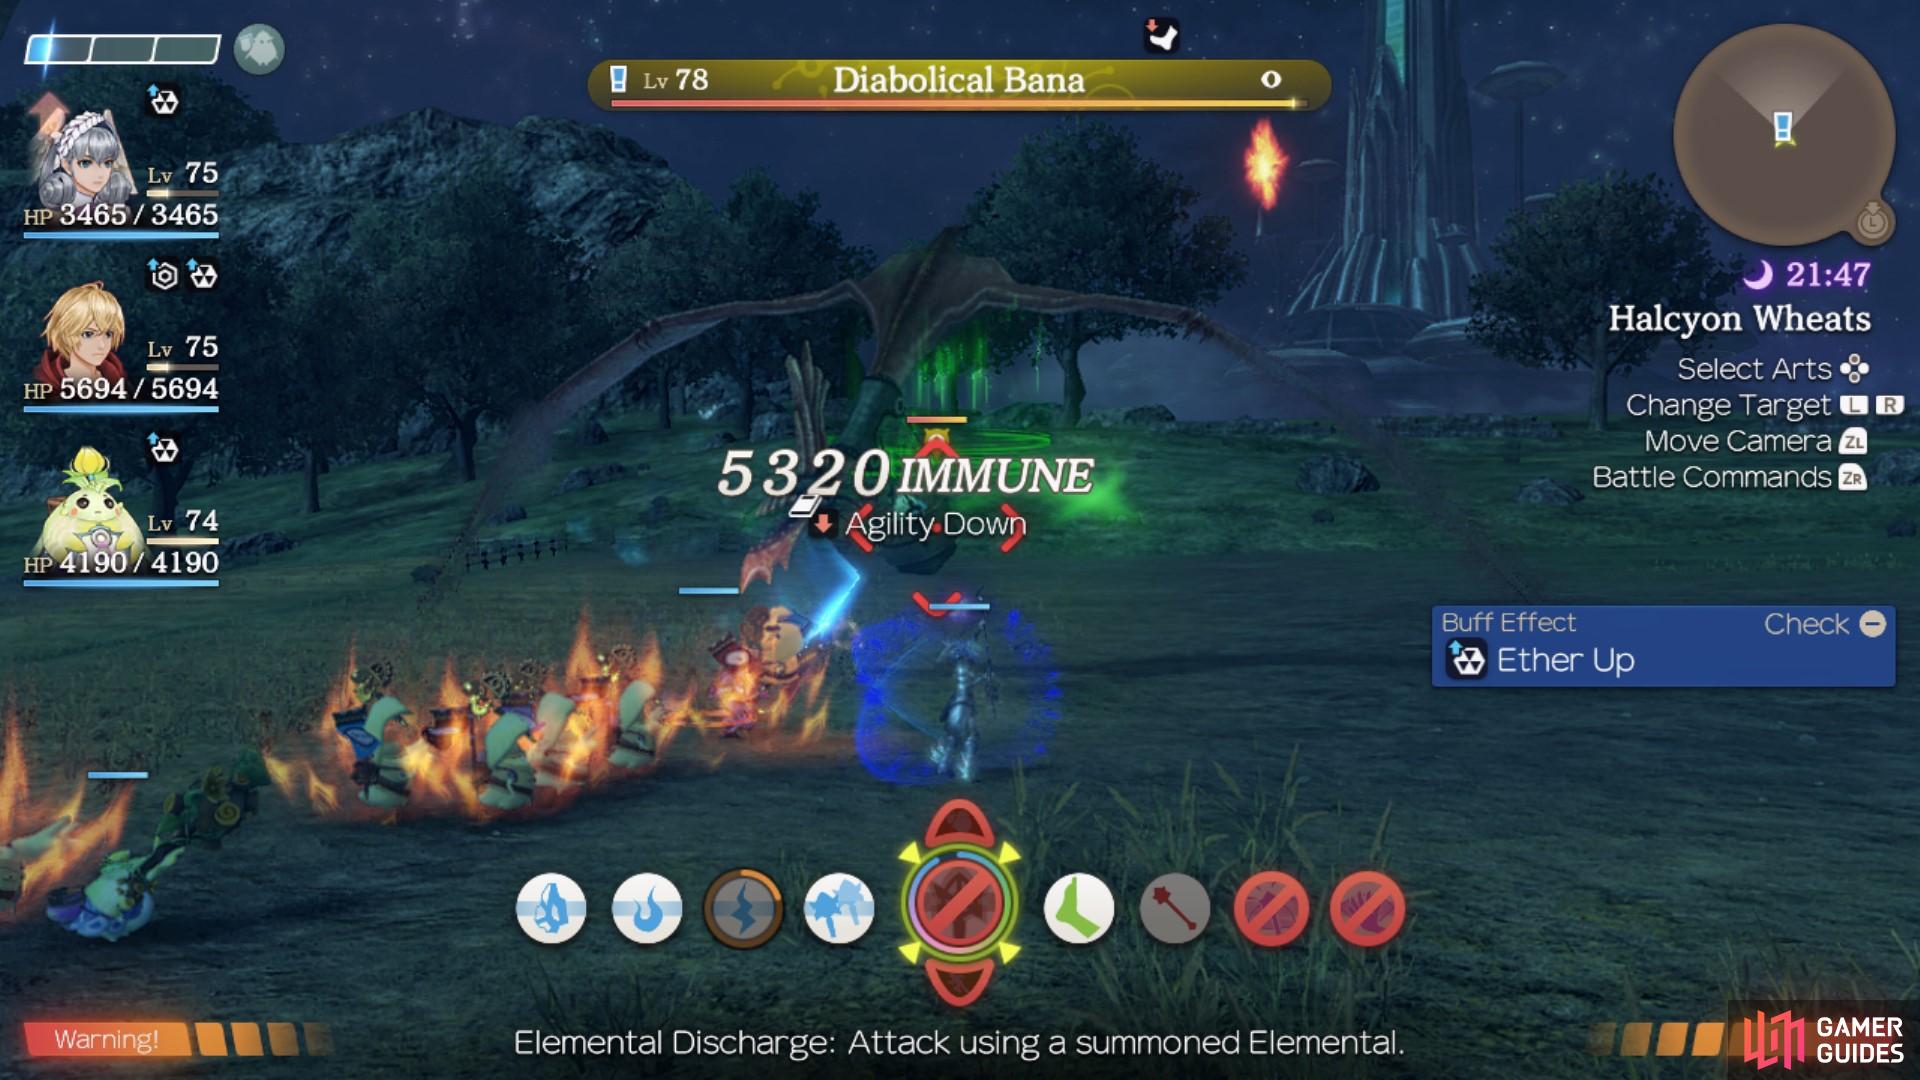
Diabolical Bana is out for revenge!
Final Preparations
With everything resolved on Bionis’ Shoulder save for the threat of the Fog King, it’s time to take care of that too. Before you go, consider taking the time to farm some Topple Resist Gems, these can be found by heading to any of the green Ether Deposits, especially the large one south of the Marga’s Weeping Landmark which can also contain useful Haste Gems too. Be sure to visit the shops to ensure you have the best possible Gear for your party and consider raising your Level to around 75 before you head there.
Once your preparations are complete, return to the Main Entrance Landmark in Alcamoth and make your way north to Melfica Road. a Lv 75 Fogbeast Kyel Lexos awaits in front of the entrance to the Imperial Palace, defeat it and continue on to unlock the Great Hall. Head north and view the final Quiet Moment, The Future is Ours and then go north to unlock the Ascension Hall Landmark, completing the map in the process. Before you take the transporter to the Villa, consider finishing the Collectopaedia here and check your gear one final time, once you step through the transporter, the Fog King awaits.
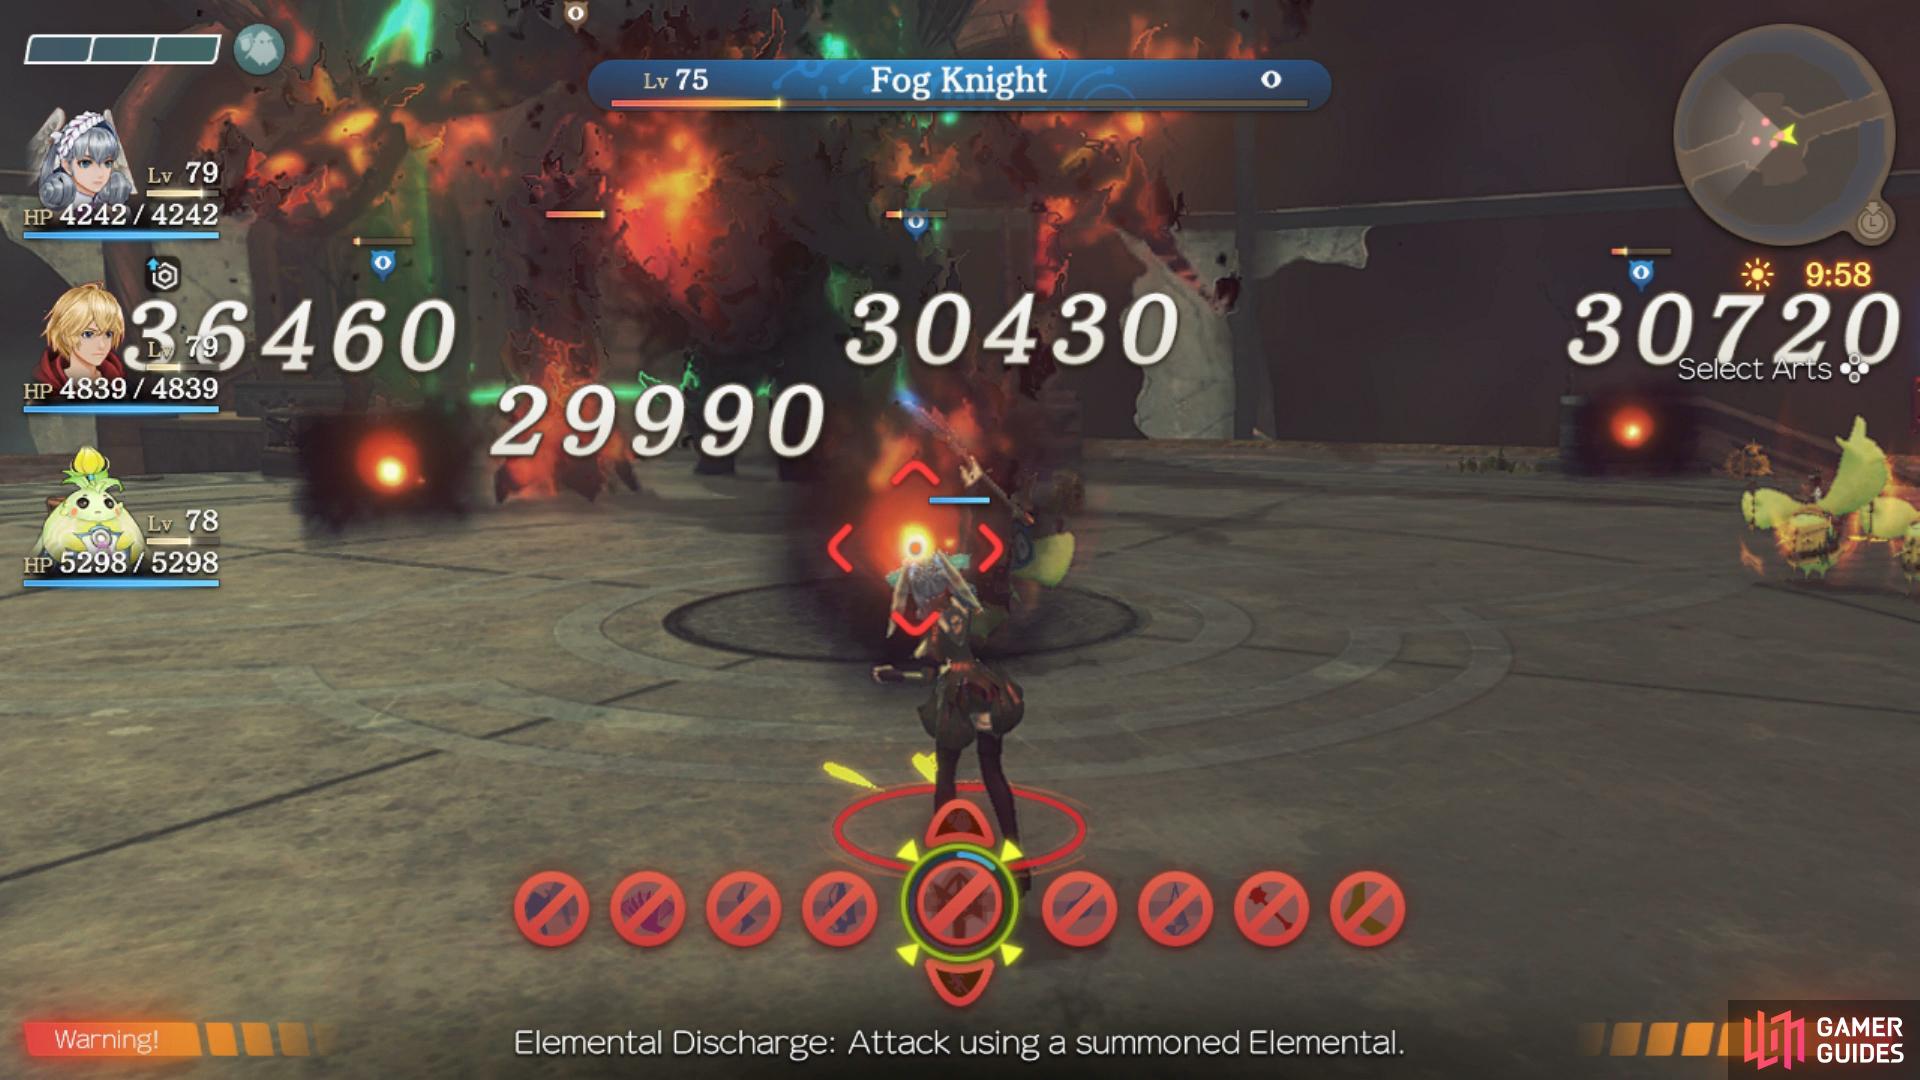
Fog King
| Enemy | Level | Detection |
|---|---|---|
| Fog King | 76~ | Sight |
| Fog Knight | 75 | Sight |
- Phase One
This is the final battle of Future Connected and thus, Xenoblade Chronicles and how you fare will vary based on your level and Gem Setup. Coming into the battle with a full Ponspector Squad will tip the scales in your favor too. To begin with, the Fog King will summon two Fog Knights, both of these can cause more trouble than they’re worth so consider using a Union Strike to deal with them, otherwise focus them down one at a time before returning your attention to the Fog King. It has many Arts that can deal plenty of damage to the party if you’re not careful however be sure to save at a Union Strike for the second phase.
-
Agnost Beam - An Ether based Art that deals moderate damage to targets in a line.
-
Erasing Mist - A Buff that removes all Debuffs on the Fog King.
-
Internal Burst - An Ether based Art that deals moderate damage to targets in a circle around itself.
-
Mist Charge - An Art that allows the Fog King to store it’s energy for a major attack shortly after.
-
Summon Knight - Calls two Fog Knights to the Fog King’s side.
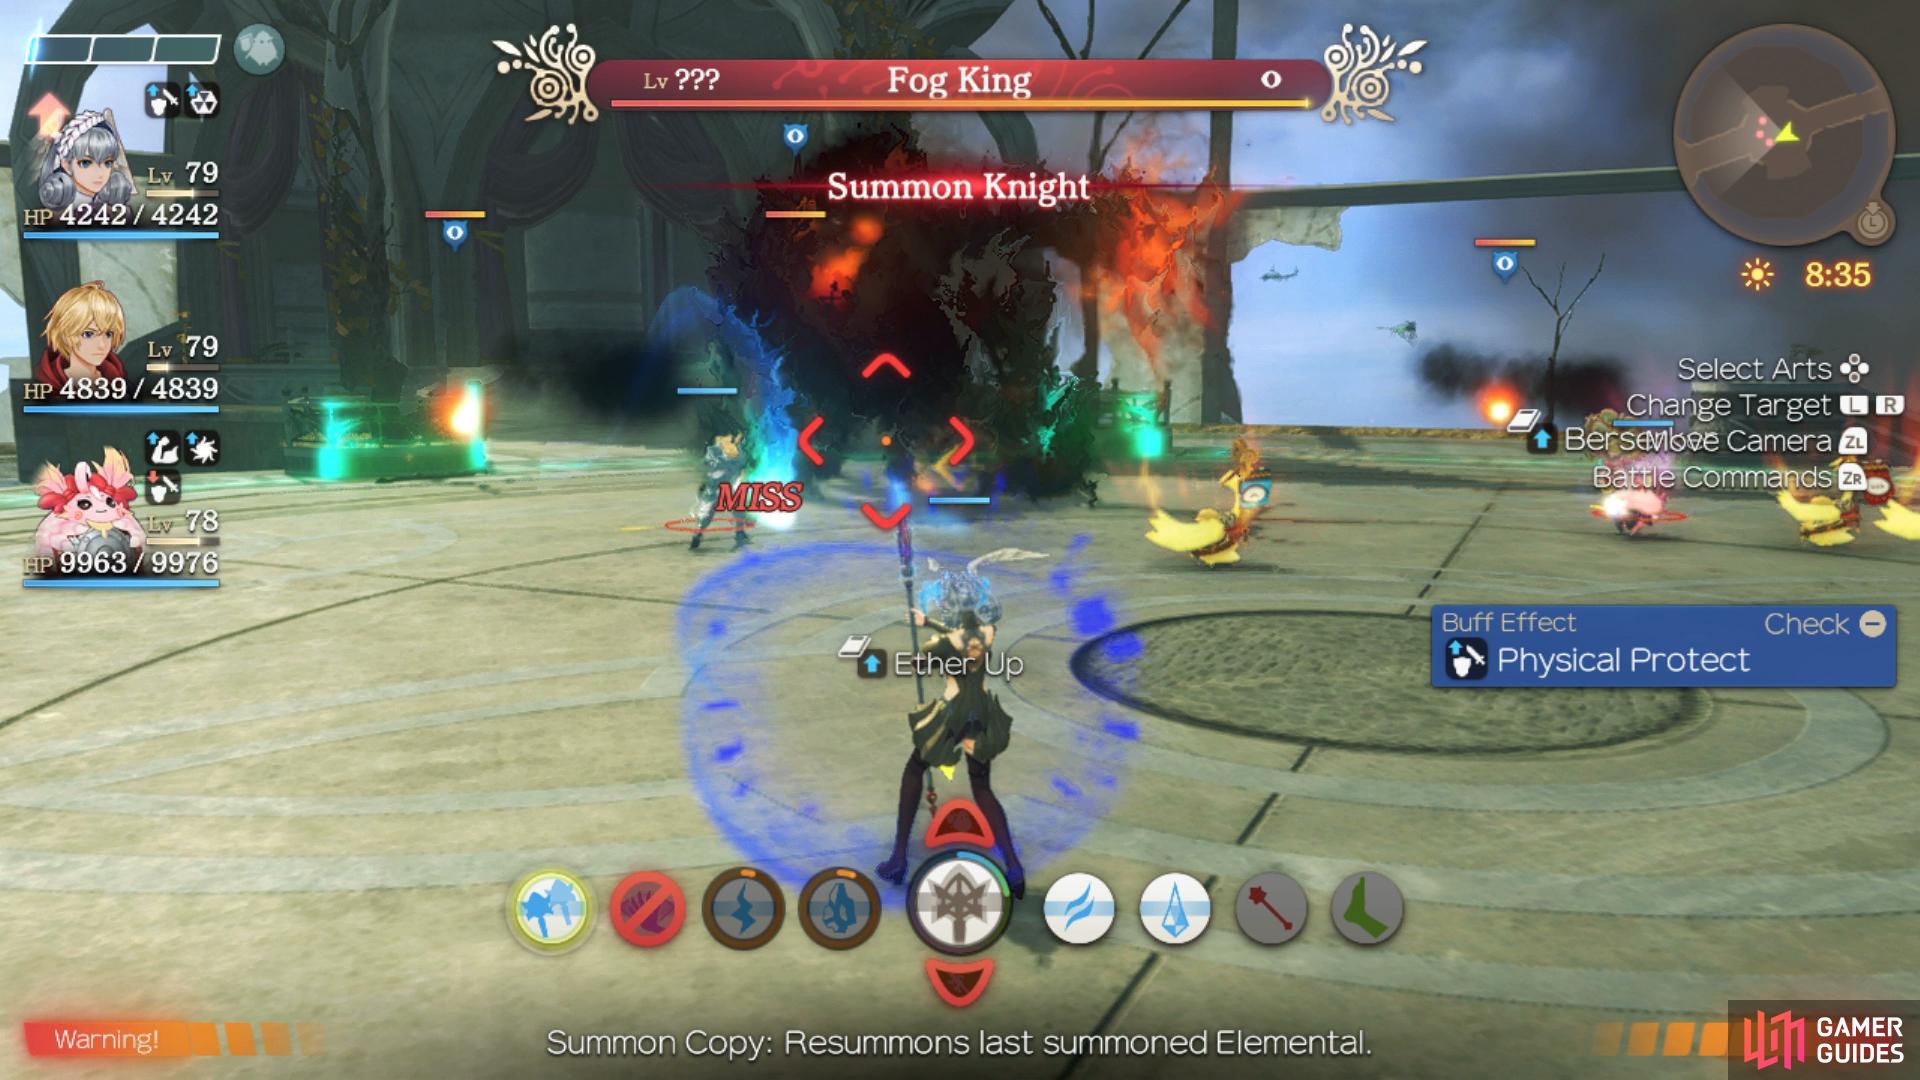
This first phase shouldn’t cause you too many issues so long as you remember to deal with the Knights first, thus allowing you to focus on Fog King without interruption. If you’re controlling Melia, be sure to position her behind the Fog King to avoid most of its damage dealing Arts in this phase.
- Phase Two
It becomes much more difficult in this second phase, the Fog King will gain access to a few more Arts, one of which can kill you outright if you haven’t prepared with Topple Resist Gems. It will begin the phase by summoning another 3 Fog Knights and this time around, make use of your Union Strike from the start to try to wipe them out and leave you alone with the Fog King. It’s deadliest Art, Mist Press, can wipe you out in an instance if you find your whole party Toppled as it will last for well over 15 seconds while the Fog King (and any Knights remaining) constantly attack you, this is the reason why Topple Resist is so crucial, even if it’s only on one party member so they can get the others. This isn’t the only new Art the Fog King has in phase two, however:
-
Collision Burst - An Ether based Art that deals major damage to all targets along with inflicting Knockback and Tension Down.
-
Convergence Beam - An Ether based Art that deals major damage to targets in a line, usually used after Mist Press.
-
Mist Press - A Physical based Art that deals heavy Topple to the entire party, lasting up to 15 seconds.
(1 of 5) Begin the second phase with a Union Strike to bring all Knights close to death
What makes this so much more challenging is that the Fog King will often chain these together or in quick succession, it’s not rare to see it use Collision Burst twice in a row so if you have a Union Strike ready, be sure to use Blue Caress to give yourself a powerful HP Regen to counter a lot of his damaging attacks. The most important thing is to get the Fog Knights down as quickly as possible, left alone and with the Fog King’s new Arts, you won’t last long at all. As mentioned above, Kino is useful in this battle, you’ll be taking constant damage that Blue Caress might not be enough to offset, Shulk should be fine holding Aggro with Kino’s healing.
Watch the scenes that take place following the Fog King’s demise as you bring Future Connected to a close. That’s not all for Xenoblade Chronicles: Definitive Edition however, with a Clear Save for Future Connected, you have now unlocked the final Time Attack Trial in the main game along with the option to purchase Art Manuals for Noponcoins.
No Comments