


To the Imperial City
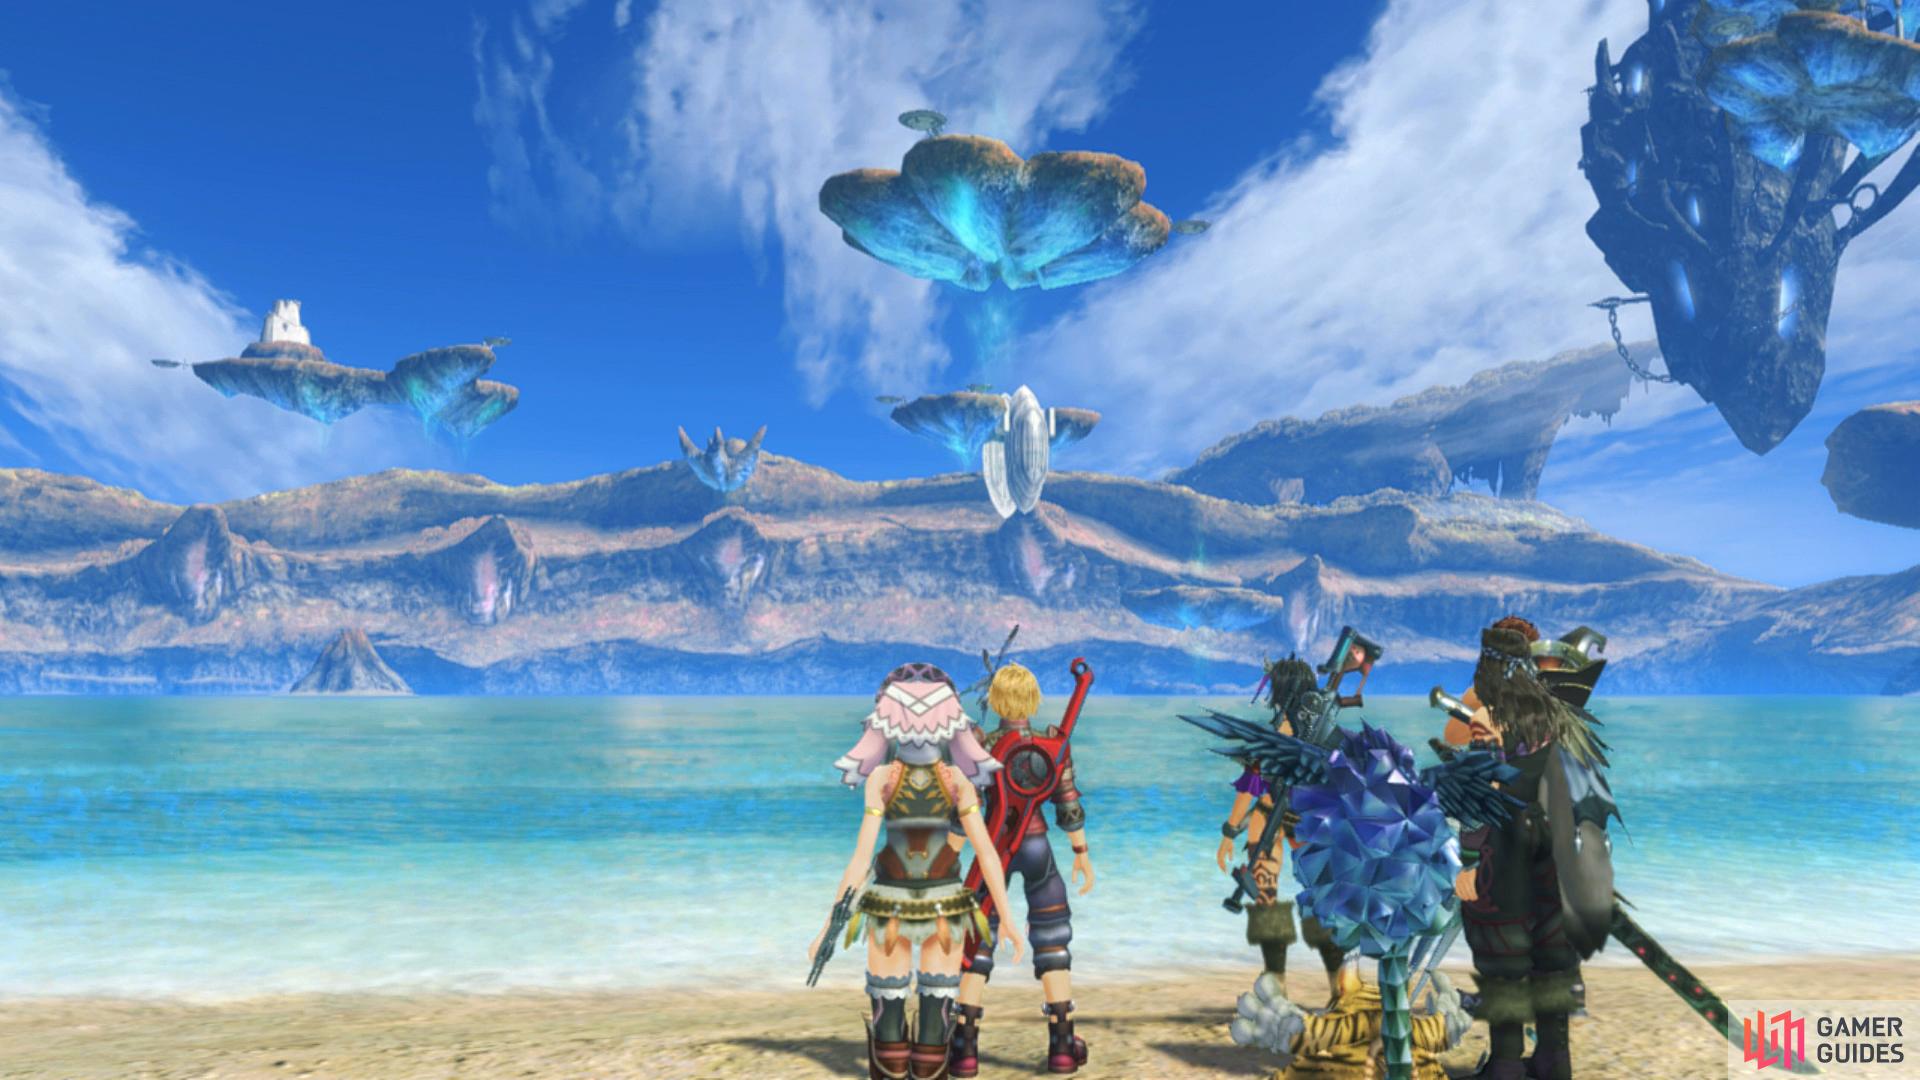
As the party fills Melia in on everything that has happened so far, they learn that in order to travel to Prison Island, they’ll first need Imperial Sanction and the capital, Alcamoth, is where they can do just that. You’ll unlock Latael Shore once you regain control and as you can see, this is a vast sea that will take some time exploring.
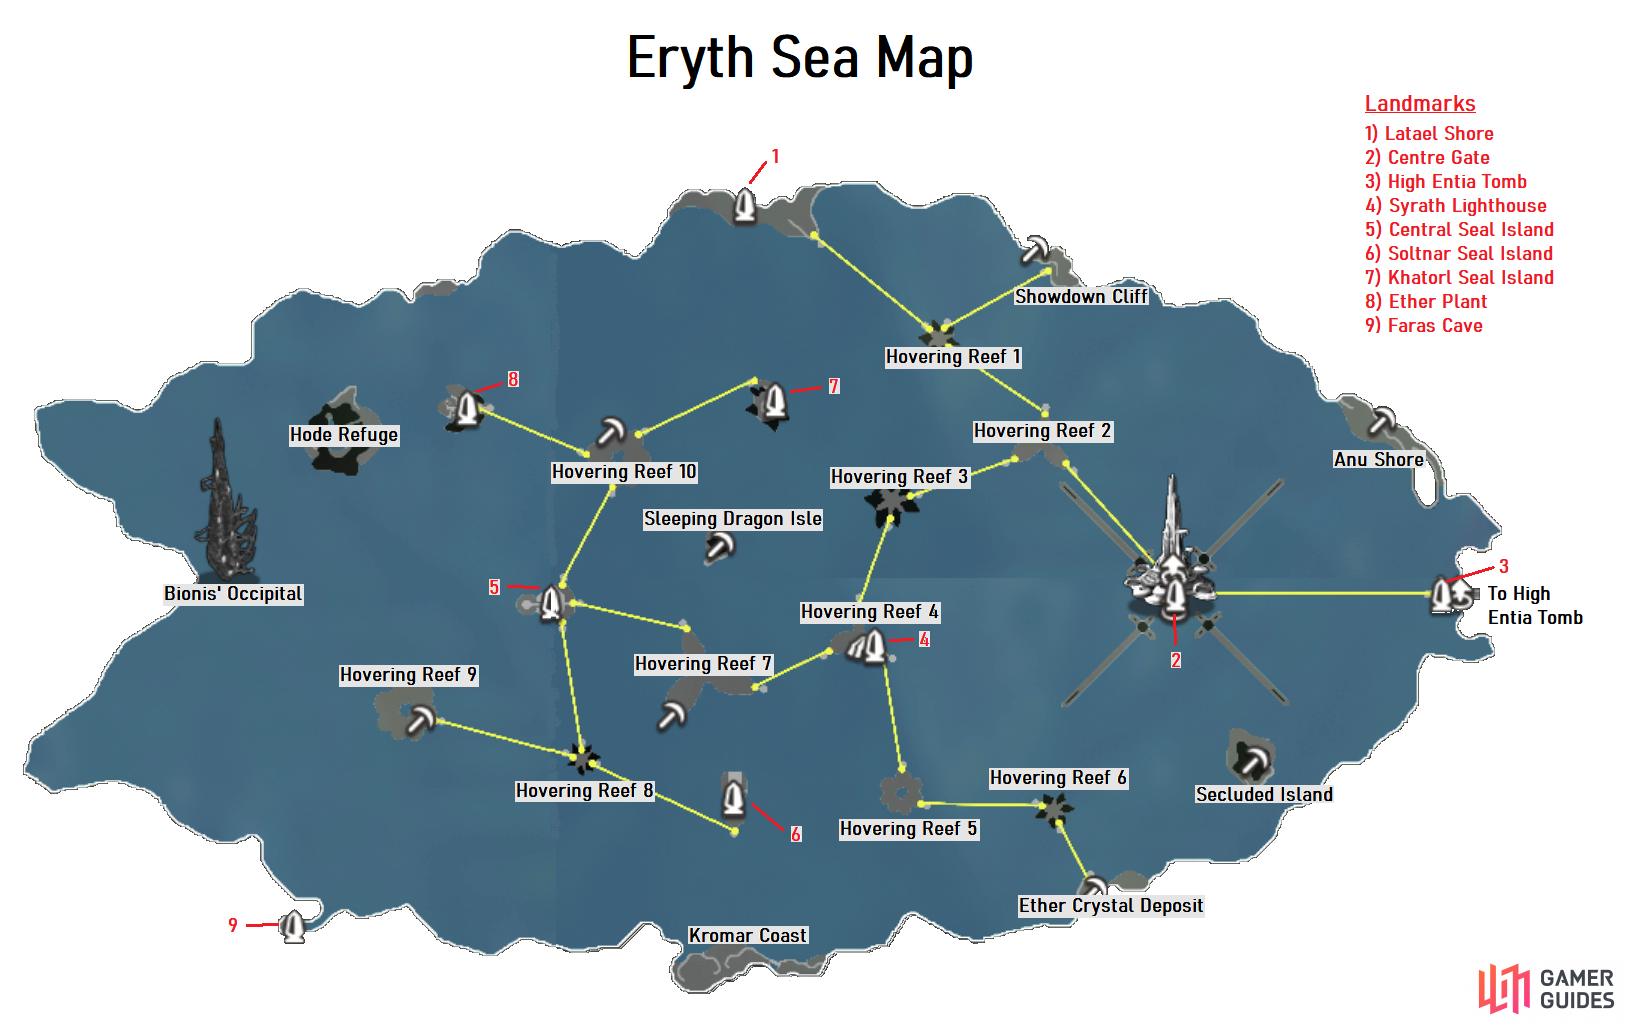
Begin by heading east to the first platform and standing in the light to find yourself transported to Hovering Reef 1. Make your way off the platform to find a Lv 36 Unique Monster, Turbulent Belmo and then take the northeast transporter to reach Showdown Cliff. There’s not a great deal to do here but make use of the Wind Ether Deposit and then return to the previous area by way of the transporter you just took.
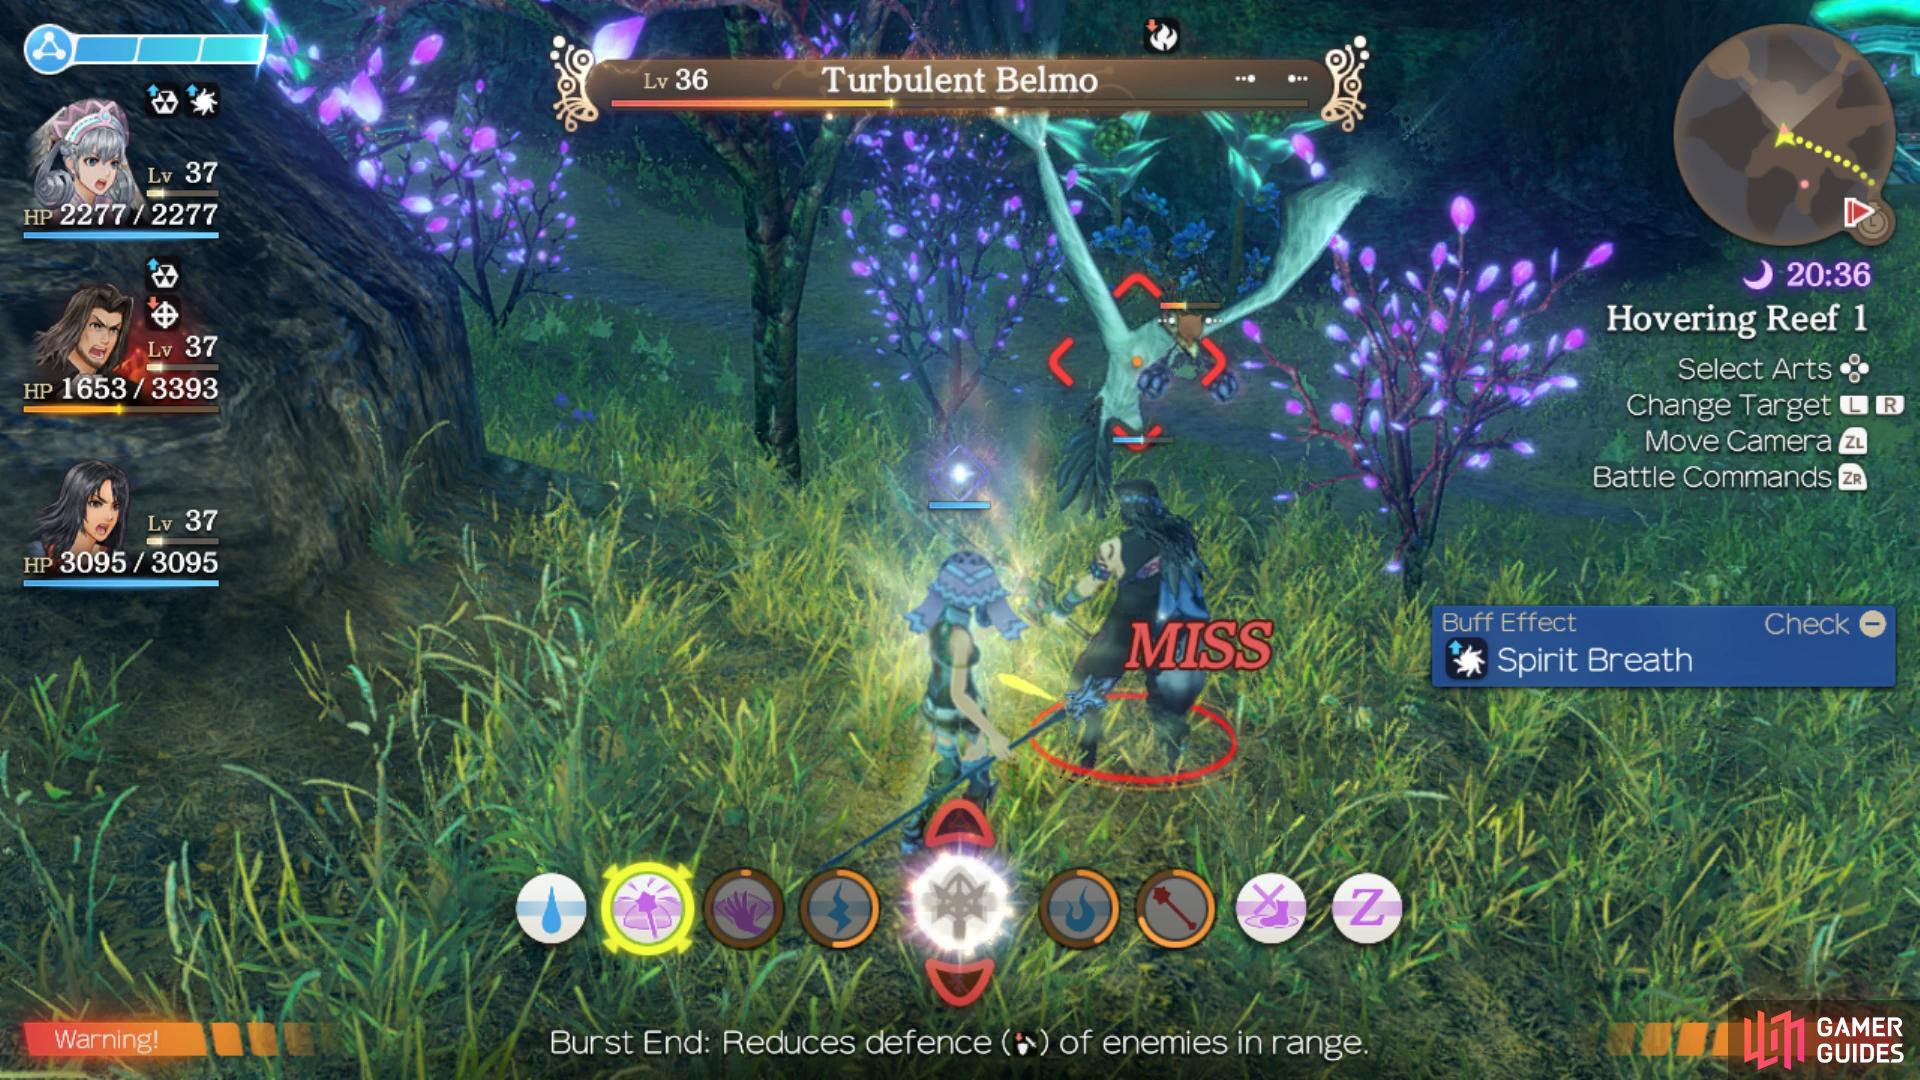
Take out Turbulent Elmo for some loot
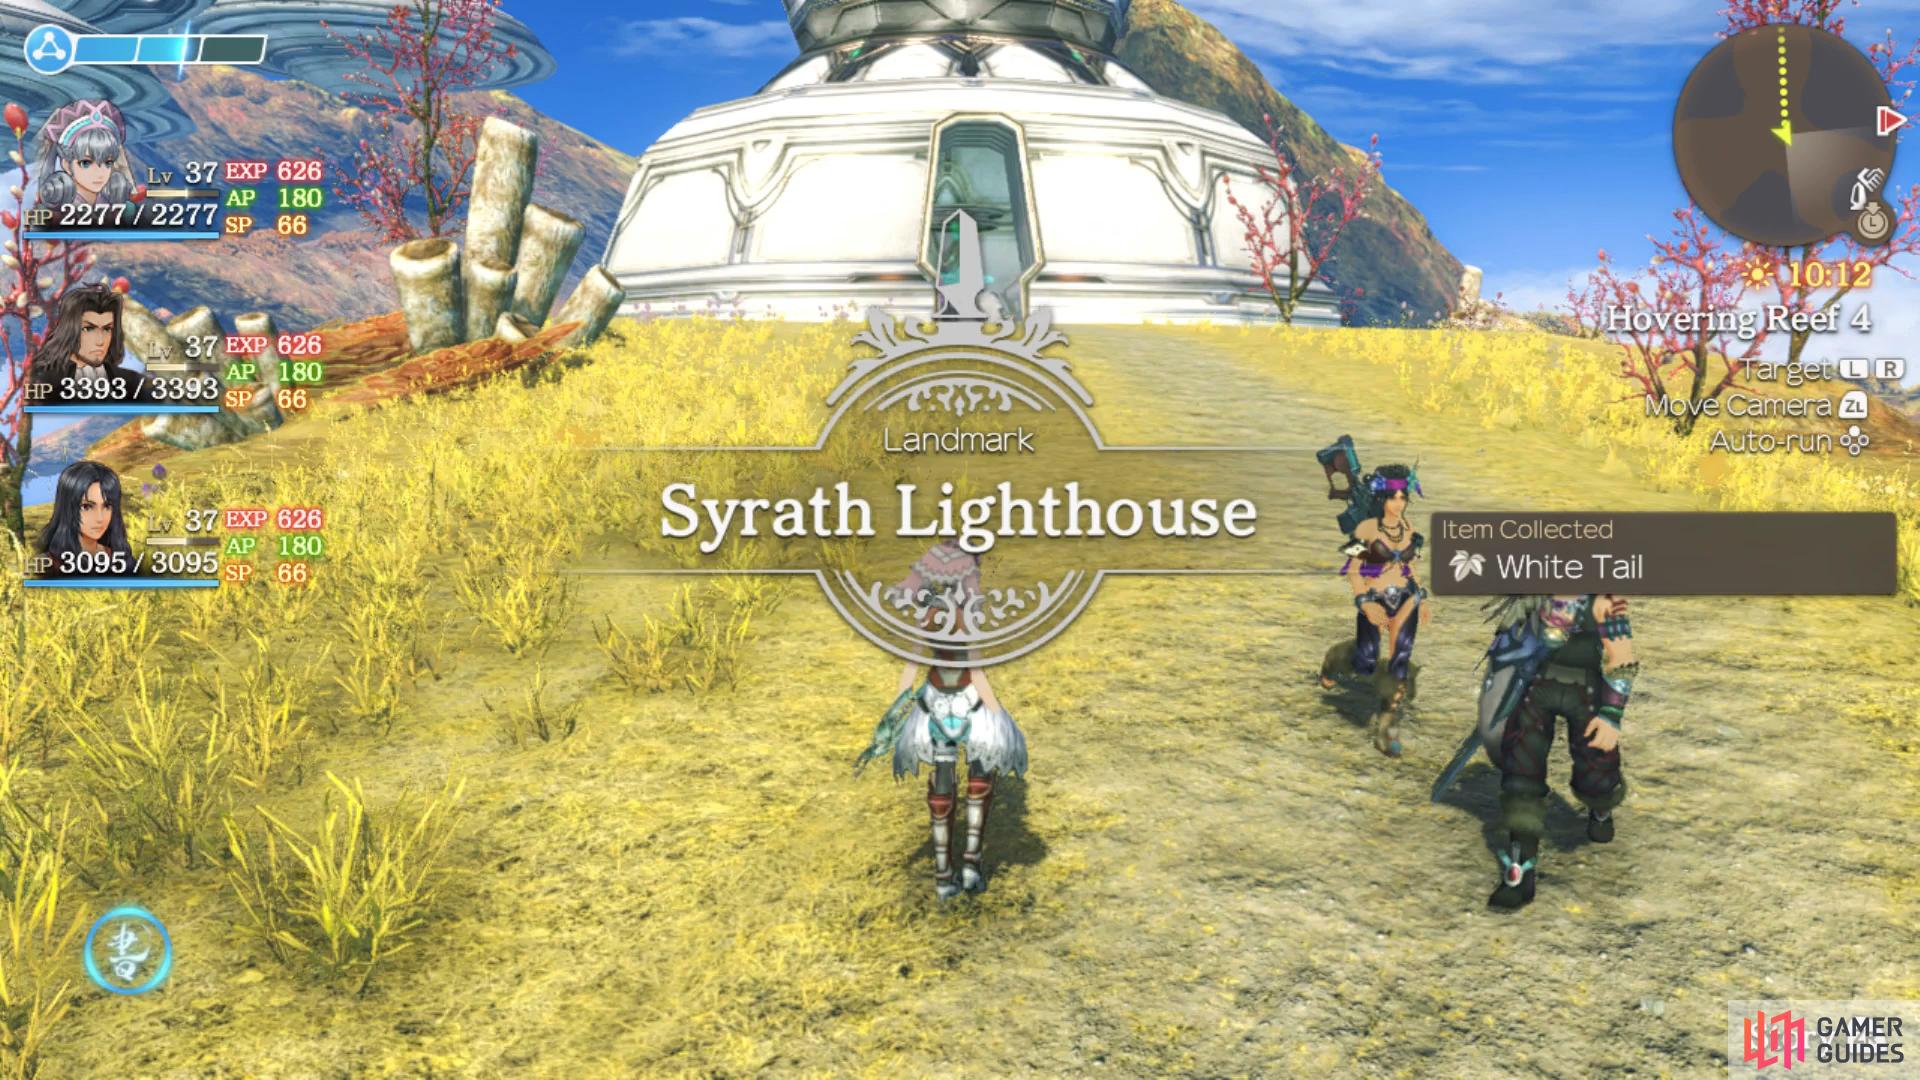
and be sure to unlock the convenient Syrath Lighthouse.
Take the southeast transporter this time to reach Hovering Reef 2 then head southeast when you can to reach a Heart-to-Heart between Riki and Sharla. Ignore the transporter further to the southeast for now and instead opt for the one to the southwest to unlock Hovering Reef 3. There are a bunch of enemies that will spawn when you approach the center so hug the sides if you wish to avoid them. You’ll find the next transporter over to the south which will unlock Hovering Reef 4 and head to the southeast to unlock the Syrath Lighthouse Landmark along with finding another Heart-to-Heart to register.
Take the southeast transporter here to unlock Hovering Reef 5 and follow the path around to the next one to the southeast where you’ll unlock Hovering Reef 6. Yet another transporter awaits you here to the southeast which will lead you to Ether Crystal Deposit where, as you may expect, you can find many Ether Deposits. Leap into the water to the east now and swim over to the island here to unlock Secluded Island and then return to Syrath Lighthouse.
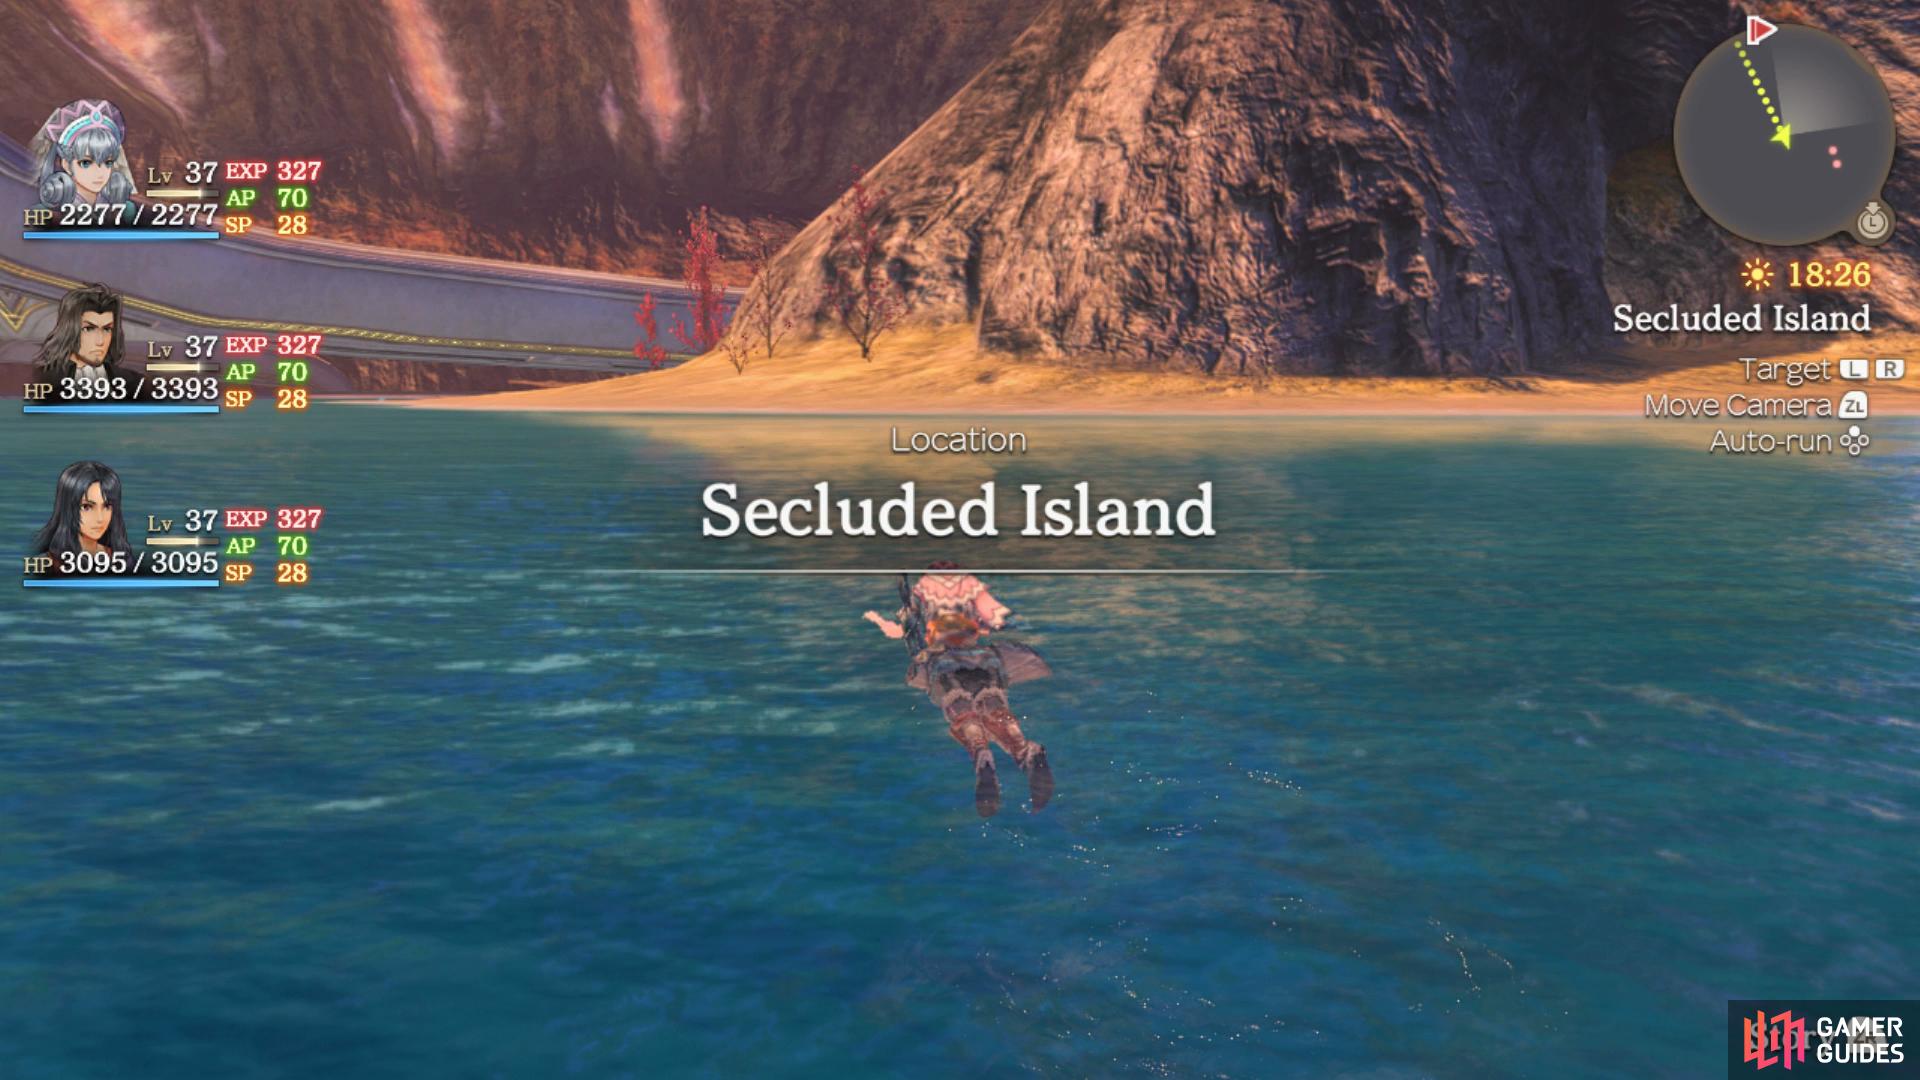
You can unlock both Secluded Island

and sleeping Dragon Isle right now despite the enemies being far too high in level.
From here, leap off to the northwest and swim towards another island where you can unlock Sleeping Dragon Isle. There’s not much else you can do in Eryth Sea for now until you advance the story a little so return to Syrath Lighthouse once again and return to Hovering Reef 2 where you can the southeast transporter this time to unlock the Centre Gate Landmark. The Story Flag in front of you will advance the story however before you do so, it’s a good time to take care of some more side content.
No Comments