


Superbosses in Xenoblade Chronicles are defined as any Unique Monsters that are level 100 plus, of which there’s a total of five in the game. One is available during the main story, while the remaining four will not appear until you finish the Mechonis Core portion of the story. Three superbosses are located on Valak Mountain, one is on Fallen Arm and one is in Satorl Marsh. Here is a quick breakdown of the superbosses, with their names and levels being listed.
- Final Marcus - Level 100, Valak Mountain
- Ancient Daedala - Level 105, Fallen Arm
- Despotic Arsene - Level 108, Satorl Marsh
- Blizzard Belgazas - Level 114, Valak Mountain
- Avalanche Abaasy - Level 120, Valak Mountain
Just from levels alone, you can see that some of the superbosses are going to be daunting battles, and that doesn’t take into account their abilities and other quirks. The above list is also the suggested order for the superbosses, despite the obvious ascending order for their levels. While Ancient Daedala is considered one of the harder superbosses, it is the only source of Night Vision V crystals, which are super important for fighting the bosses listed after it.
General Preparations
Since all of the superbosses are higher than the max level you can get, the first order of business is achieving the max level of 99 for all of your characters. There is no super quick way of grinding for experience in this game, so the best option is to find a location with a high density of monsters and fighting them. The Definitive Edition definitely helps in grinding experience, since it offers both Casual and Expert Modes. The former makes battles a lot easier, so you can fight a lot more enemies around your level. The latter makes it a lot easier to find enemies around your level, since you can use Expert Mode to set your levels lower than needed.
Tephra Cave is an ideal spot for leveling

especially if you pair it with Casual Mode
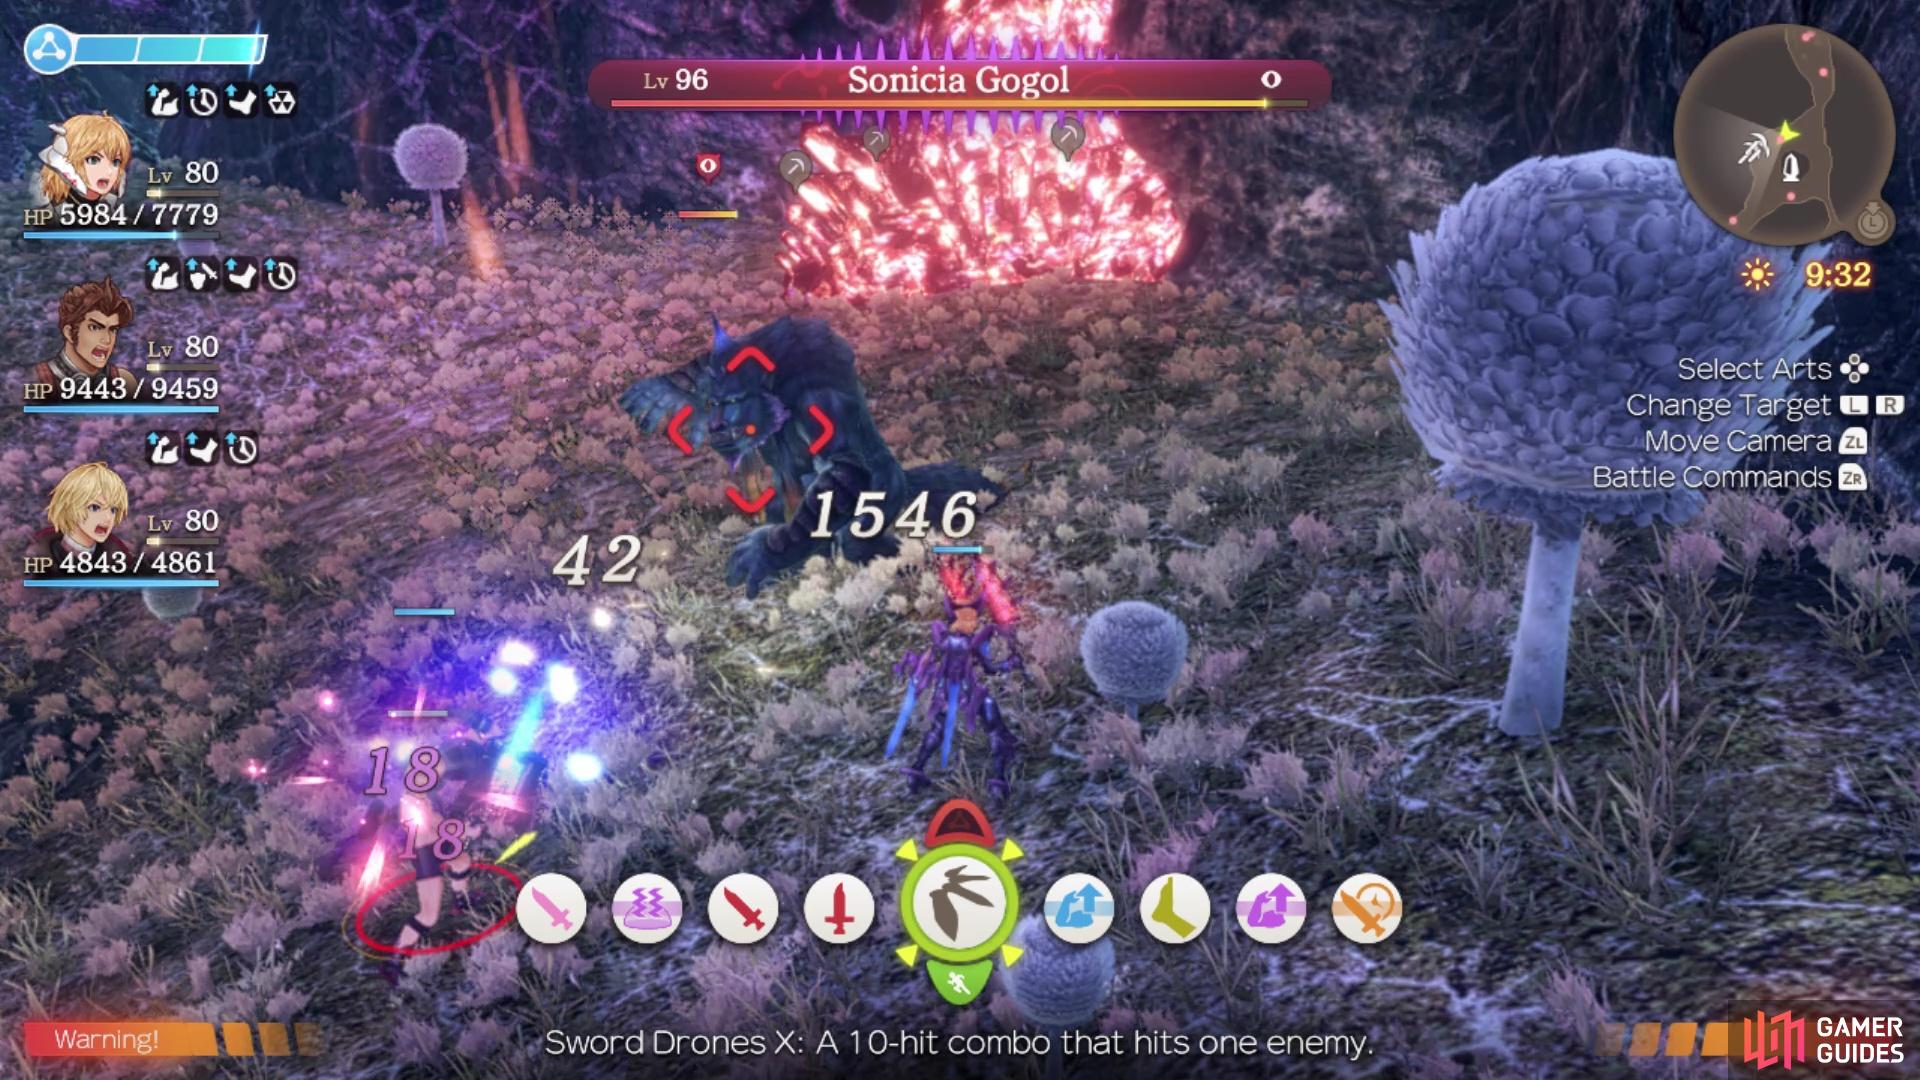
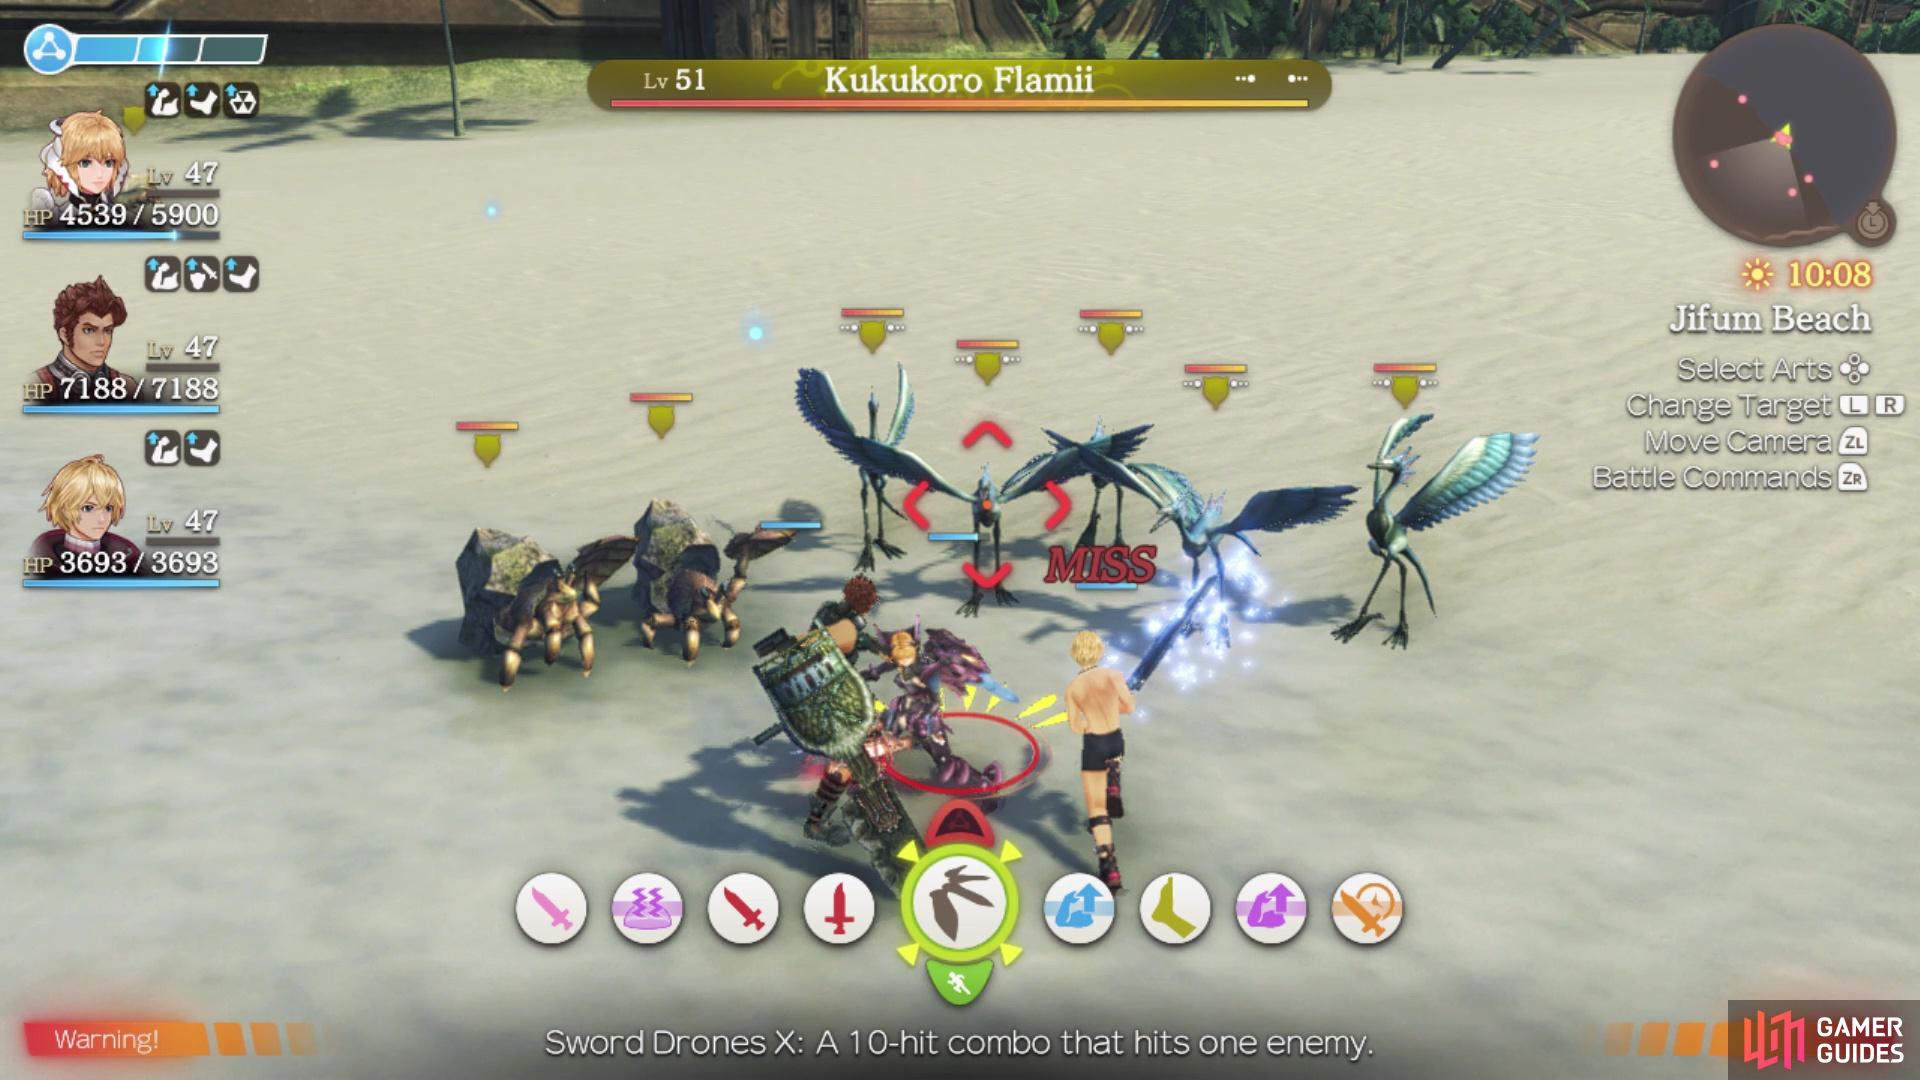
Two places where there is a high concentration of enemies are Jifum Beach on Fallen Arm, and the Arachno Feeding Lair in Tephra Cave. The former spot has enemies around 51-53, while the latter will have enemies around the 90s. Naturally, the spot in the Tephra Cave will be better, since it’s a high level area and you will get more experience overall. If using Casual Mode, Heavenly Window is not a bad spot for grinding, either, since the Sonicia Gogols give pretty decent experience and there are two possible Unique Monsters that spawn there, which give a lot more. Also, with Casual Mode, the damage spike shields of the Sonicia Gogols will be reduced by a lot.
Once you’re levels are maxed out, the next you want to do is max out the party affinity for everyone. While it may seem a little useless at first, doing this will allow you to use skill links. These are incredibly powerful and will be needed to do battle against the majority of the superbosses. The best way to work on party affinity is by equipping your lead character with Debuff Resist gems, until they reach 100%, then heading to the Eryth Sea. There will be a Unique Monster on Kromar Coast, on the southern side of the area. Stormy Belagon is its name and it has a Sleep spike shield, meaning that anyone who attacks it will be taking a short nap. Help them out to gain affinity and considering how much they will attack, then you will be gaining a lot of affinity in a short time. It’s best to avoid defeating the Unique Monster, as that means you might need to save and load the game multiple times to get a respawn, so run away to reset the UM’s health.
Getting Some Gems/Equipment
Having done all of the above, you will need to start working on gathering the necessary equipment and gems for these superboss battles. While there’s not a whole lot to say about the equipment, you do want the maximum gem slots on each piece of equipment, with a few exceptions. Unique Armor/Weapons aren’t really going to cut it too much, as you need to insert your own gems into those slots, so forget about those for right now. For the most part, late game equipment with a gem slot on them will work for your characters.
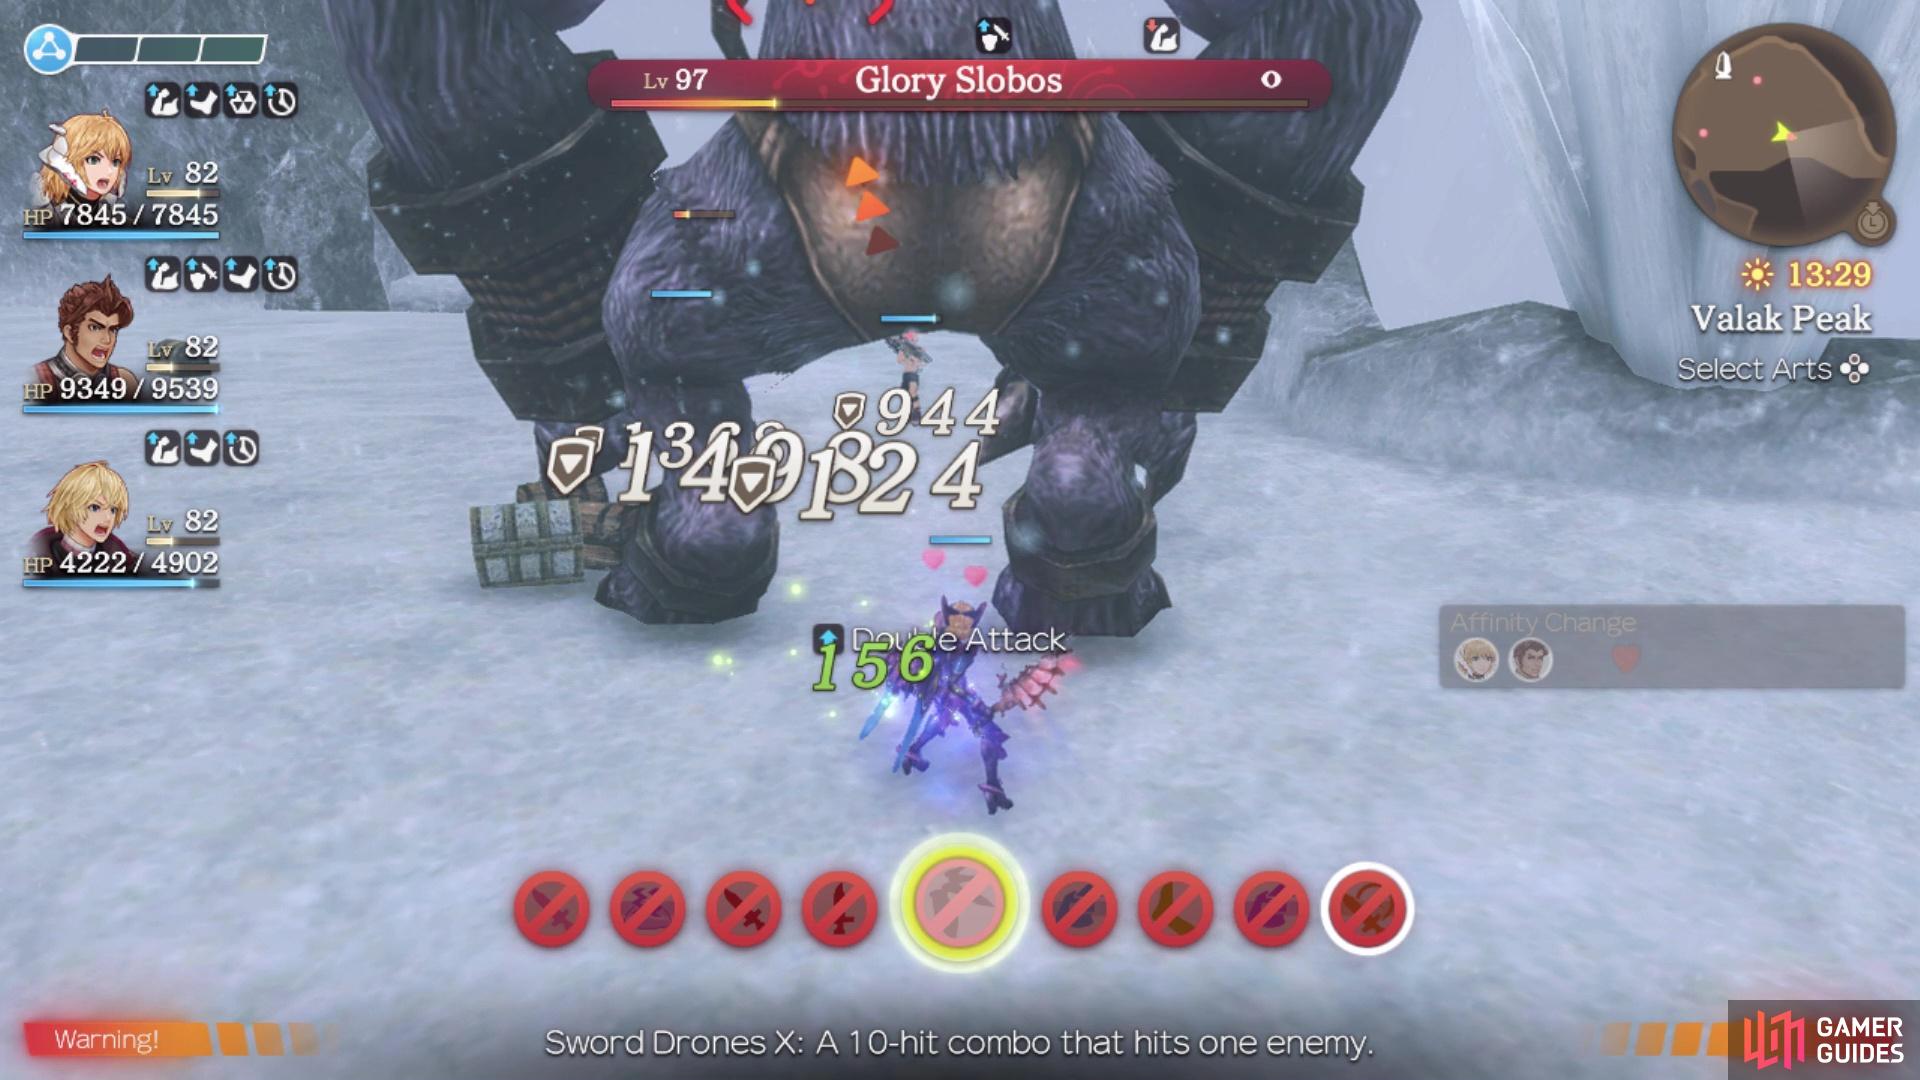
Glory Slobos have a chance of dropping the Glory Gauntlets
The Haste on the Glory Gauntlets makes it so you don’t have to waste a weapon slot
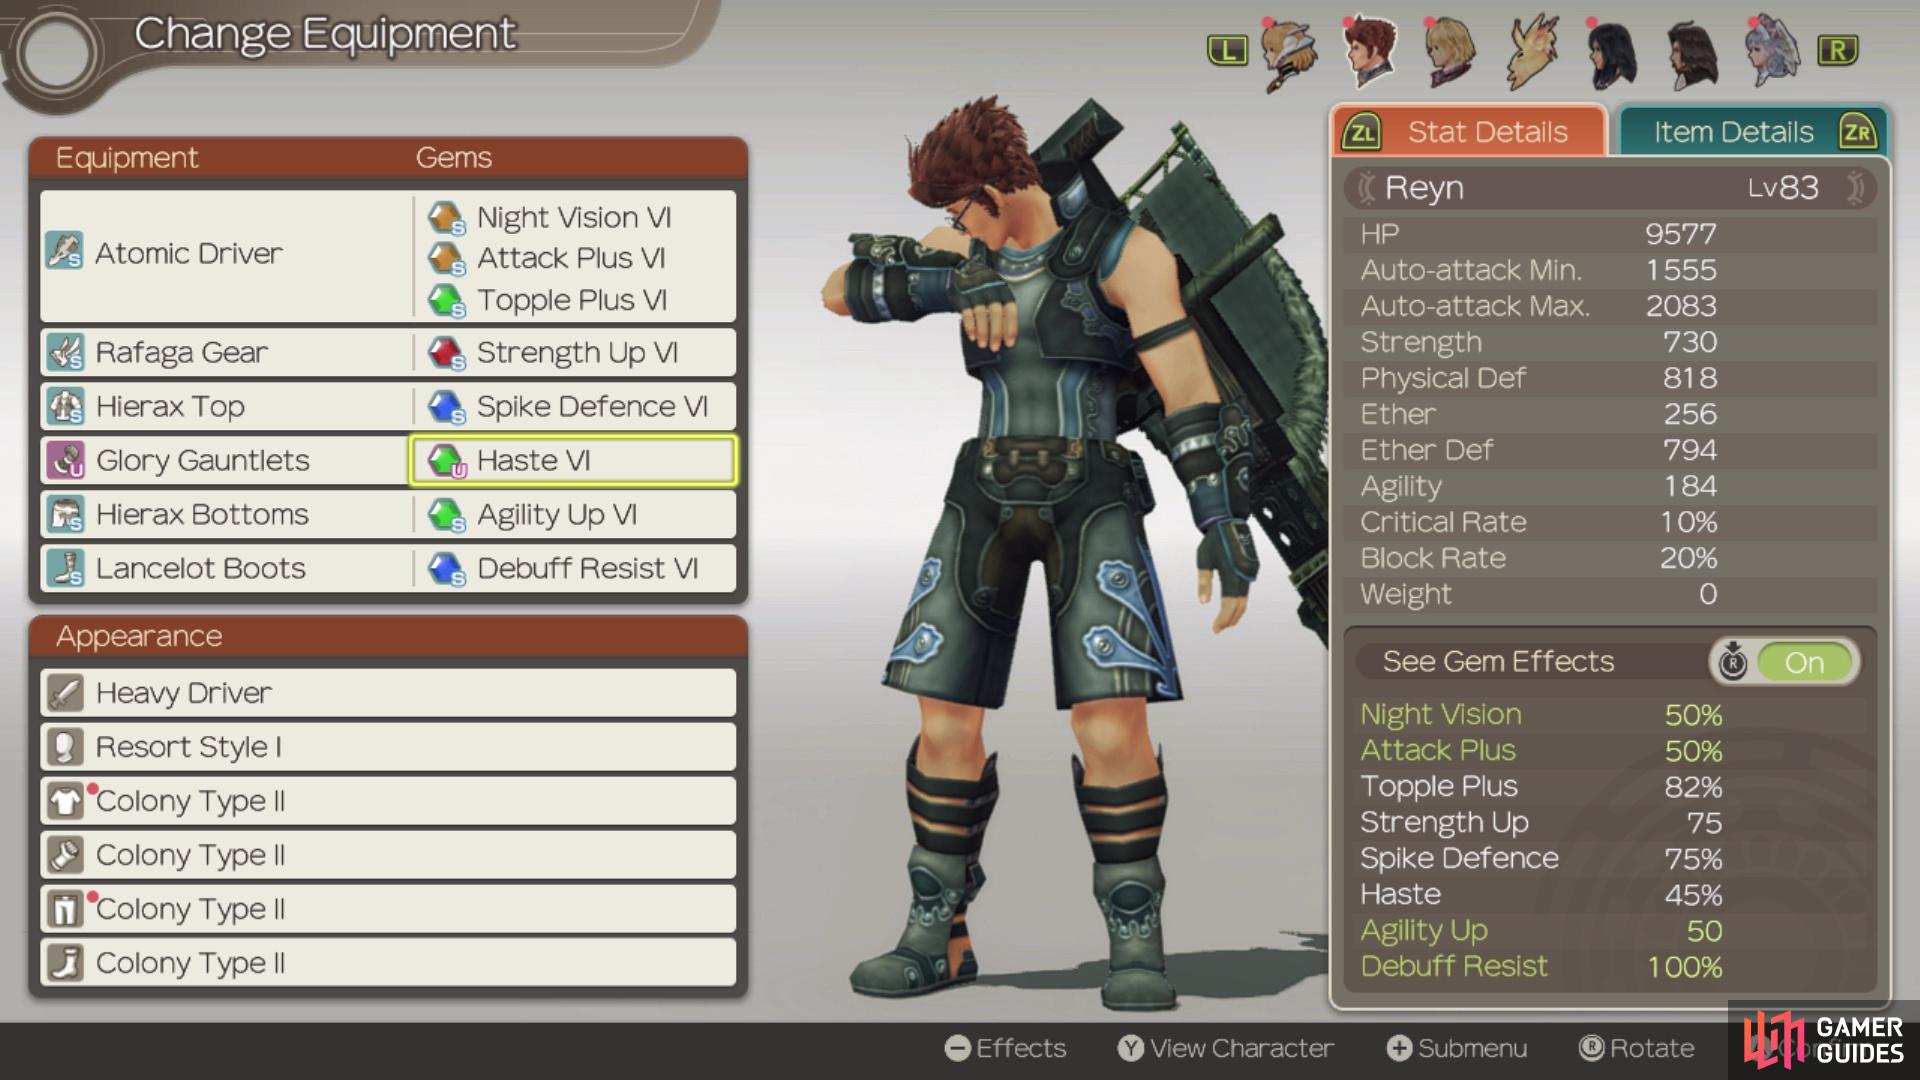
For melee characters, though, Glory Gauntlets are definitely superior. The reason for this is because they have a Haste VI gem built into them, which is normally a weapon-only gem. This gem, in particular, gives a 45% Haste buff to the character equipped with them, which is only 5% off the maximum you can get from that buff. You can get Glory Gauntlets from the superbosses themselves, as well as drops from the Glory/Gloria Slobos on Valak Mountain (Three Sage Summit). As for weapons, you will want a later game weapon that has three open slots for gems. While you could probably use any weapon for this, there might be a few that have better stats on them than others.
| Character | Weapon | Location |
|---|---|---|
| Shulk | Monado Rudra | Replica Monado 1 |
| Shulk | Monado Abyss | Replica Monado 3 |
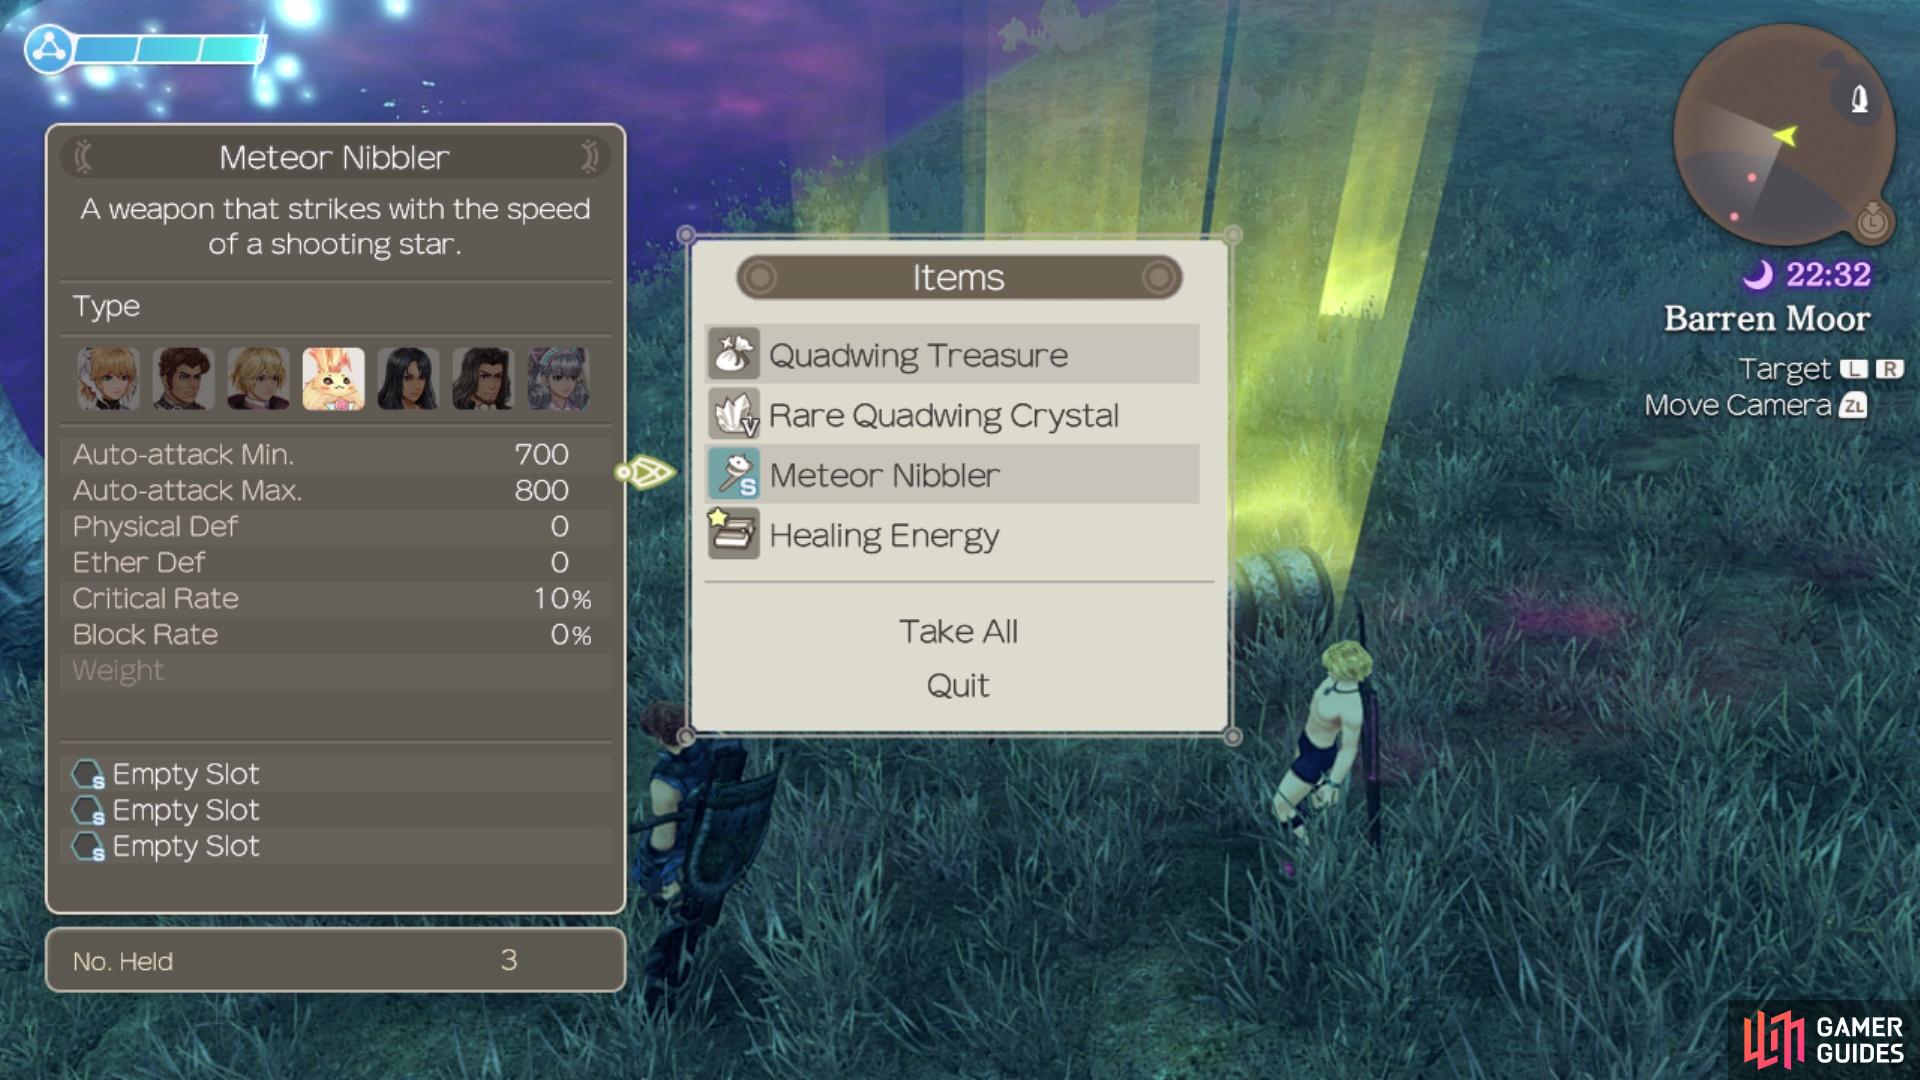
| Riki | Meteor Nibbler | Grove Quadwing (Satorl Marsh, Night) |
| Riki | Comet Biter | Gloria Slobos (Valak Mountain), Arel Telethia (Alcamoth/Eryth Sea) |
| Sharla | Endless Rifle | Arel Telethia (Alcamoth/Eryth Sea), Sol Grady (Eryth Sea) |
| Reyn | Atomic Driver | Goldi Kromar, Zelda Kromar (Eryth Sea; Kromar Coast) |
| Dunban | Wyvern Cutlass | Trava Kromar (Eryth Sea), Bizarre Ragoel, Eryth Rhana (Eryth Sea; Anu Shore) |
| Dunban | Forma Spear | Erratic Goliante, Sonicia Gogol, Dorsiar Lizard (Tephra Cave) |
| Melia | Sun Staff | Any Nebula on Prison Island |
| Melia | Meteor Staff | Frost Nebula (Satorl Marsh) |
| Fiora | Dystopia | Eternal Palsadia (Satorl Marsh) |
| Fiora | Conviction Blades | Exposure Wolfol (Valak Mountain), Wandering Amon (Valak Mountain) |
Sometimes, getting the necessary weapon can take a few kills
Moving onto gems, there are a few that you will definitely need right off the bat. Spike Defence will be needed for two of the superbosses, since they have damage spike shields. Debuff Resist is also something you want to have, since there is going to be a lot of debuffs thrown your way. Note that Debuff Resist does not protect against Topple, Daze and Blow-Down; only two of the superbosses will have a move that can Topple your characters. So, it might be helpful to have Topple Resist for those, but it’s not entirely needed. Agility Up is also a necessity, but since this only maxes out at 50 from gems, you should only need a single one.
That covers the defensive gems, so let’s take a look at the offensive ones, which will differ depending on who you bring into the fights. If you’re using Melia or Riki, then having Chill Plus and Poison Plus would work great, as those are the best damage-over-time skills for both characters. You can also add Ether Up gems to both characters to help with those arts. Back Atk Plus is another good one for the above characters, since it allows them to stay out of any area-of-effect attacks from the front, as well as deal more damage overall. For Riki, you could also substitute Back Atk Plus with Blaze Plus, since his fire damage-over-time isn’t part of his huge damage.
With those two out of the way, you could farm an Electric Plus for Sharla, since one of her mainstays for damage is her Thunder Bullet art (an Ether setup). Heat Sink is another great gem for her, but the problem with that is the only Rank V crystals drop off of Ancient Daedala, one of the superbosses. You could also equip an Attack Plus on her to increase her overall damage, as well as Strength Up. The latter two gems also go hand-in-hand with the melee users. For an Ether setup on Sharla, swap out those Strength Ups with Ether Ups. The only other thing you might need, which is for Fiora, is Double Attack, playing to her auto-attack strength.
(1 of 4) Getting crystal drops from normal enemies makes it a little easier to max gems
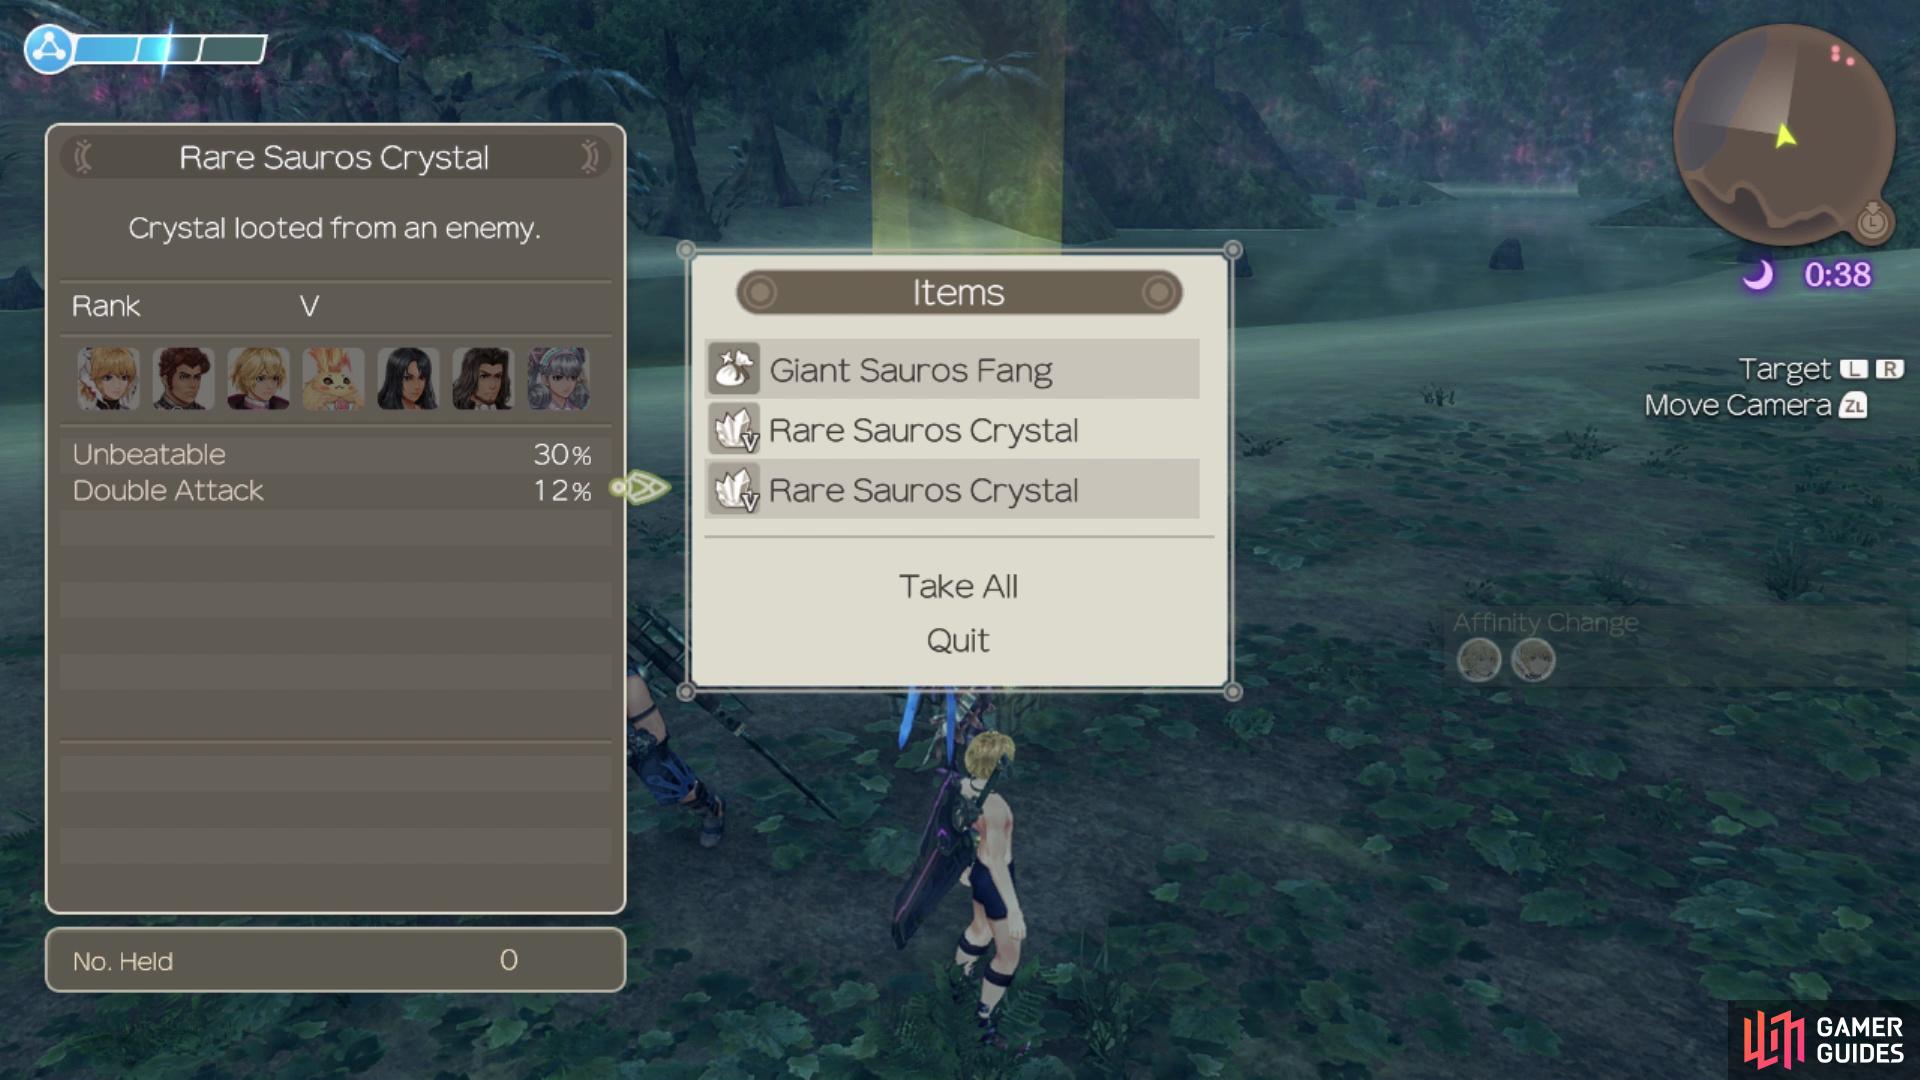
So, you may be wondering where to get all of the crystals/gems. Well, the following table will show off the locations for these. Note that these are just the crystals that enemies drop, so you are going to have to craft the gems, with some quick tips following the table.
| Crystal | Location |
|---|---|
| Debuff Resist |  Deinos Sauros (Makna Forest) Deinos Sauros (Makna Forest) |
| Spike Defence | Seluas (Bionis’ Interior), Glory/Gloria Slobos (Valak Mountain) |
| Ether Up | Opulent/Resplendent Flamii (Colony 9; unnamed beach north of Anti-Air Battery 2) |
| Strength Up | Sonicia Gogol, Erratic Goliante (Tephra Cave), Gluttony Gogol (Bionis’ Leg) |
| Agility Up | Mining Spot by entrance to Ether Mine (Colony 6); Nature must be level 5 to get Rank V crystals |
| Electric Plus | Grove Quadwing (Satorl Marsh; Night), Femuny Wisp (Tephra Cave) |
| Blaze Plus | Mining Spot in Bone Corridor (Tephra Cave) |
| Chill Plus | Gracile Nebula (Prison Island), Frost Nebula (Satorl Marsh; Fog) |
| Poison Plus | Mining Spot by Forgotten Cave (Tephra Cave) |
| Attack Plus | Rhoen Quadwing, Protective Torquidon (Tephra Cave), Asara Telethia (Eryth Sea/Alcamoth) |
| Double Attack | Deinos Sauros (Makna Forest) |
Skill Trees and SP
You’ve done pretty much everything needed to get ready for the superbosses, but you need to make sure you have all of the skill trees for every character. Plus, you also need to learn all of the skills in the trees. All of the characters have three skill trees by default and you will have to do specific quests to unlock their fourth and fifth skill trees. Thankfully, the skills in those unlockable trees have reduced SP requirements when compared to the default trees. Here’s a quick note on gaining SP before moving onto the actual spot for grinding it. The amount of SP you receive from enemies is directly proportional to your average party level for the ones in your active party.
Jifum Beach on Fallen Arm is a great place to grind for SP
So, for example, you’re fighting a level 80 enemy with a level 90 character and two level 60s. All characters will receive 20 SP for killing that enemy, and 40 SP if you killed it during a Chain Attack. Either way, one of the best spots for getting SP is on Fallen Arm, at Jifum Beach. Being extremely careful of Ancient Daedala, stick to far end and spawn all of the Flamiis, then aggro them and the Oros enemies. Making sure your levels are within their range (47 or so is good enough for this), and you should be getting at least 15 SP for each enemy. With strong equipment and gems listed above, you shouldn’t really be taking any damage and if you can use area-of-effect skills, then they will go down faster.
The following table will list all of the quests that grant the extra skill trees.
| Character | Quest |
|---|---|
| Shulk | Desiree’s Future |
| Shulk | A Young Captain’s Trust or A Young Captain’s Revival |
| Reyn | Cook-Off Showdown! |
| Reyn | Friendship Tokens |
| Fiora | The Oath Sword |
| Fiora | Battling Brutes |
| Sharla | Avenge a Mamapon’s Death |
| Sharla | Stopping the Elopement - En Argentis or Stopping the Elopement - Zel Argentis |
| Dunban | The Balance of Power |
| Dunban | Stunted Growth |
| Melia | Trouble at the Lighthouse |
| Melia | Ancient High Entia Mystery |
| Riki | Getting Bigger |
| Riki | Final Challenge of the Sage |
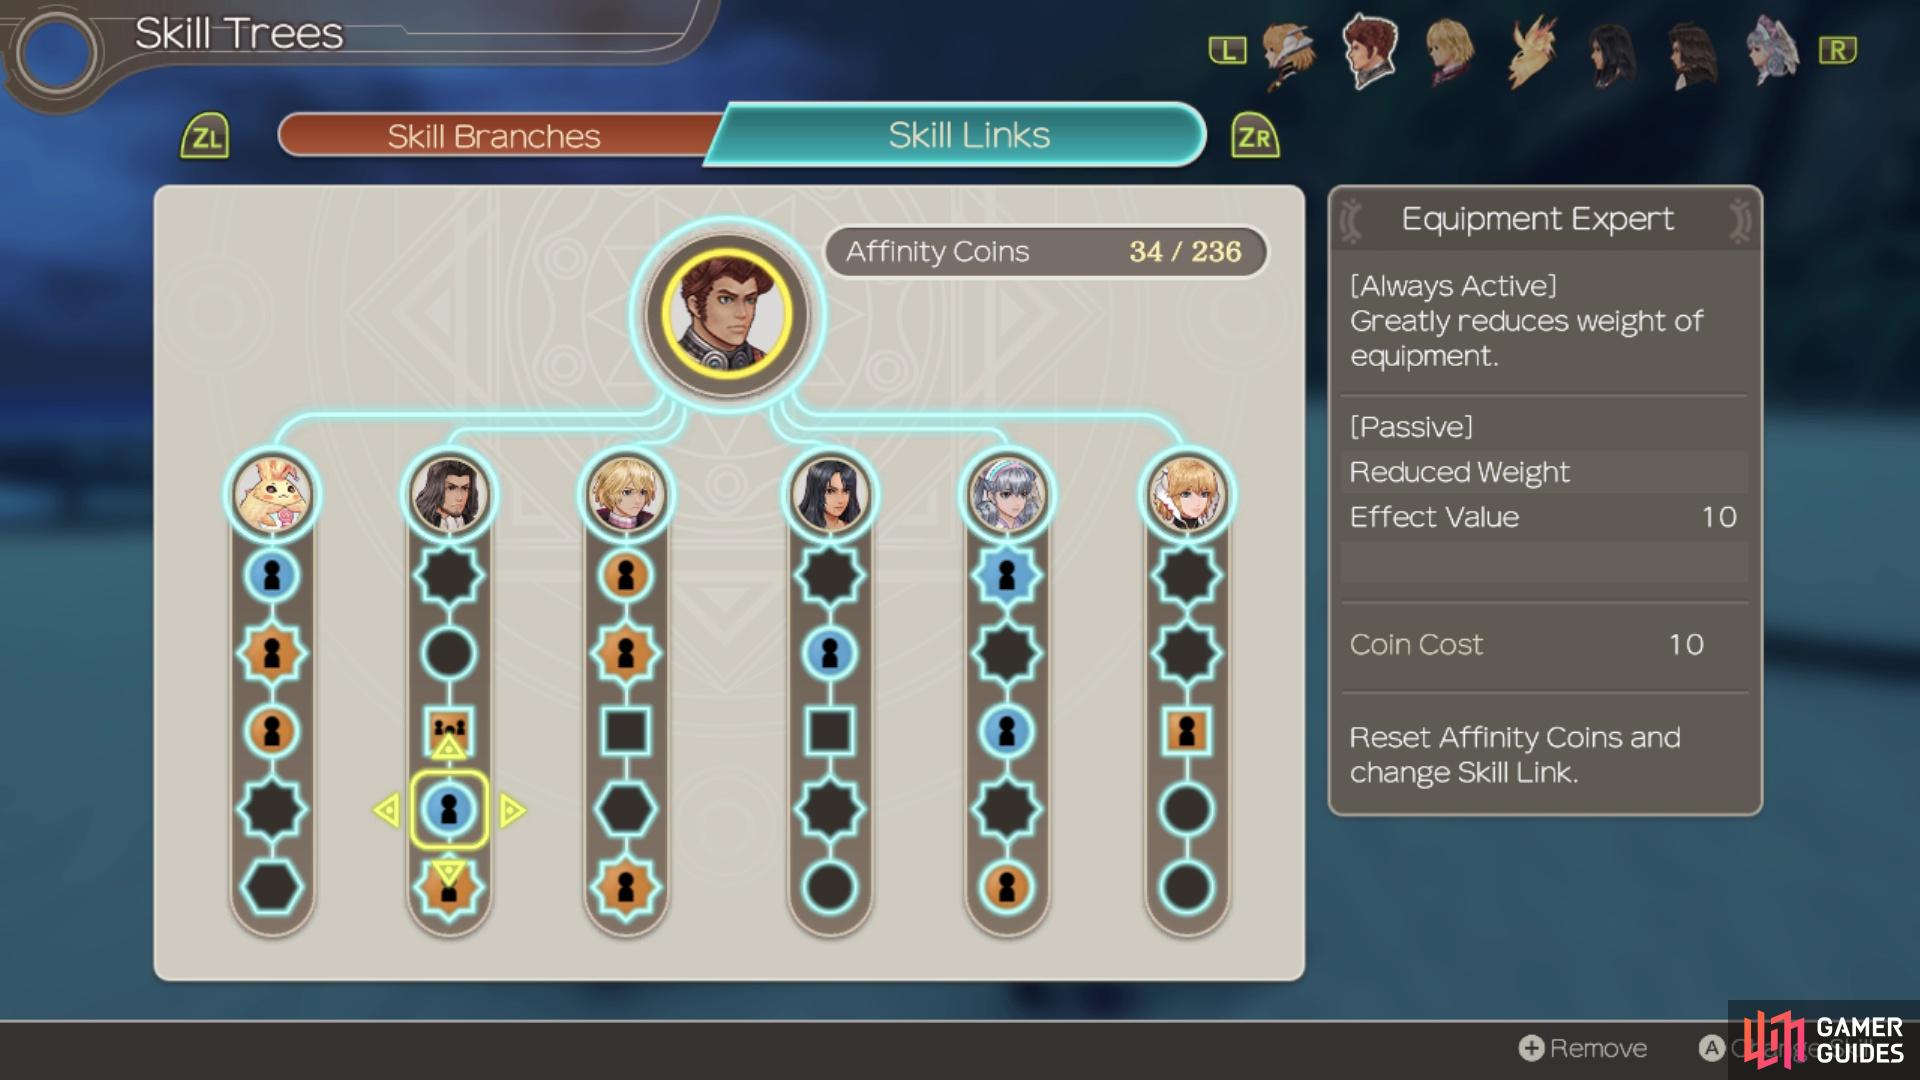
Skill Links
The last step in preparing for the Superbosses involves linking up some of your skills from other characters. Affinity Coins are what’s needed here, and you should have a healthy supply. You will receive more Affinity Coins by leveling up (you should be 99 at this point) and from defeating Unique Monsters for the first time. Considering you probably haven’t beaten the superbosses yet, you should be able to get a maximum of 152 coins from Unique Monsters on a first playthrough. Combine that with the 98 from leveling up and you will have a grand total of around 250 Affinity Coins for each character. On New Game+, you can defeat all of the Unique Monsters again for more coins; keep doing this over and over on subsequent playthroughs, up to a maximum of 999 Affinity Coins.
On a first playthrough, you should hopefully have around 230-250 Affinity Coins
| Character | Skill Links |
|---|---|
| Fiora | High Speed (Melia), Always Ready (Sharla), Underdog, Battle Cry, Friendship Heals, Equipment Master (Shulk), Reckless Courage, Ties of Friendship, Flying Start, Against the Odds, Shoulder to Shoulder (Reyn), Critical Drain, Steel Protection (Dunban), Amazing Stars!, Pretty Stars!, Watch Out! (Riki) |
| Reyn | Pretty Stars!, Riki Strong!, Amazing Stars! (Riki), Warrior’s Ambition, Equipment Expert, Sustained Spirit (Dunban), Underdog, Chain of Friendship, Ultimate Teamwork (Shulk), Always Ready (Sharla), Power of the Moon, High Speed, Amplified Hearing (Melia), Battle Stance (Fiora) |
| Shulk | Amazing Stars!, Pretty Stars!, Watch Out! (Riki), Equipment Expert, Reckless Abandon, Invincible Hero, Twin Swords (Dunban), Ties of Friendship, Battle Character, Reckless Courage (Reyn), Always Ready (Sharla), High Speed, Power of the Moon (Melia), Critical Combo, Ultimate Strike (Fiora) |
| Riki | High Speed, Ultimate Ether, Ether Awareness (Melia), Always Ready, Ether Assault, Ether Expansion, Ether Explosion (Sharla), Healing Wisdom, Chain of Friendship (Shulk), Ties of Friendship (Reyn), Steel Protection (Dunban), Nimble Feet (Fiora) |
| Sharla | Amazing Stars!, Adventure Time! (Riki), Sustained Spirit (Dunban), Friendship Heals, Healing Wisdom, Chain of Friendship (Shulk), Ties of Friendship (Reyn), Ultimate Ether, Ether Awareness, Arcane Aura, Amplified Ether (Melia), Showdown Stance, Nimble Feet (Fiora) |
| Dunban | Pretty Stars!, Watch Out!, Amazing Stars! (Riki), Always Ready (Sharla), Equipment Master, Friendship Heals, Chain of Friendship, Ultimate Teamwork (Shulk), Battle Character, Ties of Friendship, Against the Odds (Reyn), High Speed, Power of the Moon (Melia), Nimble Feet, Ultimate Strike (Fiora) |
| Melia | Amazing Stars!, Adventure Time! (Riki), Ether Expansion, Ether Explosion (Sharla), Chain of Friendship, Friendship Heals, Stealth Warrior (Shulk), Ties of Friendship (Reyn), Steel Protection (Dunban), Nimble Feet, Showdown Stance (Fiora) |
Topple Locking
There is one strategy that revolves around the Break -> Topple mechanic of the game, which is essentially called Topple Locking. If an enemy is Toppled and you perform another Art that inflicts it, then the timer is reset, pretty much making the enemy a sitting duck. The four essential party members who will work for this strategy are Shulk, Dunban, Reyn, and Fiora. Shulk can easily inflict Break with Stream Edge and Air Slash, although the only way he can inflict Topple is with Monado Cyclone, meaning he needs a full Talent Gauge. Reyn can topple enemies with Wild Down, which has an incredibly short cooldown timer.
Dunban can Break enemies with Electric Gutbuster, but this requires using Gale Slash before it. However, he does have Steel Strike to inflict Topple, and while it doesn’t have as short of a cooldown as Reyn’s Wild Down, it is still short. Lastly, Fiora can inflict Break with Air Fang and Topple with Final Cross. The good thing about Final Cross is that you don’t need to use an Art that Breaks before it, but it has two downsides. The first is that Final Cross has an extremely long cooldown, but that can be circumnavigated with Chain Attacks. The other problem, which is the bigger one, is that it requires very high Tension, so you will need to build that up before it’s even available.
You may be wondering why Daze isn’t included in this combo, and that’s because apart from Final Marcus, the rest of the superbosses are immune to Daze completely. So, any Arts that inflict Daze shouldn’t even have a home on your Arts palette when fighting the superbosses, unless you are going to use it for damage. If you want to use this strategy effectively, you’re going to probably want Topple Plus gems equipped on your characters. The Rank V crystals can drop from Jada/Jadals Arachnos in Tephra Cave, as well as from Goldi/Zeldi Kromars in Eryth Sea.
No Comments