


Losing the Taste for Alcohol
| Client | Rewards | Affinity |
|---|---|---|
| Nelo | 4750G, 1800 EXP, Confuse Resist III | None |
Nelo wants to go drinking with his friends, but he gets drunk very easily. He heard there’s something he can take that will make him want to drink less, but he needs you to go get the ingredients for it. The ingredients he needs are 2 lots of Feris Blood and 5 Pagul Hot Pots. The Feris Blood is dropped by any of the Feris enemies in Makna Forest (Makna Feris or Lupus Feris), but both Gadada (2 stars) and Nopon Sage (4 stars) offer it for trade. The Pagul Hot Pots will drop from Cruz Paguls in Eryth Sea, but you can also procure them by trading with Popipo in Alcamoth (2 stars). Once you have all of the items, bring them back to Nelo.
Building Bridges
| Client | Rewards | Affinity |
|---|---|---|
| Arielle | 5300G, 1750 EXP, Topple Resist III | None |
Before this quest becomes available, Vidian needs to be registered on the Affinity Chart; she can be found on the outer ring, past the southern bridge, south of the Imperial Palace landmark (06:00 - 18:00). Arielle’s daughter has suddenly started hating Homs and Nopon, and has no reason why this occurred. Her daughter is named Lesunia and she can be found on the second level of the city, southwest of the Imperial Palace landmark (at night); you must have Melia as party leader when speaking with Lesunia. She feels she can tolerate a conversation with you, if you can bring her 2 pieces of Marine Marble from the Eryth Sea. This is one of the items needed for the Collectopaedia, so you may already have them. If not, then go collect them and bring them to Lesunia (once again, Melia needs to be the one speaking to her). Report your findings back to Arielle.
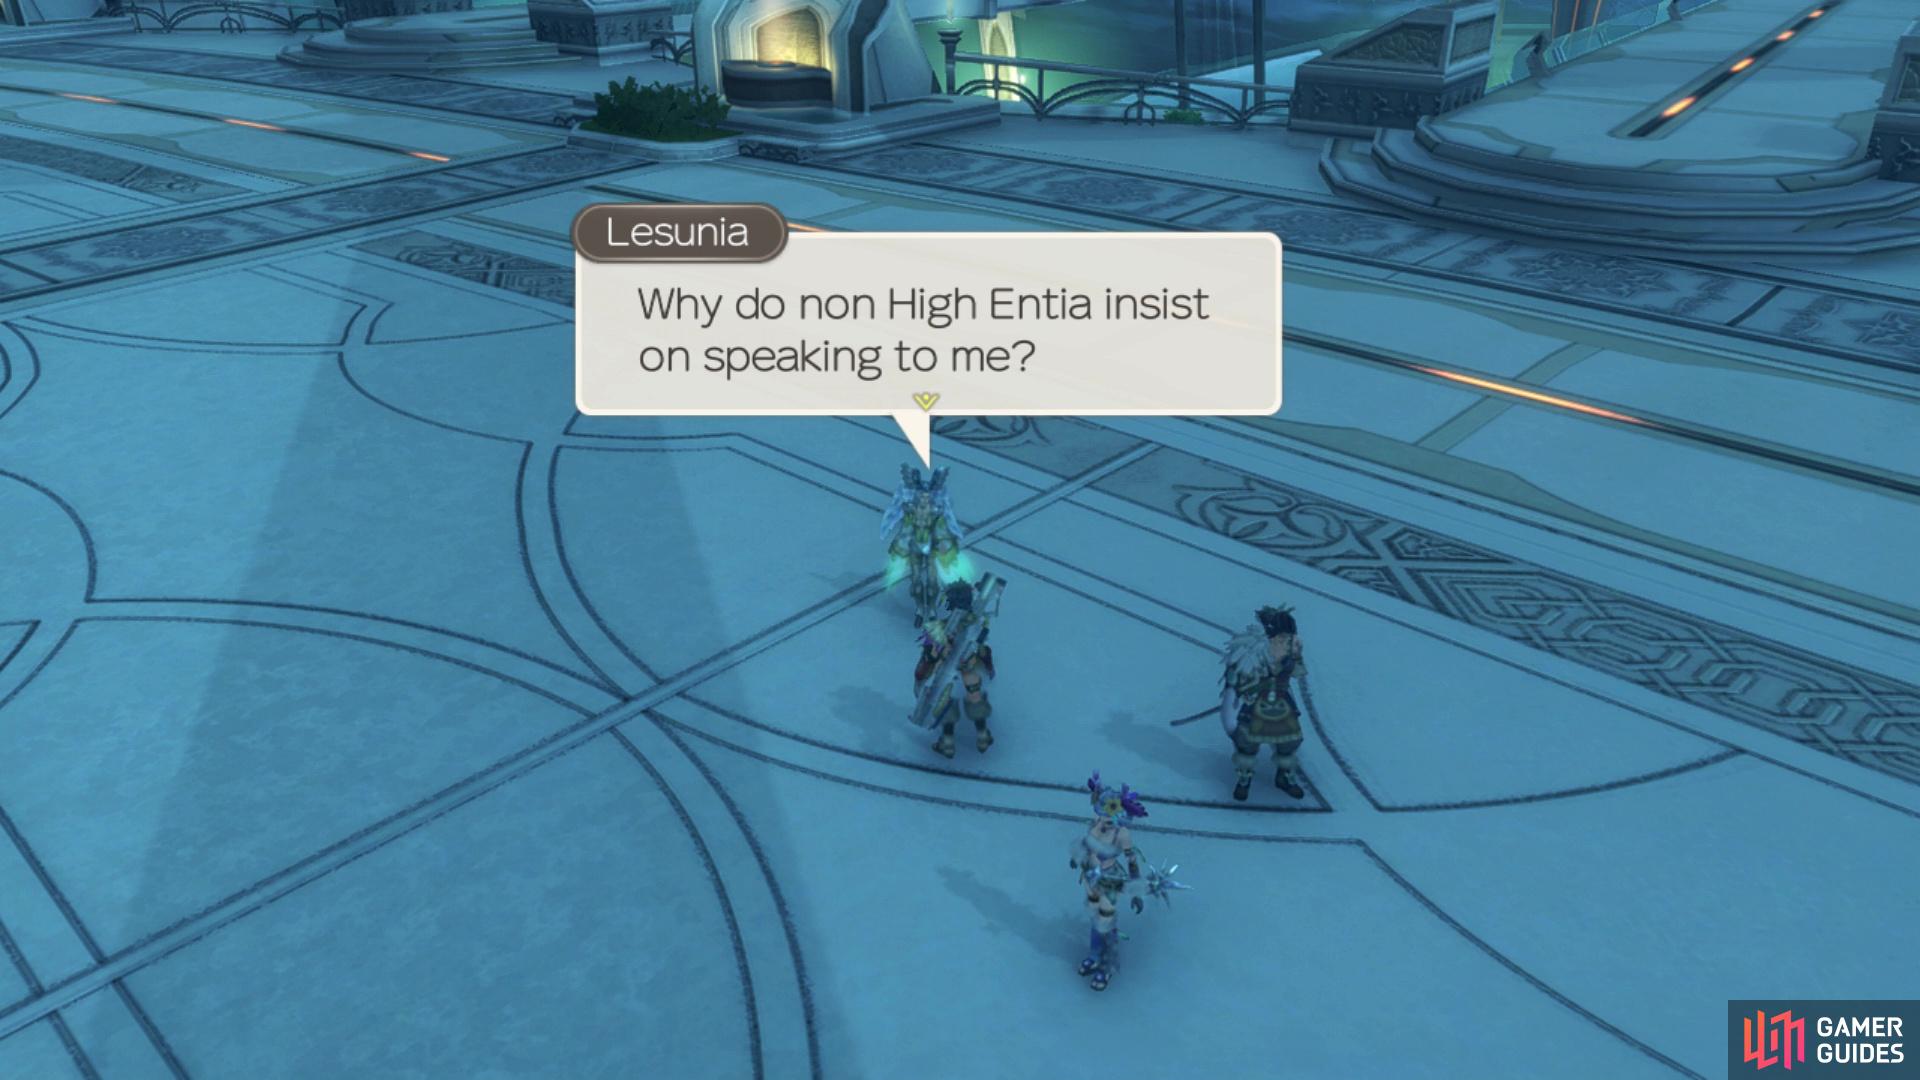
Lesunia will not speak with anyone but Melia, so make sure she’s in the lead
How Do They Feel?
| Client | Rewards | Affinity |
|---|---|---|
| Scarlen | 3800G, 1300 EXP, Spike Defence II | None |
Scarlen seems to have fallen for two of his friends and wants to know how they feel about him. You will need to speak with Ricoth first, who can be found northeast of the Fountain of Eternity, at night. Once you’re finished with her, speak with Rozeal, who should be right next to Ricoth. When you’ve talked to both of them, return to Scarlen.
How Do I Feel?
| Client | Rewards | Affinity |
|---|---|---|
| Scarlen | 4200G, 1700 EXP, Strength Down III, Phys Def Down III | None |
You need to complete How Do They Feel? before this quest becomes available. After helping out Scarlen before, both females approached him and told him they have feelings for him. So, now he has to pick one of them and depending on who you pick, there will be different quests following this one. Note that the decison by Scarlen will be whomever you speak with first, so talk with that one before the other. Upon speaking to the first person, talk with the other, then return to Scarlen to hear his decision. Ricoth will be Route A, while Rozeal will be Route B.
I Love You No Matter What
| Client | Rewards | Affinity |
|---|---|---|
| Scarlen | 4800G, 2100 EXP, Ether Protect IV | None |
This quest is only available if you chose to speak with Ricoth (Route A) first during How Do I Feel? Finally, Scarlen has decided to tell Ricoth he likes her. However, since Rozeal is always near Ricoth, he wants you to go in his place and deliver her a letter. Deliver the letter to Ricoth, then return to Scarlen.
Together Forever
| Client | Rewards | Affinity |
|---|---|---|
| Scarlen | 4800G, 2100 EXP, Physical Protect IV | None |
This quest is only available if you chose to speak with Rozeal (B Route) first during How Do I Feel? Scarlen has decided to answer Rozeal’s declaration with a letter, but since Ricoth is always near, he can’t do it himself. Deliver the letter to Rozeal, then return to Scarlen.
Back Pain
| Client | Rewards | Affinity |
|---|---|---|
| Galdo | 5500G, 1800 EXP, Bind II | None |
In order to begin this quest, you need to have Lar’shen registered on your Affinity Chart; he is across the way from Galdo, guarding the bottom of the stairs, at the same timeframe. A guard is suffering from back pain as a result of overexertion, but he still wants to go on a subjugation mission. Galdo wants you to go in his place, so he wants you to defeat 6 Archer Hodes in Eryth Sea. You can find Archer Hodes on Showdown Cliff, Hovering Reef 2, and the shore right next to the Ether Crystal Deposit locations. Upon defeating six of them, return to Galdo to report your deeds.
The Deciphering Machine
| Client | Rewards | Affinity |
|---|---|---|
| Ruthan | 5500G, 1500 EXP, Slow Resist III | None |
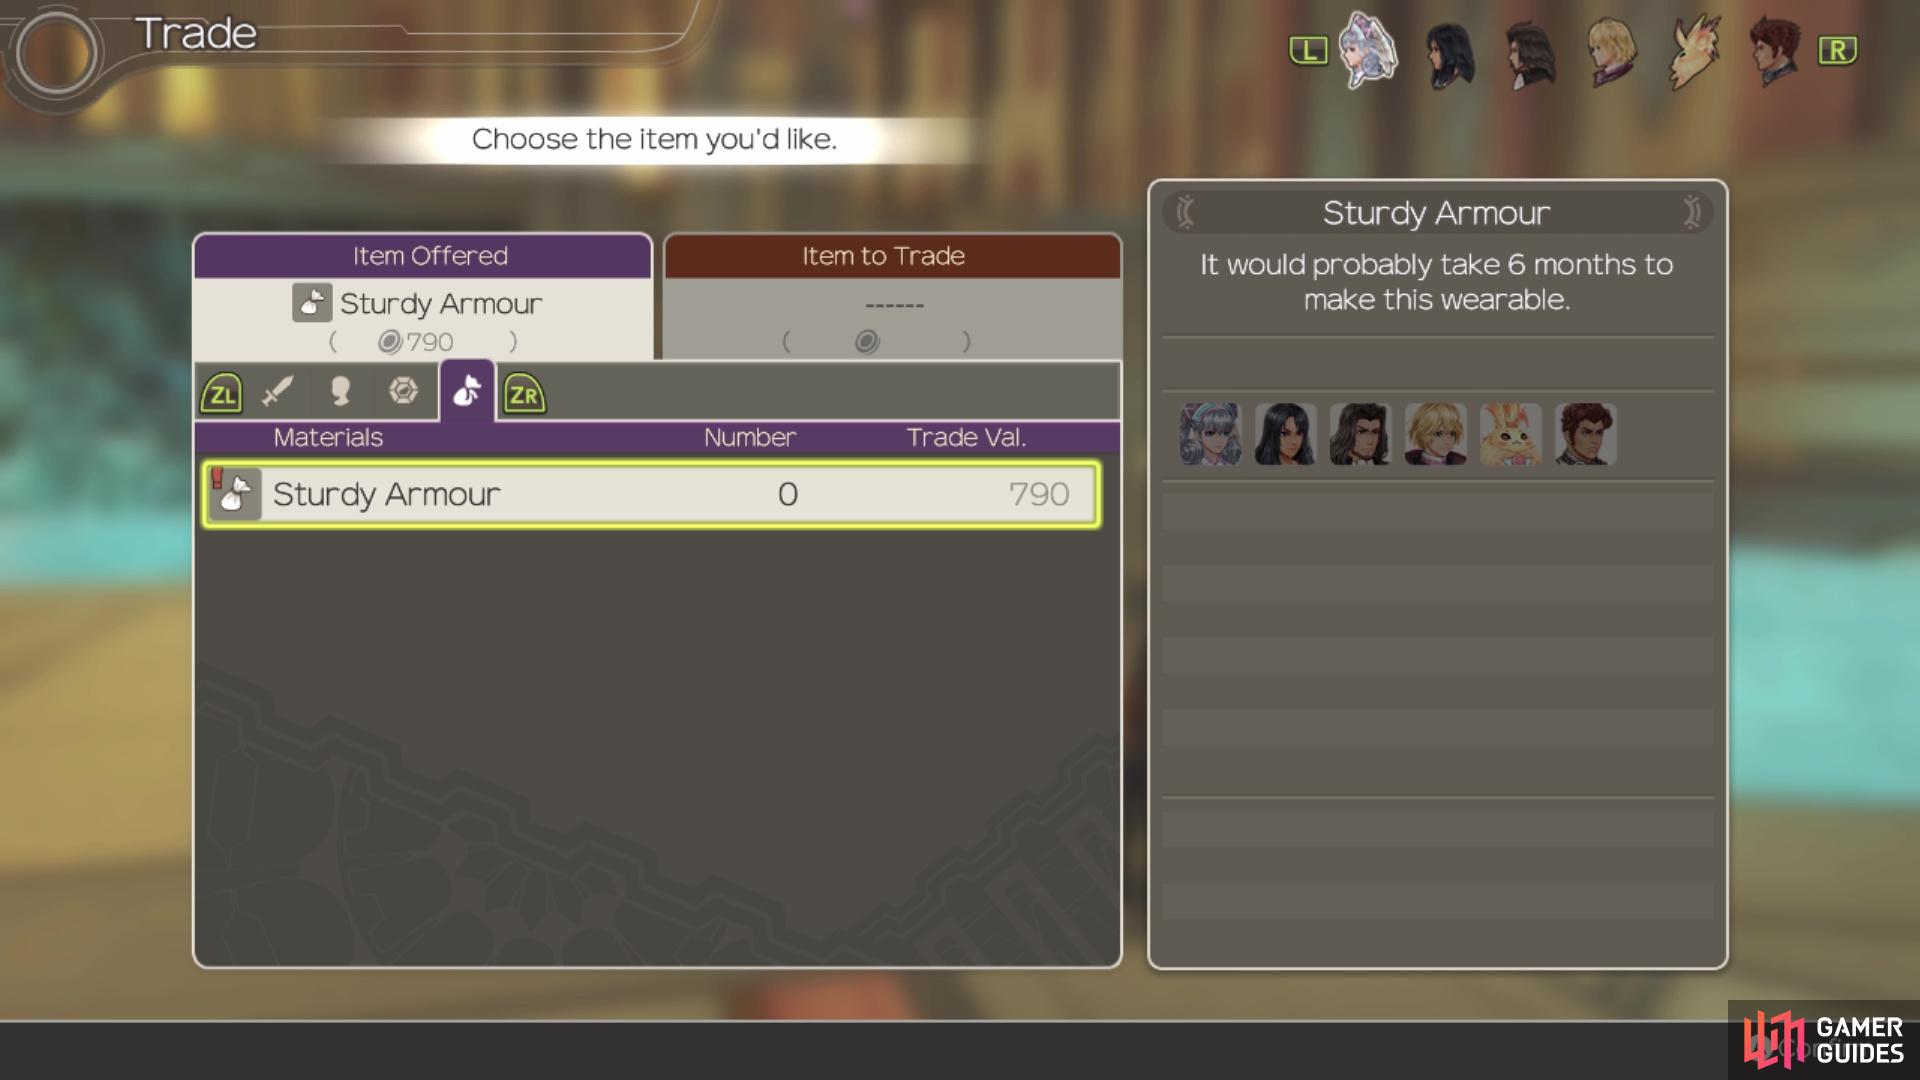
It’s a lot easier to trade for the Sturdy Armours
A team investigating ancient ruins have found some ancient writing, but the problem is that deciphering them will take a long time. The team has decided to build a machine to quicken this, but needs some materials. Ruthan wants 6 pieces of Sturdy Armour, which can be gotten from Flavel Andos at Eryth Sea. Flavel Andos can be found on Hovering Reefs 1, 3, 6 and 8, and you won’t find a lot of them on those reefs. It is much easier to trade for the Sturdy Armours, as both Jer’ell and Galdo have them at one star, and Cian has them at two stars. However you get them, bring the items back to Ruthan to finish.
Quests Available After High Entia Tomb
Starlight Gazer
| Client | Rewards | Affinity |
|---|---|---|
| Elior | 6900G, 2700 EXP, Amethyst Leggings | 2✰+ |
This quest will become available once Starlight Seeker has been completed. Elior is looking for a smart Nopon to help him improve the telescope he got, so he can see even more. He sends you to a Nopon named Kaleka, who can be found on the second level of the city, north of the Imperial Palace landmark, but at night. He says he can improve it, but needs the material first, mentioning that it’s in the High Entia Tomb. The item you need is located in the Second Treasury, which is a hidden area in the tomb. Travel to the Tower of Trials - Bridge landmark and head backwards, into the hallway just before it.
The secret passage is easily visible behind the enemy blocking it
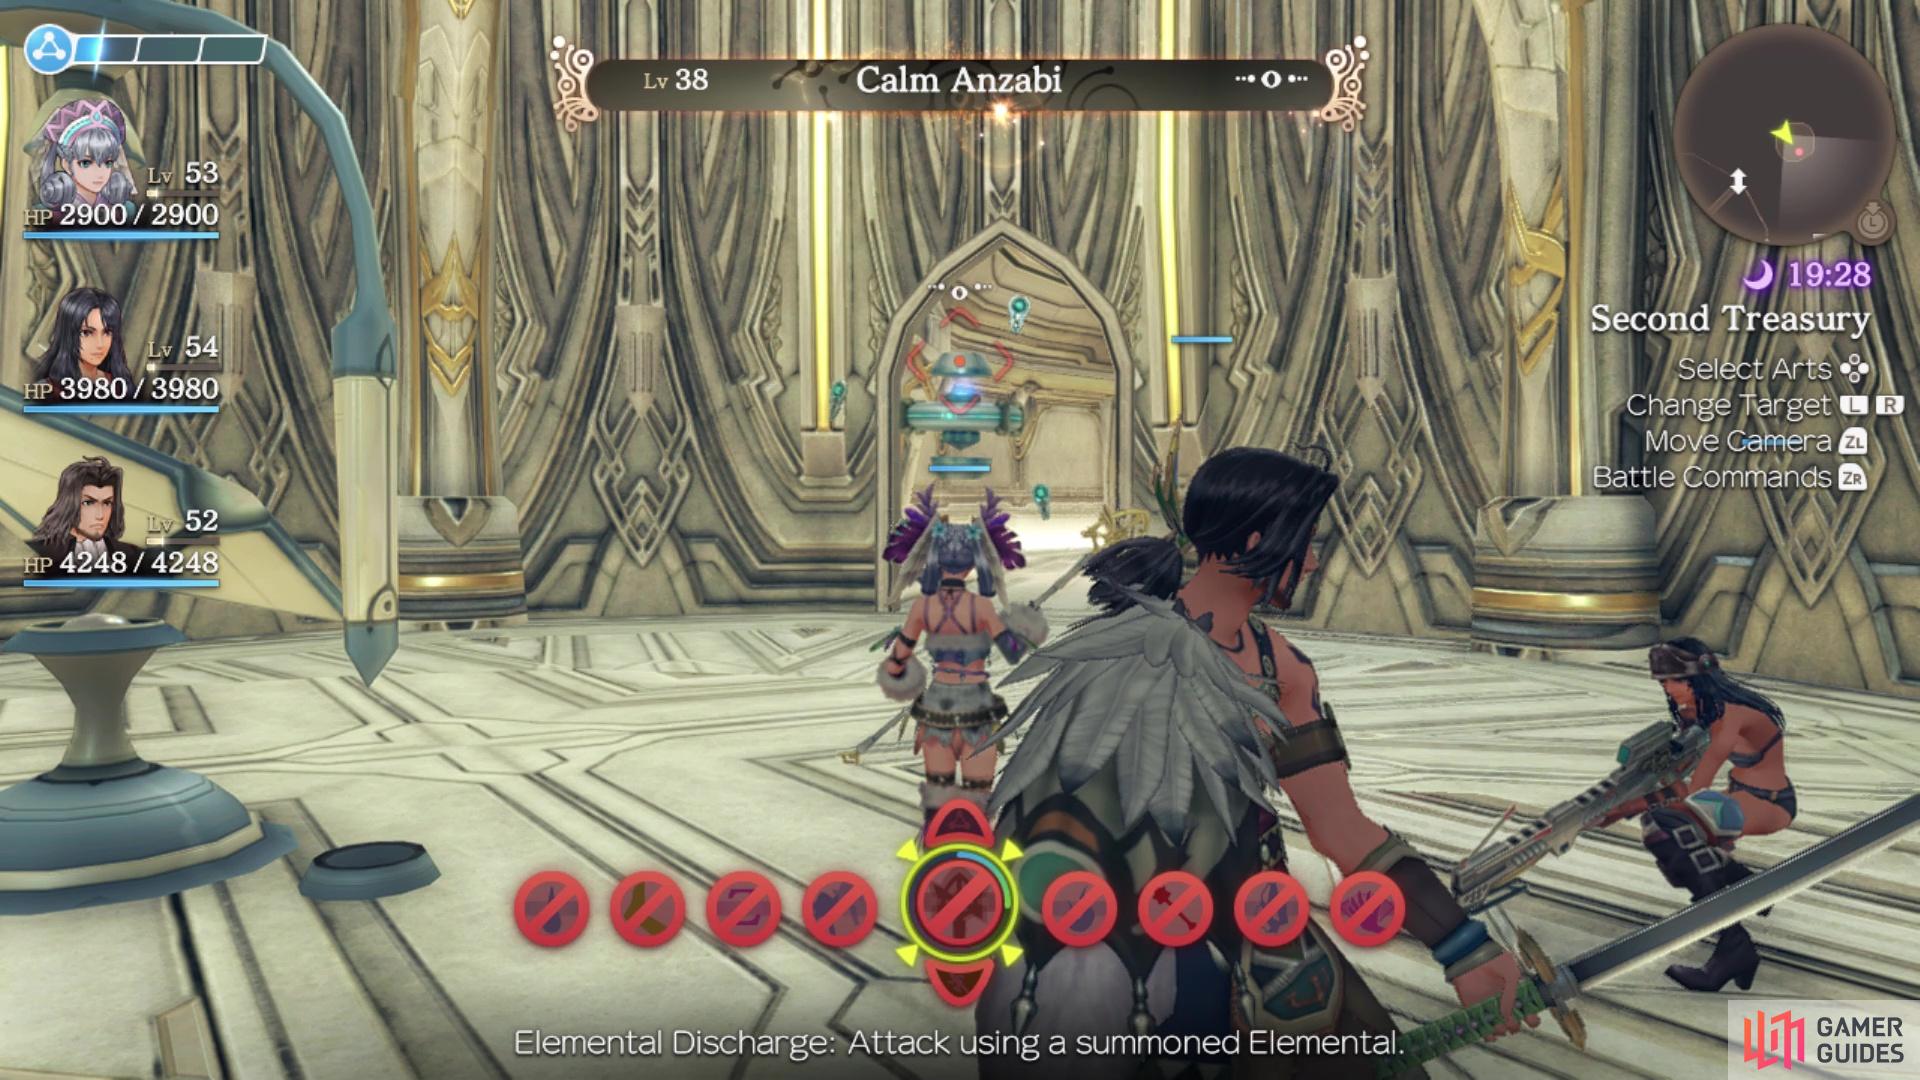
Calm Anzabi will appear once you’re in the room
The second recess, on the northern side, will have a hallway that doesn’t show up on the map. This leads to the Second Treasury, where you will find the Attachment Part needed for the quest. Note that a Unique Monster, named Calm Anzabi, will spawn at the doorway to this room. It is level 38 and completely independent of the quest, so as soon as you grab the item, you can fast travel out without having to fight the Unique Monster. Anyway, bring the item back to Kaleka, then return to Elior with the improved telescope.
A Necessary Upgrade
| Client | Location | Time of Day |
|---|---|---|
| Naroth | 6500G, 1800 EXP, Shell Gauntlets | 1✰+ |
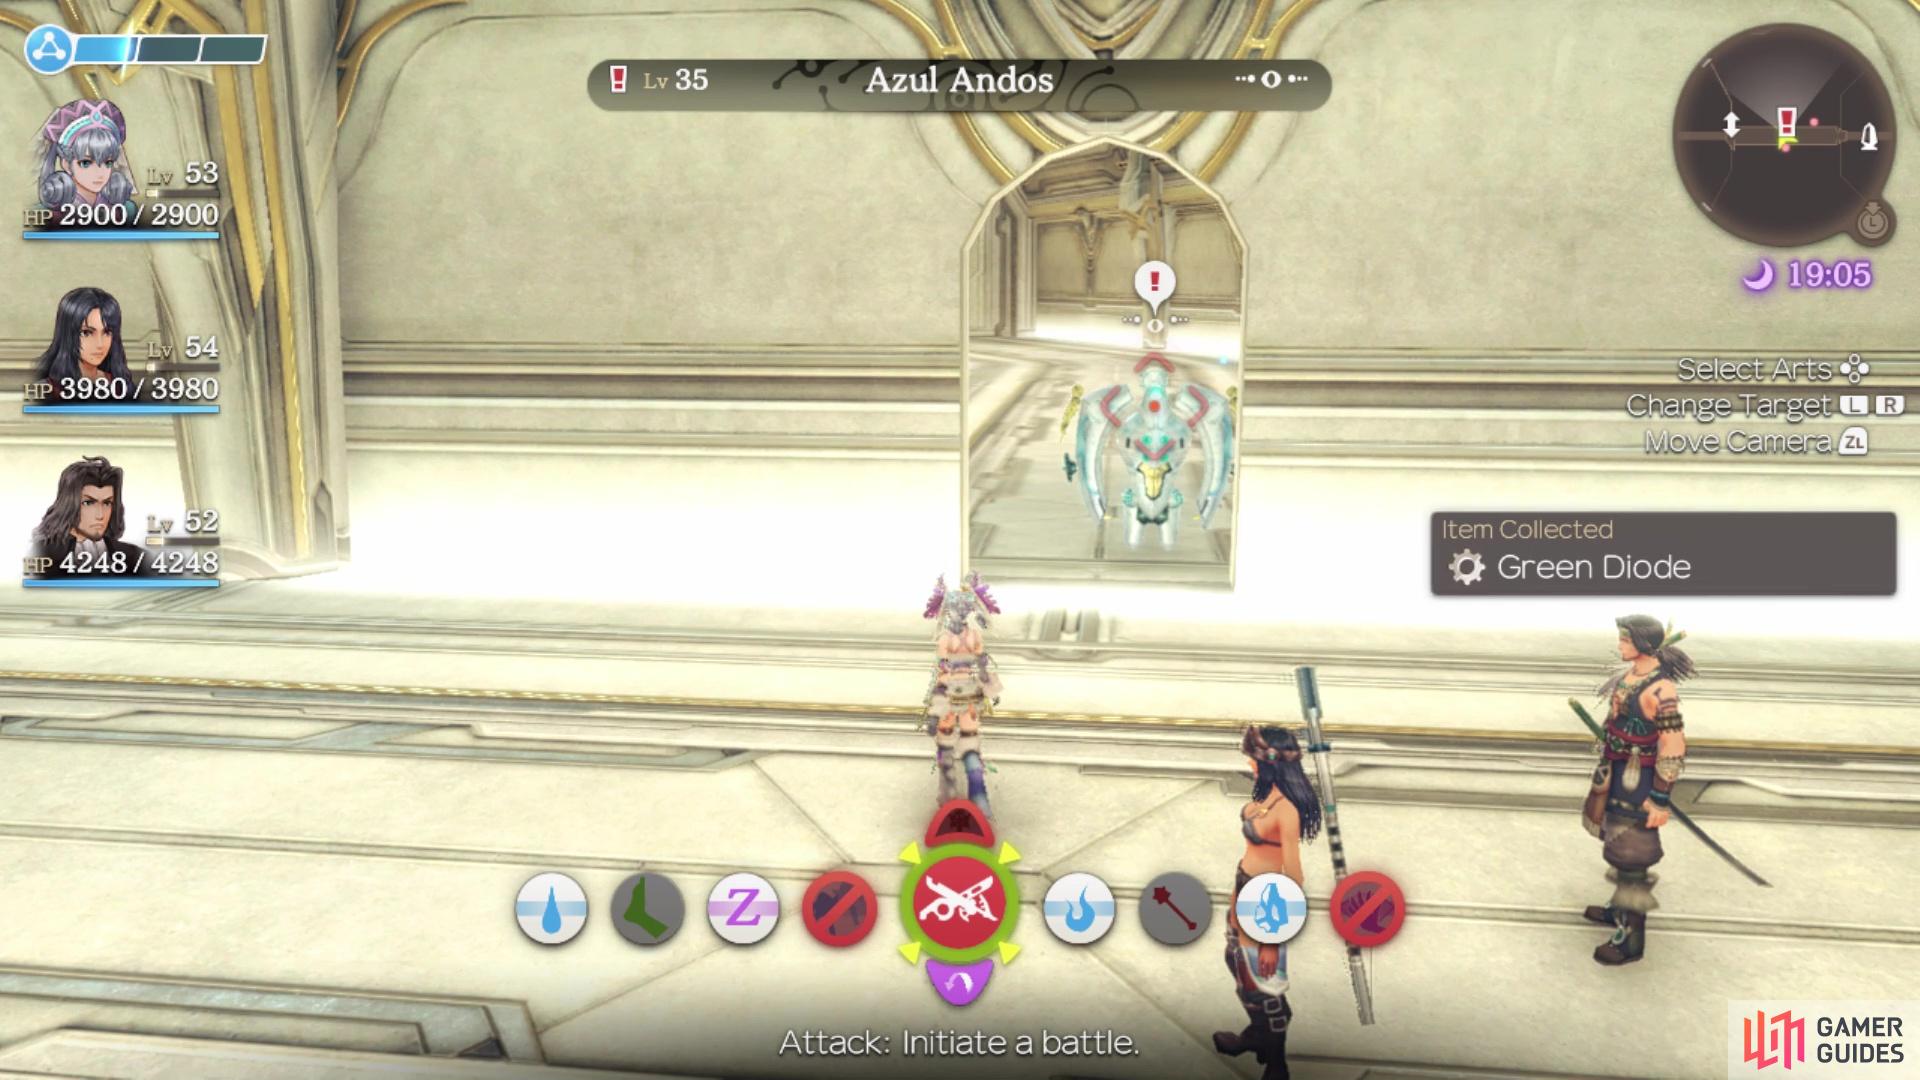
You will need to complete The Deciphering Machine before this quest becomes available. The accuracy of the deciphering machine is pretty low, so it’s not going to be possible to read the ancient texts at this rate. Naroth wants you to go collect some materials to make improvements. He will need 5 Green Diodes, which are a collectable inside of the High Entia Tomb. The other item he needs will be 3 Asta Remote Units, which drop from Hover Astas in the High Entia Tomb. If you travel to the Tomb Robber Pool landmark, two Hover Astas will spawn in the northernmost and southernmost rooms of the area. Once you have both sets of items, bring them back to Naroth.
Talia’s Research
| Client | Location | Time of Day |
|---|---|---|
| Talia | 6800G, 2250 EXP, Ether Def Up IV, Arts Seal Resist III | 2✰ |
You need to have finished A Necessary Upgrade for this quest to appear on the map. While speaking to Talia, you have a vision that says she’s going to the Satorl ruins alone. She doesn’t want you following her there, despite all of the warnings that it is dangerous. In particular, she is headed to the Place of Judgement, so that’s where you will be heading. Whenever you fast travel there, you will receive another vision. Either way, this place can be dangerous, as there are level 80+ Gogols patrolling, but the Place of Judgement has a level 35 Dogmatic Gogol standing on it. You will need to defeat it, but be wary of the nearby patrolling high-level Gogol. Once you defeat the Dogmatic Gogol, speak to Talia nearby to complete the quest.
Quests Available After Reaching Valak Mountain
The following two quests become available after you complete the events at Prison Island.
Believing Again
| Client | Rewards | Affinity |
|---|---|---|
| Vidian | 8500G, 4500 EXP, Amethyst Armour | 1✰+ |
In order to have this quest available, you need to have completed Building Bridges first. Vidian is located on the outer walkway on 1F of Alcamoth, towards the southern side. Thanks to you helping out Lesunia, she is now speaking with Vidian again, but she seems a bit cold. In order to get Lesunia to think about Vidian normally again, she asks you to get some Morning Dew Ice from Befalgar Pedestal at dawn. Belfagar Pedestal is one of the Secret Areas in Valak Mountain and is not too tricky to find.
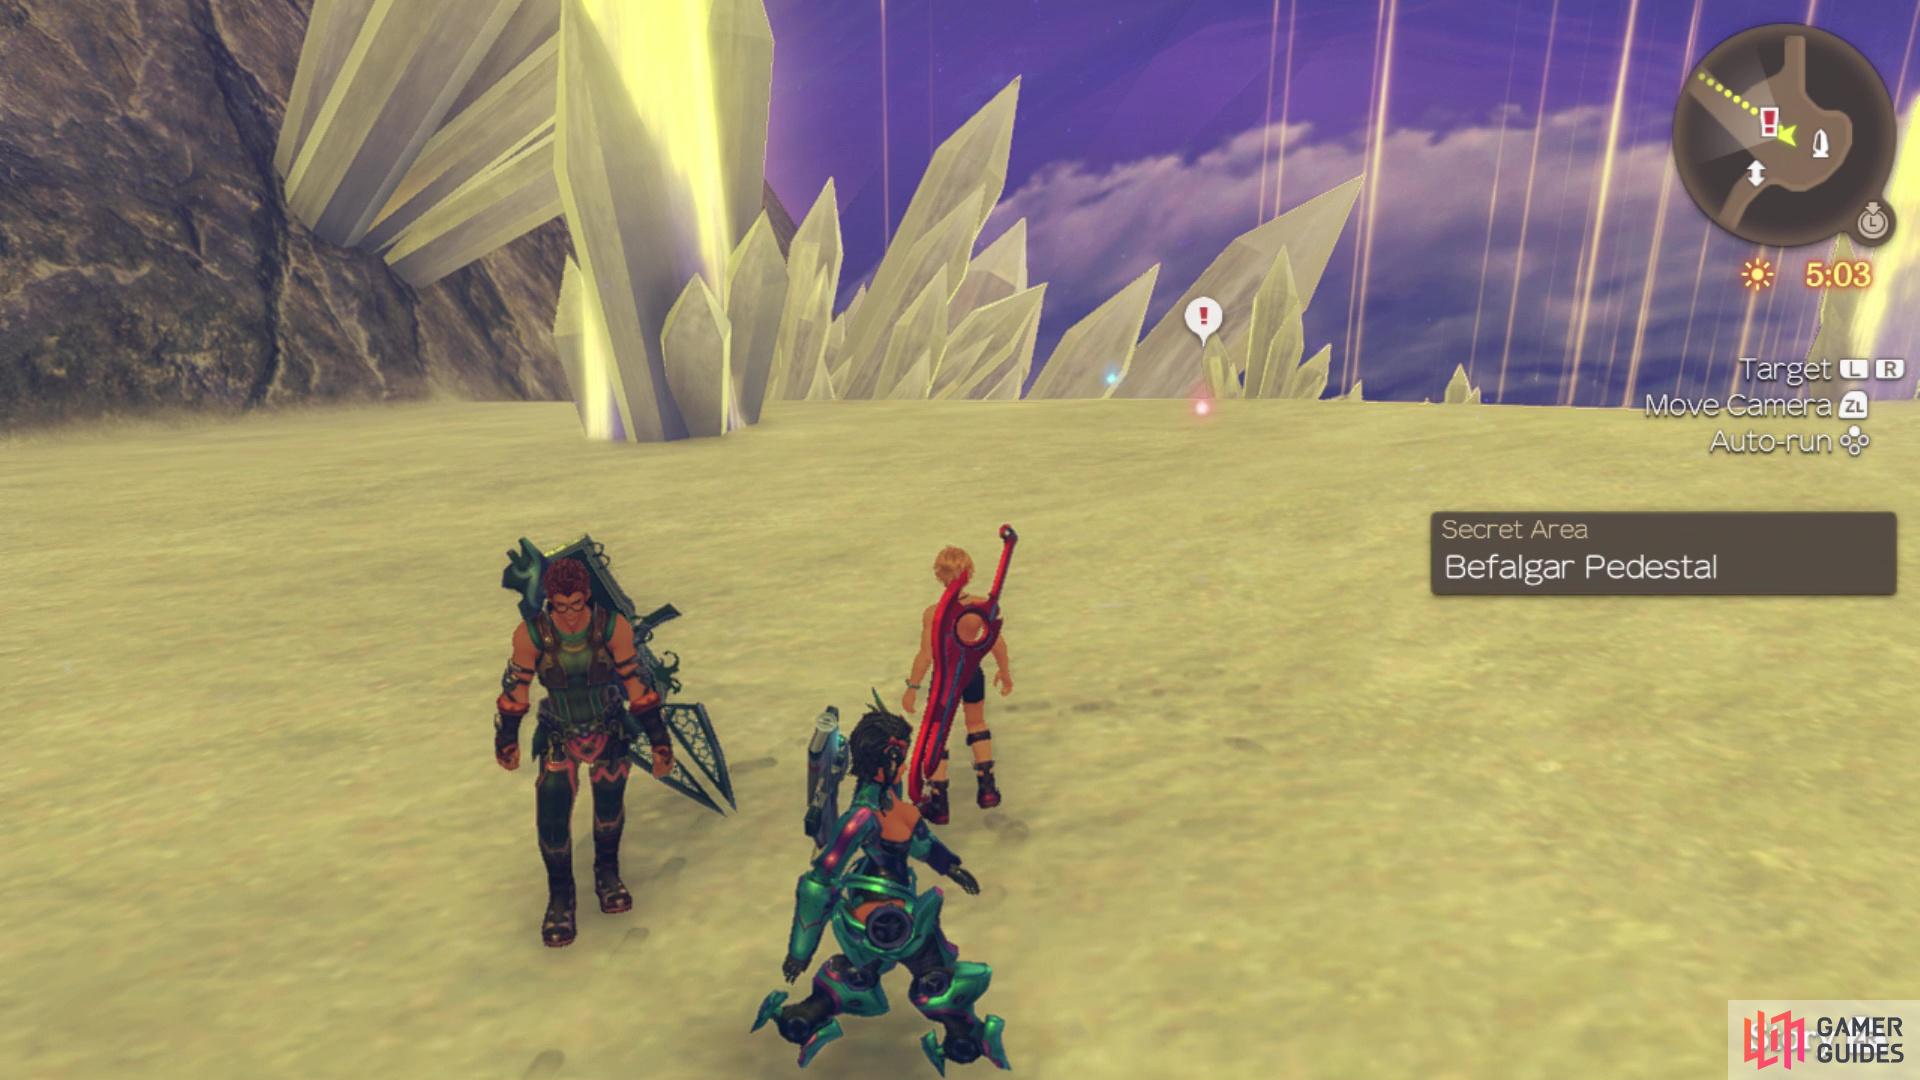
You can find the Morning Dew Ice only at dawn, so change the time when you get to Belfagar Pedestal
From the beginning of the map (Zokhed Pass), head up the first path on your right, then cross the land bridge to your south. You should pass by a hill that has some ice halfway up it; ignore this and use the climbable wall to your south to find an area with a bunch of Nebulae. There will be another path here, leading to one more little wall to climb and Belfagar Pedestal. Change the time to 05:00 and you will find the red orb for the Morning Dew Ice. Bring it back to Vidian in Alcamoth, who will ask you to bring something to Lesunia. She is found southwest of the Imperial Palace at night. Once you talk to Lesunia, return to Vidian to complete the quest.
Adventurers in Peril
| Client | Rewards | Affinity |
|---|---|---|
| Miriall | 11000G, 5200 EXP, Black Sniper | 2✰+ |
You will need to complete Preparing for Adventure 3 before this quest becomes available. Miriall is worried about Zain and Kurralth, as there has been no communication from the pair after they went to the ruins on Valak Mountain. Both of them are found on the path to Three Sage Summit, one of the Secret Areas on Valak Mountain. Before you can gain access to it, you first need to progress the main story enough to obtain the item that lets you melt ice. From Zokhed Pass, go down the hill and ignore the first path on the right. When you spot the second path on your map, take it and melt the ice.
This path diverges into two, but you want the incline heading northwest. This will culminate in an ice slide that shoots upwards. At the end of this slide, time a jump off of it and if done right, you should reach a climbable wall. At the top, you will be on the path to Three Sage Summit. Both Kurralth and Zain will be found on this path, so speak to them both (don’t forget to discover the Three Sage Summit landmark). After speaking to them both, return to Miriall in Alcamoth to report that they are safe.
Quest Available After Events at the Mechonis Core
Vidian Rescue Mission
| Client | Reward | Affinity |
|---|---|---|
| Surprise Quest | 58000G, 97500 EXP, Gracielle Helm, Gracielle Arms, Gracielle Greaves | – |
Once you have slain 5 Aora Telethia during Restoring the Capital, you will trigger this Surprise Quest. You will need to firstly complete Broken Ether Furnace 1 and 2. Once the transporters work, you’ll be able to move around the Imperial Palace again. You will need to use the transporter in the southeast of the palace to reach Whitewing Palace where you will then find Vidian. Speaking to her will complete the quest.
No Comments