


Lift Battle

As soon as you enter the fortress, you’ll unlock the Ether Influx Conduit and then follow the linear path to enter the fortress proper to trigger a Story Quest. Once you regain control you’ll unlock Main Maintenance Bay and have a new objective, finding a way down the fortress. Begin by heading around to the north of this room where you’ll find the 1st Fuel Supply Room with a bunch of Mechon that won’t Aggro.
Continue around counterclockwise to reach 2nd Fuel Supply Room where a Lv 53 Sentinel Mechon awaits. There’s no way around this, you’ll have to fight all the enemies here so be sure to focus on using area attacks such as Shulk’s Stream Edge and Monado Eater or Melia’s various Summon spells such as Wind and Flare. Once you defeat the Sentinel, you’ll obtain the Fortress Pass Key you were searching for and then continue circling around to the south of the room where you’ll unlock 3rd Fuel Supply Room where you’ll spot a Lv 53 Unique Monster, Precious Retrato. Be sure to take out the supporting Mechon first before focusing on Retrato itself. Make your way into the center of this level now, claim the Ether Deposit and interact with the lift to complete the Story Quest and then head down to the next level.
As you step off the lift on B1F, you’ll soon reach an intersection but ignore both north and south and continue west to trigger a scene and the next set of Story Quests.
Supply Station Battle and Turbine Battle
You’ll need to shut down the Turbines if you’re to have any impact on the Pistons so begin your search by unlocking the Main Control Room Landmark following the scene. Begin by heading north to reach the 2nd Turbine Room and defeat the Mechon there to allow you to interact with the Control Panel. Head south from the Main Control Room now to reach the 1st Turbine Room where you’ll spot a Lv 52 Unique Monster, Glacier Acon that you should swiftly dispatch. Once the room is clear, interact with yet another Control Panel to shut it off and complete the Turbine Battle Quest.
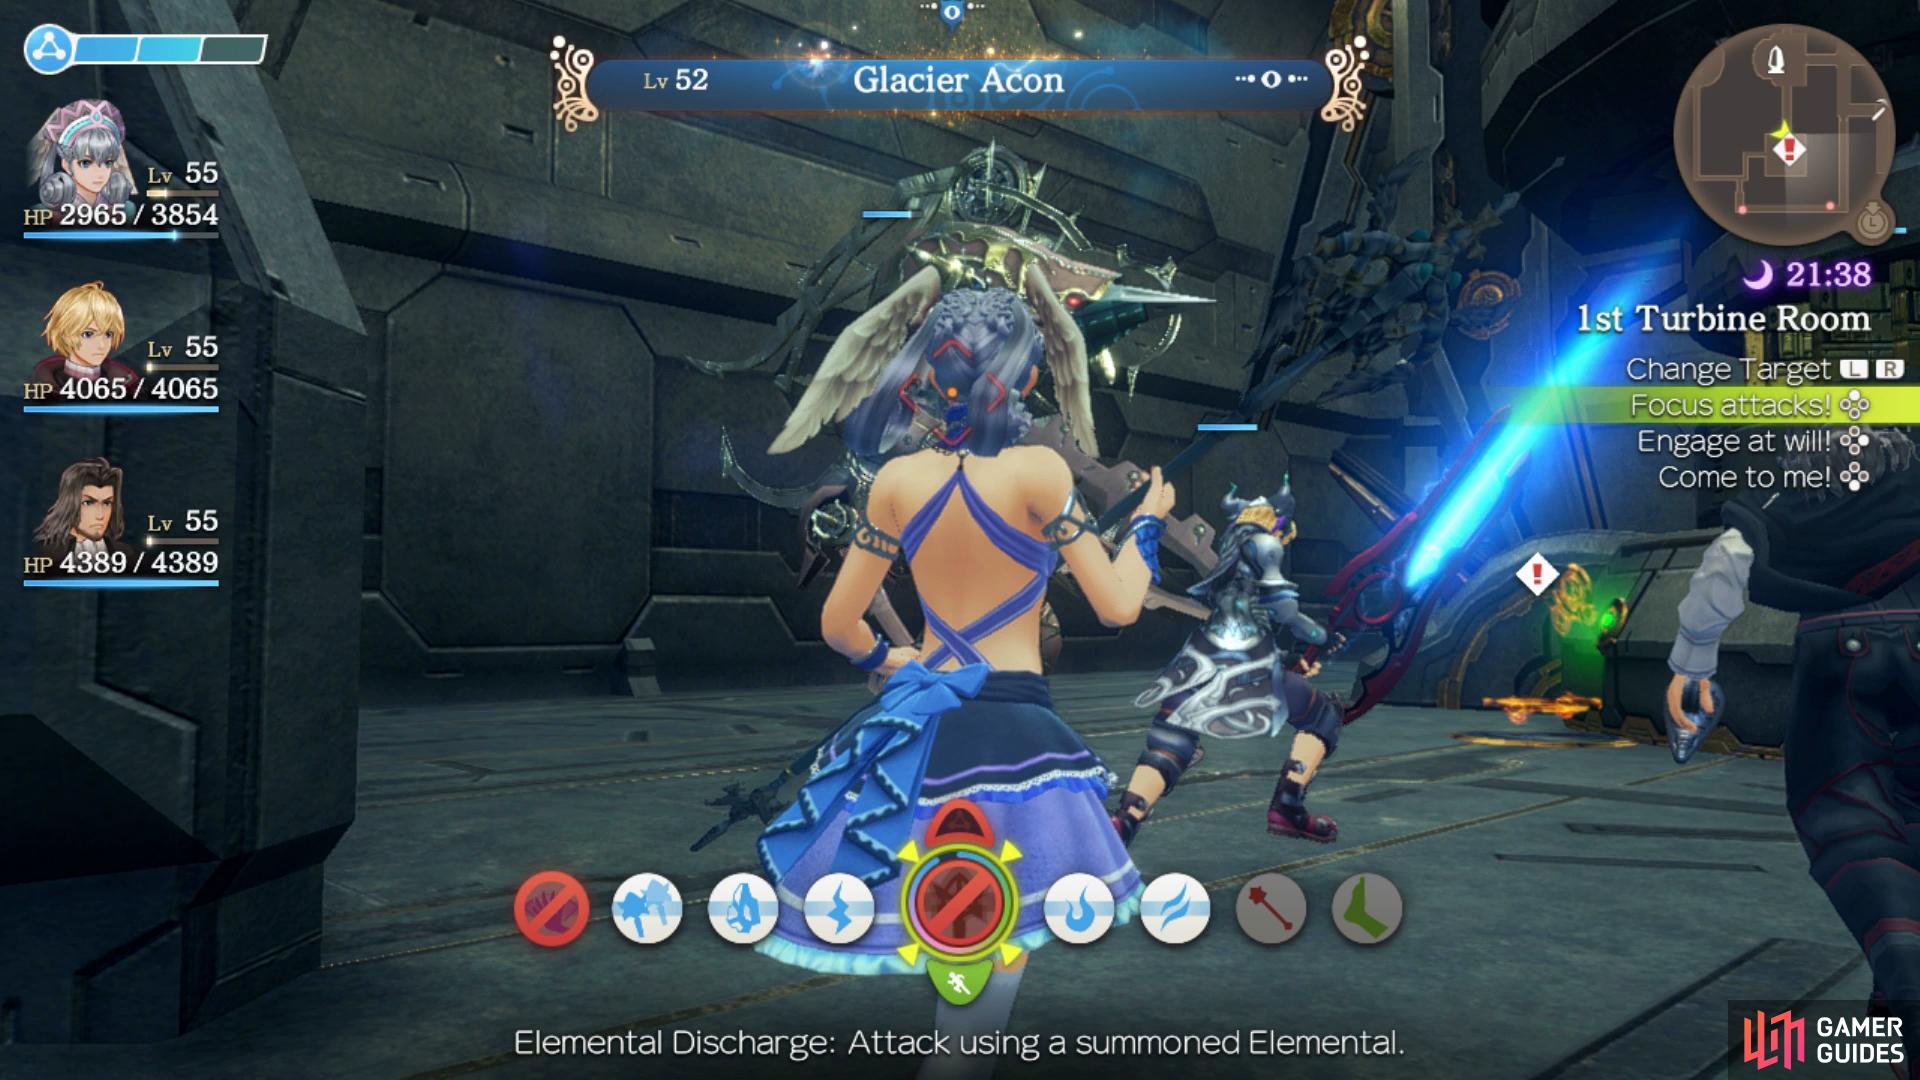
Glacier Acon is one of three Unique Monsters you’ll want to take care of during Galahad Fortress.
Return to the Main Control Room once more and head east to reach the intersection again, opting to go south to unlock the Blast Furnace Conduit. Follow this to the end and then when you return to the main room, continue to follow the path around to reach the Piston Control Room where you can interact with the Control Panel to trigger a scene and complete the Supply Station Quest.
Return to the Main Control Room again and return to the intersection to the east, taking the northern path this time to find a slope leading down to B2F where you’ll unlock Ether Input Stream. Use the walkway here to head around to the southern side of this area and exit through the door here. Follow this path back up to B1F where you’ll find an Ether Deposit and the Safety Device Key. Return to the Piston Control Room once again but this time follow the walkway to the north where you’ll find a Self-Destruct Device. Go ahead and interact with it to destroy the Turbine Room and then take the pipe up to it to find some Collectables that have a high chance to contain Art Core Coils, two of which you’ll need for Colony 6.
Return to the Ether Input Stream on B2F and then head down from the walkway and head west under the bridge to unlock the Ether Blast Furnace Landmark. You’ll spot a large group of Mechon standing in front of you with one of them being the Lv 55 Unique Monster, Glorious Jurom so be sure to dispatch all of them by focusing on the lesser enemies first. Once the area is clear, you’ll find four Ether Deposits and then continue west to unlock the Preparation Bay Landmark. This will actually complete the map for Galahad Fortress even though you’ll unlock a few more locations as part of the story in a moment. Once you’re happy with your progress in both Sword Valley and Galahad Fortress, interact with the lift and head down.
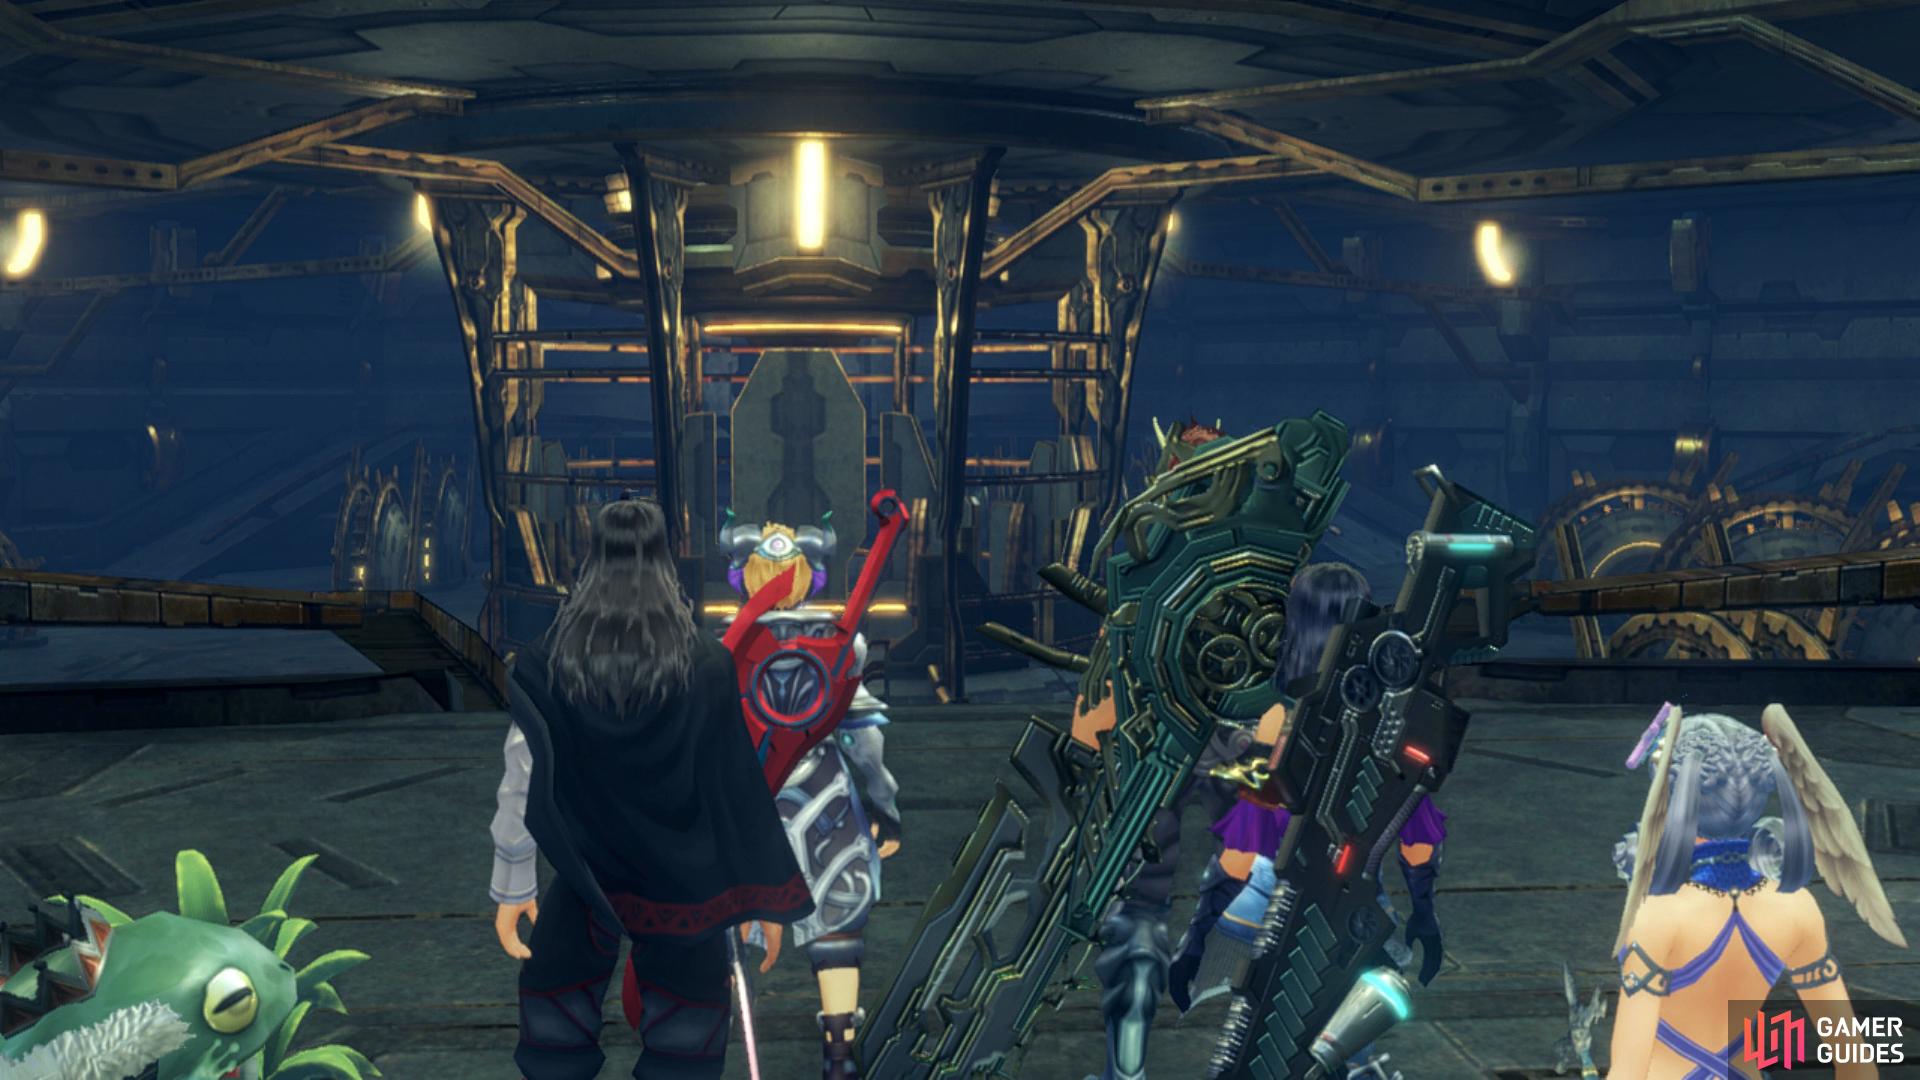
As you head lower into Galahad Fortress, you’ll unlock the Face Maintenance Bay along with triggering a scene. When you regain control you’ll trigger the Fiora’s Conviction Story Quest. Despite Fiora standing before you, your actual target here are the numerous Mechon that defend her so ignore her and focus your attention on them, ensuring that no harm comes to Fiora or the Quest will end. This should only be a simple warm up but apply caution all the same.
Boss: Face Nemesis and Gold Face
| Enemy | Level | Detection |
|---|---|---|
| Face Nemesis | 55 | Sight |
| Gold Face | 60 | Sight |
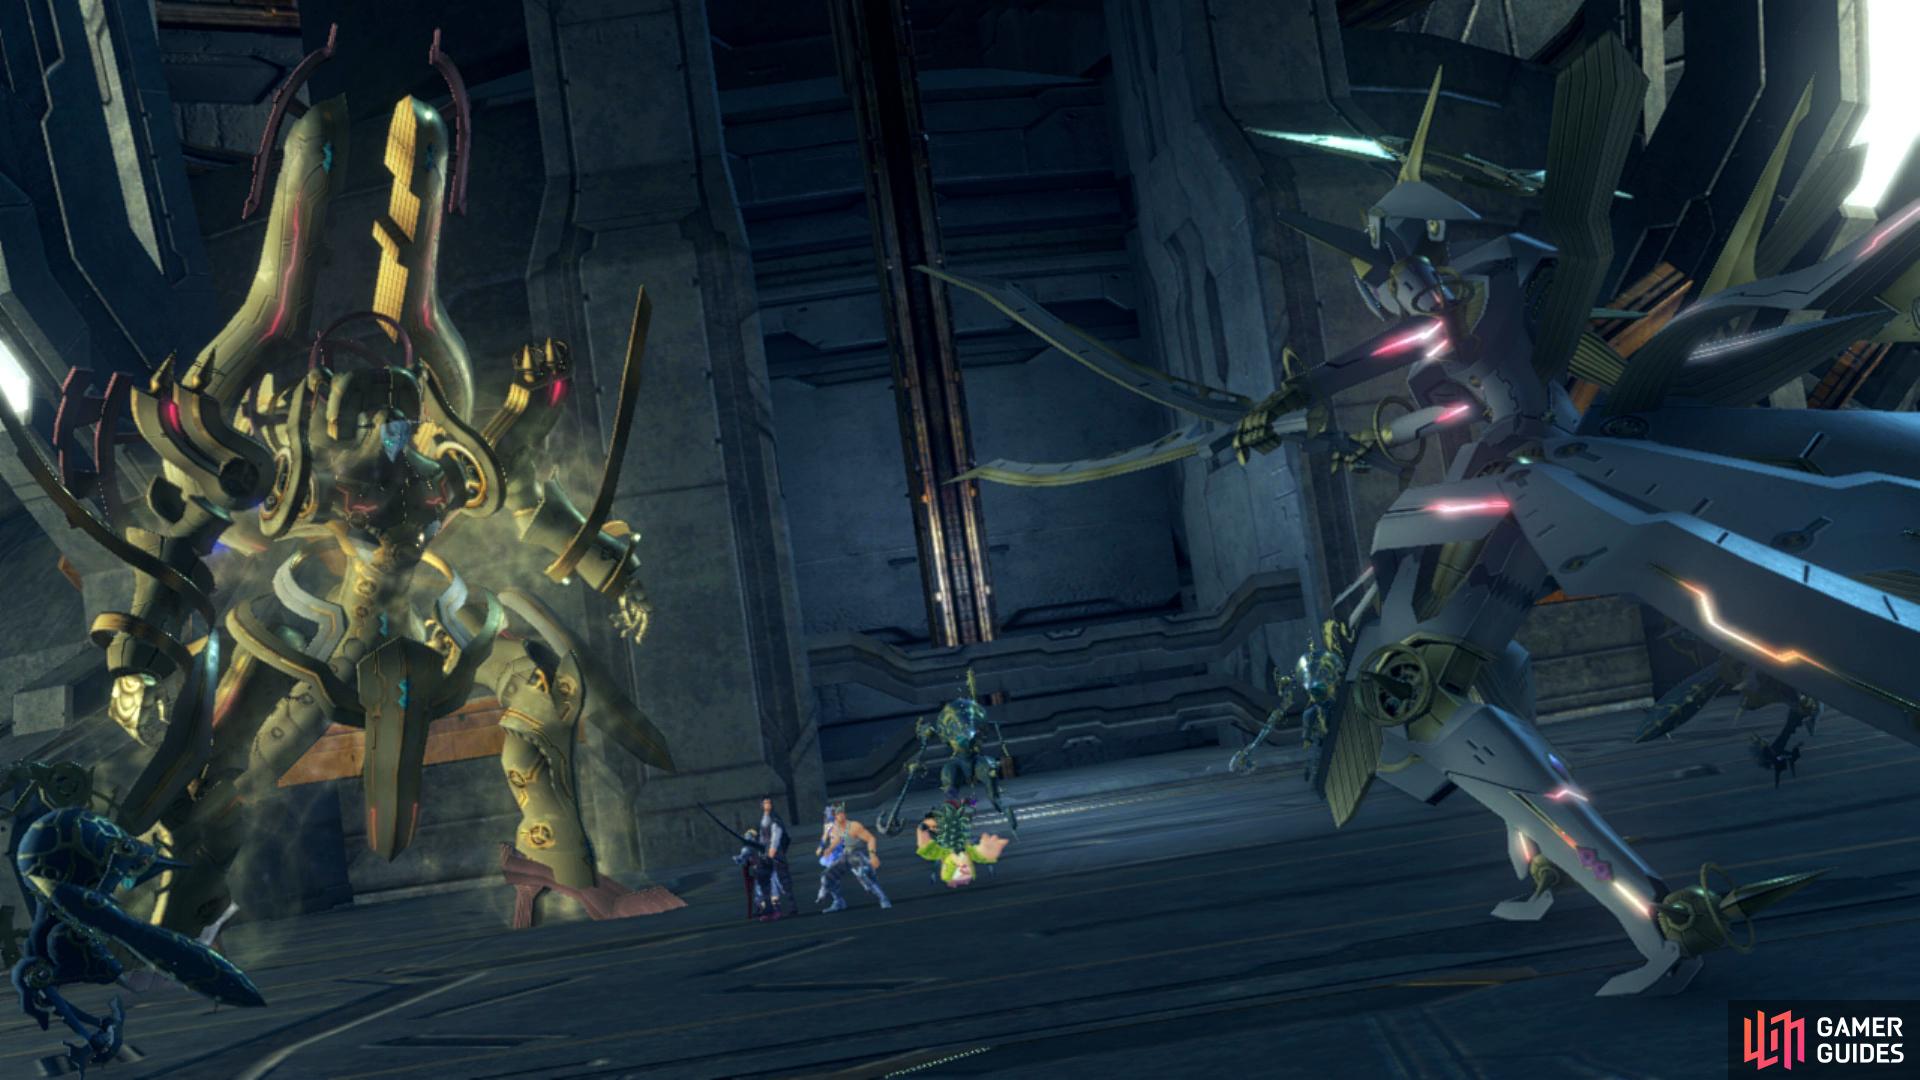
This is a battle you’re severely outmatched for as you go up against both Face Nemesis and Gold Face at the same time without the true aid of the Monado. The good news here is that you’ll only need to bring one of the two down to 50% HP to force the battle to end or survive for a certain amount of time and despite Gold Face’s superior Lv, either choice is fine. For the sake of the plot, Gold Face is the better target (because who doesn’t want to scrap that Mechon) but feel free to target Face Nemesis too.
Face Nemesis’ Arts
-
Brilliant Light - An Ether based Art that deals moderate damage to a single target while inflicting Bind.
-
Honorable Blow - A Physical based Art that deals moderate damage to all targets around her while inflicting Blowback and Daze.
-
Regal Cut - A Physical based Art that deals major damage to a single target.
-
Sublime Cure - Grants Regenerate to all targets in a circle around her.
As you can see, Face Nemesis’ Arts aren’t too much to worry about compared to some of the recent bosses, the only real concern is Honorable Blow which will cause a lot of issues if you’re hit by the Daze debuff as it’ll leave you open to attacks from Gold Face.
Gold Face’s Arts
-
Catastrophe - An Ether based Art that hits targets in a circle around Gold Face. He will use this to end the battle once HP drops below 50% or enough time has elapsed.
-
Egil Tail - A Physical based Art that deals moderate damage to a single target while inflicting Blowback and Daze.
-
King Breaker - An Ether based Art that deals moderate damage to all targets and both Topple and Agility Down.
-
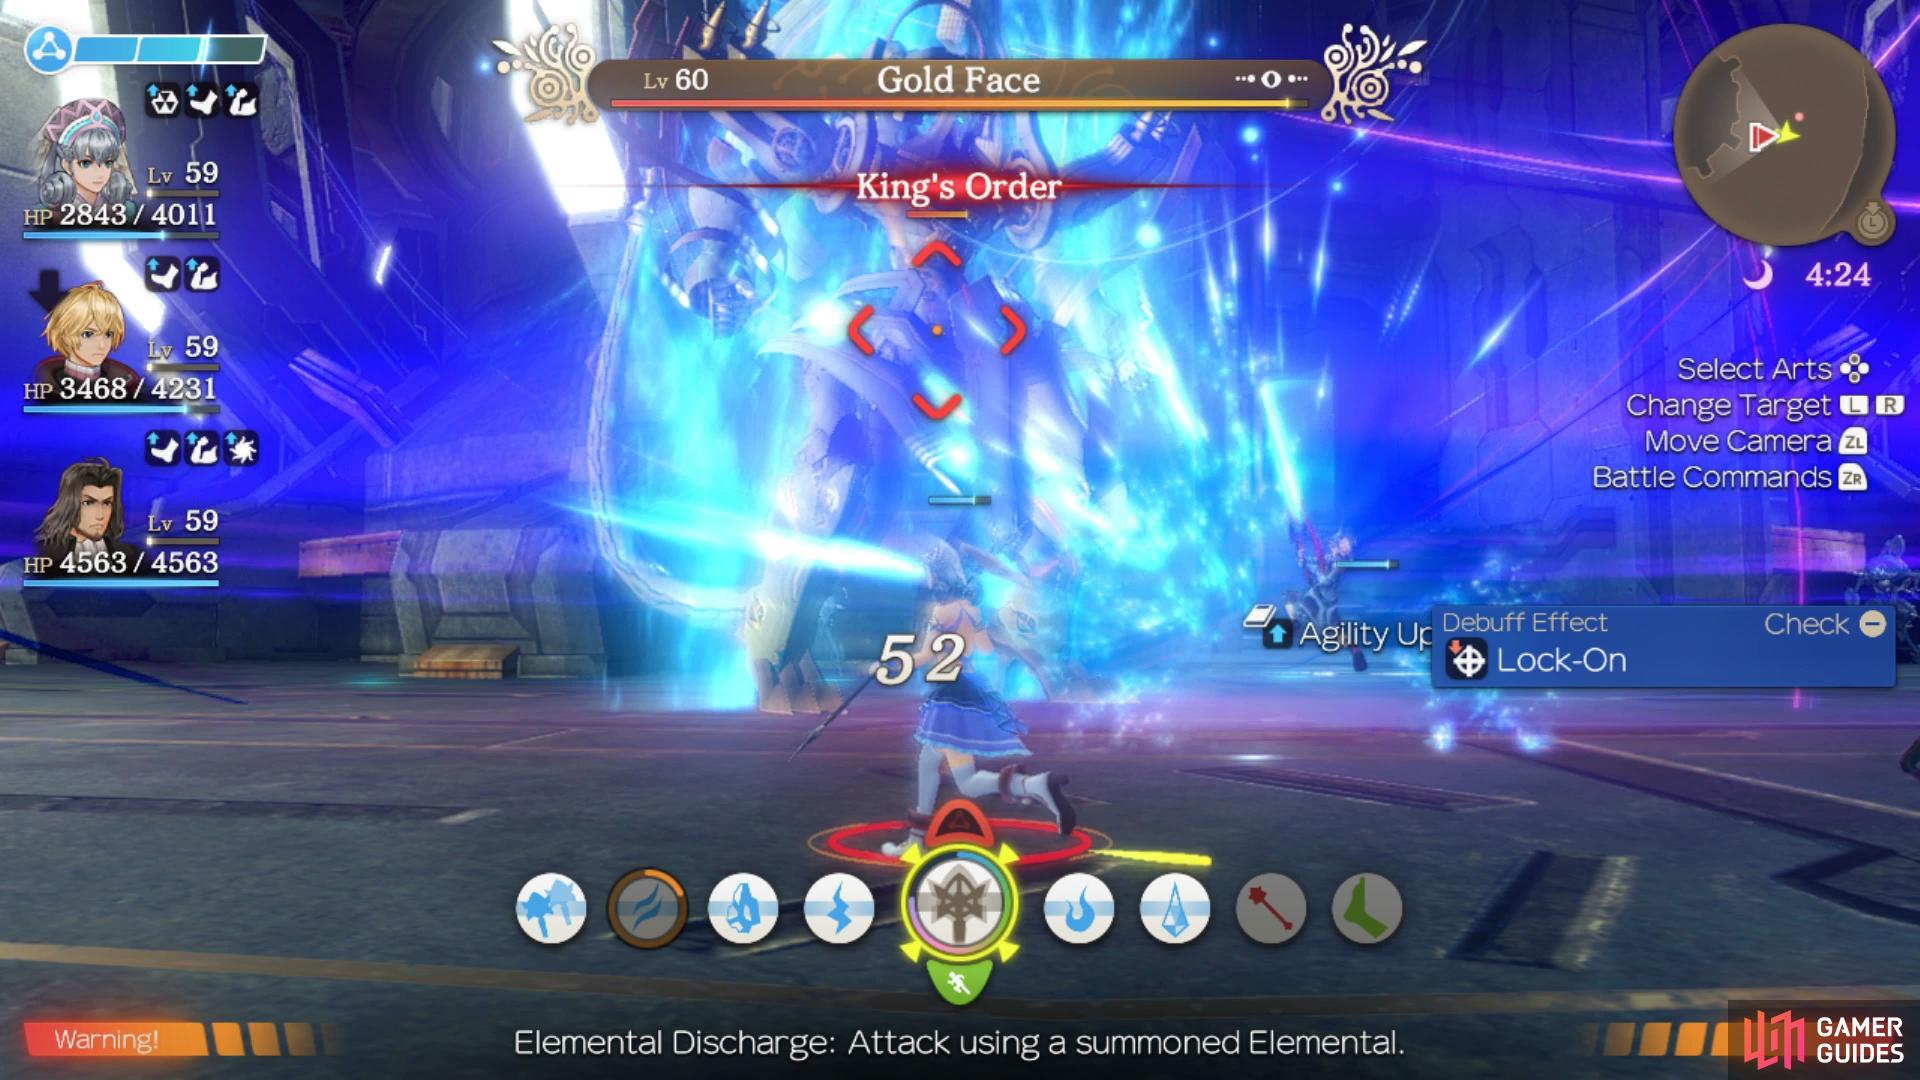
King’s Order - An Art that inflicts the Craze Aura on Gold Face, granting the Strength Up and Haste Buffs.
You’ll notice that Gold Face has far fewer damaging Arts than Face Nemesis and is the better target should you be within his Lv range. The only real concern here is that King Breaker will Topple the entire party with no way of avoiding it, this will allow Face Nemesis to get some attacks in while you’re recovering. Regardless of your target, the battle won’t be a long one either way, you’ll either fall quickly or force Gold Face to end it so keep your HP up and focus on one target to bring the battle to an end.
Many scenes will take place at the end of this battle, bringing the Chapter to an end.
No Comments