


Earnest’s Fibs
| Client | Rewards | Affinity |
|---|---|---|
| Earnest | 750G, 300 EXP, Lime Bangle | None |
Earnest tells you that there is an everlasting ether deposit very close by. Exit the Refugee Camp and follow the southern edge of the map to the east, only deviating to get on top of the hill right there. There will be a cave entrance, leading to a small cave with some Arachnos and Vangs. Ignore them, if you can, and inspect the Electric Ether Deposit to see that it is normal. Note that doing this will spawn five Fierce Vangs, who aggro on sight (they are level 14). You don’t have to fight them, so do whatever you want and report back to Earnest to complete the quest.
Earnest’s Mischief
| Client | Rewards | Affinity |
|---|---|---|
| Earnest | 1000G, 500 EXP, Earth Cloak II | 1 |
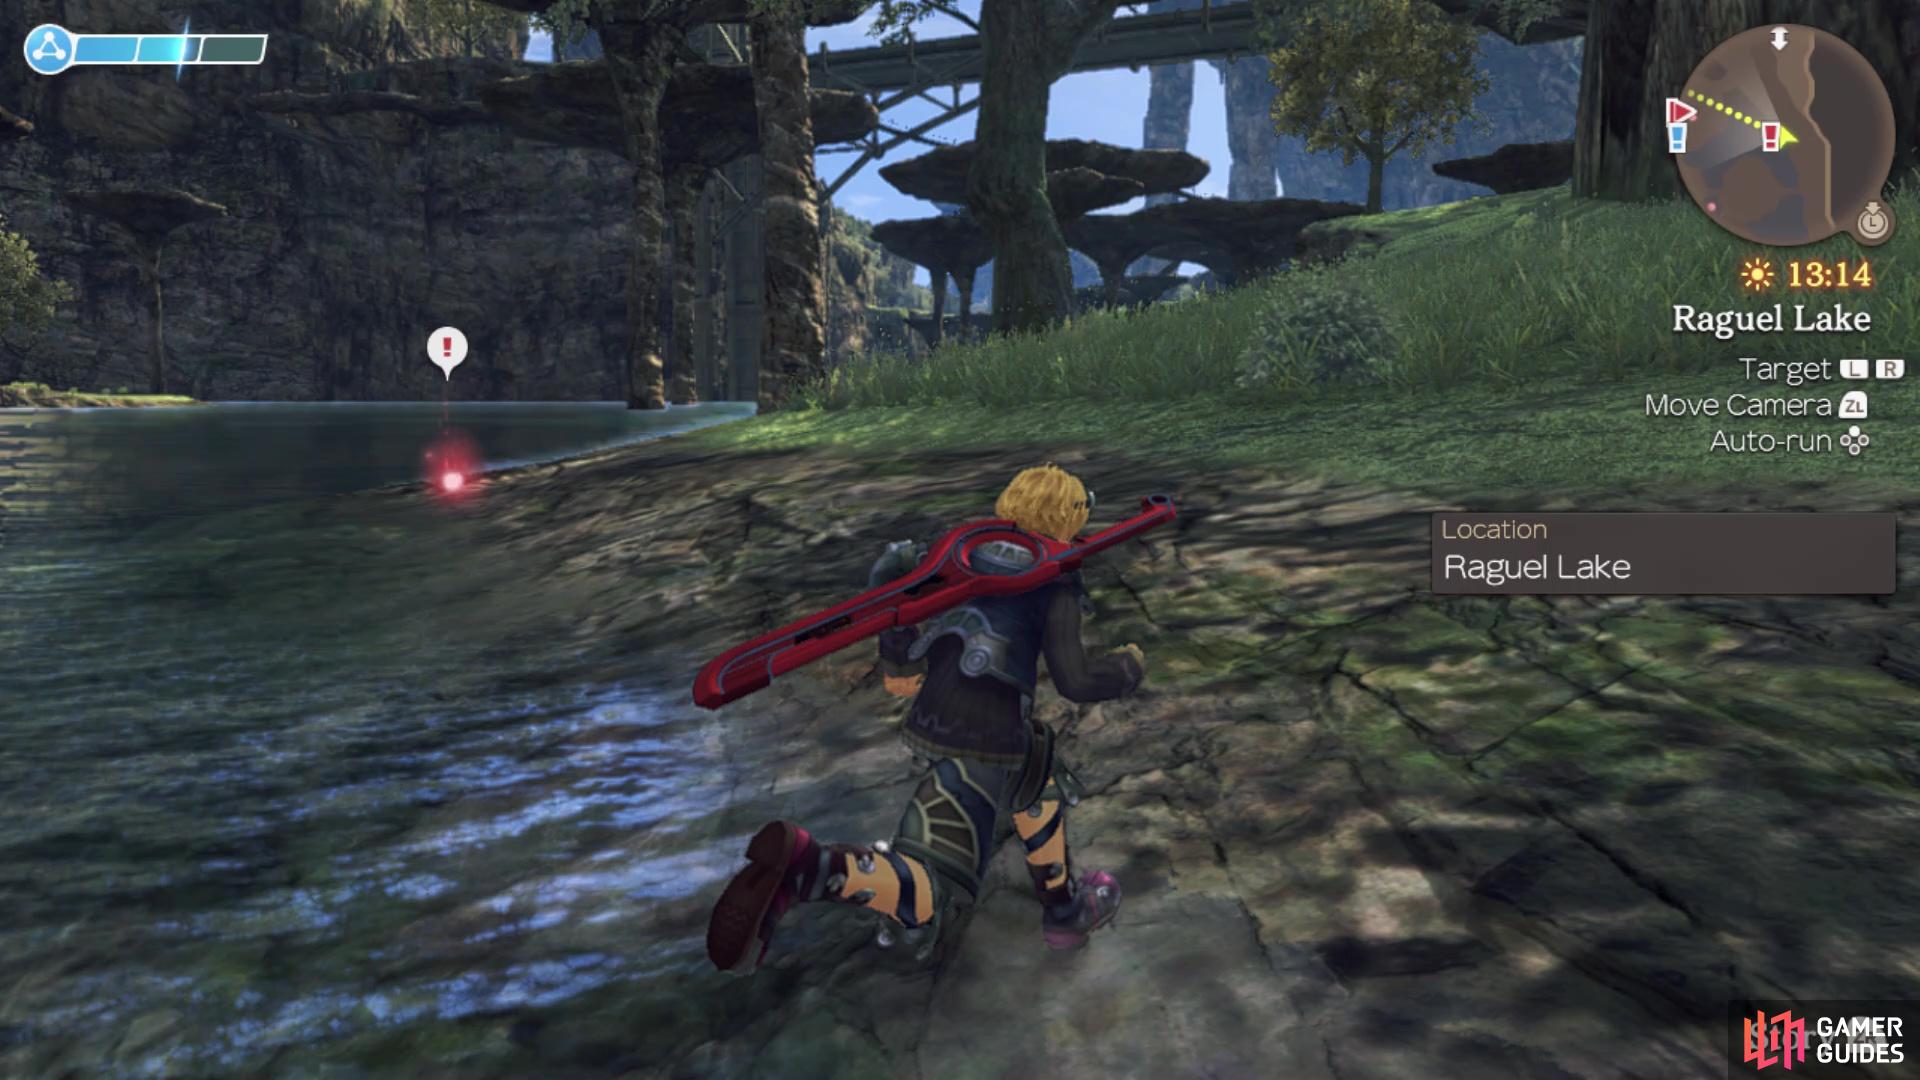
Speak with Earnest again, after completing Earnest’s Fibs, to see that he has another ether deposit to look for, which is located in a cave on the edge of Raguel Lake. This cave is actually Tranquil Grotto, which is southeast of the bridge, in the water. Once you arrive in the cave, inspect the ether deposit like before and a level 17 Assault Flamii will spawn, instantly aggroing to you. As before, you don’t need to actually fight it, so do whatever you want and return to Earnest to complete the quest.
Earnest’s Solitude
| Client | Rewards | Affinity |
|---|---|---|
| Earnest | 1200G, 750 EXP, Grand Boots | 1 |
Earnest, who once again was wrong about the everlasting ether deposit, has one more quest for you after finishing up Earnest’s Mischief. He wants you to place flowers on the grave of his friend at the edge of the cliff north of Kasharpa Waterfall. Kasharpa Waterfall is a location in the upper level of Bionis’ Leg, north and a little east of the exit leading to Colony 6. You are going to the northeastern corner of the map, on the base level and not to the ledge up above. There will be a cairn there, so place the offering to have a level 19 Arrogant Tirkin appear. Kill it, then return to Earnest to finish.
Thieving Monsters
| Client | Rewards | Affinity |
|---|---|---|
| Gorman | 950G, 300 EXP, Grand Armour, Grand Leggings | None |
Tirkins took the refugees’ clothes while they were hanging out to dry. They took their clothes back to the Tirkin Headquarters, which is located to the northwest of the Refugee Camp. If you’ve been exploring and discovered Rho Oasis, then the Tirkin HQ will be just north of it, through a little cave entrance. This place can be really dangerous, as there is a Tirkin Guard in the tunnels that will run away and alert a good number of other Tirkins, who will all come after you. So, you can either wait until you get a third party member or wait a bit until you’re levelled enough where the enemies don’t aggro anymore. Either way, you only need to run in real quick, grab the red shiny on the ground, then quickly leave the same way you entered. Return the clothes to Gorman to complete the quest.
Being a Good Grandfather
| Client | Rewards | Affinity |
|---|---|---|
| Satata | 1000G, 220 EXP, Initial Tension III | None |
Satata’s grandson has broken a toy belonging to his friend, so Satata asks you to go retrieve 3 Sticky Web Fibre from Arachnos to help fix it. As with a lot of items for quests, you can trade for Sticky Web Fibre with Emmy Leater in Colony 9, but this requires an affinity of 2✰ with Colony 9 residents. To find the enemies that drop it, look no further than the Kisk Cave right by the Refugee Camp. There are a good number of Leg Arachnos in there and they can drop the Sticky Web Fibres. Return to Satata with the items to have him fix the toy and hand it over. Bring the toy to Kiroki, then report back to Satata to finish.
The Greedy Monster
| Client | Rewards | Affinity |
|---|---|---|
| Satata | 1100G, 400 EXP, Sleep Resist II | 1 |
This quest becomes available from Satata whenever you finish Being a Good Grandfather. The residents are finding it difficult to catch fish, as there is a monster that has settled by Raguel Lake. The Abnormal Brog can be found on the large island in the middle of Raguel Lake. It is level 16 and shouldn’t prove to be too much trouble. Defeat the creature, then return back to the camp to report it to Satata.
Emergency Treatment
| Client | Rewards | Affinity |
|---|---|---|
| Olga | 750G, 300 EXP, Quark Gear | None |
Gorman took only a limited supply of his medicine in the escape from Colony 6, so he’s going to need some more. Olga says that she will need some Glowing Wisp Fluid in order to make more. There are two ways to procure these Glowing Wisp Fluids, one of which is by trading with Ewan. The other method of obtaining these is from specific Wisps at night. There are Night Wisps at Kneecap Hill just outside of Tephra Cave that can drop them, as well as Flash Wisps and Light Wisps in Bionis’ Leg (check out the bodies of water for a more prominent spawn). You will need five lots of Glowing Wisp Fluid and once you have them, return to Olga to complete the quest.
A Thoughtful Idea
| Client | Rewards | Affinity |
|---|---|---|
| Matryona | 1200G, 280 EXP, Quark Armour | None |
Pama is feeling the pain of losing his parents, so Matryona has an idea to try and bring a smile back to his face. Pay Ewan, the author, a visit, who is available throughout the entire day. Ewan says he doesn’t want anything to do with it, but after pestering him a bit more, he decides he will do it for some Ponio Neck Meat, three pieces to be exact. This item is the rarer of the two drops for the Field Ponios, which only spawn during the day. Once you have the necessary items, bring them back to Ewan, then report to Matryona to finish.
A Dash of Colour
| Client | Rewards | Affinity |
|---|---|---|
| Ewan | 750G, 200 EXP, Lime Bangle | None |
Before this quest appears, you need to have finished A Thoughtful Idea. Ewan got some inspiration from Matryona, so he needs some Sour Gooseberries in order to make the paints for the book. Sour Gooseberries are one of the items for the Collectopaedia, meaning you will need to hunt them down from the blue orbs all over the Bionis’ Leg area. However, if you find Kiroki (06:00 - 18:00), then you can trade for them. You need four Gooseberries, so get them all and return to Ewan. He wants you to bring the items to Matryona, so do that and go back to Ewan to finish the quest.
Imaginations Tempered
| Client | Rewards | Affinity |
|---|---|---|
| Matryona | 1500G, 250 EXP, Damage Heal II | None |
This quest appears in the camp after completing A Dash of Colour. Matryona is almost finished with the book, but Shulk has a vision of Pama playing in the river and drowning. He tells her this and in order to change the book, she will need a Lake Drop. After accepting this quest, Shulk will receive another vision of Arda, who mentions that if she had some medicine, she could look after Pama. Speaking to her will unlock the Spirits Raised quest, which is mutually exclusive with this one. If you complete this quest, then you will not be able to complete Spirits Raised, which will also lock you out of three more quests later on in the game.
If you still wish to continue with this quest, then you need to journey to Raguel Lake in order to find the Lake Drop. It is on the shoreline in the southeast corner of the lake, just north of the Tranquil Grotto area. Once you have this item, return to Matryona to have her finish the picture book, which you will have to give to Pama to finish the quest.
The location of the Lake Drop for Imaginations Tempered
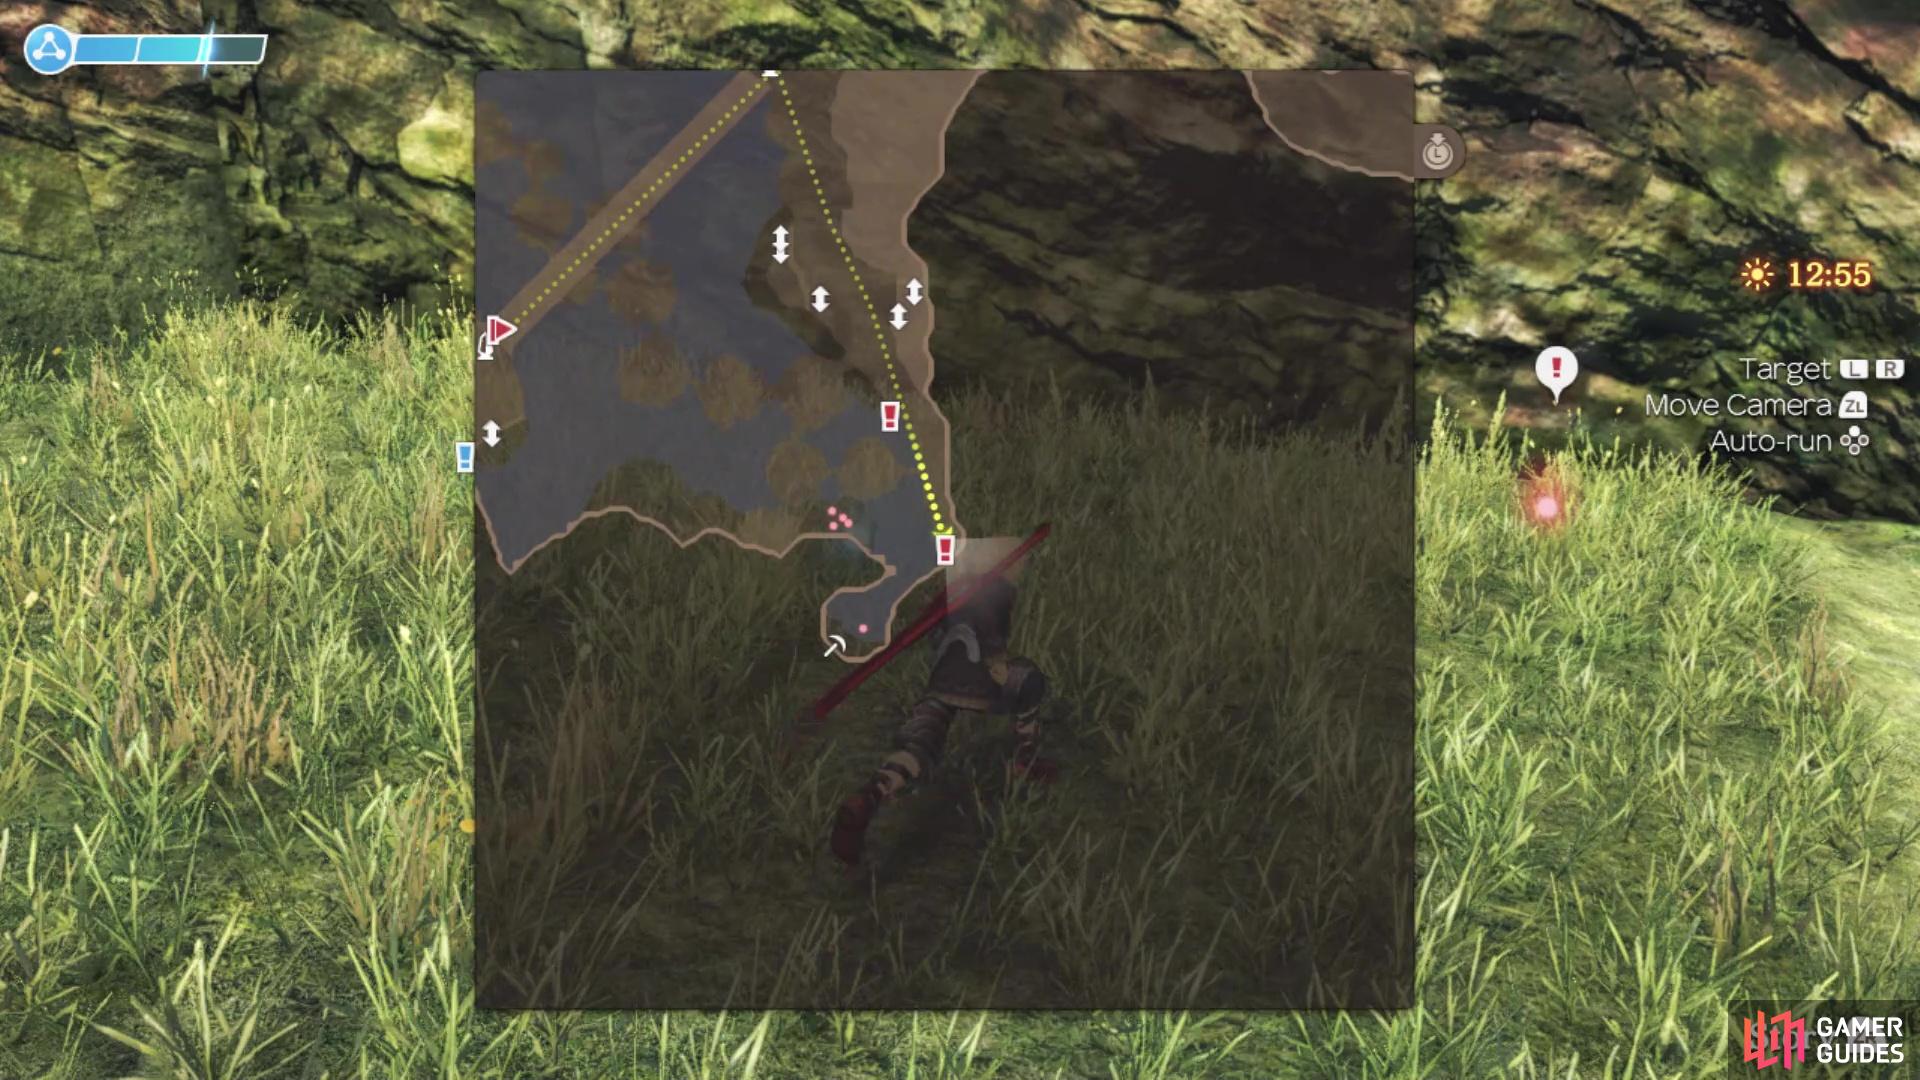
The location of the Medicinal Herb for Spirits Raised
Spirits Raised
| Client | Rewards | Affinity |
|---|---|---|
| Arda | 800G, 400 EXP, Arts Heal II | None |
Upon accepting Imaginations Tempered, you can speak to Arda to begin this quest. She is happy that Matryona is making a picture book for Pama, but regrets her sickness keeping her from watching over him all the time. She would like you to get Medicinal Herb to help her get better, which is located near Raguel Lake. Fast travel to the Raguel Bridge - North landmark, then follow the cliffside to the south. This isn’t by the water’s edge, but on the cliffside above. Keep going all the way south and at the very end, you will find the red orb. Loot the Medicinal Herb and bring it back to Arda. She says to tell Matryona, who will hand over the picture book for you to give to Pama. Give it to him to finish the quest.
The Lost Nopon
| Client | Rewards | Affinity |
|---|---|---|
| Gerugu | 750G, 300 EXP, Point Rifle | None |
Gerugu’s friend, Batubatu, went off in search of ingredients for dinner, but his poor sense of direction got him lost. Gerugu mentions that his friend is somewhere near Raguel Lake, so fast travel to the southern end of the bridge. If you can locate the large ether deposit on the base level of the lake in the northwest portion, then Batubatu will be on the cliff right above that. You will want to approach this cliff from the south, as the north has some level 70+ enemies roaming there. Speak with Batubatu, then return to Gerugu to finish the quest.
With Much Gratitude
| Client | Rewards | Affinity |
|---|---|---|
| Batubatu | Traveller’s Rest (Upper Level) | 06:00 - 06:00 |
After completing The Lost Nopon, you will find that Batubatu has another quest for you. He wants to give someone a gift of gratitude, deciding on the Secret Nopon Elixir, but he needs you to find two key ingredients for him. These are a Tokilos’ Egg, which will be found near the Zax Guidepost, and a Pandora Mushroom, found from the Windy Cave. For the egg, fast travel to the Zax Guidepost and look for the icons to climb down just to the east. This will put you on a ledge with level 79 Leg Tokilos. You can either sneak behind them, hugging the cliff wall, to grab the red orb or tinker with the time and try to get it to rain, which will make the Tokilos disappear.
For the Mushroom, travel to the northern end of Raguel Bridge and head straight northeast, until you reach the Windy Cave. There are a lot of high level enemies in this portion of the map, but the Caterpiles and Vangs will not aggro you unless you attack first. However, the Arachnos and Pandora Pods will aggro if you make noise, so if you have to get close to them, make sure you walk very slowly. When you get to the central part, there is a cave to the south, which is where the mushroom is located. This is home to some large Pandora Pods and a Unique Monster called Mysterious Barnaby (an Arachno). Continue walking and once you grab the mushroom, get the heck out of there. Return both items to Batubatu to finish.
With Even More Gratitude
| Client | Rewards | Affinity |
|---|---|---|
| Gerugu | 1200G, 750 EXP, Grand Gear, Electric Plus III | 1✰ |
This quest becomes available after completing With Much Gratitude. Gerugu is worried about Batubatu again, as he seems to have gone off someplace else, meaning he is lost again. He went to find a flower to give to someone without your help. The game mentions that he is on a high place east of Zax Guidepost. The easiest way to go is straight north of the Spiral Valley landmark, as this will put you at the base of the ramp leading to the upper portion. Not that far up, you will find Batubatu, who mentions the Ether Wisdom flower, but there are monsters in the way. Other than some Tirkins, there might be a level 76 Last Rhogul flying about, but night or rain will make it despawn. Go through the cave and you will end up at the Believer’s Paradise Secret Area. The Ether Wisdom is on the northern tip of Believer’s Paradise, so loot it and bring it back to Batubatu at Traveller’s Rest to finish.
Quests Available After Reaching Frontier Village
Legend of the Mythical Empress
| Client | Reward | Affinity |
|---|---|---|
| Gerugu | 6500G, 3000 EXP, Haste II | None |
After you have completed With Even More Gratitude and It Definitely Exist!, you’ll be able to pick this quest up from Gerugu. He will ask you defeat the Mythical Empress enemy near the Zax Guidepost landmark. If you remember from It Definitely Exist!, you had to jump down a hole near the guidepost into a closed off cave to find proof of the Empress. Jump down the same hole, and you’ll find the Mythical Empress. When you have defeated it, return to Gerugu to complete the quest.
Quests Available After the Events at Mechonis Core
A Flower for a Rose
| Client | Rewards | Affinity |
|---|---|---|
| Dulland | 38000G, 92500 EXP, Cosmo Drones, Initial Tension VI | None |
In order to begin this quest, you need to have completed Securing Provisions, plus the one secret door needs to be opened during The Blood of Bafalgar. While exploring the depths of Tephra Cave, Dulland saw a beautiful flower that he couldn’t quite reach. He wants you to get it for him, so fast travel to Bafalgar Tomb in Tephra Cave and locate the hidden door next to the main altar. Head down all of the stairs to find yourself on a balcony, with the Ancient Lily being in what looks like a dirt patch. Bring the flower back to Dulland at the Refugee Camp.
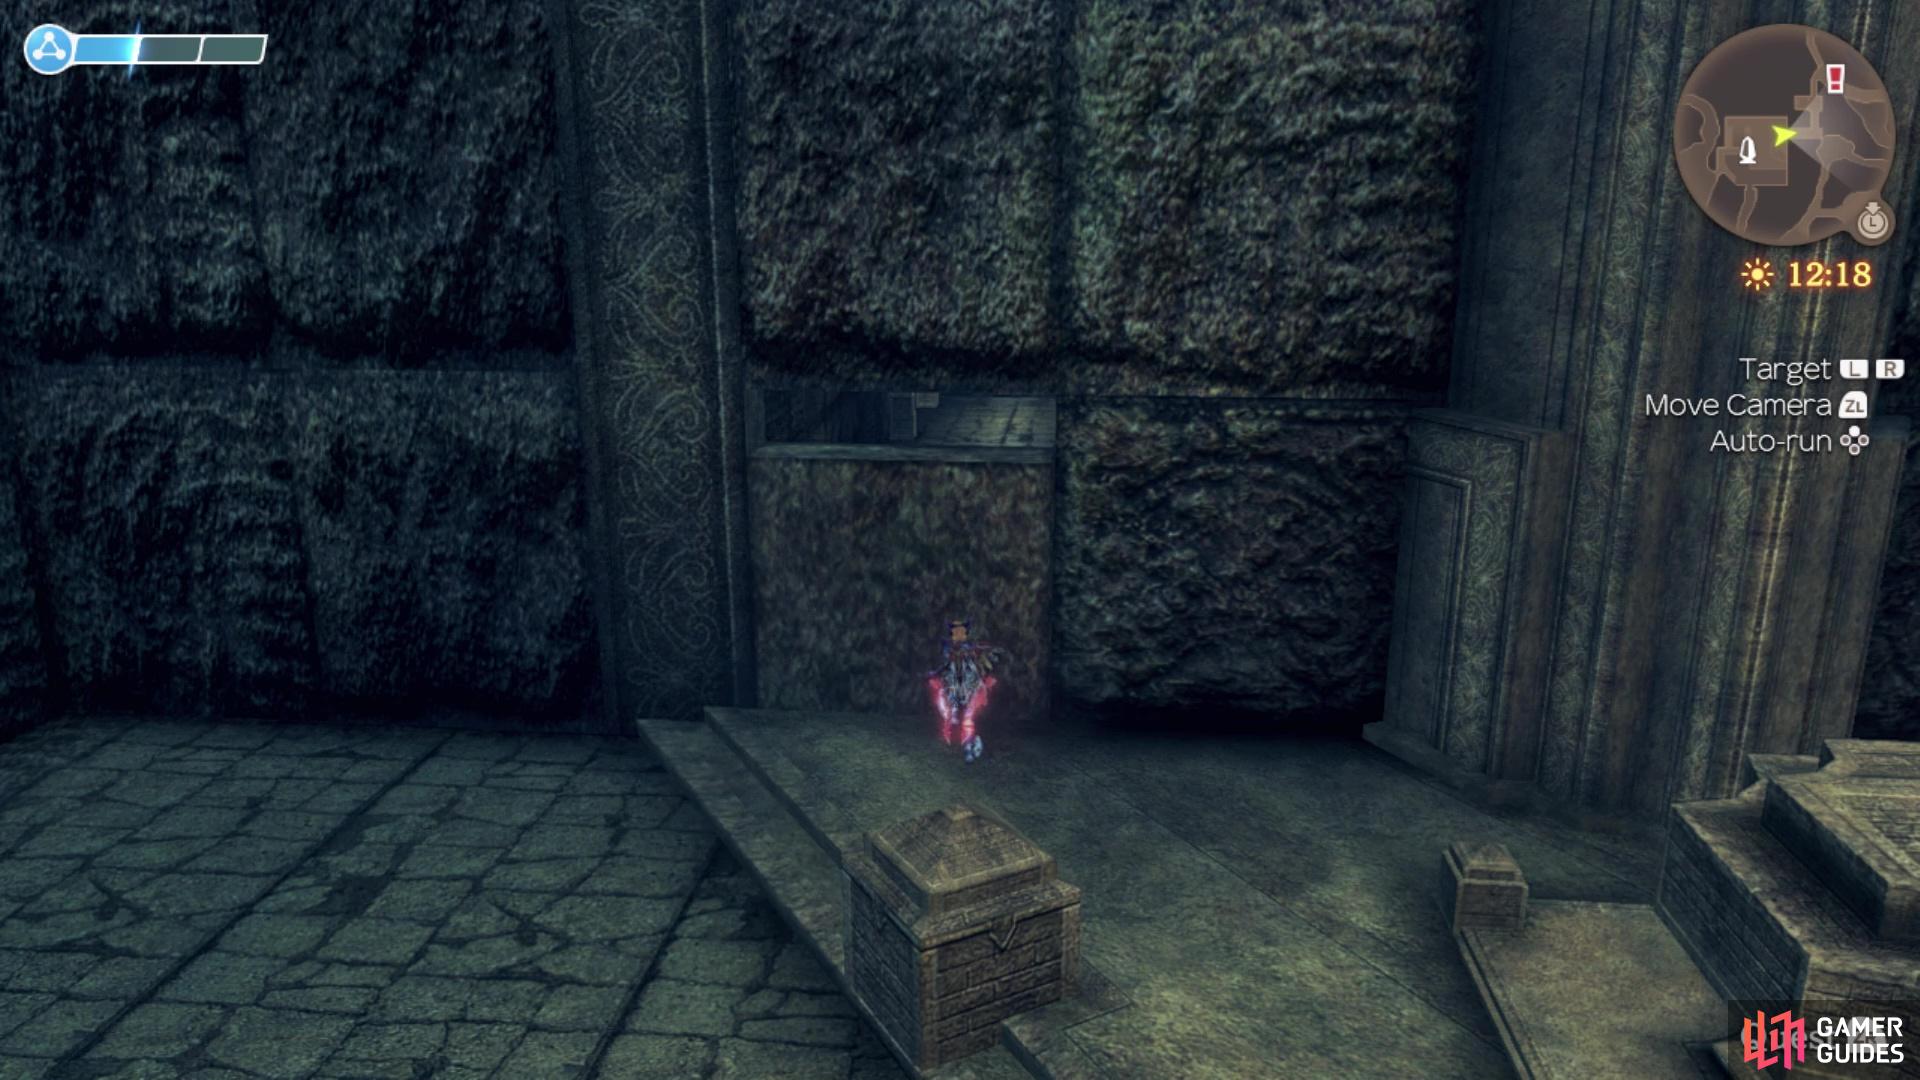
The hidden door you need is right next to the altar
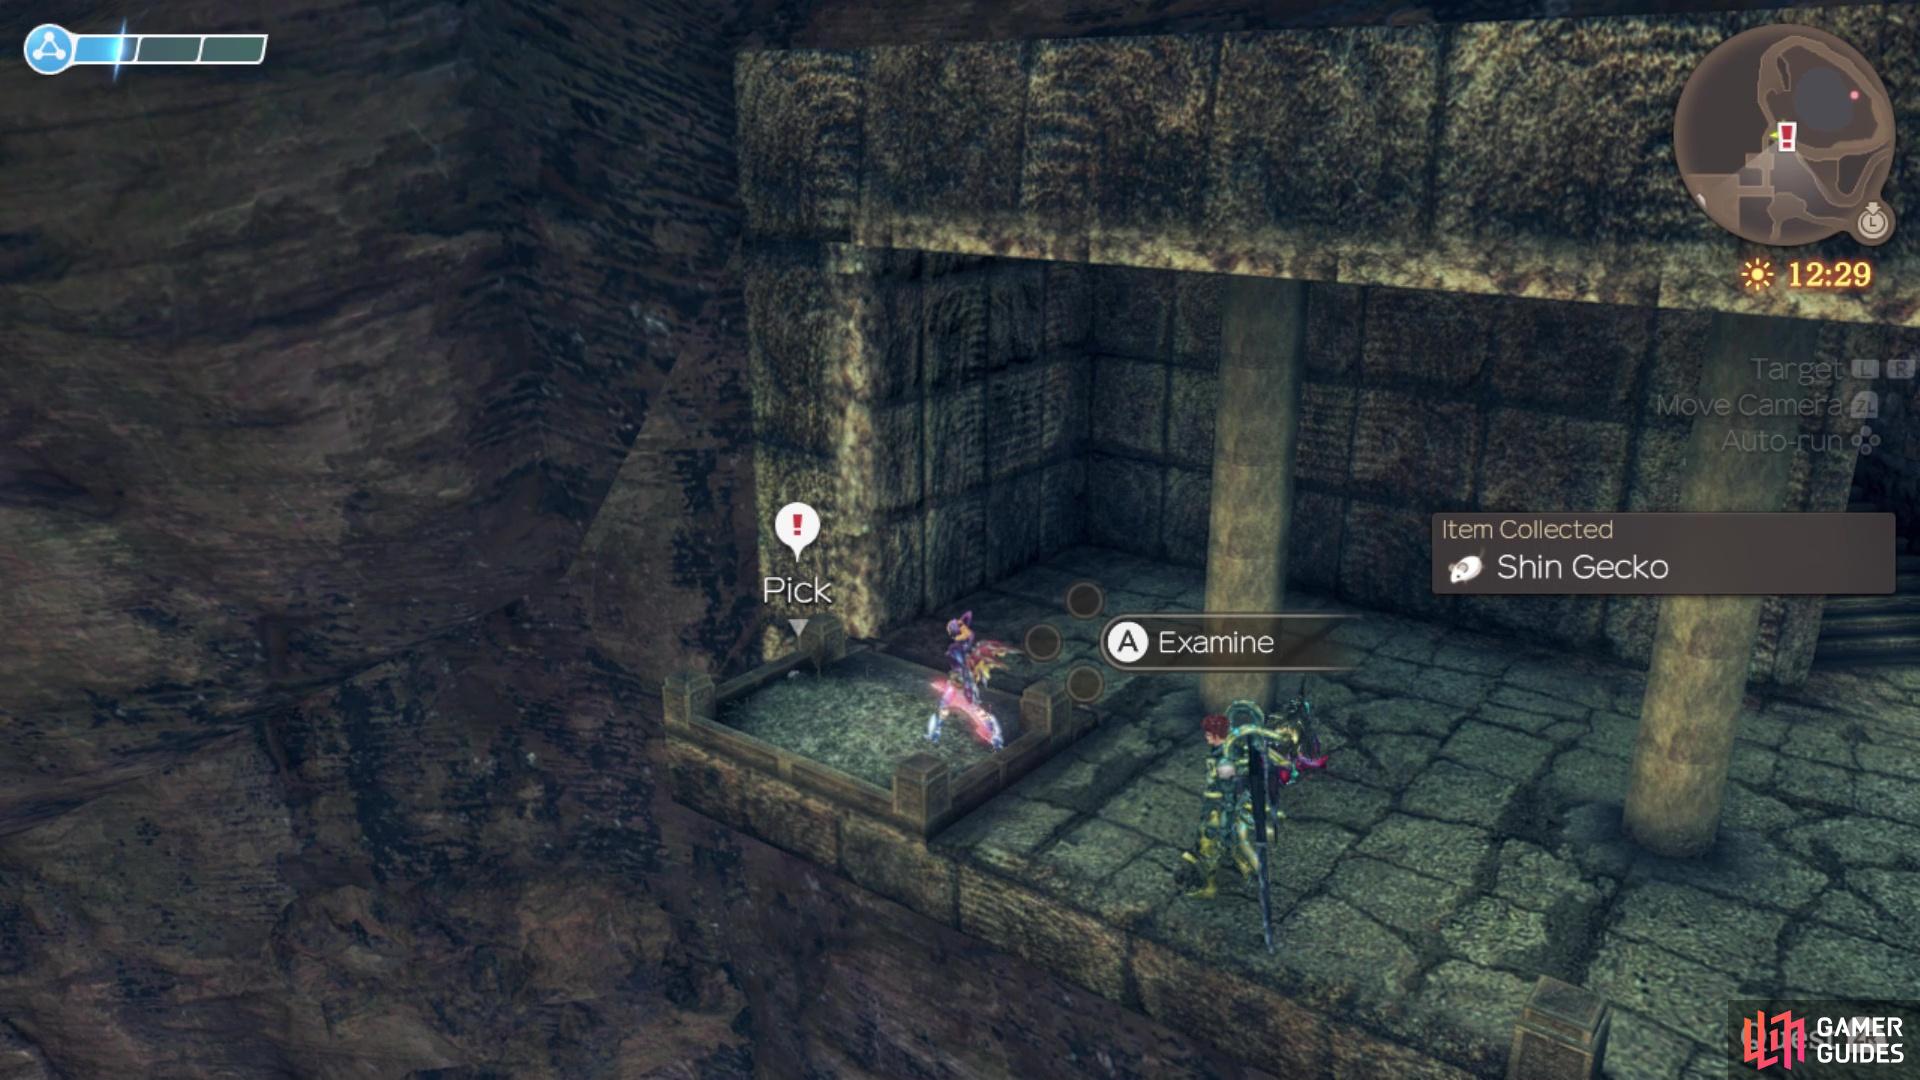
The flower is in the dirt patch on the balcony
Battling Brutes
| Client | Rewards | Affinity |
|---|---|---|
| Dulland | 63500G, 158000 EXP, Eternity Knives, Speed V Frame, Speed V Booster | None |
You will need to be controlling Seven in order to begin this quest, which is available after completing A Flower for a Rose. Dulland wishes to bring the Ancient Lily from the previous quest to someone in Colony 9, but there are two monsters fighting in the Arachno Queen’s Nest in Tephra Cave, preventing him from doing so. Before you dive in to fight these two monsters, which are both quest-exclusive by the way, you will want to prepare a little bit. The reason for this is because both have Spike shields, one is purely damage and the other will inflict Daze on your characters every single time they are within range of the shield.
Getting Daze Resist gems is not going to be easy, since there are very few enemies that drop the appropriate cylinders. The Young Brog in Tephra Cave (go to Heavenly Window, then follow the path north to find them) can drop Daze Resist V cylinders, as can Eryth Rhanas and Bizarre Ragoel on Anu Shore at Eryth Sea. Once you have enough, craft them to make some Daze Resist V/VI gems; if you can get 80-90% Daze Resist, then you should be fine. The other enemy that has a damage Spike shield requires Spike Defence gems. Similar in scope to the other cylinders above, sources of Spike Defence V cylinders include Jelly Seluas, Largo Seluas, and Chimai Seluas in Bionis’ Interior. Once again, you probably don’t need full 100% protection, as around 80% will probably work.
When you’re finished with the preparation, you need to head to the Arachno Queen’s Nest inside of Tephra Cave. The two quest-exclusive Unique Monsters will be there whenever you arrive (they are quite large in size); they are named Reckless Zanden and Firework Geldesia. The Arachno is the one with the Daze spike shield, while the Gogol has the damage spike shield. They really aren’t any different than the normal/Unique versions, so you shouldn’t have too much trouble. You can also easily fight them one-on-one, as they aren’t really fighting. When you’ve beaten both of the Unique Monsters, report back to Dulland to complete the quest. Note that Dulland will relocate to Colony 9 upon completion of this quest.
Supplies for Satorl
| Client | Reward | Affinity |
|---|---|---|
| Elior | 45000G, 58000 EXP, Speed V Goggles, Speed V Arms | None |
After completing Securing Provisions, you’ll be able to pick this quest up from Elior in the Refugee Camp on the Bionis’ Leg. He will ask you to take Emergency Provisions to the people up in Satorl Marsh. Head over to Sororal Statues and walk north towards the Statue Summit. Talk to Scarlen, who wanders the area at night. Talking to him will complete the quest.
No Comments