


The Imperial Capital
As you head towards the Centre Gate Landmark outside of Alcamoth, you’ll trigger a cutscene as Melia departs the party and they’re escorted into the city. Once you regain control, you’ll find yourself in control of Melia as you unlock the Main Entrance Landmark. Continue along to the east to trigger another cutscene and then once you regain control you’ll unlock both Melfica Road and the Imperial Palace Landmark. Continue heading east to unlock Great Hall and then head north to register a new Heart-to-Heart before continuing east to unlock the Ascension Hall Landmark and access the transporter.
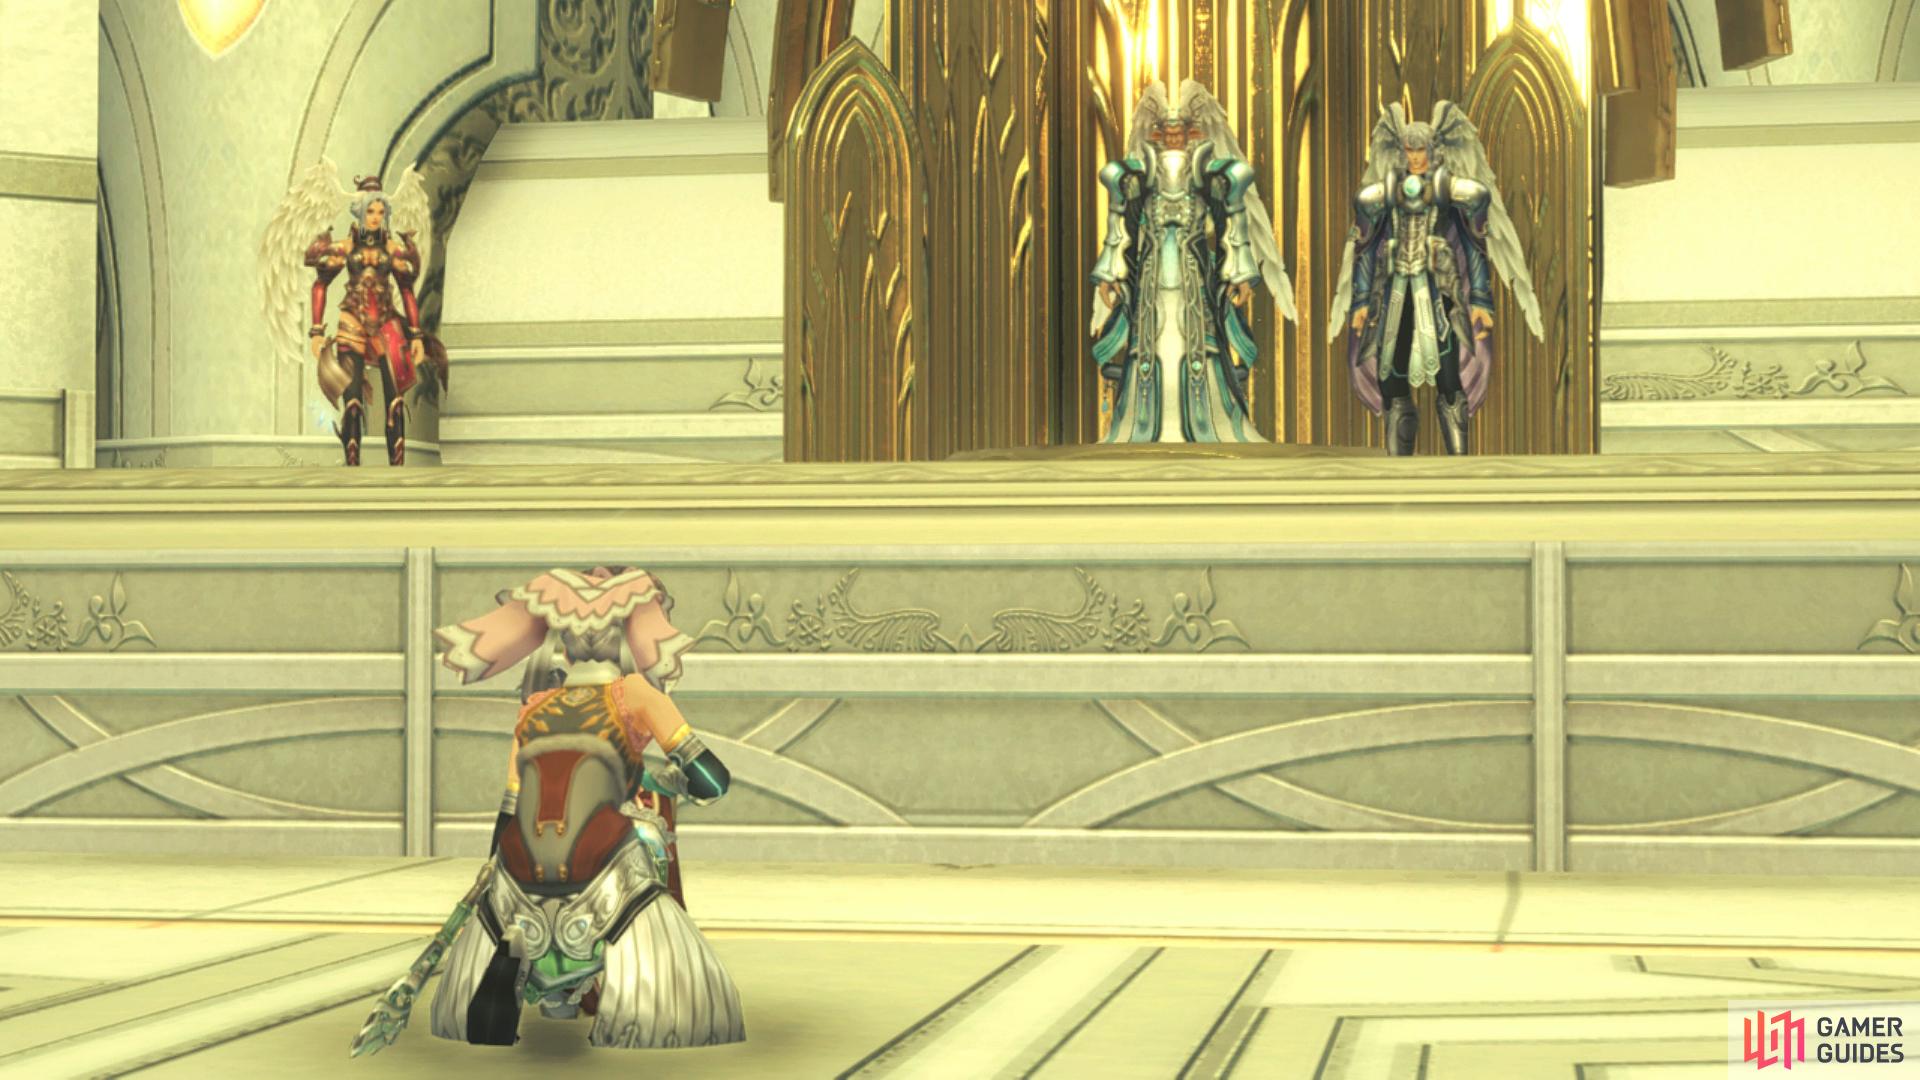
Turn back on yourself here and head west to unlock Sky Terrace and then register the nearby Heart-to-Heart before returning east to unlock the Audience Chamber and trigger another cutscene. Once control returns to you, you’ll be in control of Shulk alone as you unlock the Whitewing Palace Landmark. Take the time to share a brief word with your companions and then another cutscene will trigger as you learn your next destination.
Save the Worker
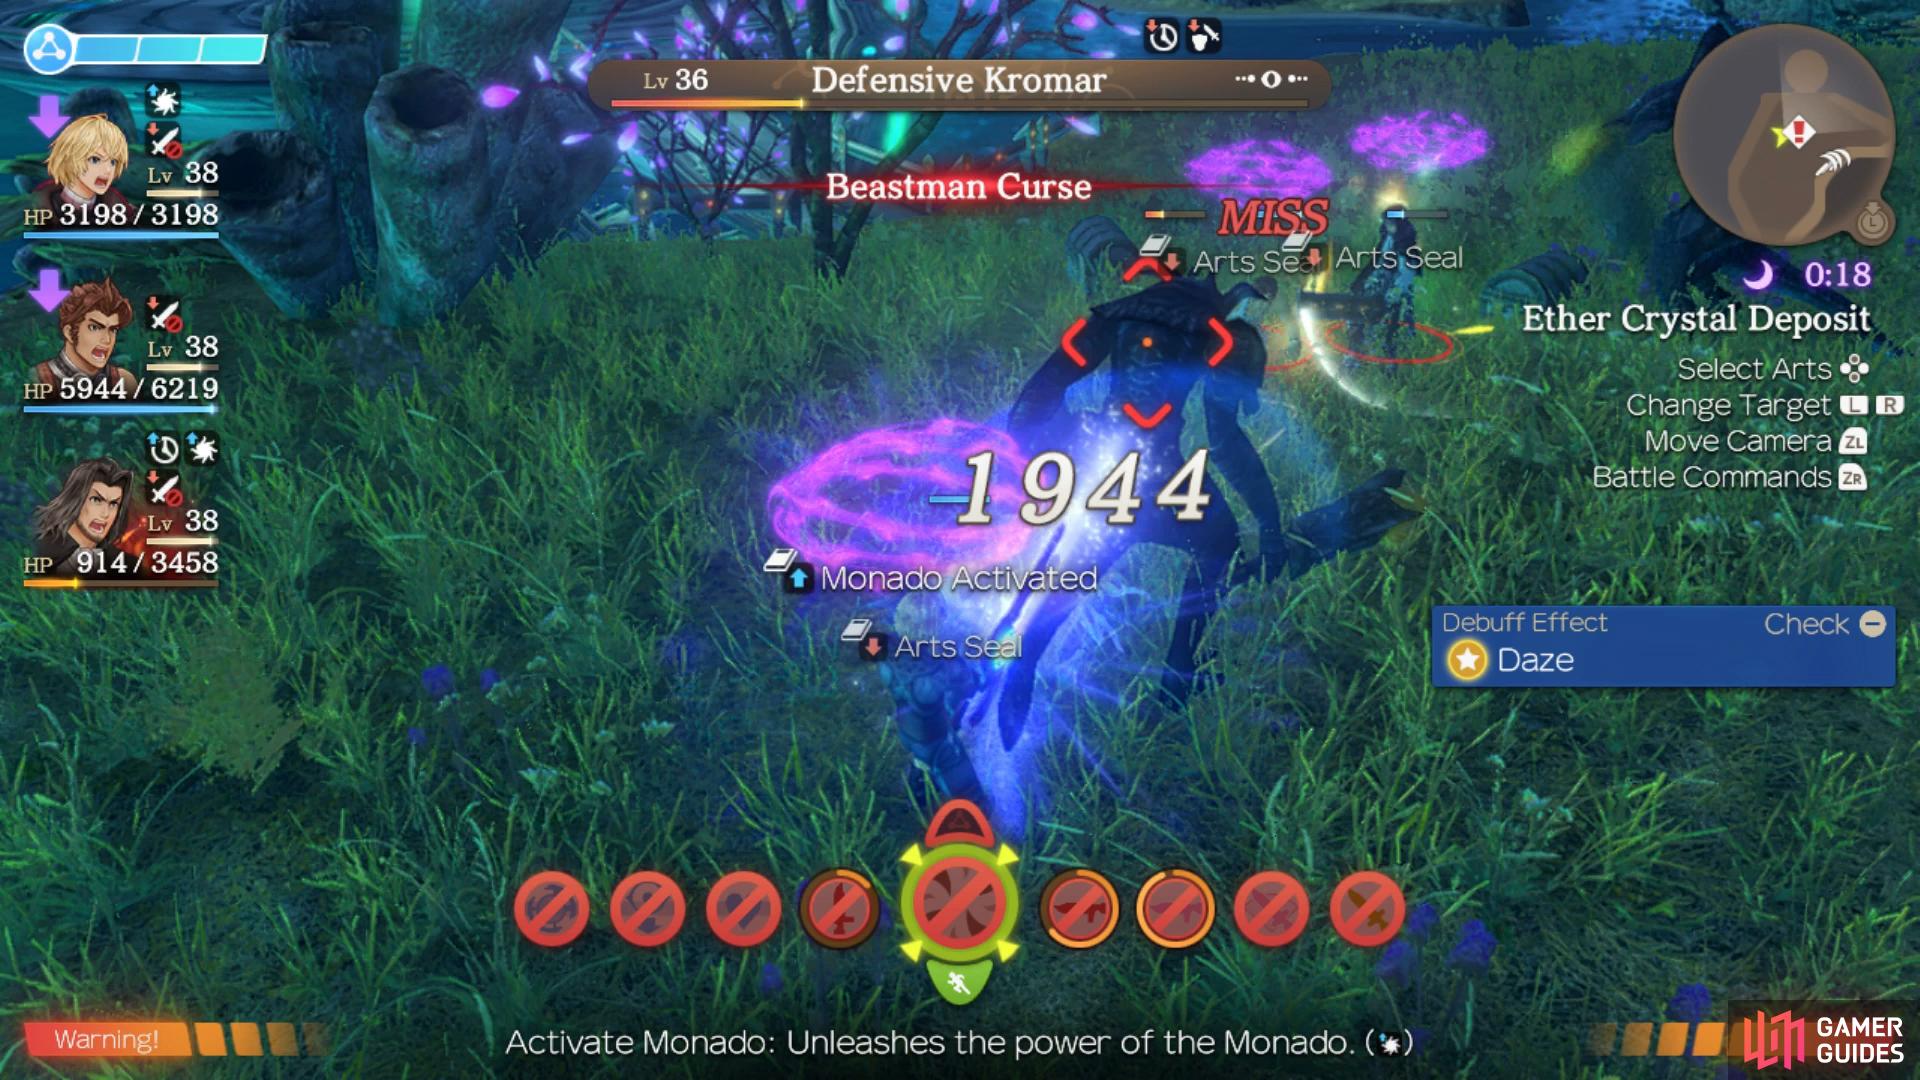
A request has come in from a worker at the transporter near Syrath Lighthouse. Rearrange your party if you had Melia in the group and then make your way to the Syrath Lighthouse Landmark in Eryth Sea. Ignore the other Quests here for now (again, it’s best to wait until Melia is back in the party) and head over to the center of this reef to find the worker who made the request. Use the transporters to the southeast to reach the Ether Crystal Deposit island where you’ll find a group of four Lv 36 Defensive Kromars surrounding a Worker. Wade into battle and dispatch the enemies to aid the worker and speak to him to complete the Quest and trigger a cutscene.
Once you regain control, the party agree on resting back at the castle however with this Story Quest complete, you can now go ahead and map out more of Eryth Sea. Begin by warping back to Syrath Lighthouse and take the now active transporter to the southwest to reach Hovering Reef 7 where you’ll find an Ether Deposit to the southwest along with a Lv 38 Unique Monster, Peeling Kircheis.
Take the transporter to the north after to reach the Central Seal Island Landmark and then head south and take the transporter to reach Hovering Reef 8 where you can take the western transporter to reach Hovering Reef 9. Head back and take the eastern transporter now to reach the Soltnar Seal Island Landmark. Jump off this platform to the south here and swim to the island to unlock Kromar Coast before swimming a lengthy distance along the western edge of Eryth Sea until you reach a cave, unlocking the Secret Area Faras Cave.
Warp back to Central Seal Island and this time take the northern transporter to reach Hovering Reef 10 and take the northeast transporter to reach the Khatorl Seal Island Landmark. Return on the transporter and this time take the western transporter to reach the Ether Plant Landmark. Register the nearby Heart-to-Heart and then jump off this island to the west and swim on over to the island to reach Hode Refuge. Finally for now, return to Centre Gate and then jump off to the northeast and swim over to the island to reach Anu Shore, you’ll have to wait a little before the final location can be unlocked so return to Whitewing Palace in Alcamoth and speak to the Palace Attendant to trigger a cutscene.
Once you regain control, you’ll be ambushed by a group of Level 34 Entias who seek to deal with the party. This is a rather simple battle but note one important piece of information, they possess the same traits as Mechon, meaning that you’ll need to make use of Shulk’s Monado Enchant to deal damage with your other party members. Focus on one target at a time and you’ll take down your foes with relative ease and trigger more scenes.
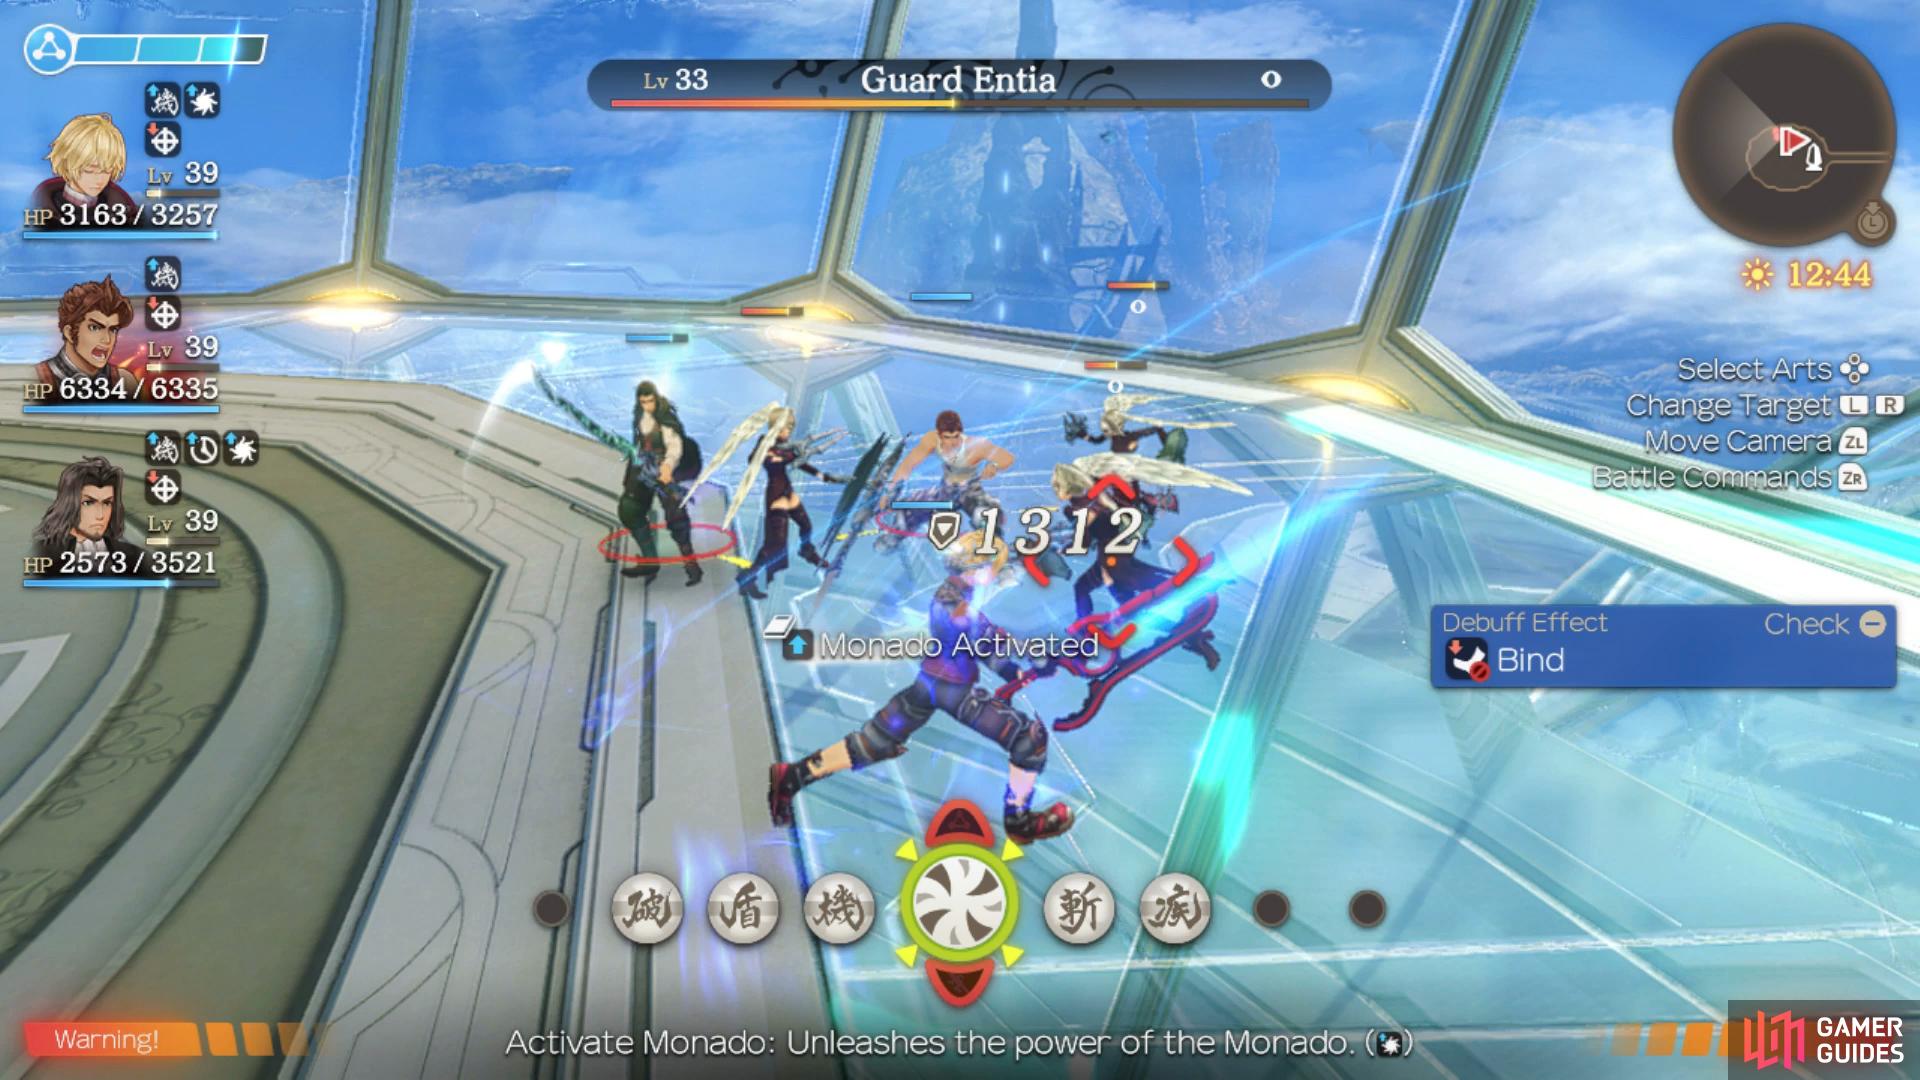
Like Faced Mechon, you’ll want to Topple the Guard Entia’s to prevent deflecting.
When you regain control, make your way to the Main Entrance Landmark and head west to reach another transporter to return to Eryth Sea. Take the nearby stairs down and follow it to a transporter to the east which will unlock the High Entia Tomb Landmark where you’ll trigger another cutscene as the party enters the Tomb in search of Melia.
No Comments