


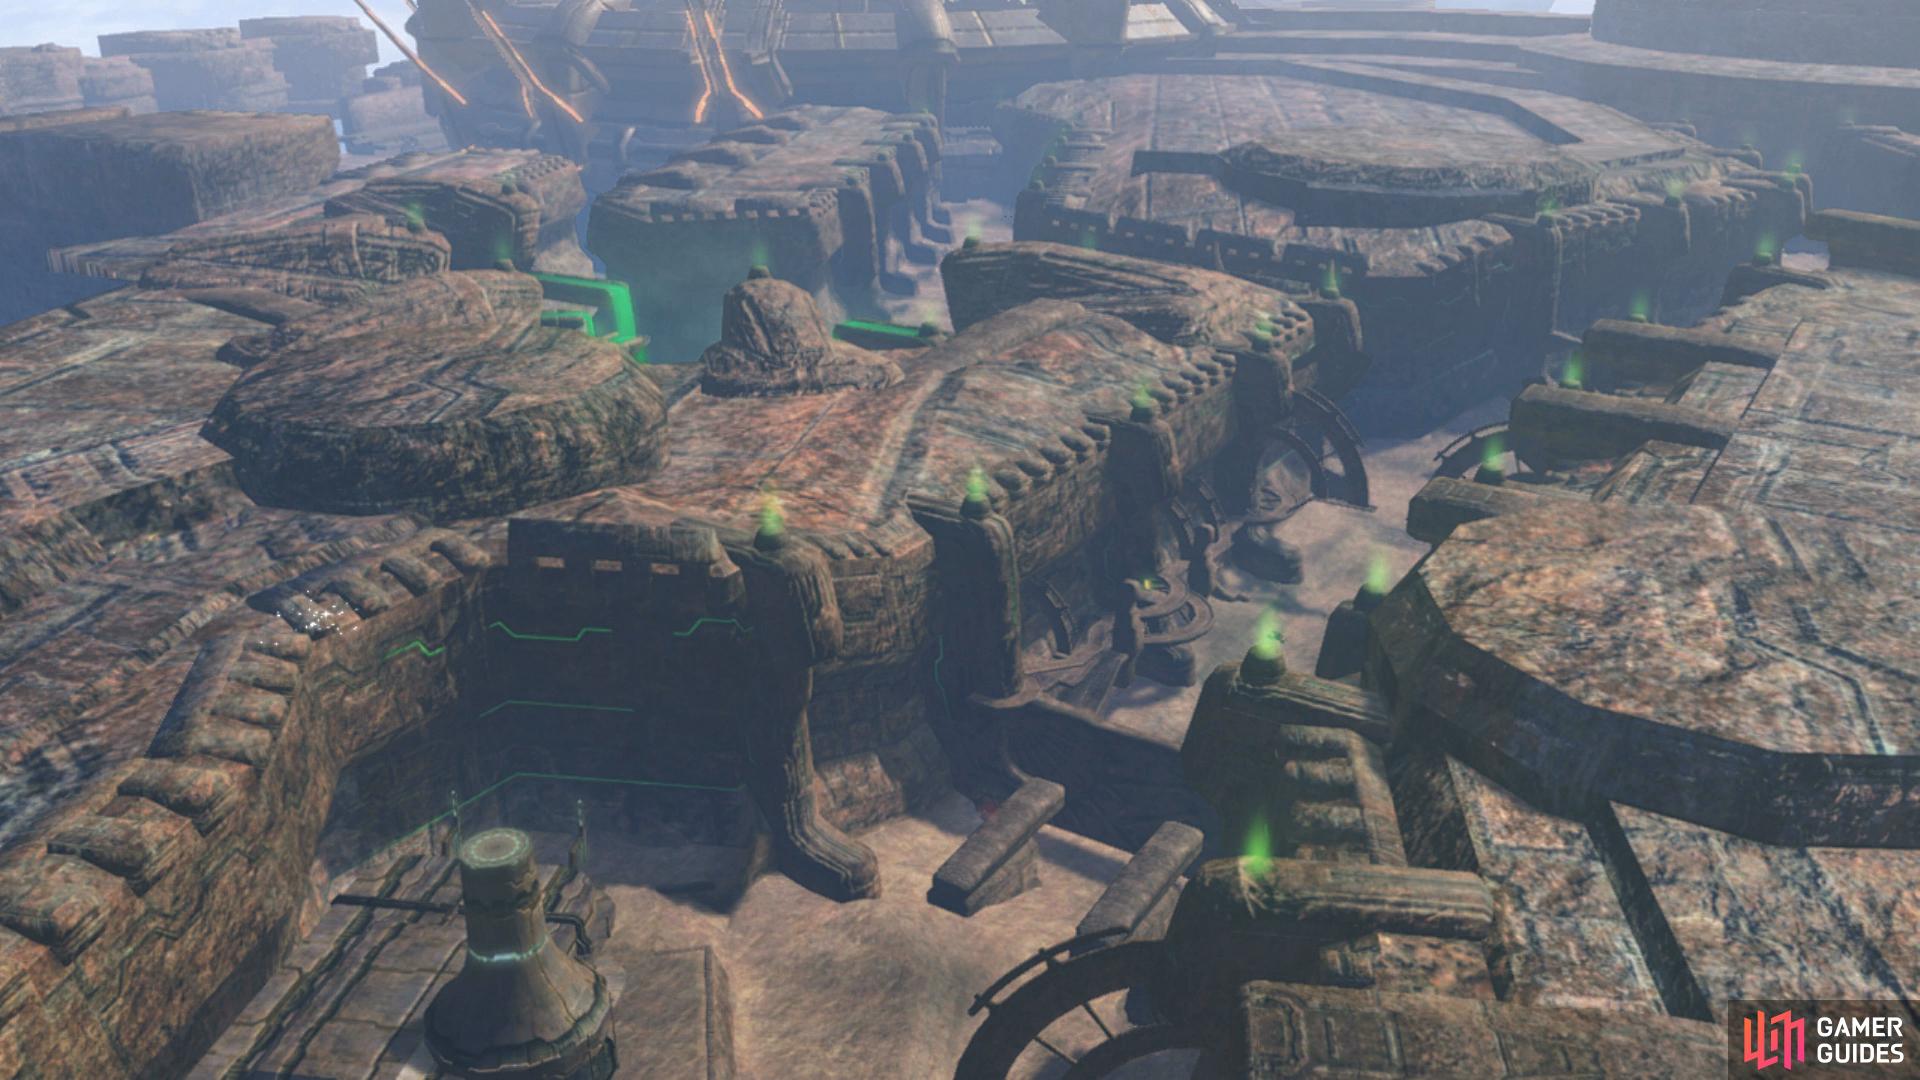
The Sword of Mechonis
As you enter Sword Valley, you’ll unlock the Bionis’ Thumb Landmark and then as you approach the Story Flag, a scene will trigger as the party ponder the large sword laid ahead of them. Continue further down the path to another Story Flag to trigger yet another scene and then down to trigger a third where the party takes note of a supply convoy.
You’ll unlock the Supply Convoy Landmark at this point and it’s a good opportunity to browse the goods on offer here. Before you continue, note that all of the enemies in both Sword Valley and the next area consist of nothing but Mechon. For that reason, it’s not a bad idea to run with Shulk as the party leader and consider purchasing the Anti-Mechon weapons here for your other members so that you won’t be so reliant on Monado Enchant.
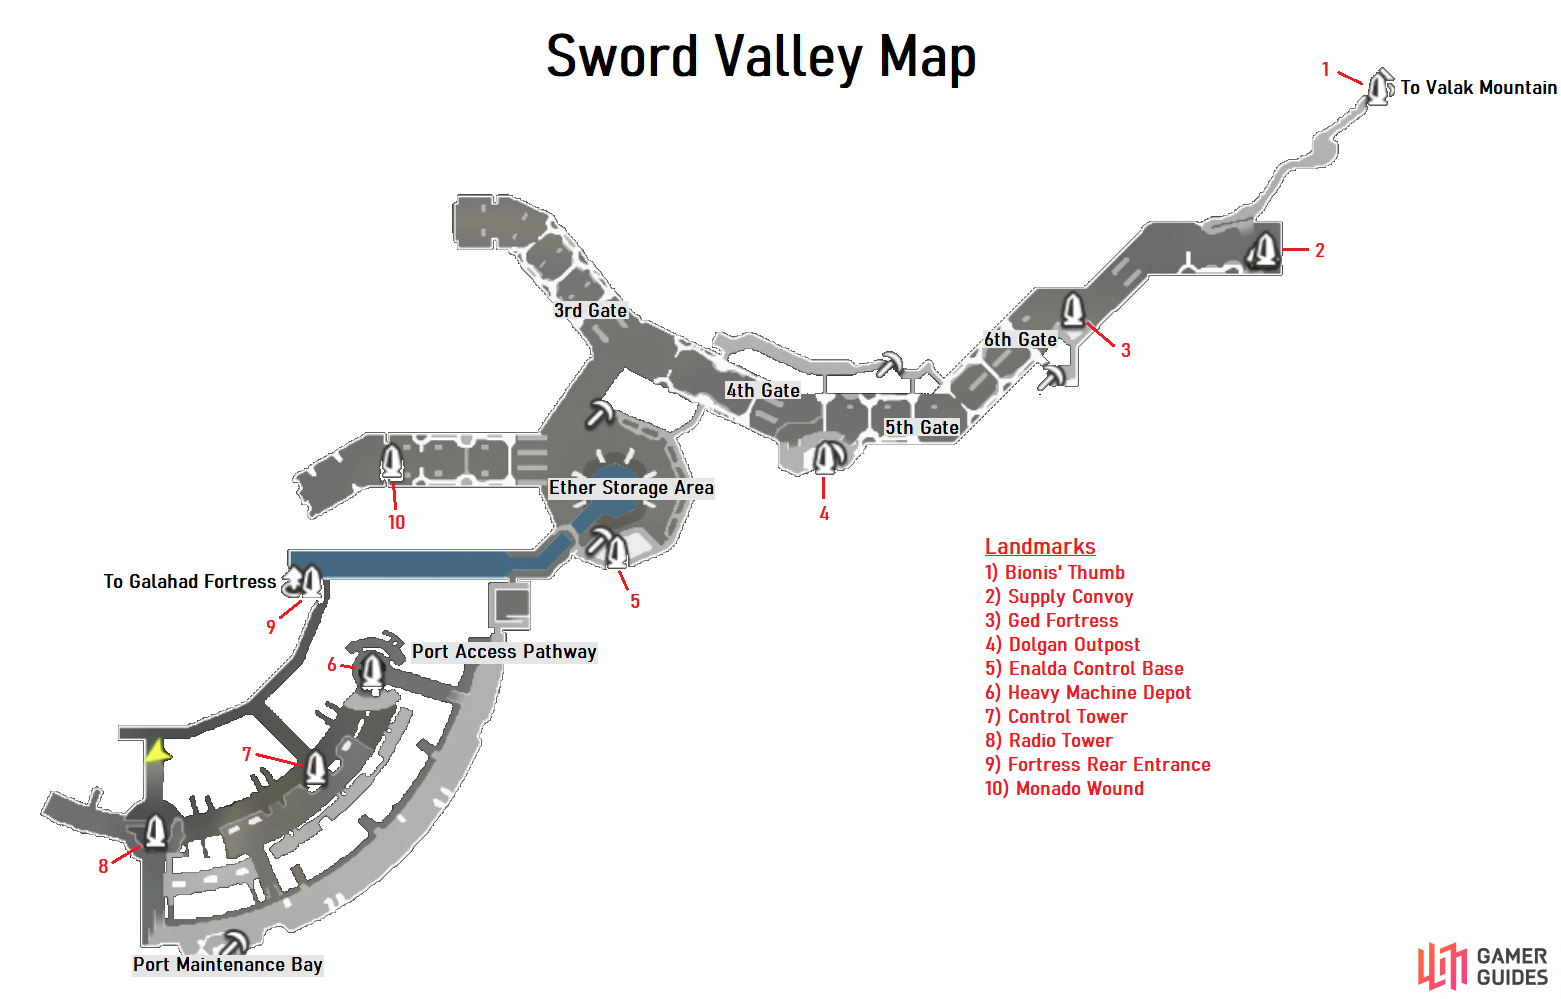
Once you’re finished with your purchases, speak to Dickson to trigger a scene and then you’ll finally be able to properly explore Sword Valley. Begin by following the linear path to the west and you’ll unlock the Ged Fortress Landmark. From here head right up to the gate to unlock 6th Gate and you’ll discover the main objective here on Sword Valley. The entire area is littered with these large gates that you’ll need to open by finding consoles around the area. Return to the east from here and enter the structure to find the first Gate Lock Release, interact with it then head to the release at the gate itself to bring down the 6th Gate.
At this point, you’ll begin encountering enemies and despite the size, all of these enemies should be well within your Lv range. Continue along the path here and you’ll eventually reach the 5th Gate that you’ll need to work on bringing down. This is another simple one, you’ll find the Gate Lock Release right next to the gate so interact with it and press on to the west where you’ll unlock the Dolgan Outpost Landmark. Take a detour here and head south up the slope to trigger a Surprise Quest.
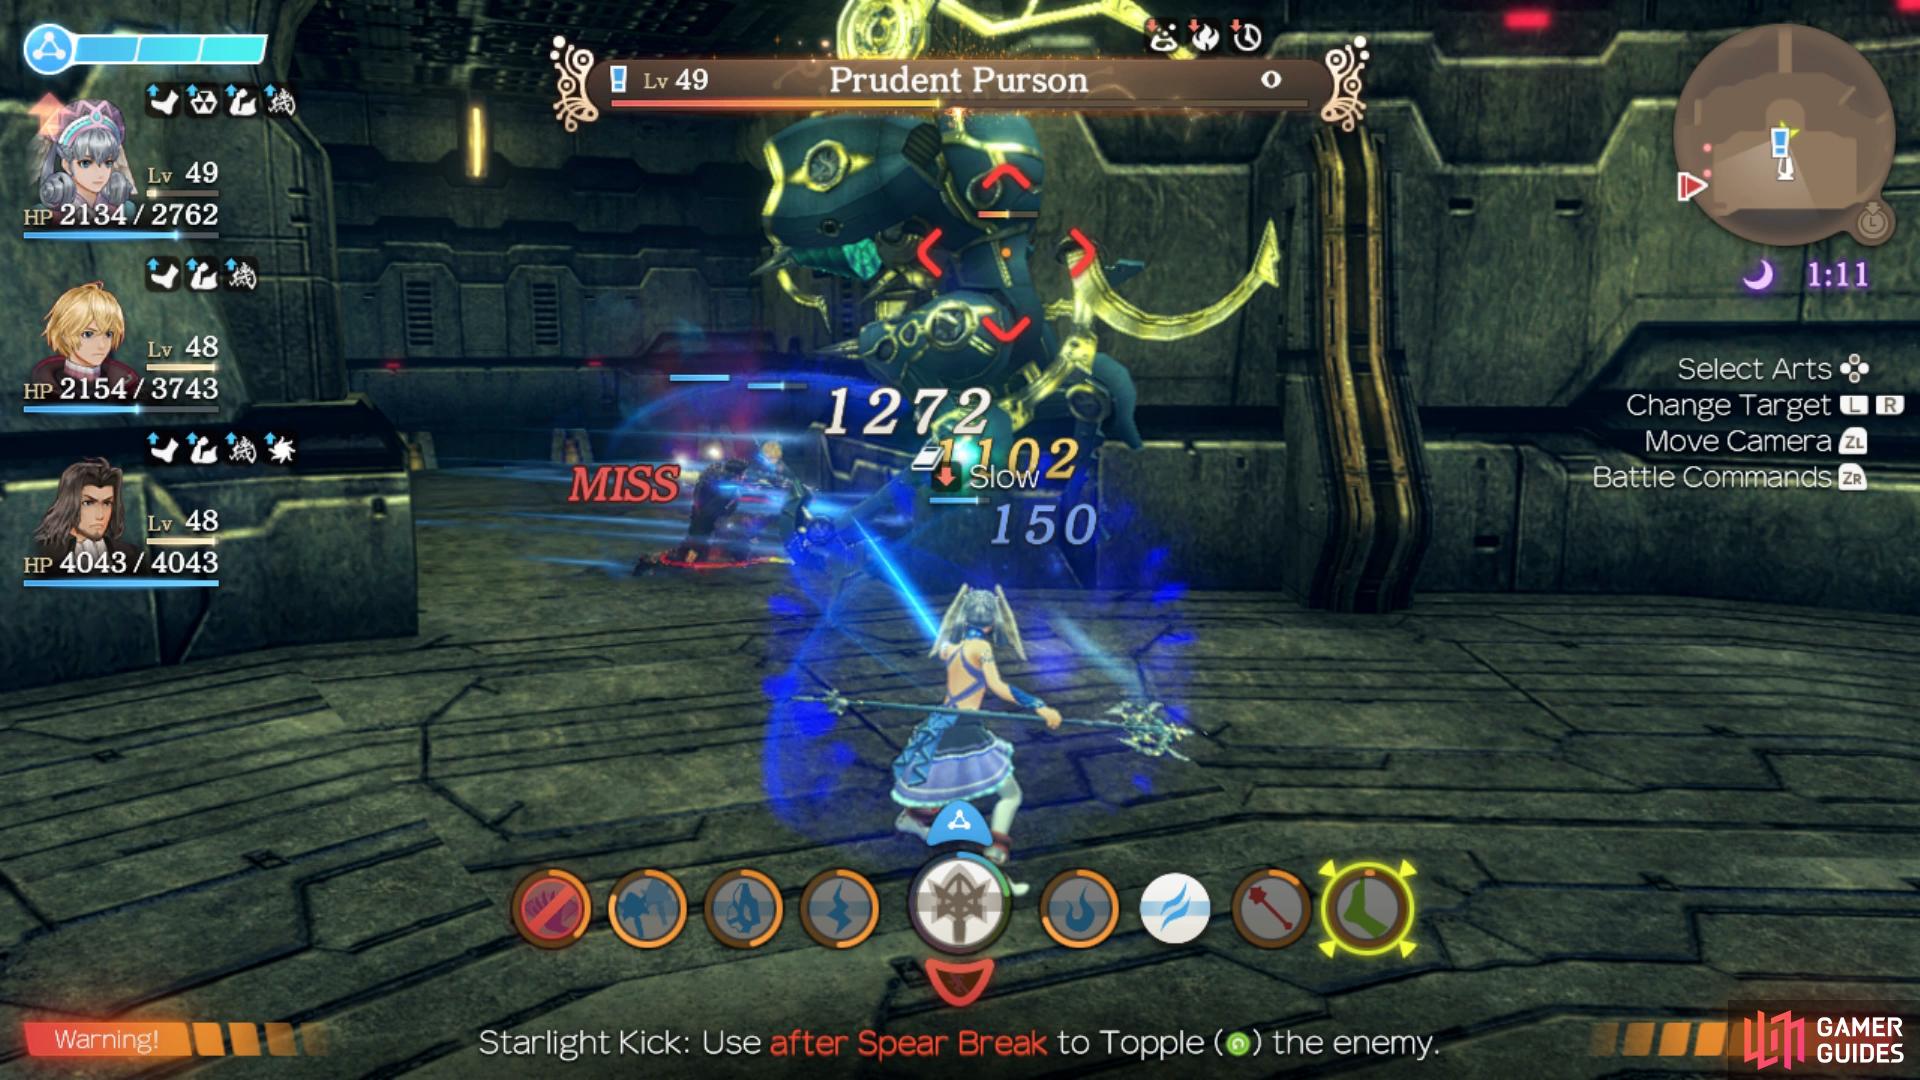
Secure Dolgan Outpost
You need to go into Dolgan Outpost so you can activate the Gate Lock Release for the 4th Gate. When you do so, you will activate this quest, however, it is not required to continue the story quest or reach the button to activate the 4th Gate. You will have to go up to the 1st floor of the outpost, where you will find the level 49 unique Mechon enemy, Prudent Purson, who is flanked by two lower level Mechon enemies. This quest is completed once you have defeated Prudent Purson.
Be sure to activate the Gate Lock Release when you leave this outpost and head to the 4th Gate now to use the other and lower it. Continue along the main path to the west and at the intersection, head northwest to find the 3rd Gate. You won’t be able to go further than this for now so return to the intersection and head southwest this time and head toward the pool of water to unlock Ether Storage Area. Make your way to the west here and before going up the ramp, wait for and defeat the Lv 50 Unique Monster, Defective Ipos, take care of his supporting Mechon and then it should be no issue.
You’ll fight Unique Monsters as part of the Surprise Quests here
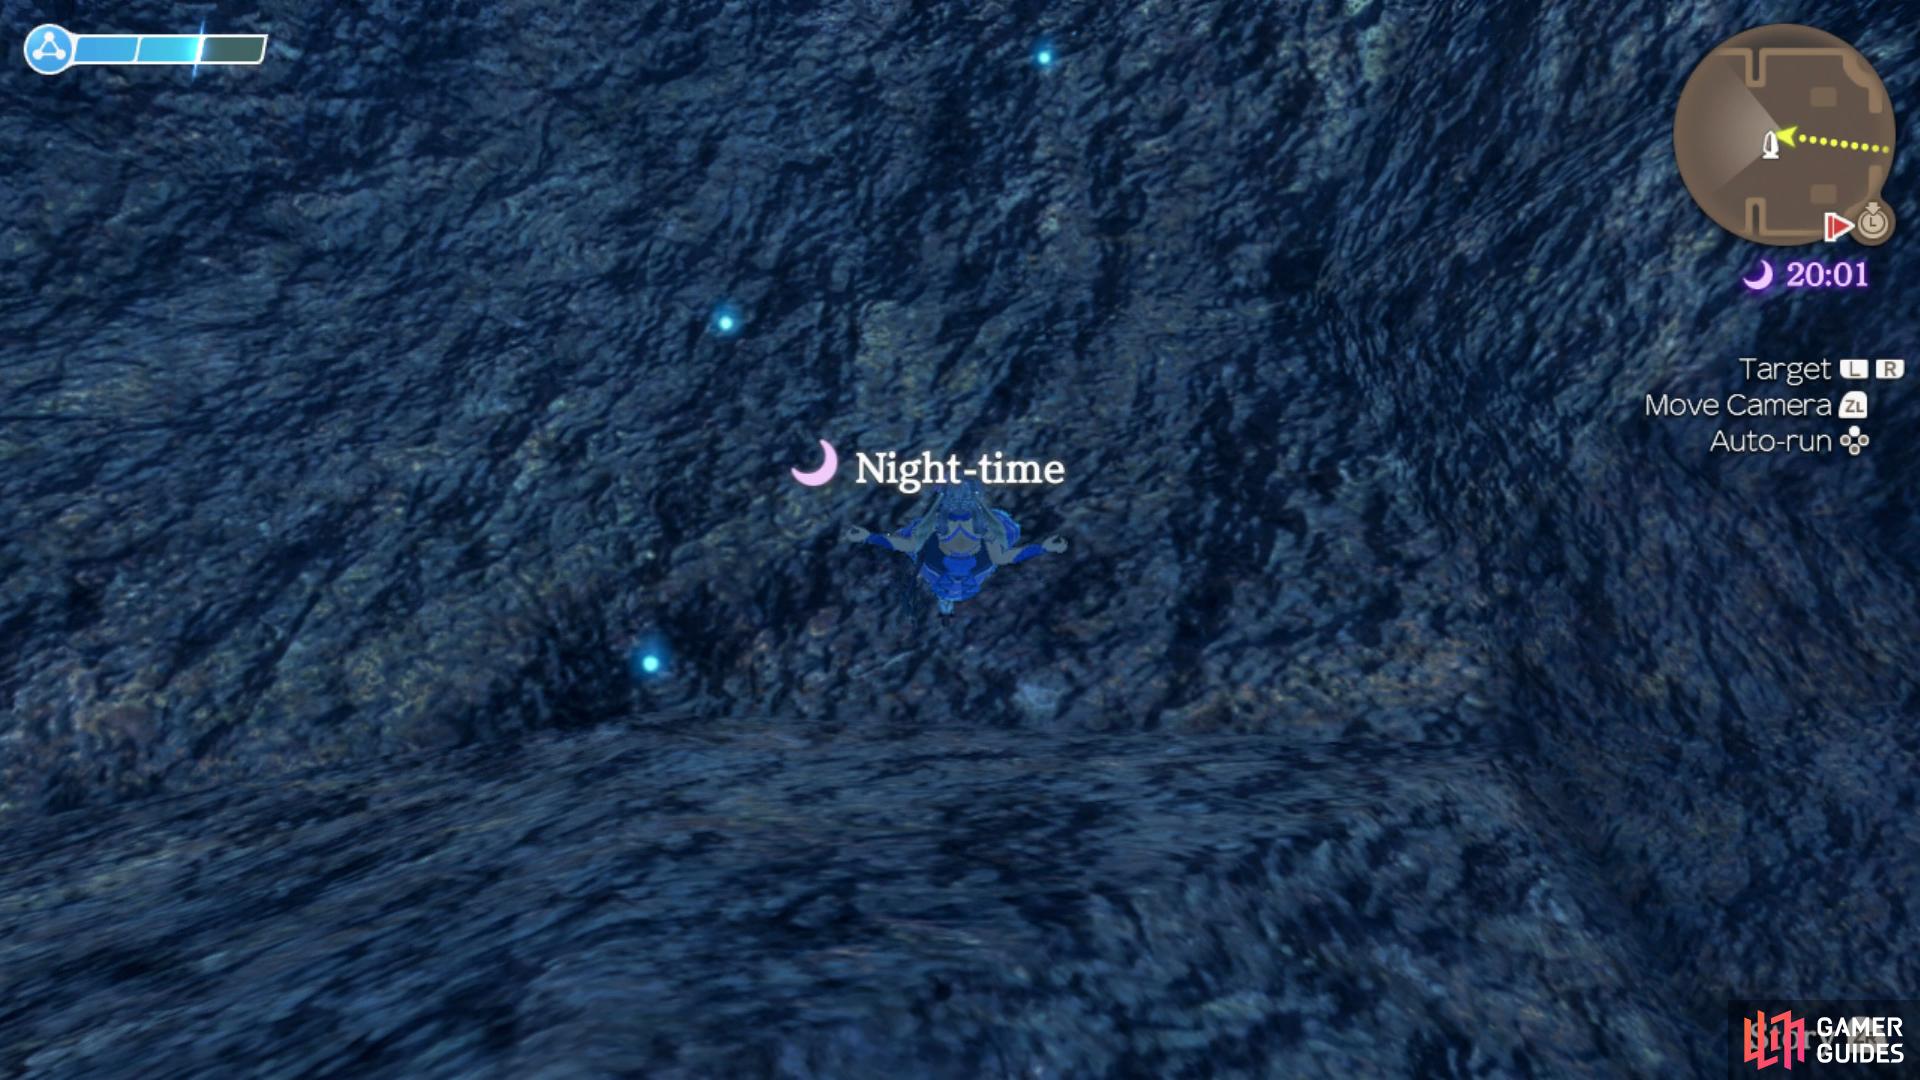
Monado Wounds is the best place to score the 3 Red Frontiers you’ll need before leaving Sword Valley.
Make your way up the ramp now to unlock the Secret Area, Monado Wound along with another Lv 51 Unique Monster, Benevolent Aim whos only unique trait is it’s Topple Spike so try to avoid Toppling if possible. Take a look in the hole here to spot three Collectibles, change the time to night if it’s not already and then collect them, this has the highest chance of containing Red Frontiers in Sword Valley, an item you’ll need three of before you leave (one for the Collectopaedia and two for Colony 6).
Make your way back to the Ether Storage Area now and this time head to the south of the pool to unlock the Enalda Control Base Landmark. Ignore the path to the southwest for now and head inside the base to trigger another Surprise Quest.
Secure Enalda Control Base
This Surprise Quest is activate when you head towards Enalda Control Base. You must head inside the Control Base in order to activate the Gate Lock Release for Gate 3. This time it is likely you will have to fight the leader that has taken control of the Base. The level 50 unique Mechon enemy, Tranquil Morax is blocking your way to the Gate Lock Release. He is also accompanied by two lower level Mechon enemies. This fight will be tougher than the last Surprise Quest, so take care to use the Monado’s Arts as frequently as you can. This quest is completed once you have defeated Tranquil Morax.
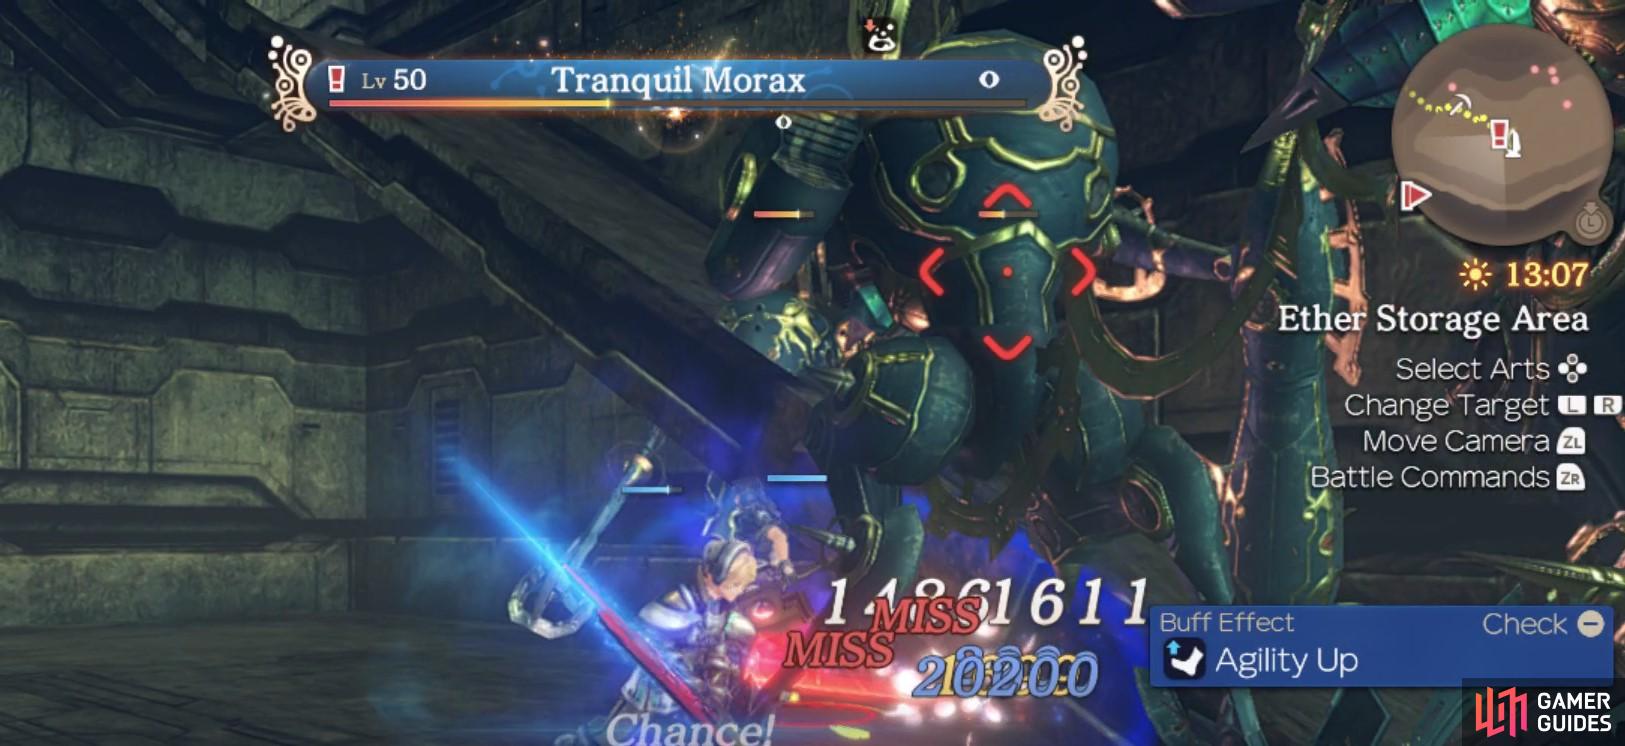
The Tranquil Morax guards the Gate Lock Release.
This seal in here will help to lower the 3rd Gate you passed a moment ago that has another Surprise Quest waiting for you so retrace your steps back to the 3rd Gate and lower it to trigger the Quest.
3rd Gate Front Line
This Surprise Quest is activated when you open the 3rd Gate. You will be asked to defeat the level 53 Unique Mechon enemy Reinforcement M104, which will be no easy task. In front of it, are several other enemies of varying type and strength. On the front line, there are many level 47 M54 Armoured Units, then behind them are some M63X Android Units and M63 Harvester Units.
The Reinforcement M104 stands behind them, flanked by two flying Mechon enemies. Your best bet is to use the Lure tactic to lure each line of enemies to you, starting with the Armoured Units. Be careful with your positioning as you do not want to be aggro-ing too many enemies at once. This quest will be completed once you have defeated the Reinforcement M104.
You may spot another Lv 57 Unique Monster just behind here however if you’ve been following this Walkthrough, you’ll be a little underleveled for it right now (unless you want to boost your levels via Expert Mode). For now, forget about this enemy, there’s plenty of time to tackle it before it becomes inaccessible.
Return to Enalda Control Base and take the southwestern path and head into the structure at the end. Take the path up the slope and you’ll reach the Story Flag and trigger a cutscene. Once you regain control, you’ll unlock Port Access Pathway and then prepare yourself before you continue to the south.
Boss: Mumkhar
| Enemy | Level | Detection |
|---|---|---|
| Mumkhar | 52 | Sight |
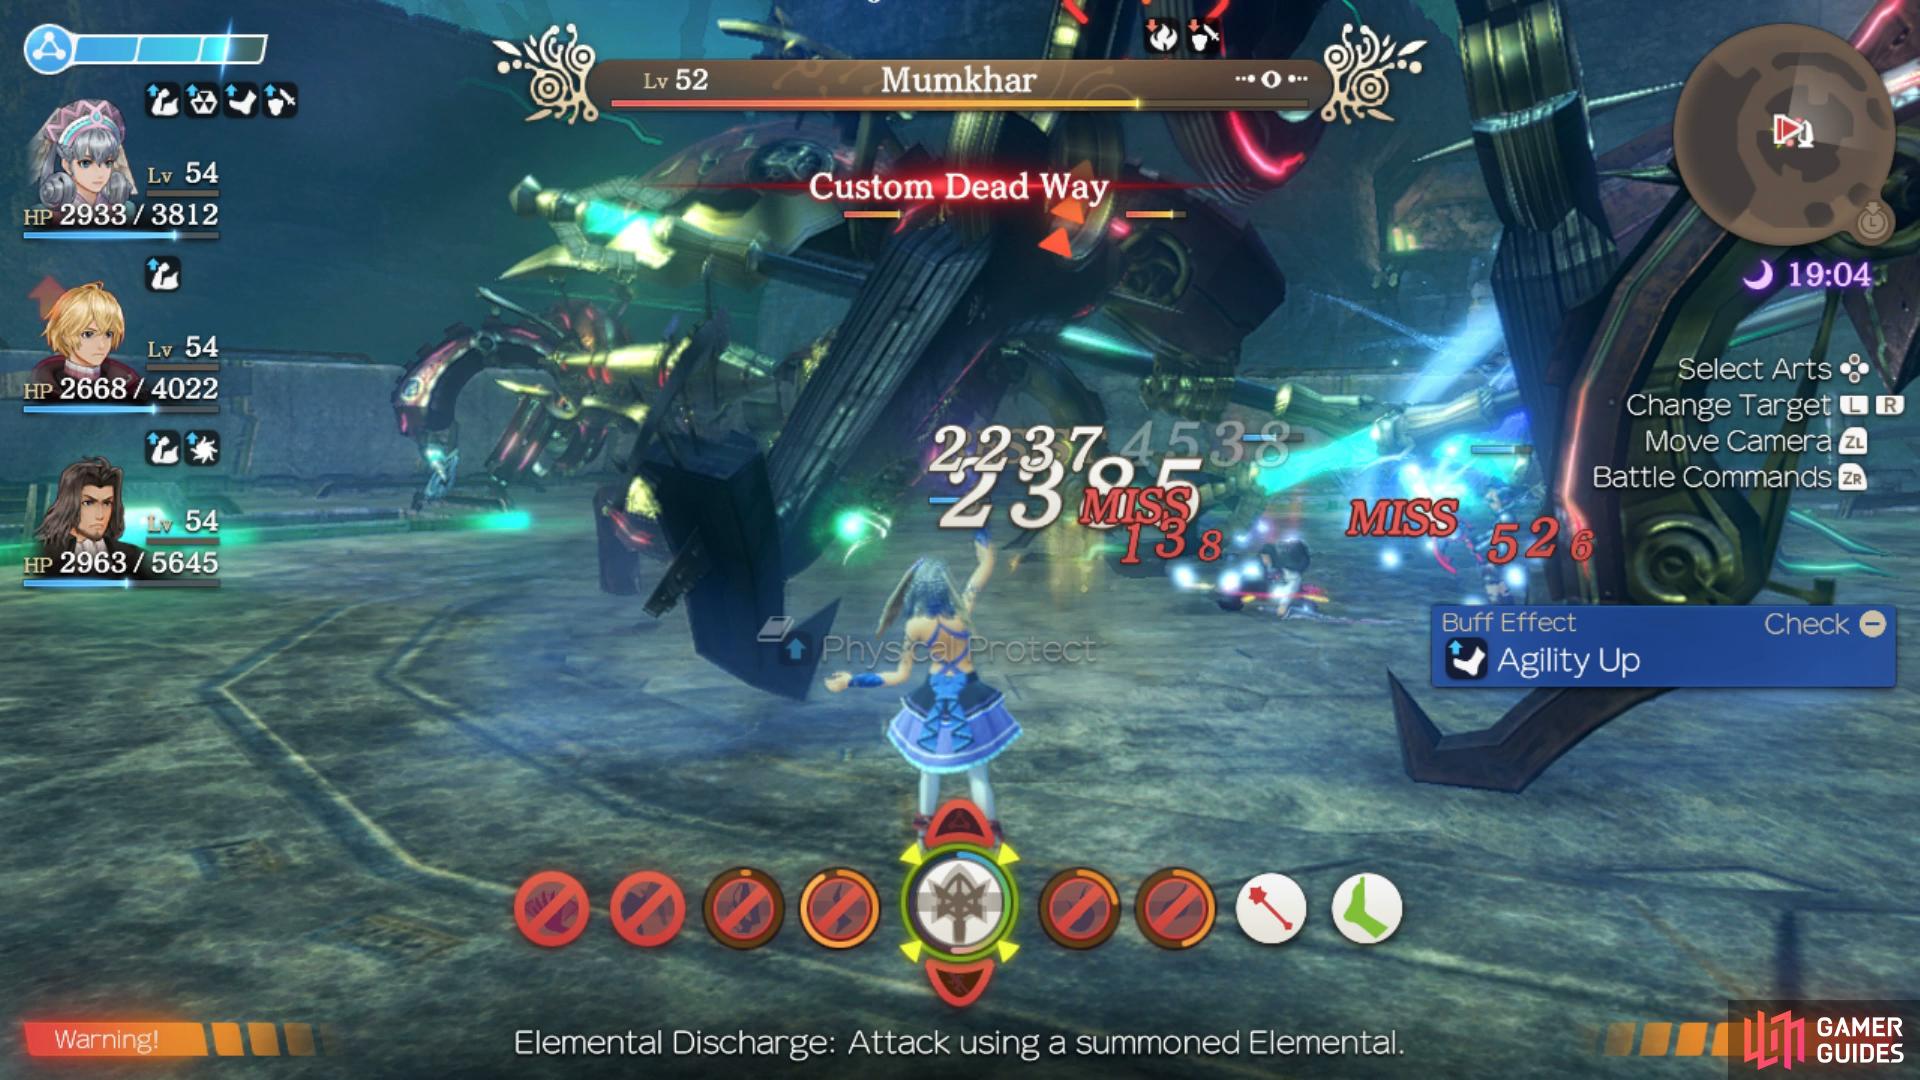
This fight with Mumkhar is far more difficult than your previous encounter with him. Not only does he have a whole new Arts setup but he’s accompanied by a two Lv 48 Mass-Produced Face Mechon enemies that have all the attributes of your regular Faced Mechon which can get in your way. Regardless, it’s much better to target Mumkhar head on and ignore the other Mechon, you’ll want to get Mumkhar down as soon as possible due to some of his deadly Arts:
-
Custom Dead Way - An Ether based Art that deals major damage to targets in a line while inflicting Knockback.
-
Custom Grand Shot - An Ether based Art that deals massive damage to targets in a circle around Mumkhar while inflicting Paralysis, Blowback and Daze. One of Mumkhar’s most deadly Arts.
-
Hell Spin Venom - A Physical based Art that deals moderate damage to targets in a circle around Mumkhar while inflicting Poison.
-
Hell Talon Venom IV - Mumkhar’s Physical based Talent Art that deals moderate damage to a single target and inflicts Poison.
-
Special Killing Claw - A Physical based Art that deals massive damage to a single target while inflicting Poison and Knockback. This is Mumkhar’s most damaging Art.
-
Very Last Resort - A two-hit Physical based Art that deals moderate damage to a single target while inflicting Poison, Blowback and Daze.
As you can see from the above, Mumkhar has a number of deadly Arts and nearly all of them will inflict the Poison status which is the deadliest DoT in the game. What’s more, a lot of his Arts hit for heavy damage outside of the effect so you’ll really have to be on your toes here. Making use of Chain Attacks to Topple Mumkhar is really useful here, not only will it disable him but it will prevent the Mass-Produced Face enemies from attacking you too, allowing you to hopefully down Mumkhar before they have a chance. Melia is incredibly useful here, especially if she’s the party leader as you can stack Poison and Blaze on him yourself. Unlike the previous battles with Mumkhar, this time you’ll have to deplete his entire HP to win the battle.
Following Mumkhar’s demise, you’ll find yourself with the knowledge that Fiora is in Galahad Fortress and you’ll unlock the Heavy Machine Depot. Return back to the east and up the slopes to where you were before you triggered the scene before the boss and continue down to the south where you’ll unlock Port Maintenance Bay. Head inside and you’ll locate a Lv 51 Unique Monster, Fate Labolas flanked by two more Mechon. Dispatch all of them and then head to the northwest to unlock the Radio Tower Landmark and trigger the final Quest in Sword Valley.
Secure the Radio Tower
This Surprise Quest is activated when you walk nearby the Radio Tower, which is in the Southern most parts of Sword Valley. You will be tasked with the objective to defeat the level 55 Unique Mechon enemy, Lightning Ronove. Like the 3rd Gate Front Line quest, there are several enemies surrounding the Lightning Ronove. To make it an easier fight, you should avoid fighting all of them at once by using the Lure tactic on the frontline enemies. The frontline consists of M54 Attack Units. Flanking the Lightning Ronove are two level 48 M63 Destruction Units.
When fighting the Lightning Ronove, the Break, Topple, Daze combo is your best bet to ensure he doesn’t get any huge attacks in on your party. If you reach a full party gauge during your fight with the frontline enemies, consider saving the Chain Attack until you fight the Lightning Ronove. This quest will be completed once you have defeated the Lightning Ronove.

The Lightning Ronove is surrounded by other Mechon enemies, making the fight significantly harder.
Return to where the Radio Tower Landmark is and head east to uncover the Control Tower Landmark and just to the north, a Lv 53 Unique Monster, Kamikaze Bune. This is another enemy with Spike damage so be sure to Topple it to make the battle easier. Retrace your steps now and take the slope down to the northeast and follow it to unlock the final location, Fortress Rear Entrance where Galahad Fortress awaits.
No Comments