


Questing around Bionis’ Leg (2)
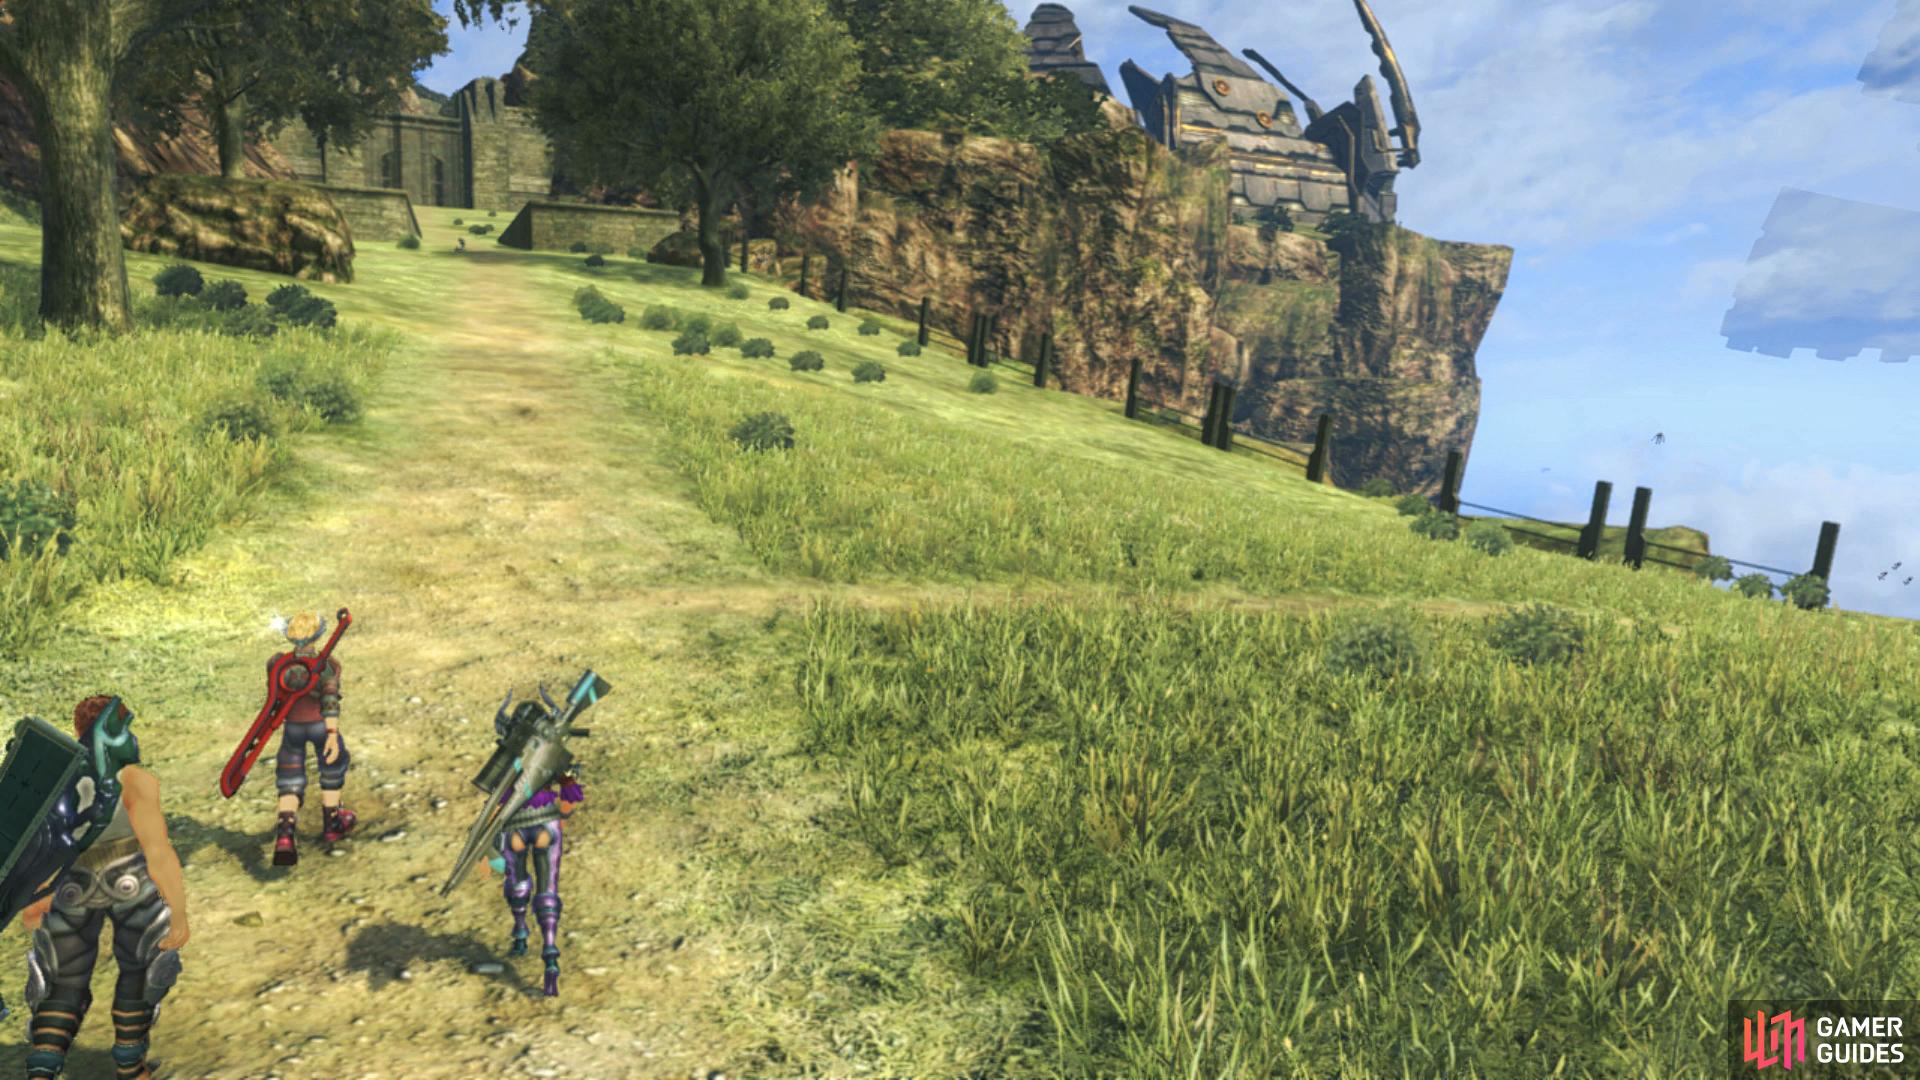
Juju is whisked off towards Colony 6 by Mysterious Face however before you set off to rescue him, you’ll now have full access to Bionis’ Leg without interruption, allowing you to clear out the rest of the Quests. You’ll also find more Quests have opened up in Colony 9 so it’s a good time to take a break before proceeding on with the story, especially as many of the Refugee Camp ones will become missable once you press on. Return to the Spiral Valley Landmark and make your way west to reach Traveller’s Rest where you’ll find a Nopon, Gerugu who will give you The Lost Nopon.
The Lost Nopon
Gerugu’s friend, Batubatu, went off in search of ingredients for dinner, but his poor sense of direction got him lost. Gerugu mentions that his friend is somewhere near Raguel Lake, so fast travel to the southern end of the bridge. If you can locate the large ether deposit on the base level of the lake in the northwest portion, then Batubatu will be on the cliff right above that. You will want to approach this cliff from the south, as the north has some level 70+ enemies roaming there. Speak with Batubatu, then return to Gerugu to finish the quest.
With Much Gratitude
After completing The Lost Nopon, you will find that Batubatu has another quest for you. He wants to give someone a gift of gratitude, deciding on the Secret Nopon Elixir, but he needs you to find two key ingredients for him. These are a Tokilos’ Egg, which will be found near the Zax Guidepost, and a Pandora Mushroom, found from the Windy Cave. For the egg, fast travel to the Zax Guidepost and look for the icons to climb down just to the east. This will put you on a ledge with level 79 Leg Tokilos. You can either sneak behind them, hugging the cliff wall, to grab the red orb or tinker with the time and try to get it to rain, which will make the Tokilos disappear.

You can get through Windy Cave without Aggroing any enemies by slowly walking.
For the Mushroom, travel to the northern end of Raguel Bridge and head straight northeast, until you reach the Windy Cave. There are a lot of high level enemies in this portion of the map, but the Caterpiles and Vangs will not aggro you unless you attack first. However, the Arachnos and Pandora Pods will aggro if you make noise, so if you have to get close to them, make sure you walk very slowly. When you get to the central part, there is a cave to the south, which is where the mushroom is located. This is home to some large Pandora Pods and a Unique Monster called Mysterious Barnaby (an Arachno). Continue walking and once you grab the mushroom, get the heck out of there. Return both items to Batubatu to finish.
With Even More Gratitude
This quest becomes available after completing With Much Gratitude. Gerugu is worried about Batubatu again, as he seems to have gone off someplace else, meaning he is lost again. He went to find a flower to give to someone without your help. The game mentions that he is on a high place east of Zax Guidepost. The easiest way to go is straight north of the Spiral Valley landmark, as this will put you at the base of the ramp leading to the upper portion. Not that far up, you will find Batubatu, who mentions the Ether Wisdom flower, but there are monsters in the way. Other than some Tirkins, there might be a Lv 76 Last Rhogul flying about, but night or rain will make it despawn. Go through the cave and you will end up at the Believer’s Paradise Secret Area. The Ether Wisdom is on the northern tip of Believer’s Paradise, so loot it and bring it back to Batubatu at Traveller’s Rest to finish.
With this Quest complete, you should be done with Bionis’ Leg for now, be sure to use the map from the Tour Guide to discover all Locations and Landmarks and complete the Collectopaedia to obtain a White Cluster, a weapon for Sharla. Before you venture on to Colony 6, there’s more business to deal with back in Colony 9. If you wish to press on with the story, skip ahead to the Colony 6 section.
Questing Around Colony 9
With Sharla now in the party, one previous Quest that was perhaps a little too difficult has now become more manageable and you’ll have opened up a whole new host of Quests here in Colony 9, allowing you to increase the Affinity Rank once more for even more bonuses. To begin with, head back to Tranquil Square and speak to Narine to advance the Paola and Narine Quest a little before continuing with The Plan Quest chain.
The Plan - Execution
This quest becomes available after finishing The Plan - The Night Before, with Sesame finally bringing his plan into action. He wants you to defeat a monster by the name of Dark Murakmor, which is found near Colony 9’s Anti-Air Battery 3, at night. This will be a Unique Monster that is level 18, so you might need to come back a little later to fight it, especially once you have a third party member. If you go to where the name of the location is on the map, you will find the big bird waiting for you. Once you finally take down the big bird, return to Sesame and he wants you to check out a street light in the Commercial District. Inspect the light marked on your map, then report back to Sesame to finish the quest.
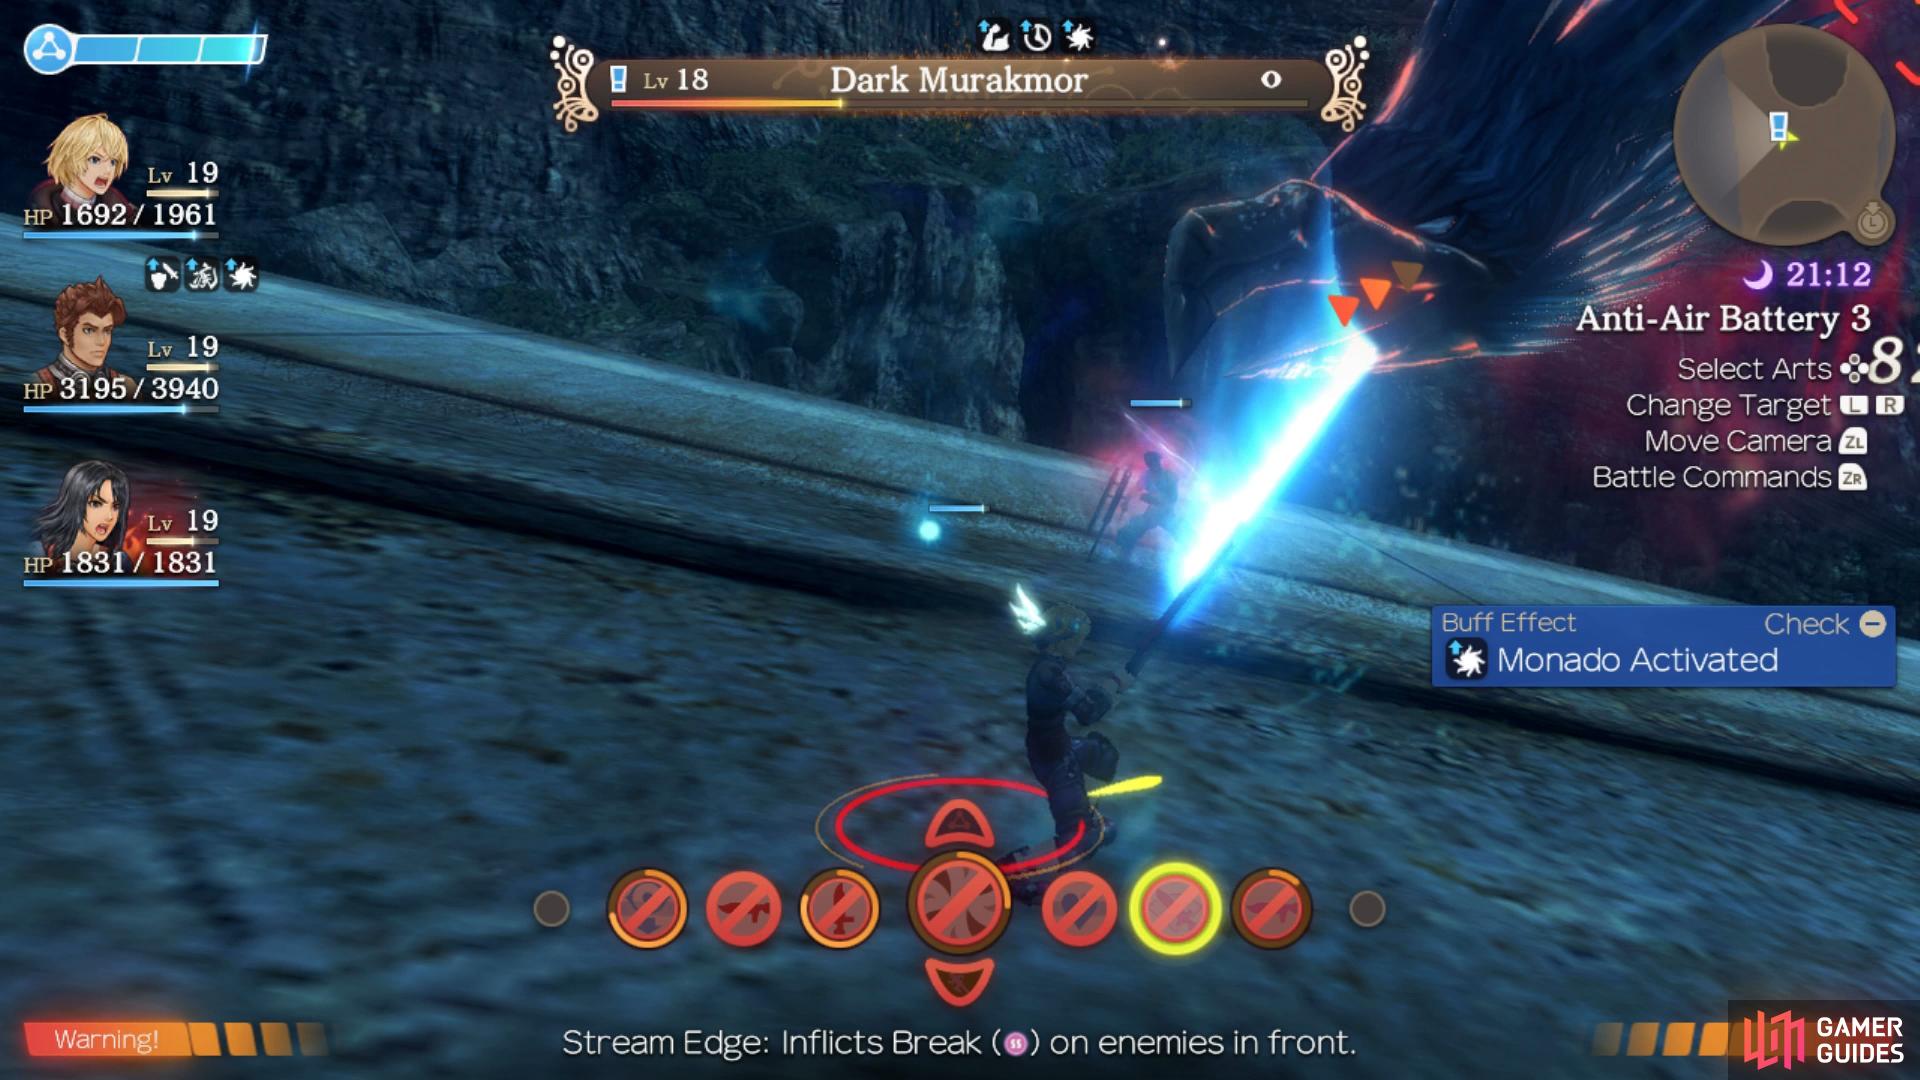
You’ll need to use a Chain Attack to Topple this giant bird.
You should now find a whole new batch of Quests that you can accept around Colony 9, go ahead and accept them all to get started.
Pestering Paola
If you chose Route A in the Overworked and Underpaid quest, then you will have activated this quest, rather than Out-of-Luck Giorgio. Giorgio tells you he doesn’t have the time to play with Paola, and asks you to spend some time with her instead. Upon talking to Paola, she will ask you to defeat the Fiendish Bunnit, who can be found on a hill near Cliff Lake. To complete the quest, talk to Paola and then to Giorgio.
Out-of-Luck Giorgio
This quest is only available to you after you escorted Juju to the Refugee Camp in Bionis’ Leg and Sharla joins your party. Also, you will only be able to log this quest if you chose the consulting a relative option during Overworked and Underpaid. His business seems to be in a rut, as customers are complaining the curry isn’t like it usually is, since Giorgio is busy with his daughter. As a stopgap, he wants you to get five lots of Piranhax Roe for him, which drop from Piranhaxes on the Bionis’ Leg.
The only Piranhax in the Bionis’ Leg area are Leg Piranhax, which can be found in the pools of water to the northeast and southwest of Jabos Rock Rest Area landmark (there are none at any other bodies of water, including Rho Oasis). Return with the items and Giorgio needs one more thing, three pieces of Juicy Broccoli. This is a collectable in the Bionis’ Leg area, so you might have enough already. If not, then the quest markers will help you find them a lot easier, so keep a lookout for those as you roam about. Once you find the necessary amount, bring them back to Giorgio to finish.
Jackson’s Awakening
Jackson will ask you to find someone to take him on as an apprentice. This quest has two separate endings, depending on who you talk to. Your chosen route also determines whether you activate Jackson the Poet or Jackson the Cook.
-
Talk to Kenny Rohan (Route A) - Kenny Rohan (Tranquil Square, 21:00 - 18:00) offers to teach Jackson how to be a poet. But firstly, he asks you to defeat 5 Tephra Lizards, which can be found near Villa Lake in Tephra Cave. Once you’ve defeated the monsters, speak to Kenny Rohan and then to Jackson to complete the quest. Taking this route will unlock the quest Jackson the Poet.
-
B Route - For this route, speak with Giorgio, who mentions he is looking for someone to help him come up with some curry recipes. Before he brings the boy on, though, he wants you to take out five Tephra Lizards at Villa Lake in Tephra Cave. Do that, report back to Giorgio and return to Jackson with the news, bringing an end to this quest.
Jackson the Poet
This quest is only available if you spoke to Kenny Rohan instead of Giorgio in Jackson’s Awakening. Jackson has asked you to defeat the Dim Wisp so that he and Kenny Rohan can finally concentrate on their art. The Dim Wisp can be found near Kneecap Hill in Tephra Cave. The wisp will only come out at night, so if you need to, change the time in the menu. Return to Jackson to complete the quest.
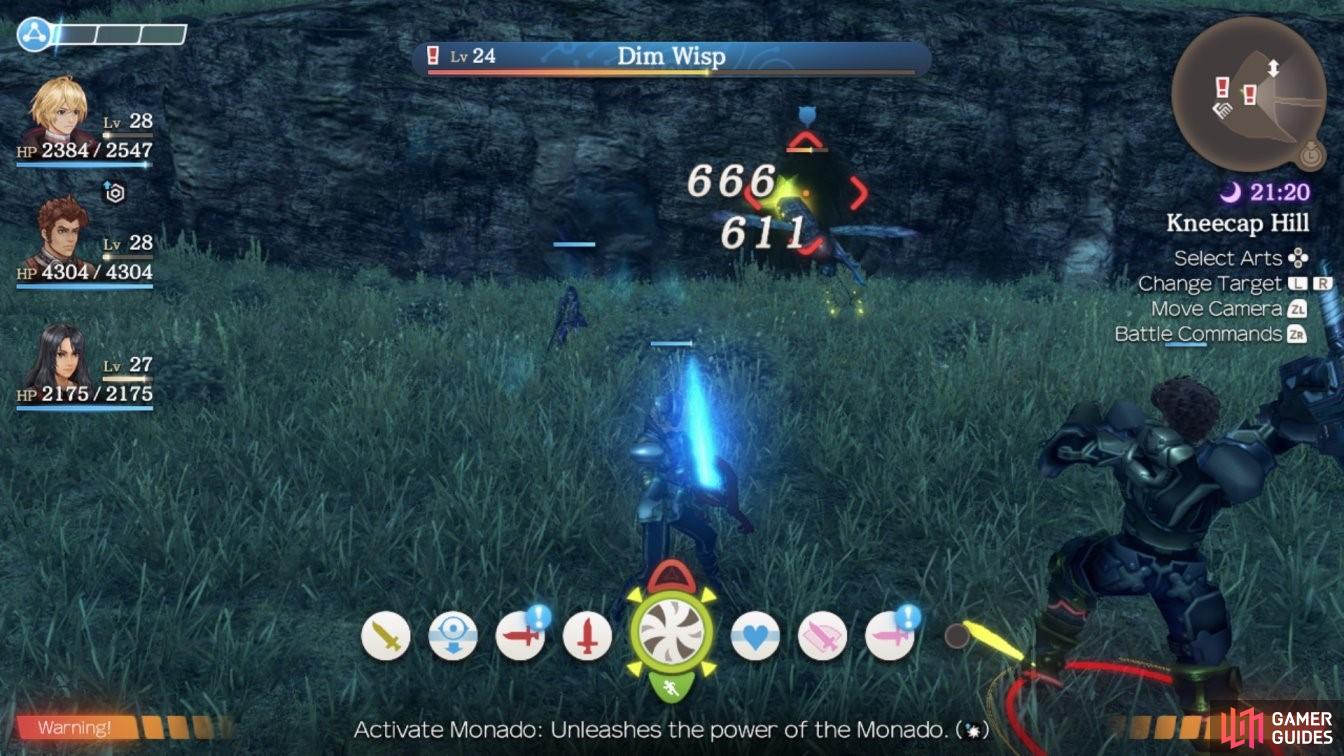
The Dim Wisp can be found on Kneecap Hill right before you enter Gaur Plains.
Jackson the Cook
This quest is only available if you spoke to Giorgio in Jackson’s Awakening. Jackson has asked you to collect 5 lots of Raw Piranhax Meat from the Colony Piranhaxes here in Colony 9 so that he can create his new Curry recipe. The easiest place to find these are by heading to the Cylinder Hangar Landmark and then leaping into the water, you’ll find plenty here. Alternatively, head to Outlook Park and search in the cave under it. Once you have them, return to Jackson to hand them over and complete the Quest.
A Mysterious Light
Kenny Rohan asks you to find out about the mysterious light in the lake. There are two potential routes to this quest, however, both have similar outcomes, so it does not matter too much which you pick.
-
Begin by talking to Suzanna (Route A) - Talking to Suzanna will lead you to talking to Françoise and then to Dionysis. Conveniently, they all have similar active hours and can be found in Tranquil Square.
-
Begin by talking to Arnaut (Route B) - Talking to Arnaut will lead you to talking to Narine and then talking to Arnaut again.
Once you return to Kenny Rohan with the rumours you have heard, he will tell you you’re wrong, and reveal that the light is merely an ether light that fell into the lake after the Mechon attack.
Out Like a Light?
After completing A Mysterious Light, Kenny Rohan asks you to decide what to do about the broken lamp. He will give you an ether cylinder, and you can either use it to fix the lamp or throw it away so the lamp remains broken. Here, you will have two endings to the quest, depending on what you choose to do. There are no wrong answers here, it is what you believe would be best for the people of Colony 9
-
Throw the ether cylinder into the lake (Route A) - After throwing it away, speak to Kenny Rohan. He will tell you that the light offered the people of Colony 9 some comfort, but that throwing the cylinder away meant they would finally move on. This route is definitely the easier option, since you only have to stand on the bridge and throw away the ether cylinder to complete the quest, whilst Route B is a little trickier.
-
Mend the lamp (Route B) - If you choose this route, then you must first speak to Arnaut. He will tell you that to fix the lamp you need an ether cylinder (Kenny Rohan gave you this) and 2 Krabble Fixed Parts. You can find Junk Krabbles in the Ether Mine, specifically in Test Area 1 and 3. The Krabble Fixed Parts are a rare drop, so you might have to farm for a little while to get 2 of them. But once collected, return to Arnaut. After he has mended the lamp, return to Kenny Rohan. He will tell you that he looks forward to seeing people gather at the bridge every night.
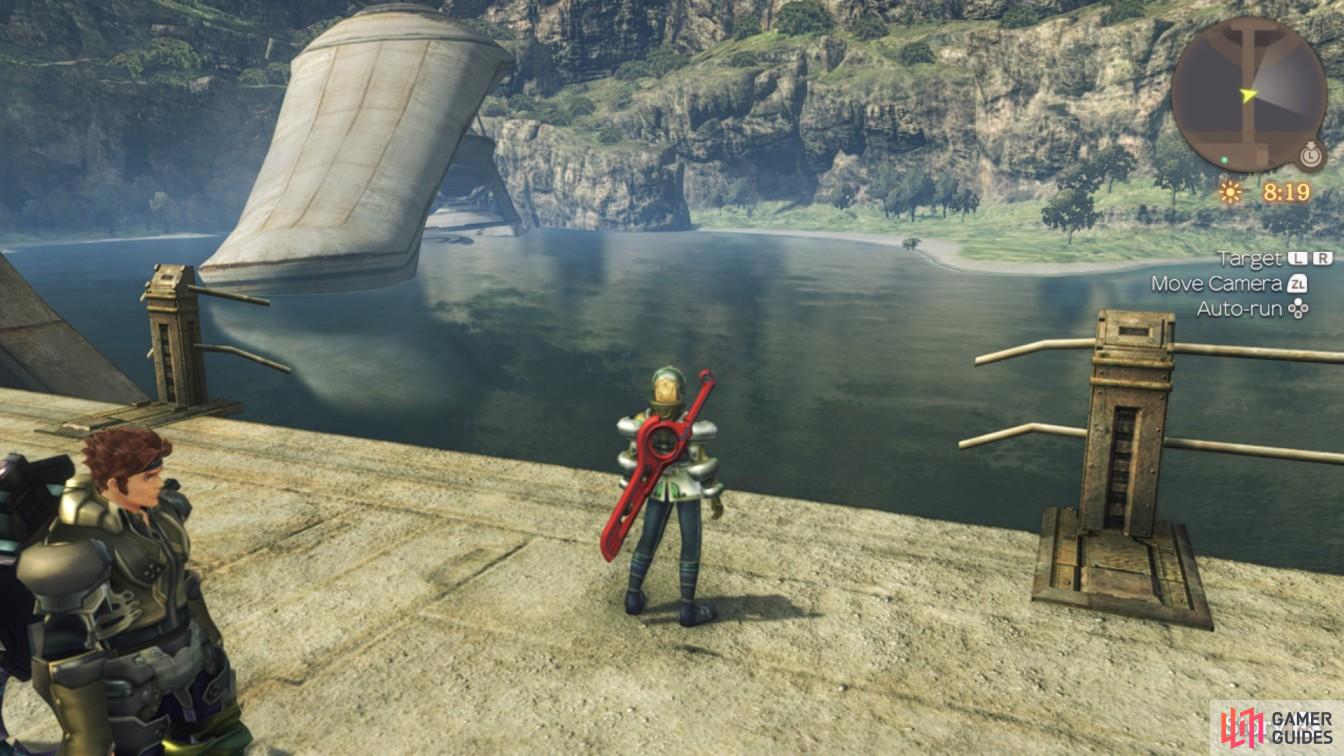
Route A requires you throw the ether cylinder over the bridge

Arnaut will repair the lamp if you choose Route B.
That should be all the Quests available to you right now so head travel back to Bask Cave Passage on Bionis’ Leg and pass through to Colony 6.
Colony 6
After the group discusses the state of Colony 6, Sharla informs them of a means to remain undetected via the Ether Mines that run below the settlement. Once you regain control, turn back around to find a Shop selling new Arts Manuals and a Nopon by the name of [Daza] who will offer a new Quest.
Proof of Status
Daza has tasked you with seeking out a Nopon Coin that can be found on the Splintered Path. Head back north and take the lift down to the lower level. From here, follow the path to the southwest, avoiding the Rhoguls if possible, it’s easy to fall off the edge here. Hug the path along the eastern cliff and eventually you’ll come across the Coin, pocket it and turn in this simple Quest to accept the next one.
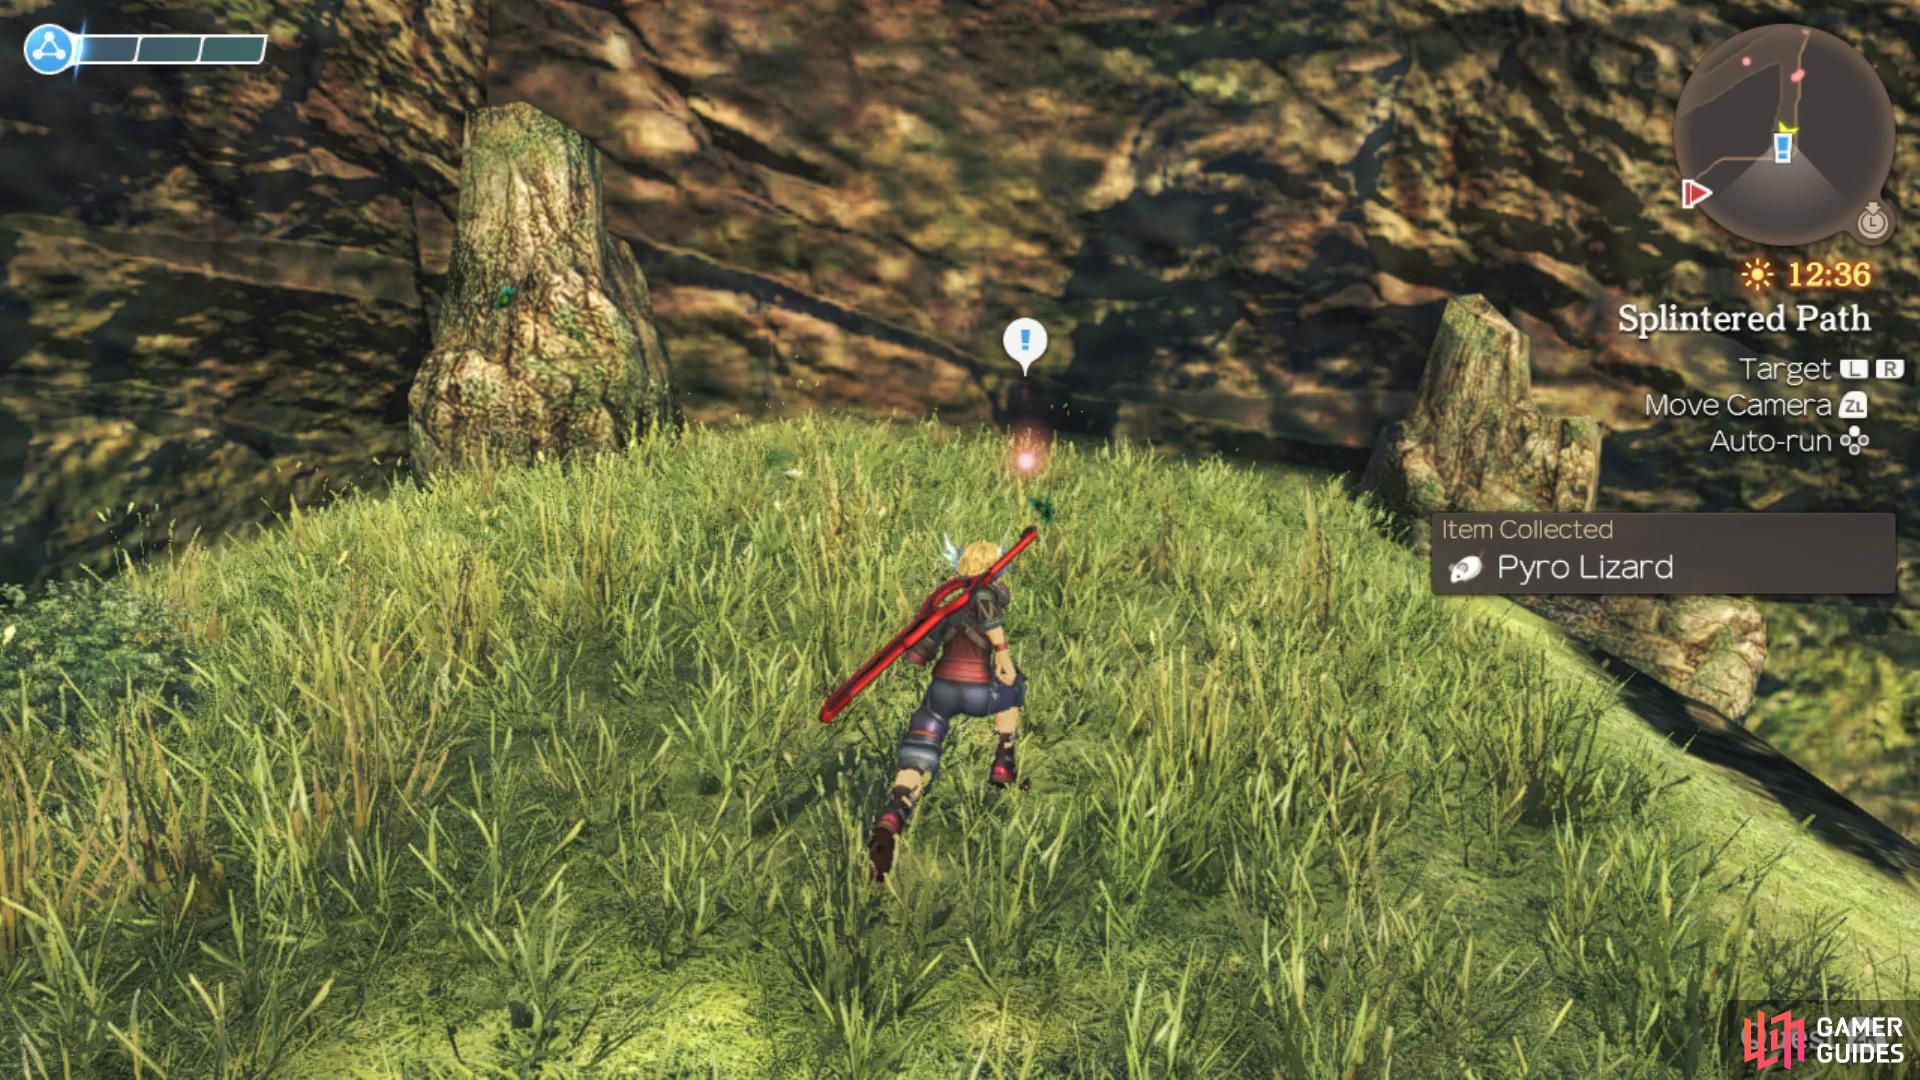
You can find the Nopon Coin against the cliff below the entrance to Colony 6
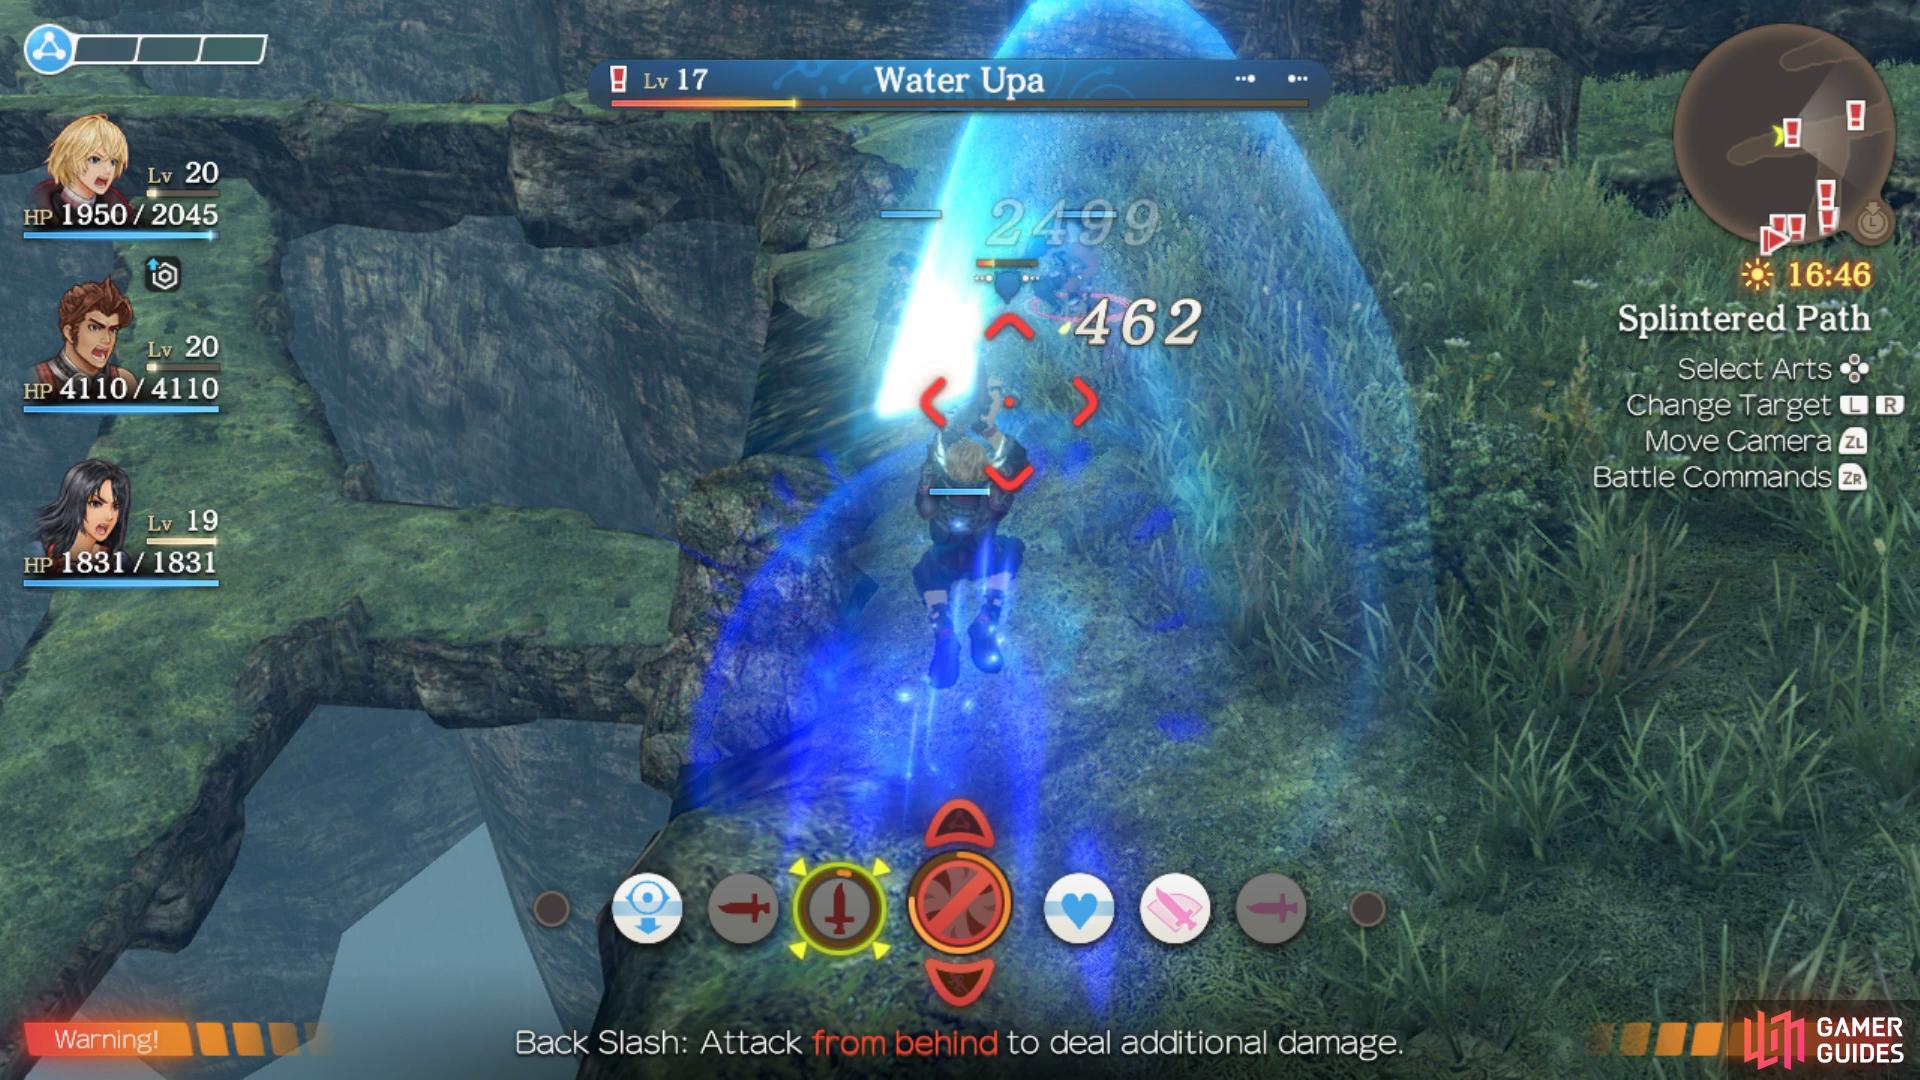
Water Upas will only show up when it’s raining or there’s a thunderstorm.
Safety First
Daza’s still concerned about his safety and as a result, has asked you to cull the local area of monsters. You’ll need to take down four Yellow Antols, six Soft Hoxes and three Water Upas, all of which can be found below where you found the Nopon Coin a short moment ago. The Water Upas however may be troublesome to find, they’ll only appear if it happens to be raining or there’s a thunderstorm, should you see one, make them your priority. You can change the weather by keep advancing from day to night until you get the desired effect. Once you’ve slayed all of the monsters, make your way back to Daza to give him the good news and complete the Quest.
Secret Mission
Daza’s final task for you is a top-secret mission, asking you to take a letter to Gerugu on Bionis’ Leg. Travel back to Spiral Valley on Bionis’ Leg and head west to find Gerugu and deliver the letter before returning to Daza again and complete this short Quest.
With three simple Quests out of the way, head back down the lift and follow the upper path to enter the Ether Mine.
Ether Mine
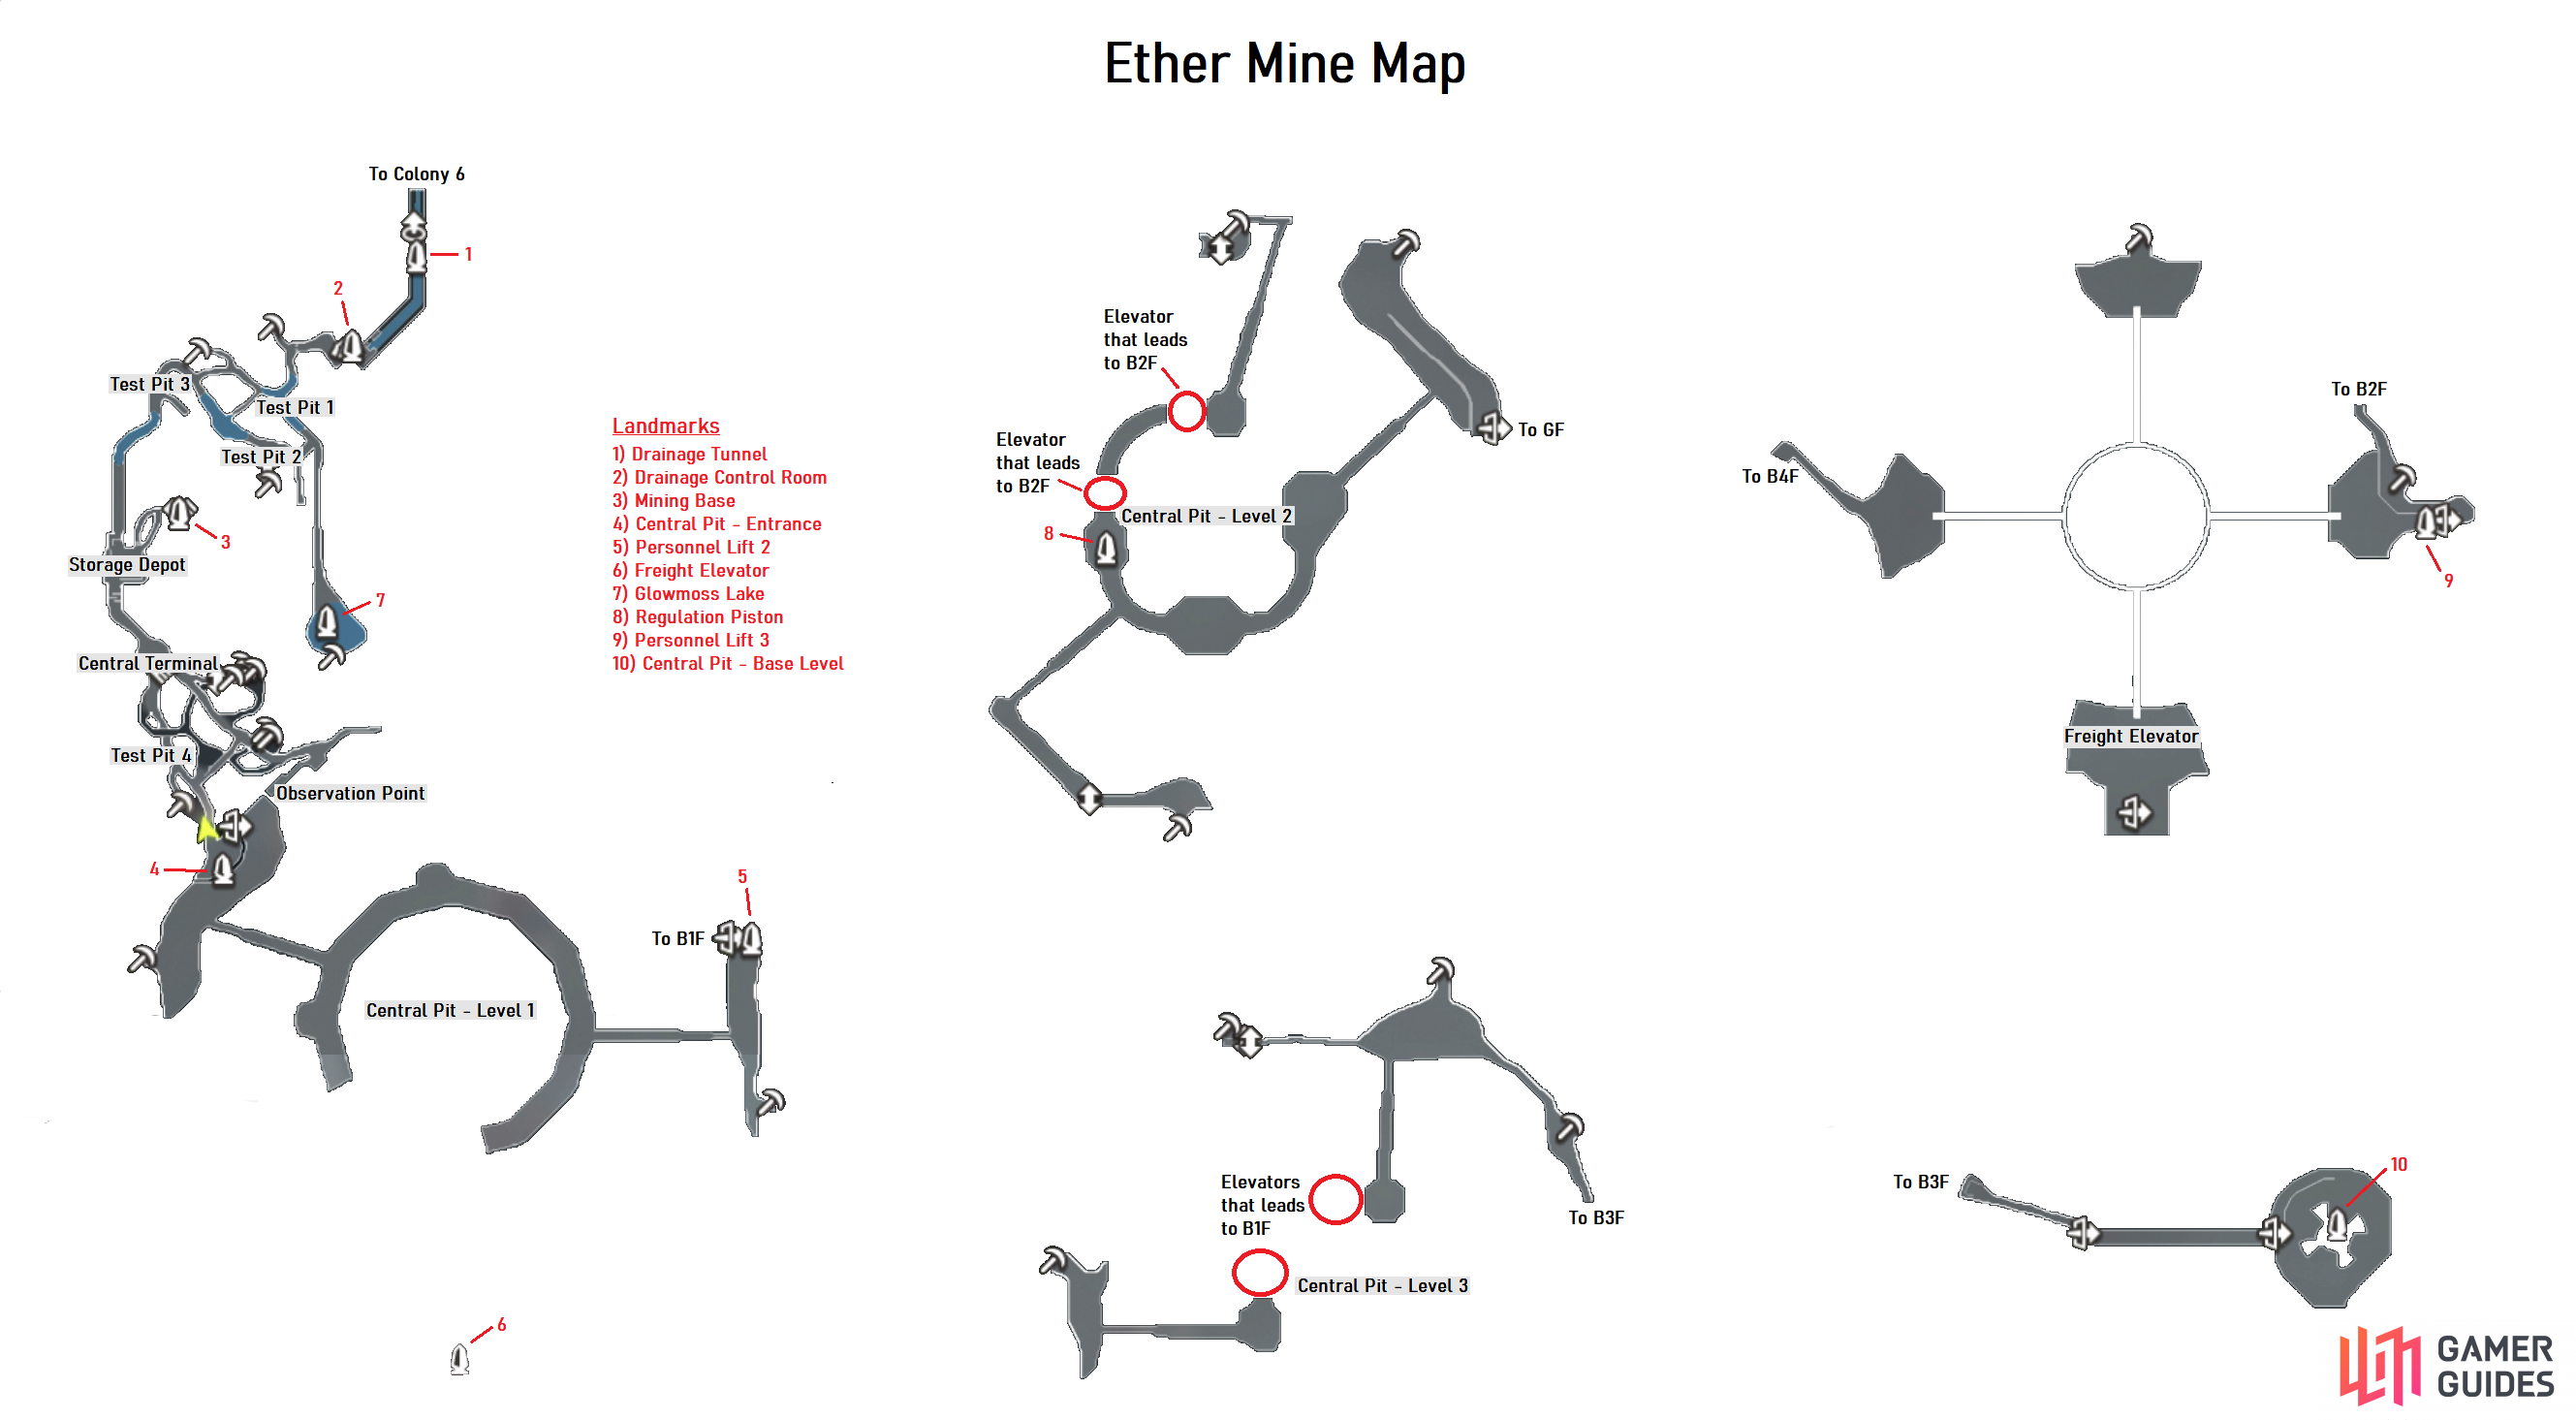
You’ll unlock the Drainage Tunnel Landmark upon entry as you find yourself in a sewer system. Trek through to the south and then take the stairs up, following it to the Drainage Control Room Landmark and a Nopon Merchant who has new Arts Manuals for sale. Continue through the door to trigger a cutscene and then when you regain control head north at the first intersection to find an Earth Ether Deposit. Return to the intersection and follow it by hugging the southeast wall and you’ll find the Secret Area, Glowmoss Lake along with a Lv 29 Unique Monster, Elegant Marin. If you’re using Expert Mode then you’ll find yourself around Lv 20 and as such, far too low to take it on for now.
Leave the lake and head west and south at the intersection to unlock Test Pit 2 and climb the wall to the south to find a Fire Ether Deposit. Drop back down and continue making your way west and unlock Test Pit 3 as you follow the path southwest to the Story Flag to trigger a cutscene. Following the short scene, you’ll be thrust into battle against two Lv 20 Mechon M32Xs, a Lv 20 Mechon M42 and a Lv 21 Mechon M53X. Focus your attention on the M53X and be sure to keep Monado Enchant up the entire time, Monado Buster will then make short work of these foes.
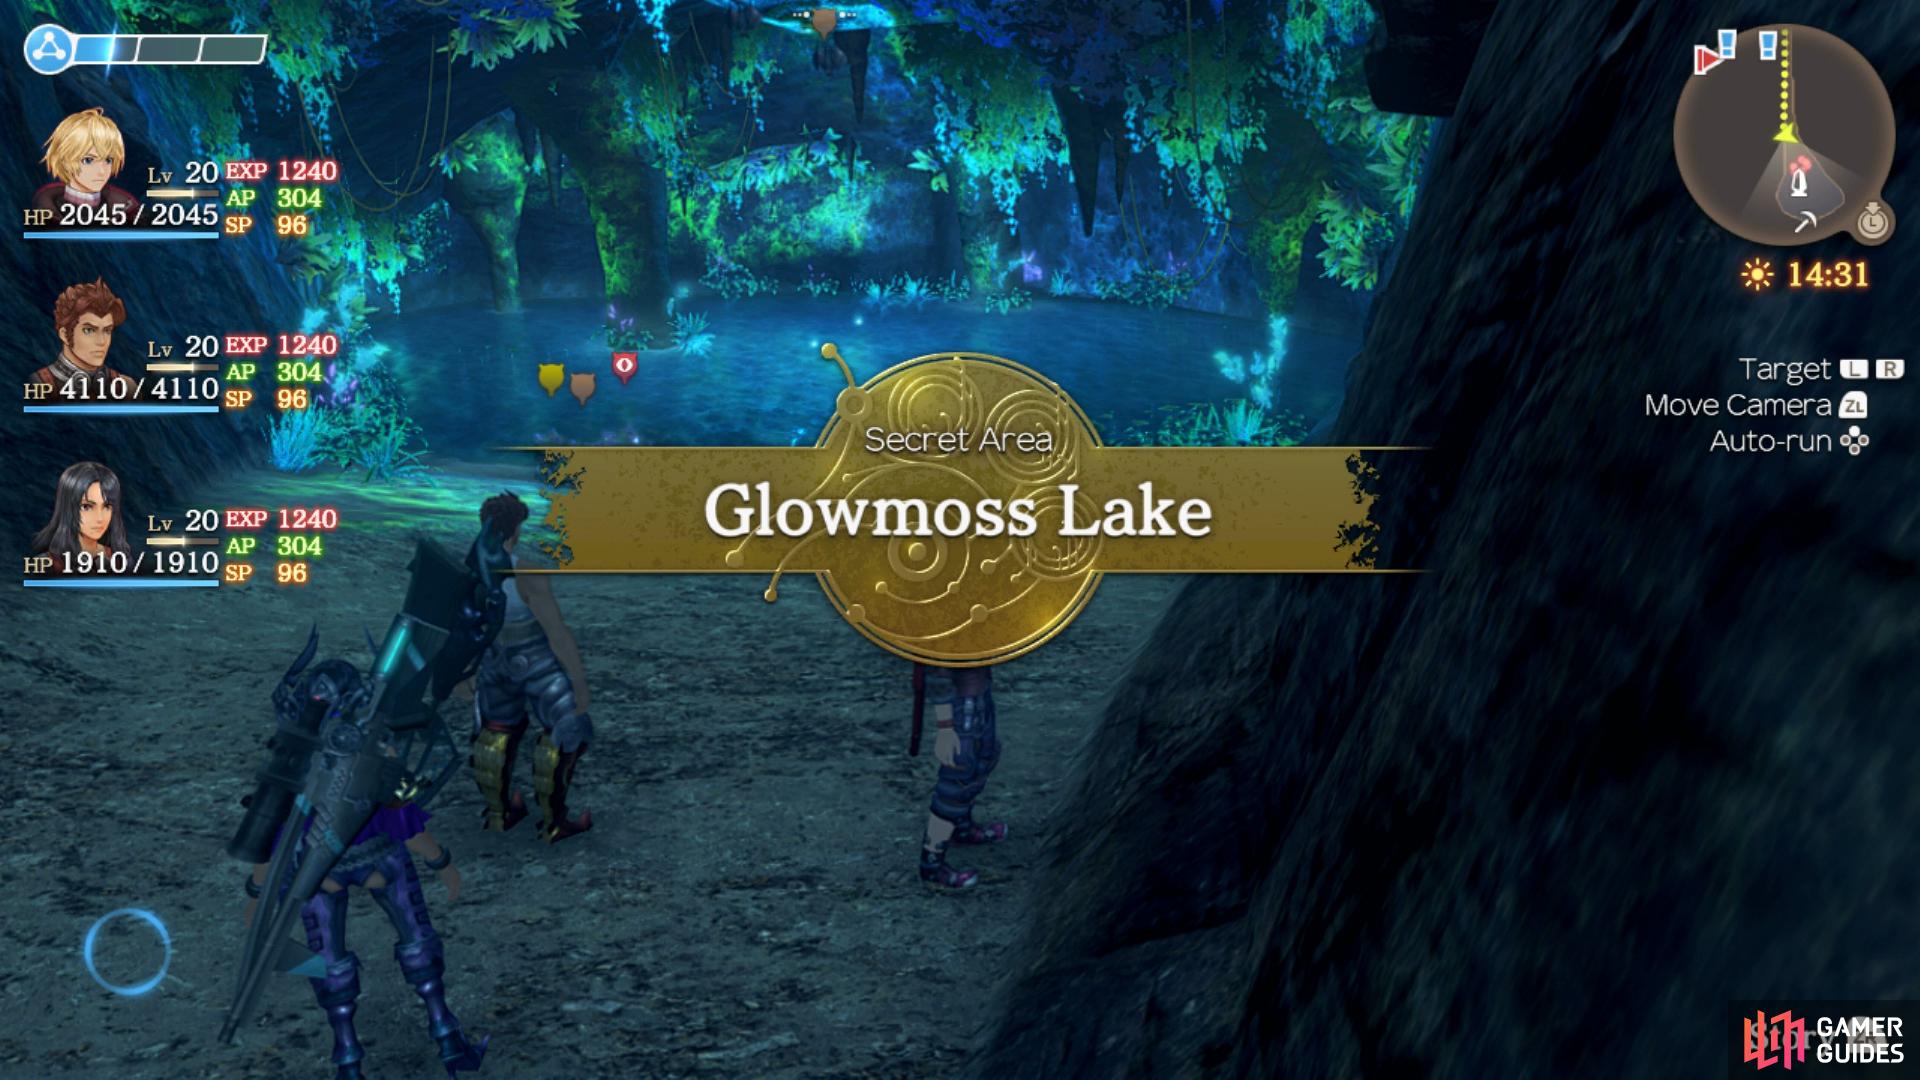
Head to the far southeast to discover Glowmoss Lake
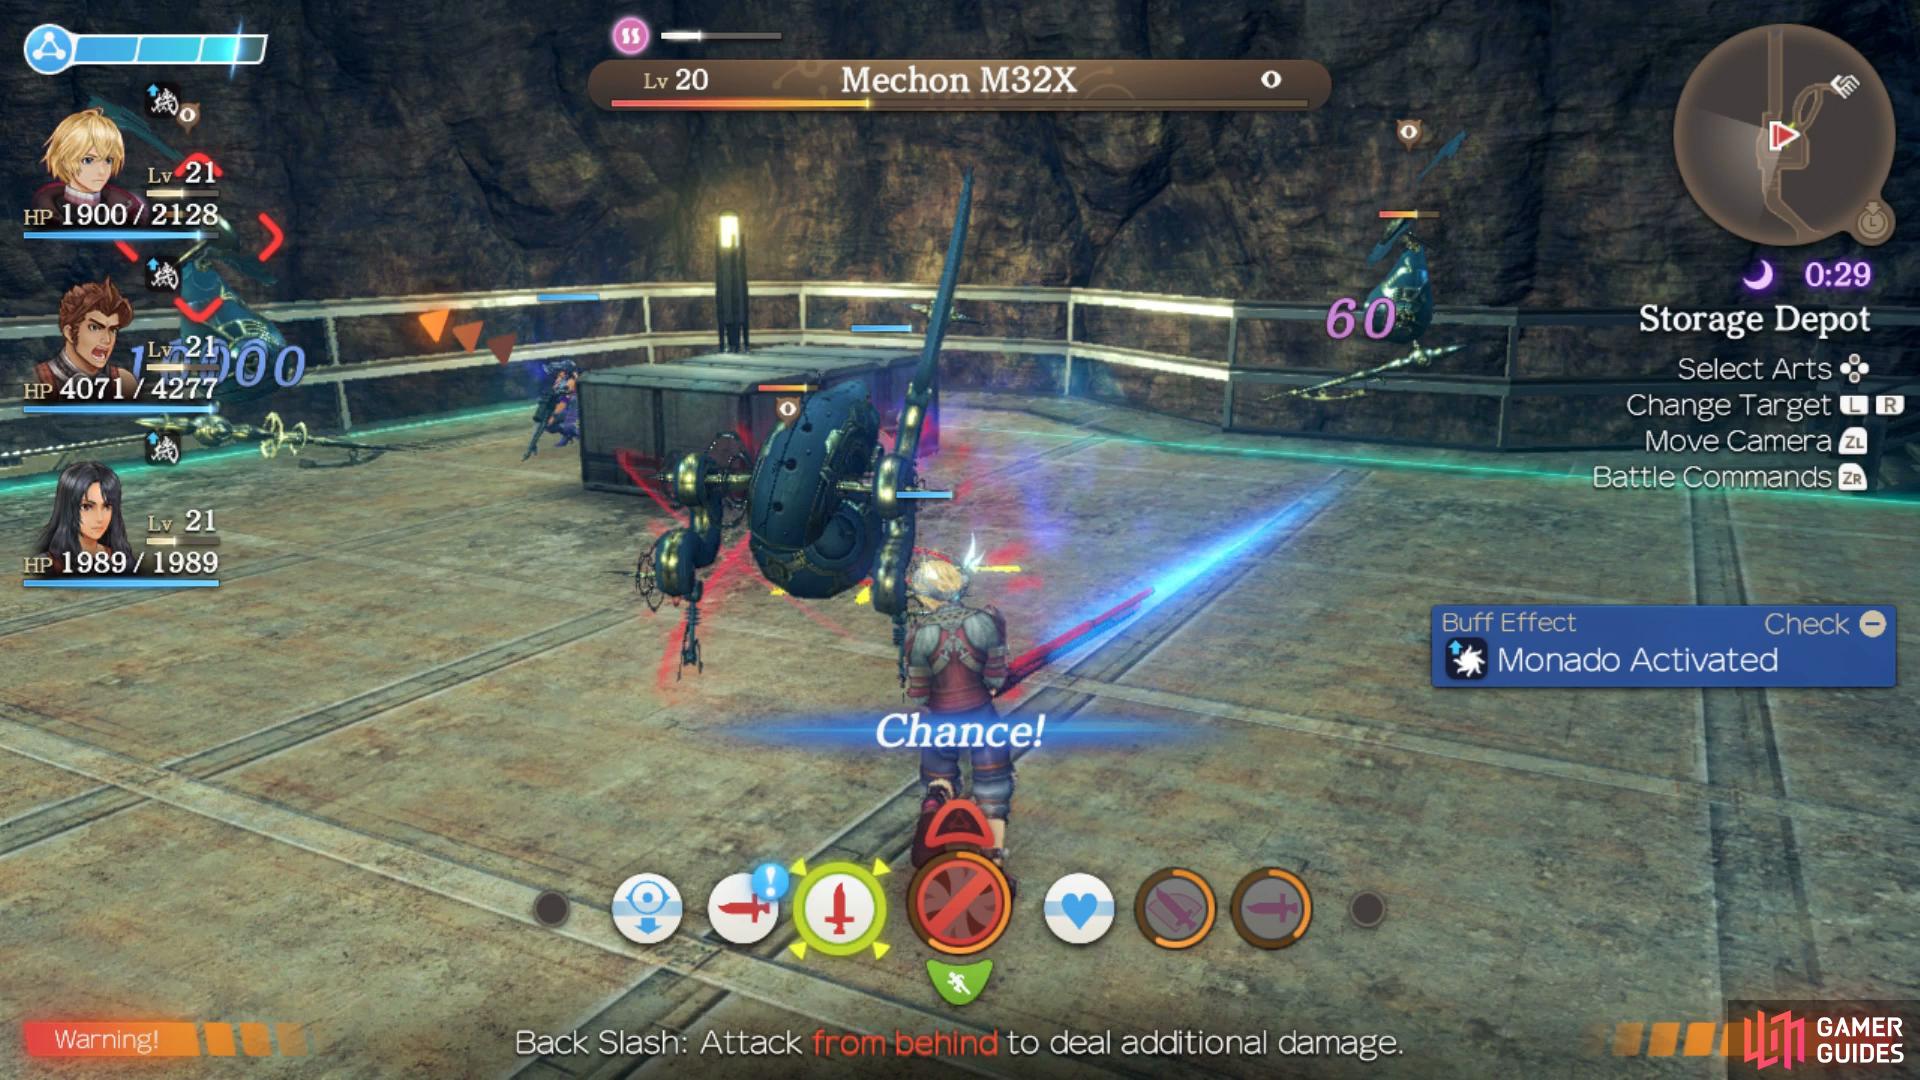
during the forced battle, focus on one enemy at a time.
Following the scenes, you’ll unlock the Mining Base Landmark with a new objective, the Central Pit. You’ll find a Heart-to-Heart here and although you have the characters needed for it (Shulk and Sharla), you’ll be nowhere near the Affinity required for it. Leave the room and head south and down the stairs towards the Story Flag to trigger another cutscene. Continue south after the scene is over and you’ll unlock Central Platform along with locating another Heart-to-Heart you’re unable to view yet.
Take the northeast path from here and climb the wall to find an Electric Ether Deposit then drop down and take the upper path to the southeast where you’ll run in Vengeful Daulton, a Lv 22 Unique Monster. Upon defeating it, take the southwest path here to unlock Test Pit 4 and make your way down the slope and northeast to reach a large Ice Ether Deposit. Leave this enclosed area and head around the back of it to the east to find an open door and unlock Observation Point, head down the stairs to the southwest to find the Depot Access Lever and activate it. Return to the previous slope once more and take the southwest path through the now open door to trigger a cutscene.
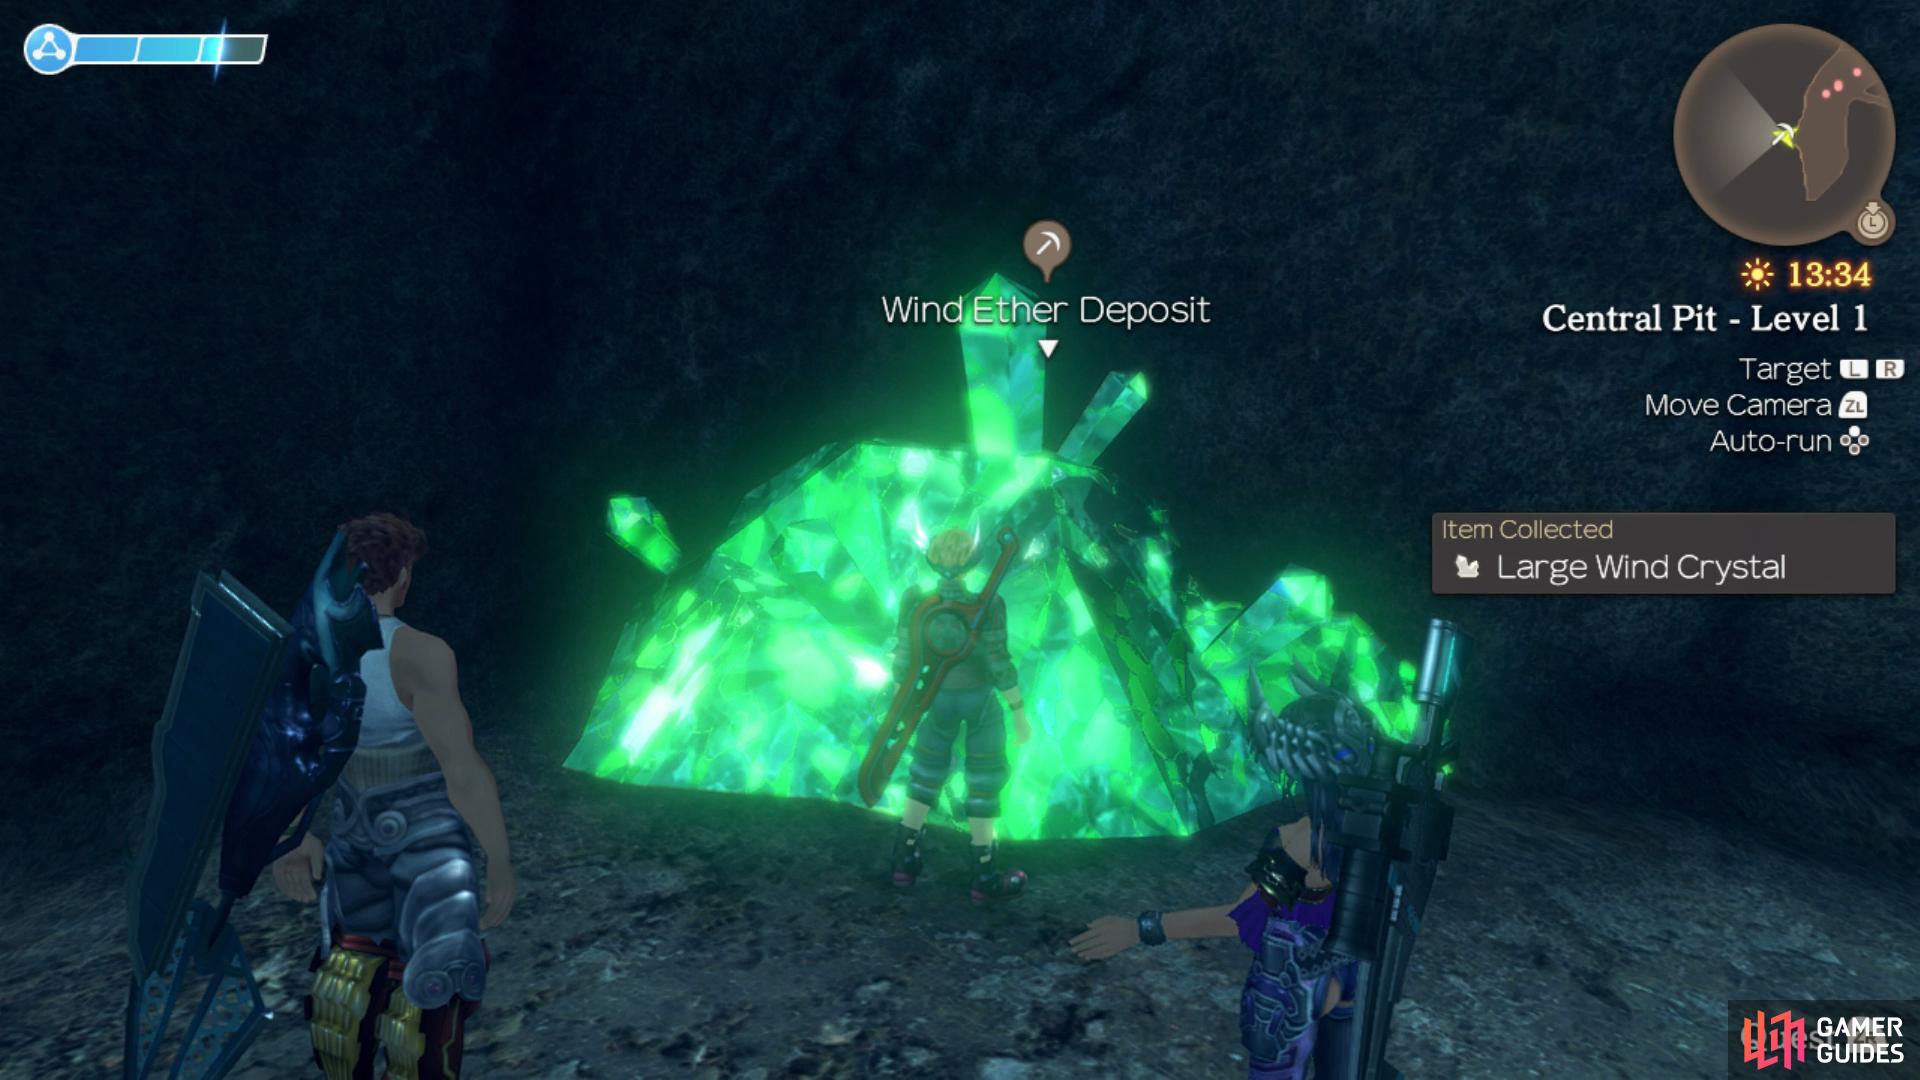
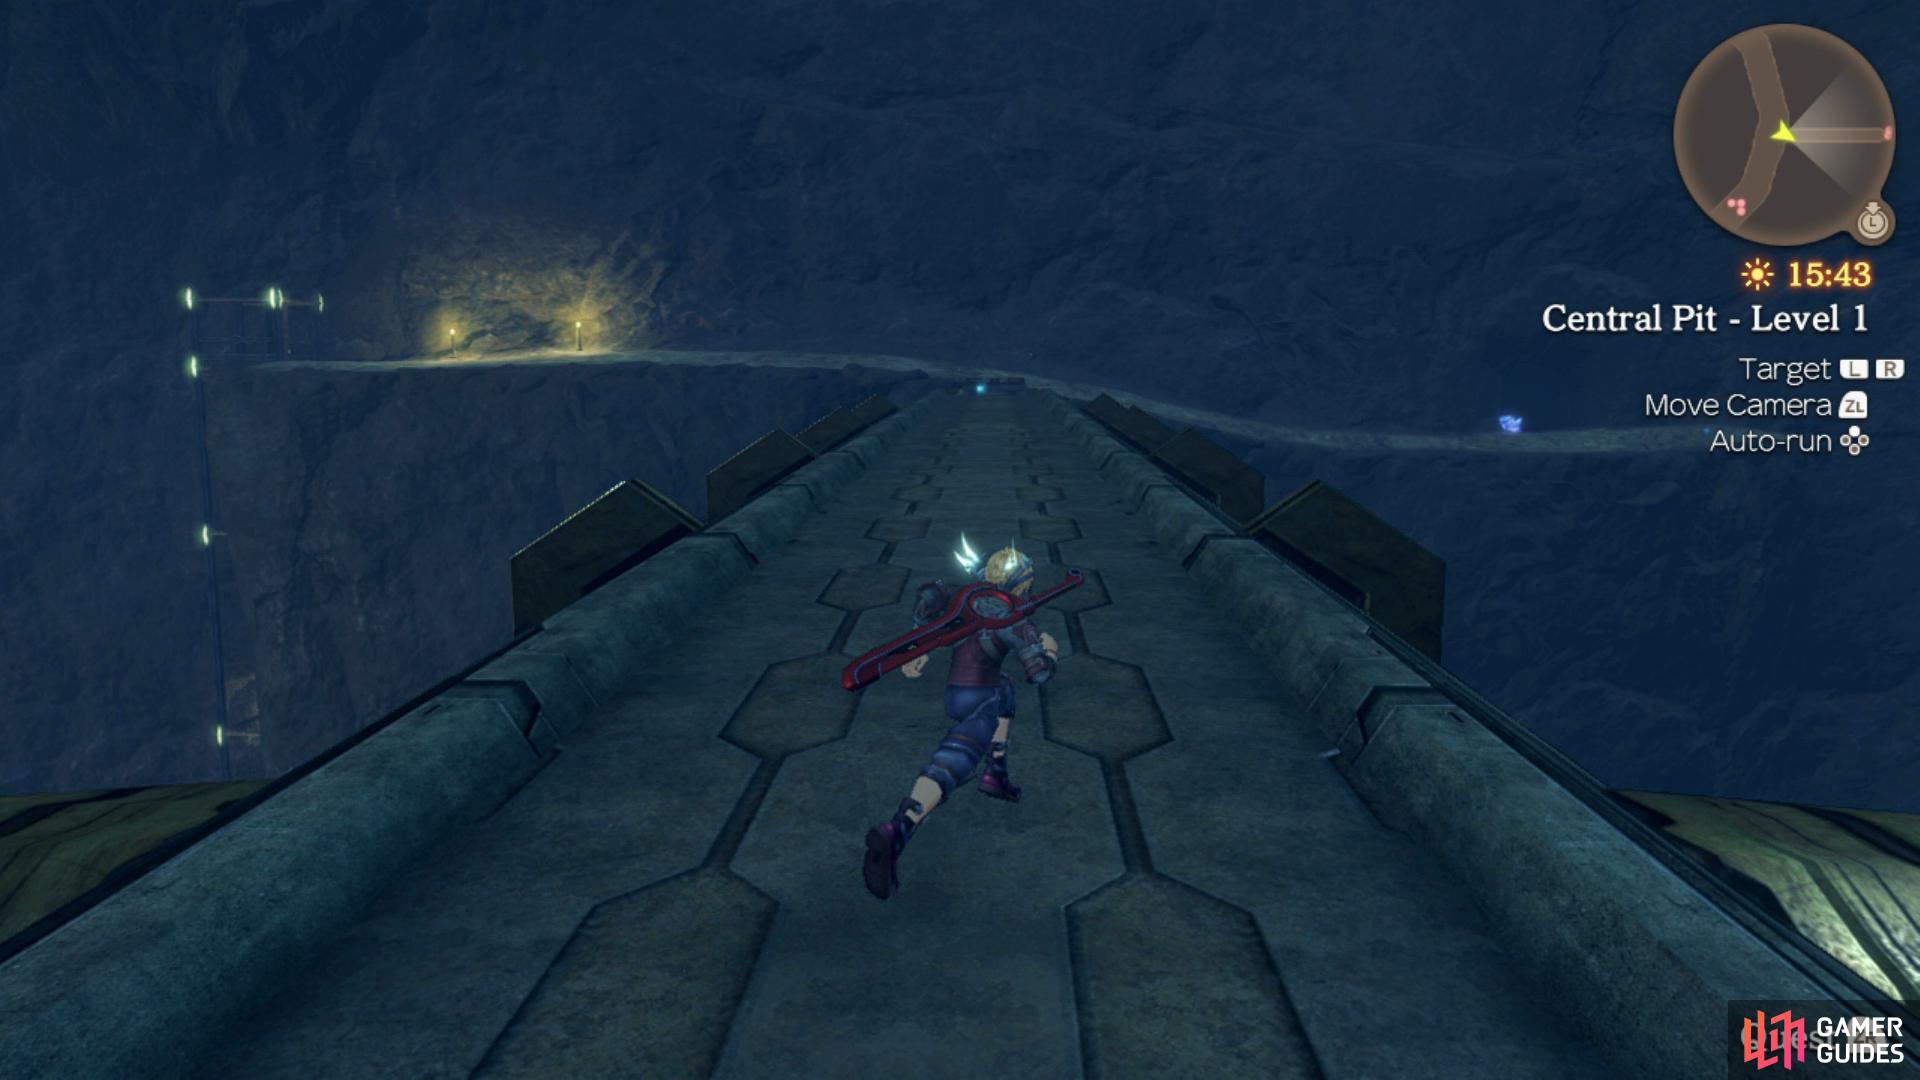
You’ll unlock Central Pit - Entrance following the scene and then use the nearby lift ot head down a level and unlock Central Pit - Level 1. Make your way southwest and dispatch the Mechon to reach the Wind Ether Deposit before heading east to reach the center. Wait for one of the upper arms to pass over you and then follow it around clockwise until you reach the eastern arm and use it to reach the other side.
Head south here to find an Ice Ether Deposit then head back north and take out the group of Mechon ahead of the next lift, taking it down after unlocking Personnel Lift 2. You’ll unlock Central Pit - Level 2 at the bottom here and then head to the northeast to find a Large Fire Ether Deposit. Make your way on to the center again and follow it around to the arm to the southwest, taking out the Mechon along the way. Once there, follow the path up the slope to the southeast until you reach another Ether Deposit.
Return to the center and this time continue north where you’ll locate the Regulation Piston, you can use this to head up or down the Central Pit. For now, head down to unlock Central Pit - Level 3 and head across the armo to find another Ether Deposit before returning to the lift and taking it up from the previous floor to reach another Piston that will travel up and down. Before heading down however, run across to the other side of this current level and take the arm out to another Ether Deposit.
There are plenty of Ether Deposits all around the Central Pit
use the arms to reach the outer edges where most of them can be found.
Return across the arm and this time take the piston lift all the way down to the northern end of Level 3. Make your way across the arm and head west at the intersection to find another Ether Deposit. Return to the intersection and this time head east down the slope after depleting another Ether Deposit north. As you make your way further down the slope you’ll come across Personnel Lift 3 which will take you down to B3F.
This next part is a little tricky, you’ll have to wait for the spinning arm to come around and jump on to it, getting off when you reach the northern edge where another arm will drop off a Mechon. Defeat it and then grab the Ether Deposit before getting back on to the arm to get off at the southern edge (you’ll be returning to the western edge shortly). You’ll unlock Freight Elevator here however there’s not much more you can do until later so take the arm back around to the western edge and take the path down to another lift that will take you to the bottom.
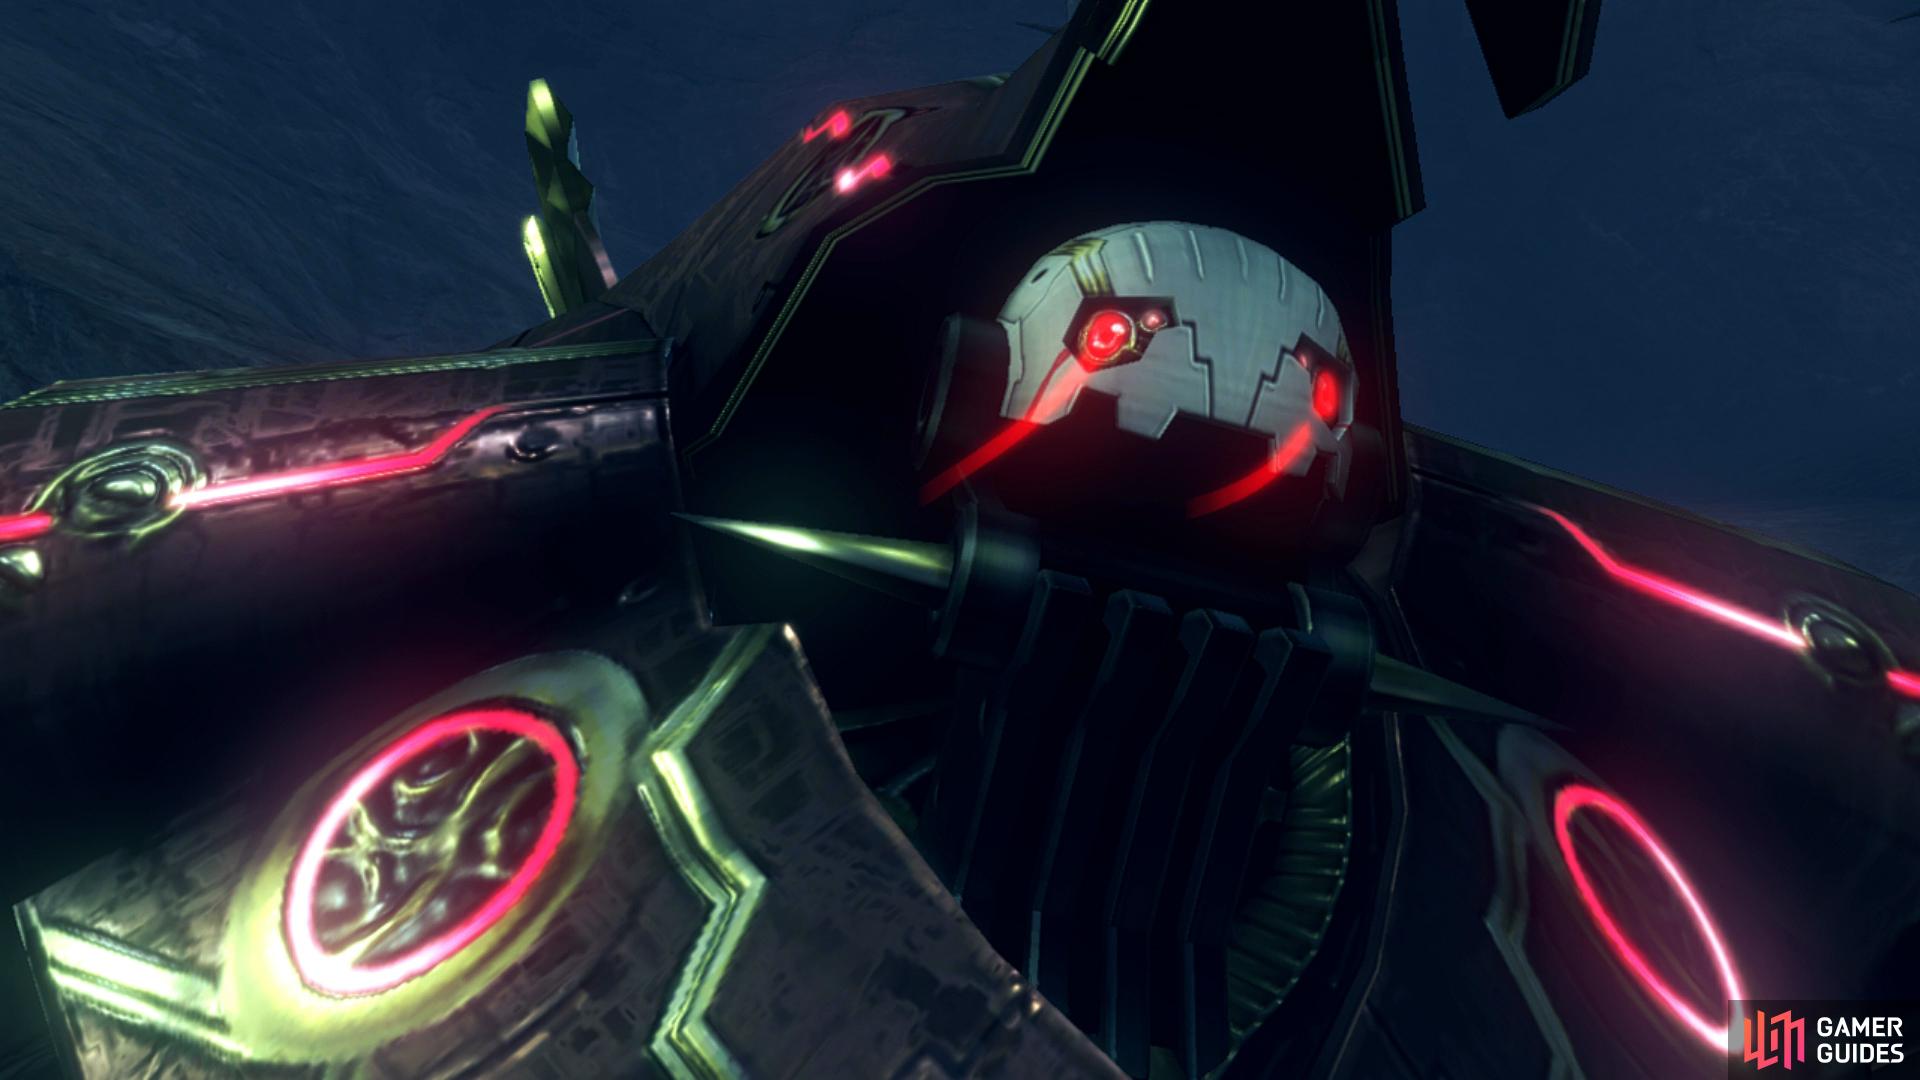
Boss: Xord
| Enemy | Level | Detection |
|---|---|---|
| Xord | 25 | Sight |
You’ll finally have your chance to get some revenge against Xord and you’re in for a tough battle. You’ll be given a tutorial at the start of the battle about dealing damage against Faced Mechon. Essentially, the only way to damage them is via the Topple combo however these bosses are generally resistant to Break so the only way to inflict this is via a Chain Attack so work on building it up via the use of Arts. Xord has several Arts available to him at the start of this battle as follows:
-
Swing Beat - A damaging Physical Art that hits enemies in front of him, inflicting Topple in the process.
-
Xord Impact - An even more damaging Physical Art that hits all enemies in a line and causes Knockback.
-
Wild Crash - As seen in the battle on Bionis’ Leg, this Physical Art will Bind enemies in an area of effect in front of him.
-
Bazooka II - Xord’s deadly Talent Art that inflicts Bleed on targets in a line. You can counter this with Monado Shield if it’s at least Level II.
-
Boost Attack - Despite the name, this will buff Xord with Haste, causing him to attack quicker and use more Arts.
-
Call Minions - Allows Xord to summon more Mechon to his side.
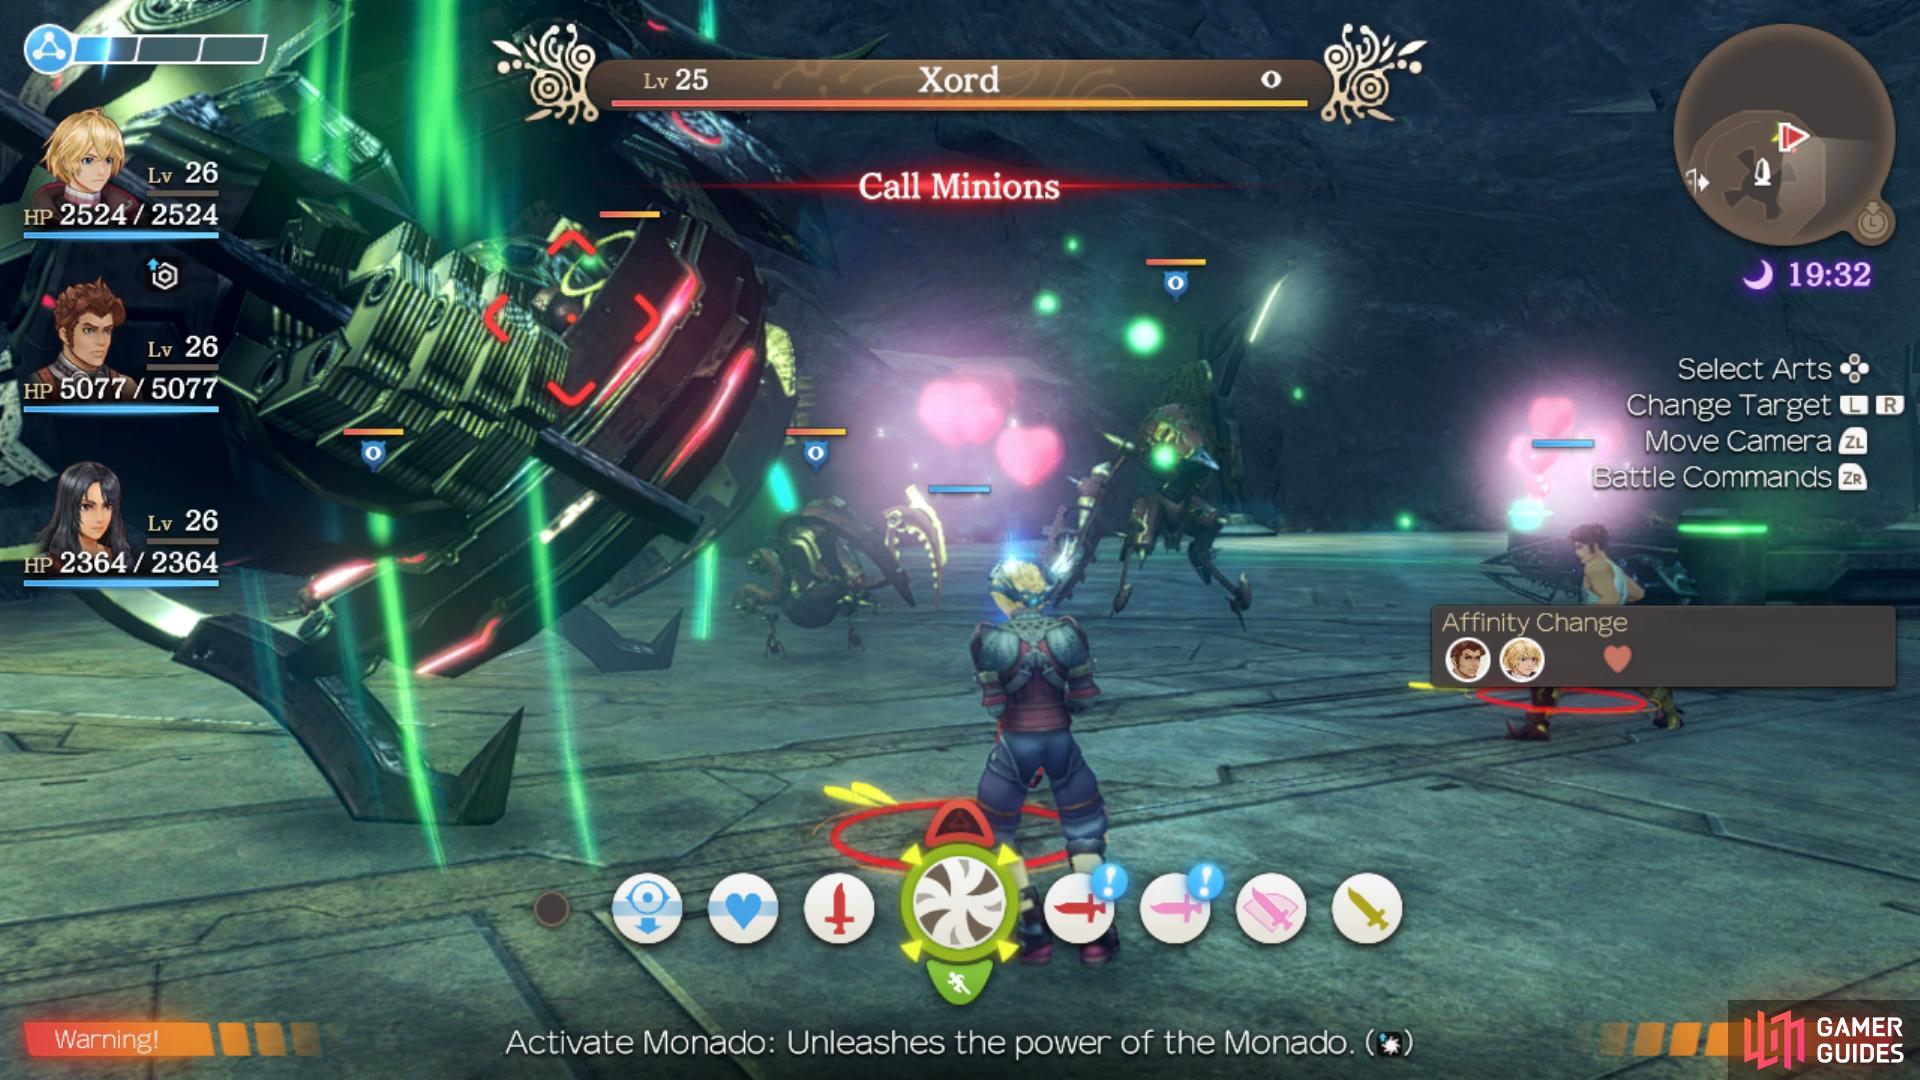
For the first part of this battle, you’ll only need to deplete Xord’s HP to 70% and the best way to do this is by using the Mechon he summons to build the Chain Attack gauge and then unleash it on Xord at every available opportunity. Don’t get caught up spending too much time fighting the other Mechon, you’ll never be able to defeat them all. If you get any visions from Xord’s other attacks, you can use Monado Speed to counter them.
Once you reach 70% HP, a cutscene will trigger and when you regain control, make your way out of the pit and back to the Freight Elevator to trigger another cutscene and you’ll begin the second phase. At this point, Xord gains access to a few new Arts while losing the ability to use Call Minions:
-
Berserk Boost - When Xord’s HP reaches 50%, he’ll use this to buff himself with Haste once again.
-
Final Boost - When Xord’s HP reaches 30%, he’ll use this to grant himself the Craze Aura, buffing him with Haste and Strength Up while becoming immune to Break, Topple and Daze.
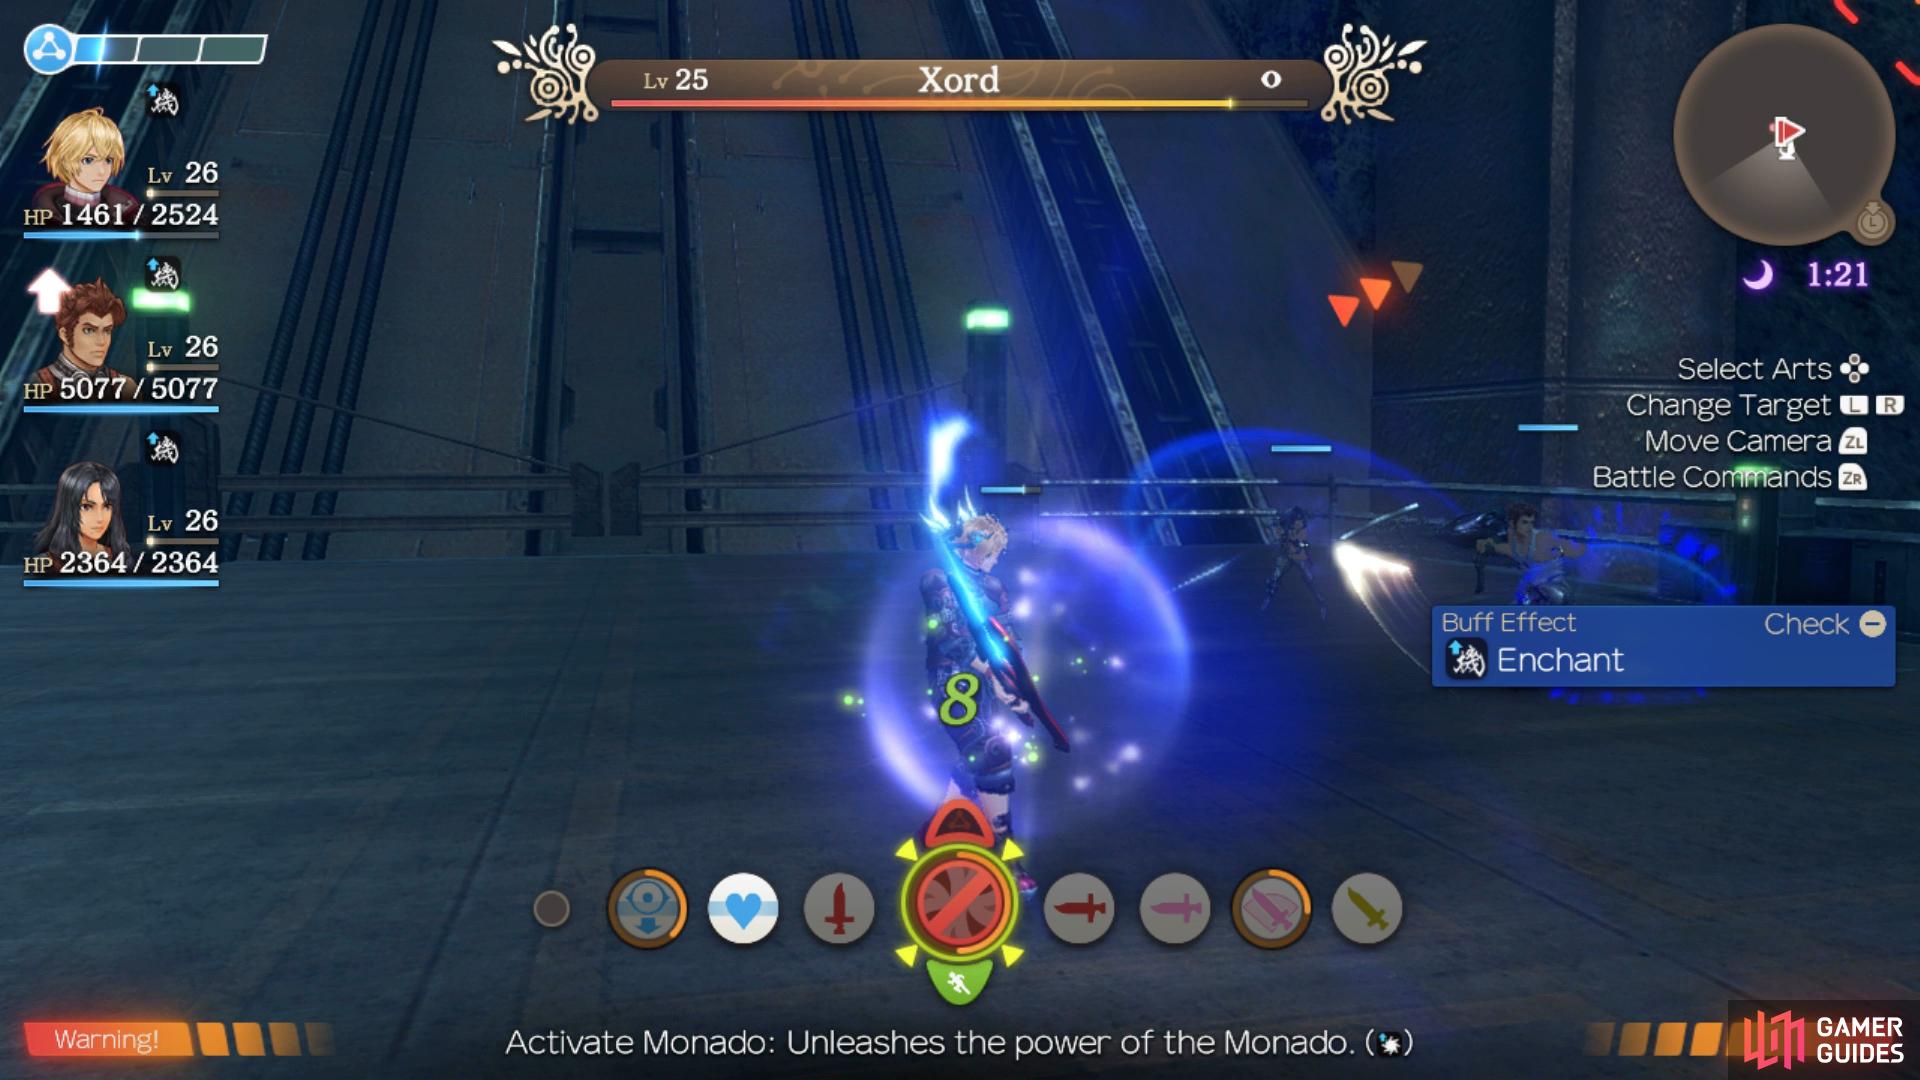
It’s worth noting that due to his time in the Ether River, Xord is no longer immune to the Monado so you won’t need to resort to the Topple combo to deal any damage to him. Instead, keep Monado Enchant up for the battle and make sure to use Shield and Speed where needed to counter his visions. On his own, provided you don’t all gather in front of him, Xord isn’t as dangerous however be sure to save a Chain Attack for when you take him down to 30% HP and he activates his Craze Aura.
More scenes will take place following your victory and you’ll be forced into yet another battle.
| Enemy | Level | Detection |
|---|---|---|
| Mechon 53X | 21 | Sight |
| Mechon M64X | 22 | Sight |
| Mechon M69X | 23 | Sight |
You’re given a chance to change your party at this point and it’s a good idea to get Dunban into the party at the expense of Sharla, as mentioned previously, for most of the game her healing Arts are overkill and with Dunban in the fray, you’ll output damage a lot quicker. Once the battle begins, focus on the M69X due to being the larger threat then take out the others in any order you wish, this isn’t a tough battle but make sure you have Monado Enchant up at all times.
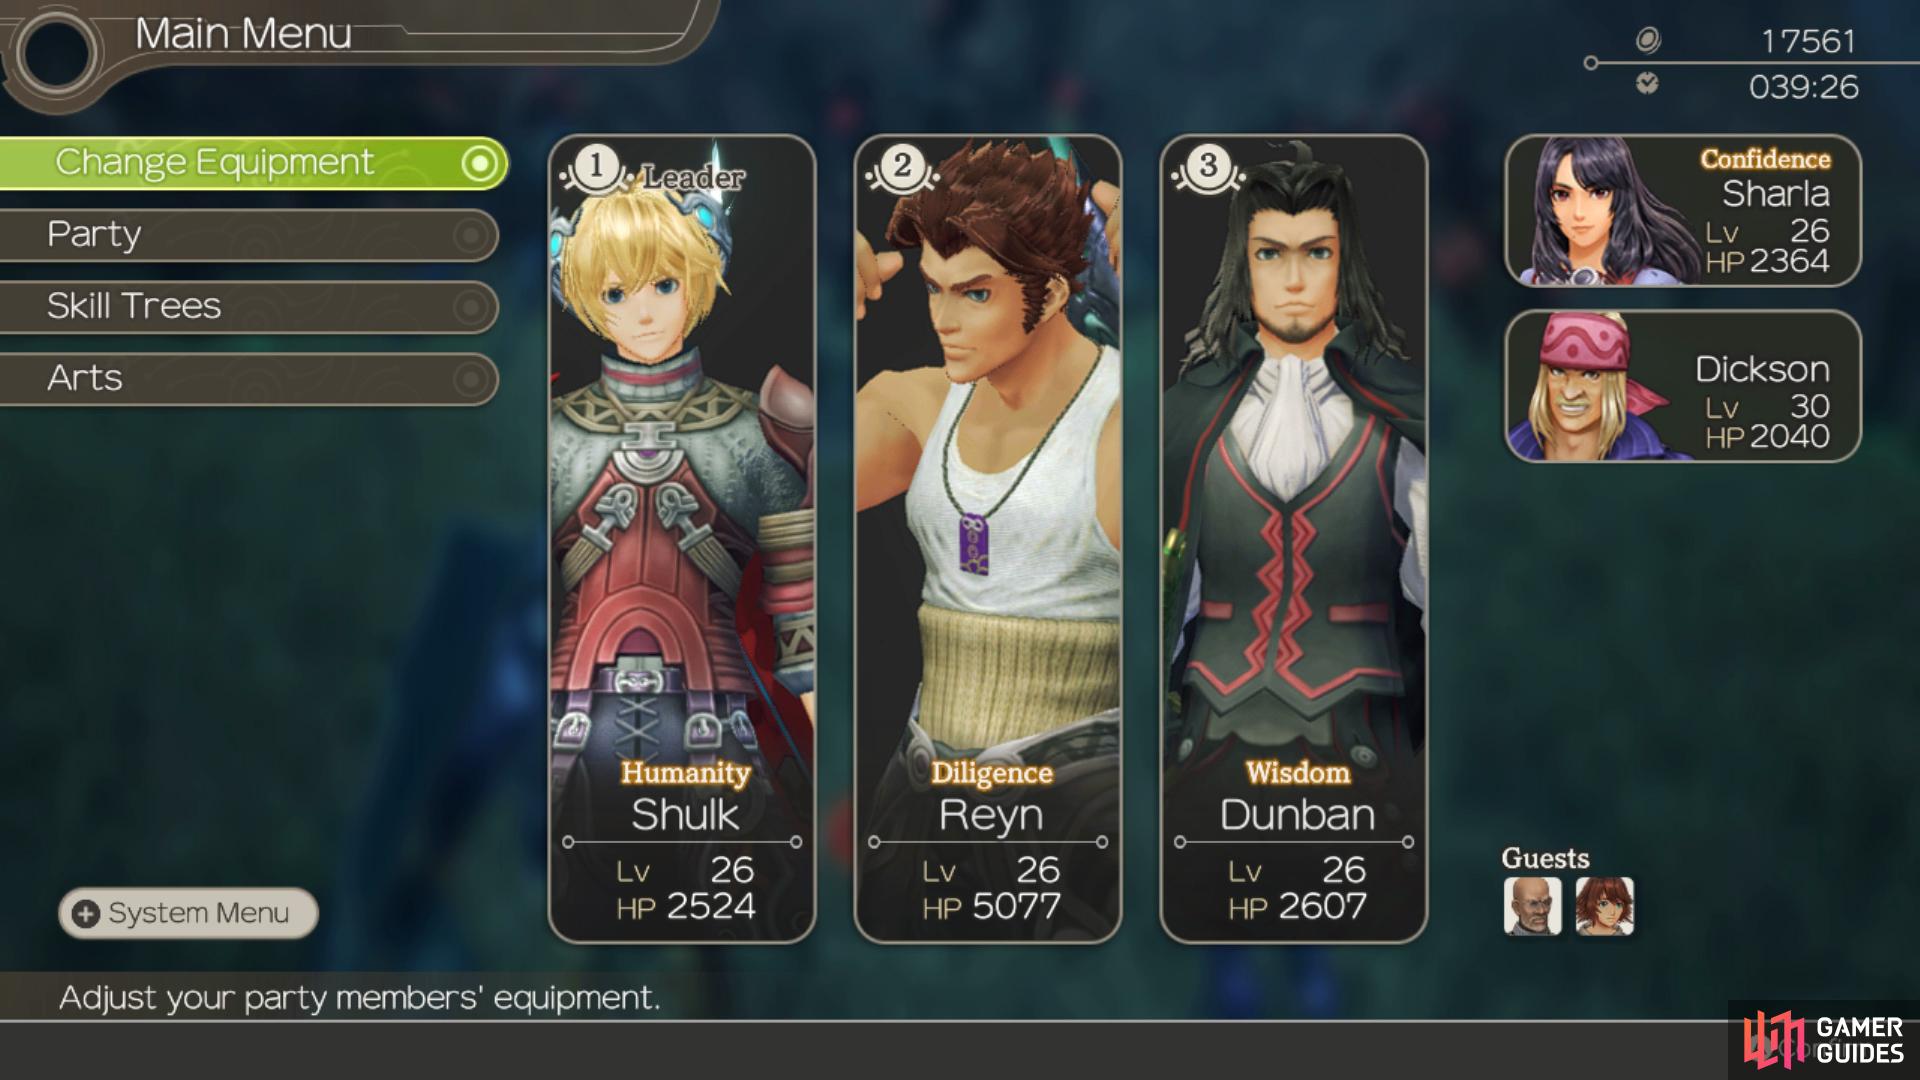
Opt for Dunban over Sharla for the battle ahead
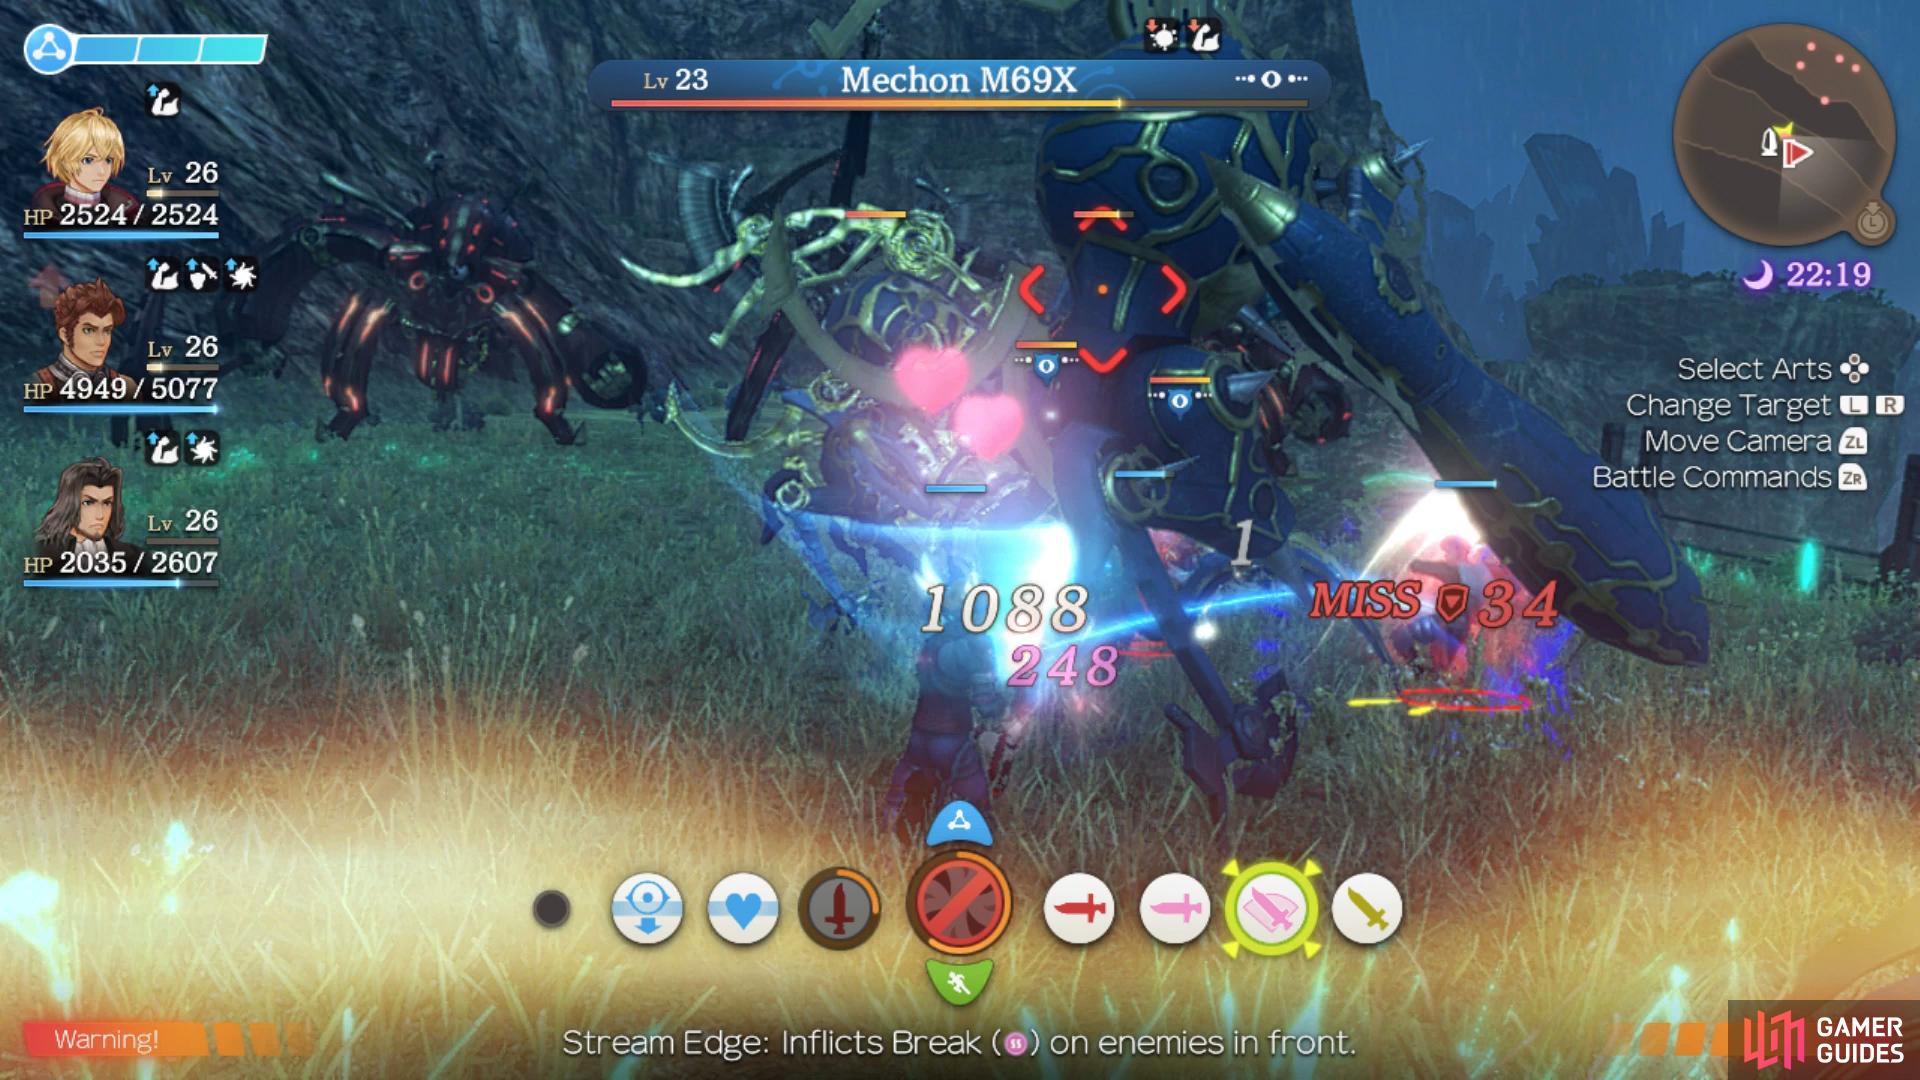
then focus on the M69X first.
More cutscenes take over following this battle as Shulk gets another vision yet to happen and the Chapter comes to a close.
No Comments