


The Mechonis Capital
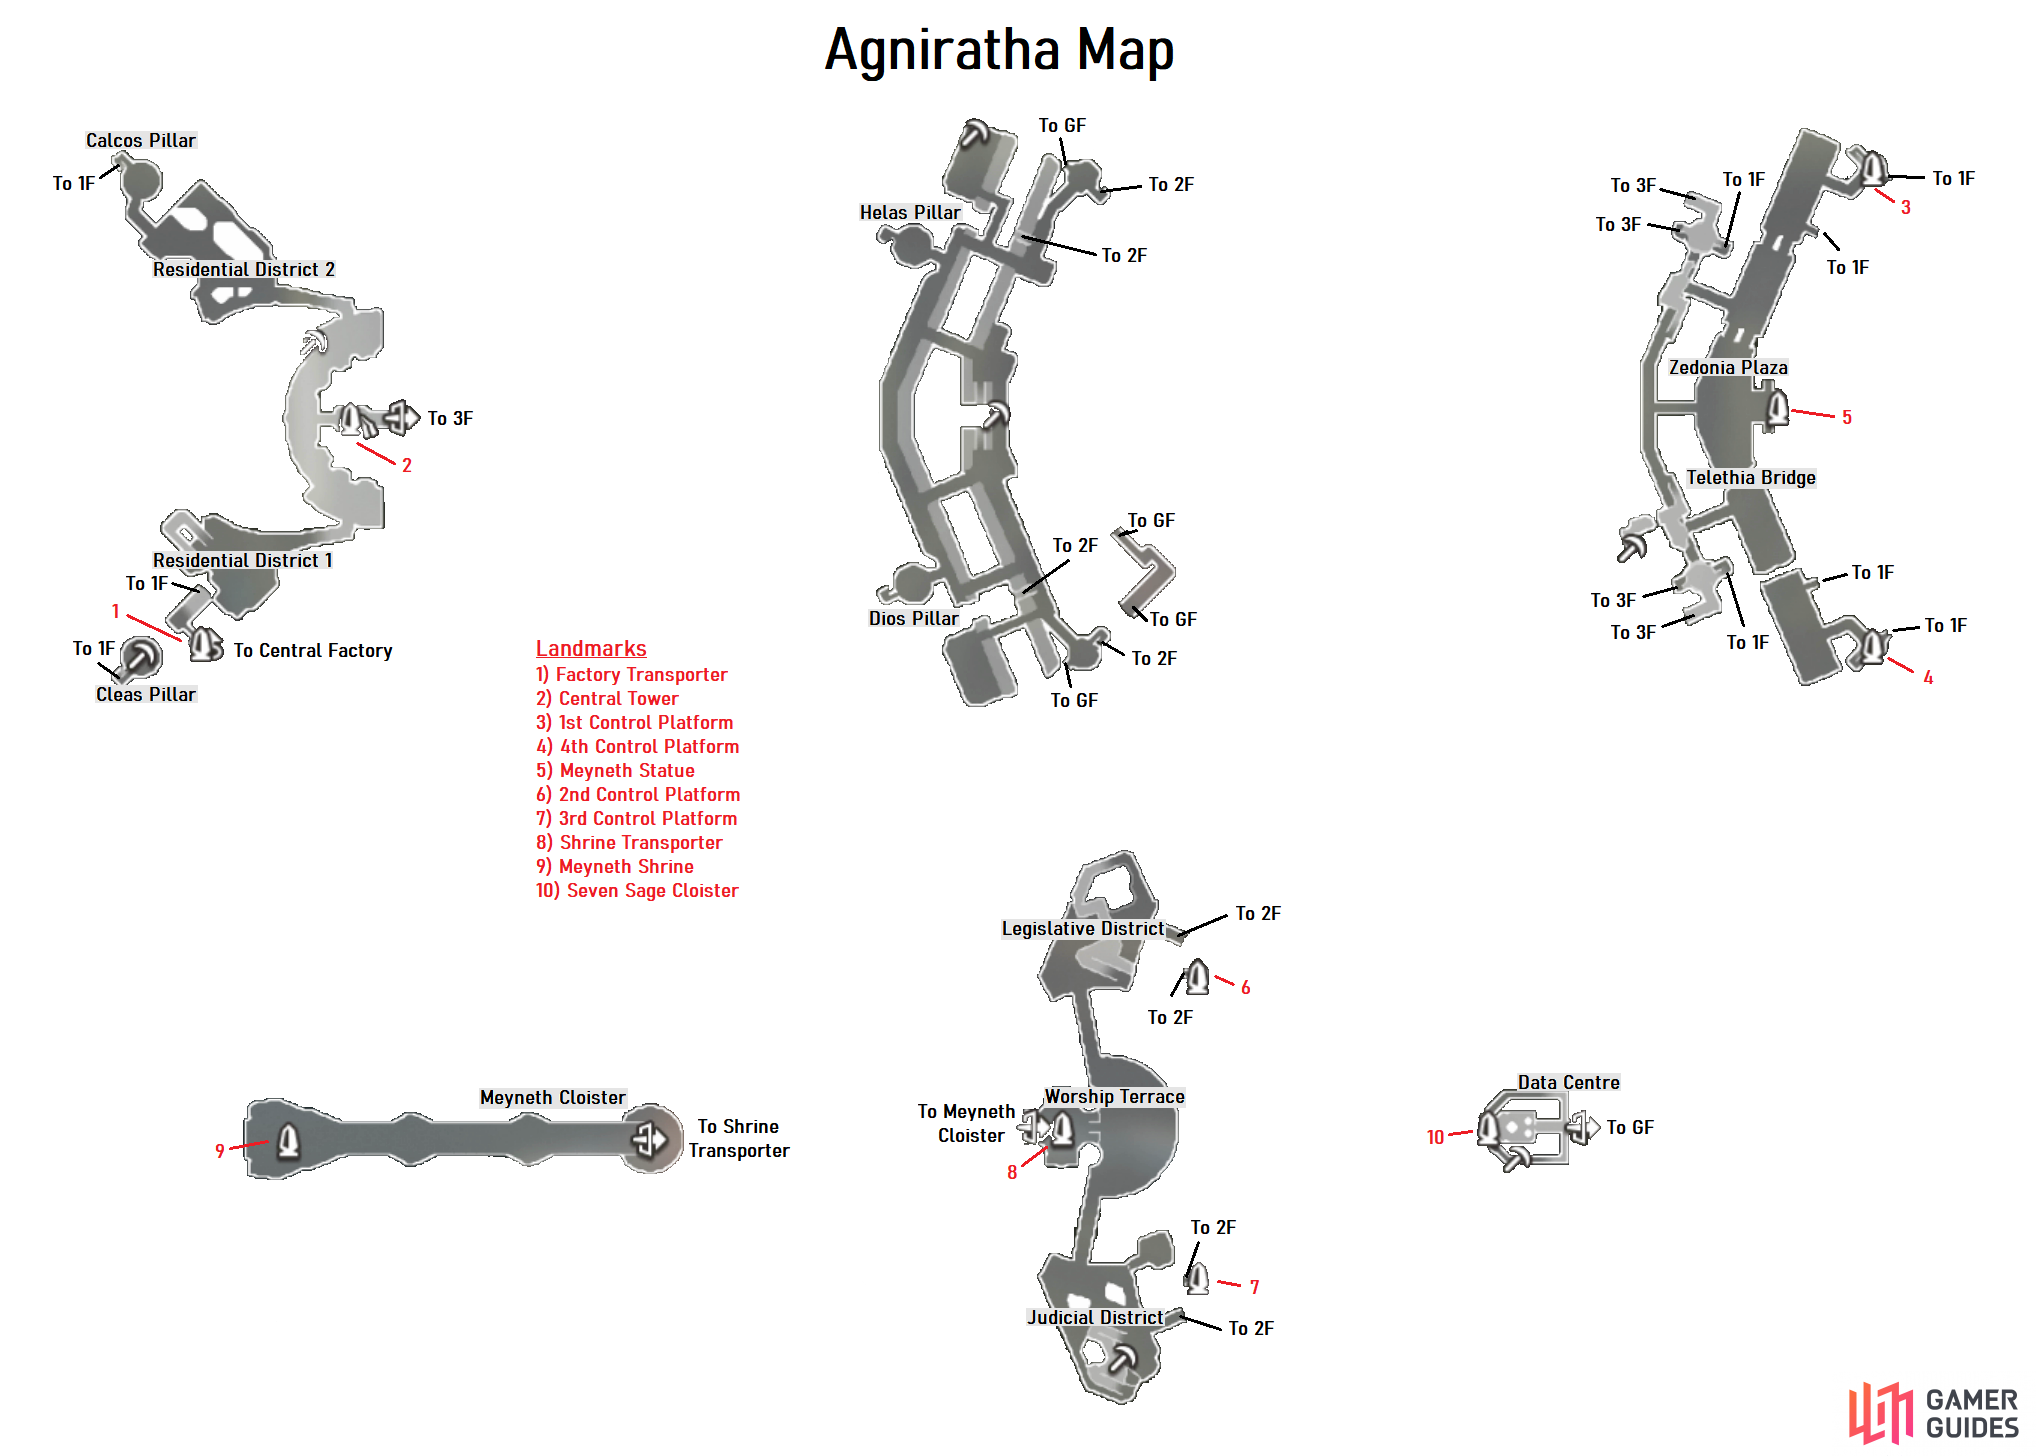
You’ll arrive at the Factory Transporter of the former Machina Capital and unlock the Residential District 1 location in the process. Follow the path to the Story Flag and trigger a scene and then make a quick pitstop back to Fallen Arm to pick up an easily missable Quest from Zilex, The History of the Capital which involves collecting a Memory piece in Agniratha.
Return to the Factory Transporter and then follow the path ahead to reach the Central Tower Landmark. Head east into the structure and you’ll spot a series of machines offering Quests so be sure to pick all of them up and then pay a visit to the shop to purchase a new set of equipment for Fiora (the Speed Set II being the clear winner). Outside of the Telethia Investigation 1 Quest, the rest are your simple Monster Slaying and Collection Quests so be sure to keep an eye out on the enemies and items needed as you explore Agniratha, you’ll need to finish all Quests before you leave the area. Before you get started on these however, it’s a good idea to progress the story a little to open up more of the capital for exploration. Take the nearby lift up to your east and then continue west to unlock the Data Centre and trigger some scenes once you step through the doors.
Shrine Transport and Pillar Verification Devices
With your new objectives now clear, it’s time to explore Agniratha fully while clearing all the Quests. Standing outside the Central Tower, head north and follow the path to reach Residential District 2 where you’ll encounter the first batch of enemies related to all the Quests you just picked up while you’ll find the Calcos Pillar at the end of the path. Take the slope up to the next level and then head up another to find the first Telethia for the resarch Quest then continue to the top where you’ll unlock the 1st Control Platform Landmark but hold off on activating it until you’re done with Agniratha.
Head back down to the floor below and then head out to the west to find more of your Quest targets and then continue south to find the first Unique Monster here, Lv 64 Experienced Tristan that you should take out. Continue south after you defeat it to reach Zedonia Plaza and head east to the statue to unlock the Meyneth Statue Landmark. West of this statue is the next Telethia to examine and then continue southwest to find the next a Lv 65 Unique Monster, Meditative Varla to scrap.
Continue south from here to cross the Telethia Bridge and head to the end to discover yet another Lv 64 Unique Monster, Destructive Bors to be defeated. Head back north a little from here and cross over to the west using the bridge where you can head south to reach Dios Pillar and a Mechon to defeat. Follow the tower here all the way to the top to unlock the 3rd Control Platform Landmark (again, leave this alone for now) and then return to the previous floor where you first accessed this tower.

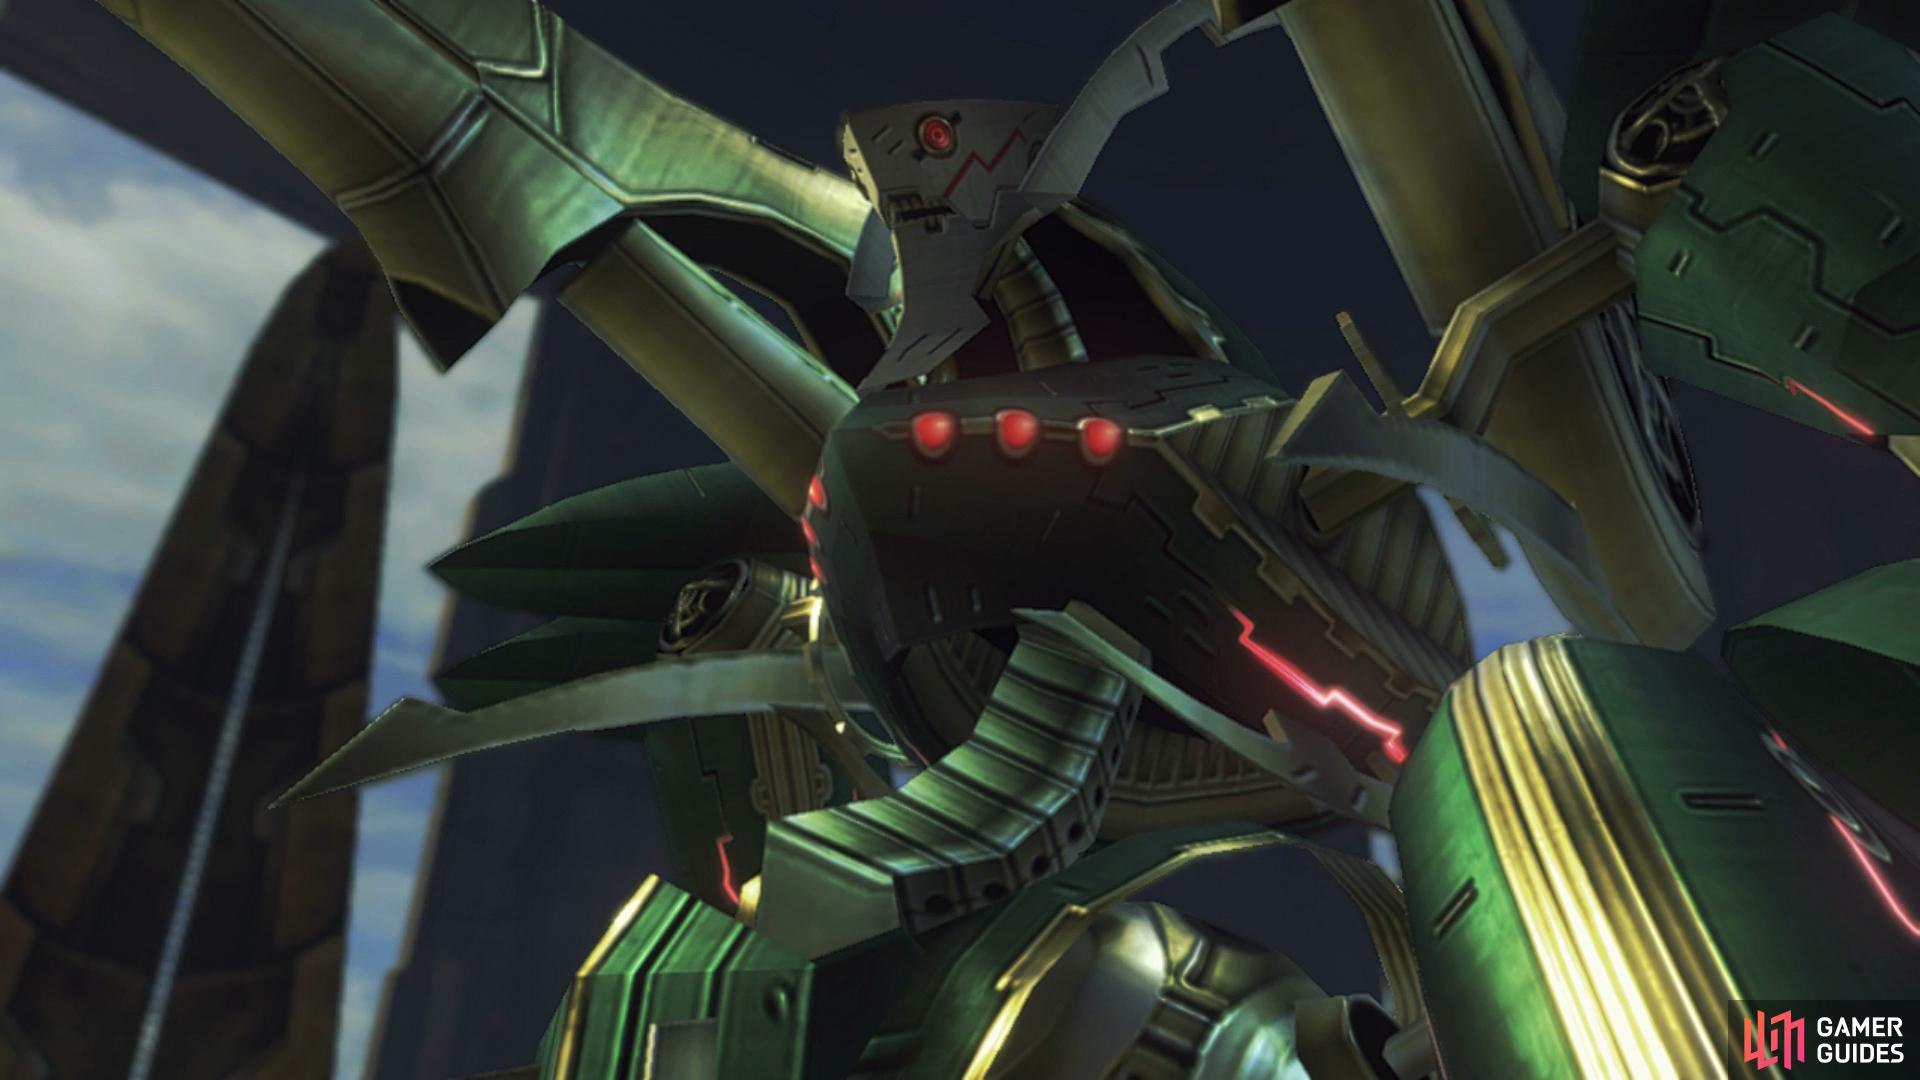
The Wise Gremory is a level 68 Unique Mechon enemy
just one of the many Unique Monsters you’ll need to take out while in Agniratha.
Make your way north along the western walkway now and you’ll come across yet another Unique Monster, the Lv 68 Wise Gremory that has a nasty Spike Aura that you’ll want to disable as soon as possible. Once defeated, continue north to reach Helas Pillar and then after defeating the Mechon here, climb to the top to unlock the 2nd Control Platform (that you should leave well alone).
Head back down one level and then go north to take another path up to where the next Telethia can be found along with reaching the Legislative District. Make your way southwest here to the next group of Mechon including a Lv 65 Unique Monster, Soothed Agiovale that you should scrap. Continue along to the south here and you’ll reach the Worship Terrace where you can unlock the Shrine Transporter Landmark to the west. Head south from here to find a Lv 66 Unique Monster, Sentimental Flamral to take out and then you’ll also unlock the Judicial District.
Head to the northeast corner here and you’ll see that you can jump off to the roof below. Do so and you’ll spot the Memory 903 you needed for Zilex at Fallen Arm so quick travel back to hand it over and complete the Quest before returning to the 3rd Control Platform Landmark. Make your way down the tower to the bottom floor and then head along the western side to the north to find a path leading to the northwest, here you’ll find a Lv 63 Unique Monster, Vagabond Allocer that you should destroy.
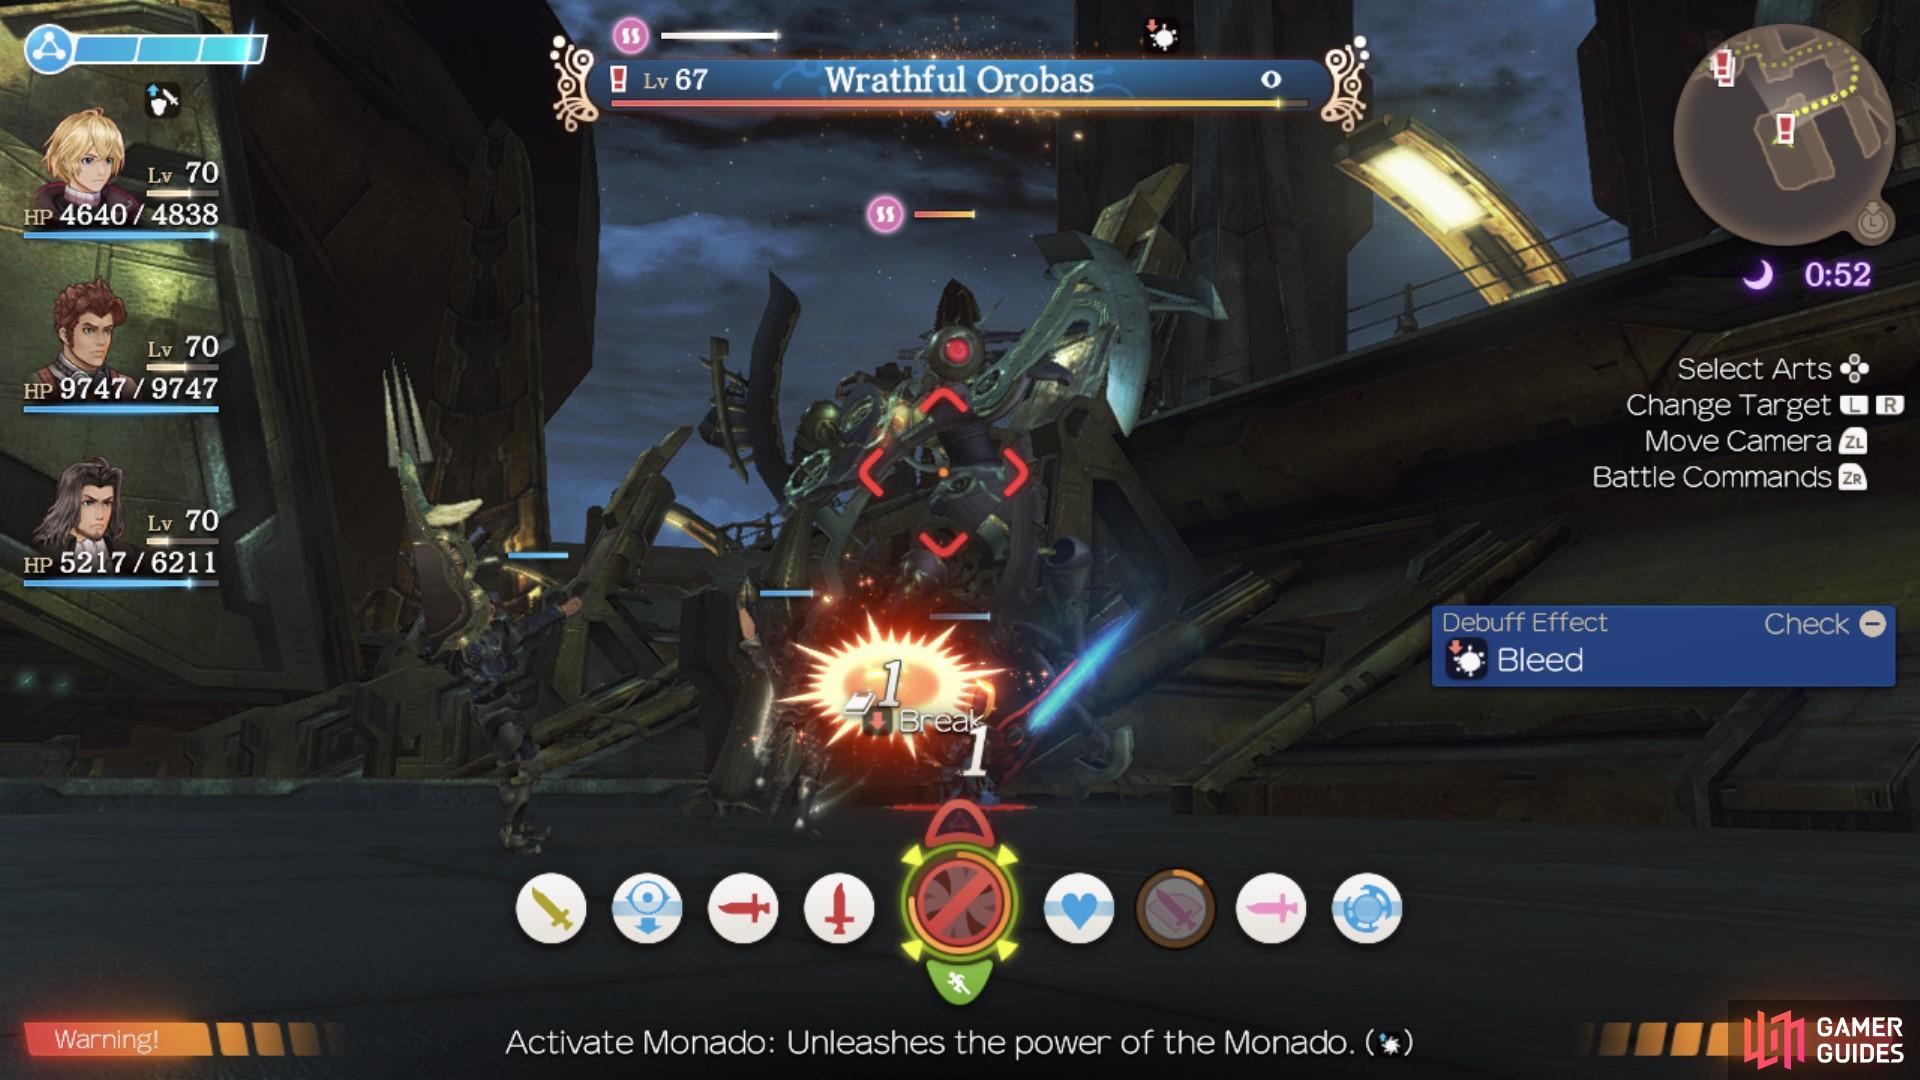
Head back down along the eastern side to the south and climb the slope to the east near the bottom to find the final Telethia needed for the first investigation Quest. Head back down the slope now and continue east to find the Lv 67 Unique Monster, Wrathful Orobas waiting to be put out of action. Make your way out of here and to the southeast of this floor where you’ll unlock the Cleas Pillar and take the tower to the top to unlock the 4th Control Platform Landmark.
This is the final one you need for the Story Quest but take the time to clear the Quests first and make sure you return to the Central Tower to pick up the Telethia Investigation 2 Quest.
Telethia Investigation 2
After you have completed Telethia Investigations 1, return to the Strategic Intel Terminal to pick up this quest. This quest will ask you to investigate four different large Telethia with three heads found in Agniratha. They can be found near the following locations: Residential District 1, Helas Pillar, Telethia Bridge and Judicial District. Helas Pillar is found on the First Floor and Telethia Bridge is on the Second Floor. The Judicial District is on the Third Floor and Residential District 1 is on the Ground Floor. Once you have investigated all of the bodies, the analysis will determine that they are Gigas Telethia.
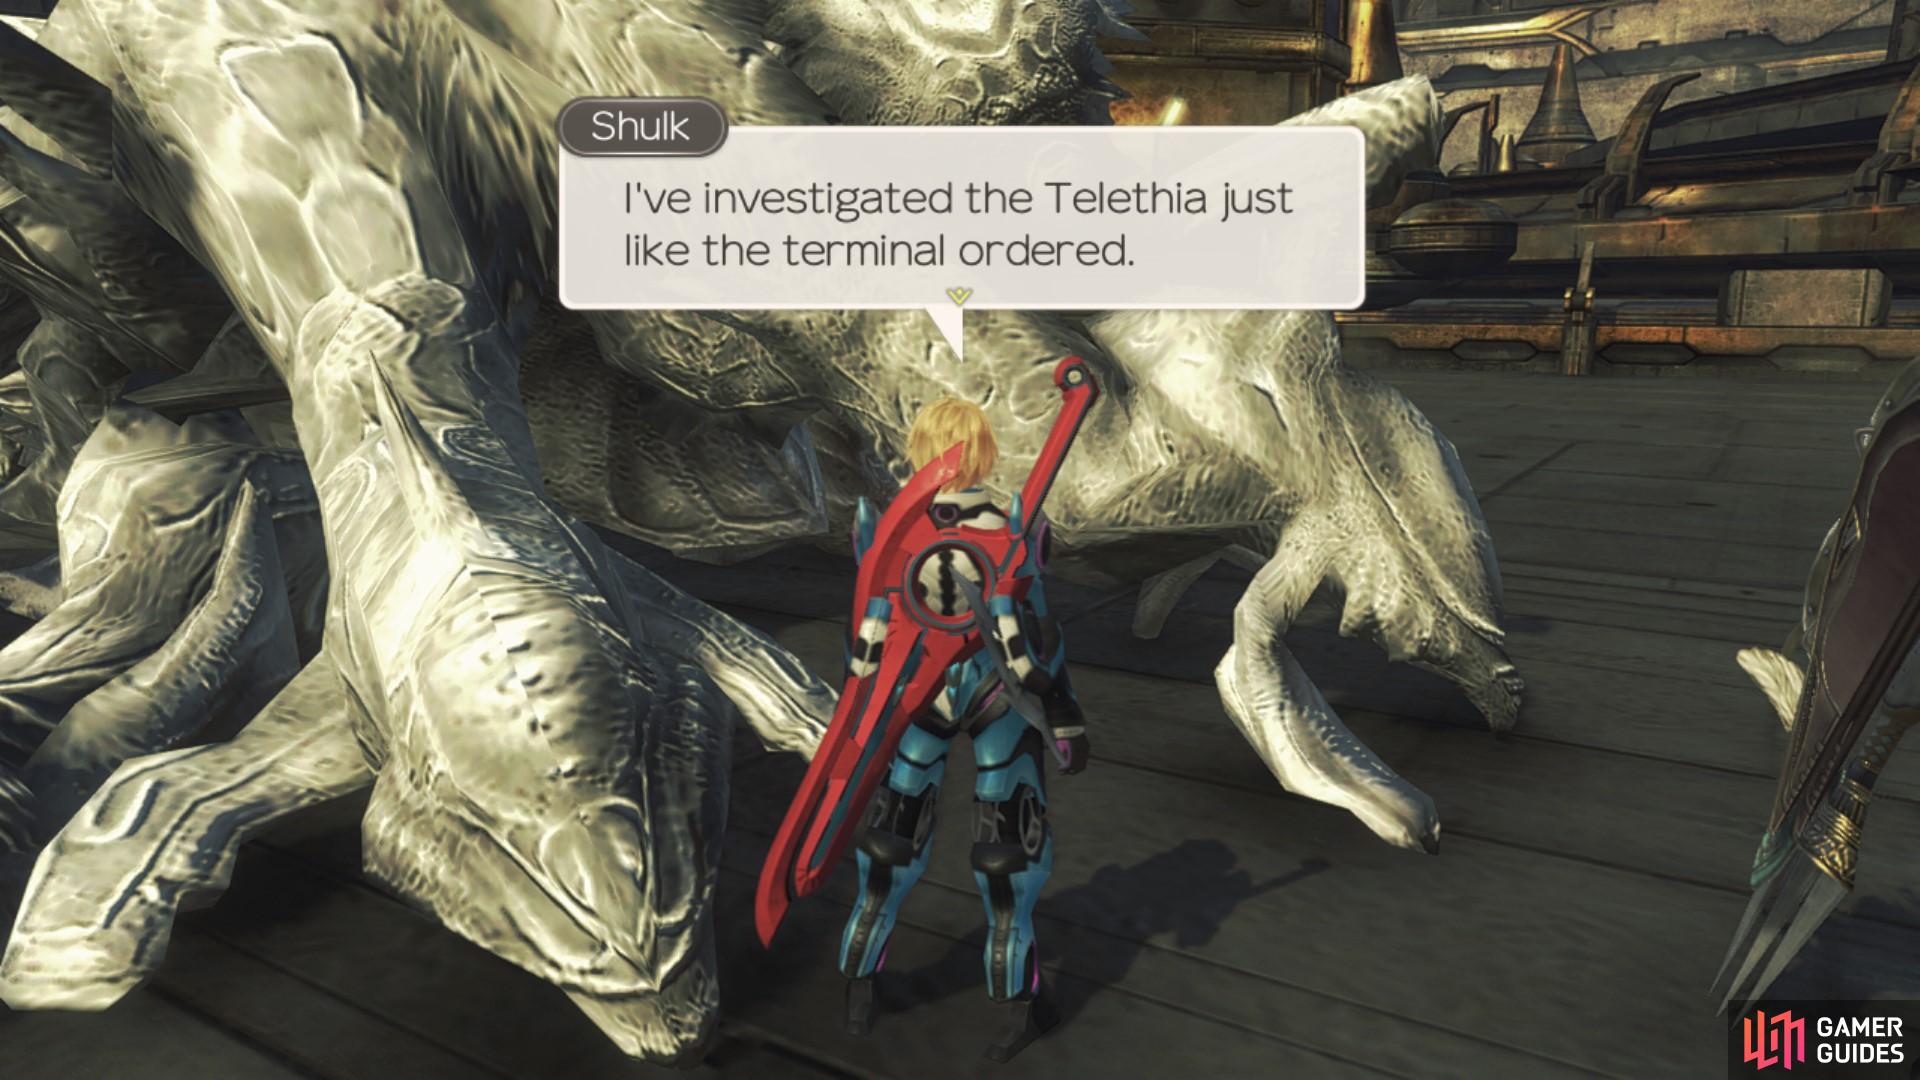
The large three-headed Telethia are called Gigas Telethia.
Once you complete the final Quest, head back to Central Tower and speak to the Capital Control Terminal to obtain the Cloister Key. Take the lift up to the Data Centre and unlock either of the doors to find a path leading around to the Secret Area, Seven Sage Cloister.
With everything taken care of, head to each of the Control Platforms and activate all of them to complete the Pillar Verification Devices Story Quest. Make your way back to the Data Centre now and return to the top floor to find and activate the Shutter Control Panel, powering up the Transporter. When you’re ready, warp over to the Shrine Transporter to trigger a scene.
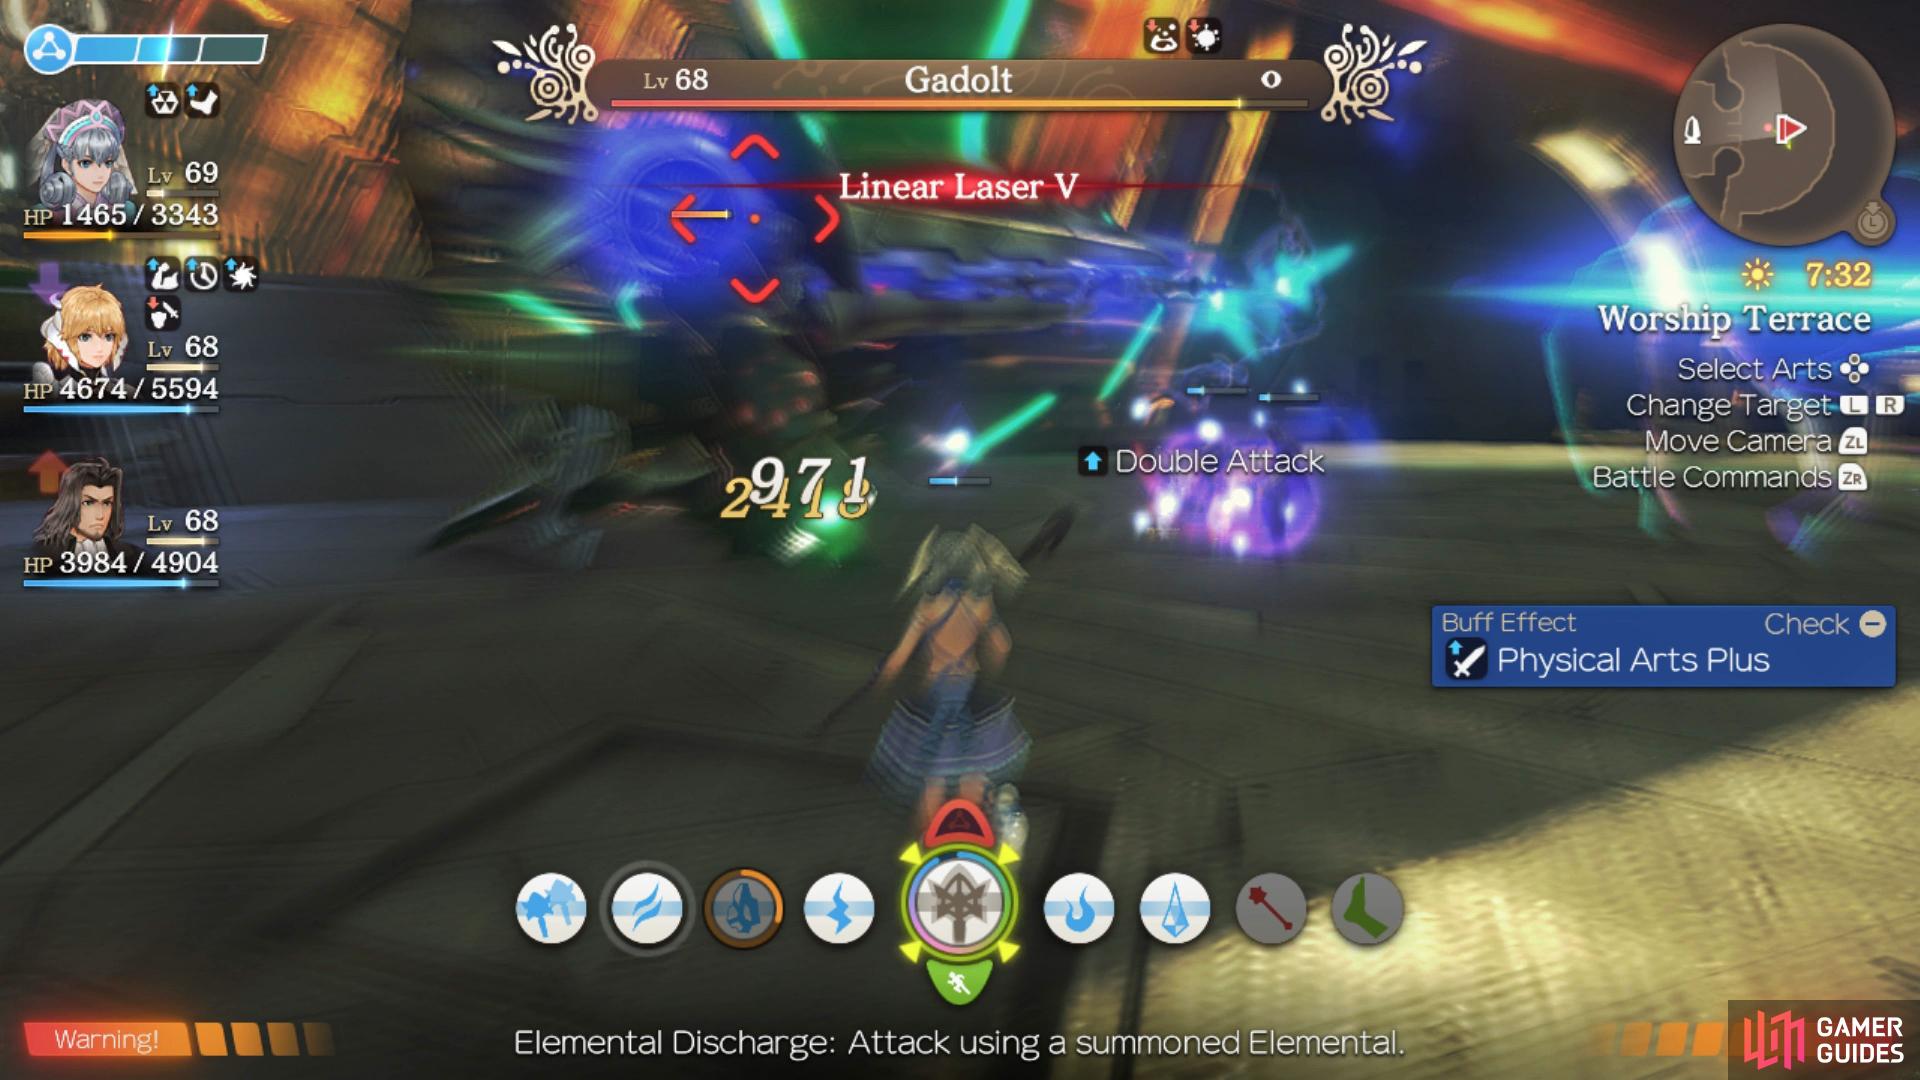
Boss: Gadolt
| Enemy | Level | Detection |
|---|---|---|
| Gadolt | 68 | Sight |
Gadolt is back for more and this time, you won’t have to play his little game of trying to approach him while he snipes you, instead it’s a direct confrontation. He gains a few new Arts here however don’t go all out at the start, you’ll only need to deal around 30% HP to Gadolt to force a scene and then into a second phase. The real battle begins at this point and the first thing to note is that he’s now gained the ability to buff himself with Haste at the same time as summoning Mechon with his Shield Call Art. What makes this worse is that the summoned Mechon will use Lock-on so if you find yourself inflicted with it, focus the entire party on that particular Mechon before resuming your assault on Gadolt himself. As mentioned above, Gadolt gains a few new Arts on top of his arsenal from the previous battle:
-
Blow Jaggy - A Physical based Art that deals moderate damage to targets in an arc in front of him while inflicting Blowback and Daze.
-
Ether Jammer - Casts a Debuff around him that inflicts both Ether Defence Down and Slow.
-
Laser Bullet - An Ether based Art that deals moderate damage in a circle around him while inflicting Knockback.
-
Linear Laser IV - An Ether based Talent Art that deals major damage to targets in a line while also inflicting Paralysis.
-
Quick Cannon - An Ether based Art that deals major damage to targets in a line while also inflicting Paralysis.
-
Shield Call - Casts a Buff on Gadolt granting him Haste and summoning Mechon to aid him.
His Talent Art, Linear Laser IV, remains his most deadly Art and should be defended against with Shulk’s Monado Shield if he’s in the party or else trying to Daze him. Gadolt is highly susceptible to the Topple combo and it’s entirely possible to keep him in that state using regular combos and Chain Attacks, aim for this at all times to prevent him from using his deadly Arts. Shield Call will remain a nuisance throughout the battle but ignore the other Mechon and focus on Gadolt unless you are struck with Lock-On. This time around, you’ll need to fully deplete Gadolt to end the battle.
Many scenes will take place following your victory against Gadolt and once you regain control, you’ll unlock the Meyneth Cloister Landmark and Fiora will learn a powerful new Art, Final Cross, be sure to assign it to her Arts and then prepare your characters for another difficult battle just ahead.
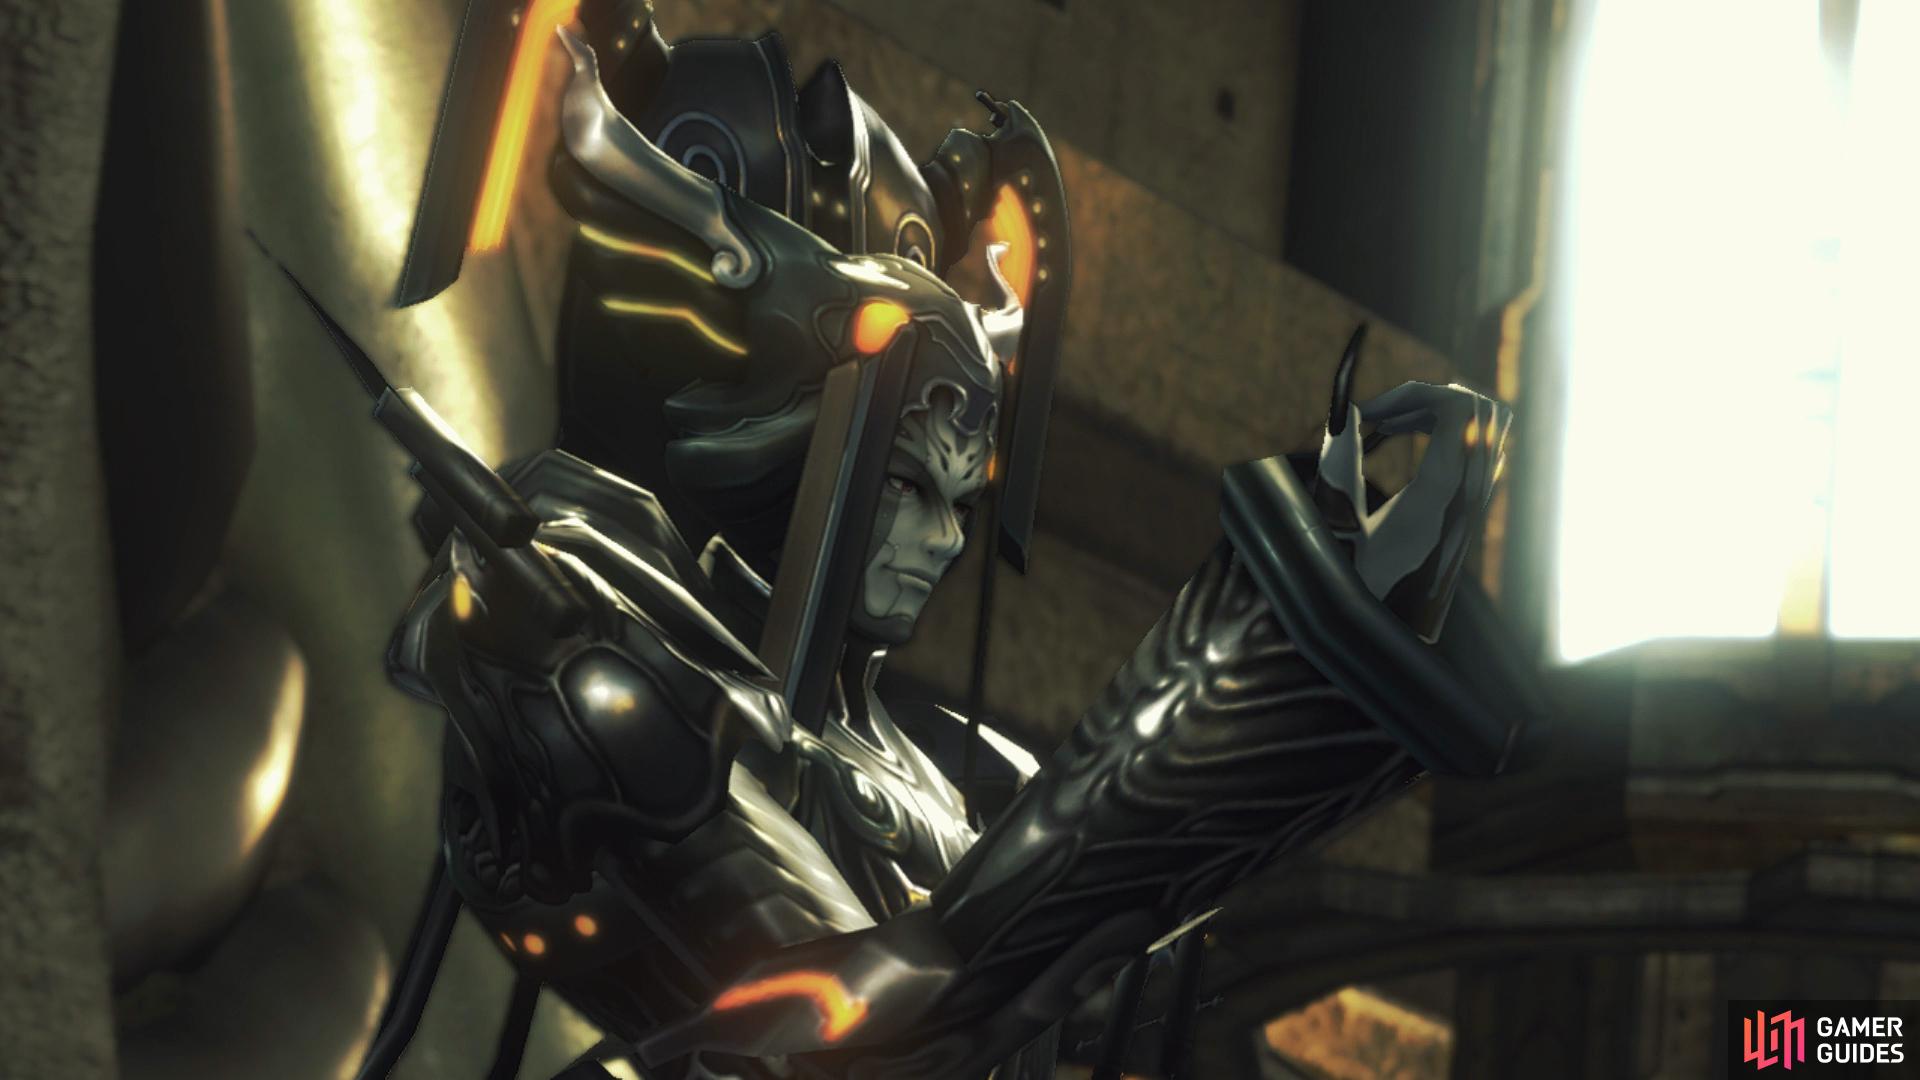
Boss: Egil
| Enemy | Level | Detection |
|---|---|---|
| Egil | 70 | Sight |
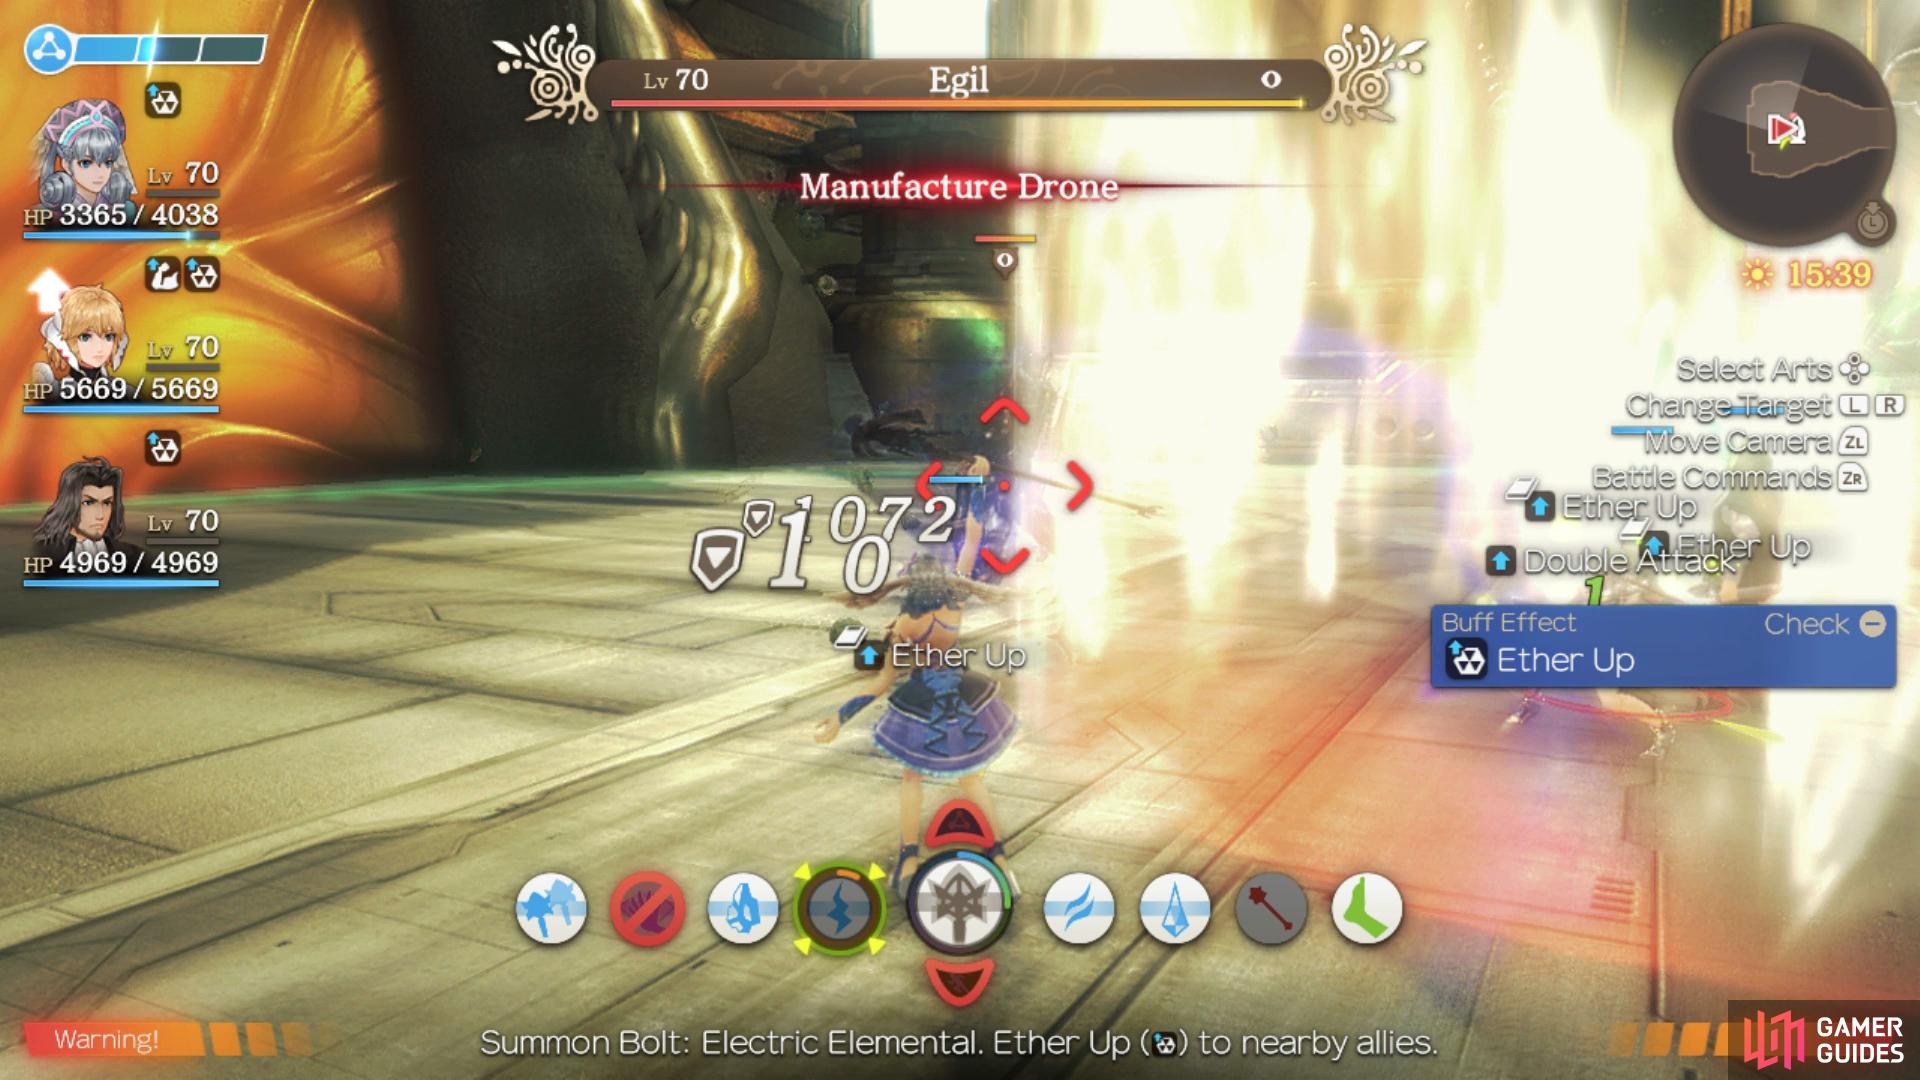
You’ll finally be face-to-face with the leader of Mechonis, Egil himself and it seems words are not enough. Egil is a tough adversary although his HP is lower than previous bosses you’ve fought recently. Don’t let that fool you however, this battle against Egil is just the warm-up. Egil himself only has two damage dealing Arts, both of which don’t deal any significant damage but he has the ability to inflict Arts Seal on you and can easily Daze the party. More importantly, Egil can and will summon Mechon at regular intervals with his Manufacture Drone Art and the Mechon he summons increases in level with each use. Finally, after you deplete his HP to around 50%, he will use Leader’s Might which grants him the Awakening Aura, increasing his stats across the board.
-
Grand Ether Bullet - An Ether based Art that deals moderate damage to targets in a circle around him while also inflicting Arts Seal, Blowback and Daze.
-
Homing Missiles IV - Egil’s Ether based Talent Art that deals light damage to targets in a circle around him while also inflicting Blowback and Daze.
-
Leader’s Fury - Used when Egil’s HP drops below 30% and grants the Craze Aura, increasing Strength Up, Haste and making him immune to the Topple combo.
-
Leader’s Might - Used when Egil’s HP drops below 50% and grants the Awakening Aura, increasing his level and thus, all stats.
-
Manufacture Drone - Summons different Mechon to Egil’s side with each subsequent one increasing in Level.
Both of Egil’s Auras are deadly and Leader’s Fury especially, under 30% HP, will make the final part of this battle a rush to the end. Try to save a Chain Attack for around this point to finish him off. Beware of the Mechon he summons too, if you do decide to take them out, you’ll have to deal with the explosions they leave behind so instead, focus on Egil. The battle against Egil is one that will become more difficult the longer you let it play out so focus on Egil alone and try to end the battle as quickly as possible.
Boss: Yaldabaoth
| Enemy | Level | Detection |
|---|---|---|
| Yaldabaoth | 72 | Sight |
Egil’s now piloting the Golden Mechon, Yaldabaoth and as you may expect, he’s wildly overmatched for Shulks and his companions. Instead, the focus here is to bring this gigantic Mechon to below 80% HP to force the battle to end. For that reason, it’s in your best interest to go all out on Yaldabaoth from the outset, the sooner you end the battle as Yaldabaoth can and will use debuffs and Knockbacks to defeat the party in a moment’s notice. He will almost always use the Machinery Field Art to start the battle, this is deadly due to the fact it will inflict Arts Seal from the outset, meaning you’re left to auto-attacks until it wears off. He no longer summons Mechons but his Arts has some nasty effects you’ll need to be aware of.
-
Alchemist V - Yaldabaoth’s Physical based Talent Art that deals moderate damage to targets in a circle around him while also inflicting Bleed, Blowback and Daze.
-
Catastrophe - An Ether based Art that deals moderate damage to targets in a circle around him while inflicting Knockback.
-
Egil Tail - A Physical based Art that deals major damage to a single target while also inflicting Blowback and Daze.
-
Machinery Field - Yaldabaoth will use a Debuff field on targets in a circle around him inflicting Arts Seal, Ether Defence Down and Knockback.

As you can see from his Arts, Egil focuses more on enfeebling the party with Debuffs than outright damage so you’ll need to be aware of any party members suffering the effects of Blowback/Daze and get them back on their feet as soon as possible. The only real boon here is that you don’t need to inflict too much damage on him and as a result, a well timed Chain Attack can do most of the work here. If you’re using Shulk, keep Monado Armour whenever possible and be on the lookout for his Talent Art to use Shield with. Melia and Riki’s debuff’s can also allow you to deal with his Arts Seal, continuing to tick away while Arts are otherwise unavailable.
Many scenes take place following the battle as both Mechonis Field and Agniratha become locked out, bringing the Chapter to an end.
No Comments