


One Year Later
The game opens with a flashback from the ending’s events as Shulk and Melia are shot down en route to Alcamoth’s new location. Upon taking their surroundings in, they hear a cry for help from some nearby Nopon as you gain control for the first time. A quick tutorial will appear giving you some details on the [Changes] with Future Connected, mainly that Chain Attacks have been replaced by a new one that you’ll be introduced to shortly. Shulk will no longer have visions of incoming attacks so you’ll need to be more alert in how you react to certain situations and finally, the Skill Tree system has been removed completely.
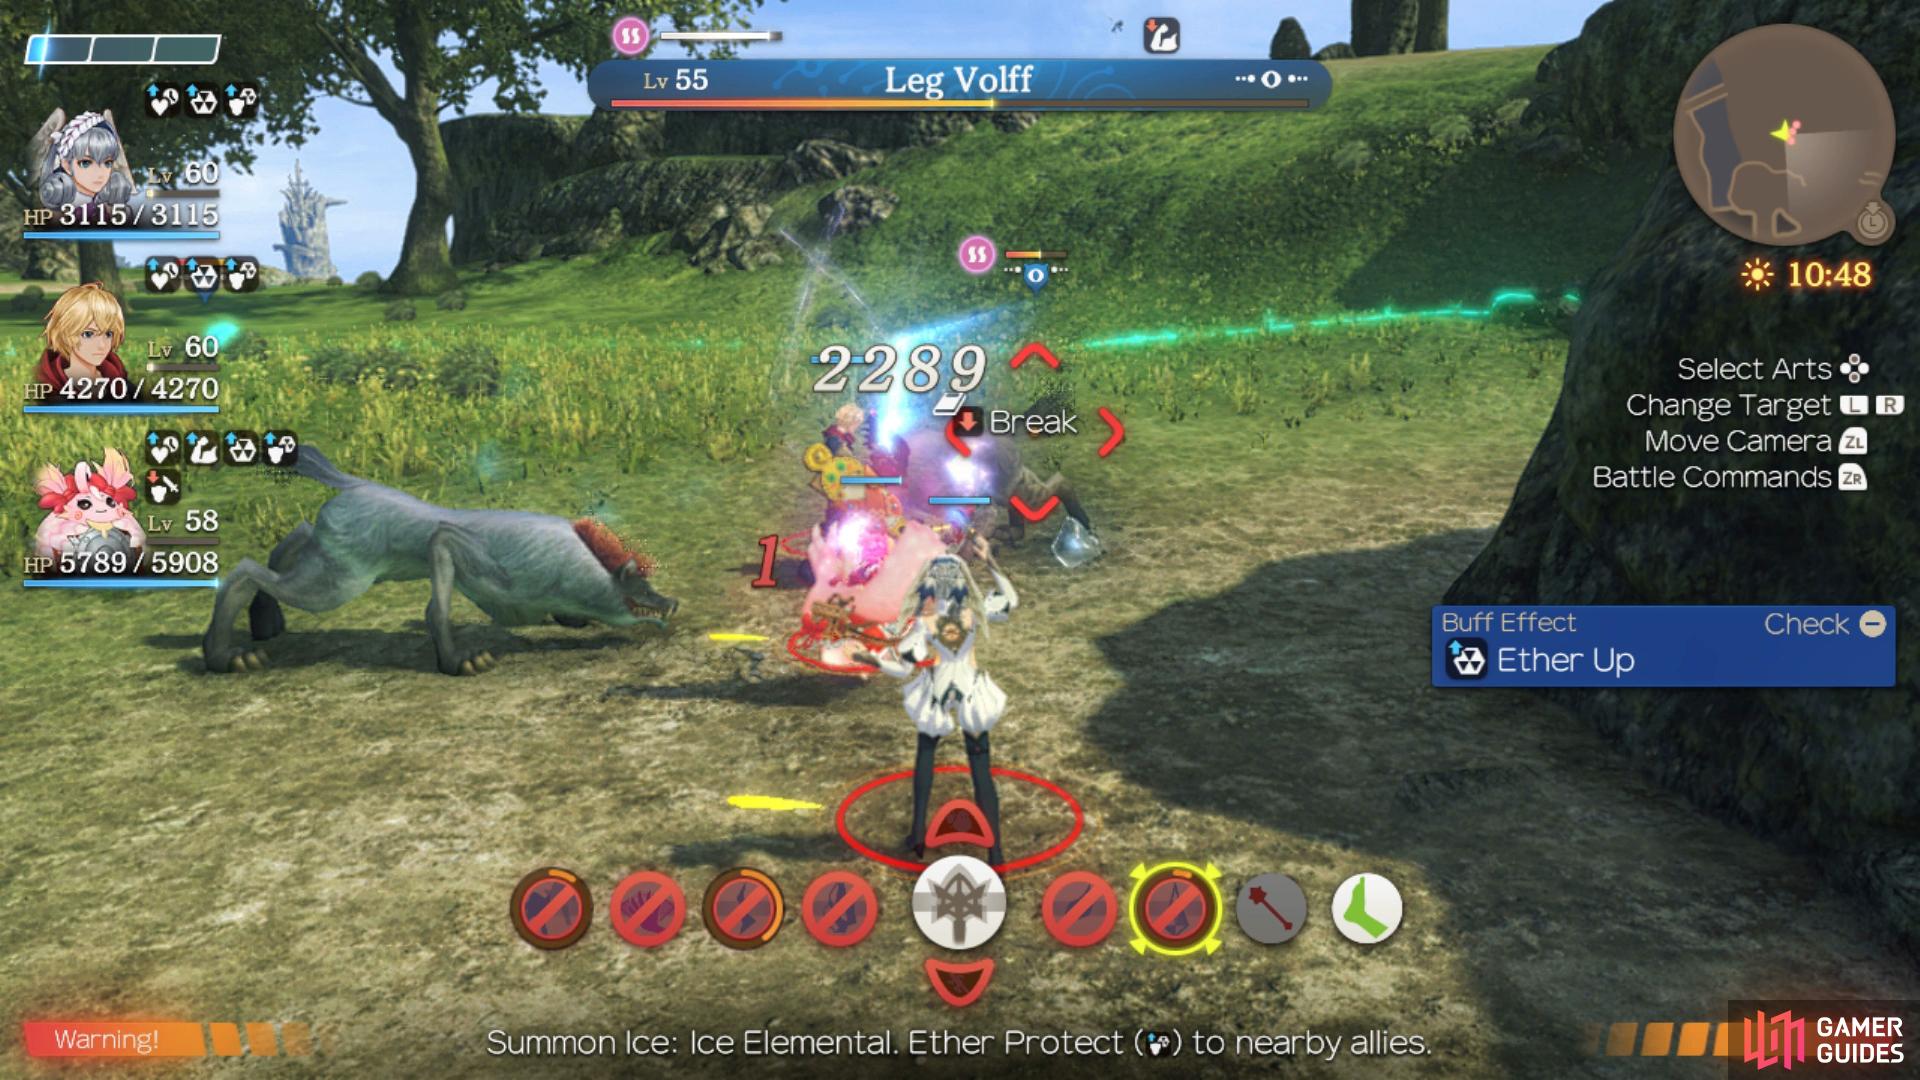
You’ll unlock the Junks Landmark after the tutorial and once you’re ready, rush over to the Nopons to trigger a scene and then a battle. You’ll get the chance to alter your party, place your preferred leader and then take a look at your two Nopon companions. Kino is similar in style to Sharla, thus making her more of a healer. Nene on the other hand has most of Reyn’s Arts and thus, making him the tank of Future Connected. Considering you should have both Melia and Shulk in your party, it’s not a bad idea to stick with Kino early on as healing is a lot harder to come by in Future Connected due to the Skill System being removed. The encounter itself is a simple one against two regular Lv 55 Leg Volffs with a Lv 57 Officer Volk acting as the leader. Focus your targets down and you should have no issues dispatching them, triggering some lengthy scenes in the process.
The first battle will introduce you to your new Nopon party members who fill the roles of Healer and Tank.
To the Cape
The group decide on their next course of action, the nearby cape to learn more of their new surroundings but before you head off there, it’s a good opportunity to explore the area. Start by heading back to Junks to the north and you’ll find and register your first Quiet Moment on the deck. These are essentially the Heart-to-Hearts from the original story with the exception of there being no options to choose due to their being no Affinity in Future Connected.
Head north from here to reach the Purifying Falls and then head south then west across the bridge to reach Navvir Highland. Go south here and you’ll reach the Navvir Crossroads Landmark where you’ll spot another Quiet Moment, A Love for Flowers that you can view between Melia and Nene. Continue on to the west here and then when possible, begin heading south to find your first Unique Monster, a Lv 63 Phlegmatic Jamir accompanied by two Lv 60 Little Bunnits so focus on them first before you take on Jamir.
Continue heading south and you’ll unlock Companions’ Cape while triggering another scene detailing the situation here on Bionis’ Shoulder and your next objective. You’ll also have another tutorial with regards to Shops and Quests, unlike the original story, enemies won’t drop Armour so be sure to pay them a visit to upgrade your Armour from time to time.
Questing around Companions’ Cape
As you’ll see, you’ve now gained the ability to take on Quests now and you’ll want to do all of them as the rewards are well worth it. For now, speak to Carranelle nearby to pick up the Ether Exploitation Quest, you can complete this right away by making use of the nearby Ether Deposit. Return to Carranelle to complete the Quest and gain an Ether Pick in the process.
Make your way over to Laennar now to pick up the Laennar’s Worries, Plump Pickings, Praying Caterpile Control and Supplant the Noble Brogs Quests. Change the time to night now to speak to Tulleana and pick up the Ether Font Quest while Haemlin will offer the Hunting Help Quest.
Be sure to check out the Shop before you leave this area and equip your party with new Armour, remember this is the only way outside of Quests to obtain Armour in Future Connected. Before you leave the area to take on these Quests, head to the south to find an Ether Deposit, the Quiet Moment All Grown Up with Nene and Shulk along with unlocking the Companions’ Forum location.
Ether Font
Tulleana can be found at Companions’ Cape. This quest asks you to exterminate 3 Wind Nebula and 3 Aqua Nebula. Wind Nebulae can be found near to the Navvir Crossroads landmark and Aqua Nebulae are found around Junks and Purifying Falls. Once you have defeated the required amount of both Nebulae, return to Tulleana to complete the quest.
The Ether Deposits on the Bionis’ Shoulder can be mined for gems!
Plump Pickings
This quest must be completed in order to progress with Laennar’s quest, Laennar’s Worries. You’ll automatically pick this quest up once you have activated Laennar’s Worries. You will need to collect 5 bundles of Plump Wildgrass near the Navvir Crossroads landmark and Purifying Falls. They are represented by red shiny orbs so they won’t be too difficult to find. When you have harvested the required amount, the quest will automatically be completed.
Praying Caterpile Control
This quest must be completed in order to progress with Laennar’s quest, Laennar’s Worries. You’ll automatically pick this quest up once you have activated Laennar’s Worries. You will need to defeat 3 Praying Caterpiles near Navvir Crossroads. The Caterpiles are nearby where you will find the Plump Wildgrass needed for Plump Pickings, so you won’t need to travel around too much. This quest will automatically complete when you have defeated the required amount of Caterpiles.
Supplant the Noble Brogs
This quest must be completed in order to progress with Laennar’s quest, Laennar’s Worries. You’ll automatically pick this quest up once you have activated Laennar’s Worries. You’ve been tasked with defeating 2 Noble Brogs, which are found near Purifying Falls. Purifying Falls is close to the Navvir Crossroads landmark, so you can fast travel there to save time. Once you have defeated 2 of them, the quest will automatically complete.
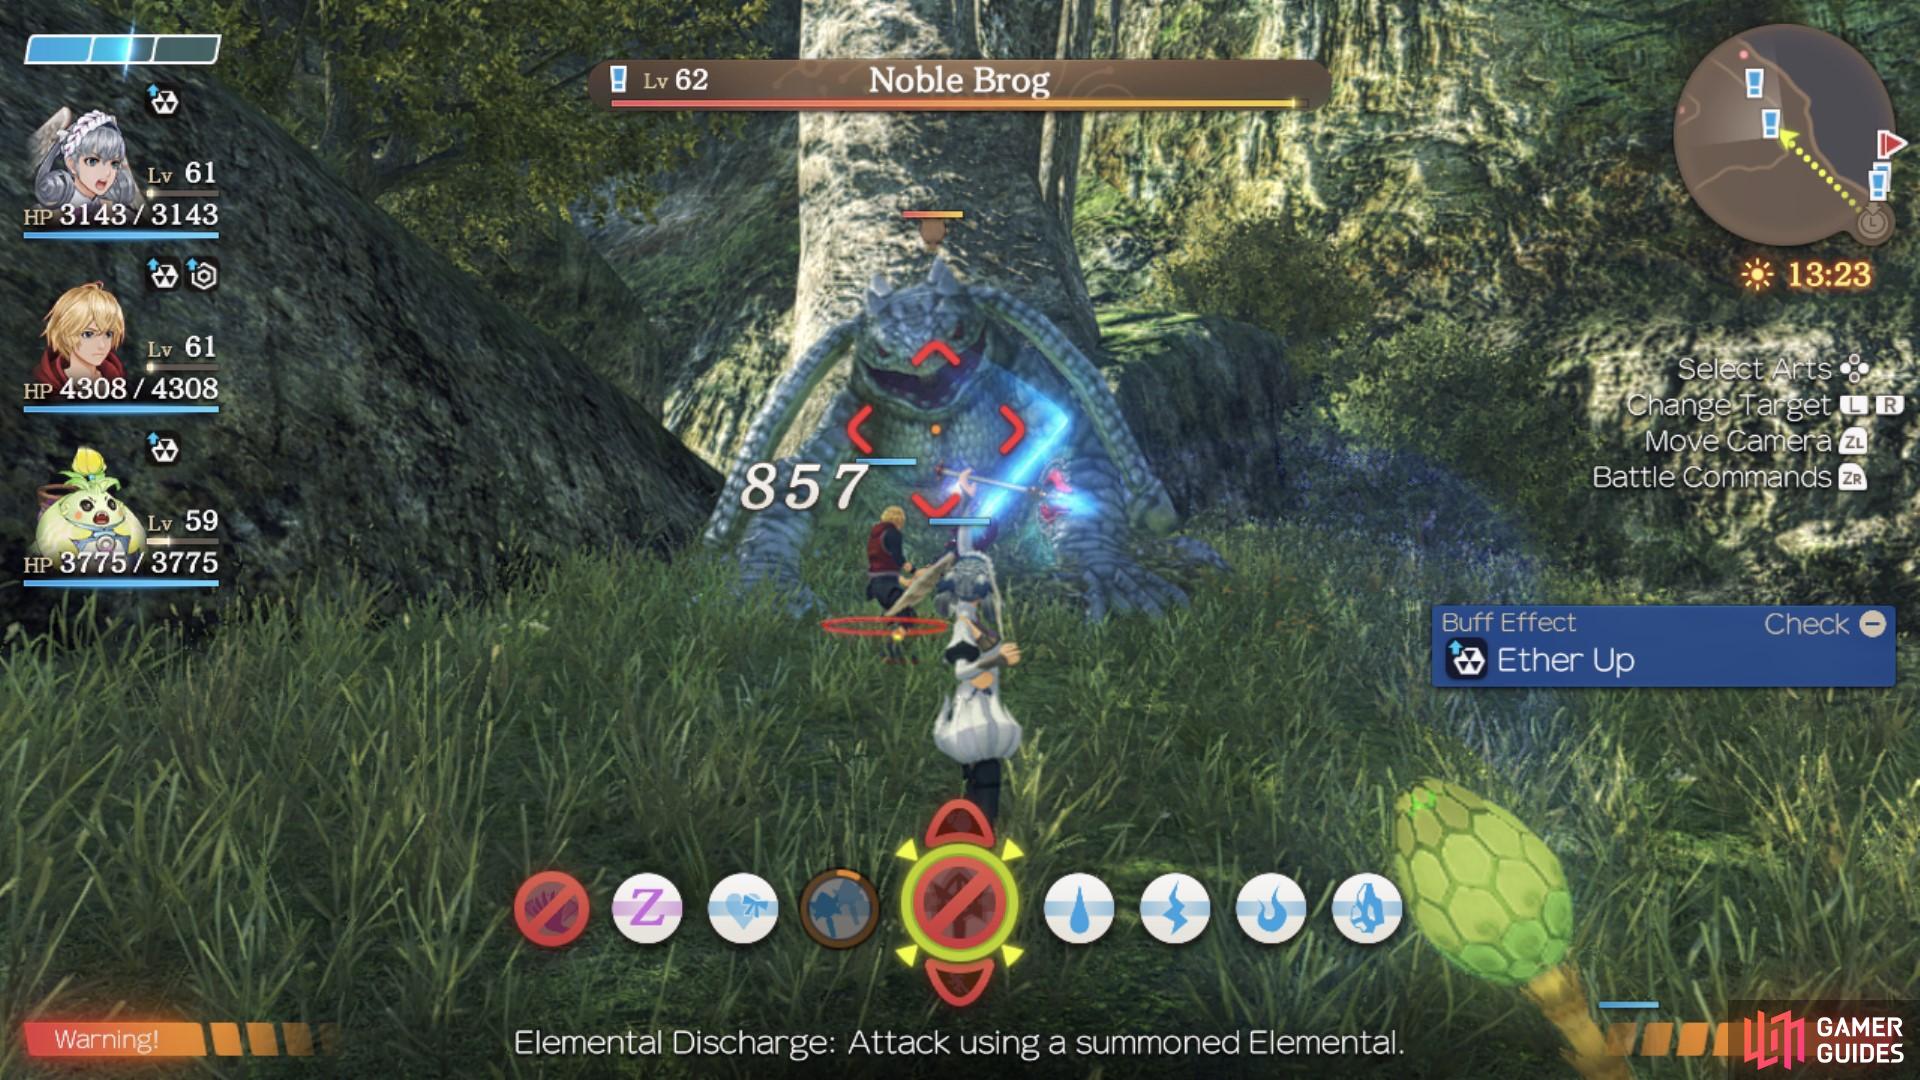
The Noble Brogs live near Purifying Falls.
Hunting Help
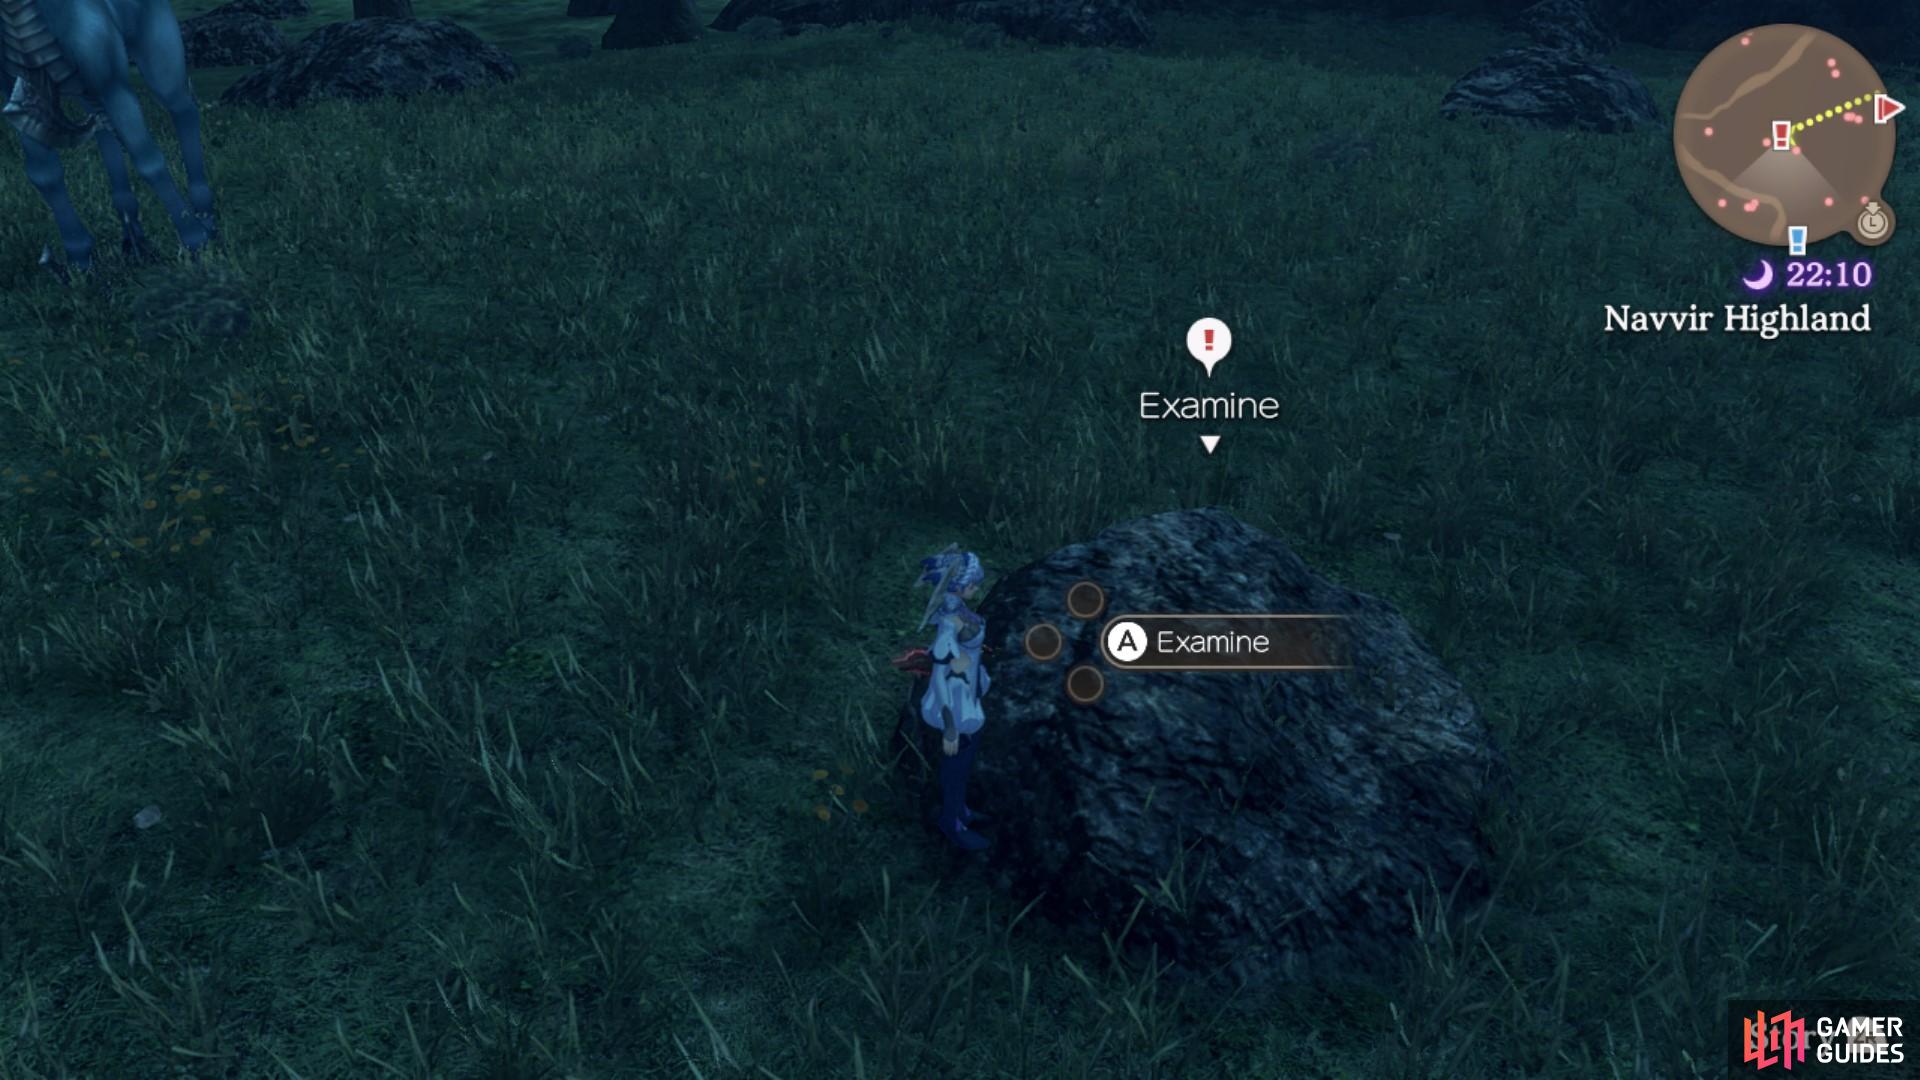
Haemlin can be found at the Companions’ Cape. He will ask you to help him stockpile some food by hunting for Makna Eks. Firstly, he wants you to defeat Makna Eks at Navvir Highlands and collect 4 Eks Iron Hearts. These are a fairly common drop, so you won’t need to farm for too long. After this, you will need to collect 3 Rainbow Carrots, which are a collectable found across the Bionis’ Shoulder. Then, you’ll need to head to a rock in the north-west region of Navvir Highland and place the carrots there to lure more Makna Eks. This will help future hunts. Once you have completed all of these steps, return to Haemlin to complete the quest.
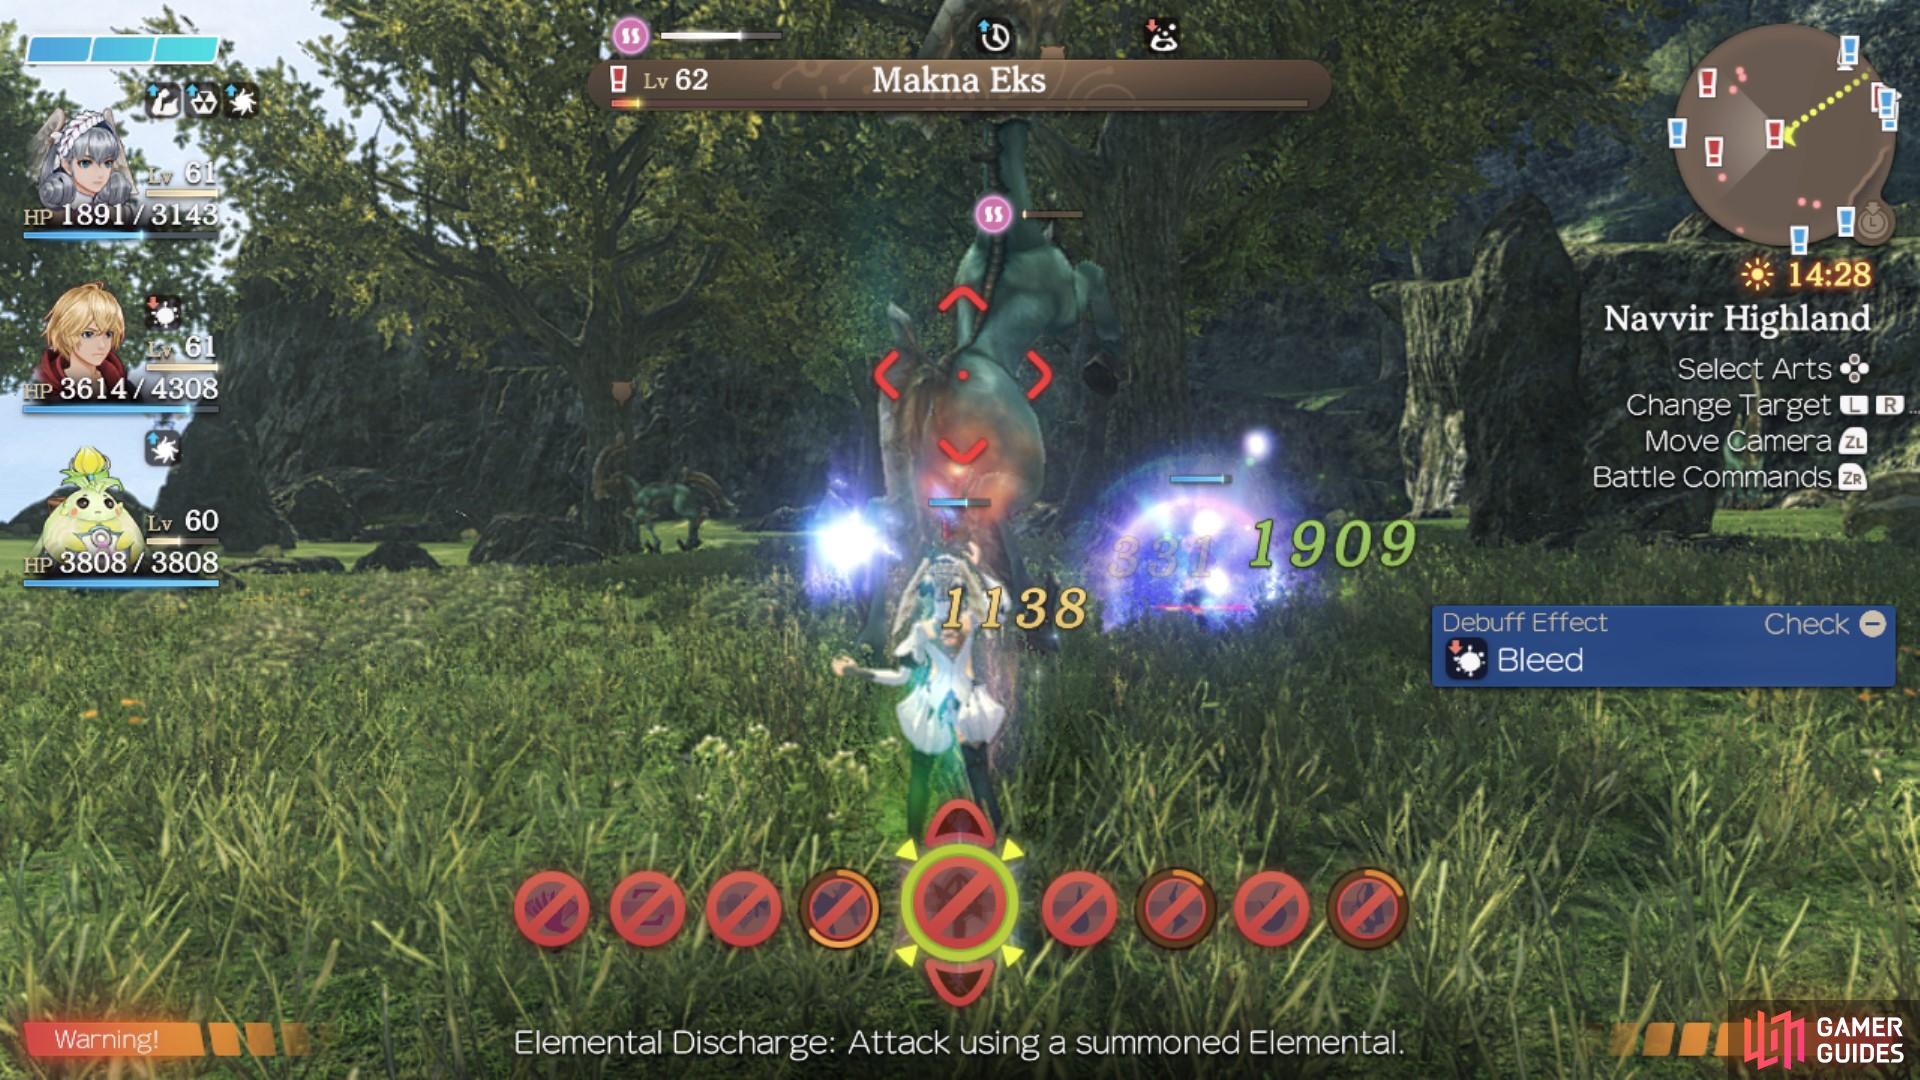
You need to hunt the Makna Eks for Eks Iron Hearts
lure more Makna Eks to the area using Rainbow Carrots.
That’s all of the Quests available for now so leave the Companions’ Forum to the north but before you head to where the Story Flag is, go west up the slope from the Navvir Crossroads Landmark and follow it to reach Clear Sky Bluff where some of the enemies may be a little too high in level if you’re going for the lower Ether Deposit. Continue heading up the slopes to the west and you’ll eventually unlock the Nerthis Necropolis Gate Landmark and if you head a bit further in, the Nerthis Necropolis location itself. The enemies in here are too high for you right now but just having this Landmark ready to go will save you a lot of time in the near future.
When you’re ready to continue, head to the east from Navvir Highland and you’ll find the entrance to the Cragmaw Caverns where you’ll trigger a scene. You’ll be introduced to the Ponspector system which acts as your replacement for Chain Attacks in Future Connected. To begin with, you’ll need to track down the missing Ponspsectors of different colors, once you have enough, you can perform powerful Ponspector Attacks based on the color you choose such as red for damage, blue for healing or yellow for debuffs, needless to say, they’re extremely powerful and you should track them all down. With that said, you can get the next one right now by following the guidance below.
Tei-Tei Lacking Charm
Tei-Tei can be found near the Navvir Crossroads landmark. To recruit Tei-Tei you will first need to find Tei-Tei’s Charm, which he lost at Nerthis Necropolis. Nerthis Necropolis is west of the Navvir Crossroads landmark, but to reach it, you’ll need to head north from the landmark, up onto an elevated level so that you may cross through Clear Sky Buff. When you reach Nerthis Necropolis be careful not to aggro the monsters there, as they are higher level enemies. The lost item you’re searching for is behind the large tomb. Once you have Tei-Tei’s charm, head back to him to complete the quest.
When you have completed the quest, Tei-Tei will become a Ponspector in your party. He is of the Yellow team, which means he has a debuffing signature move.

Tei-Tei’s Charm is found behind the tomb in Nerthis Necropolis.
You’ll need to head into the Cragmaw Caverns now so head inside and you’ll trigger a scene when you emerge from the other side. Once you regain control, you’ll spot the next Ponspector nearby, Evelen.
Evelen on the Edge
Evelen is found near Cragmaw Caverns, just east of Navvir Crossroads. She will ask you to defeat 3 Wharpol Sardis, which are located in the lake north of where you will find Evelen. After you have defeated the enemies, return to Evelen and she will ask you to fetch 3 Morrow Cobs, which are a fairly common collectable found across the Bionis’ Shoulder. Once you have those, return to Evelen again to complete the quest.
When you have completed the quest, Evelen will become a Ponspector in your party. He is of the Yellow team, which means he has a debuffing signature move.
With this Quest completed, head east from Evelen’s position to unlock Commanar Plateau and then head along the southern wall to the east to reach the Zephyr’s Counsel Landmark. You’ll find a Lv 64 Unique Monster wandering around here, Highborn Alexandra however try to Topple it to prevent it’s deadly Spike Aura. Make your way northeast now across the stream to find a Quiet Moment, The Land in the Sky between Shulk and Kino. Make your way southeast here to find the Barouh Plaza Landmark and head inside the cave to unlock Barouh Ruins Cave.
As soon as you step inside here, you’ll spot a Lv 65 Unique Monster, Grotesque Deimis, be sure to take out the lesser enemies first before you focus on it. Before you head up the slope though, head outside to the north to trigger a Ponspector Surprise Quest.
Incensed Dekadeka
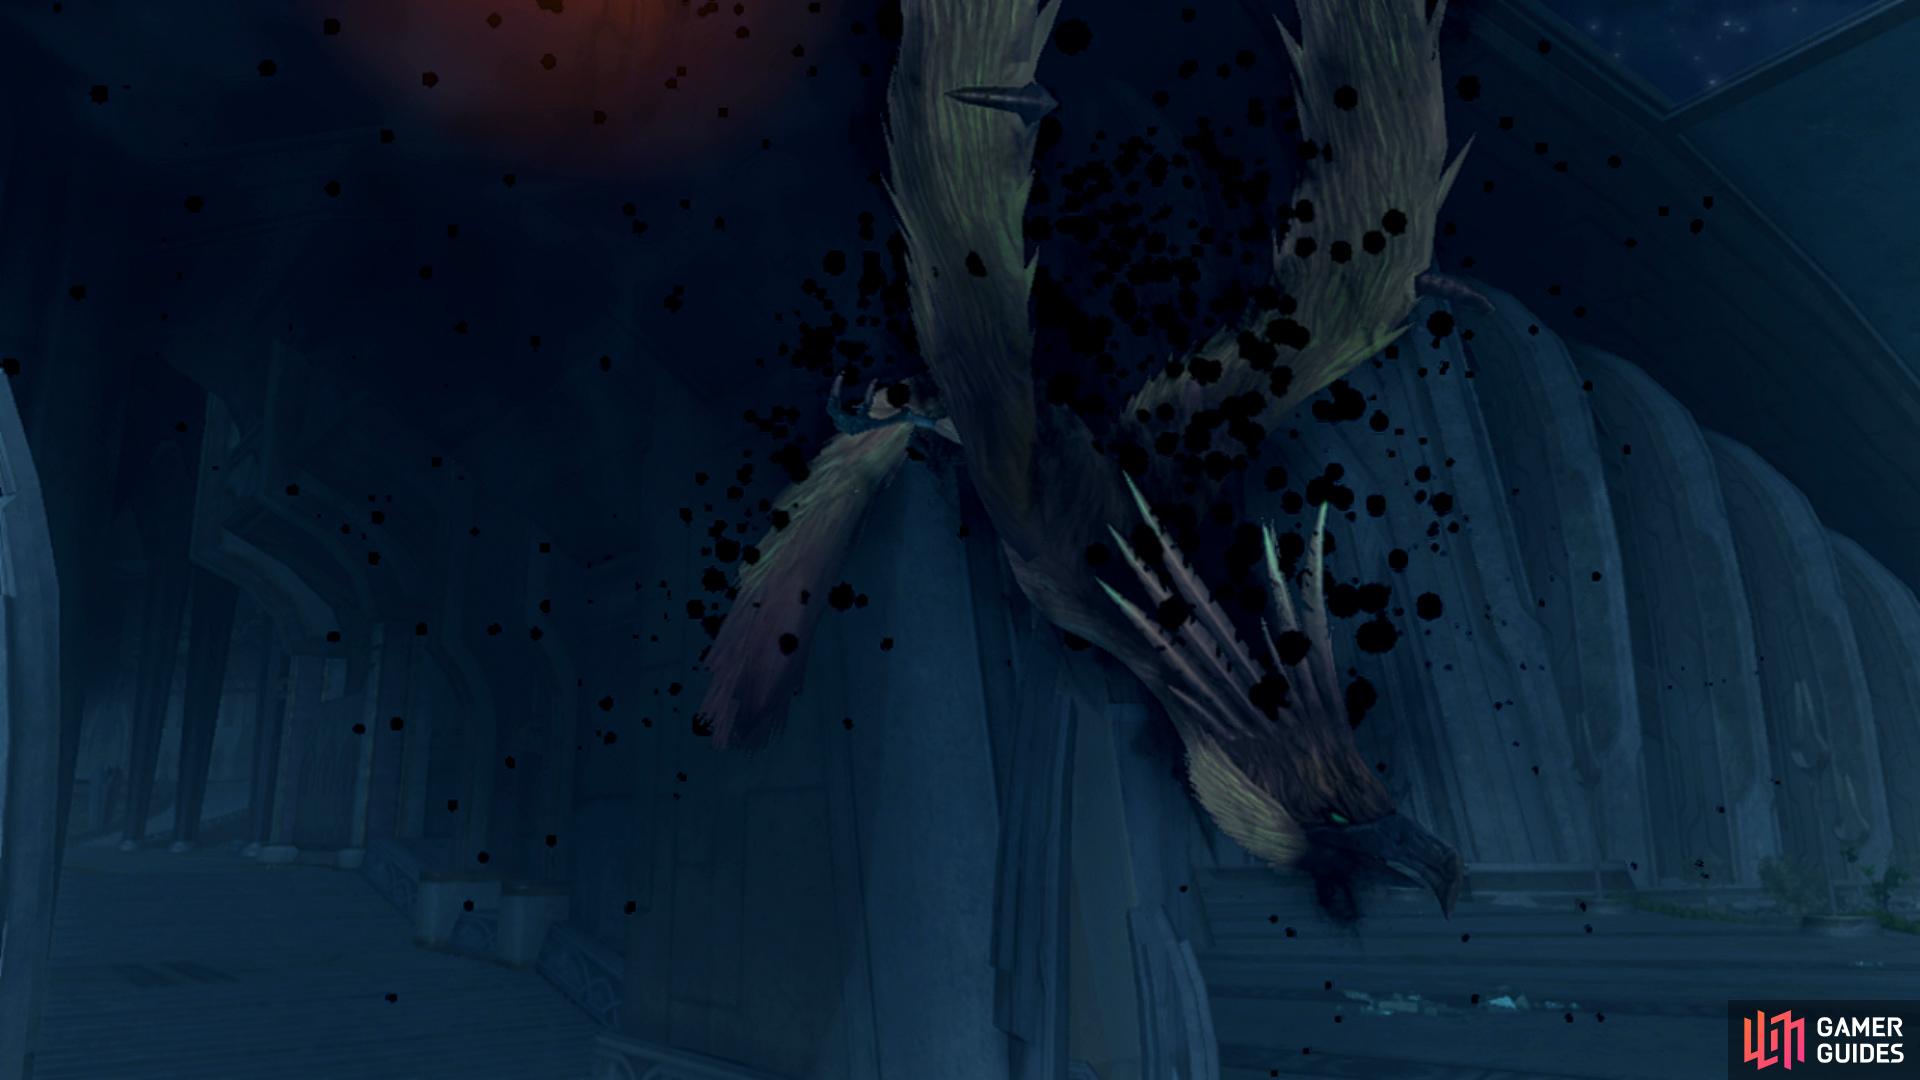
This quest will activate like a Surprise Quest once you walk out onto the bit of land that juts out from Barouh Ruins Cave, just east of the Barouh Plaza landmark. You will need to defeat 3 Slobbering Antols that threaten Dekadeka. Once you have defeated them, you can speak to Dekadeka in order to complete the quest.
When you have completed the quest, Dekdeka will become a Ponspector in your party. He is of the Blue team, which means he has a healing signature move.
The Slobbering Antols have cornered Dekadeka!
Return to the cave and take the slope up and once you exit the cave, head east to unlock the Pillar Knoll Landmark. Continue along the upper path here to the east and you’ll eventually reach a Whisperwind Crossing, head across the bridge and once you cross the second, you’ll come across a Quiet Moment, A Life Without Visions involving Shulk and Melia. Continue along the final bridge and you’ll reach the Soltnar Seal Island Landmark where you’ll find the path leading up to the transporter, triggering a scene in the process. Once you regain control following it, head forward to the transporter to be whisked off to Alcamoth.
Alcamoth
All is quiet as you arrive in Alcamoth so head north to trigger a scene and then when you regain control, don’t run straight for the cry you just heard but instead look to the side of the escalator to find the next Ponspector Quest.
Drydry Entia
Drydry will ask you to collect 5 High Entia Feathers and they can be found near the Fountain of Eternity and Eternity Way, which are east of where you find Drydry. When you have all 5, return to Drydry to complete the quest.
When you have completed the quest, Drydry will become a Ponspector in your party. He is of the Red team, which means he has a offensive signature move.
Seeing as that was your first Red Ponspector, you’ll now unlock Union Strikes, powerful attacks that are performed the same way as Chain Attacks. Before you head up to the next level, take the time to map out the GF by heading both west and east to unlock the two Landmarks and nearby locations. Once you’re ready, head up to the GF toward Melfica Road where you’ll trigger a scene followed by the first boss of Future Connected.
Boss: Snowal Taos
| Enemy | Level | Detection |
|---|---|---|
| Snowal Taos | 66 | Sight |
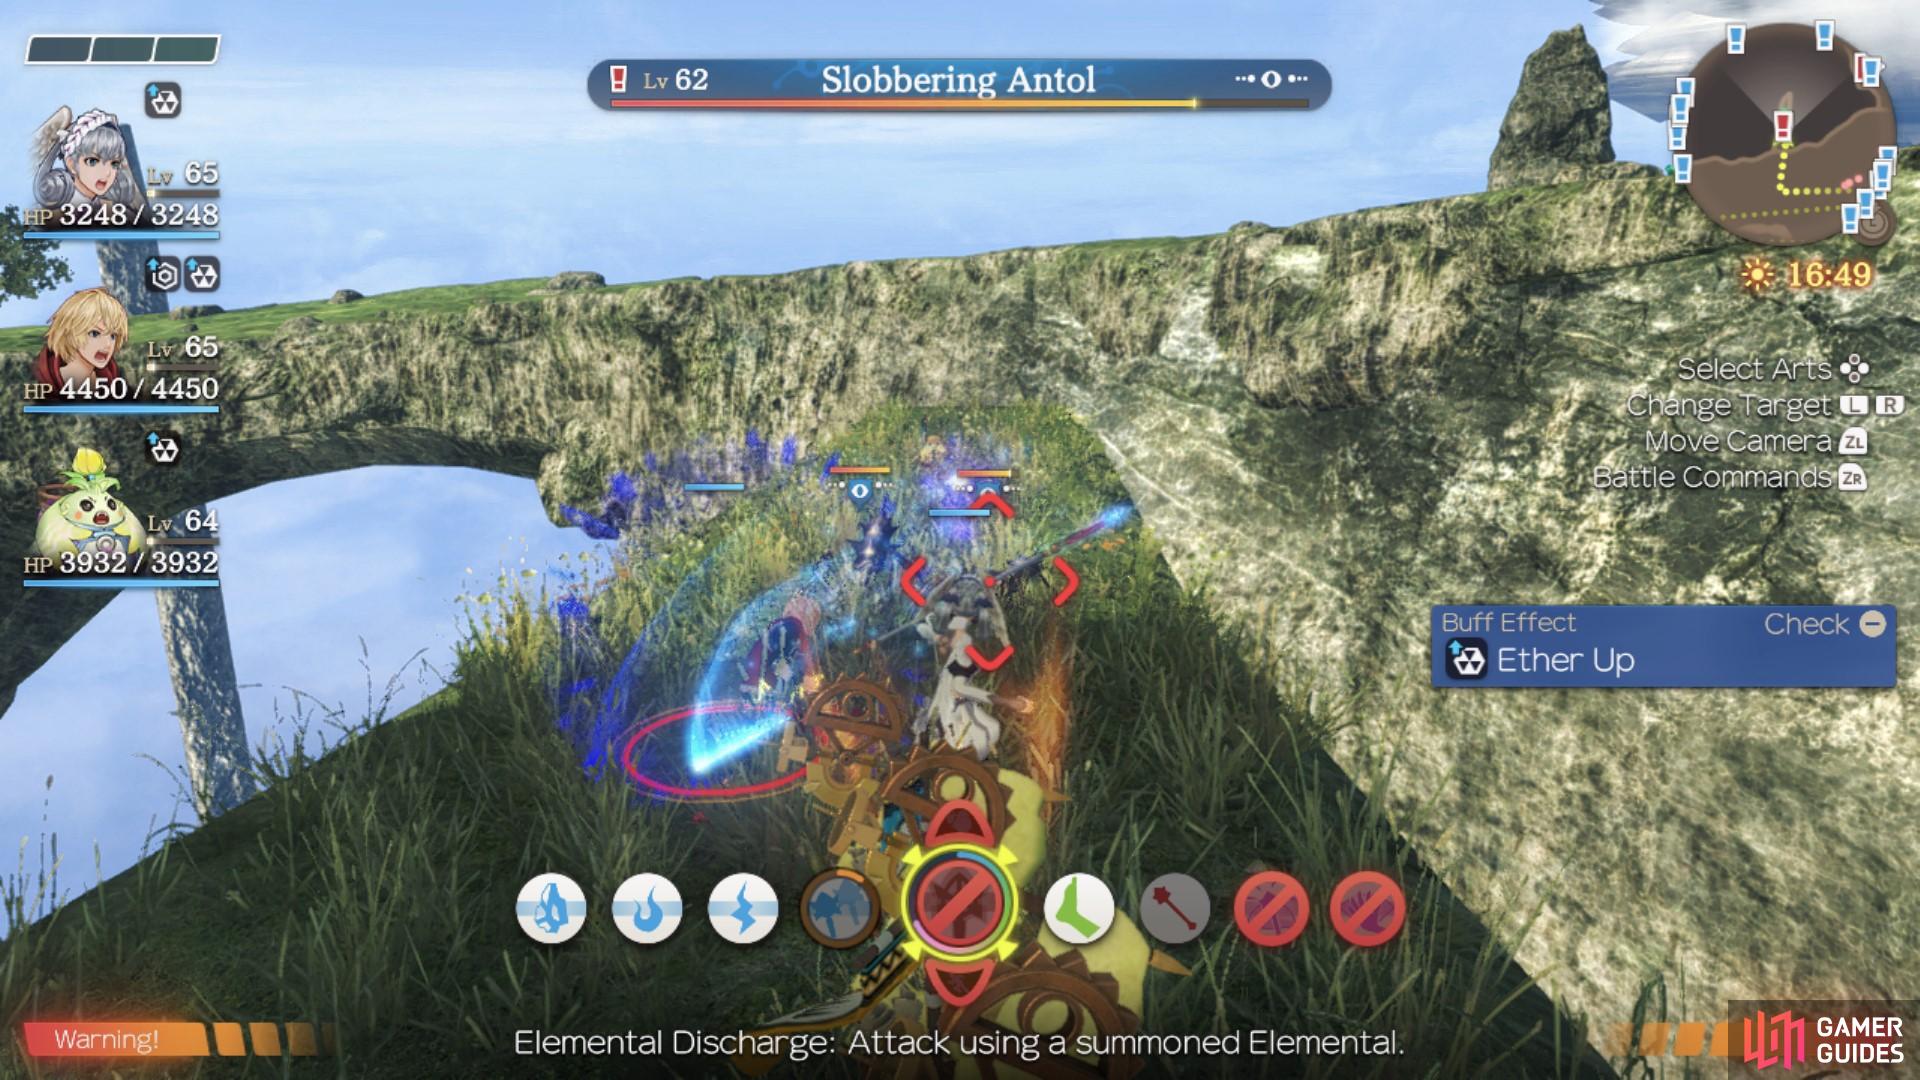
This being the first boss battle in Future Connected and the first Fog enemy, you’ll want to make sure you at least match his Level and have enough Ponspectors to perform a Union Attack. Consider bringing in Nene as a tank for this battle, you should be able to make use of Union Attacks and Shulk’s Light Heal for healing should you need it. If you cast your mind back to when you were on Valak Mountain in the original game, the Snowal Taos has the same Arts as it’s namesake so in fact, this is nothing more than a regular battle with higher HP totals.
-
Gore - A Physical Art that deals moderate damage to a single target and inflicts Knockback
-
Fire Breath - An Ether based Art that deals moderate damage to targets in an arc in front it while also inflicting Blaze.
-
Flame Breath - An Ether based Art that deals moderate damage to targets in an arc in front it while also inflicting Blaze and Bind.
-
Fury Horn - Buff itself with both Strength Up and Haste.

Snowal Taos will only rarely use Arts, most of the time it will result to auto-attacking only.
As you can see by looking at it’s Arts, it’s nothing too troubling and however if you find yourself struggling, be sure to initiate an Union Attack to either heal or deal massive damage to the Taos. This battle should be nothing more than a warm-up for later Future Connected bosses. Following its death, the party will leave Alcamoth and you’ll gain a tutorial informing you of the Arts Manuals Shop opening.
No Comments