
During the Shadow-Cursed Lands arc in Act 2 of Baldur’s Gate 3, you can obtain the quest “Investigate the Selunite Resistance”. There are a couple ways you can start the quest, the first being through reading a Journal in the Last Light Inn Cellar while the other can be found in the Potter’s Chest. These quests are great for lore while also giving you unique encounters that also reward experience, and loot. Read below to find out where you can find the resistance, and what you can get for your troubles.
The Investigate the Selunite Resistance quest will bring you to the Mason’s Guild.
Investigate the Selunite Resistance Quest Location
There are two ways to accept the Investigate the Selunite Resistance Quest, the first will be in the Last Light Inn Cellar, while the second will be by unlocking the Potter’s Chest.
Last Light Cellar Location
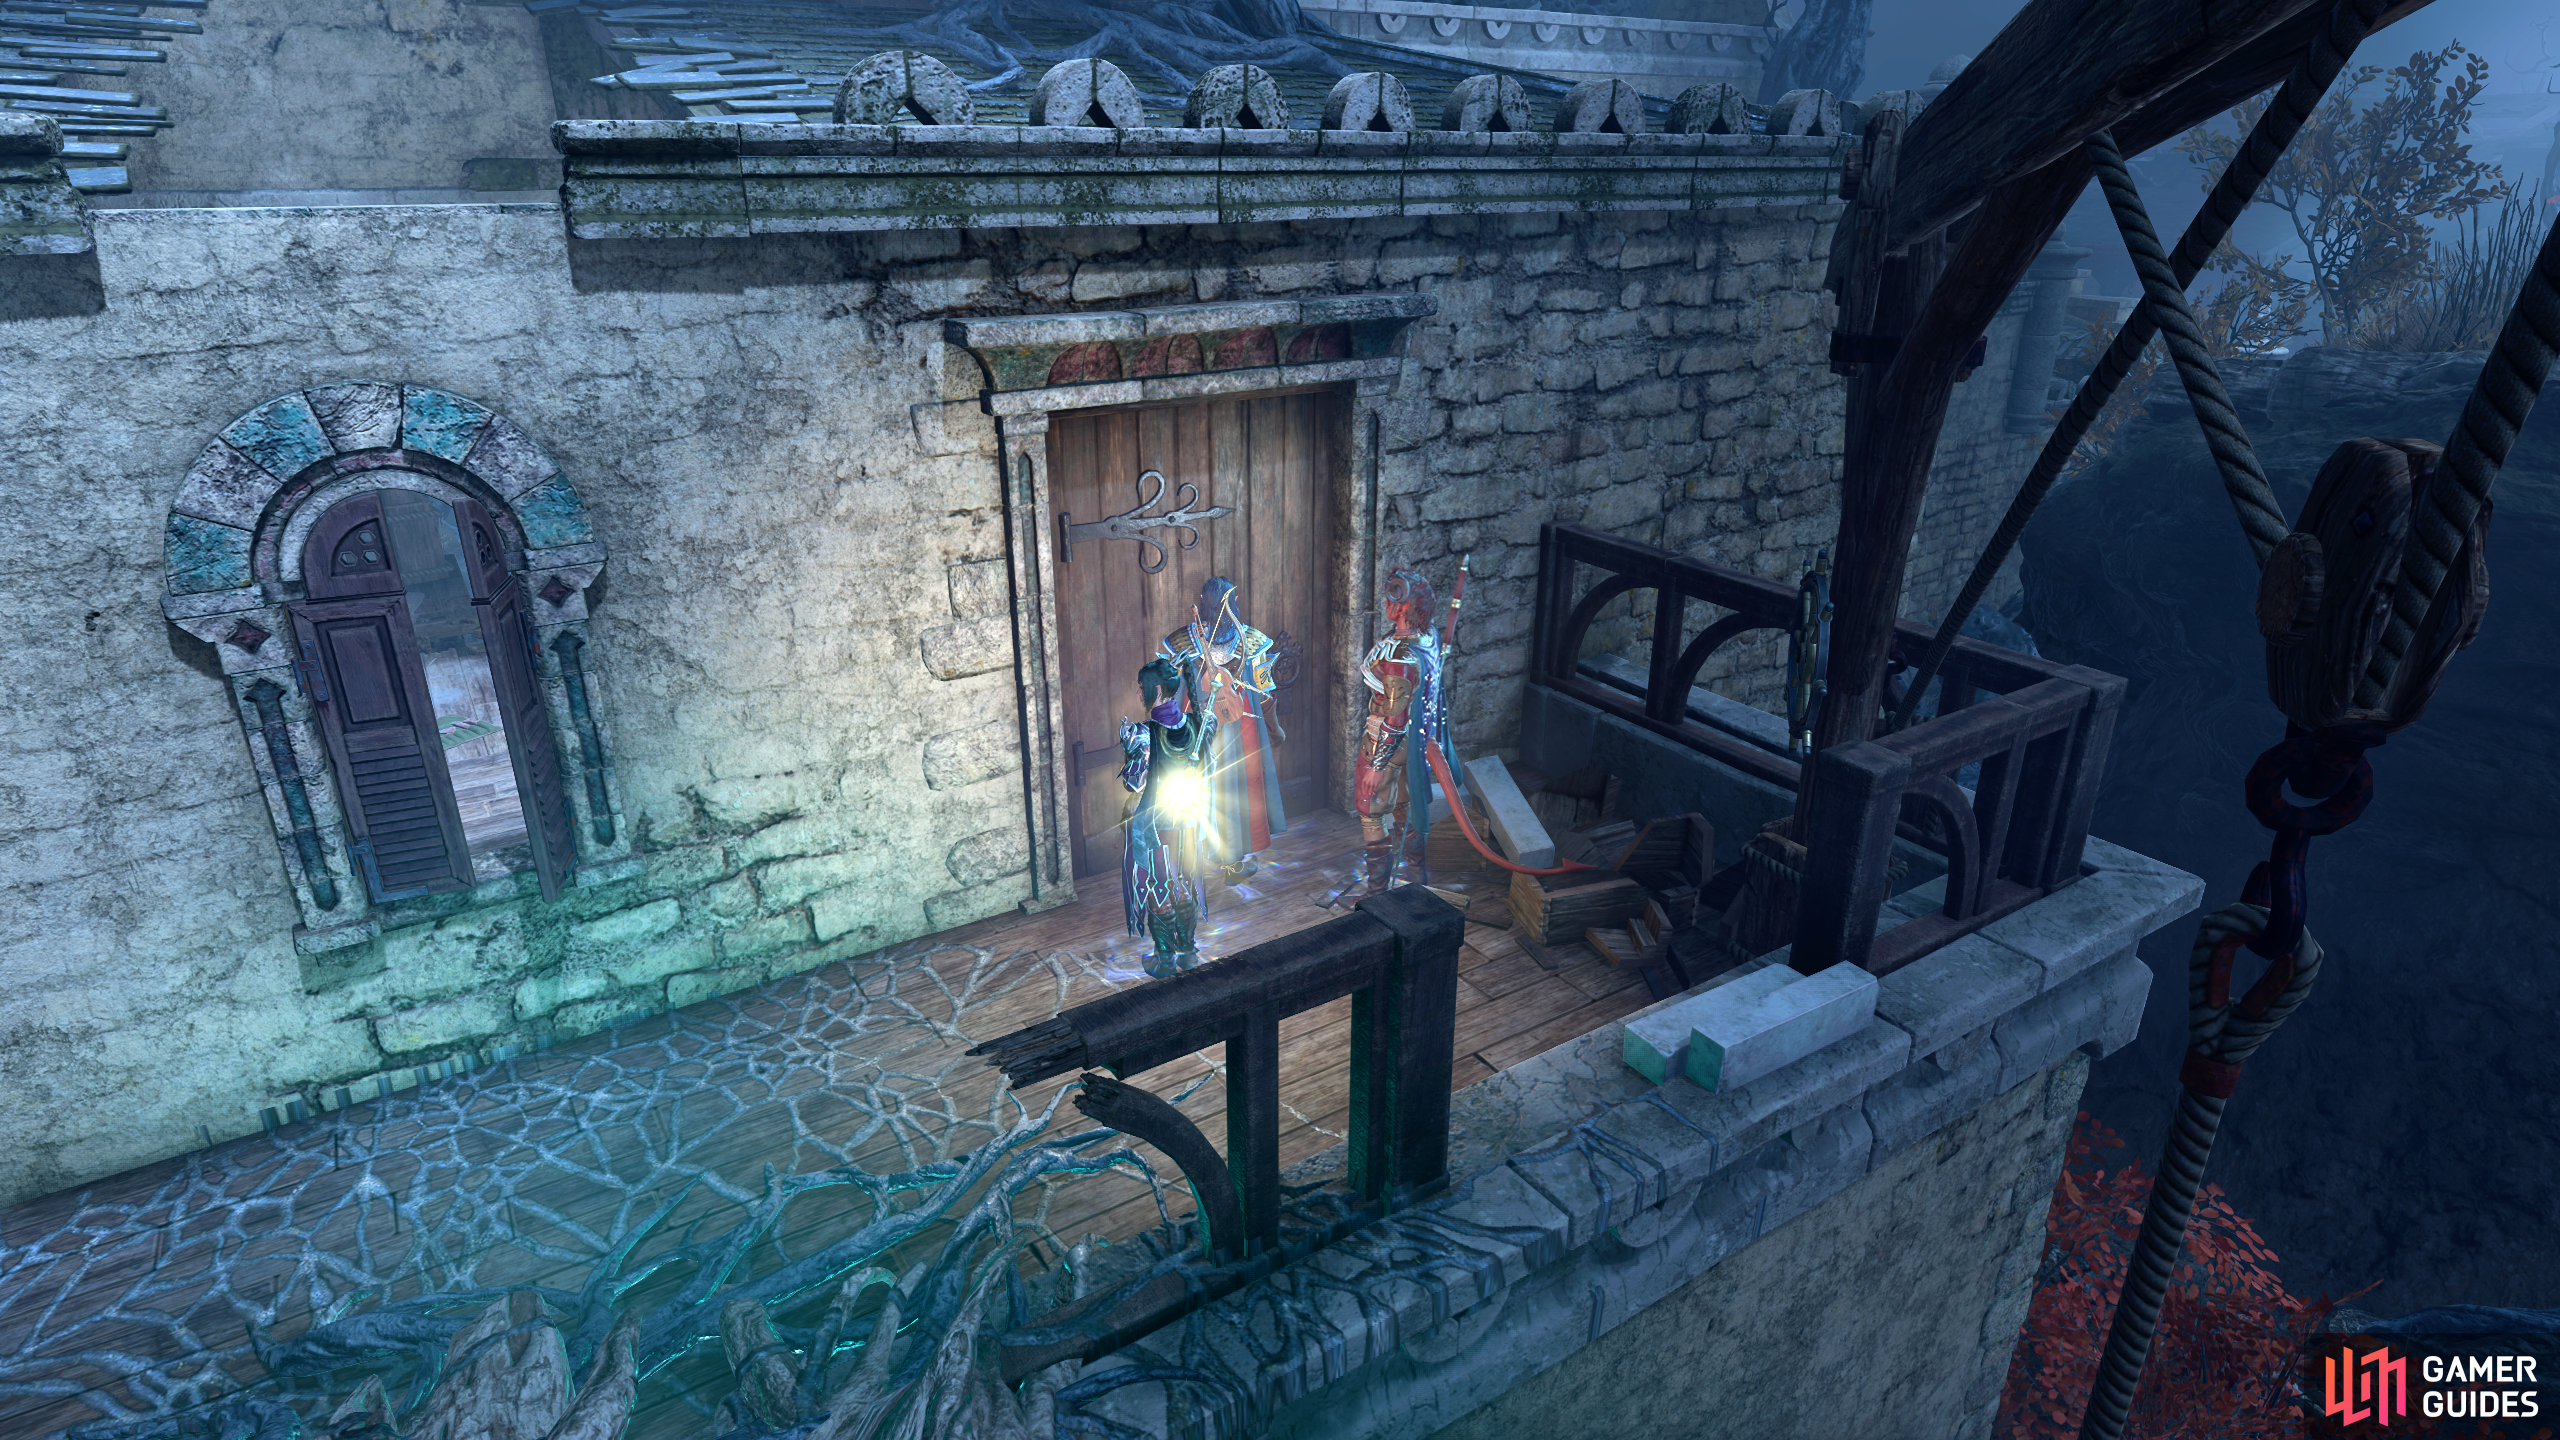
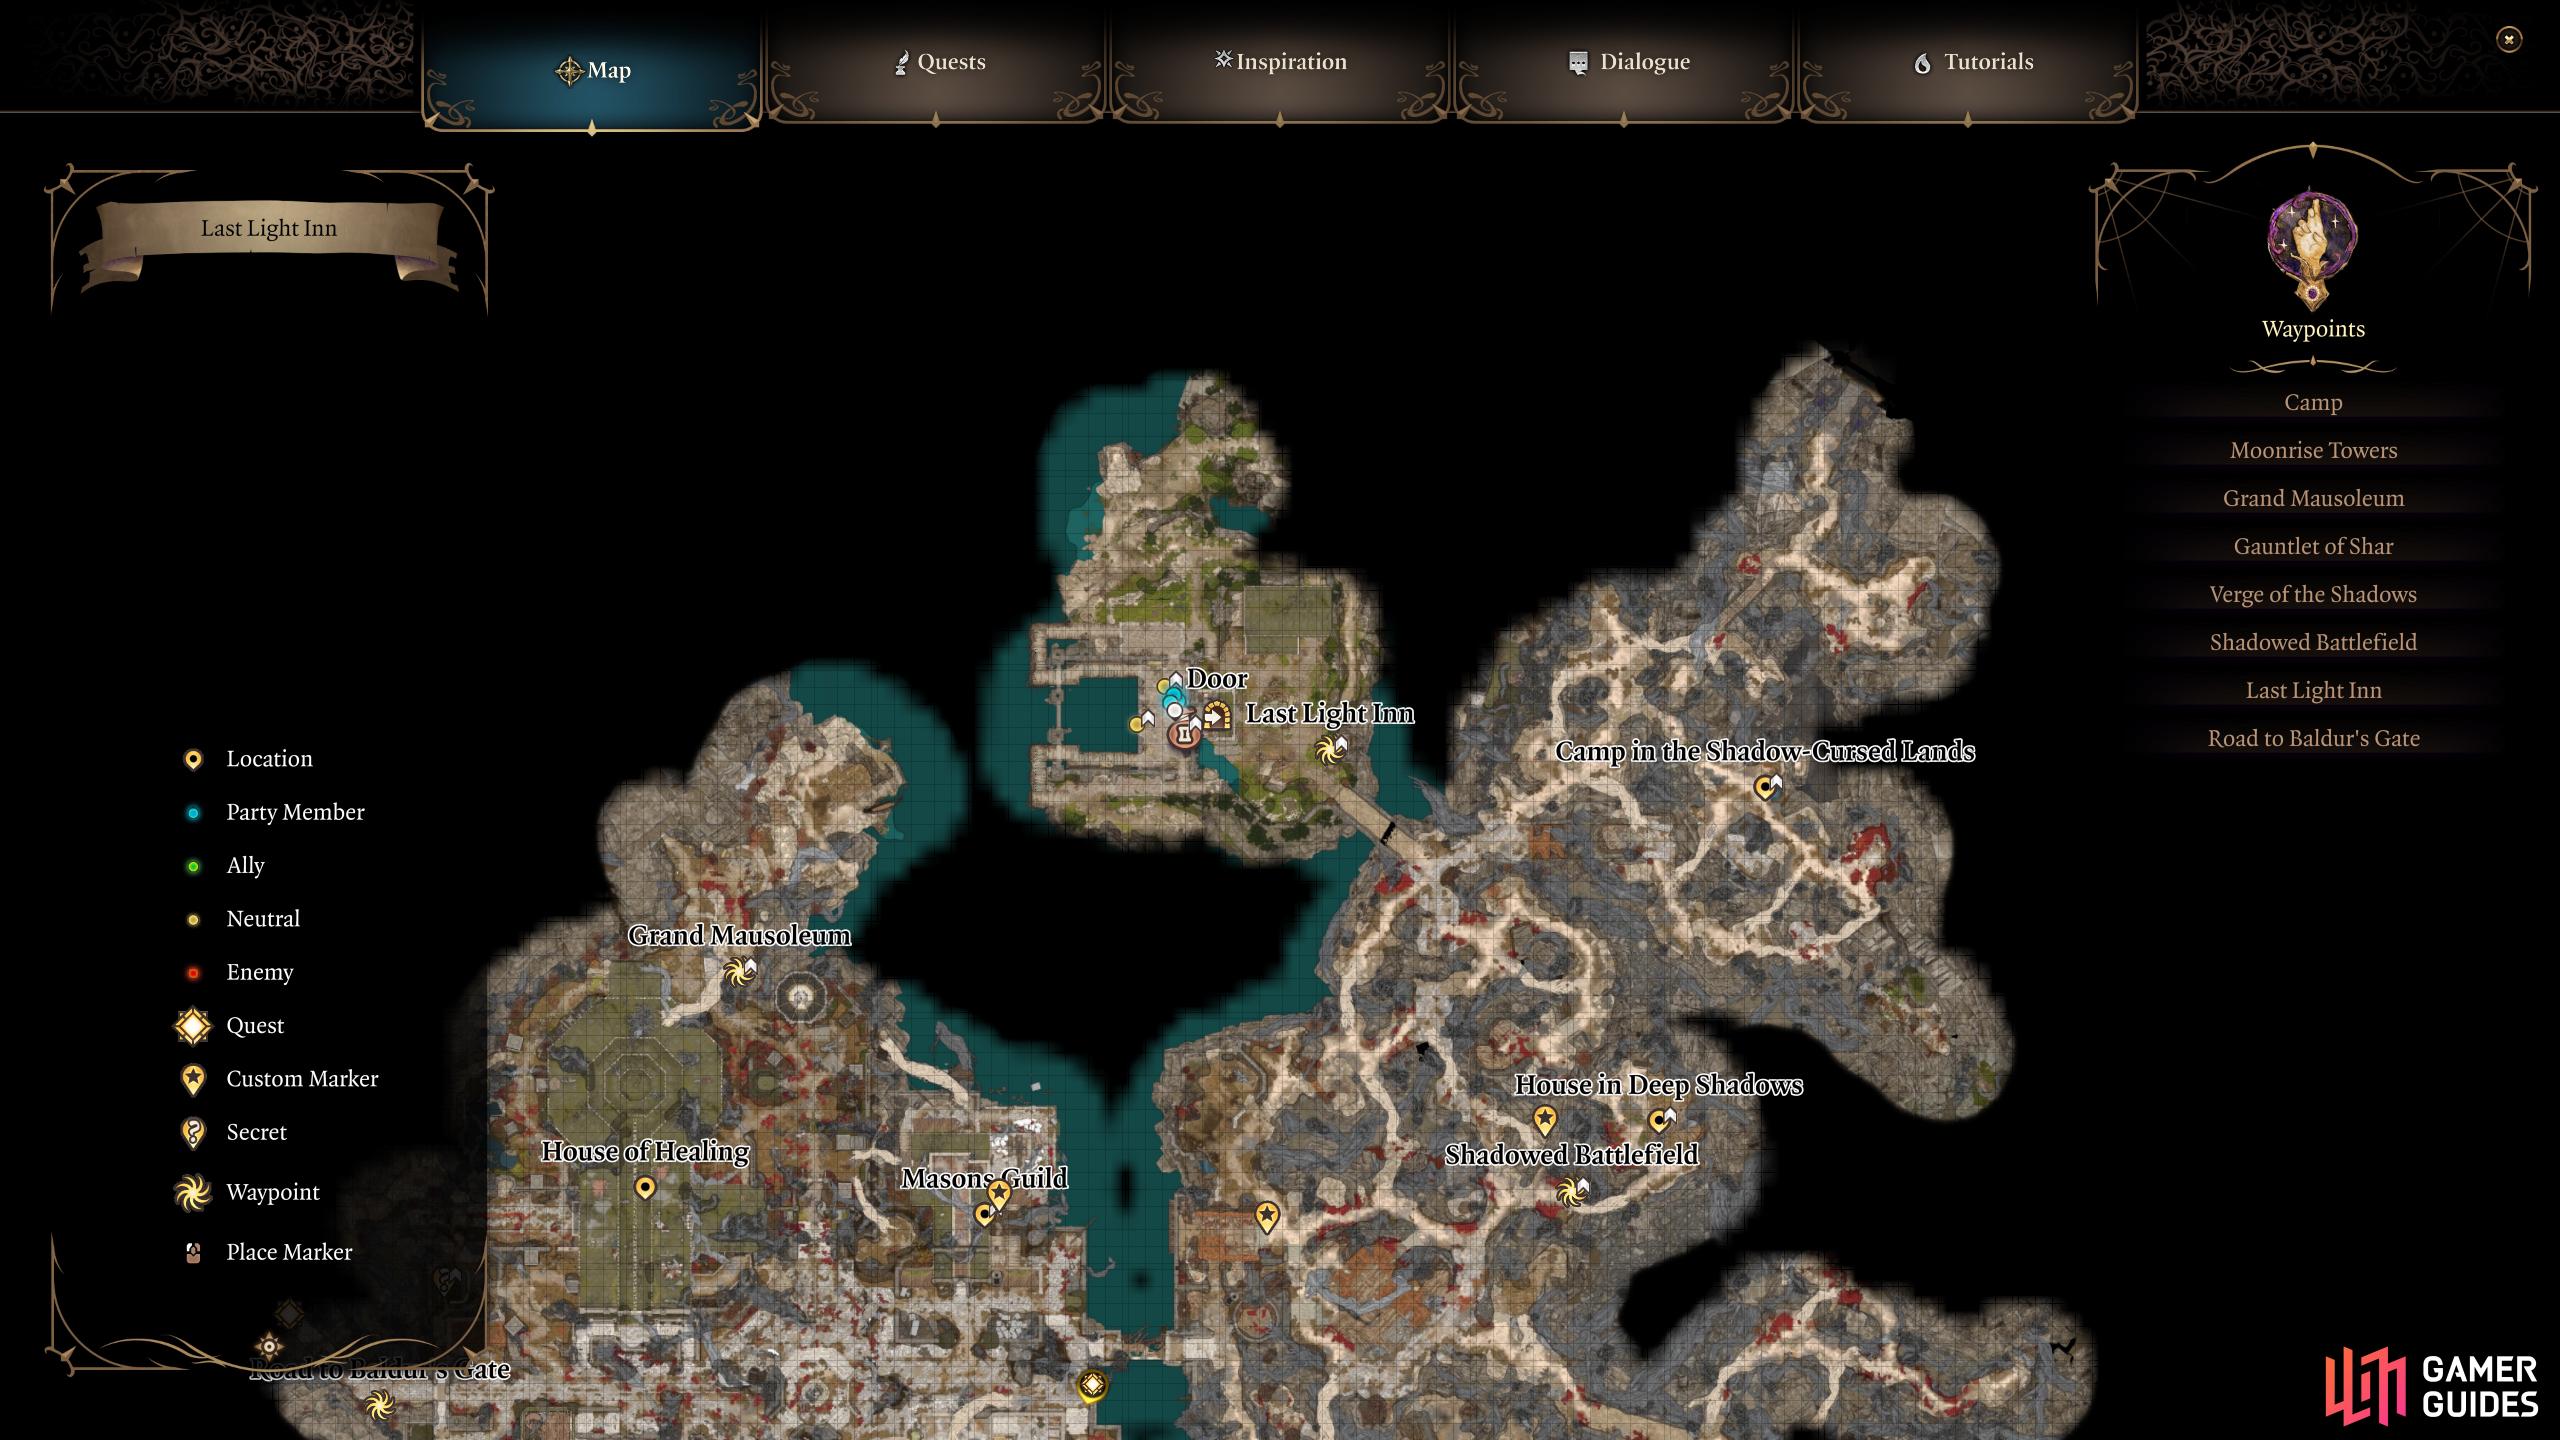
As stated above, you can accept the quest two ways. The first quickest method is to read through the Halfred’s Note in the cellar of Last Light Inn which is situated in the north of the Shadow-Cursed Lands, west of where you start in the area. Once you reach the Inn proper, you’ll be protected from the Shadow-Curse temporarily, although you’ll need some protection underneath the Inn. Head outside, to the east of the Inn in at the north, and go through the door where the docks are. This will take you to the Cellar which will have some cells and whatnot.
In the Cellar, pickup the Last Light Detention Cell Key from the table in the side room, then head into the large open room in the north. Now move the Wooden Boxes in the northeast corner to reveal a door, but to get through, you’ll need to burn the spiderwebs. The next room will have a Cracked Wall next to the large wine kegs with a Smokepowder Barrel in front of it. Get some distance, then shoot it with fire to make it explode thus opening an entrance.
Go through the hole, and you’ll be in a large room with a thick root going through the middle of it. The room has a difficult battle with some Meenlocks, so get into stealth, and make a surprise attack on the nearest one to you which should be on the northern ledge. These critters have the Meenlock Fear Aura which will make you immobile and frightened unless you save against it with a Wisdom check which can make the battle more difficult than it has to be.
It’s a good thing they don’t have any resistances to worry about, but there are quite a few of them here to make up for it. Another thing they can do is they have the ability to shadow-teleport to your locations, fortunately, you can push them off the root which will make them take a bit of damage and get them away from you briefly. Defeat the Meenlocks, and head to the back of the room where you’ll find a Last Light Side Entrance Key, and Halfred’s Note. Read the note to start the Investigate the Selunite Resistance Quest. Note: If you go through the Side entrance to the right of the note, you can find a couple of chests, and another cracked wall to bring you back to the door.
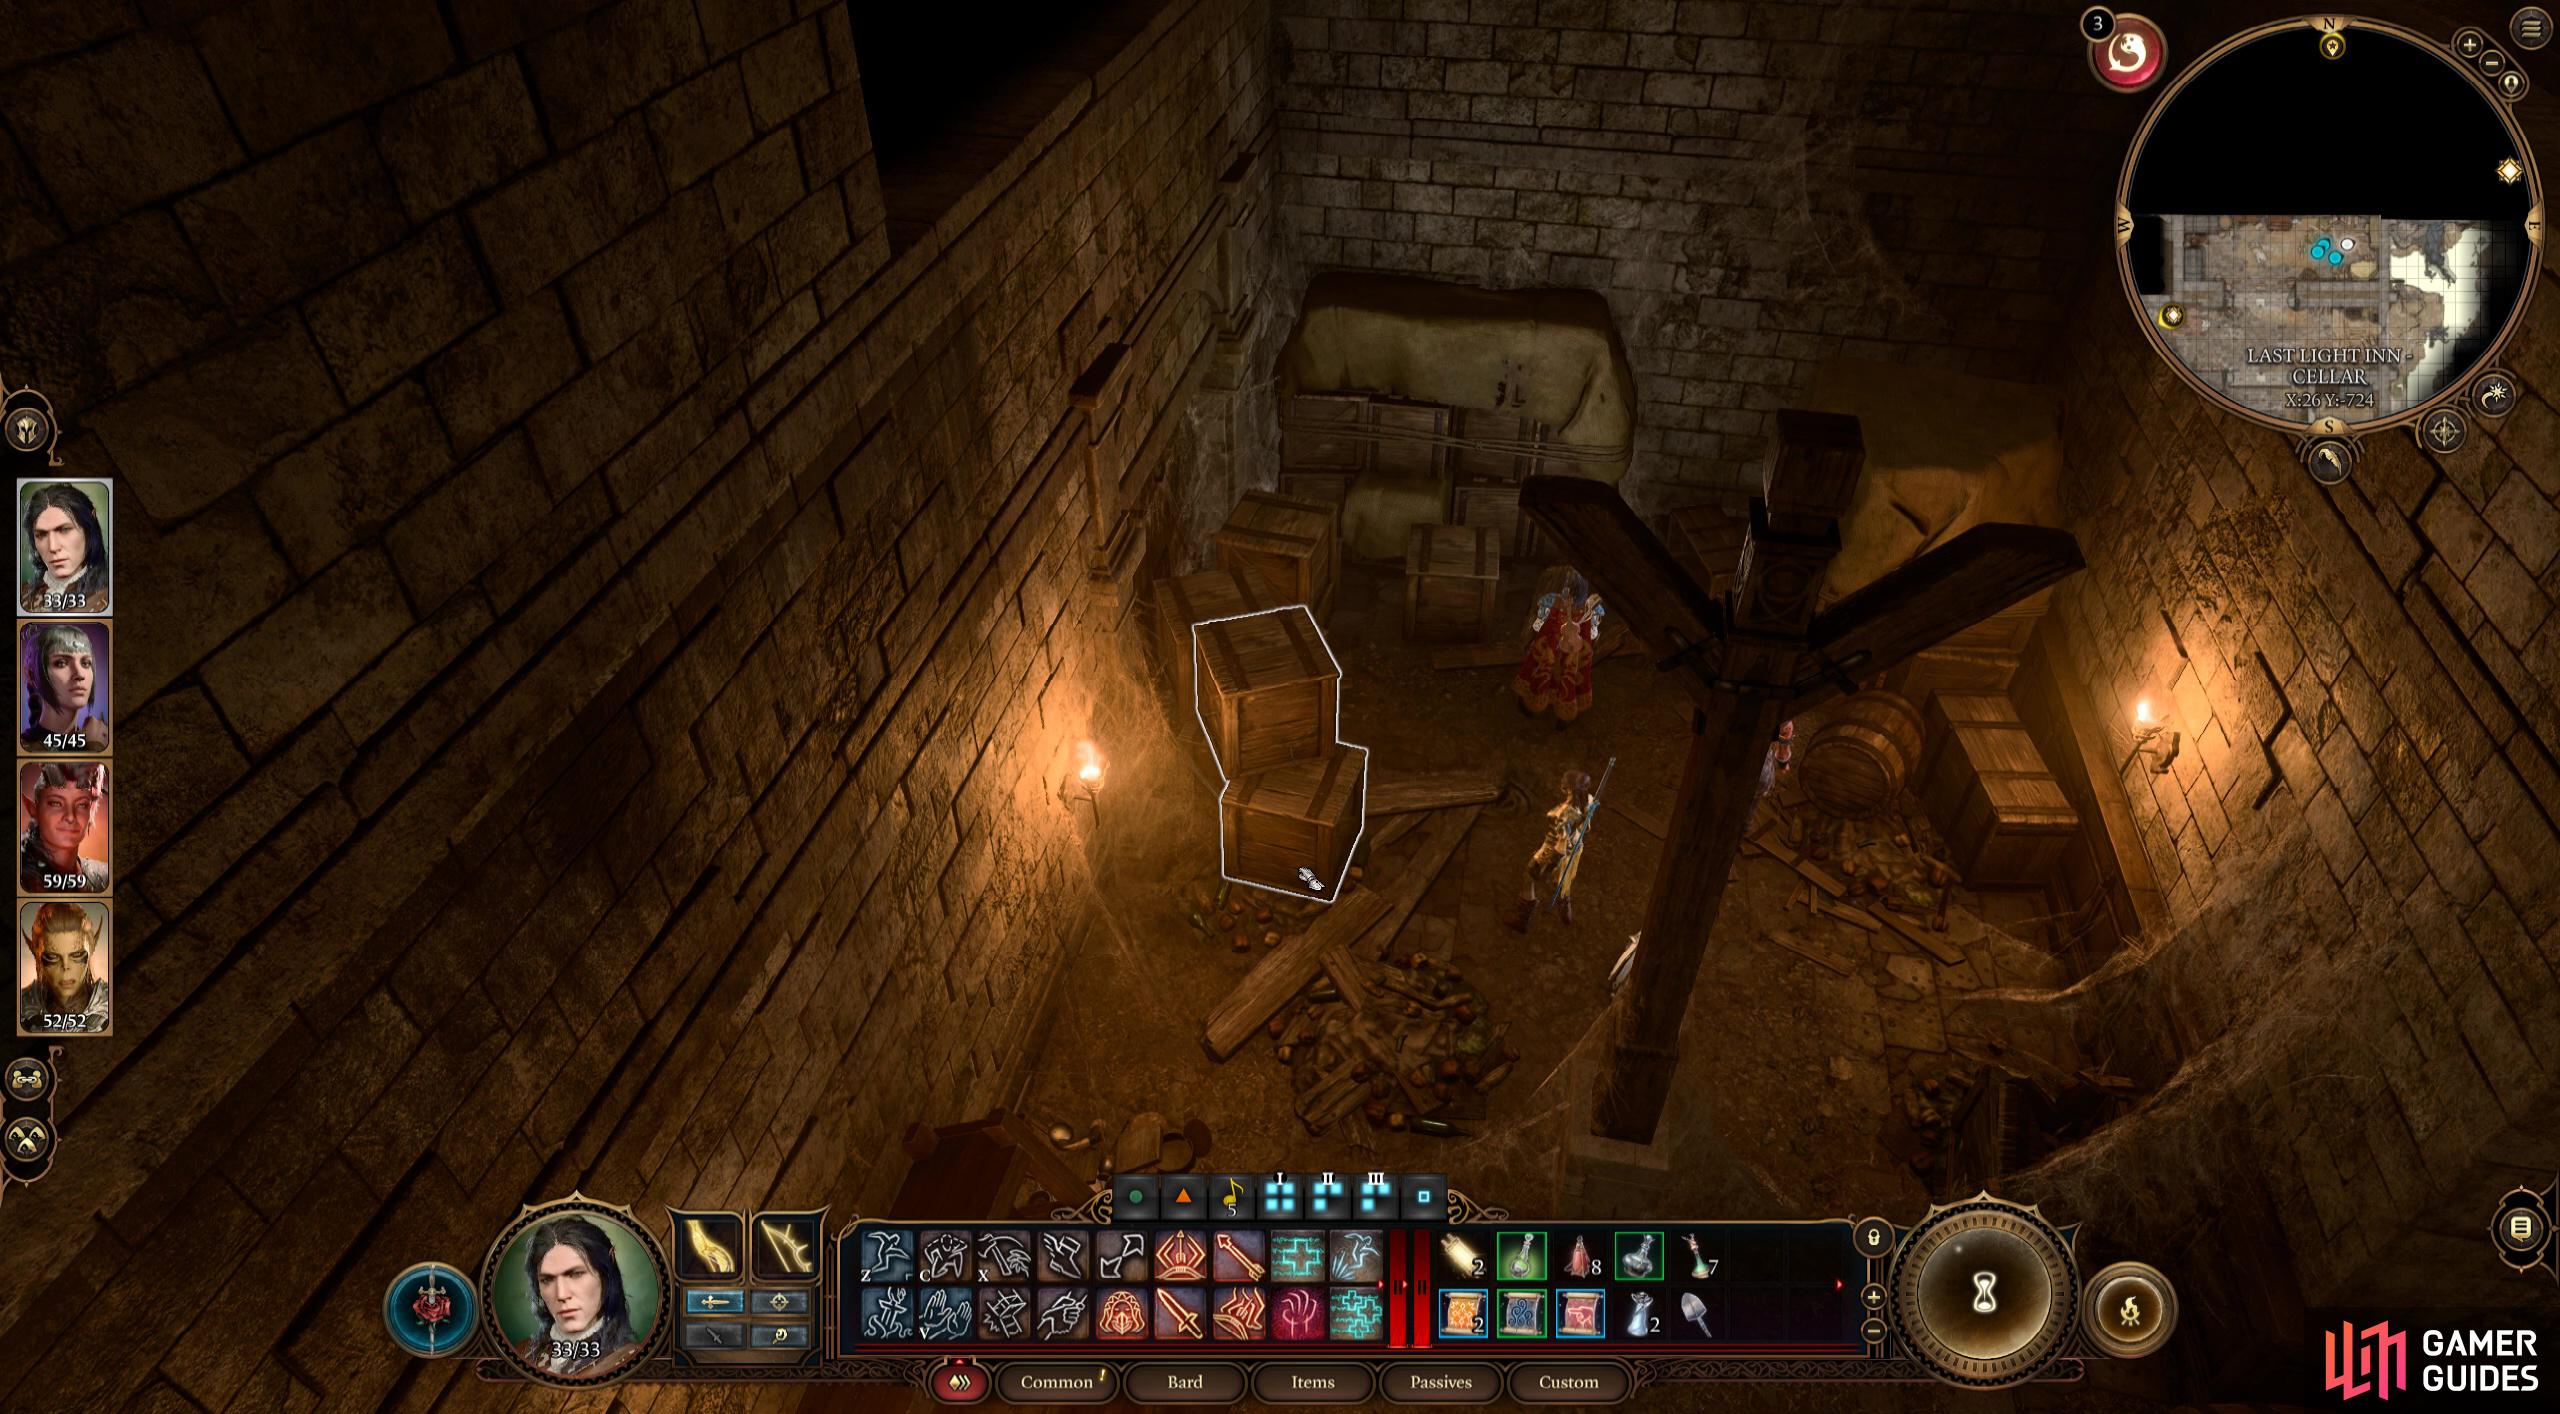
Move the wooden boxes away from the door, then light the spiderwebs on fire to access the door.
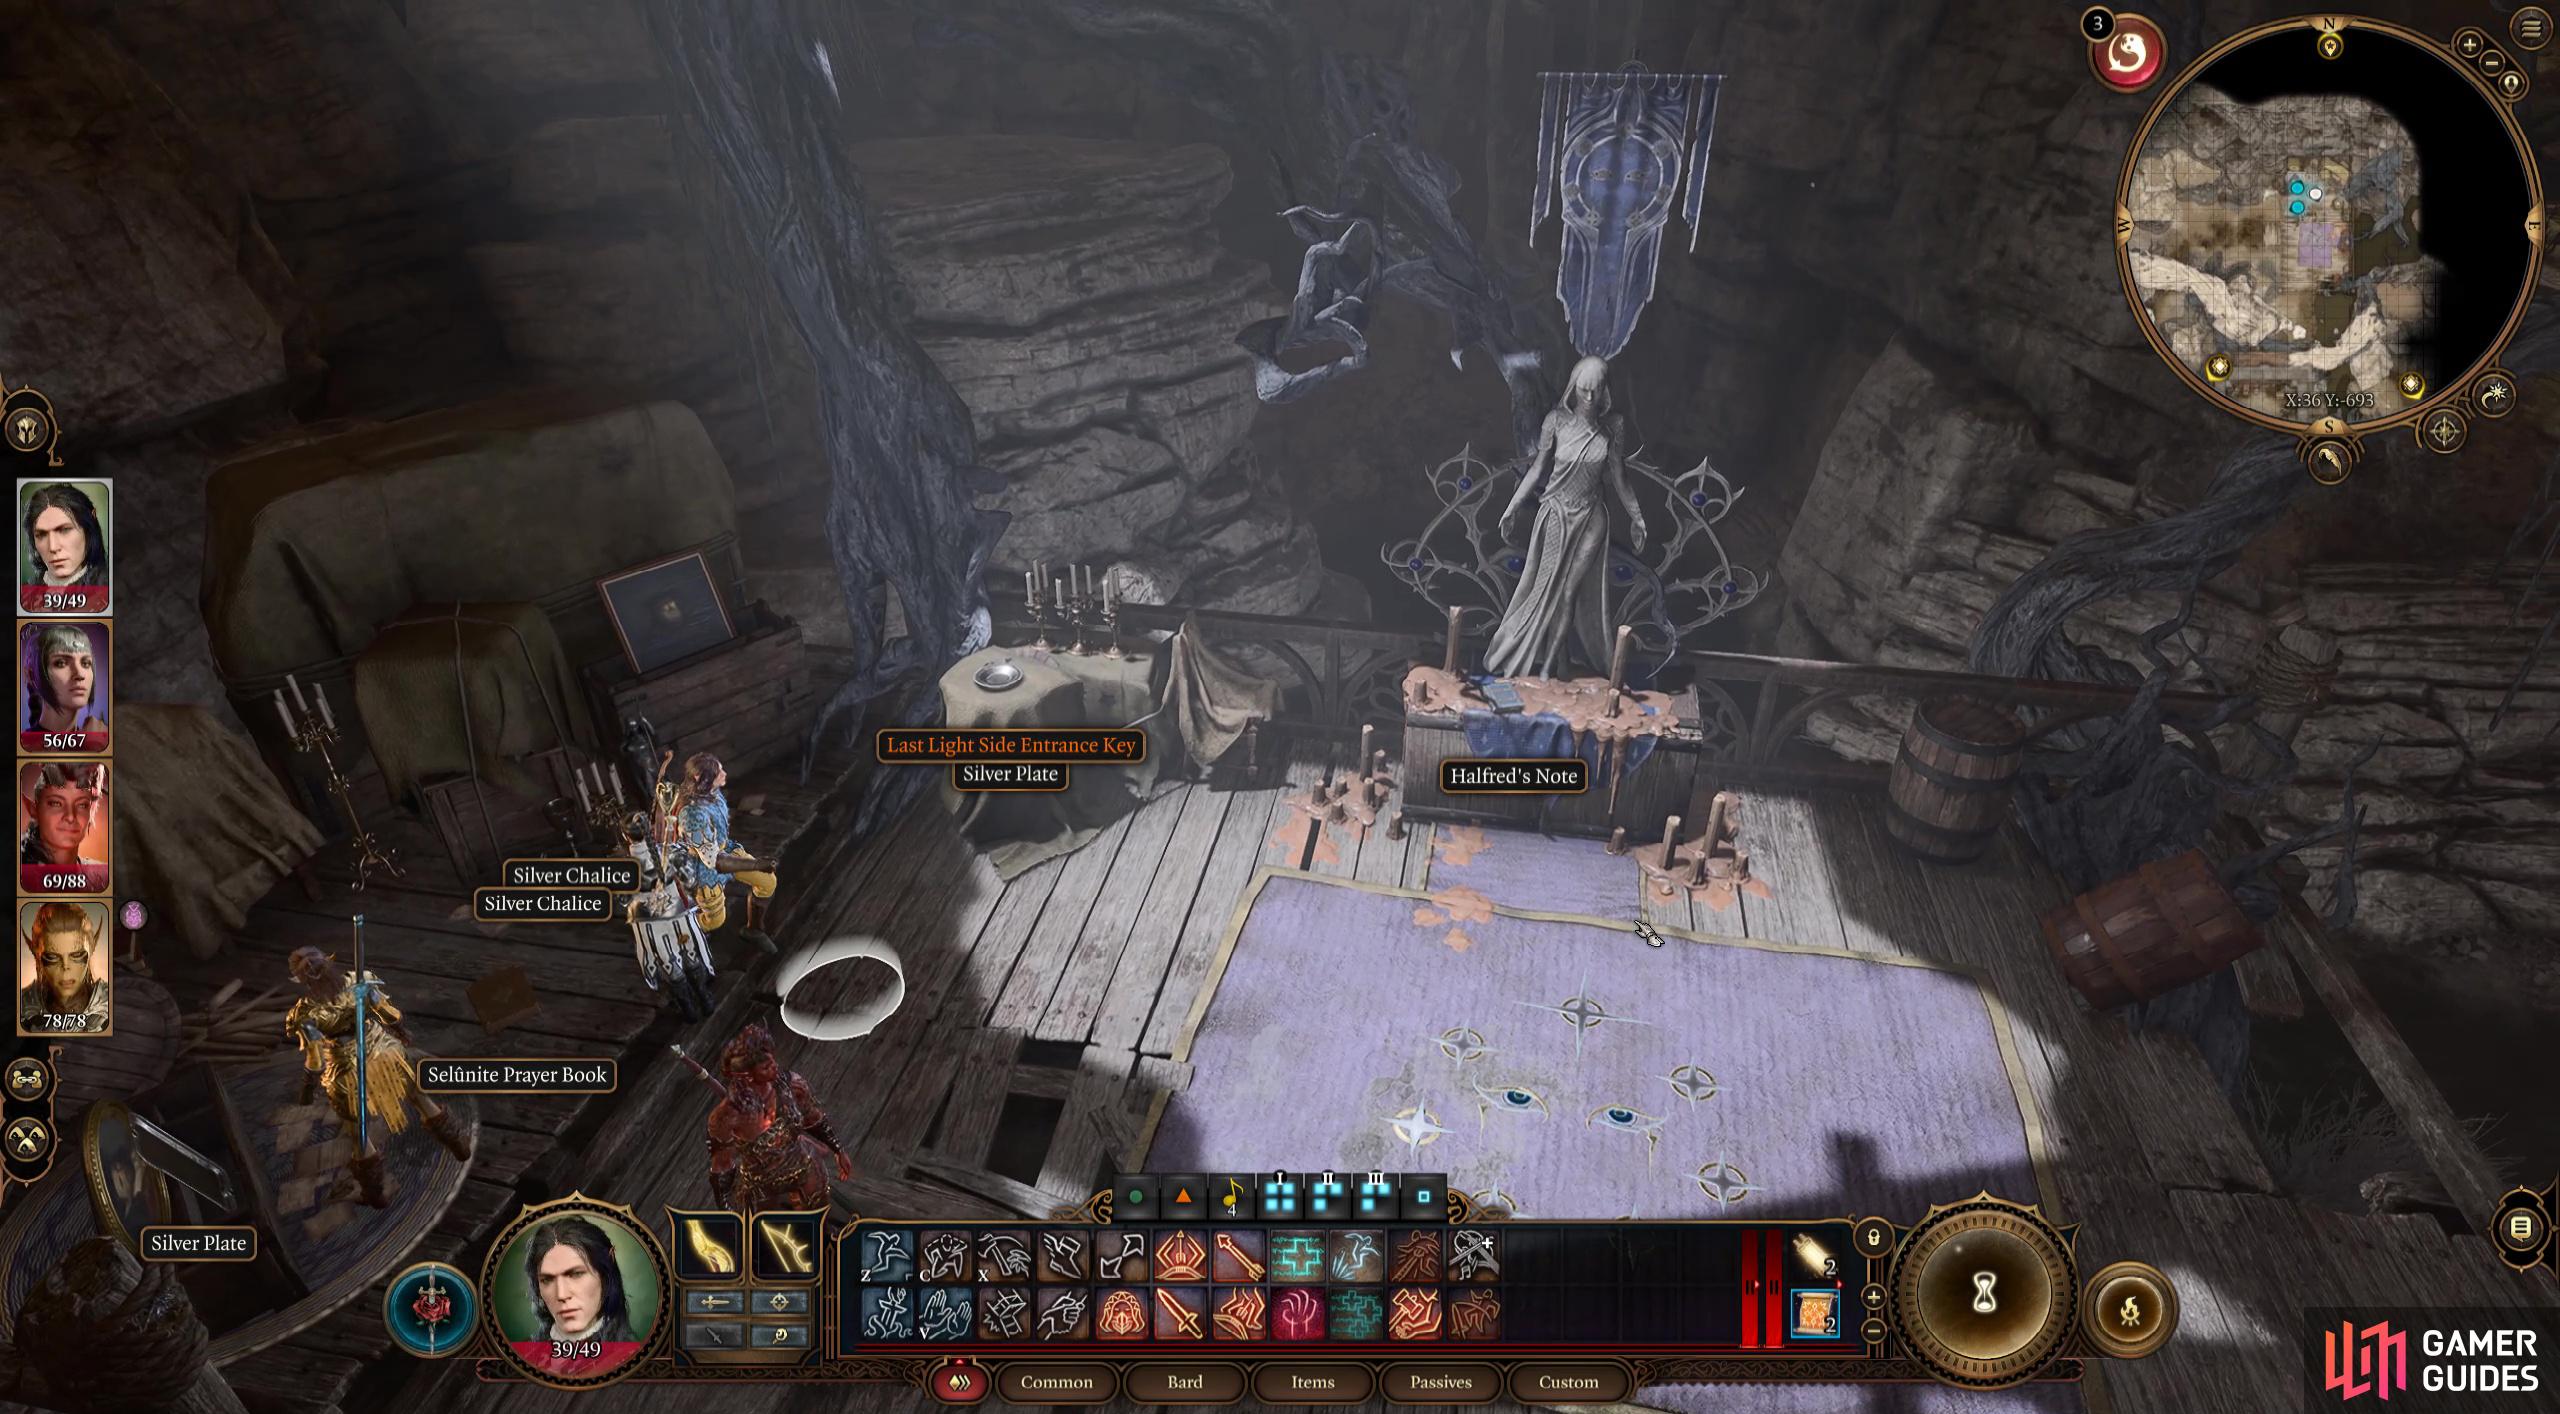
After defeating the Meenlocks, head to the back of the room to find Halfred’s Note to start the quest.
Potter’s Chest and Key Location
This method requires less effort, but you will have to traverse the hell which is the Shadow-Cursed Lands. If you don’t have the ![]() Moonlantern yet, you’ll have to use a torch on someone, and stay close to them. The quickest way to get there is via the “Shadowed Battlefield” waypoint which is situated in the center of the Shadow-Cursed Lands, and following the path west.
Moonlantern yet, you’ll have to use a torch on someone, and stay close to them. The quickest way to get there is via the “Shadowed Battlefield” waypoint which is situated in the center of the Shadow-Cursed Lands, and following the path west.
When you reach the end of the path, you’ll find a dilapidated building chock-full of pots and other containers. As you approach the building you’ll get into a battle with a group of Meazel’s. Make sure to Sneak, and get the first hit to ‘Surprise’ them before initiating the battle. This battle isn’t too difficult, but the Meazel’s do have a Garotted ability that will ![]() Silence, and deal a decent amount of bludgeoning damage per turn whenever you’re within 5m of them. If you move away from them, the effect will break, but this could lead to an Opportunity attack on you, so push them away if you’re strong enough to. Other than that, you shouldn’t have any problems.
Silence, and deal a decent amount of bludgeoning damage per turn whenever you’re within 5m of them. If you move away from them, the effect will break, but this could lead to an Opportunity attack on you, so push them away if you’re strong enough to. Other than that, you shouldn’t have any problems.

(1 of 3) The Potter’s Chest and Key can be found to the west of the Shadowed Battlefield waypoint.
Once you’ve defeated the Meazel’s, approach the stairs of the dilapidated building at the end of the path for a Perception check. You will want to quick save before doing this just in case you don’t pass the check. Also, you could use ![]() Shadowheart’s
Shadowheart’s ![]() Guidance spell to give you a better chance. When you have passed the check, you’ll spot a loose brick in the wall to the side of the steps which will yield the Potter’s Key.
Guidance spell to give you a better chance. When you have passed the check, you’ll spot a loose brick in the wall to the side of the steps which will yield the Potter’s Key.
Now you have the Key, you just need to find the chest which is inside the same building thankfully. Continue through the building while holding in  and you’ll see the chest at the back, on a ledge. Jump up to the ledge, and open the chest with the Key you just got to find a Note among some loot. Reading the note will give you the Investigate the Selunite Resistance Quest.
Head to the Mason’s Guild
Now you’ll need to reach the ![]() Mason’s Guild. This can be found in the southwest of the Shadow-Cursed Lands where the curse becomes even stronger. If you don’t have the Moonlantern which grants you protection, you should get it now to make your life easier. You can get this from Kar’niss which is related to the Harpers Ambush which you can read about on our How to Defeat Kar’niss page. With protection in hand, head west from the Shadowed Battlefield waypoint, or southwest from the Last Light Inn.
Mason’s Guild. This can be found in the southwest of the Shadow-Cursed Lands where the curse becomes even stronger. If you don’t have the Moonlantern which grants you protection, you should get it now to make your life easier. You can get this from Kar’niss which is related to the Harpers Ambush which you can read about on our How to Defeat Kar’niss page. With protection in hand, head west from the Shadowed Battlefield waypoint, or southwest from the Last Light Inn.
Head across the dilapidated bridge to reach the western part of the map, then head north into the Mason’s Guild area. Continue north into the building and head west to find the Ornate Wooden Hatch at coordinates X:127 Y:29. Enter the trapdoor, and make your way to the western wall where you’ll find a “Keyholded Herald”. This requires the Tower-Shaped Key, or some agile fingers to pick its locks. You can get the Key by convincing Mattis on the first floor of the Last Light Inn to give it to you if you’re not proficient at lockpicking, but it will require you to pass some DC checks.
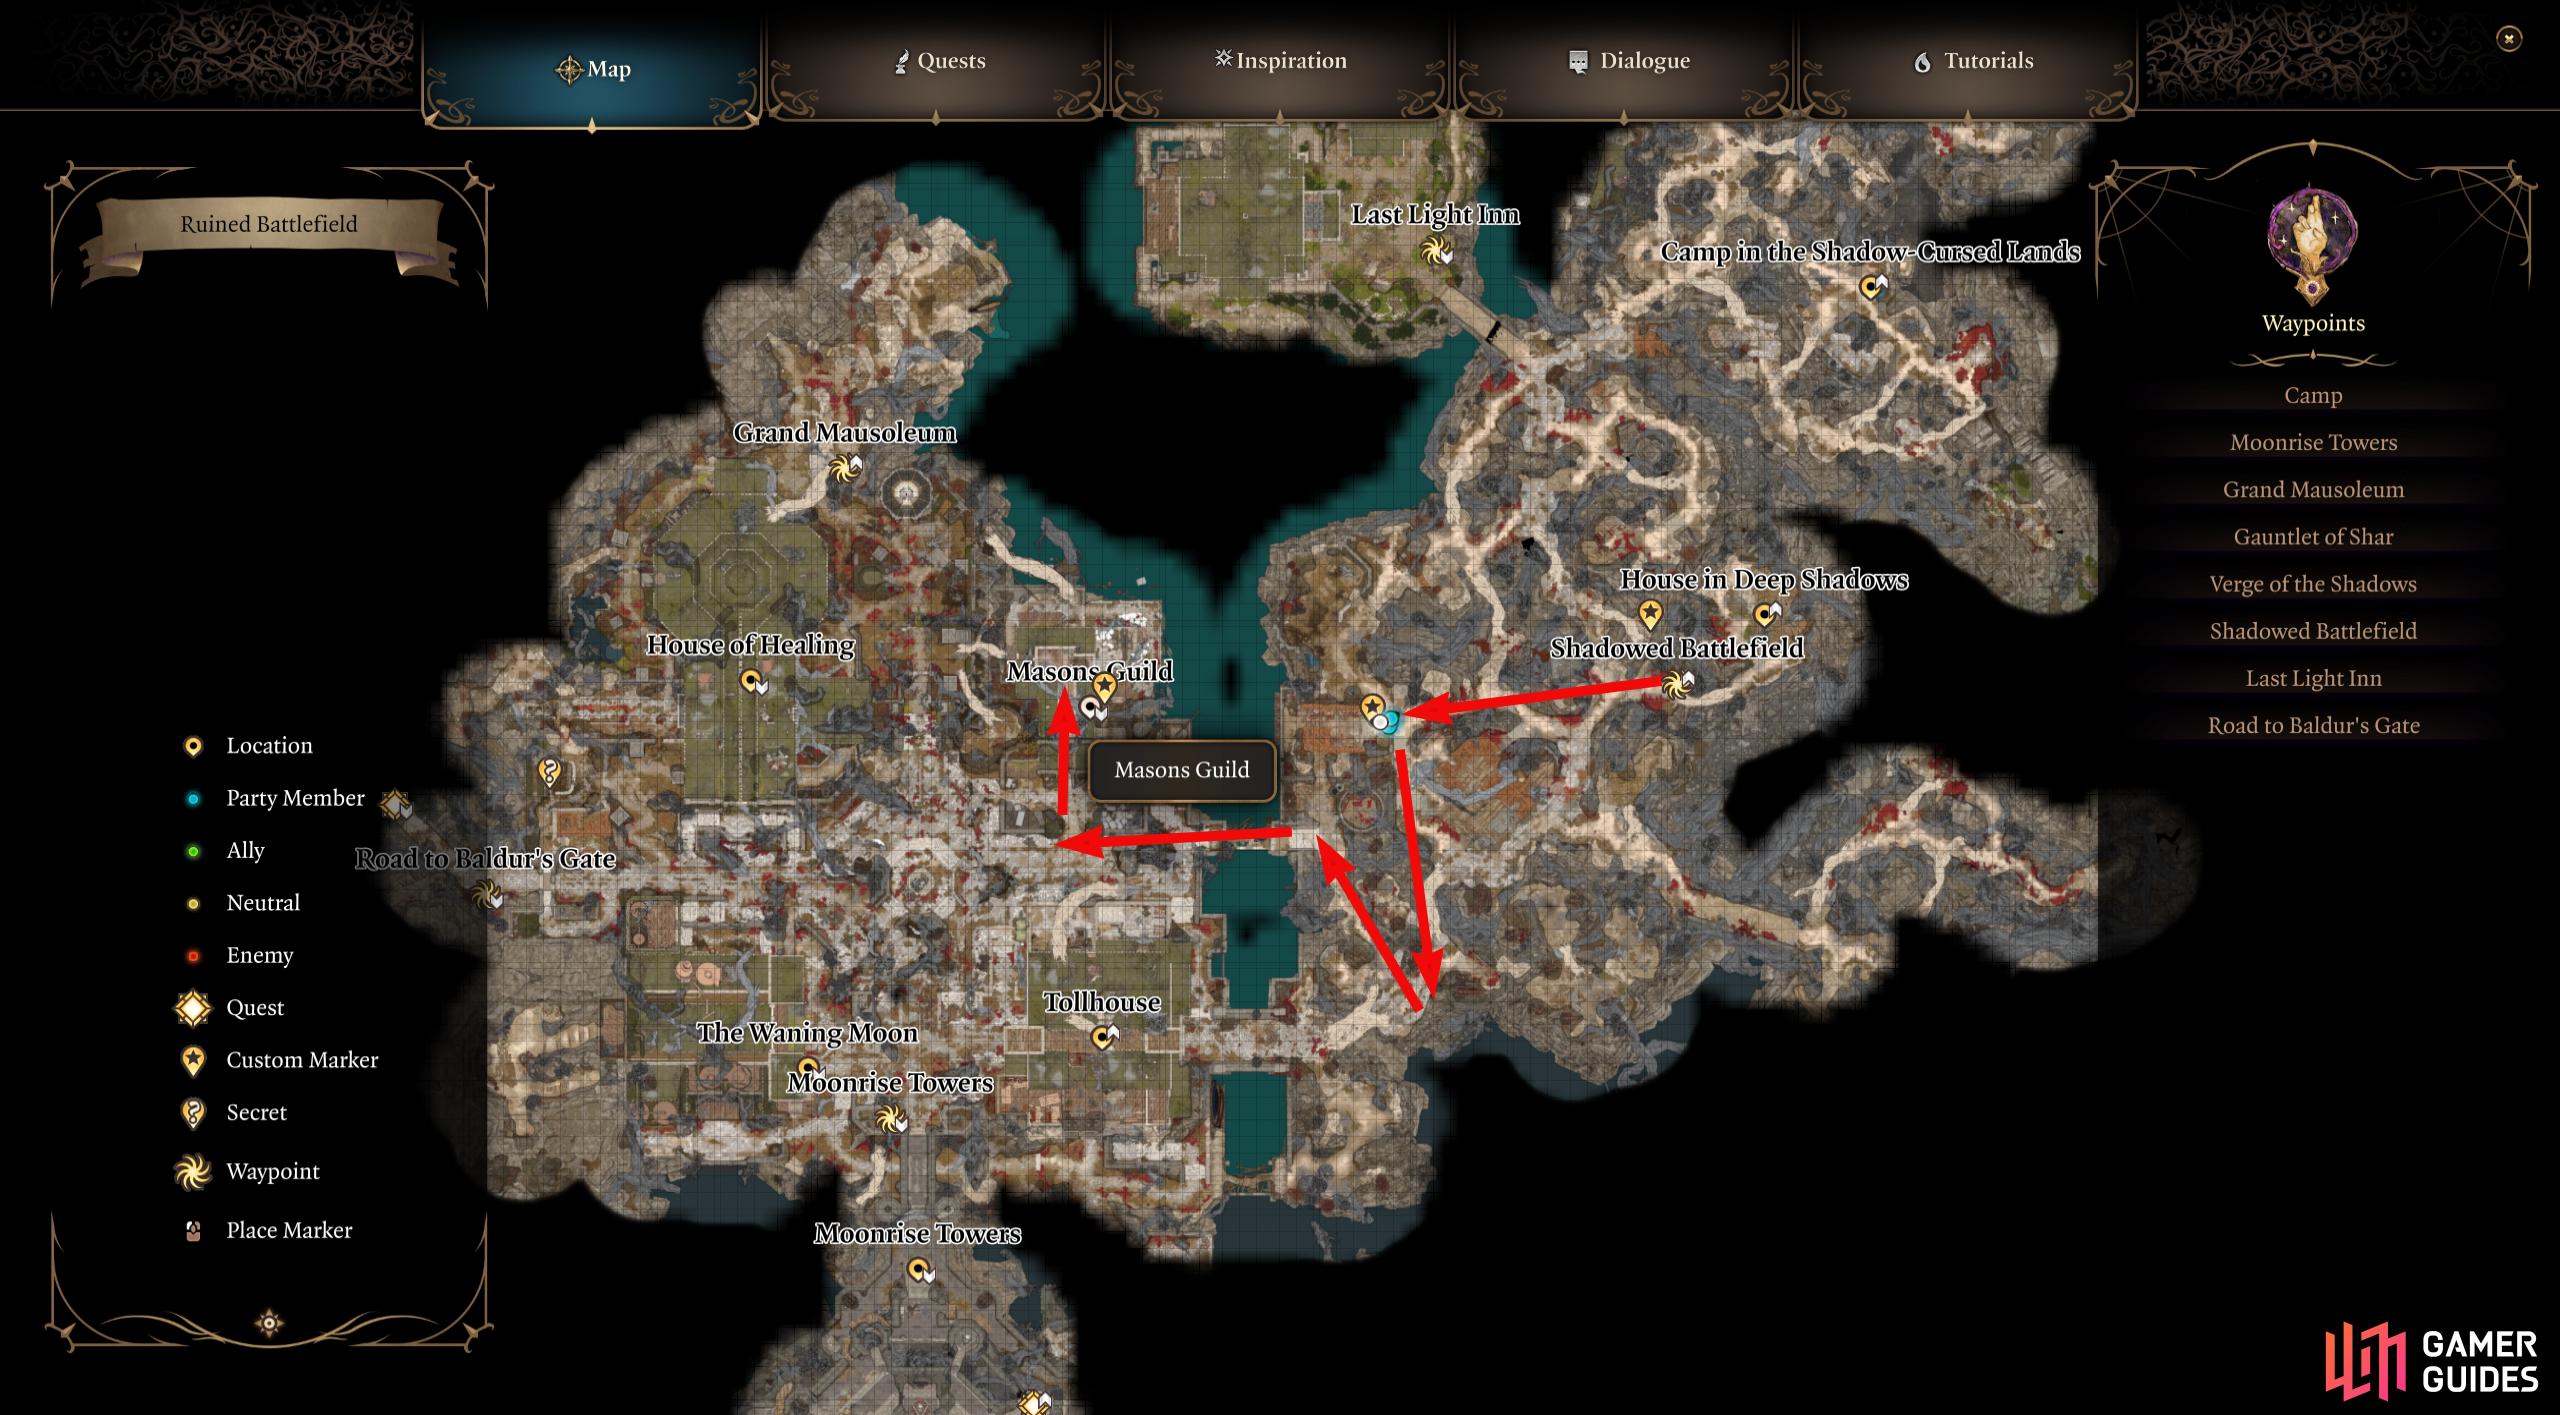
(1 of 5) The Mason’s Guild can be found in the western part of the map of the Shadow-Cursed Lands.
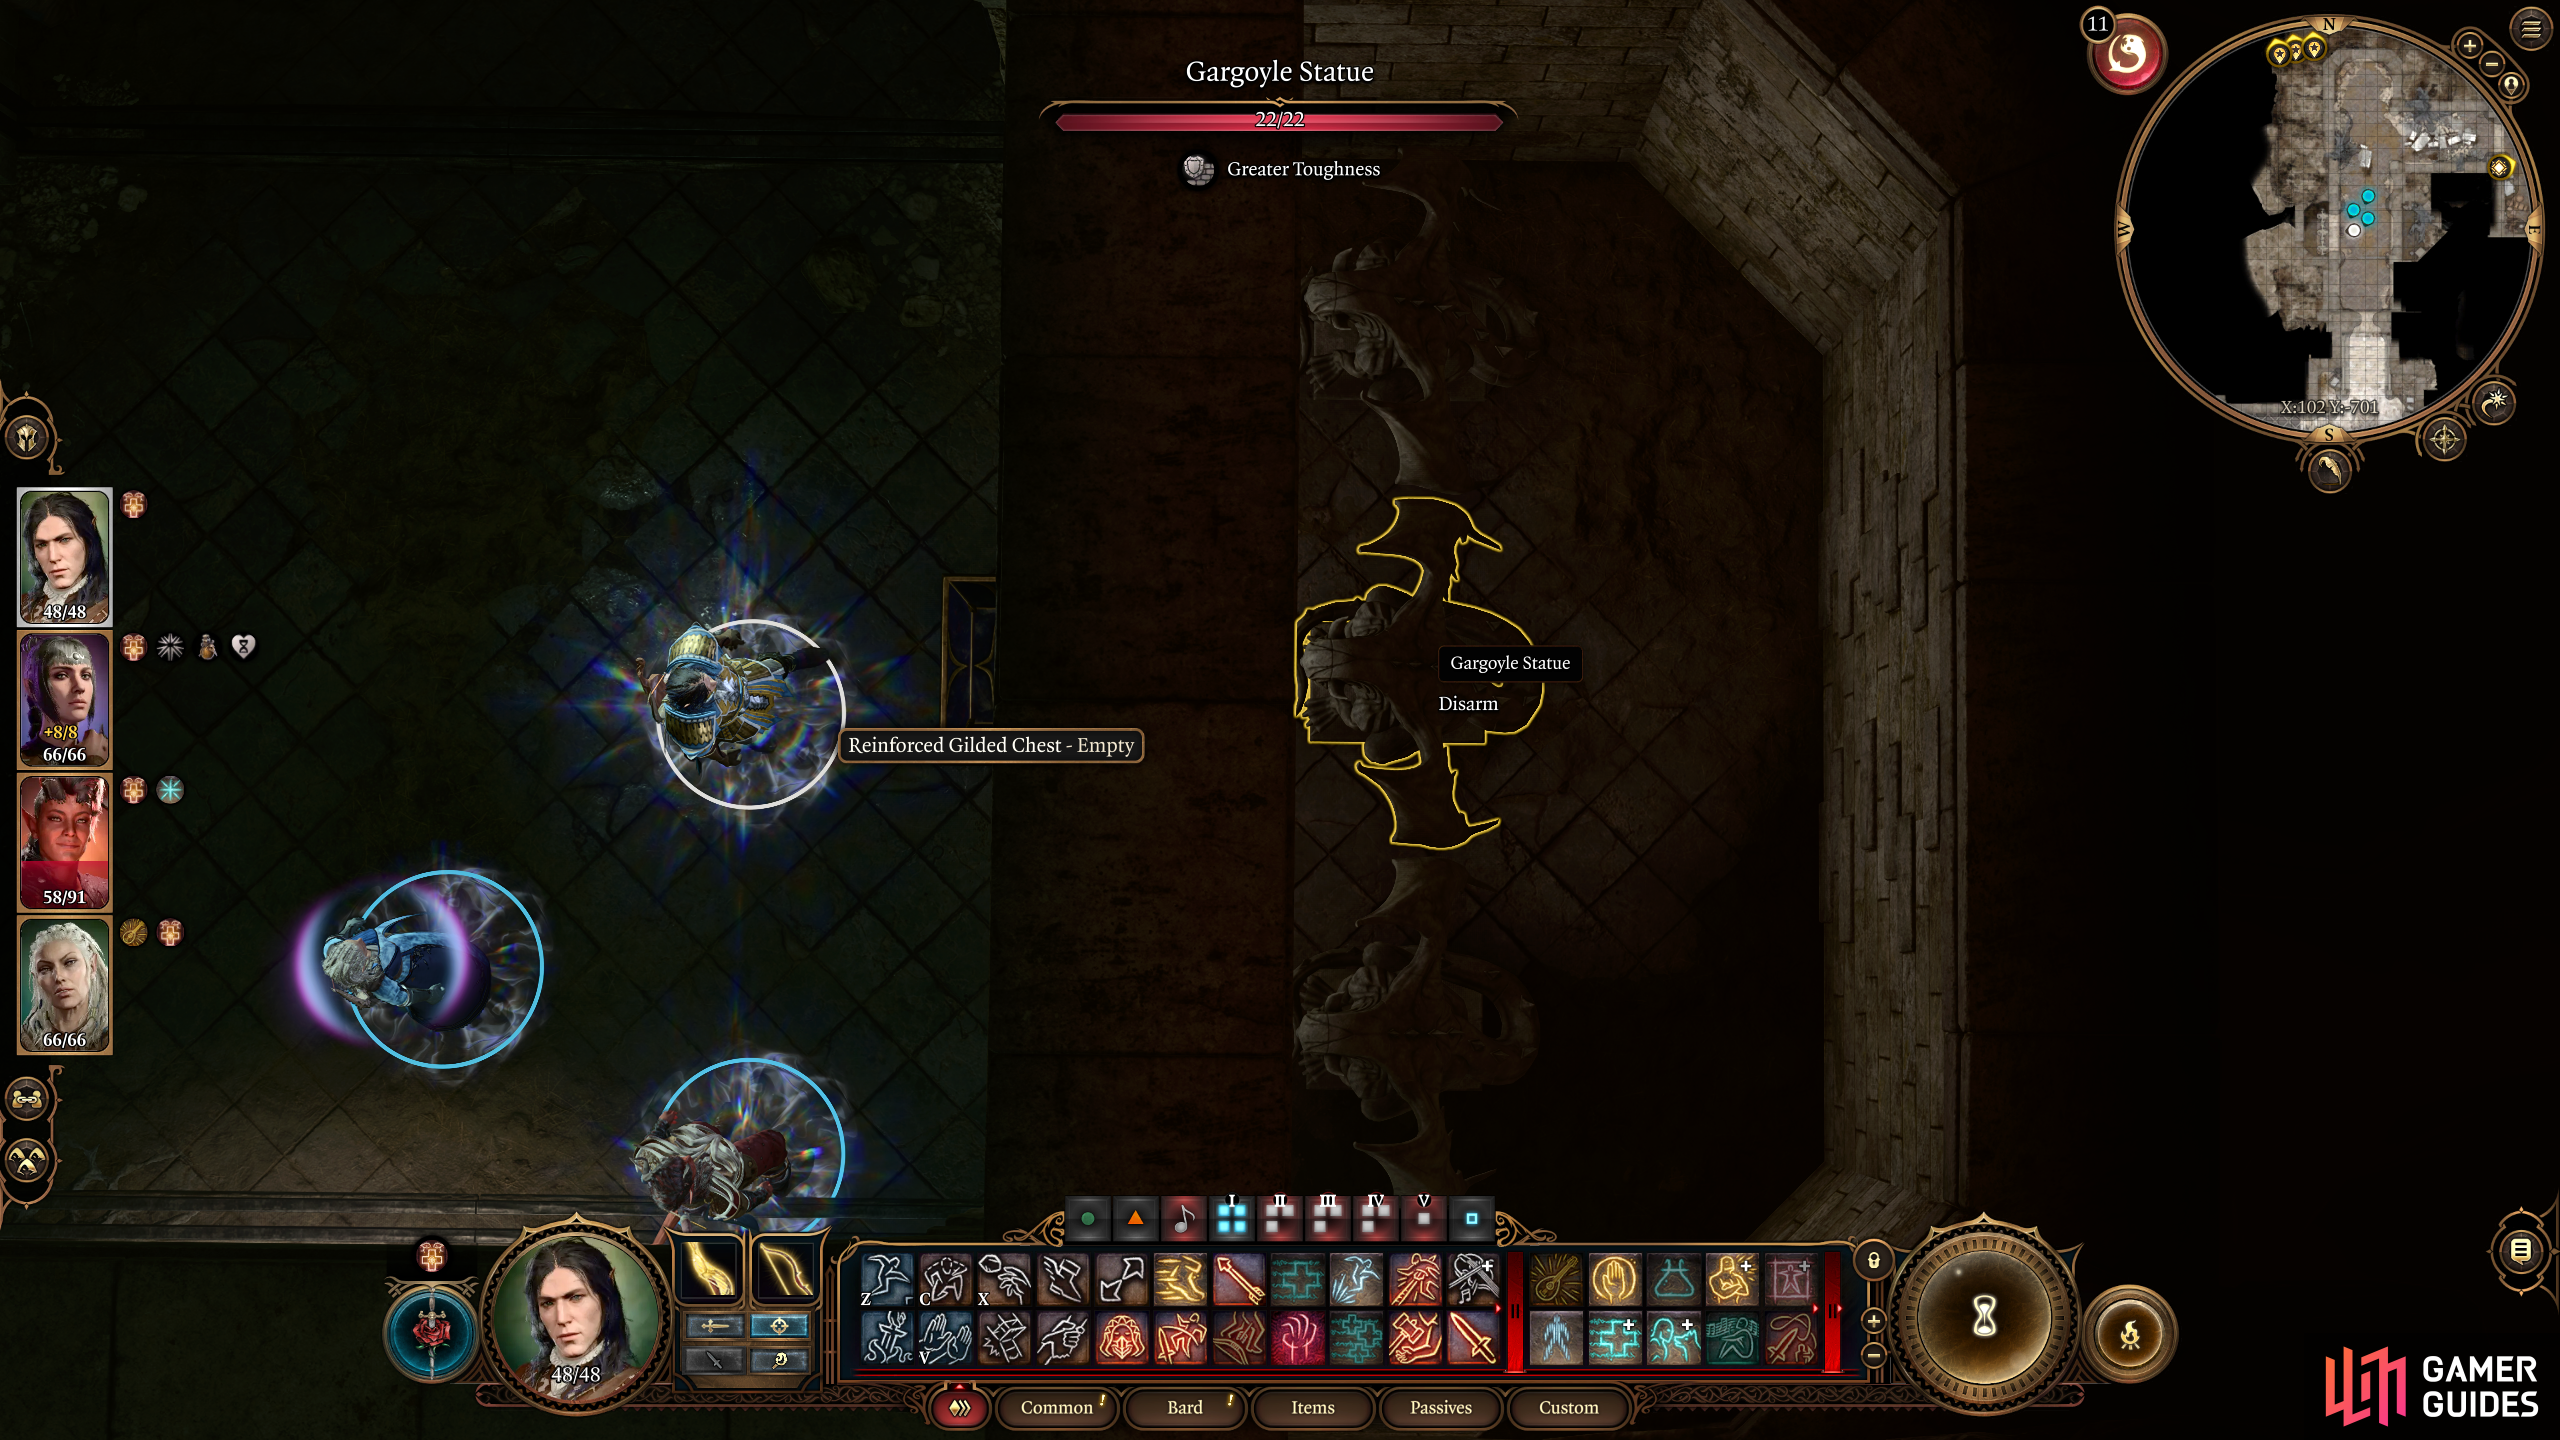
This will open a secret passage to a long corridor that’ll have a Reinforced Gilded Chest along its path. DO NOT open it as the chest is just a trap which will reveal three gargoyle statues in the wall behind the chest, and spikes will pop up to trap you there, but you already know this as you read the note, right…right? Continue through the corridor, go through the double doors to enter the Mason’s hidden chamber. Before you scavenge his loot, be careful of the Shadows hiding in here as they will surprise you. If you can’t see them, use a See Invisible scroll/pot to shoot them first.
There are several Shadows and Wraiths in here who are more frustrating to fight than difficult, but to make life easier, stand on the upper eastern ledge (left from the doors), and fight them there as you’ll need to stay within the vicinity of the Moonlantern. Once you’ve defeated the Shadows, head to the table in the center where you’ll find the Mason’s Log. This will detail everything about the failed Selunite resistance including what ended it, and complete the quest. There is also a personal letter from Morfred, the Resistance Leader on the other end of the table which is also a good read.
Before you go, there are a couple of things you should do first. At the back of the room is a Gilded Chest that contains the Helmet of Arcane Acuity, although you’ll have to Disarm/Lockpick it first. Then you have a button on the eastern wall which gives you access to another secret room which hosts a couple of Heavy Chests as well as some containers. There you have it, a small side adventure which rewards you with both loot and lore, what more could you want.
No Comments