
During Act 2, you’ll be faced with the shadow curse that has engulfed the shadowlands and makes it hard to travel without a torch or a moonlantern. During the ![]() Seek Protection from the Shadow Curse quest, one way to get a moonlantern is by defeating Kar’niss and taking his lantern.
Seek Protection from the Shadow Curse quest, one way to get a moonlantern is by defeating Kar’niss and taking his lantern.
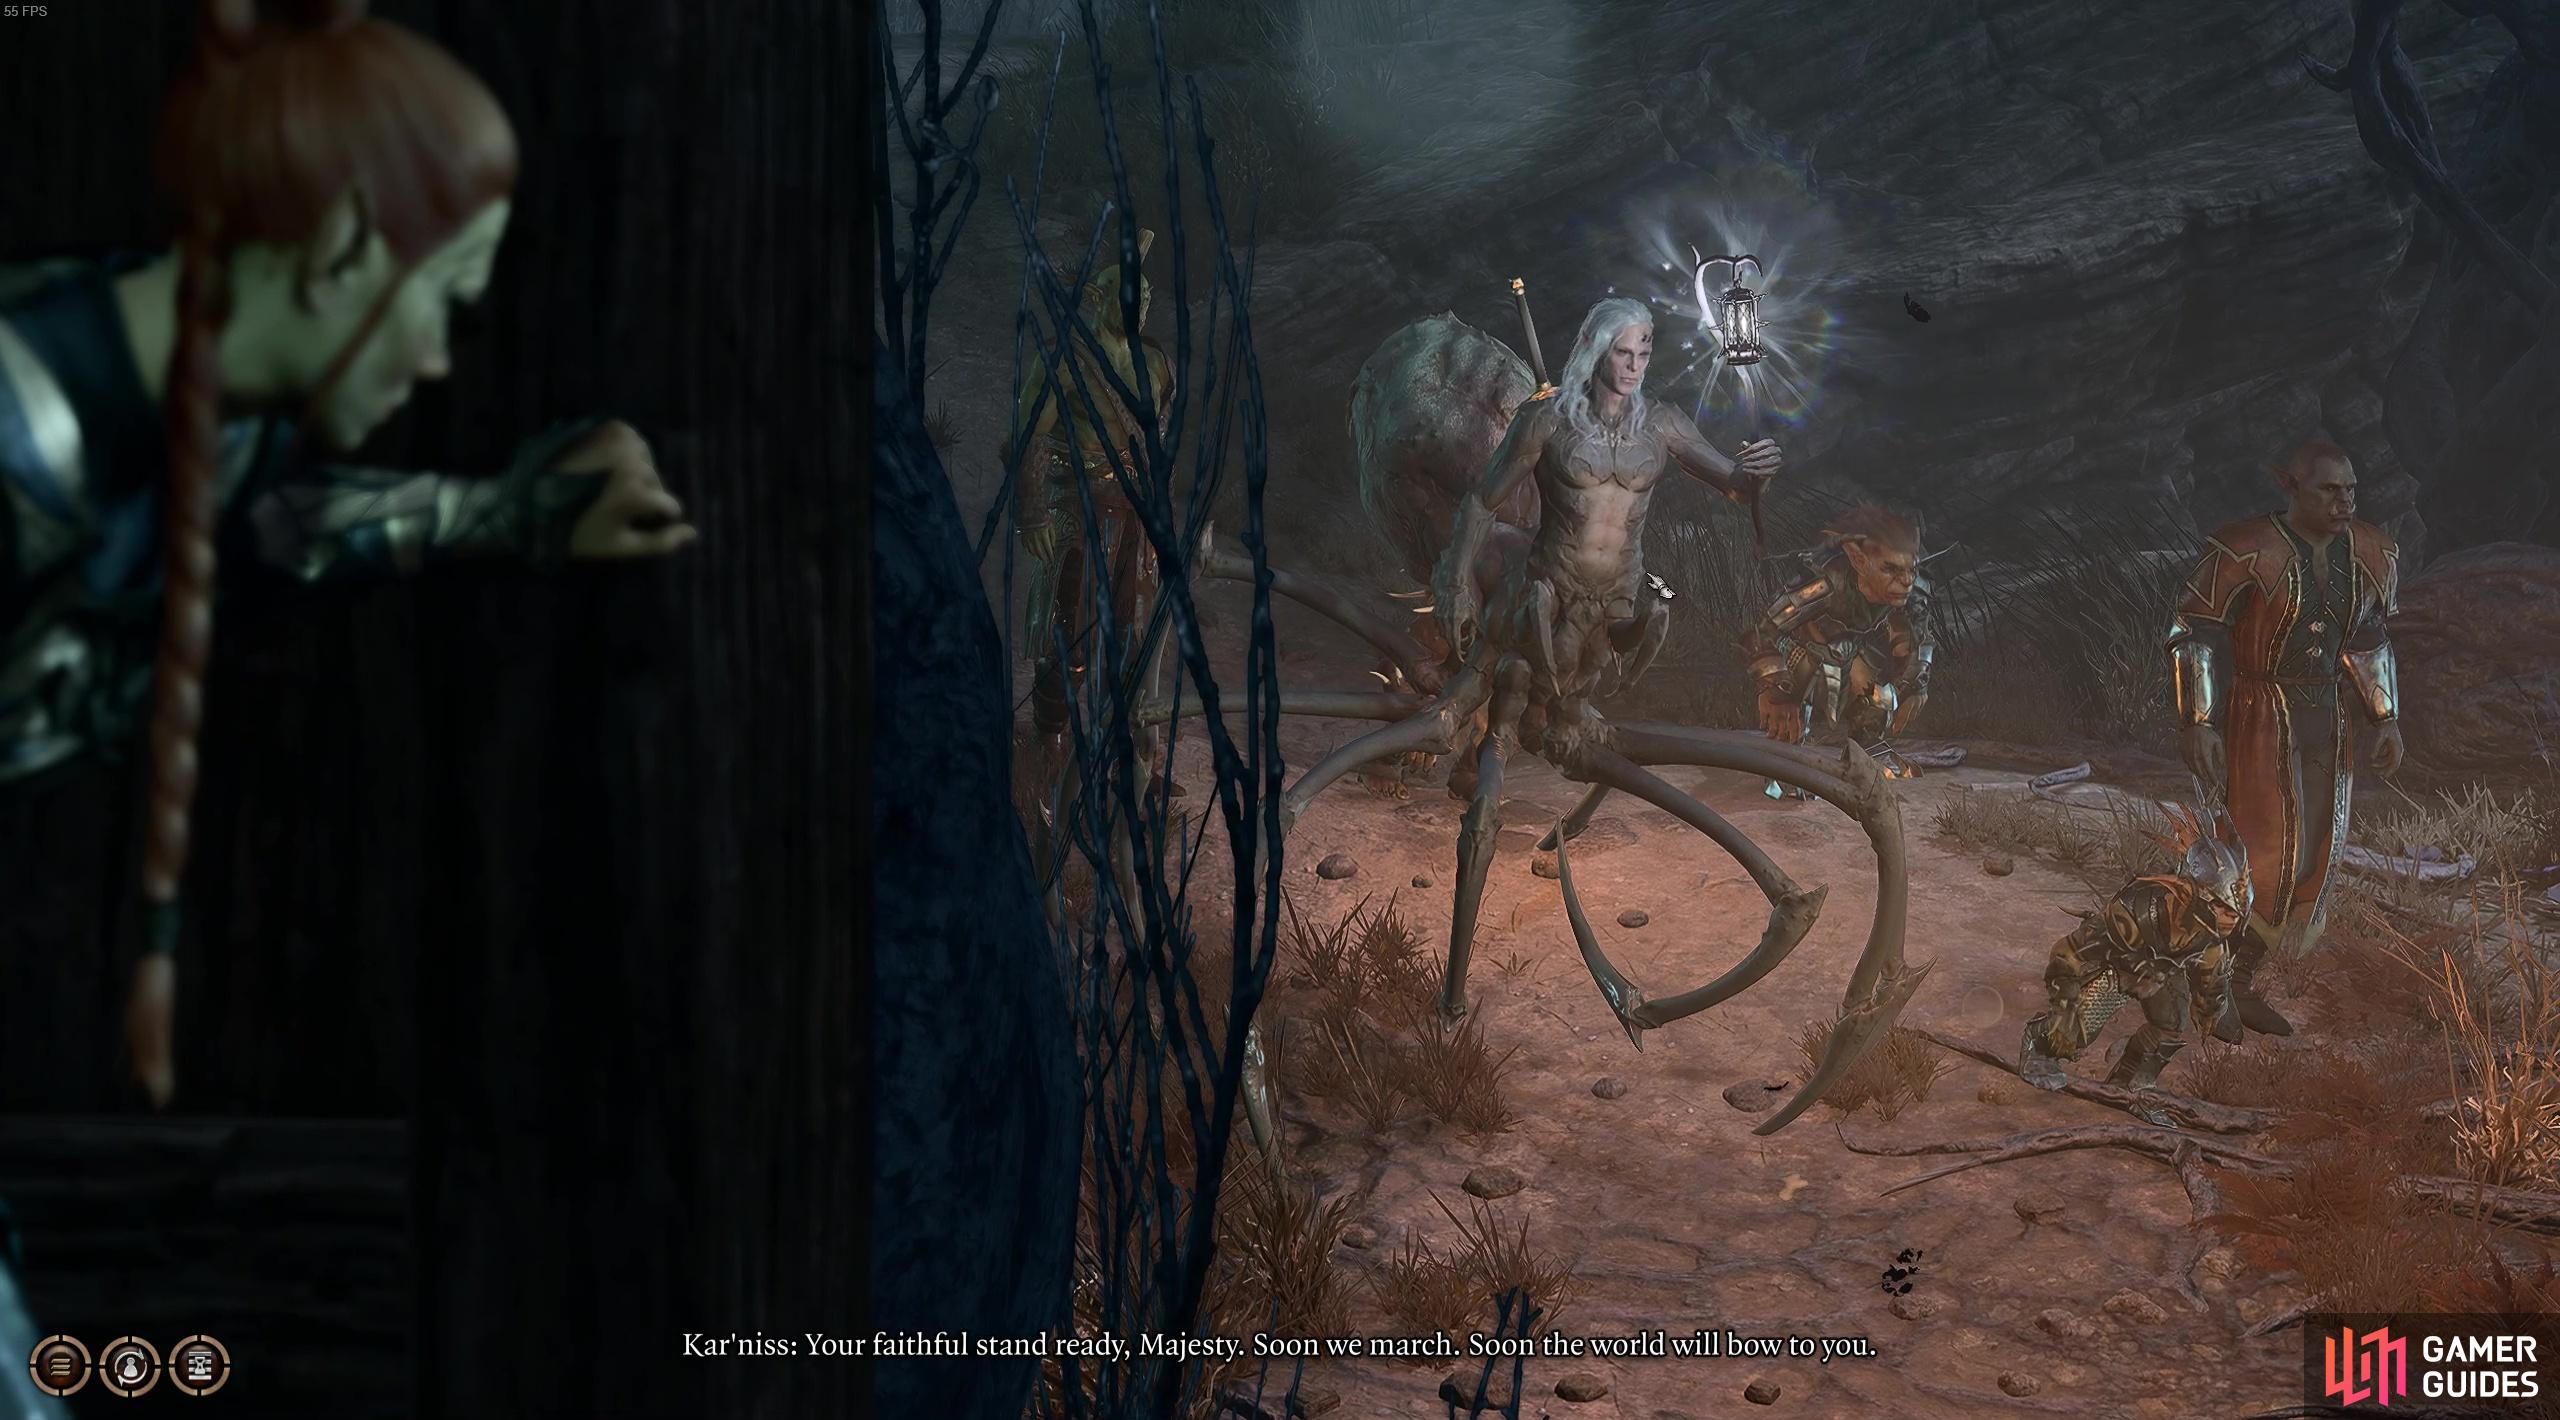
Will you defeat Kar’niss to obtain his Moonlantern?
Whether you took the ![]() Underdark or Mountain Overpass, you’ll get the opportunity to fight Kar’niss. If you took the Underdark route, you’ll be a part of the Harper ambush against him, and if you took the overpass, you’ll have the chance to turn on him when the Harpers ambush you as you travel through the Shadowlands with him. You don’t have to fight him and you can get another
Underdark or Mountain Overpass, you’ll get the opportunity to fight Kar’niss. If you took the Underdark route, you’ll be a part of the Harper ambush against him, and if you took the overpass, you’ll have the chance to turn on him when the Harpers ambush you as you travel through the Shadowlands with him. You don’t have to fight him and you can get another ![]() Moonlantern later on, but if you’d like one now, you’ll want to side with the Harpers. Head over to our guide on How to Get Moonlanterns for an alternative method!
Moonlantern later on, but if you’d like one now, you’ll want to side with the Harpers. Head over to our guide on How to Get Moonlanterns for an alternative method!
Harper Ambush: Kar’niss Boss Fight
If you’re a part of the ambush at ![]() Ruined Battlefield, the best time to give the signal is on the second prompt after Kar’niss has killed one of the goblins. Instead of risking his high perception to hide, give the signal to initiate combat and surprise the foes. If you fail to hide from Kar’niss or you choose not to initiate the ambush, combat will begin with the goblins and Kar’niss surprise attacking you instead.
Ruined Battlefield, the best time to give the signal is on the second prompt after Kar’niss has killed one of the goblins. Instead of risking his high perception to hide, give the signal to initiate combat and surprise the foes. If you fail to hide from Kar’niss or you choose not to initiate the ambush, combat will begin with the goblins and Kar’niss surprise attacking you instead.

Kar’niss has a Moonlantern and we want it!
Whether you’re a part of the Harper ambush or turn against Kar’niss, the fight pretty much plays out the same. There are a fair few ally and enemy NPCs in this fight which can make it a bit messier of a fight but can also help keep aggro off your squishier party members.
Kar’niss: Stats, Abilities and Attacks
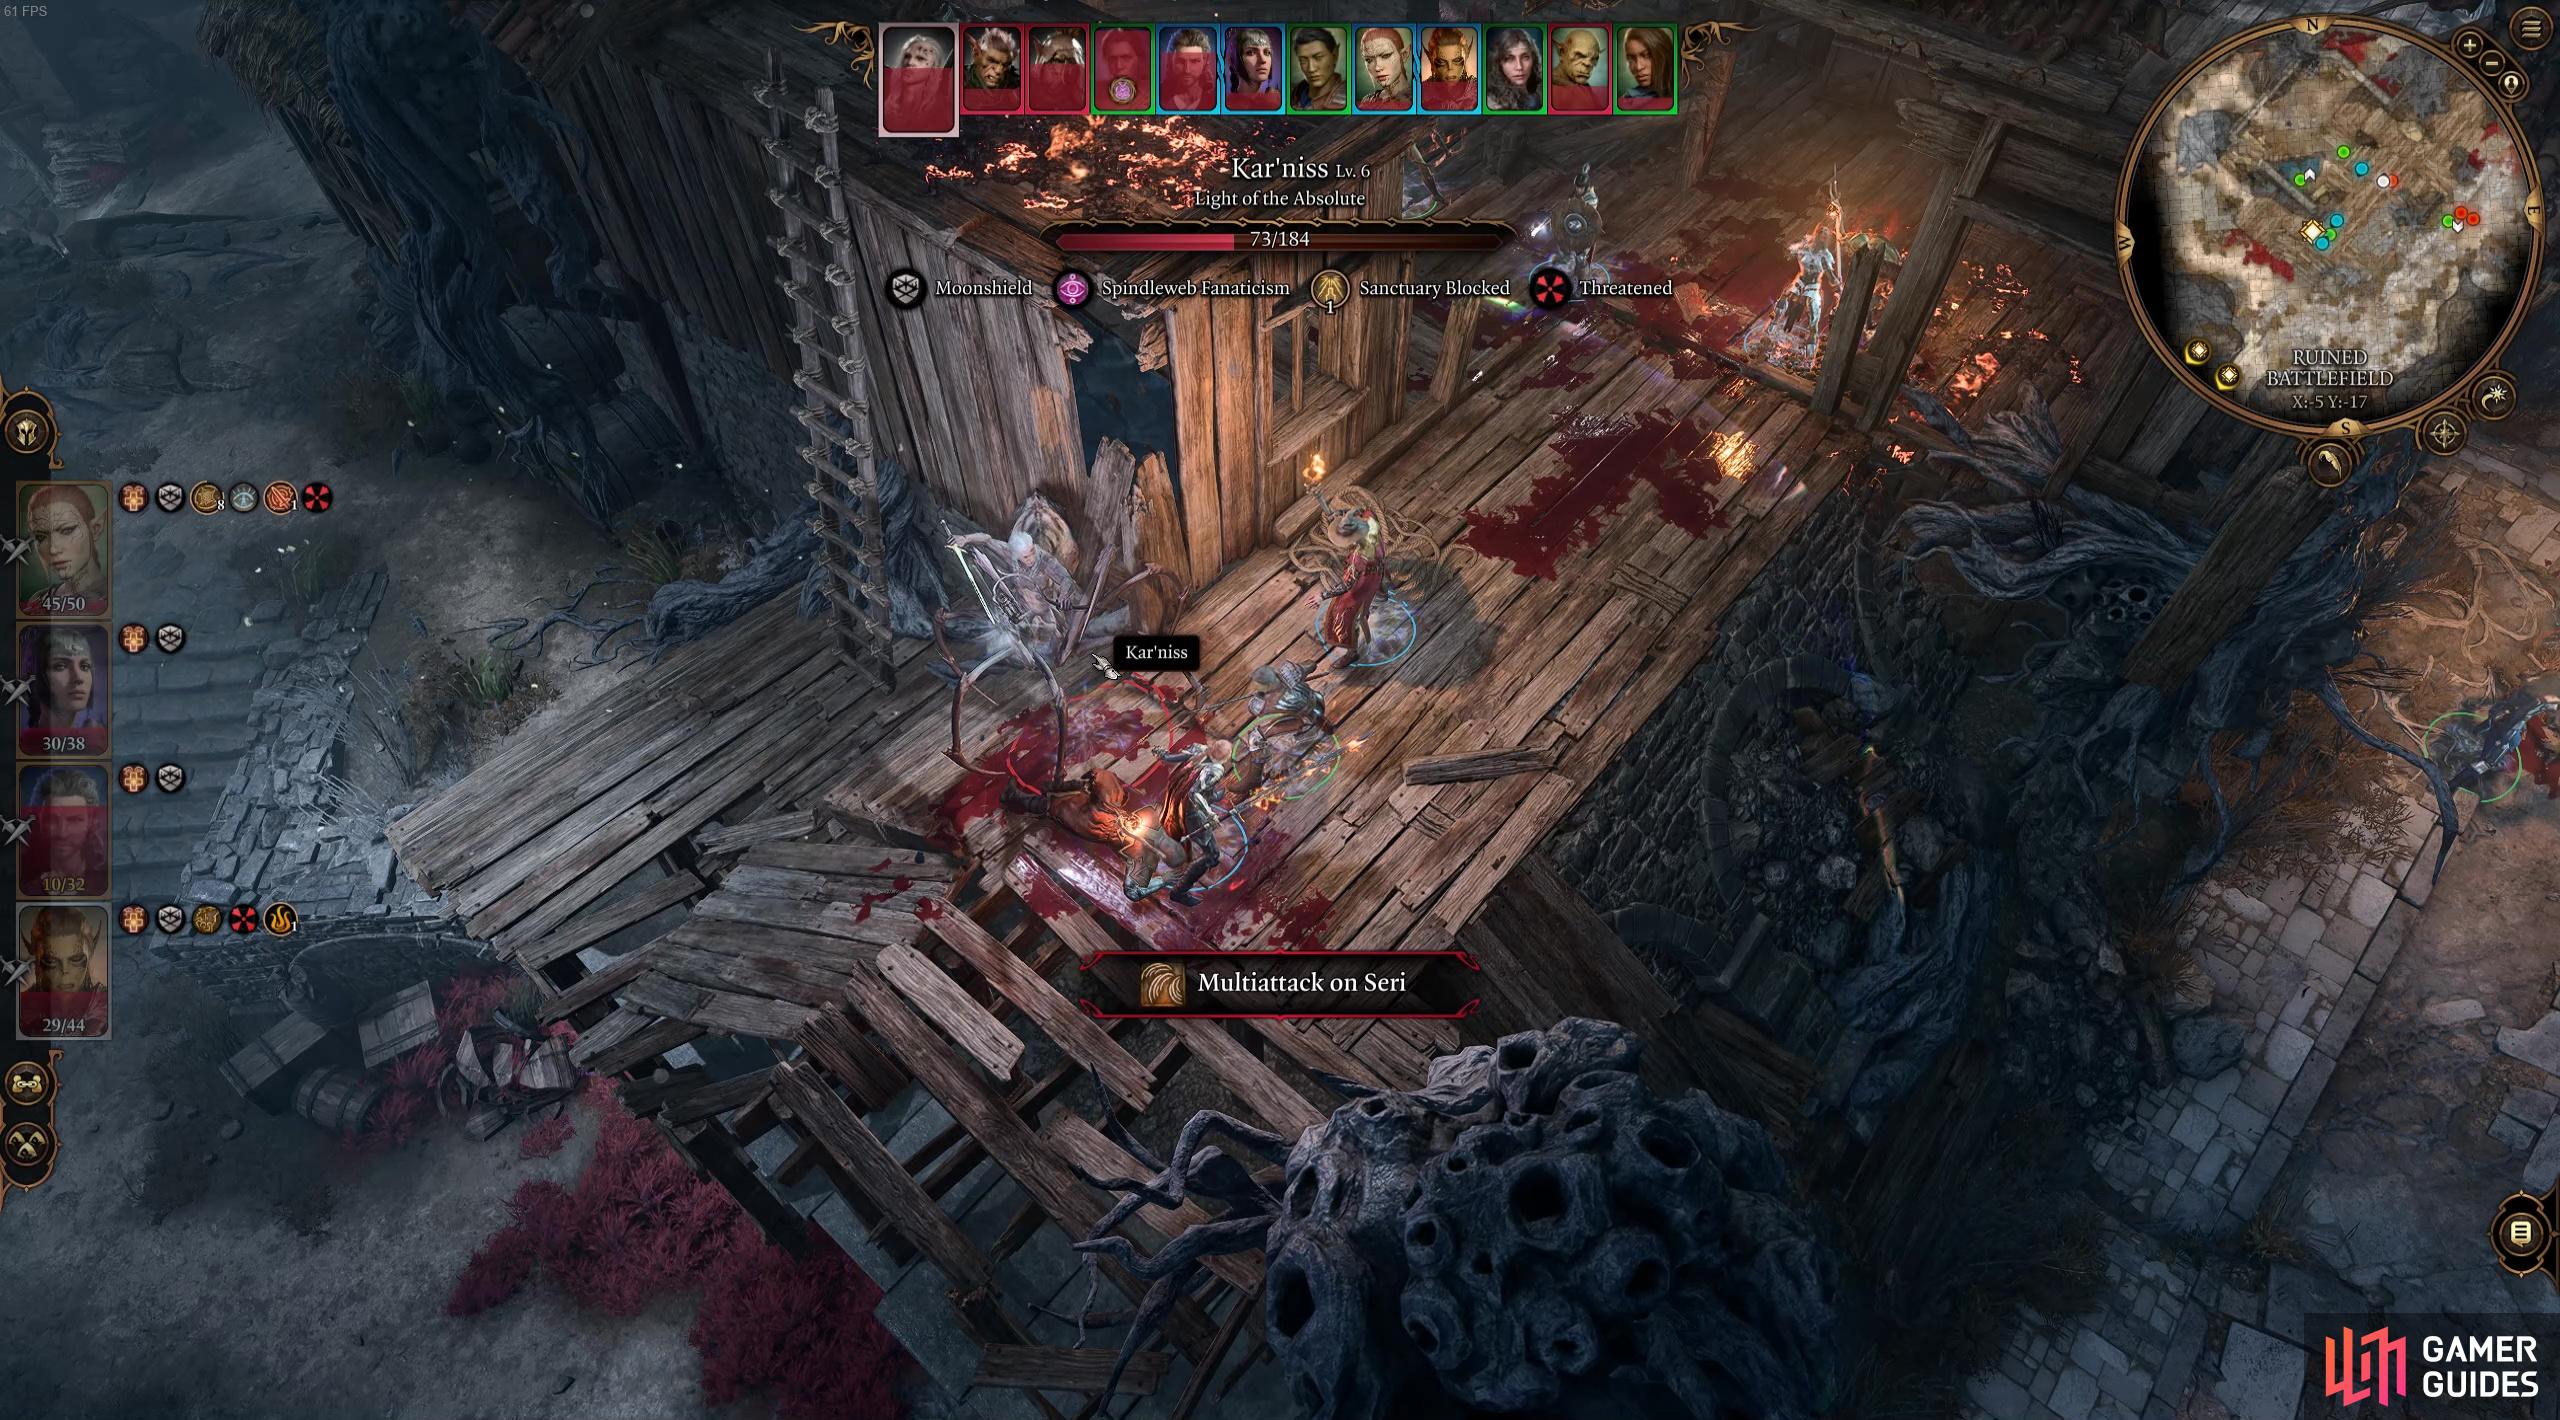
We recommend focusing your efforts on Kar’niss first and foremost. He is Level 6 and quite tanky with 184 HP on Balanced mode. He also has an Armor Class of 19 making him harder to land attacks on too.
Kar’niss Weapon Attacks
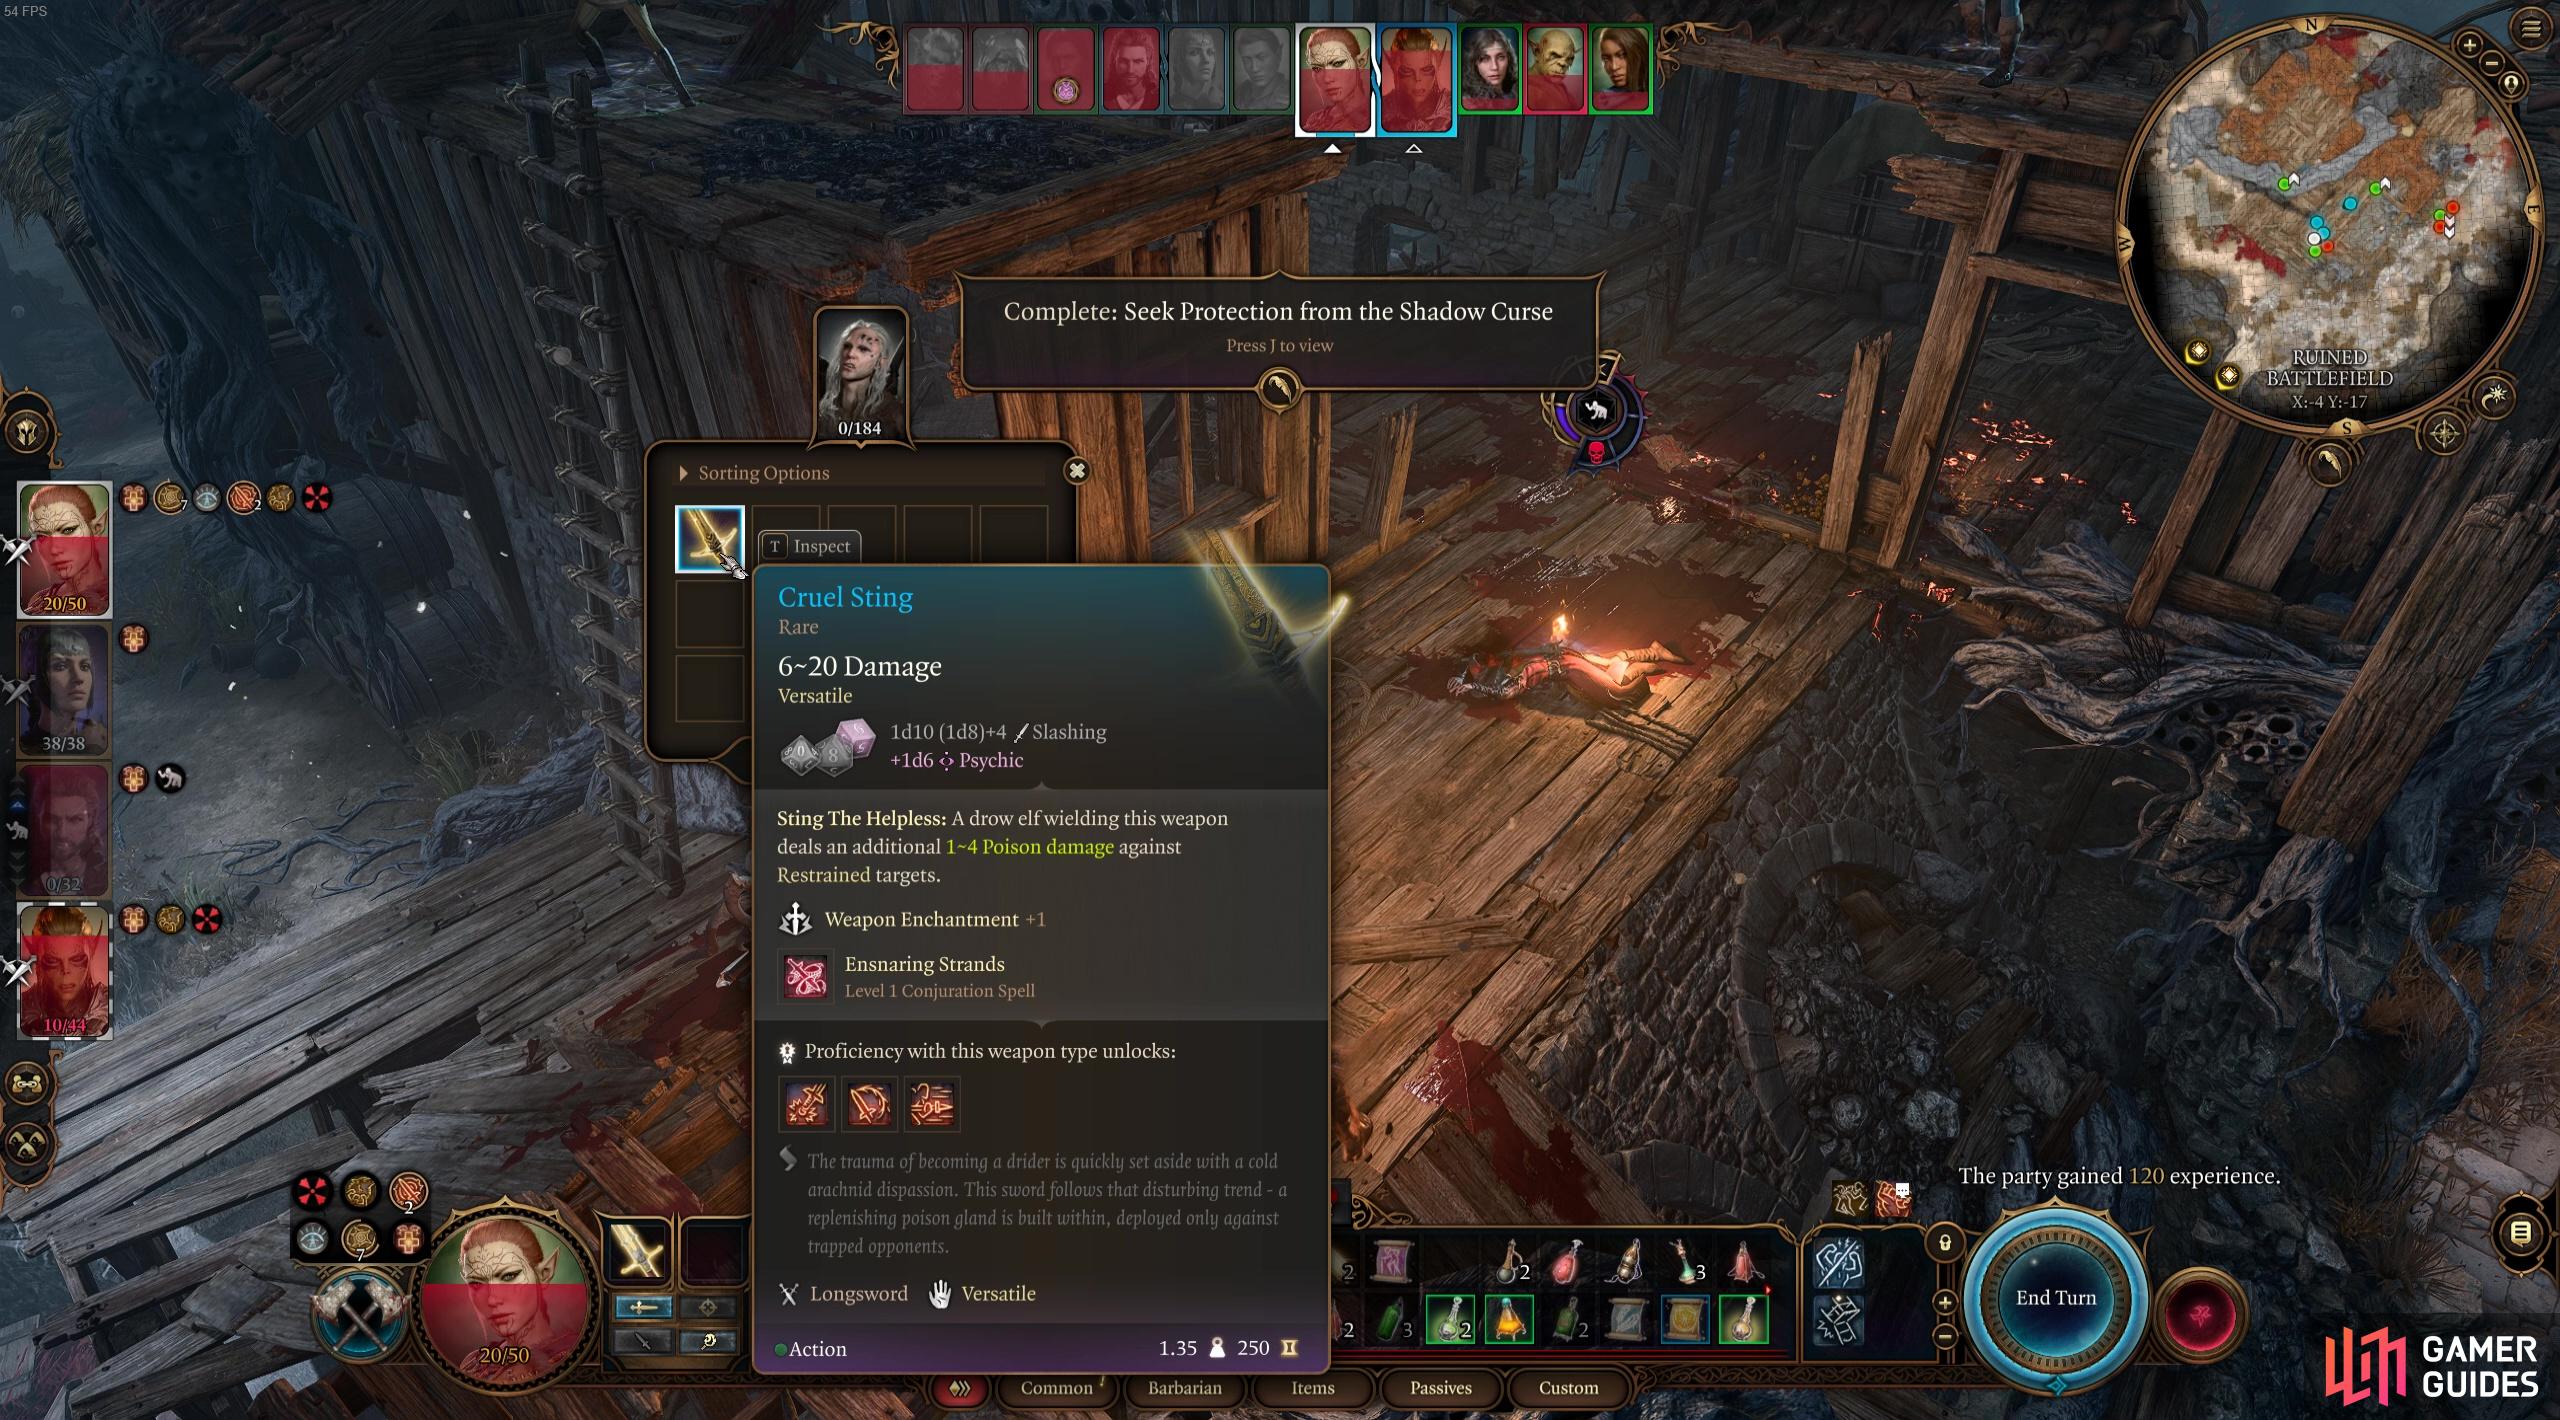
In addition to being quite tanky, he also has Improved Critical Hit which means he hits a critical attack on a natural 19 or 20 and he also has multi-attack on wounded targets. Moreover, he dual wields with a longsword weapon called ![]() Cruel Sting and the Moonlantern, which deals 1d6 bludgeoning damage. With Cruel Sting, he has a +6 to his attack roll and it deals 1d8 +3 Slashing damage and 1d6 Psychic damage. If the target is Restrained, he also deals another 1d4 Poison. This weapon also gives him the ability Ensnaring Strands, which gives him one free cast of the spell. When he activates Ensnaring Strands, his attack conjures thick sticky webbing that possibly enwebs his target. So if you get caught by those ensnaring strands, your character might find themselves in a spot of bother when his weapon does an extra 1d6 of psychic damage!
Cruel Sting and the Moonlantern, which deals 1d6 bludgeoning damage. With Cruel Sting, he has a +6 to his attack roll and it deals 1d8 +3 Slashing damage and 1d6 Psychic damage. If the target is Restrained, he also deals another 1d4 Poison. This weapon also gives him the ability Ensnaring Strands, which gives him one free cast of the spell. When he activates Ensnaring Strands, his attack conjures thick sticky webbing that possibly enwebs his target. So if you get caught by those ensnaring strands, your character might find themselves in a spot of bother when his weapon does an extra 1d6 of psychic damage!
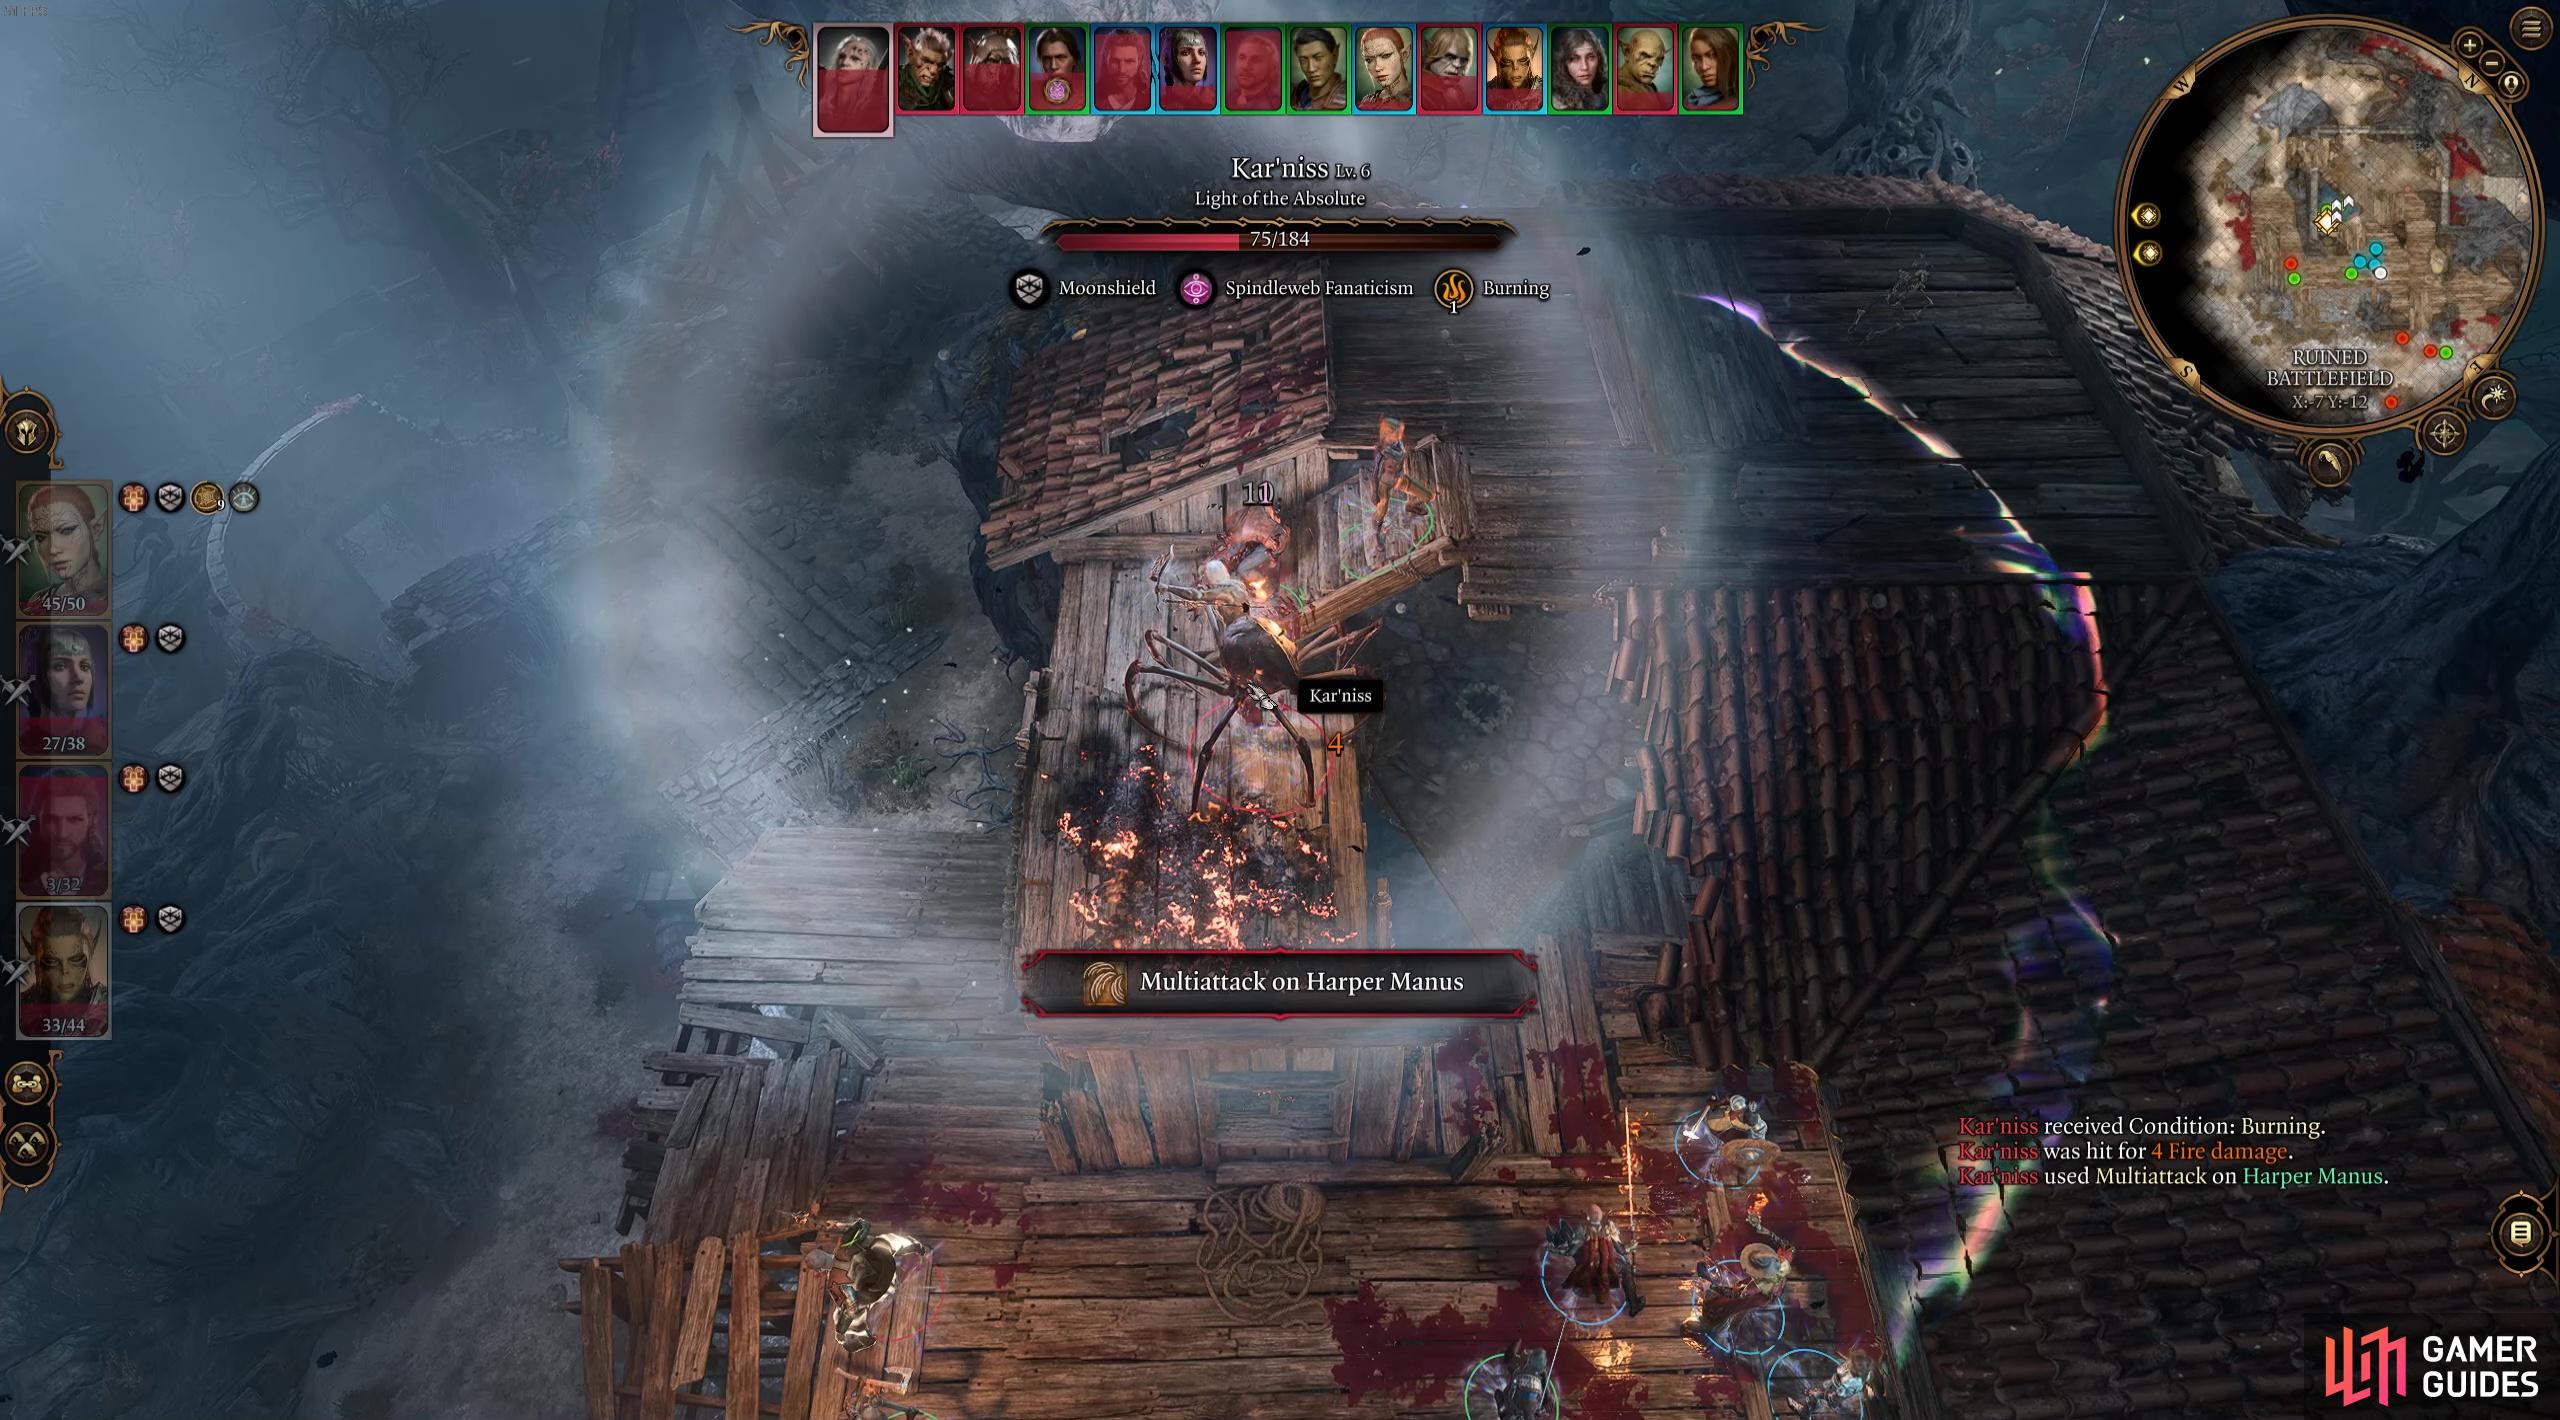
Kar’niss can use multi-attacks against wounded targets.
Kar’niss Abilities and Spells
He also has the condition Spindleweb Fanaticism, which means that him and his allies deal an additional 1d6 !Psychic Damage and he can also move an extra 3m! All this to say, this guy is pretty strong and will definitely put up a good fight. He has this from the very beginning of the fight meaning you should be extra cautious about all the enemies dealing more damage than anticipated. If you have a Barbarian for example, you might find that it’s being chunked for a bit more than you usually experience - especially if you’ve got a Wildheart !Barbarian with the Bear bestial heart which, when raging, have resistance to all damage types except psychic! So both his weapon and this affect will do an extra 2d6 of psychic damage in addition to his normal slashing damage!
Spiderweb Fanaticism’s extra psychic damage will make this fight a little trickier!
At some point during this fight, around when you damage half his health, Kar’niss will cast the level 1 abjuration spell ![]() Sanctuary, which reads:
Sanctuary, which reads:
“Affected entity can’t be targeted by enemy attacks or spells. However, it can still take damage from spells that influence a larger area. Condition ends if the affected entity attacks or harms another creature, and will receive Sanctuary Blocked for one turn.”
The good news is that Kar’niss will almost definitely attack next turn and so he’ll break his own sanctuary and enable you to attack him again. Alternatively, if you have any good AoE spells like ![]() Cloud of Daggers then you can cast this in his area to continue doing damage to him whilst he’s in his Sanctuary state. Either way, this spell won’t pose too much of an issue for more than a turn or so, even if you don’t have any spellcasters with AoE spells. You could also just divert your attention to one of the other enemies whilst Kar’niss is invulnerable.
Cloud of Daggers then you can cast this in his area to continue doing damage to him whilst he’s in his Sanctuary state. Either way, this spell won’t pose too much of an issue for more than a turn or so, even if you don’t have any spellcasters with AoE spells. You could also just divert your attention to one of the other enemies whilst Kar’niss is invulnerable.
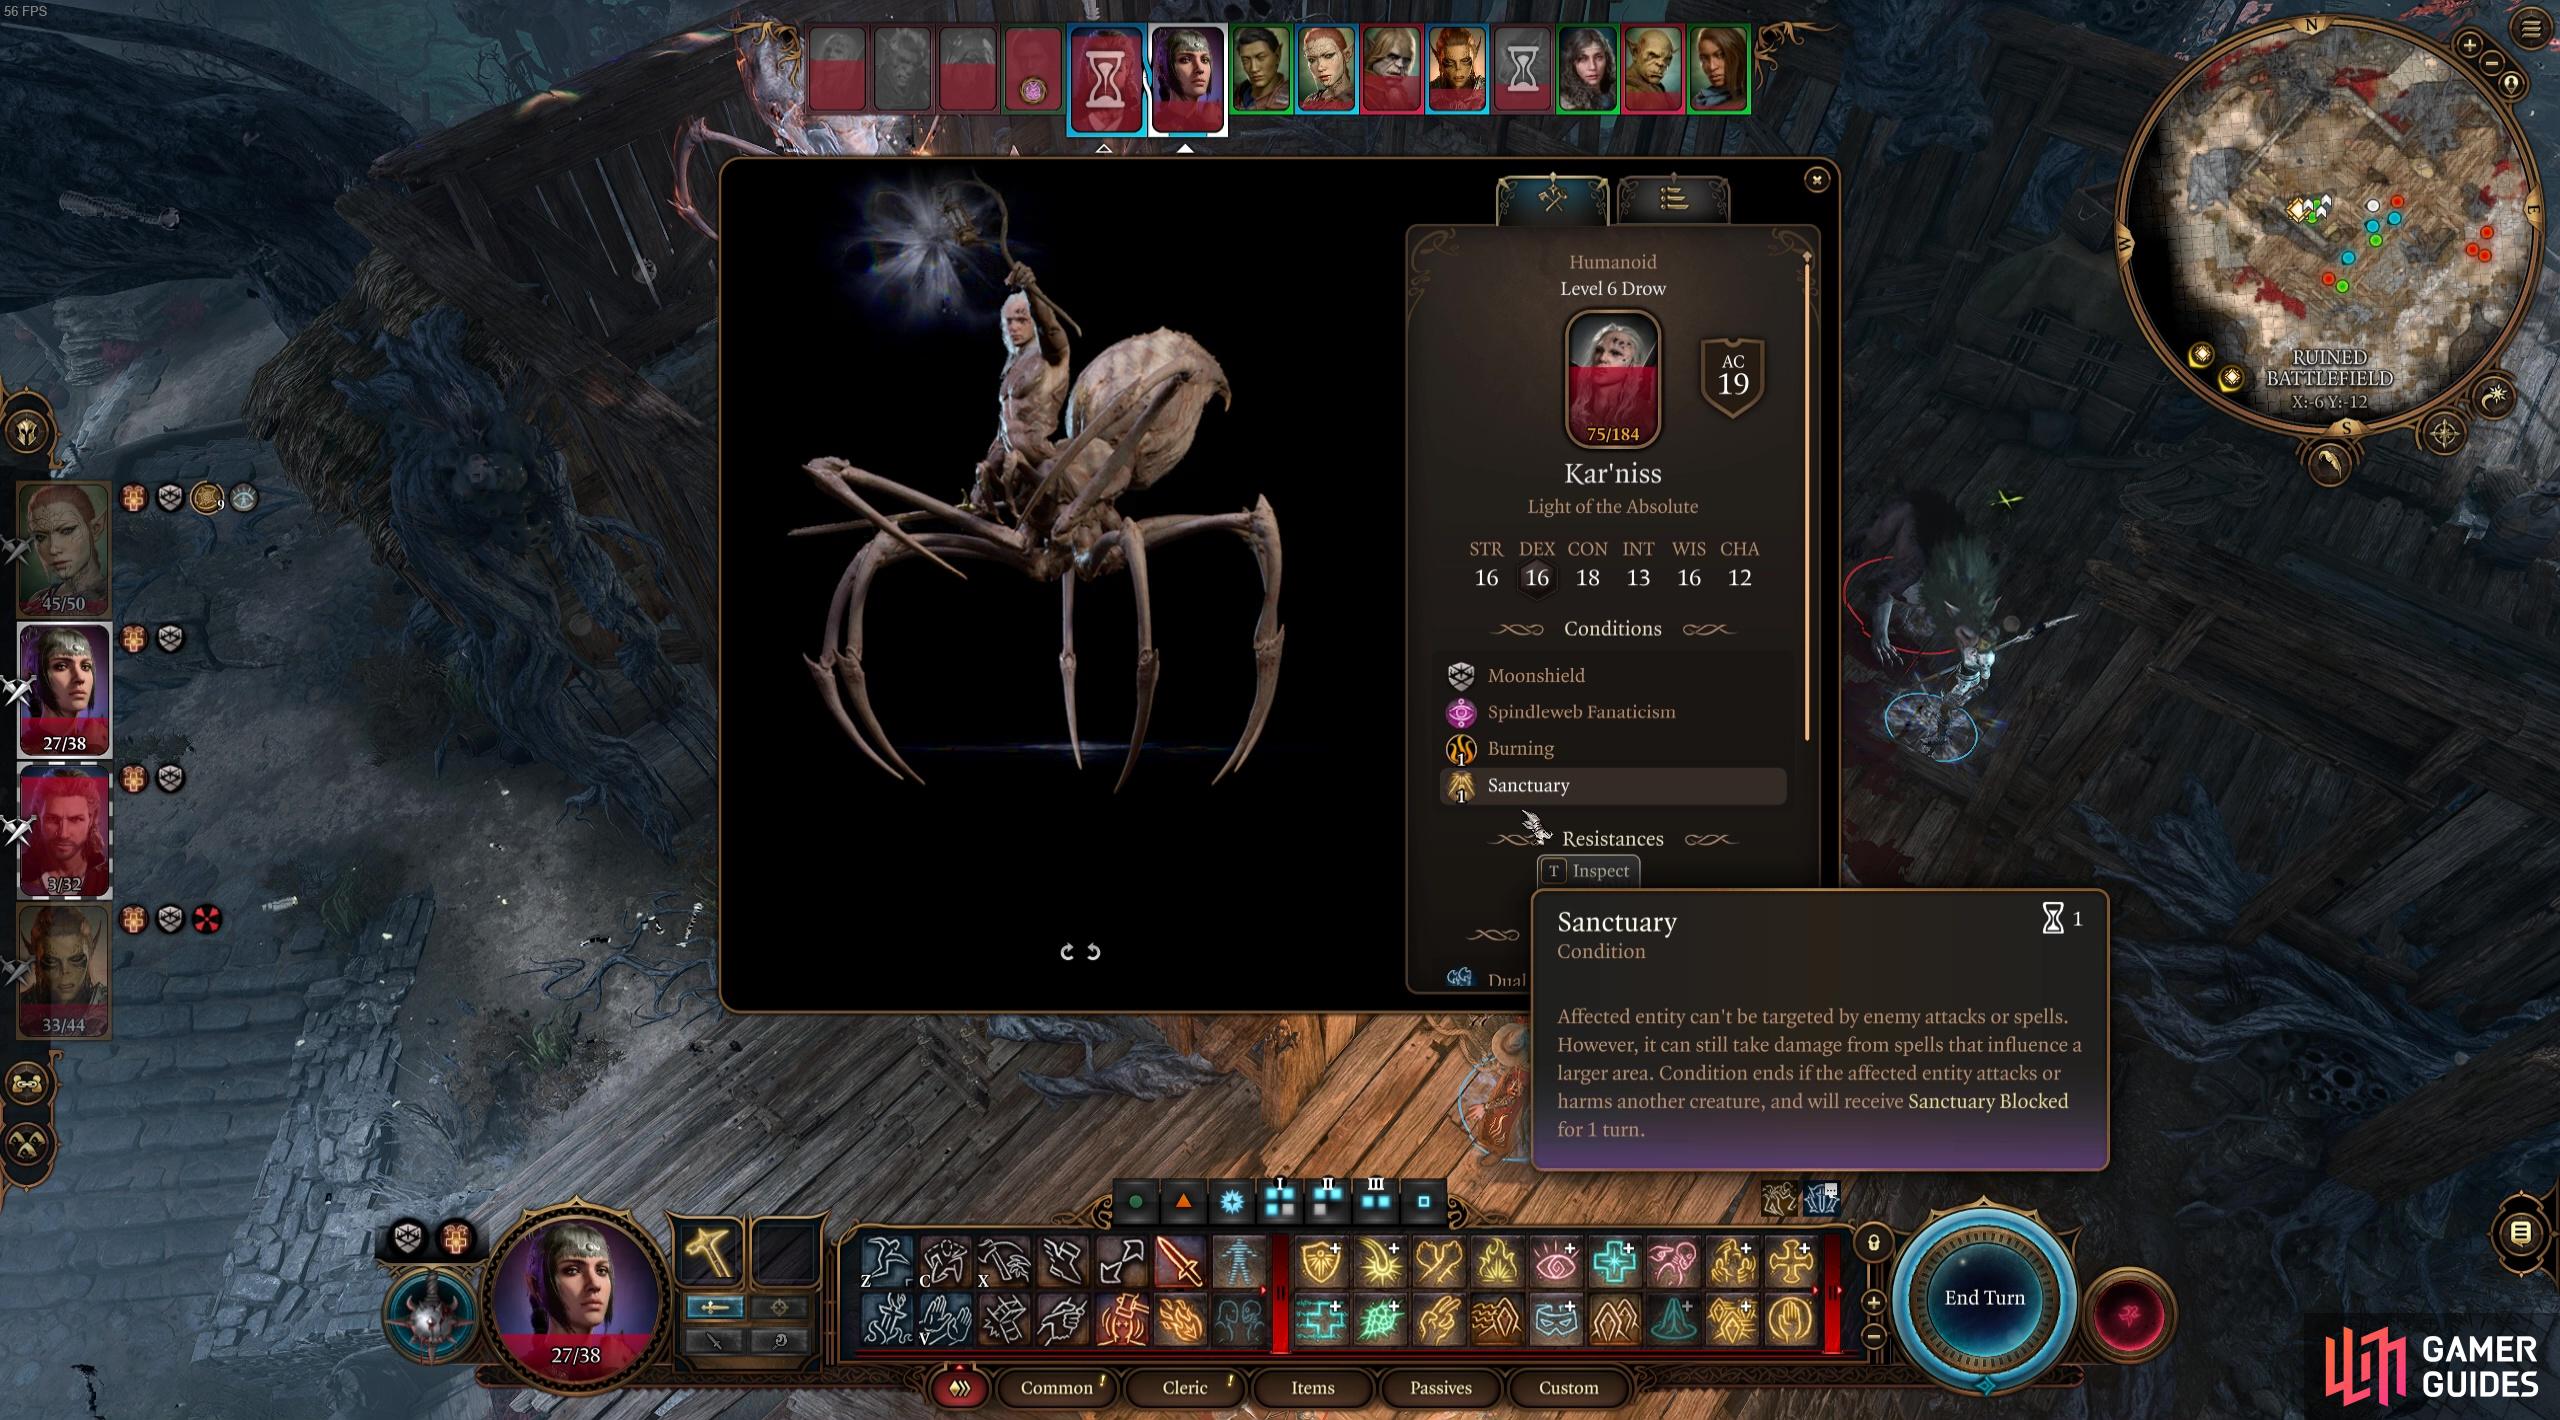
Kar’niss can cast Sanctuary which will make him invulnerable to being targeted by attacks or spells
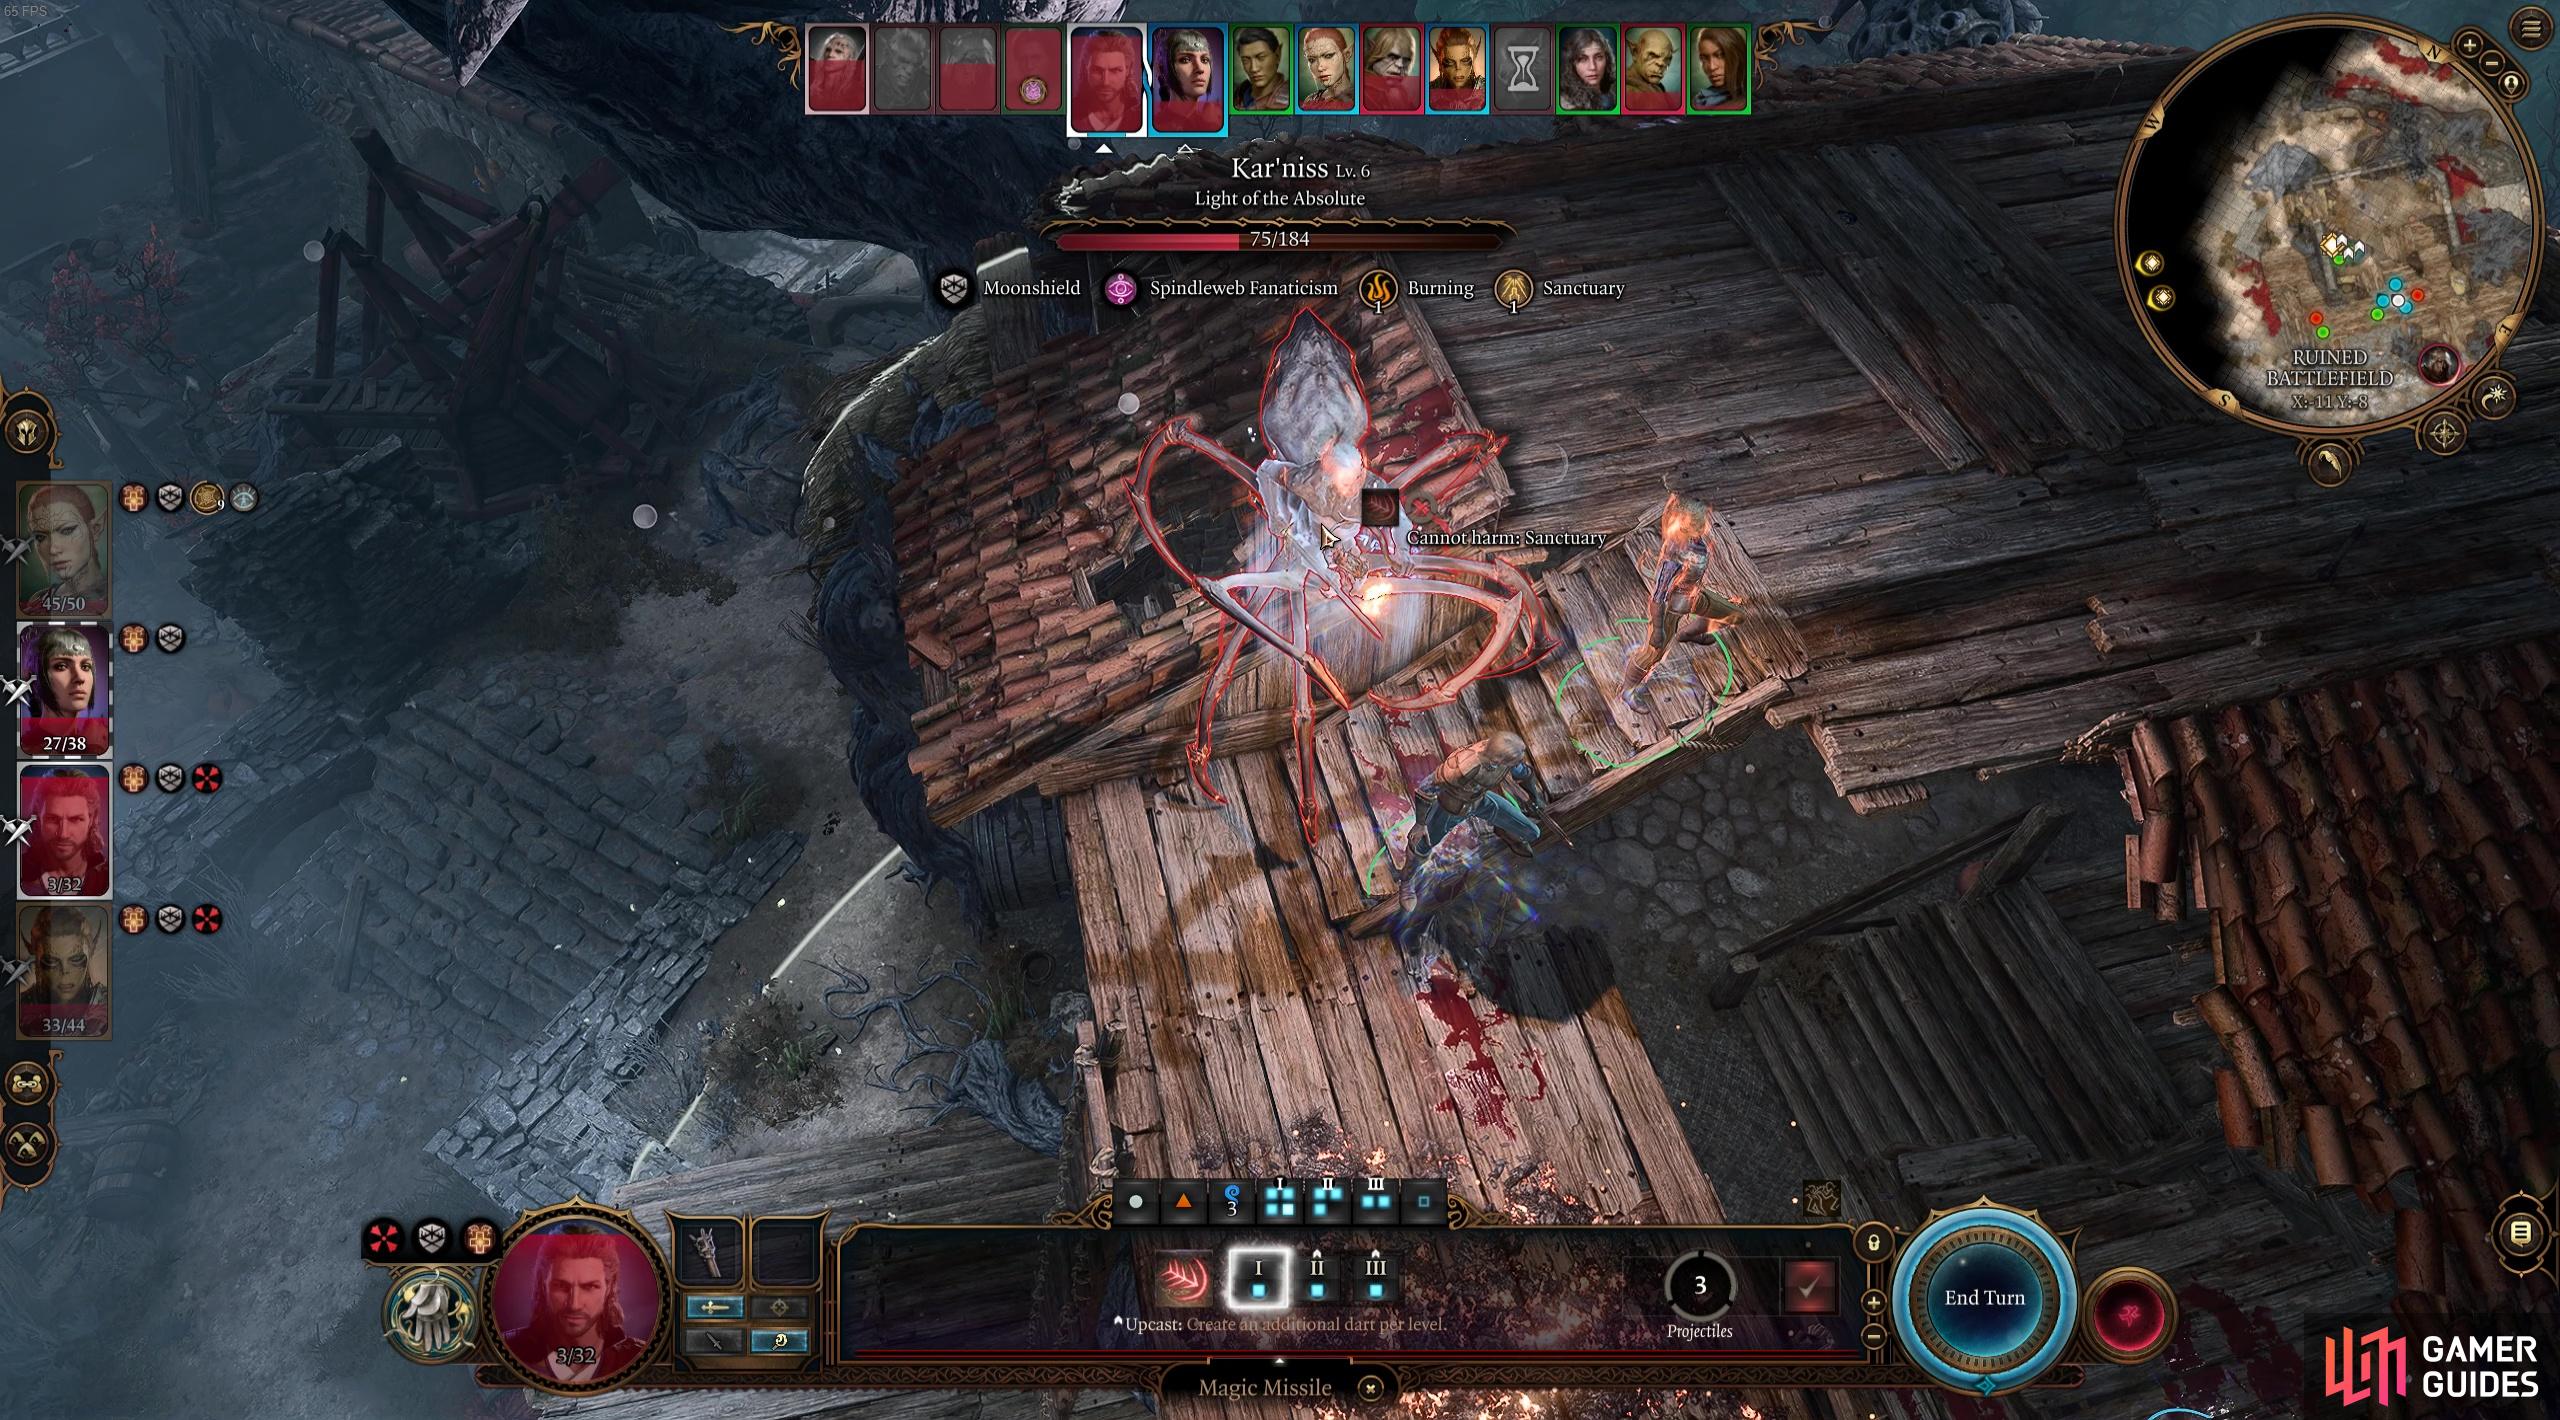
though this condition will go away when he attacks next turn!
Kar’niss Resistances and Vulnerabilities
The good thing is that Kar’niss has no resistances so you won’t need to worry about avoiding specific spells or weapon damage types! That being said, he also doesn’t have any specific damage type vulnerabilities so you can’t capitalize off that either. He does, however, have sunlight sensitivity, which means that whilst he’s in sunlight, Kar’niss will have disadvantage on attack and perception rolls that rely on vision. The Level 3 Evocation spell ![]() Daylight: Sphere can conjure up a sphere of sunlight that would trigger Kar’niss’ sunlight sensitivity condition! Clerics, Druids, Paladins, Rangers and Sorcerers can all cast this spell, though it might not be particularly useful outside of this specific fight.
Daylight: Sphere can conjure up a sphere of sunlight that would trigger Kar’niss’ sunlight sensitivity condition! Clerics, Druids, Paladins, Rangers and Sorcerers can all cast this spell, though it might not be particularly useful outside of this specific fight.
Combat Strategy: How to Beat Kar’niss and his Convoy
Now that you’ve got the full rundown of what to expect from Kar’niss, you’ll have a bit of a better time preparing and dealing with this fight. If you’ve got any party members that are wounded, consider a short/long rest or popping some health potions so that they’re back up to full HP as being wounded will trigger Kar’niss’ multi-attack.
In addition to dealing with Kar’niss, you will, of course, have to deal with the four other enemies in his convoy, consisting of Warrior Gronag, Sharp-Eye Lora, Bedi and Kansif (who can also conjure up a Worg Companion!).
We found that status effects and conditions that give your characters advantage or extra dice to their attack rolls can be really helpful against Kar’niss in this fight, since he has such a high AC. This can include casting things like ![]() Bless, which gives up to 3 creatures +1d4 bonus to their Attack Rolls and Saving
Bless, which gives up to 3 creatures +1d4 bonus to their Attack Rolls and Saving ![]() Throws and
Throws and ![]() Guiding Bolt, which both damages the enemy and grants advantage on the next attack roll against the target. Using
Guiding Bolt, which both damages the enemy and grants advantage on the next attack roll against the target. Using ![]() Reckless Attacks if you have a !Barbarian can also prove beneficial for landing those all important attacks. As mentioned above spells that can’t miss like
Reckless Attacks if you have a !Barbarian can also prove beneficial for landing those all important attacks. As mentioned above spells that can’t miss like ![]() Magic Missile or
Magic Missile or ![]() Moonbeam can be great for bypassing that high AC defense.
Moonbeam can be great for bypassing that high AC defense.
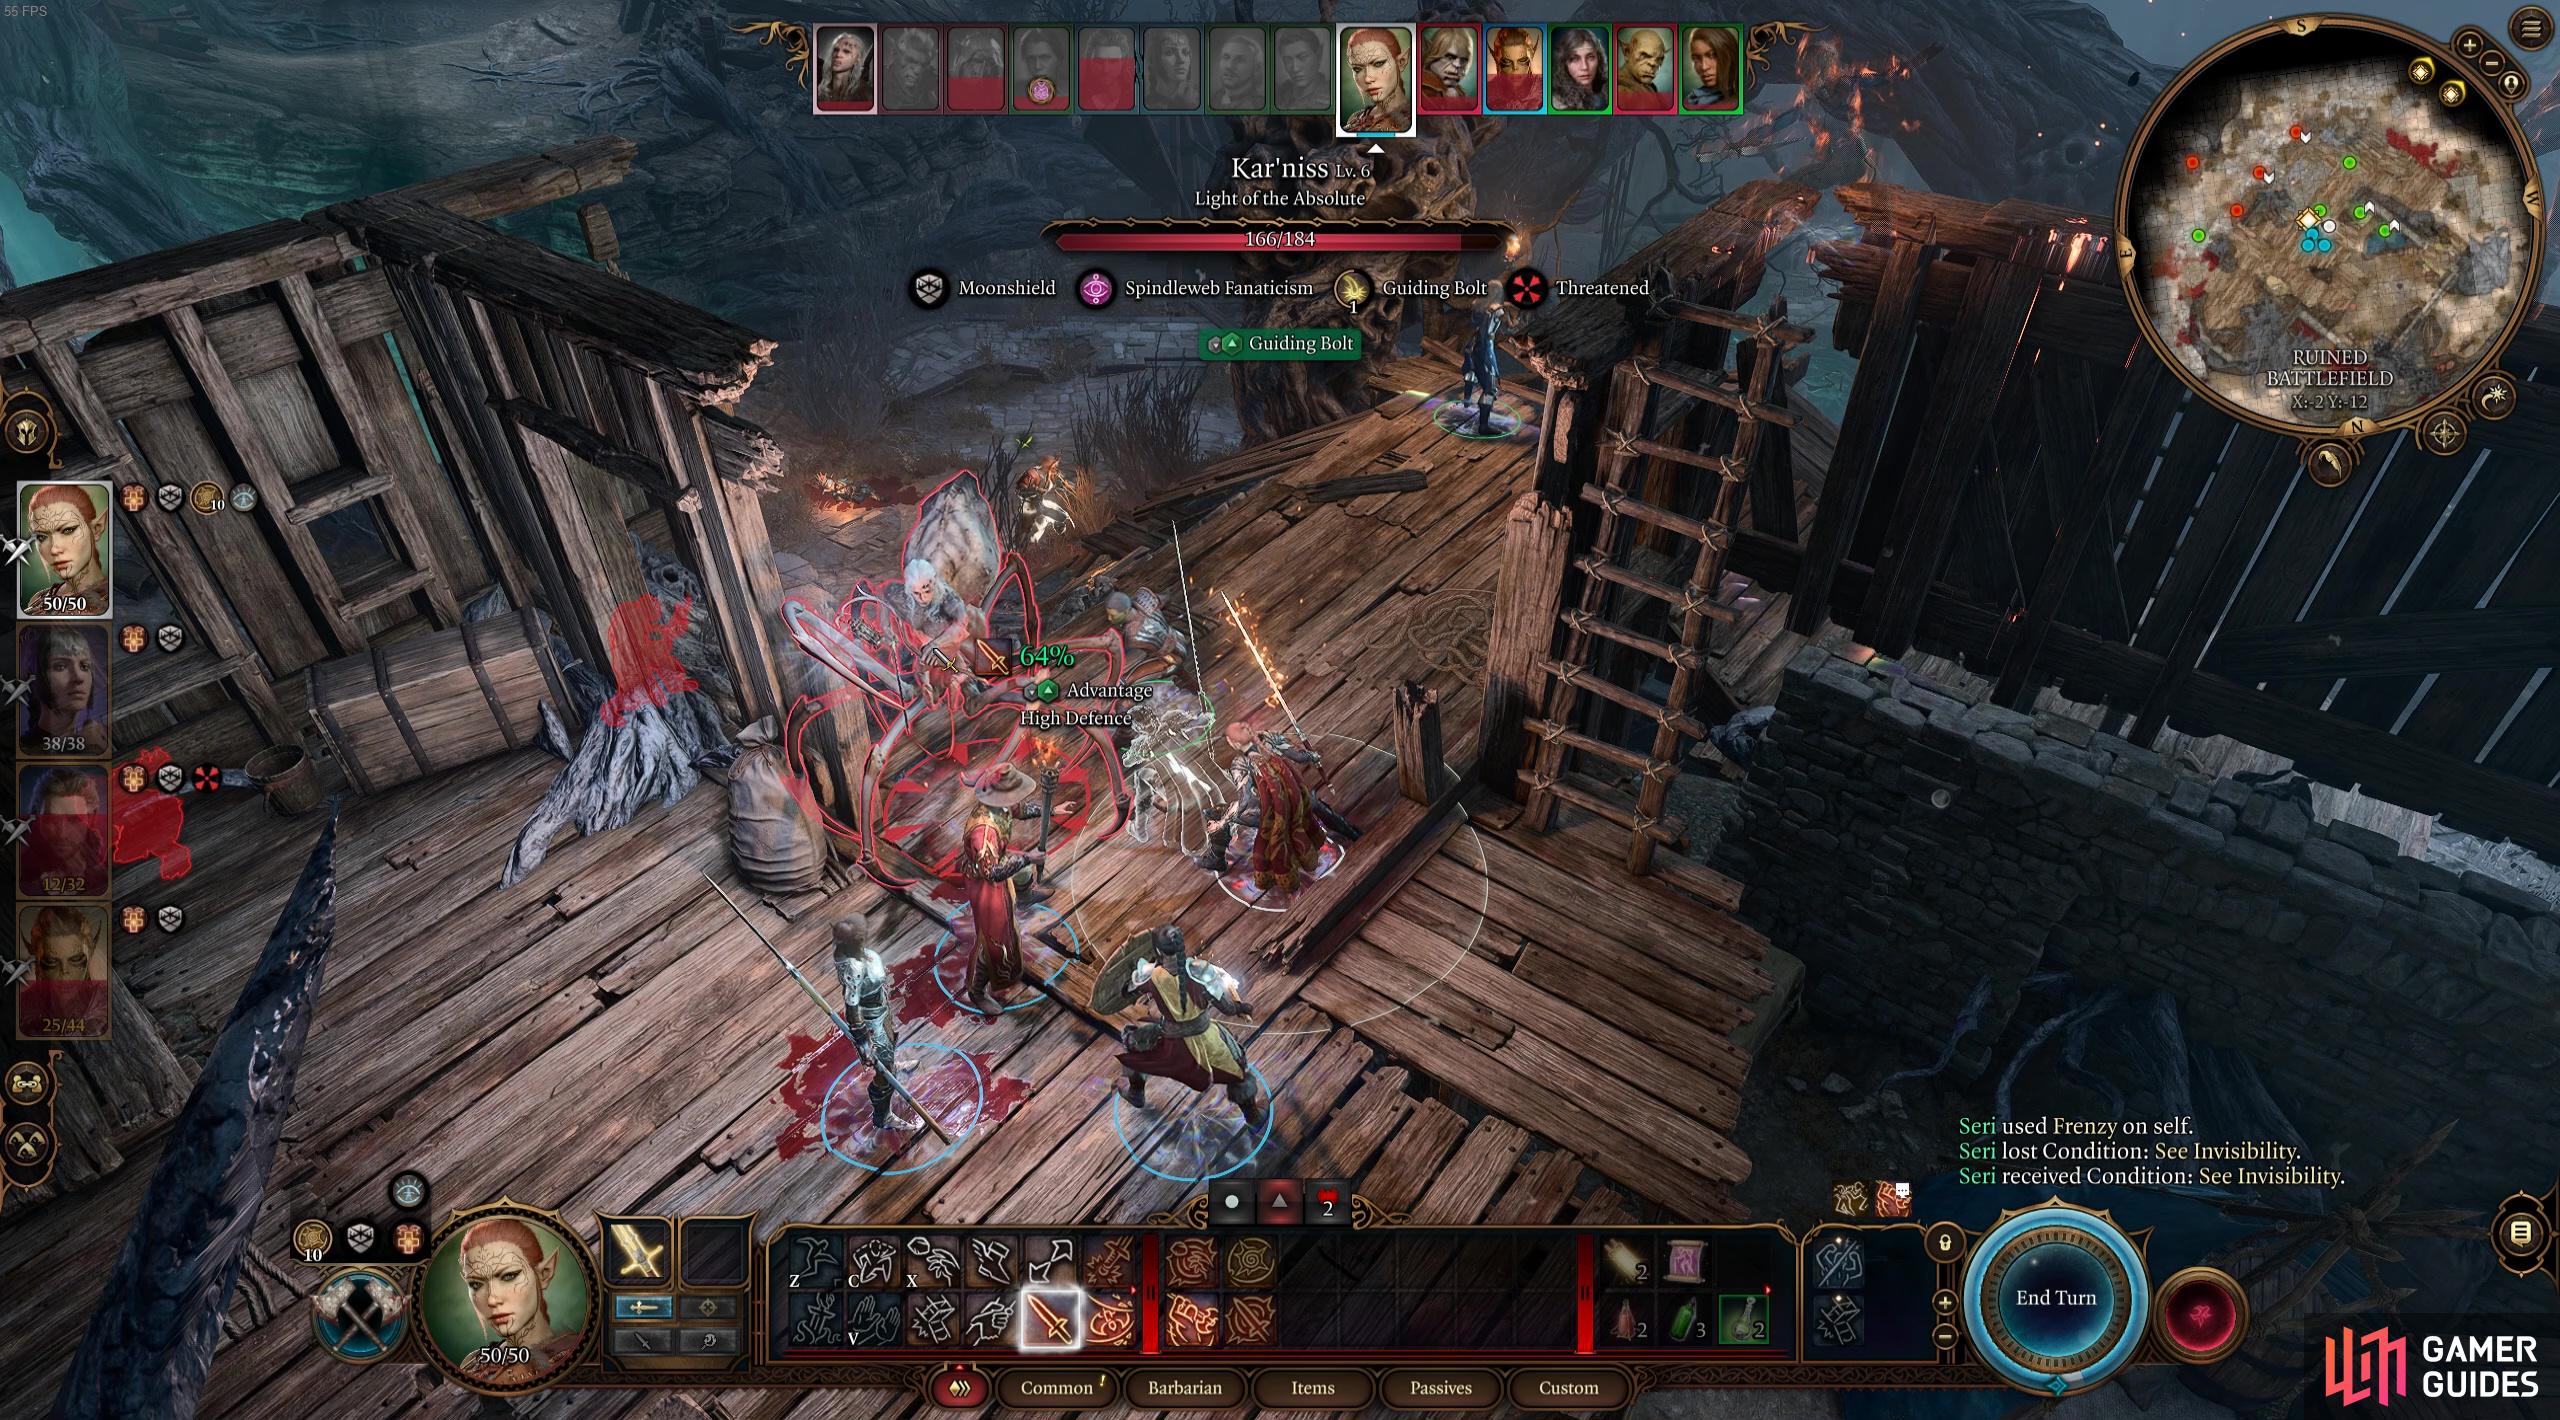
Giving your party members advantages or additional dice to their attack rolls can help deal with Kar’niss’ high AC defense.
In our opinion, Kansif seems like the most annoying convoy member as he can conjure up a Worg Companion and the ever-annoying Cloud of Daggers AoE spell. The Worg Companion is quite tanky but will disappear if you kill Kansif. The latter spell is particularly punishing in this fight as you’re in a pretty confined space within the ruined building, meaning you’ll find it harder to avoid the cloud and navigate around it and it may hit more than one of your party members when he casts it. It is a concentration spell, however, so should you want to get rid of it quickly, you could focus your efforts on Kansif, who has significantly less HP compared to Kar’niss.
The other additional enemies are your typical goblin enemies that you encountered in the ![]() Goblin Camp. Sharp-Eye Lora will use ranged attacks a lot, and Bedi can become Enraged and perform reckless attacks. Warrior Gronag will also perform Reckless Warcry, which works in an AoE around him, causing those affected to increase their strength by 3 but their Armor Class is decreased by 1. It is possible that Warrior Gronag will affect Kar’niss with this, but during our playthrough he was outside of the AoE and it was just the Goblin enemies that were affected. If Kar’niss is affected then he will have higher strength but will be easier to hit…pros and cons right?!
Goblin Camp. Sharp-Eye Lora will use ranged attacks a lot, and Bedi can become Enraged and perform reckless attacks. Warrior Gronag will also perform Reckless Warcry, which works in an AoE around him, causing those affected to increase their strength by 3 but their Armor Class is decreased by 1. It is possible that Warrior Gronag will affect Kar’niss with this, but during our playthrough he was outside of the AoE and it was just the Goblin enemies that were affected. If Kar’niss is affected then he will have higher strength but will be easier to hit…pros and cons right?!
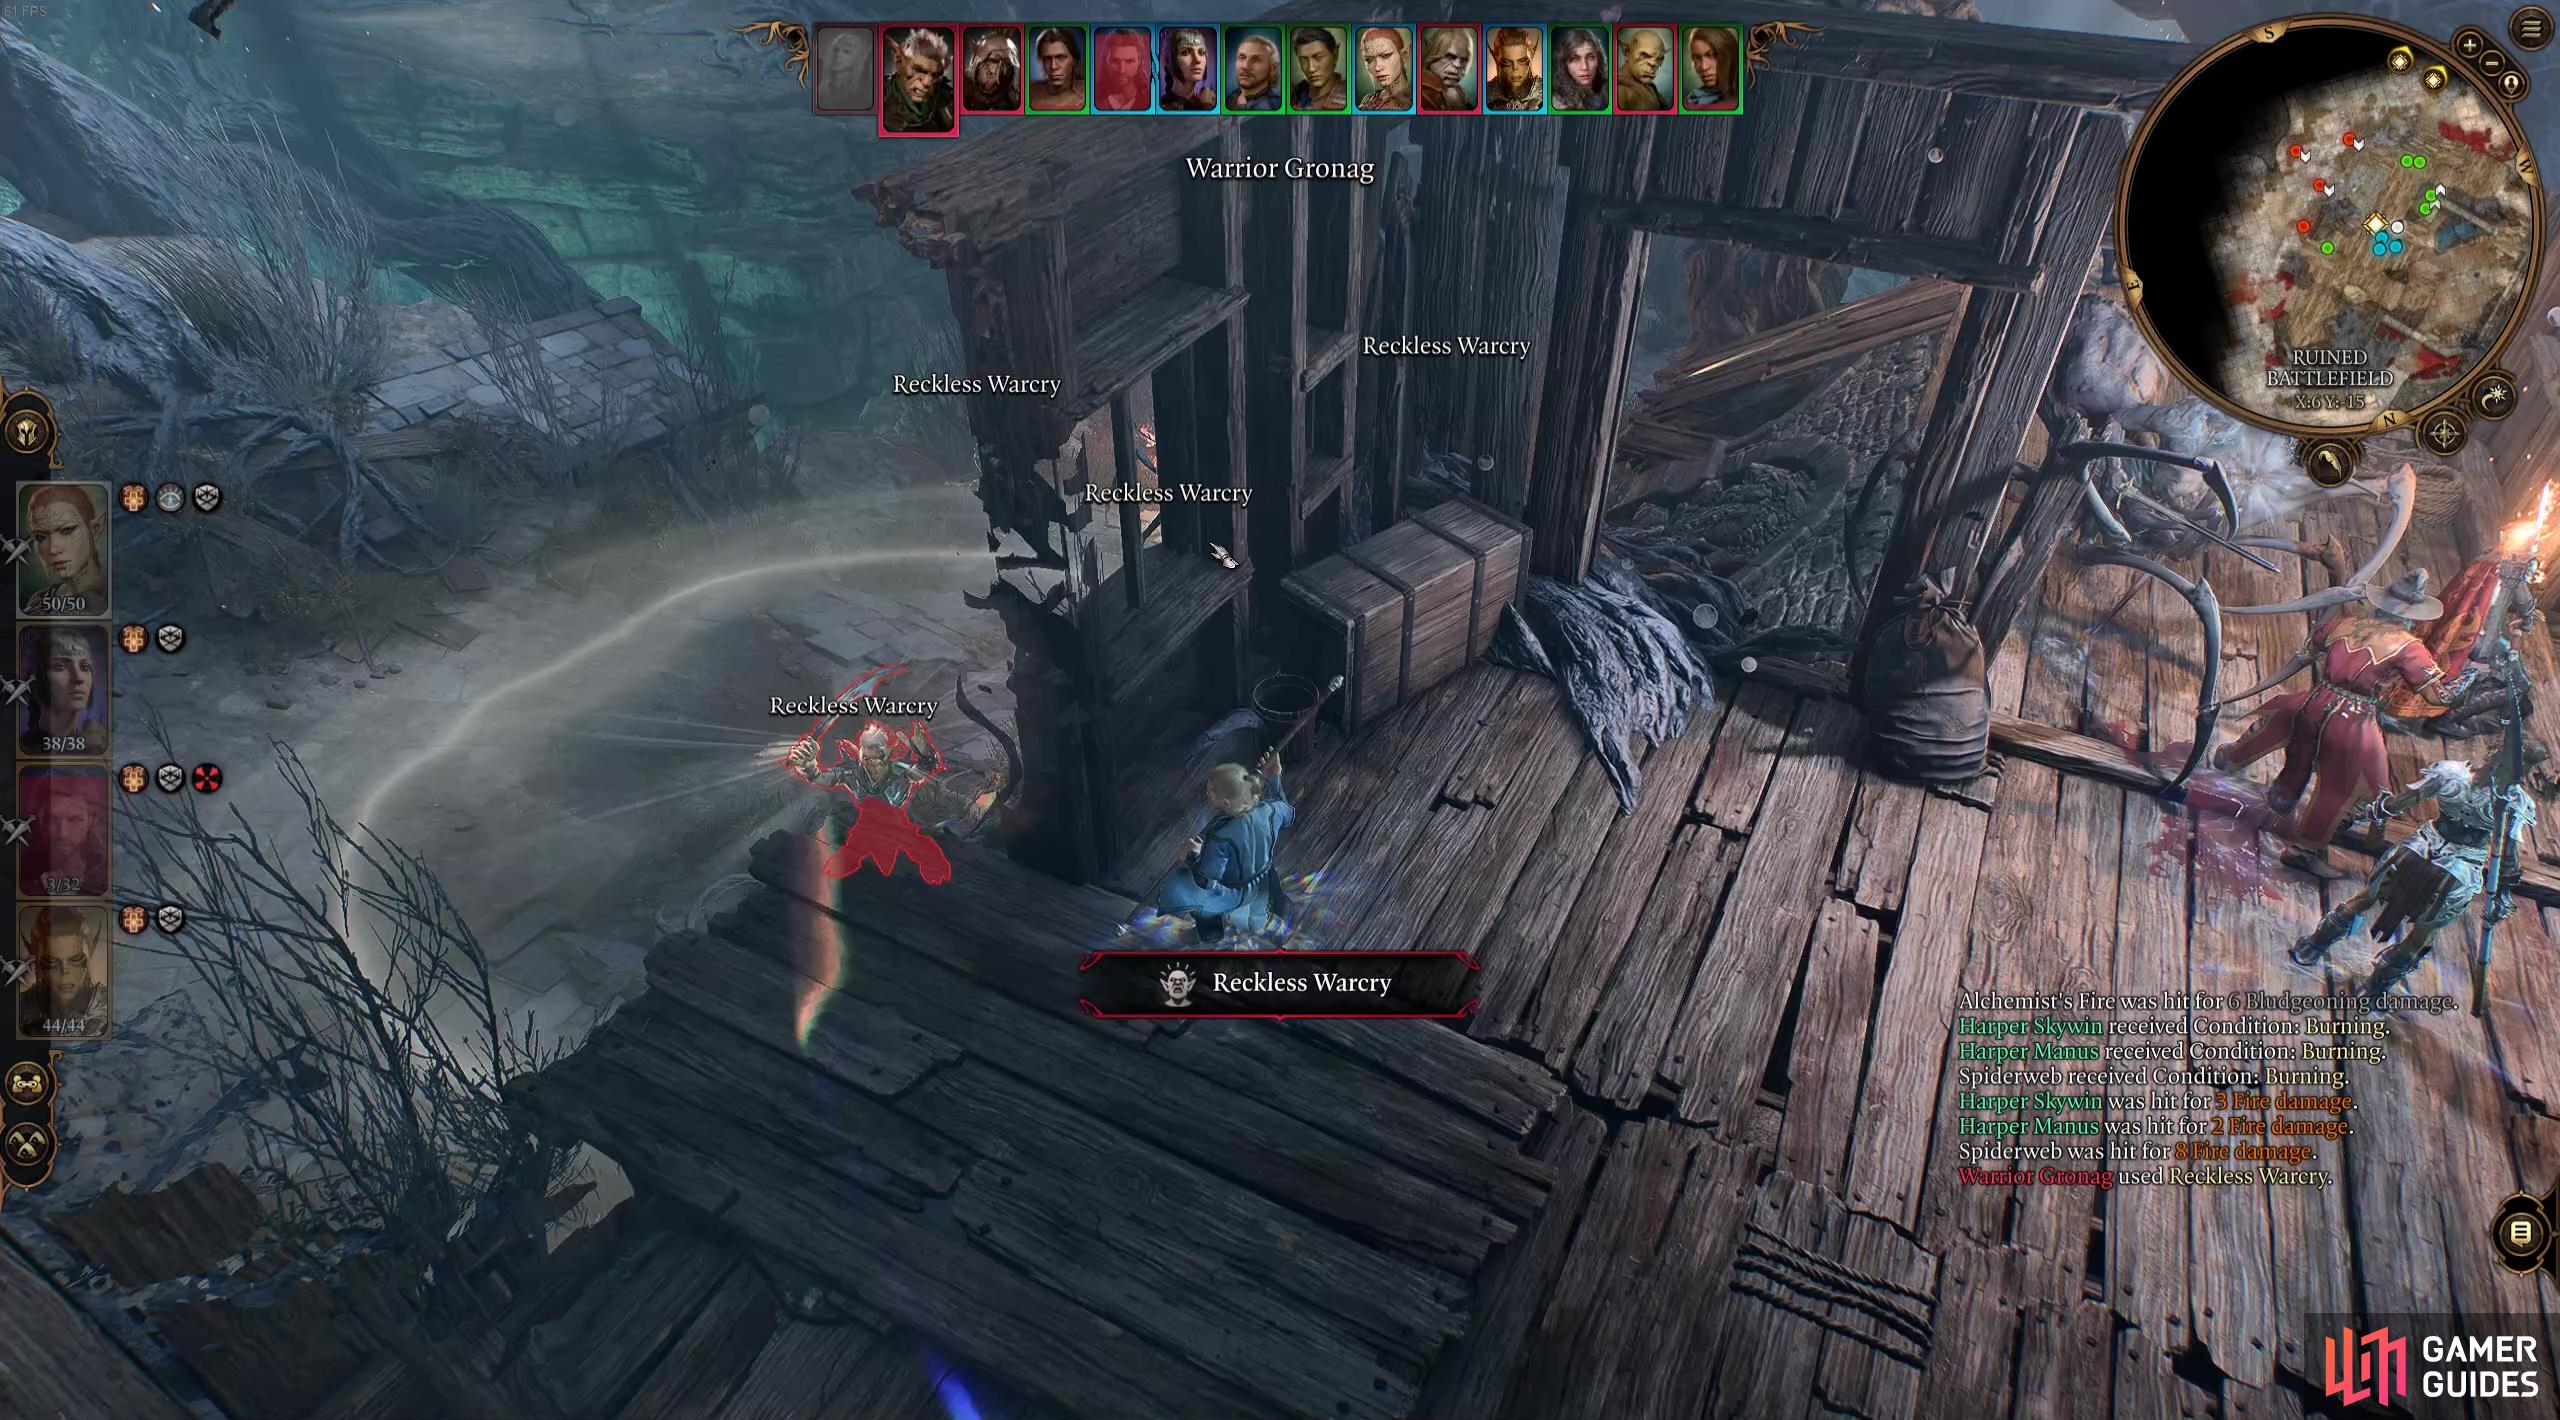
Warrior Gronag can beef up the enemies’ attacks but also make them more susceptible to attacks by lowering their AC.
During this fight it could also be good to make use of higher terrain to have +2 to attack rolls on ranged attacks and spells. If you can, you could send up your spellcaster or ranged weapon user up the ladder onto the upper platform. During one of our playthroughs, Kar’niss did also go up onto the upper platform, which could be disastrous for keeping your squishy spellcasters out of harm’s way, so make sure to disengage and keep your squishies away from Kar’niss. A Battle Master Fighter’s goading attacks are great for helping protect your spellcasters as a successful goading attack will mean that the enemy has disadvantage on hitting any other target except your fighter. And in general, just having some high HP frontliners near Kar’niss at all times will typically be a good way to prevent him from targeting your low HP members as he doesn’t have any ranged attacks.
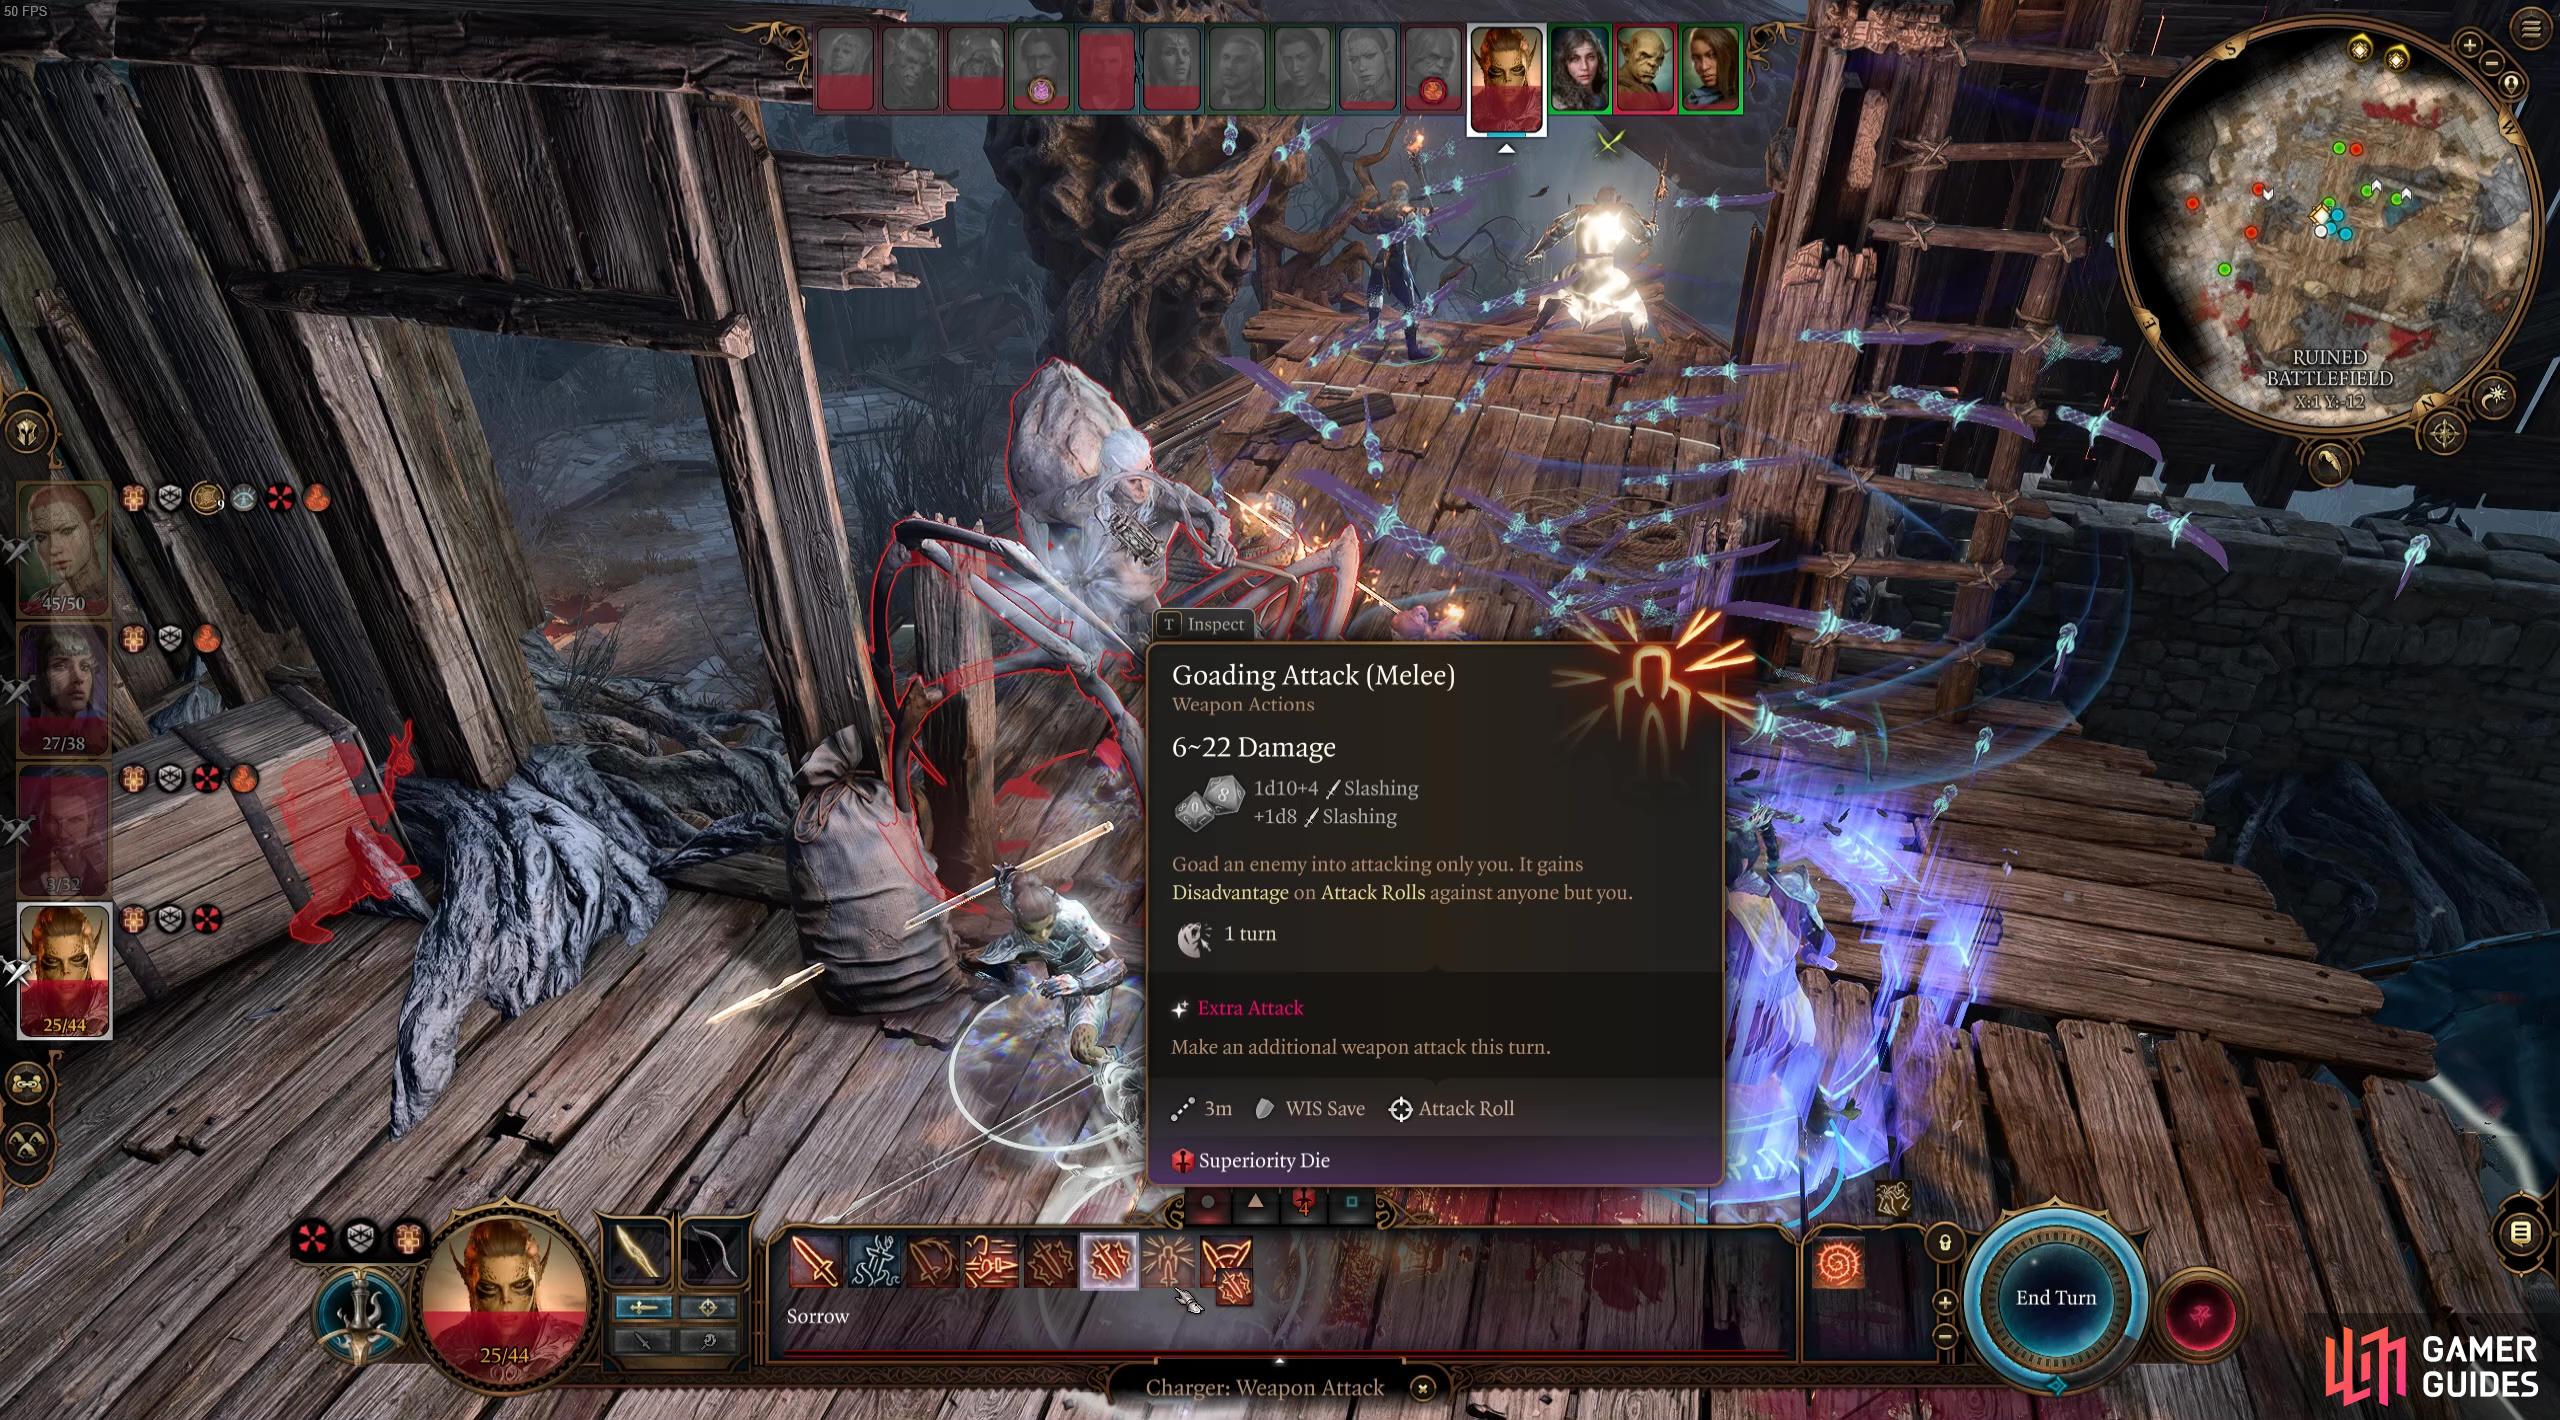
Try to keep your frontliners close to Kar’niss, rather than focusing on ads, to help protect your squishies.
Reward for Defeating Kar’niss
In addition to heaps of XP for doing this fight, you’ll also get the all-important Moonlantern, which will allow you traverse safely to ![]() Moonrise Towers!
Moonrise Towers!
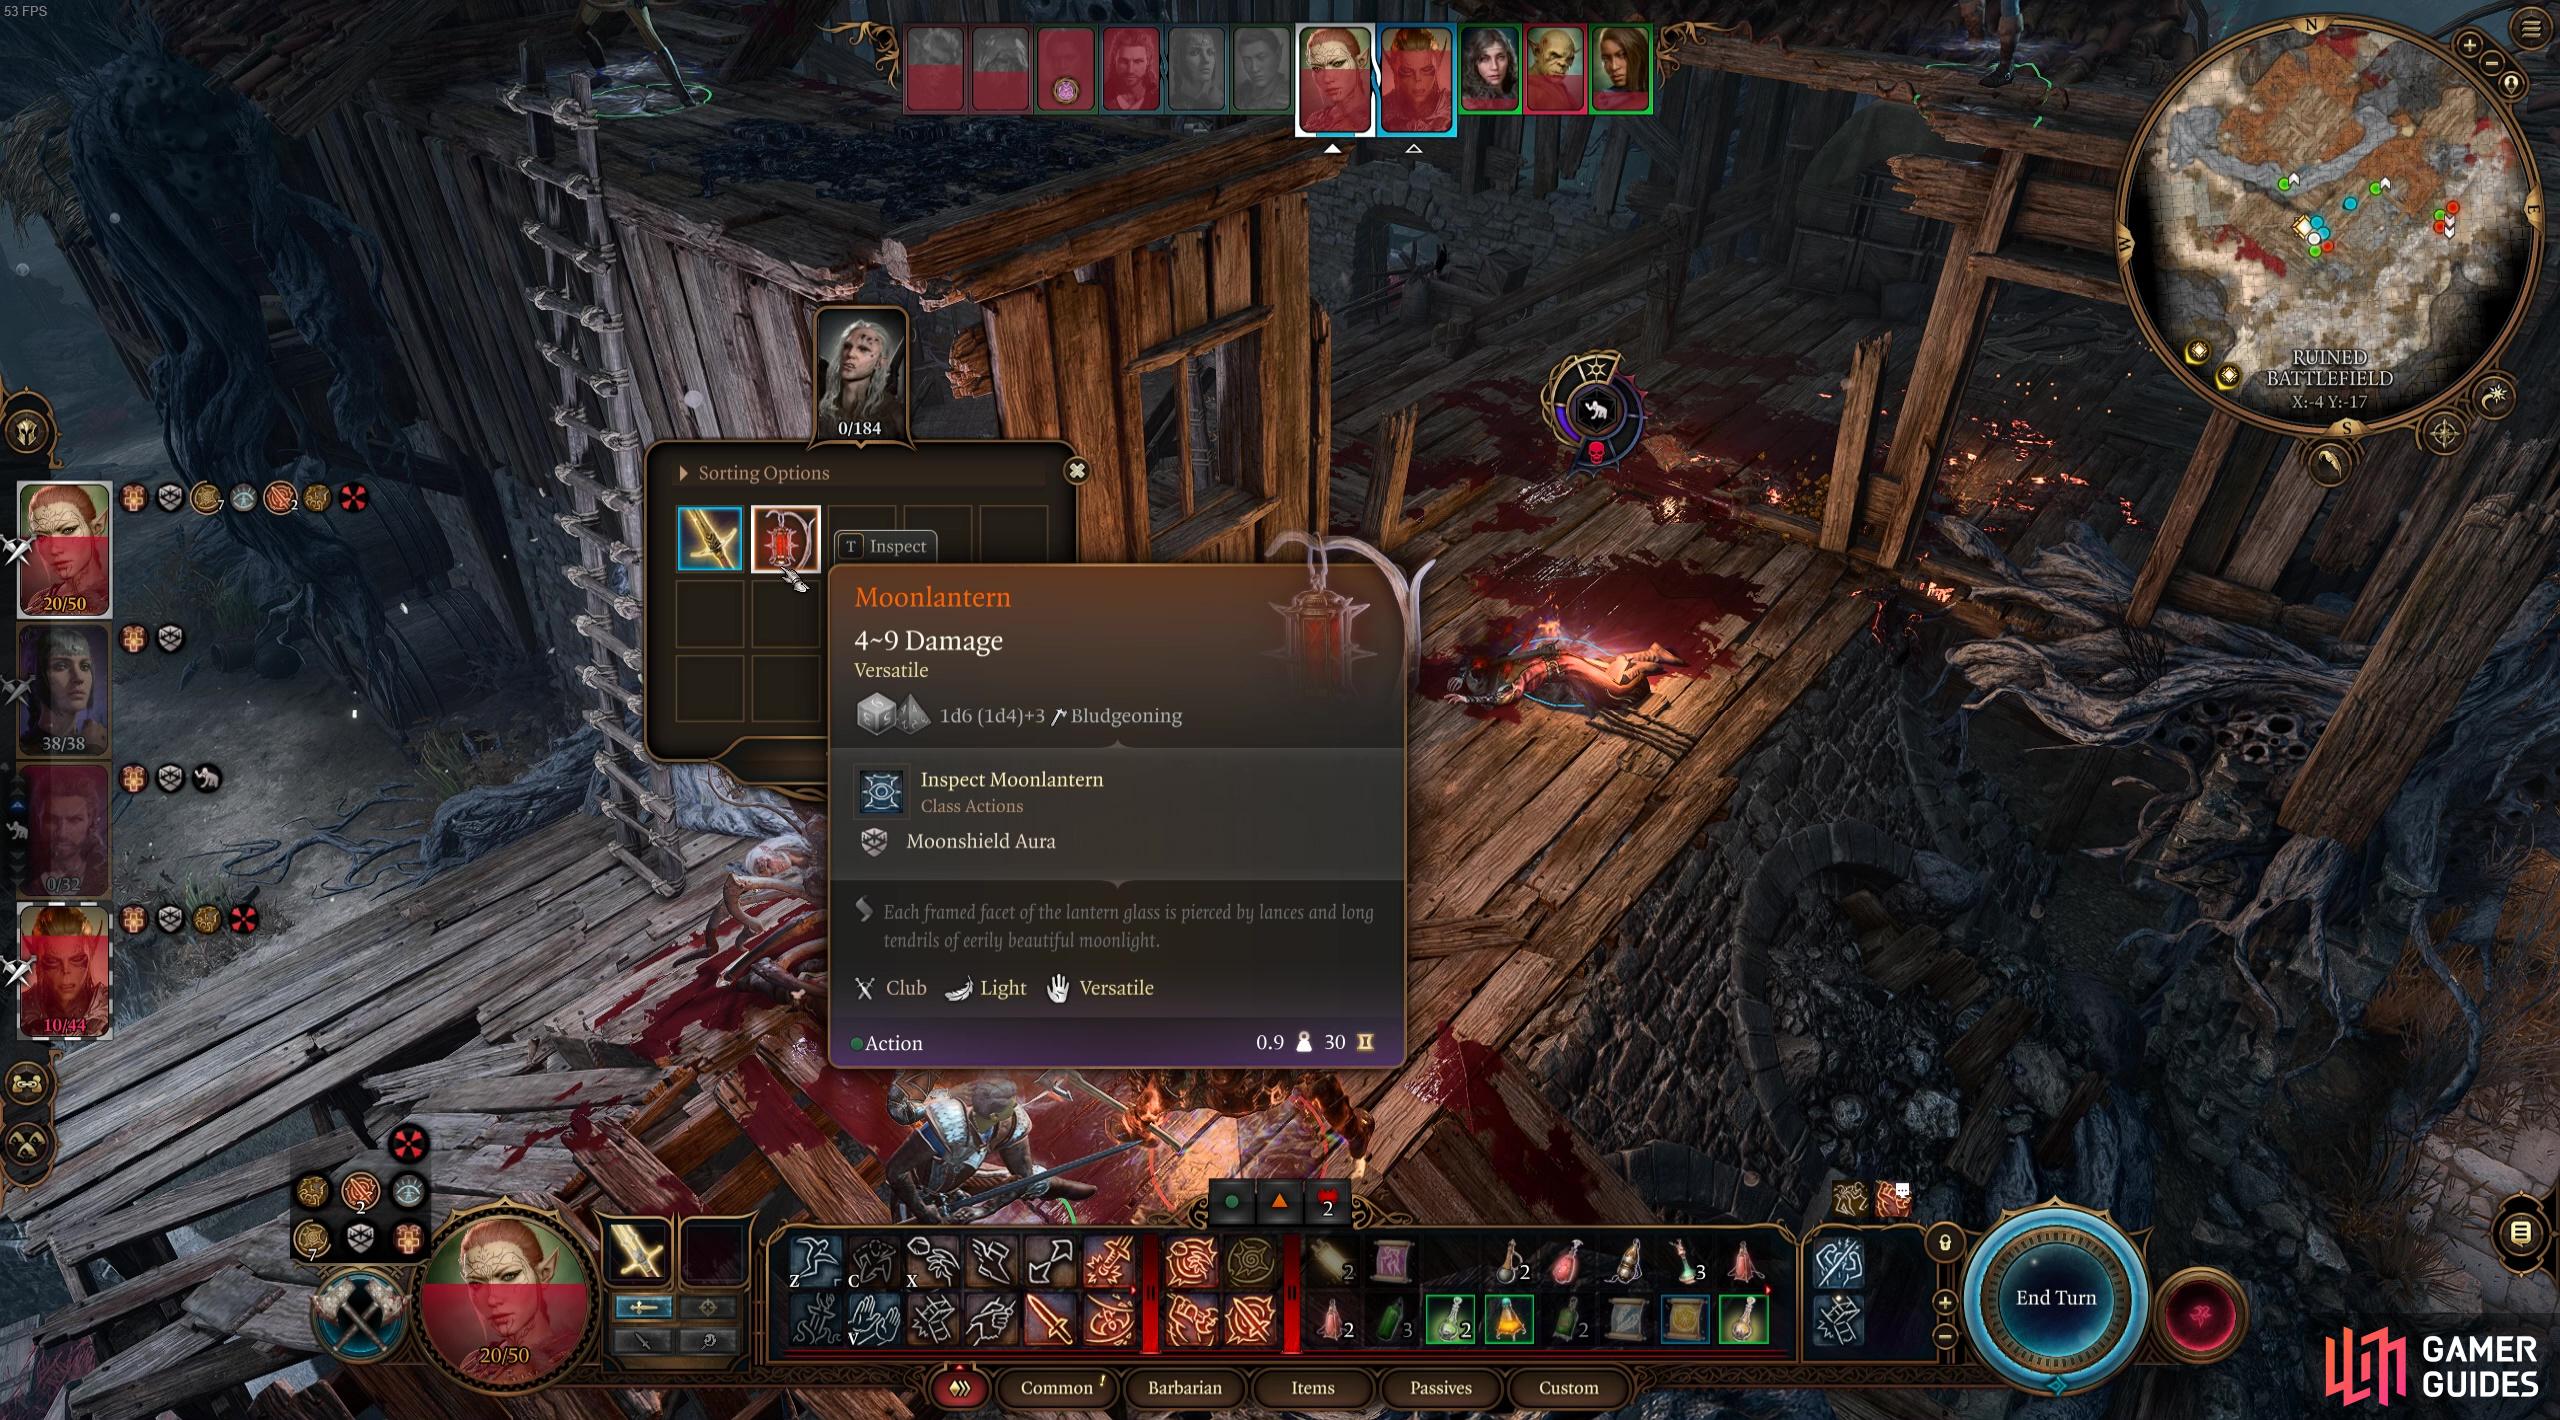
You’ll need to grab the Moonlantern to proceed with the quest
but you can also get a cool new sword too!
And what’s more, you’ll also be able to loot Kar’niss for his weapon Cruel Sting, which as we mentioned above deals 1d10 Slashing damage and +1d6 Psychic Damage. We also mentioned that he can deal 1d6 extra poison damage against restrained targets and this comes from the weapon’s ability, Sting the Helpless, which reads: “A Drow elf wielding this weapon deals an additional 1~4 Poison damage against restrained targets”. This is a great weapon for party members that are proficient with longsword and additionally, if your character is a Drow it’ll be even better!
No Comments