
For those of you who have acquired a Moonlantern and can explore the Shadowlands safely, you may find a few POIs you can visit. One of those locations is the Toll House, a place with a mini-boss and plenty of gear and treasure for you to find if you so desire. Considering this location is filled with potential mini boss combat skip and hidden room and treasure for you to stumble across, there’s plenty of content to find and potentially miss out on. Here’s a look at the Reithwin Toll House in Act 2 of Baldur’s Gate 3, featuring boss options, loot and more.
Reithwin Toll House Walkthrough for Baldur’s Gate 3
Here is a guide on how to defeat and explore the Reithwin Toll House in Act of Baldur’s Gate 3.
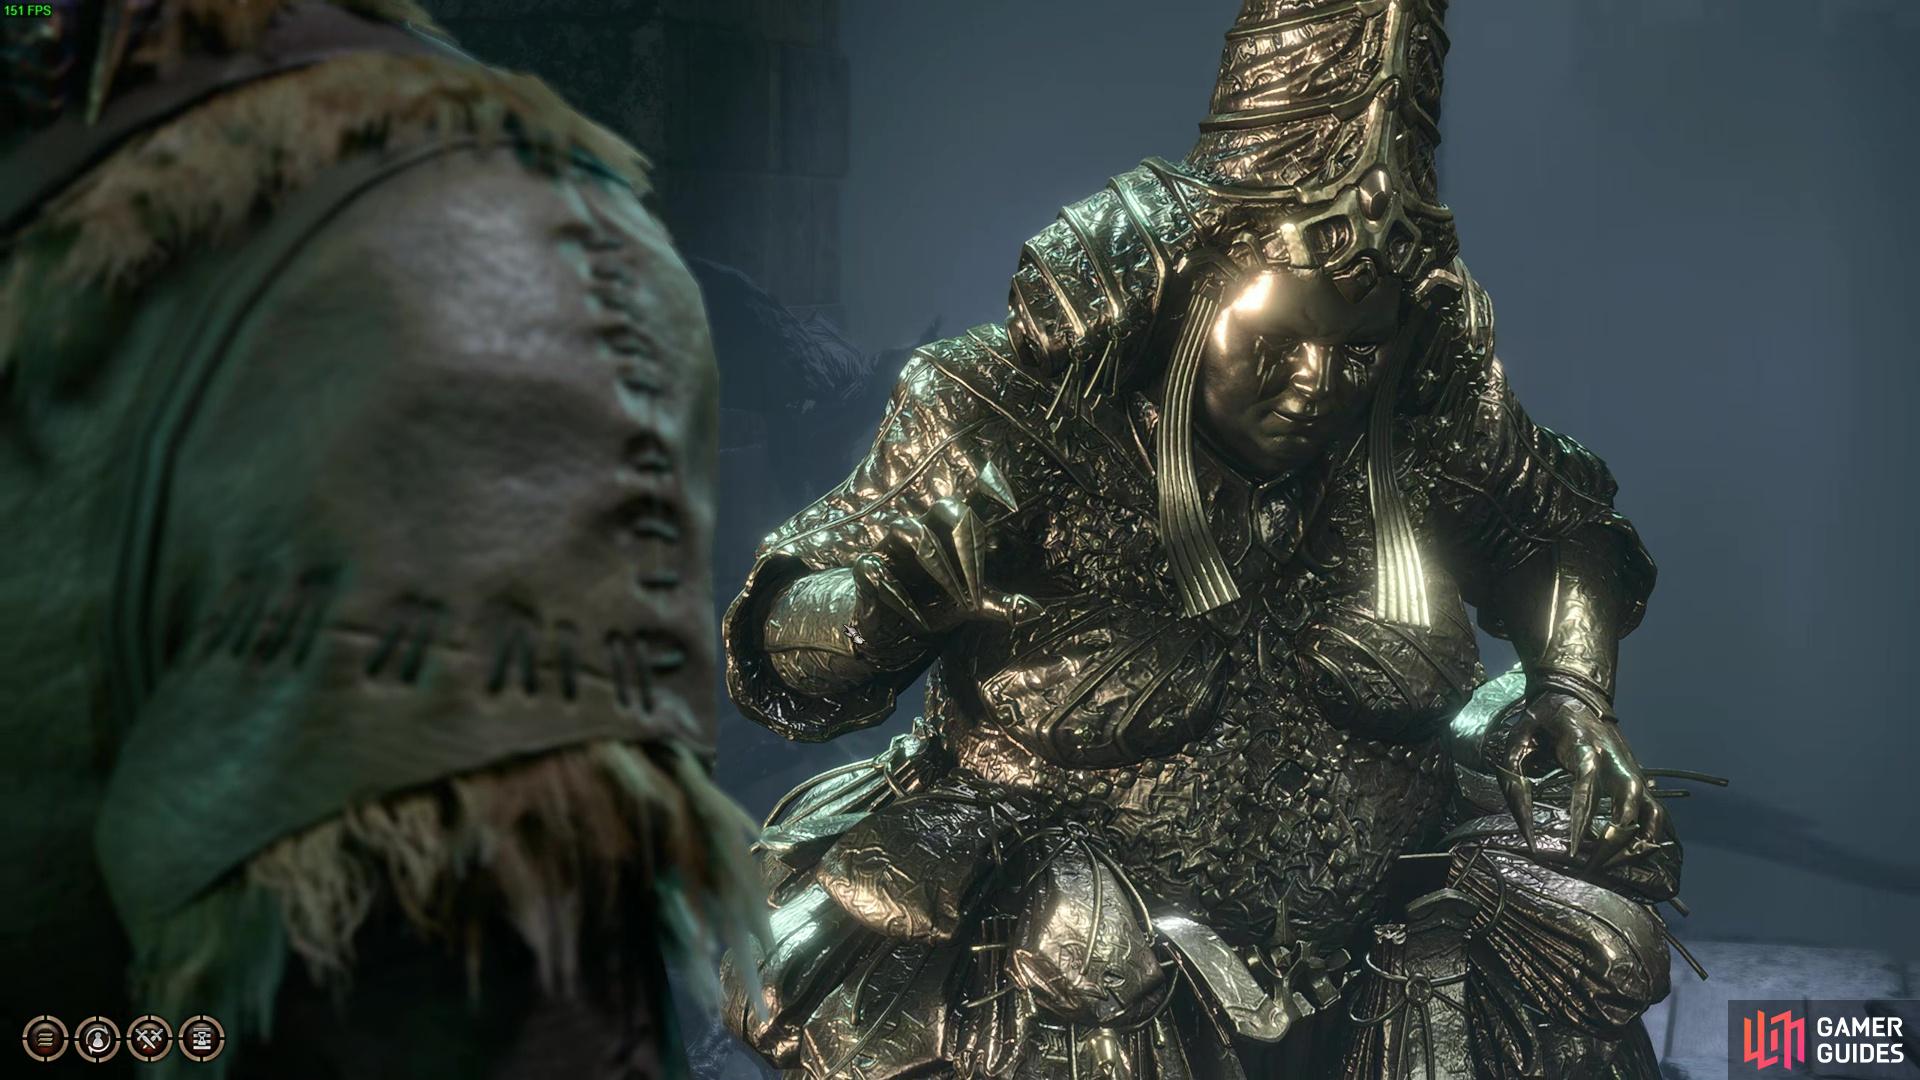
As you enter the Toll House, you will find plenty of loot, along with trails of gold all along the floor. If you speak with the floating Visages, they will tell you to go speak to Gerringothe Thorm, who is the Thorm household member who extorts the ever-living hell out of every merchant along the way to Baldur’s Gate. Except she is no longer human, and the Curse has made her pure gold.
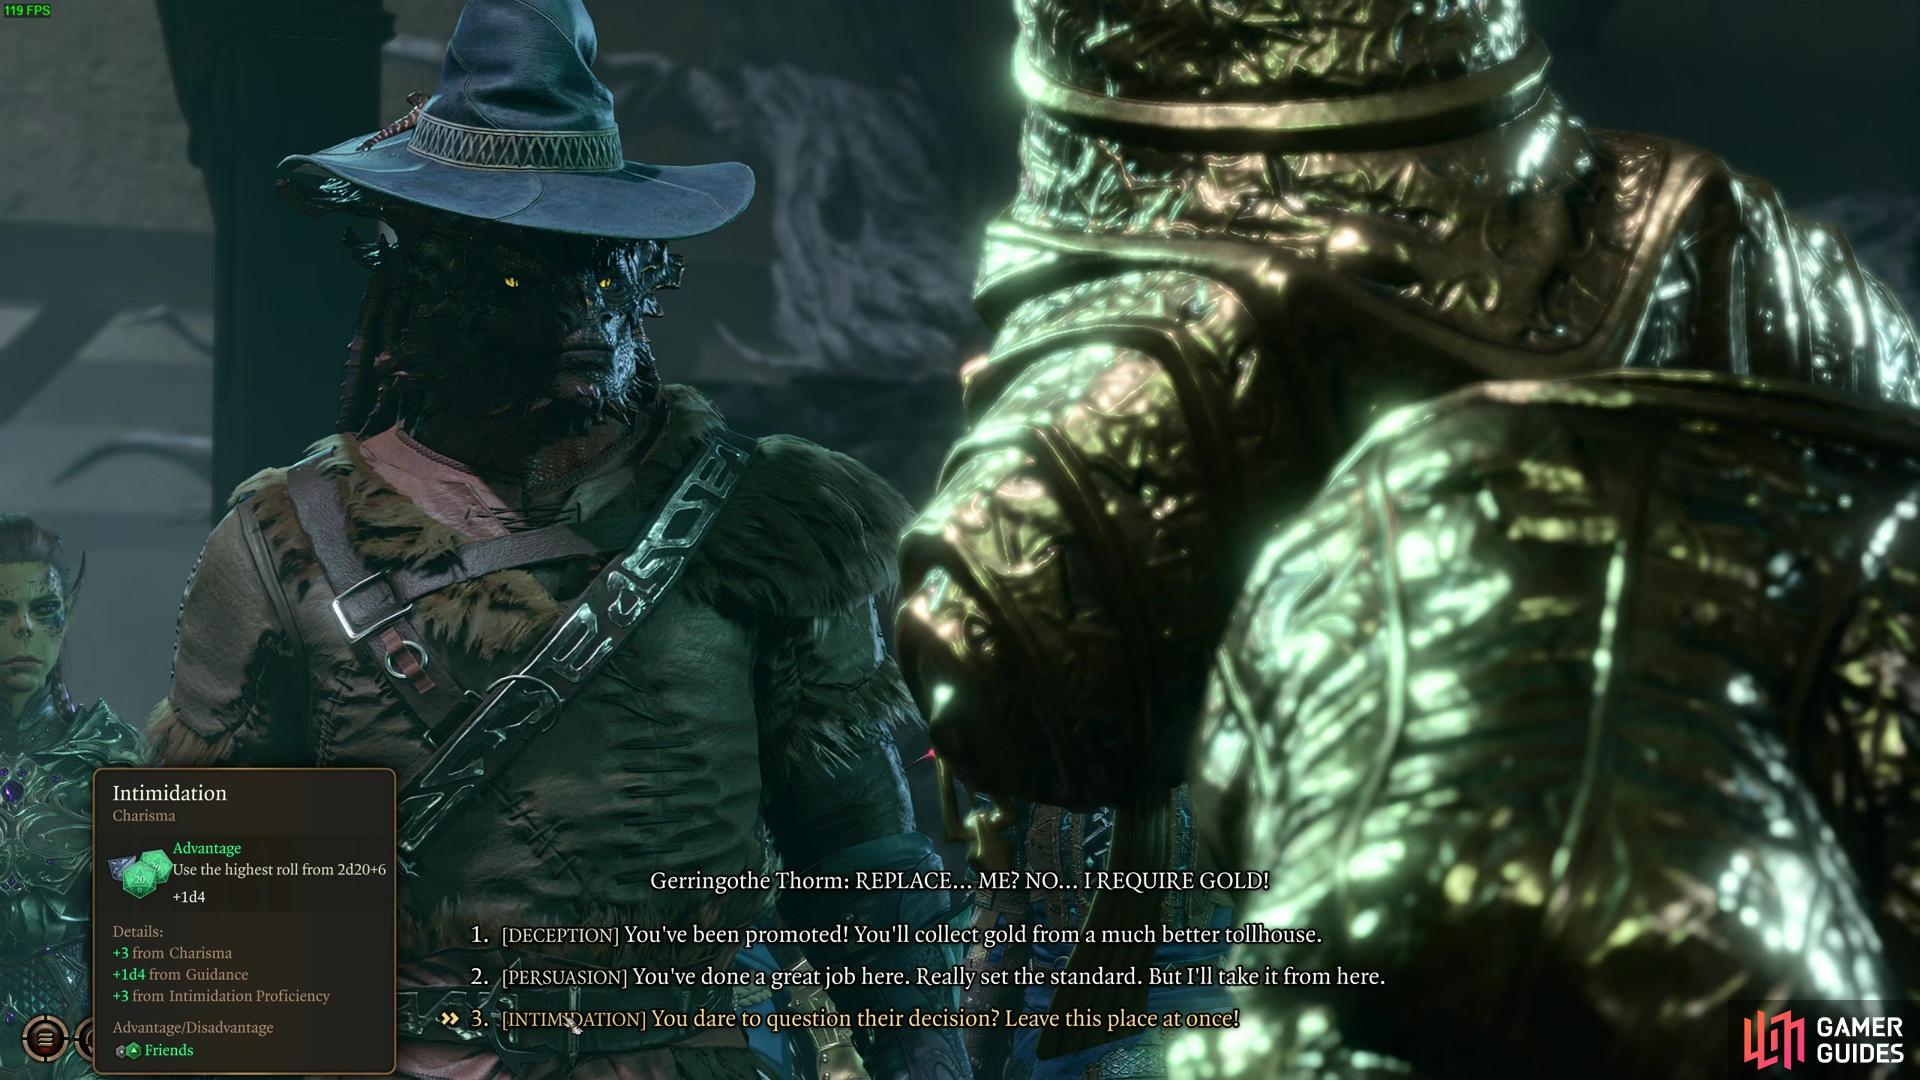
Two very different things can happen to her, depending on how you approach this. First, you succeed in all the checks to get out of her very aggressive gold-making scheme. If you manage to do this, you will skip the upcoming boss battle, and she will die of the fact she cannot get any more gold from this location because of your ability to fake news her every step of the way. If you intend to do this, we recommend the following course of action, as that is how we bamboozled her:
- Any Option
- Toss the creature a gold piece.
- I don’t hand out so much gold for little return
- [Deception] I’m here to replace you as the toll collector
- Pick whichever suits you, either the Deception, Persuasion or Intimidation check. We did the Intimidation one, for instance.
You can convince the boss to become sad enough to die without you having to shed blood or gold…
After that, she will cry gold tears and blow up. With her sad girl ending, her visages also die, and the curse of the ![]() Reithwin Tollhouse is lifted. Now you can freely explore the Tollhouse and look for all the other loot, gold and rewards around the place. Also, don’t worry about cheesing the boss this way, as you still get around 1160 XP for completing the Dialogue checks anyway.
Reithwin Tollhouse is lifted. Now you can freely explore the Tollhouse and look for all the other loot, gold and rewards around the place. Also, don’t worry about cheesing the boss this way, as you still get around 1160 XP for completing the Dialogue checks anyway.
Tollhouse Boss: How to defeat Gerringothe Thorm
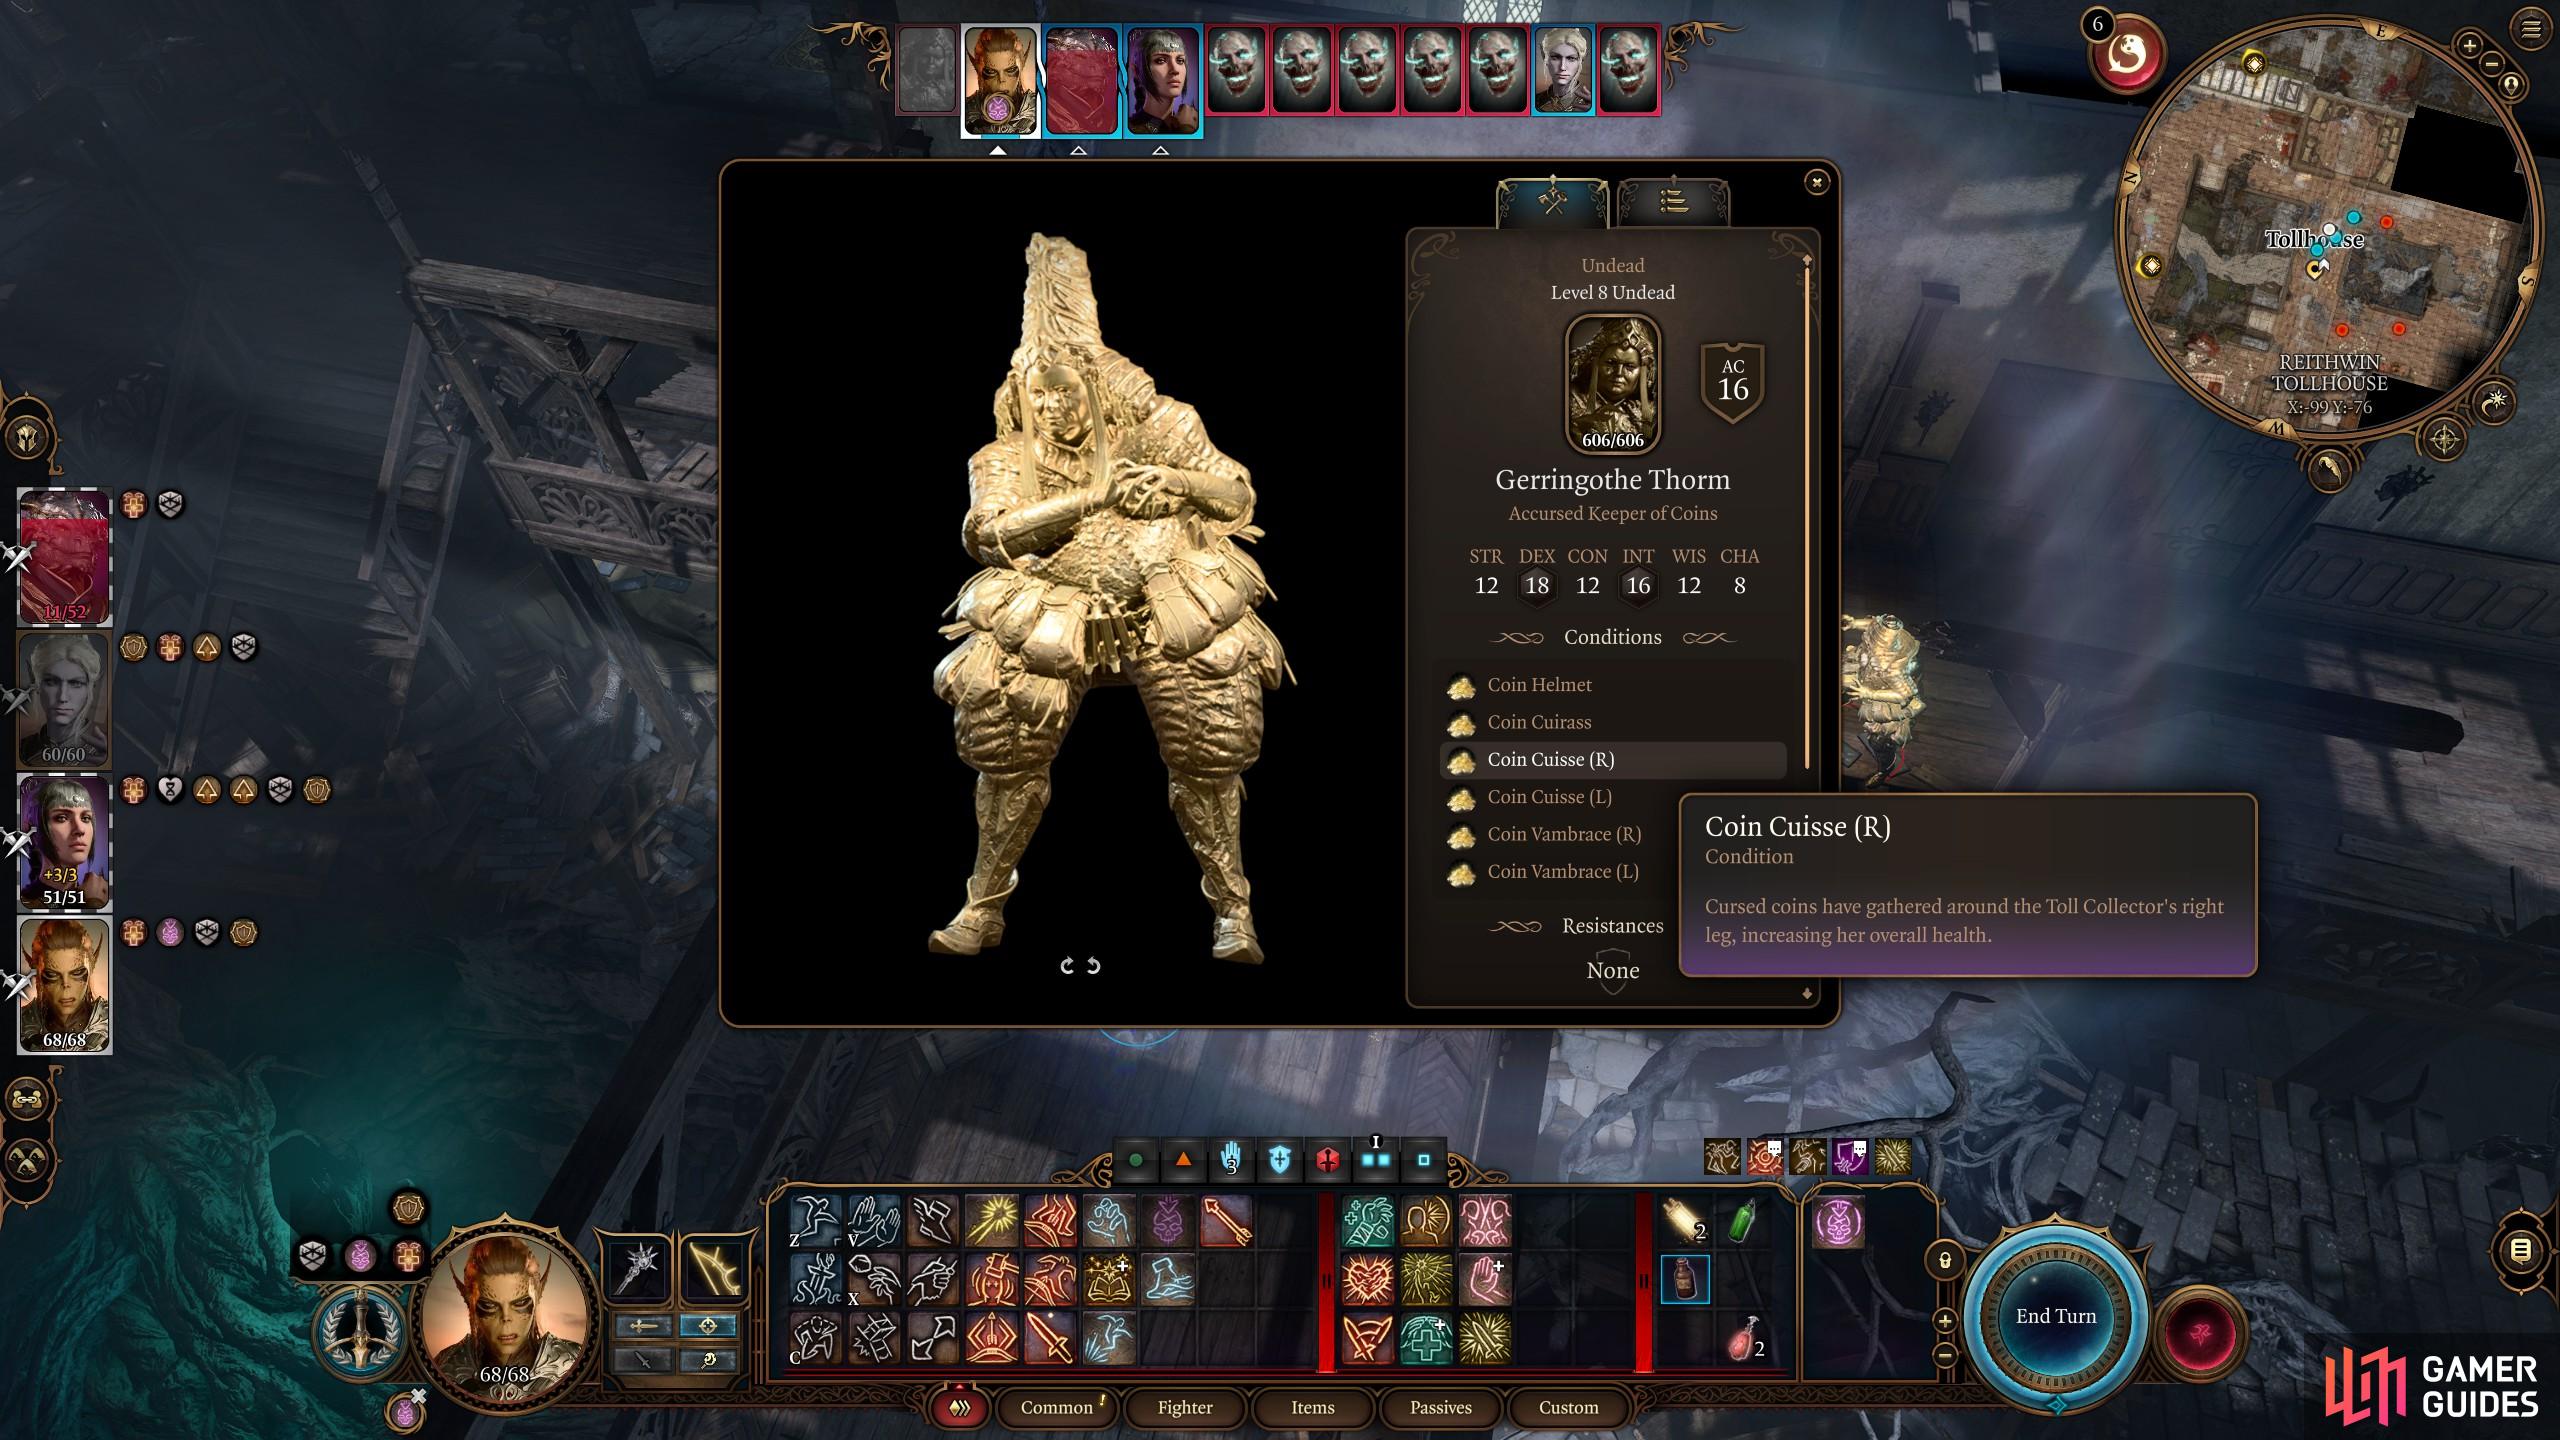
The boss has 600 HP, but you can shred 100 max HP by killing her Visages.
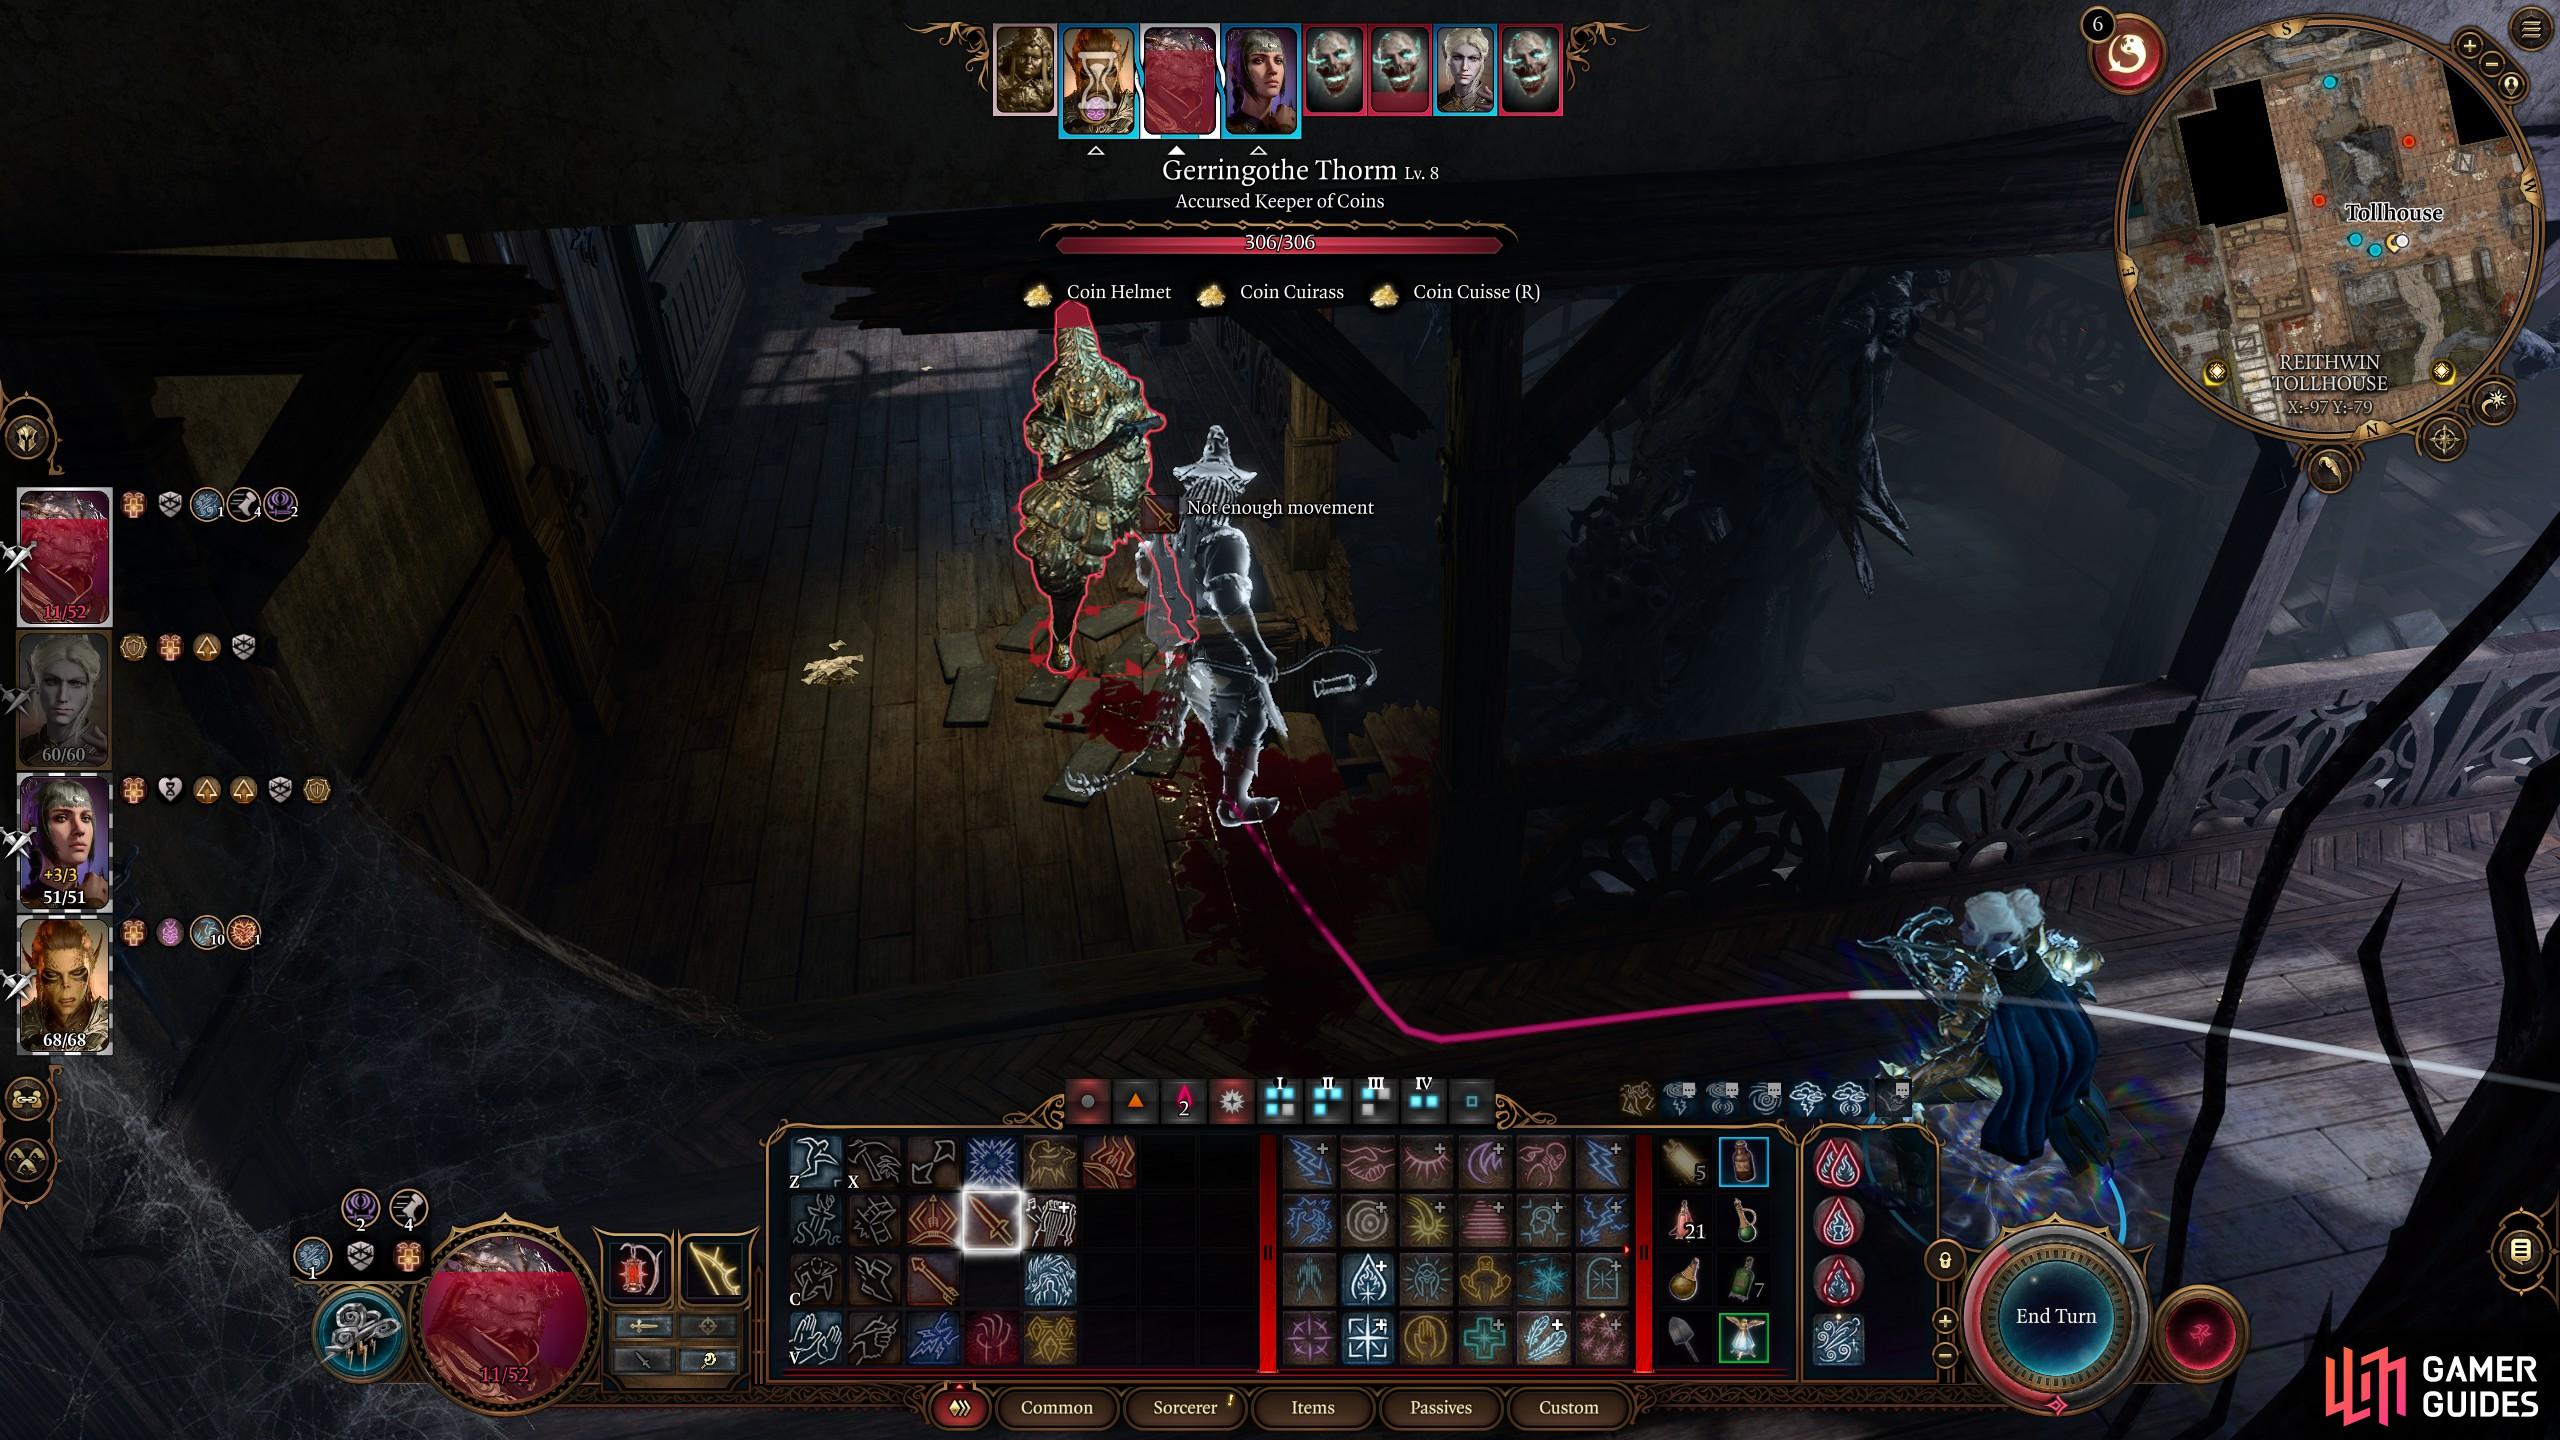
This is what the health of the boss looks like after 3 Visages fall.
If you got a bit confrontational with the lady of the house or failed your checks, you’ll likely have to scrap the gold lover. So, what you need to do are the following tactics:
- Defeat the Visages. Destroying these creatures brings down her armor, so you can actually hit her through all that gold.
- Avoid fighting the boss - She will summon Halberds constantly, so you basically stay locked in combat.
- Once the visages are down, Gerringothe can be pretty much one hit by anyone, as she only has seven HP. Once she dies, the Halberds stop spawning, so you can end the fight that way.
Ideally, you want to position your party in a way where you can track the Visages as they float around the Tollhouse. Once you have your party in favorable advantages, pre-apply your non-aggressive concentration buffs like ![]() Bless, then have your tank character, or whoever is bait to fight Gerringothe. They’ll often be somewhat near her, and the distant ones seem to get closer to her as the fight starts. So, just keep your party spread somewhat within the 20-30 meter range of the boss to get the distant visages, while the other party members stay close to the boss and can hit the closer visages to her. Ideally, also have a tanky character be the one in close range of the boss, as she can deal some pretty high spell damage.
Bless, then have your tank character, or whoever is bait to fight Gerringothe. They’ll often be somewhat near her, and the distant ones seem to get closer to her as the fight starts. So, just keep your party spread somewhat within the 20-30 meter range of the boss to get the distant visages, while the other party members stay close to the boss and can hit the closer visages to her. Ideally, also have a tanky character be the one in close range of the boss, as she can deal some pretty high spell damage.
The visages typically have around 30-45 health, depending on difficulty, and they tend to be easy to hit, despite the distant darkness making it harder to hit them somewhat. Each one also contributes around 100 HP as a buff on the boss’ status bar. You can see an example of the boss fight where she loses 300 max health in a turn from my team, thanks to killing three of the Visages between two characters.
Having your party spread around is certainly a strong strategy, largely thanks to the Visages doing various forms of AOE elemental damage to your party. If you have your party clumped up, then the fight could get slightly harder for you, especially on Tactician. So, spread out when possible, and try to keep your party at least 5-10 meters away from the next party member to avoid any splash effects safely.
Keep practicing until the fight is in your favor, and you’ll beat the Reithwin Toll House in Baldur’s Gate 3.
Exploring the Toll House
There are plenty of magic items around the place, scattered around in locked safes and chests. But you can beat most of them open now there are no guards around.
With the boss defeated, you can get her key to her office and get the bigger prizes. Throughout the building, you’ll find clerk rooms filled with treasure chests, safes that need strength checks to open them. You can also find several perception checks to find hidden notes to open other safes nearby and finding loose planks, levers and floors to blow up to get into otherwise hidden rooms. Most of these rooms have locked chests containing gold and other magic items for you to find.
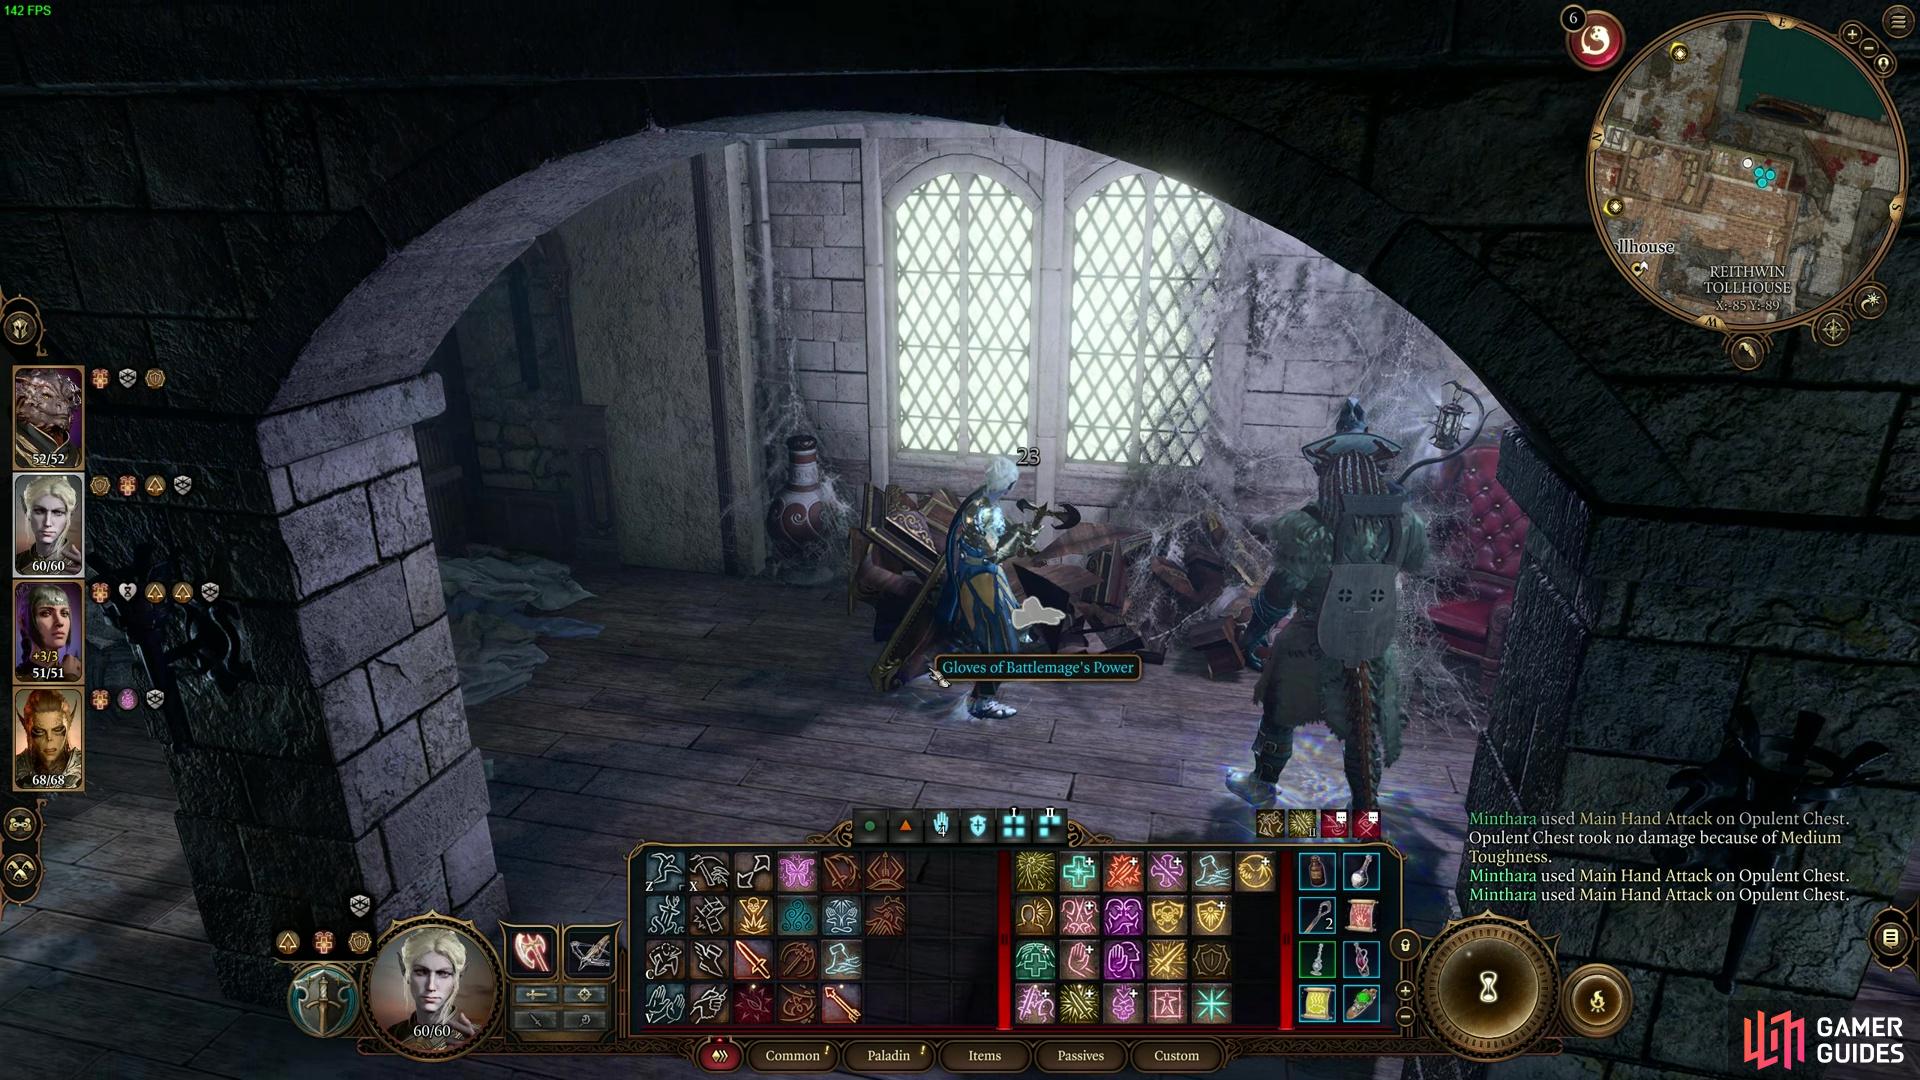
Here are all the magic items you can find in the Tollhouse for you to loot:
- Ironvine Shield
- Gloves of the Battlemage’s Power
 Fireheart
Most of these items come from various forms of locked chests throughout the building. You can also access the Heavy Oak Door to get to the basement of the Toll House. In there, you can find some more notes on the ruler of the Toll House, along with more confiscated silver items and gold for you to take for yourself as your spoils of war.
This concludes the Reithwin Toll House in Baldur’s Gate 3. Now you know how to beat the Tollhouse boss and get all the loot available in this rather large rich-filled location. Maybe you can afford some of the juicy items from the traders in Moonrise and Last Light, or maybe it adds to your savings for all the powerful items still coming in Baldur’s Gate.
If you’re exploring Act 2 before venturing through to Baldur’s Gate, feel free to check these guides out too!
I stole the dagger first and got to keep it but I could not interact with the altar to shed blood.
I stole the dagger first and got to keep it but I could not interact with the altar to shed blood.