
Mental illness is no laughing matter, unless laughter manifests as part of said mental illness, in which case it’s still not funny, despite the laughter. Some Sharrans broke the body and mind of a Lathandaran monk, but his spirit now lives on in a cursed amulet, causing those who interact with the relic to suffer from fits of mirth. Naturally a warm, light-hearted cult like the Sharrans pitched the thing into the lava the second it caused them to crack a smile. This page will provide a walkthrough for the quest ![]() Help the Cursed Monk, including how to start it, how to reach the Ancient Forge and defeat the Lava Elemental, and how to recover the
Help the Cursed Monk, including how to start it, how to reach the Ancient Forge and defeat the Lava Elemental, and how to recover the ![]() Sentient Amulet in Baldur’s Gate 3.
Sentient Amulet in Baldur’s Gate 3.
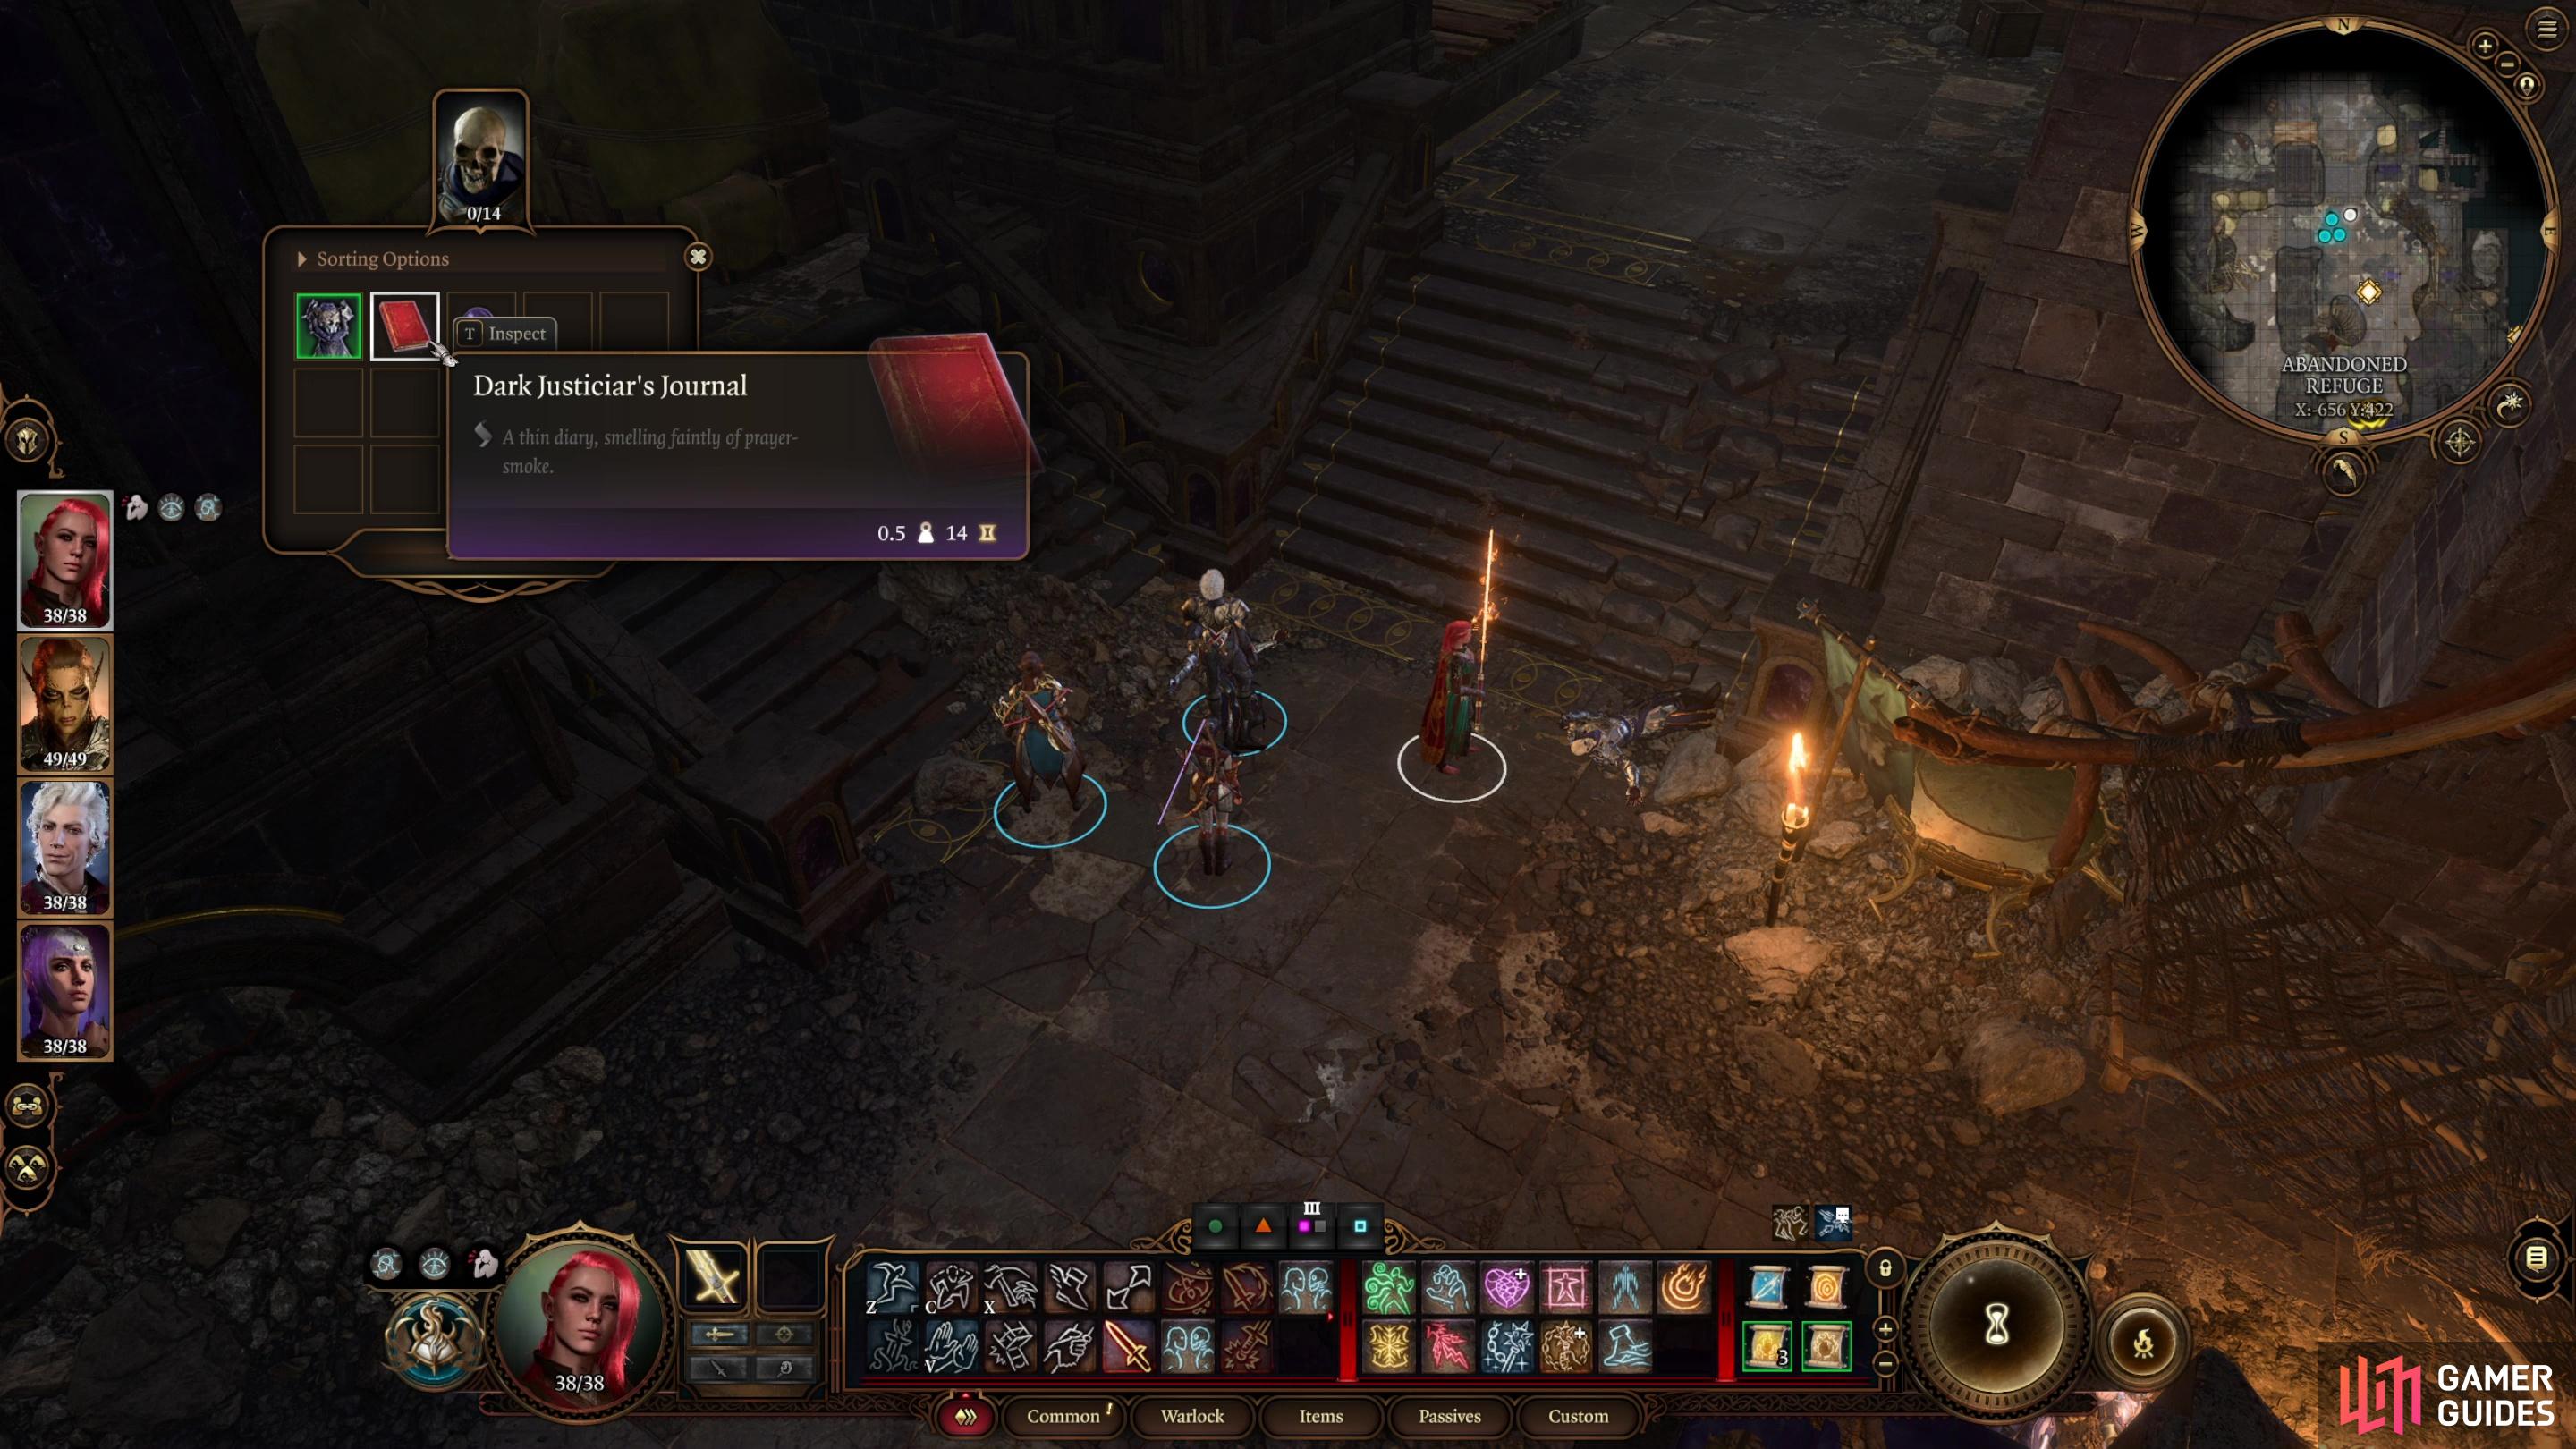
Loot the skeletons of some dead Sharrans to find the Dark Justicar’s Journal, which mentions a cursed amulet that was cast into the lava.
How to Start Help the Cursed Monk in Baldur’s Gate 3
To begin this quest you’ll need to travel to ![]() Grymforge, which requires you to defeat the duergar in the
Grymforge, which requires you to defeat the duergar in the ![]() Decrepit Village in the underdark. Once vanquished, commandeer their ship and sail across the lake to reach Grymforge. Two obligatory encounters with duergar later (you can talk your way through both without a fight) you’ll be free to explore the area. Head upstairs to the west to find the Grymforge waypoint, then turn south up a second flight of stairs. Once atop the stairs, turn west and head around a wall, then venture north past some duergar and some rothe and you’ll find two more small flights of stairs. Near these stairs are some skeletons, and on one (x=-652, y=425) you’ll find a Dark Justicar’s Journal. Pick it up and read it to start this quest.
Decrepit Village in the underdark. Once vanquished, commandeer their ship and sail across the lake to reach Grymforge. Two obligatory encounters with duergar later (you can talk your way through both without a fight) you’ll be free to explore the area. Head upstairs to the west to find the Grymforge waypoint, then turn south up a second flight of stairs. Once atop the stairs, turn west and head around a wall, then venture north past some duergar and some rothe and you’ll find two more small flights of stairs. Near these stairs are some skeletons, and on one (x=-652, y=425) you’ll find a Dark Justicar’s Journal. Pick it up and read it to start this quest.
Apparently some cursed amulet causes laughing fits? Whatever the exact nature of this amulet, it was cast into the lava after affecting some Sharrans, but what paltry bit of magic jewelry is so fragile that a little molten rock can destroy it?
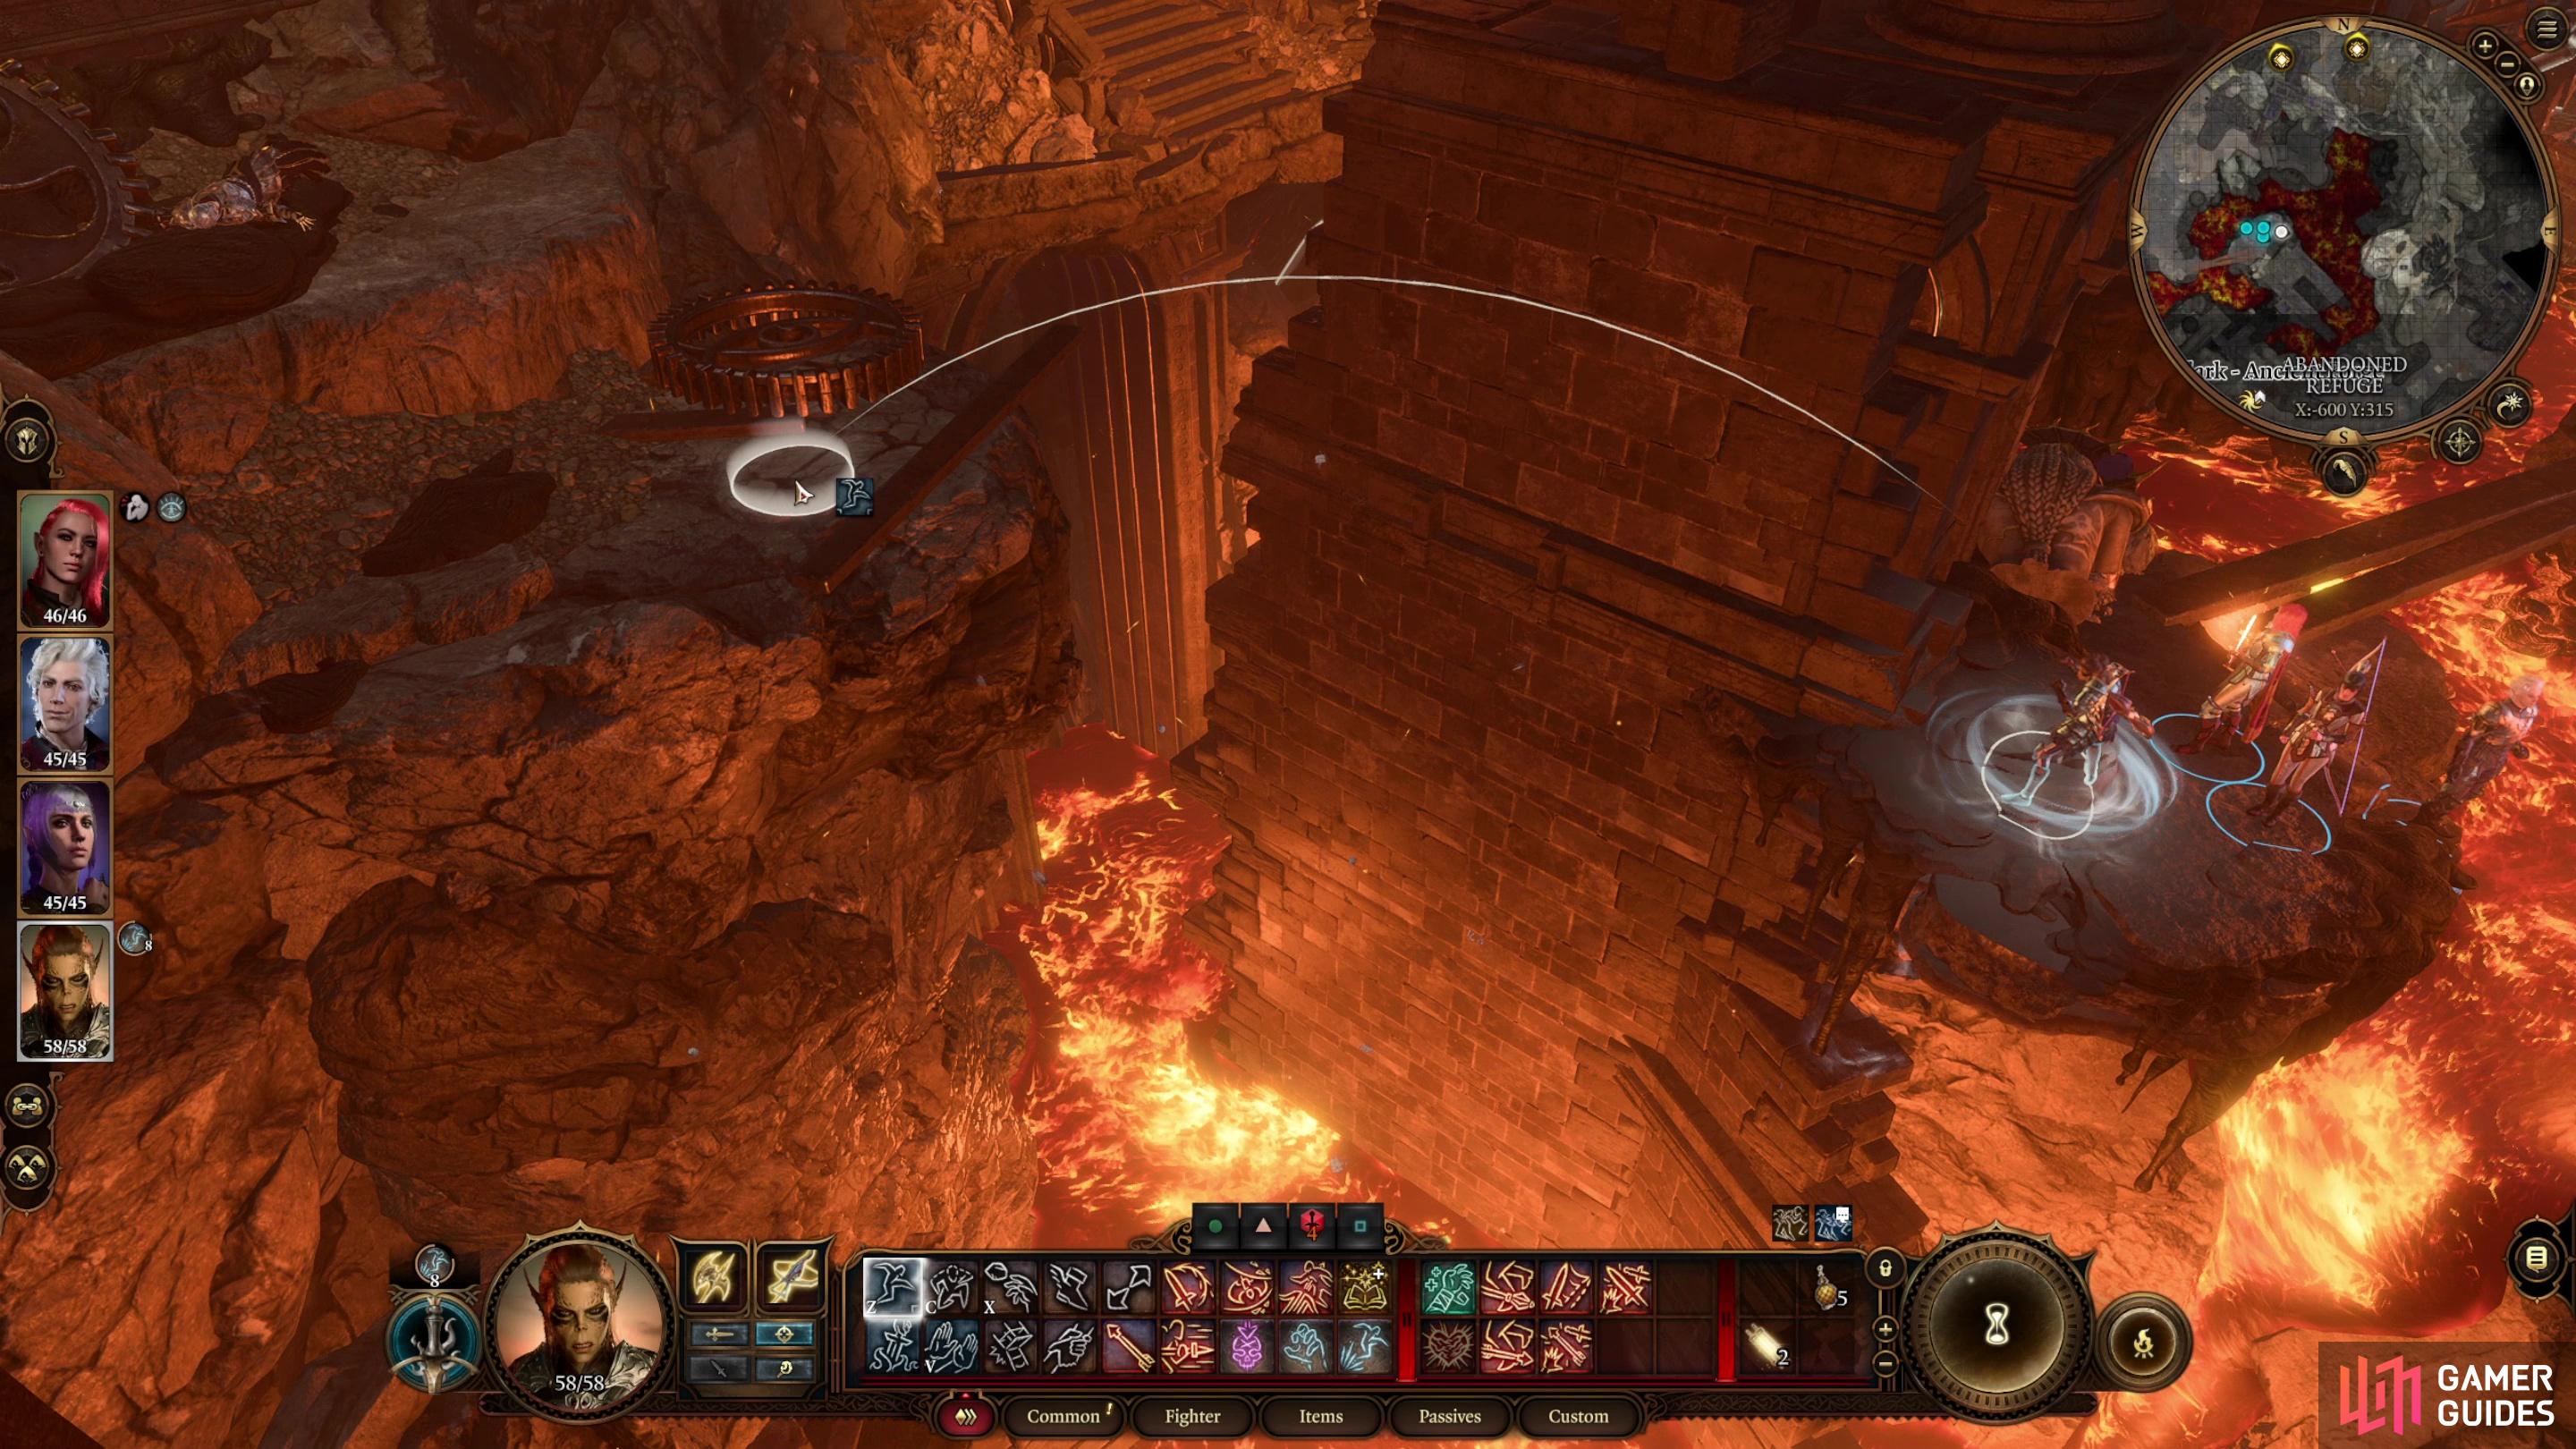
You’ll need magical enhancements to cross a gap to the Ancient Forge,
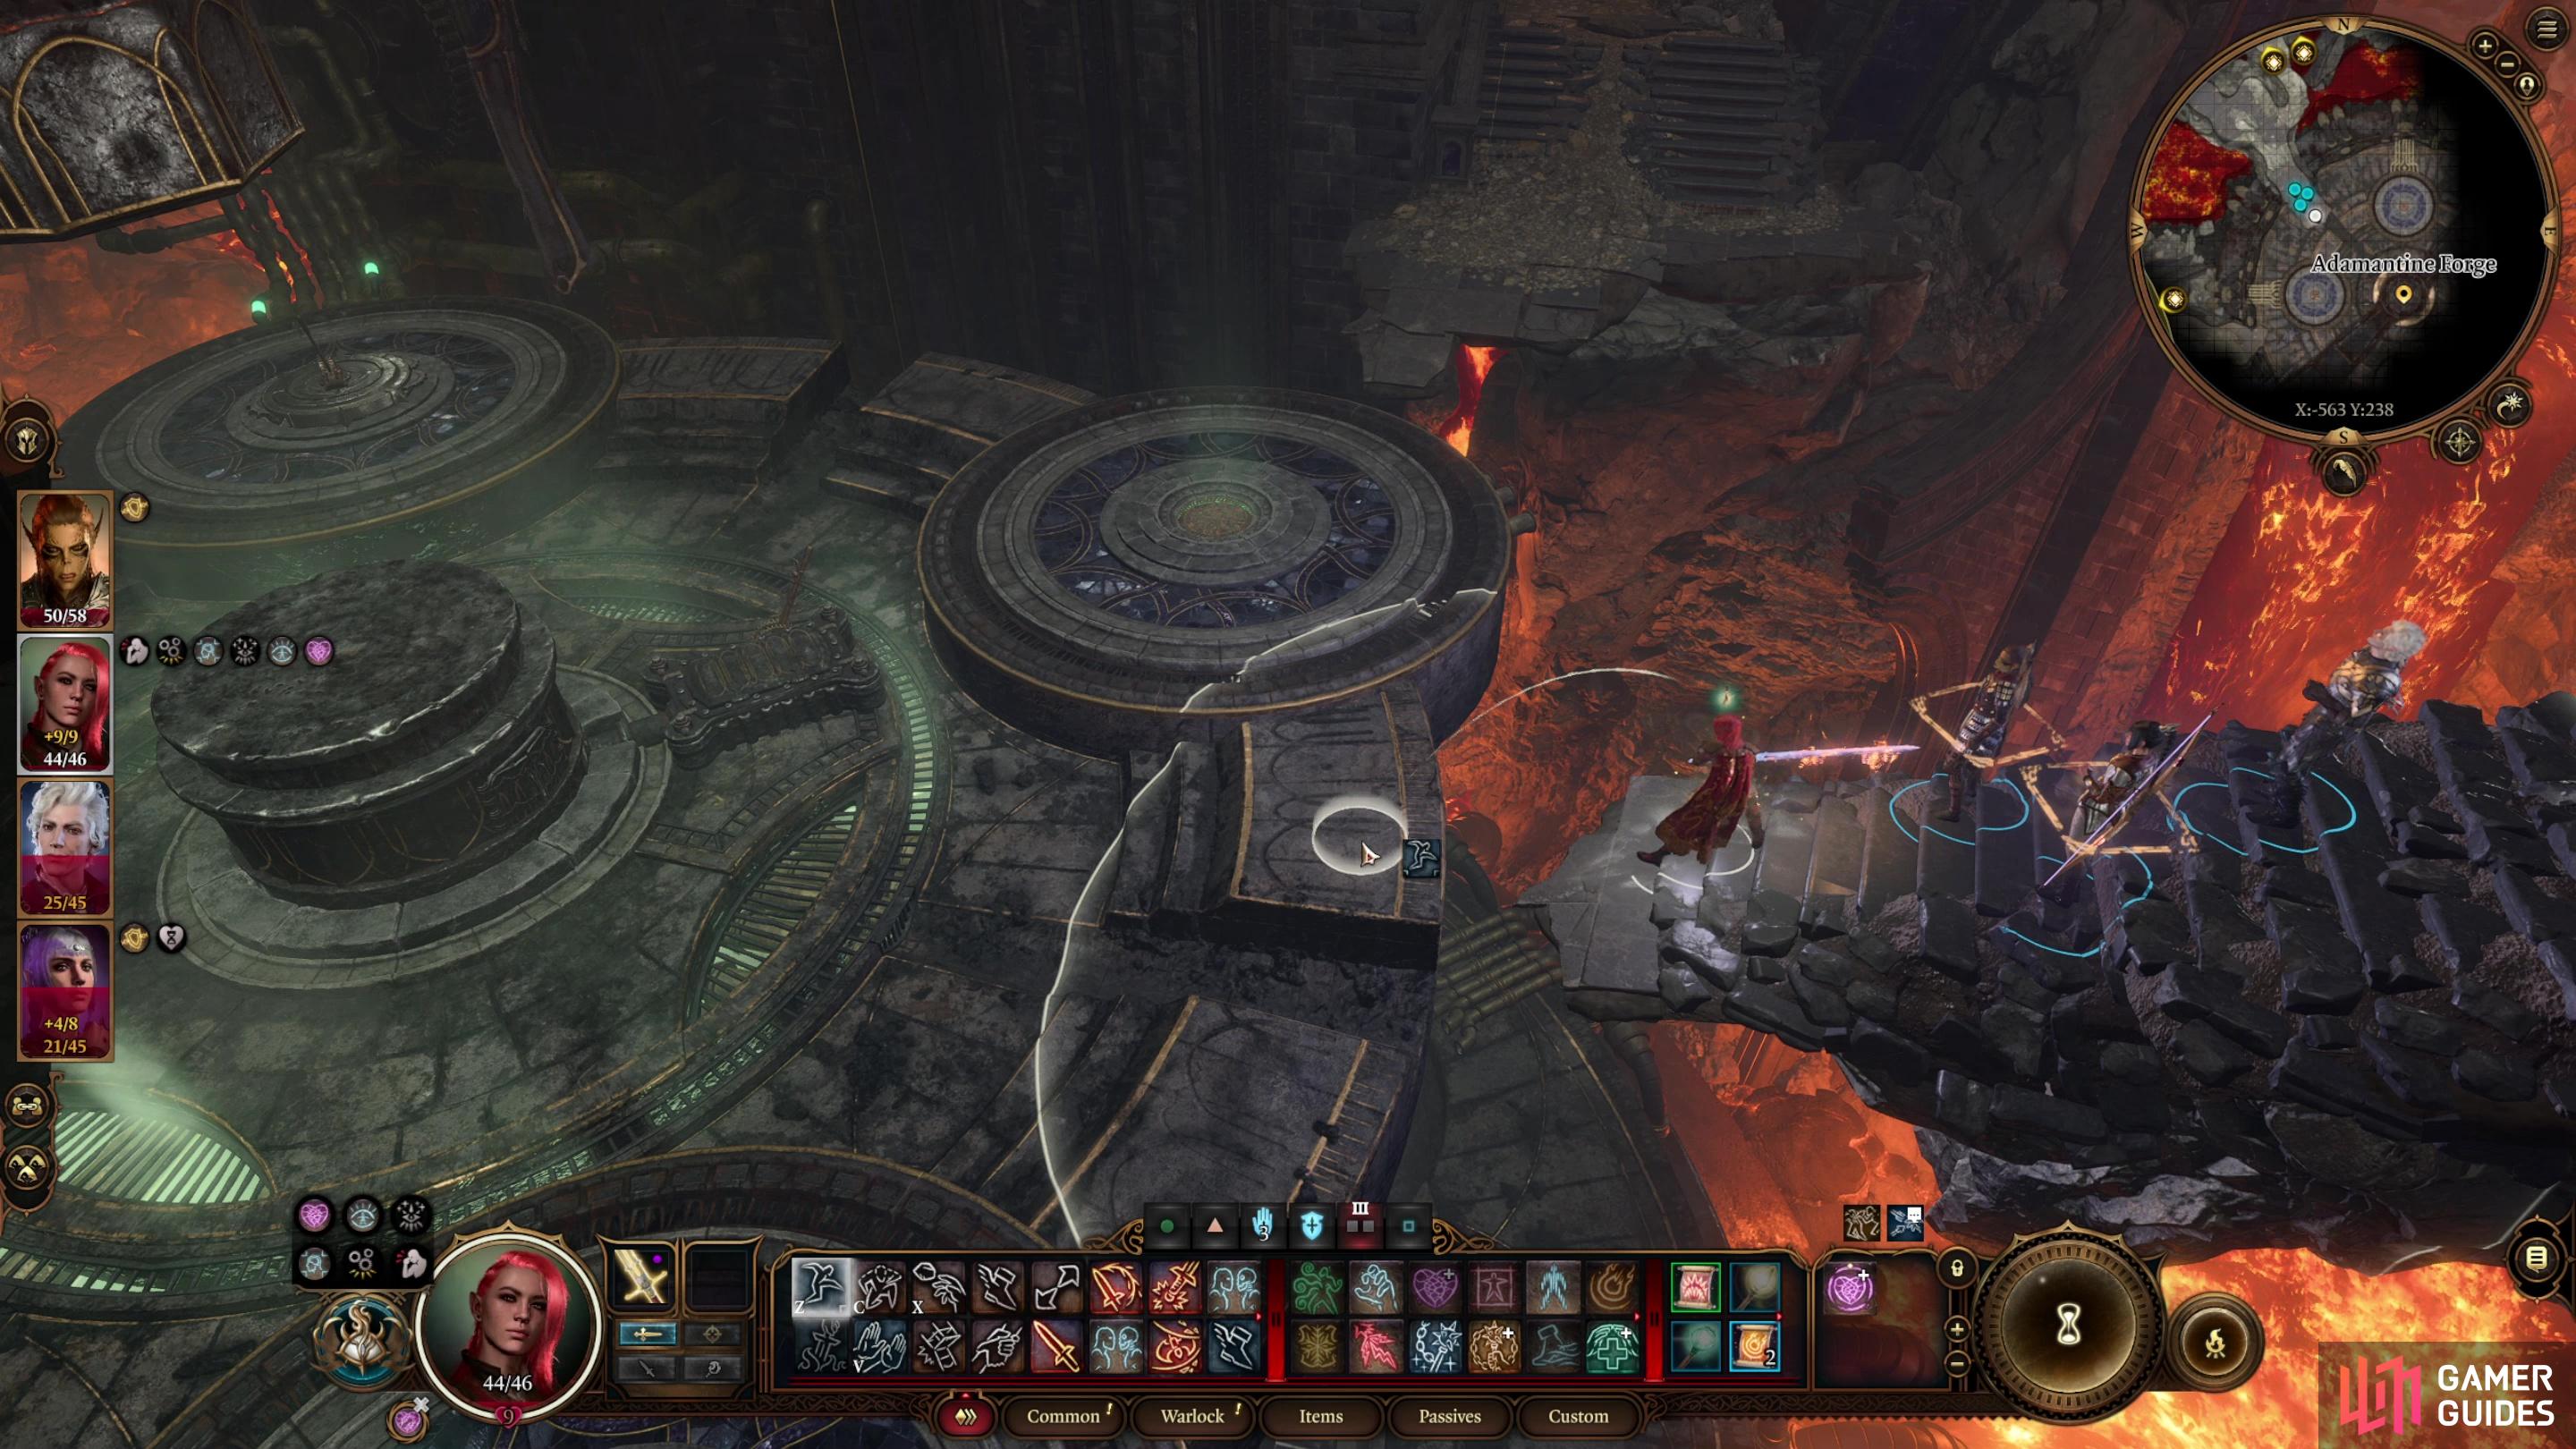
then you’ll need to continue down some stairs to reach the Adamantine Forge.
How to Reach the Ancient Forge in Baldur’s Gate 3
Starting this quest isn’t difficult, but advancing it takes some work. To continue with this quest you’ll need to make your way south to a large, busy, lava-filled chamber where some duergar are cruelly spurring on some gnomish slaves to free their employer, Nere, who was trapped in a cave in. This long, involved (or possibly quite short and simple, depending on how you go about it) quest is covered on the page How to Free True Soul Nere, and while completing it is entirely optional, it’s also timed. If you neglect it, your options will dwindle significantly, so we encourage you to check out the linked page so you have no regrets with how things play out with Nere, the duergar and their gnomish slaves.
As for continuing this quest, you need to cross over to the ruins to the south, something gravity and lava both impede. The solution is simple enough - head across some wooden planks to the east and look east across a lava-filled pit to find some solid ground in the distance. With a long enough jump or other means of traversal you can reach this far section of the ruins. Casting Jump on a character or using ![]() Misty Step will both suffice to get you across, after which head southwest to discover the Ancient Forge waypoint, which will allow the rest of your teleport over without wasting resources. Don’t get too free with exploring, as some Armored Constructs lurk on some high ruins to the southwest. They’re content to pick away at you with ranged attacks, but if you withdraw they’ll forfeit the high ground to chase you.
Misty Step will both suffice to get you across, after which head southwest to discover the Ancient Forge waypoint, which will allow the rest of your teleport over without wasting resources. Don’t get too free with exploring, as some Armored Constructs lurk on some high ruins to the southwest. They’re content to pick away at you with ranged attacks, but if you withdraw they’ll forfeit the high ground to chase you.
Defeat the constructs and head downstairs to the southeast to reach the eponymous forge. You’ll be forced to jump where time and seismic activity has deprived you of an easy path, but eventually you’ll reach the end of the stairs. Jump onto the circular forge, then jump across to another ledge to the southeast. Head up some stairs and you’ll find another pit of lava, in which prowls a Lava Elemental.
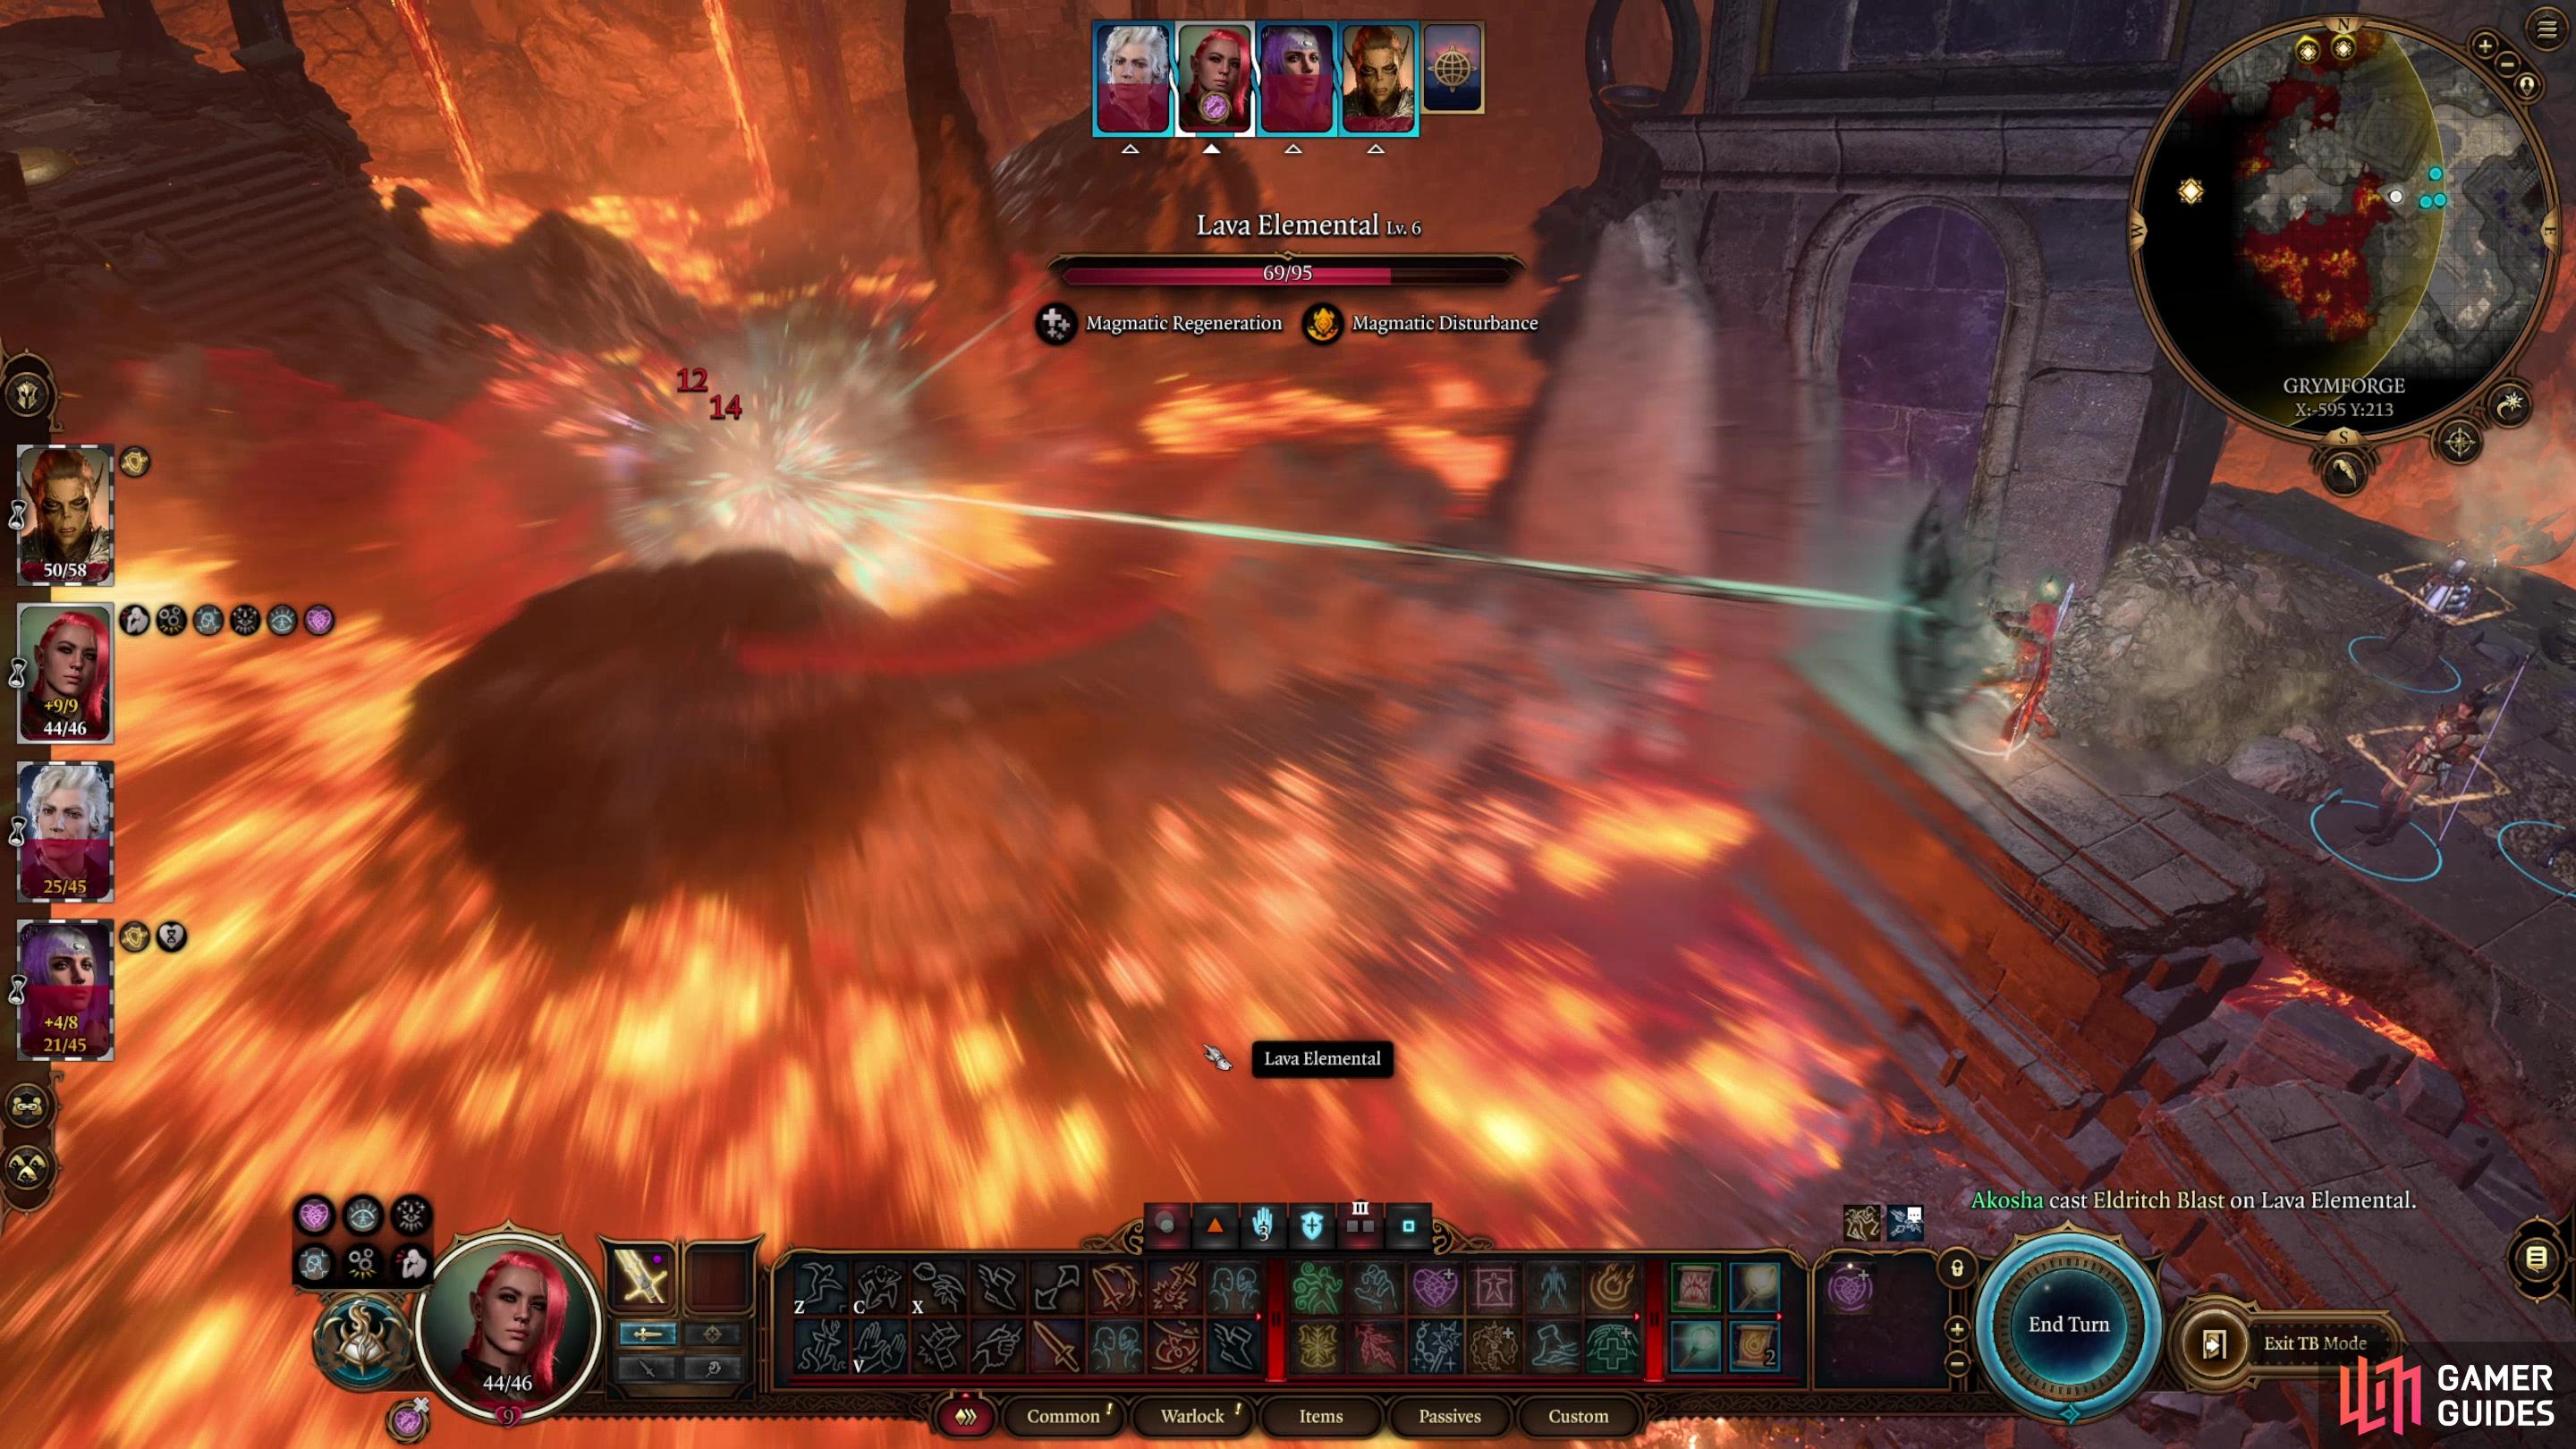
Used ranged attacks to bait a Lava Golem,
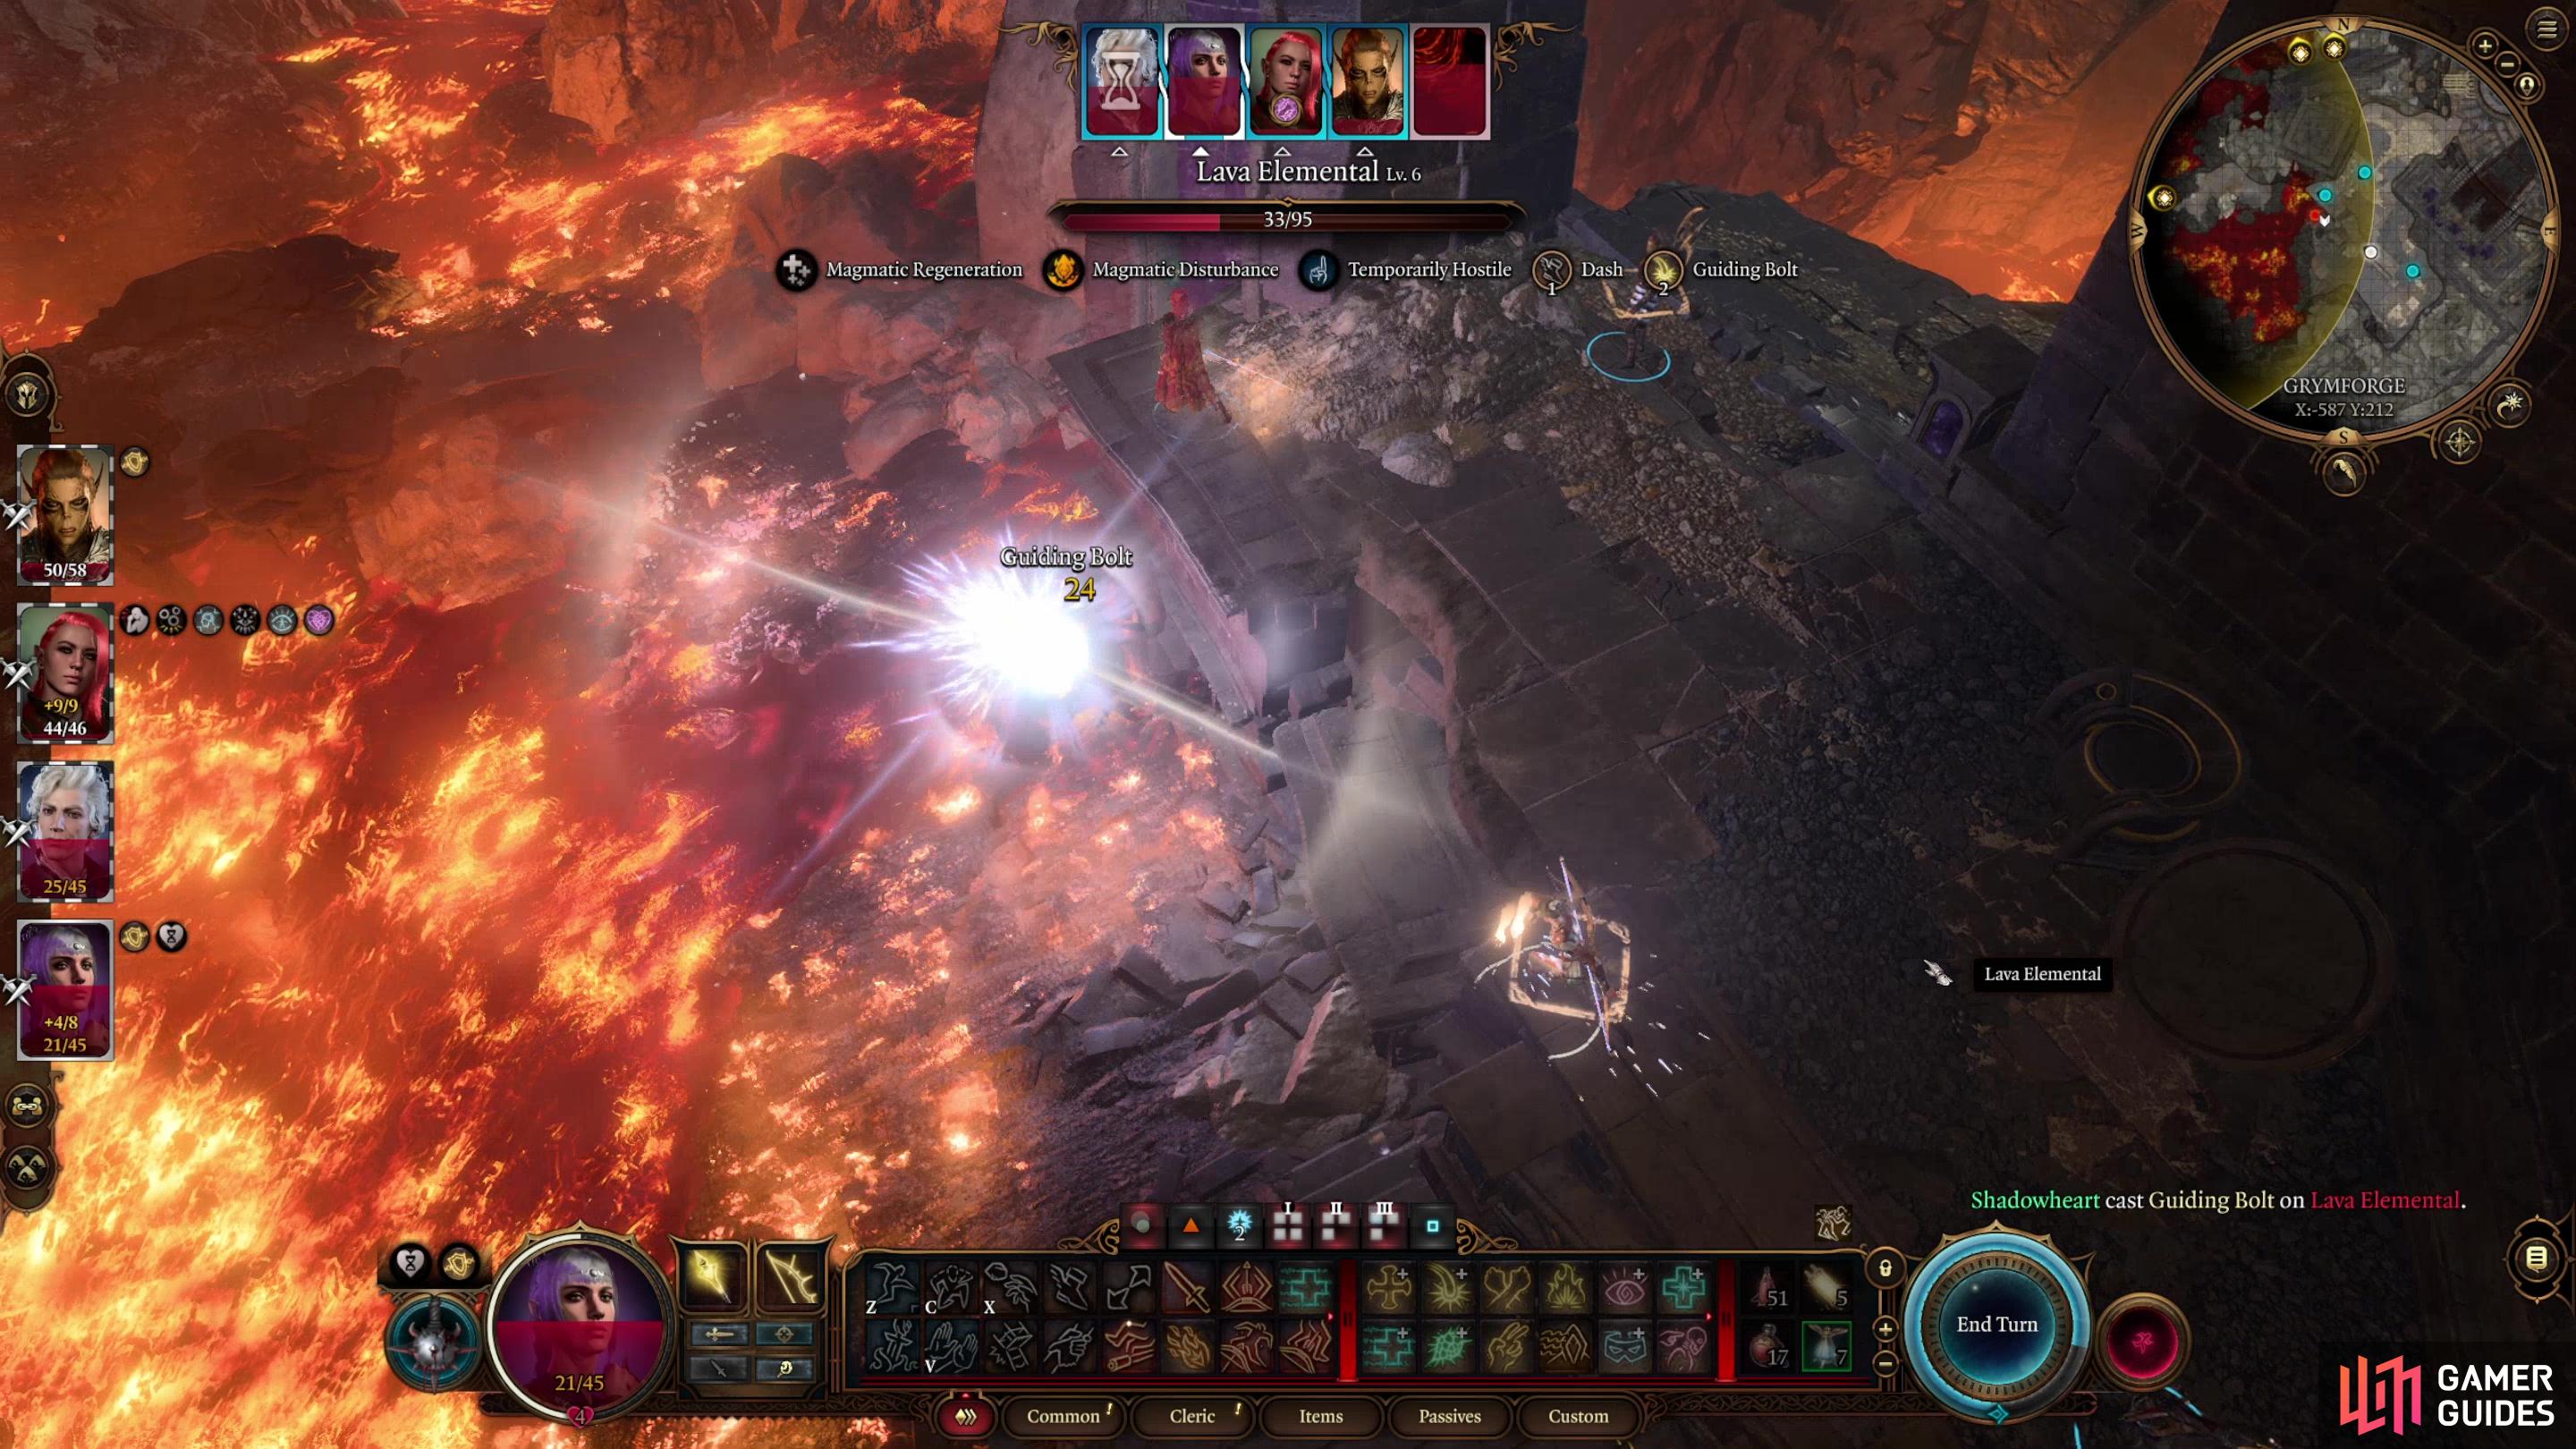
and use spells and other ranged attacks to bring it down safely.
How to Defeat the Lava Elemental in Baldur’s Gate 3
While big and imposing, this Lava Elemental isn’t too terrible of a foe, provided you don’t lean into its strengths. It’s a fairly typical bruiser, with a Strength score of 19 and a Constitution score of 18. These ensure it can acquit itself well in melee combat and gives it a respectable Hit Point pool (95), but its most dangerous feature is its Magmatic Regeneration ability, which allows it to recover 20-120 Hit Points when it starts the turn in lava.. Magmatic Disturbance also causes the lava balloons to boil up and pop.
The solution is both obvious and simple: do not fight it in the lava. There are plenty of rocks to stand on, but you’ll still be exposed to the lava balloons while having little space to maneuver, while the Lava Golem will still have plenty of lava to stand in. Instead, station a character on the edge of the ruins and wait for it to approach on its patrol route, then enter turn-based mode (shift + spacebar) and shoot at it. Hit or miss, you’ll provoke the Lava Elemental. Surprisingly it doesn’t have a ranged option, so just take potshots at it until it closes to melee range, then finish it off. Ideally you’ll lure it onto the ruins, or at least the rocks nearby, to negate its regeneration, but failing that you could just get lucky with the regeneration roll. It does have a decent Hit Point pool, but its Armor Class of 12 and the height advantage you enjoy should ensure you hit it often. On the downside, it’s resistant to piercing damage (hence most ranged attacks) but a level five Warlock can shave off 10-28 damage per turn with ![]() Eldritch Blast and most other spells harm it just fine, except fire, of course (it takes double damage from cold spells, if you have any). Two spellcasters can easily shave off half of its health in a turn, and if it comes within melee range it’s pretty easy to take down in a single turn, despite having nearly three-digit Hit Points.
Eldritch Blast and most other spells harm it just fine, except fire, of course (it takes double damage from cold spells, if you have any). Two spellcasters can easily shave off half of its health in a turn, and if it comes within melee range it’s pretty easy to take down in a single turn, despite having nearly three-digit Hit Points.
Worst case scenario, you lure it onto the ruins and take a few (admittedly painful) hits in exchange for luring it into melee range. More likely it ends a turn on rocks and you can shoot it down near the ruins. It drops various gems when defeated, but more importantly, its demise calms the lava and clears the way for you to (relatively safely) leap across the rocks to some ruins to the west.
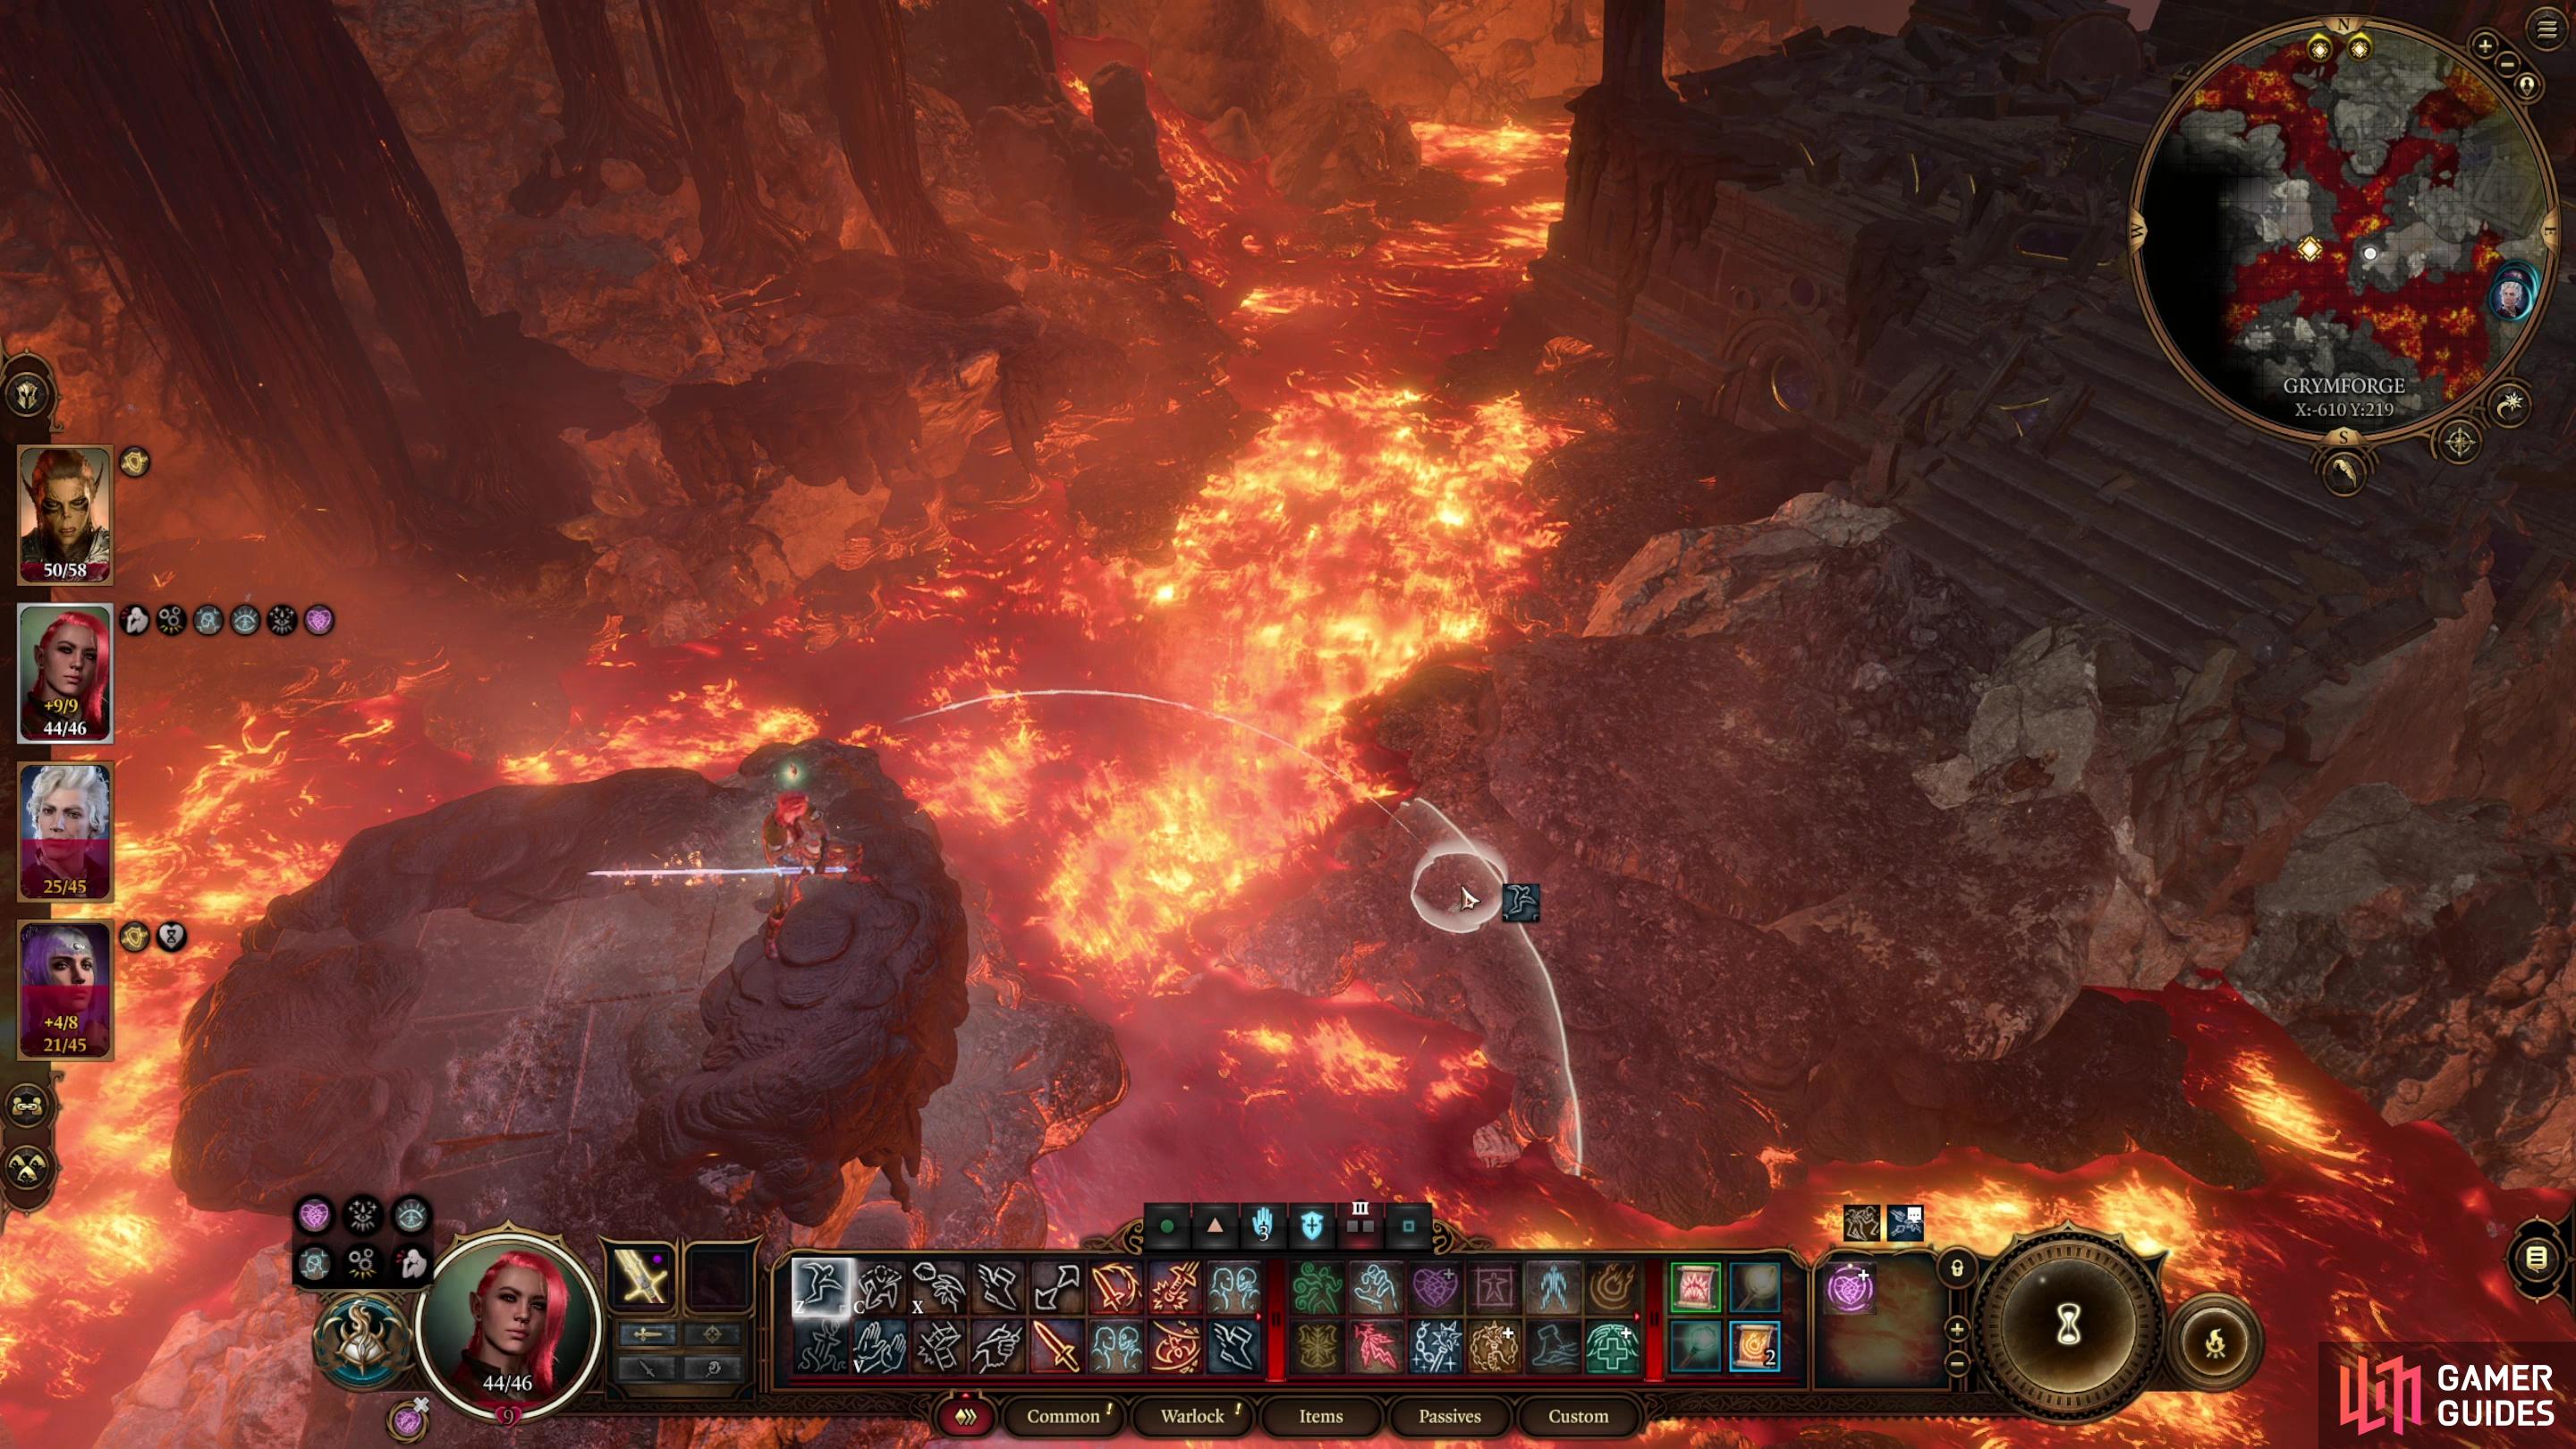
Where to Find the Sentient Amulet
Take a Rogue (or any character who can pick locks somewhat reliably) and leap across the rocks. You probably want to ungroup your party here (“G”), as the AI isn’t smart enough to stay out of the lava, and you don’t need that kind of damage. Leap from the ruins near the forge onto some rocks, then leap from there onto some more ruins, now a detached island in the middle of the lava. Go upstairs and you’ll find an Adamantine Chest. Unlock it [Sleight of Hand 20] and loot it to score, among other trinkets, the Sentient Amulet.
When you pick this up you’ll get a variety of checks, including a [Wisdom 10] check and possibly a class-specific check, both of which likely resist the laughter the amulet inspires through various means. Or you could just give in, it doesn’t really matter. Once you triumph over the giggles or recover from your fit of laughter, a ghost will appear and speak to you, asking you to return the amulet to its granddaughter. You can attempt a few more checks here, including an [Investigation 10] check which leads to a [Religion 10] check that helps you determine the nature of the spirit, and an [Insight 10] check that helps you intuit the phantom’s motivations.
As for the amulet itself, it gives you the ability to cast ![]() Shatter once every [Short Rest]((https://www.gamerguides.com/baldurs-gate-3/guide/gameplay/getting-started/short-rests-and-long-rests-explained-in-baldurs-gate-3) and you can use “Ki Restoration” to recover 2 Ki Points every Long Rest - definitely a boon suited for a Monk. Unfortunately you cannot complete this quest until Act 3, so you’ll be stuck with this amulet for a while, for better or worse.
Shatter once every [Short Rest]((https://www.gamerguides.com/baldurs-gate-3/guide/gameplay/getting-started/short-rests-and-long-rests-explained-in-baldurs-gate-3) and you can use “Ki Restoration” to recover 2 Ki Points every Long Rest - definitely a boon suited for a Monk. Unfortunately you cannot complete this quest until Act 3, so you’ll be stuck with this amulet for a while, for better or worse.
In the meantime, check out the following pages, which will help you reach Act 2:
- Baldur’s Gate 3 - How to Free True Soul Nere
- How to Find Philomeen’s Hiding Spot - Find Explosives in BG3
- Baldur’s Gate 3 - Grymforge Boss Walkthrough
- All Adamantine Forge Items in BG3
- Mountain Pass or Underdark? Exploring Your Options in Baldur’s Gate 3
- Find the Githyanki Creche Walkthrough in Baldur’s Gate 3
No Comments