
The main story of Baldur’s Gate 3 will take you through three main acts. Act 1 mostly takes place in the ![]() Wilderness region of the game, and in true Dungeons & Dragons style, the options for making your own way through it are numerous. There are many different outcomes to the same quests, and in theory you can take on any specific task before another based on your playstyle preferences, or simply where the whims of your adventurous nature take you. With that said, players who are new to the DnD world might feel overwhelmed by the complexity of the options available to them, and there’s something to be said for what might be considered the most efficient playthrough of the game for newbies. On this page we’ll take you through a complete walkthrough of Act 1 in BG3, based on what we consider to be an ideal route.
Wilderness region of the game, and in true Dungeons & Dragons style, the options for making your own way through it are numerous. There are many different outcomes to the same quests, and in theory you can take on any specific task before another based on your playstyle preferences, or simply where the whims of your adventurous nature take you. With that said, players who are new to the DnD world might feel overwhelmed by the complexity of the options available to them, and there’s something to be said for what might be considered the most efficient playthrough of the game for newbies. On this page we’ll take you through a complete walkthrough of Act 1 in BG3, based on what we consider to be an ideal route.
Act 1 Walkthrough, Baldur’s Gate 3.
Overview for All Quests in Act 1 of Baldur’s Gate 3
Although the number of main quests, side quests, personal quests, and companion quests seem relatively few for the size of the Wilderness in Act 1, it’s important to remember that each quest has multiple objectives associated with it, so they can take a lot longer than you might expect if you’re willing to explore their outcomes thoroughly. You will notice that some quests share objectives since they overlap, such as the objective to find the Githyanki Creche which is relevant to both the ![]() Find a Cure main quest, and the Discover the Artefact’s Secrets personal quest.
Find a Cure main quest, and the Discover the Artefact’s Secrets personal quest.
If you want to jump to our overview for each type of quest mentioned on this page, see the links below:
The locations for each quest shown in the table below relate to where you first start them, but keep in mind that the objectives will see you traveling further afield, and the specific objectives that you must complete with be different depending on your choices. Be sure to check the associated guide pages for each quest if you want to discover the outcomes for different choices. It’s also worth noting that there’s more to do in the first region outside of listed quests, such as finding secrets or acquiring fluffy companions… We’ll provide a few links to these miscellaneous tasks at the bottom of this page.
Main Quests
There are two Main Quests that you’ll encounter during Act 1, both of which have objectives which lead into Act 2, and both of them being related to a number of side quests in the Wilderness. We’ll detail a basic overview of the main objectives below, with links to relevant guides.
Find a Cure
This is the first main quest that you will encounter after the prologue in Baldur’s Gate 3, and it has one seemingly simple objective which will lead you to different characters. You’re most likely to encounter the Emerald Grove first, where you’ll learn about the missing !Druid Halsin and other healers, such as Nettie. This will form part of the How to Save the Refugees and the How to Rescue and Recruit Halsin walkthroughs, but the objectives will also lead you to the ![]() Goblin Camp, where the priestess known as True Soul Gut suggests that she can help you. See our guide for the Easiest Ways to Clear the Goblin Camp to see how that goes. Finally, the companion known as Lae’Zel tells you that her people know how to cure the parasites, leading to the objective for you to Find the Githyanki Creche. This forms part of her companion quest, so be sure to check our How to Rescue Lae’Zel page for how to get started.
Goblin Camp, where the priestess known as True Soul Gut suggests that she can help you. See our guide for the Easiest Ways to Clear the Goblin Camp to see how that goes. Finally, the companion known as Lae’Zel tells you that her people know how to cure the parasites, leading to the objective for you to Find the Githyanki Creche. This forms part of her companion quest, so be sure to check our How to Rescue Lae’Zel page for how to get started.
Travel to Moonrise Towers
You’ll get the ![]() Travel to Moonrise Towers main quest towards the end of Act 1, depending on what else you’ve done in the Wilderness region in terms of side content. In particular, the first mention of
Travel to Moonrise Towers main quest towards the end of Act 1, depending on what else you’ve done in the Wilderness region in terms of side content. In particular, the first mention of ![]() Moonrise Towers that you’re likely to encounter is from Halsin, after you rescue him during the Save the First Druid quest. There are a number of ways to reach Moonrise, but the two most prominent (and relevant to the main quest here) are via the
Moonrise Towers that you’re likely to encounter is from Halsin, after you rescue him during the Save the First Druid quest. There are a number of ways to reach Moonrise, but the two most prominent (and relevant to the main quest here) are via the ![]() Mountain Pass, or through the
Mountain Pass, or through the ![]() Underdark. You can see which route might be best for you on our Mountain Pass or Underdark? page.
Underdark. You can see which route might be best for you on our Mountain Pass or Underdark? page.
Personal Quests
There are two main Personal Quests that you’ll have access to during Act 1: Embrace Your Potential and Discover the Artefact’s Secrets. Both of these are related to Companion quests for ![]() Shadowheart and Lae’Zel respectively.
Shadowheart and Lae’Zel respectively.
Embrace Your Potential
This quest will be with you from near the beginning of the game. As you play through the region of the Wilderness, regardless of which order you do it in, you’ll have opportunities to use your new Illithid powers. These are granted to you by the Mind Flayer parasite which infected you on the ![]() Nautiloid, and they can be useful to persuade others to do your bidding, or to simply overpower them with authority and will. The Illithid powers are limited at first, but the more you use them, the stronger they will become. There are specific points in the story, especially when you encounter the Dream Visitor (your ethereal protector), when you learn more about these powers. All you need to do to progress this quest is indulge in their requests to use the powers more often, and make good use of any parasite specimens when you encounter them.
Nautiloid, and they can be useful to persuade others to do your bidding, or to simply overpower them with authority and will. The Illithid powers are limited at first, but the more you use them, the stronger they will become. There are specific points in the story, especially when you encounter the Dream Visitor (your ethereal protector), when you learn more about these powers. All you need to do to progress this quest is indulge in their requests to use the powers more often, and make good use of any parasite specimens when you encounter them.
Discover the Artefact’s Secrets
This personal quest is one that begins when the mysterious artefact that Shadowheart carries is revealed to you. If you have her in your party, this is most likely to happen as you attempt to enter the Goblin Camp for the first time. You won’t be able to discern much by questioning her at this point, but you’ll soon learn that there are others in the region who are looking for the artefact. You will learn more about this as you progress through the region, and it’s difficult to miss anything important if you make sure that you do everything listed on this page.
Companion Quests
There are six Companion Quests that you will encounter during Act 1, all of which can continue through the story so long as you keep those companions alive. You will begin these quests at different points in the story, and most players will find the same three or four companions early on if they take a normal route: Shadowheart, Lae’Zel, ![]() Astarion, and
Astarion, and ![]() Gale. The others come a bit later as you explore more.
Gale. The others come a bit later as you explore more.
We’ll detail each companion quest below, and when you can expect to find them. Note that each of the companion quests will remain active for as long as they’re in your party or group, and you should check them regularly for any updates on the objectives.
Daughter of Darkness
The ![]() Daughter of Darkness quest is associated with Shadowheart, and you can find her early on in the game during the prologue. If you’re curious about how to free her on the Nautiloid, see our How to Free Shadowheart page. There’s no need to worry if you didn’t do this however, since you’ll encounter her at the Ancient Door to the
Daughter of Darkness quest is associated with Shadowheart, and you can find her early on in the game during the prologue. If you’re curious about how to free her on the Nautiloid, see our How to Free Shadowheart page. There’s no need to worry if you didn’t do this however, since you’ll encounter her at the Ancient Door to the ![]() Overgrown Ruins near the beginning of the game otherwise. She’s a useful Cleric with a decent combination of healing, buff, and damage spells.
Overgrown Ruins near the beginning of the game otherwise. She’s a useful Cleric with a decent combination of healing, buff, and damage spells.
The Githyanki Warrior
![]() The Githyanki Warrior quest is associated with Lae’Zel, and this begins when you first meet her on the Nautiloid. After the events of the prologue you will most likely find her in a cage, captured by a couple of Tieflings in the Roadside Cliffs, just northwest of the Overgrown Ruins. You have a number of options for how the encounter with her goes, so be sure to check our How to Rescue Lae’Zel page for all the details.
The Githyanki Warrior quest is associated with Lae’Zel, and this begins when you first meet her on the Nautiloid. After the events of the prologue you will most likely find her in a cage, captured by a couple of Tieflings in the Roadside Cliffs, just northwest of the Overgrown Ruins. You have a number of options for how the encounter with her goes, so be sure to check our How to Rescue Lae’Zel page for all the details.
Lae’Zel’s quest is one of the few for whom the first objective is time sensitive. You will need to find Zorru early on if you want help with finding the Githyanki Creche, but note that this is not essential if you’d rather focus on other things first. You will still be able to find the Creche even after Zorru has moved on. Lae’Zel is a tough Fighter with some decent damage output that only gets better as she levels, but you’ll have to put up with her extreme grumpiness if you want to benefit from it.
The Pale Elf
![]() The Pale Elf is associated with Astarion, a Rogue capable of inflicting massive damage early on, both in melee and ranged combat. You will also find that Astarion has some useful abilities in the form of stealing and disarming traps. He’s a great utility class who can fill that role perfectly if your own character isn’t up to the job. The process of recruiting Astarion is rather easy, as detailed on our How to Recruit Astarion page.
The Pale Elf is associated with Astarion, a Rogue capable of inflicting massive damage early on, both in melee and ranged combat. You will also find that Astarion has some useful abilities in the form of stealing and disarming traps. He’s a great utility class who can fill that role perfectly if your own character isn’t up to the job. The process of recruiting Astarion is rather easy, as detailed on our How to Recruit Astarion page.
Astarion’s quest is somewhat uneventful when compared with some of the others, depending on your choices with him. He has a secret that you will soon uncover, and you need to make some choices about whether you want to keep him around given his… condition. His quest becomes all the more interesting when you meet another character who is looking for him near the Hag, at the ![]() Riverside Teahouse in the southwest of the map. We’ll leave it at that and let you discover the rest for yourself.
Riverside Teahouse in the southwest of the map. We’ll leave it at that and let you discover the rest for yourself.
The Wizard of Waterdeep
![]() The Wizard of Waterdeep quest is associated with Gale, a Wizard who comes with his own predicament not so unlike Astarion, but far more expensive. The details of this will be slowly revealed to you, alongside a detailed background history of Gale’s adventures from the past. There’s more to this man than meets the eye, and you’ll have to be patient as you uncover his secrets.
The Wizard of Waterdeep quest is associated with Gale, a Wizard who comes with his own predicament not so unlike Astarion, but far more expensive. The details of this will be slowly revealed to you, alongside a detailed background history of Gale’s adventures from the past. There’s more to this man than meets the eye, and you’ll have to be patient as you uncover his secrets.
Gale is arguably one of the weakest companions when you first find him, but he’ll soon become a useful asset to your entire party. As you level him up you’ll gain access to a number of highly damaging (and useful) spells such as ![]() Scorching Ray and
Scorching Ray and ![]() Ice Knife, but also utility spells such as
Ice Knife, but also utility spells such as ![]() Grant Flight and
Grant Flight and ![]() Feather Fall. In short, it takes a while for him to blossom, but it’s worth the wait if you know how to use his magic properly.
Feather Fall. In short, it takes a while for him to blossom, but it’s worth the wait if you know how to use his magic properly.
The Blade of Frontiers
![]() The Blade of Frontiers is associated with Wyll, a human Warlock who you’ll first encounter at the Emerald Grove. He seems like a decent person but he certainly has his own demons to contend with. Unfortunately, as a !Warlock he is bound to serve the purposes of his patron, who you will meet in good time. His current objective is to hunt down and kill
The Blade of Frontiers is associated with Wyll, a human Warlock who you’ll first encounter at the Emerald Grove. He seems like a decent person but he certainly has his own demons to contend with. Unfortunately, as a !Warlock he is bound to serve the purposes of his patron, who you will meet in good time. His current objective is to hunt down and kill ![]() Karlach, who just so happens to be another recruitable companion. Thankfully, the conflict doesn’t have to end with the death of one or the other, and you can see the full options available to this end from the How to Recruit Wyll and How to Recruit Karlach pages.
Karlach, who just so happens to be another recruitable companion. Thankfully, the conflict doesn’t have to end with the death of one or the other, and you can see the full options available to this end from the How to Recruit Wyll and How to Recruit Karlach pages.
Our Fiery Friend
As mentioned above, Karlach is linked to Wyll by his objective to hunt down and kill her, but you can actually find a way through this situation which results in both being suitable party companions at the same time. We don’t spoil the details, so you should check the above links when the time comes, but note that Karlach may not be encountered until a bit later in Act 1, depending on where you want to go first.
Karlach is a Zariel Tiefling who starts off as a Barbarian, and she’s great for inflicting pure damage through rage. She can also make a suitable tank with the right build, and her fiery nature gives her a few extra magical abilities that you won’t find elsewhere. If you want her early on, you can find her soon after speaking with Wyll before you continue with the rest of the story. We’d recommend doing this even if you don’t plan to have her in your party, since her quest relies on speaking with someone (Dammon) at the Emerald Grove who will disappear once you’ve completed the objectives related to clearing the goblin camp and saving the refugees.
Side Quests
As mentioned above, there are a number of side quests which have objectives that overlap with other quests, depending on what else you’ve done in the region when you first encounter them. There will be different outcomes for most of the quests based on the actions you take. You might want to play a broadly generous character, or one who seeks profit above all else, or one who seeks only to indulge in reckless destruction. There’s a path for any preference here, and the links provided for each quest will help you to decide on yours with a detailed walkthrough of the consequences throughout Act 1.
Explore the Ruins
The ![]() Explore the Ruins side quest is one of the first that you’ll encounter in the game, since it refers to the Overgrown Ruins which can be found just east of the Nautiloid crash site. Here you’ll get your first proper experiences of combat, puzzles, and exploration in the game. In addition, it’s here that you can find Withers, in the Dank Crypt section of the ruins. This is a useful NPC who you’ll want to acquire early on, since they turn up at your camp later on. They can be used to revive fall characters, change your class, and even acquire hirelings to help you in battle.
Explore the Ruins side quest is one of the first that you’ll encounter in the game, since it refers to the Overgrown Ruins which can be found just east of the Nautiloid crash site. Here you’ll get your first proper experiences of combat, puzzles, and exploration in the game. In addition, it’s here that you can find Withers, in the Dank Crypt section of the ruins. This is a useful NPC who you’ll want to acquire early on, since they turn up at your camp later on. They can be used to revive fall characters, change your class, and even acquire hirelings to help you in battle.
There’s a lot to discover in these ruins, and we recommend that you don’t pass them by on your first playthrough.
Free Lae’zel
This side quest leads you to the first meeting with ![]() Lae’zel after the Nautiloid encounter. You can choose to rescue her in a number of different ways, each with different minor consequences, and if you want to explore them all you should check our page on How to Rescue Lae’Zel in Baldur’s Gate 3.
Lae’zel after the Nautiloid encounter. You can choose to rescue her in a number of different ways, each with different minor consequences, and if you want to explore them all you should check our page on How to Rescue Lae’Zel in Baldur’s Gate 3.
Save Arabella
Arabella is a young Tiefling who you will first encounter at the Emerald Grove. She’s got herself into a tricky situation with the current First !Druid there, and you can choose whether to help her in a number of different ways, or do nothing. You’ll get a reward if you help her, so it’s well worth doing, not to mention the appreciation from most of the Tieflings afterwards. Still, it’s your choice based on your preferences, and you won’t need a specific guide for this one. Simply choose the dialogue options which relate to the strengths of your characters.
Find Your Belongings
This side quest can also be started in the Emerald Grove. You need to speak with the Tiefling children just before you head down the steps towards the !Druid ritual. These kids are up to no good, but without spoiling anything you’ll soon find out why. See the Find Your Belongings Walkthrough page if you need help.

(1 of 2) You need to approach the Druid ritual at the Emerald Grove to learn more about the situation with the refugees.
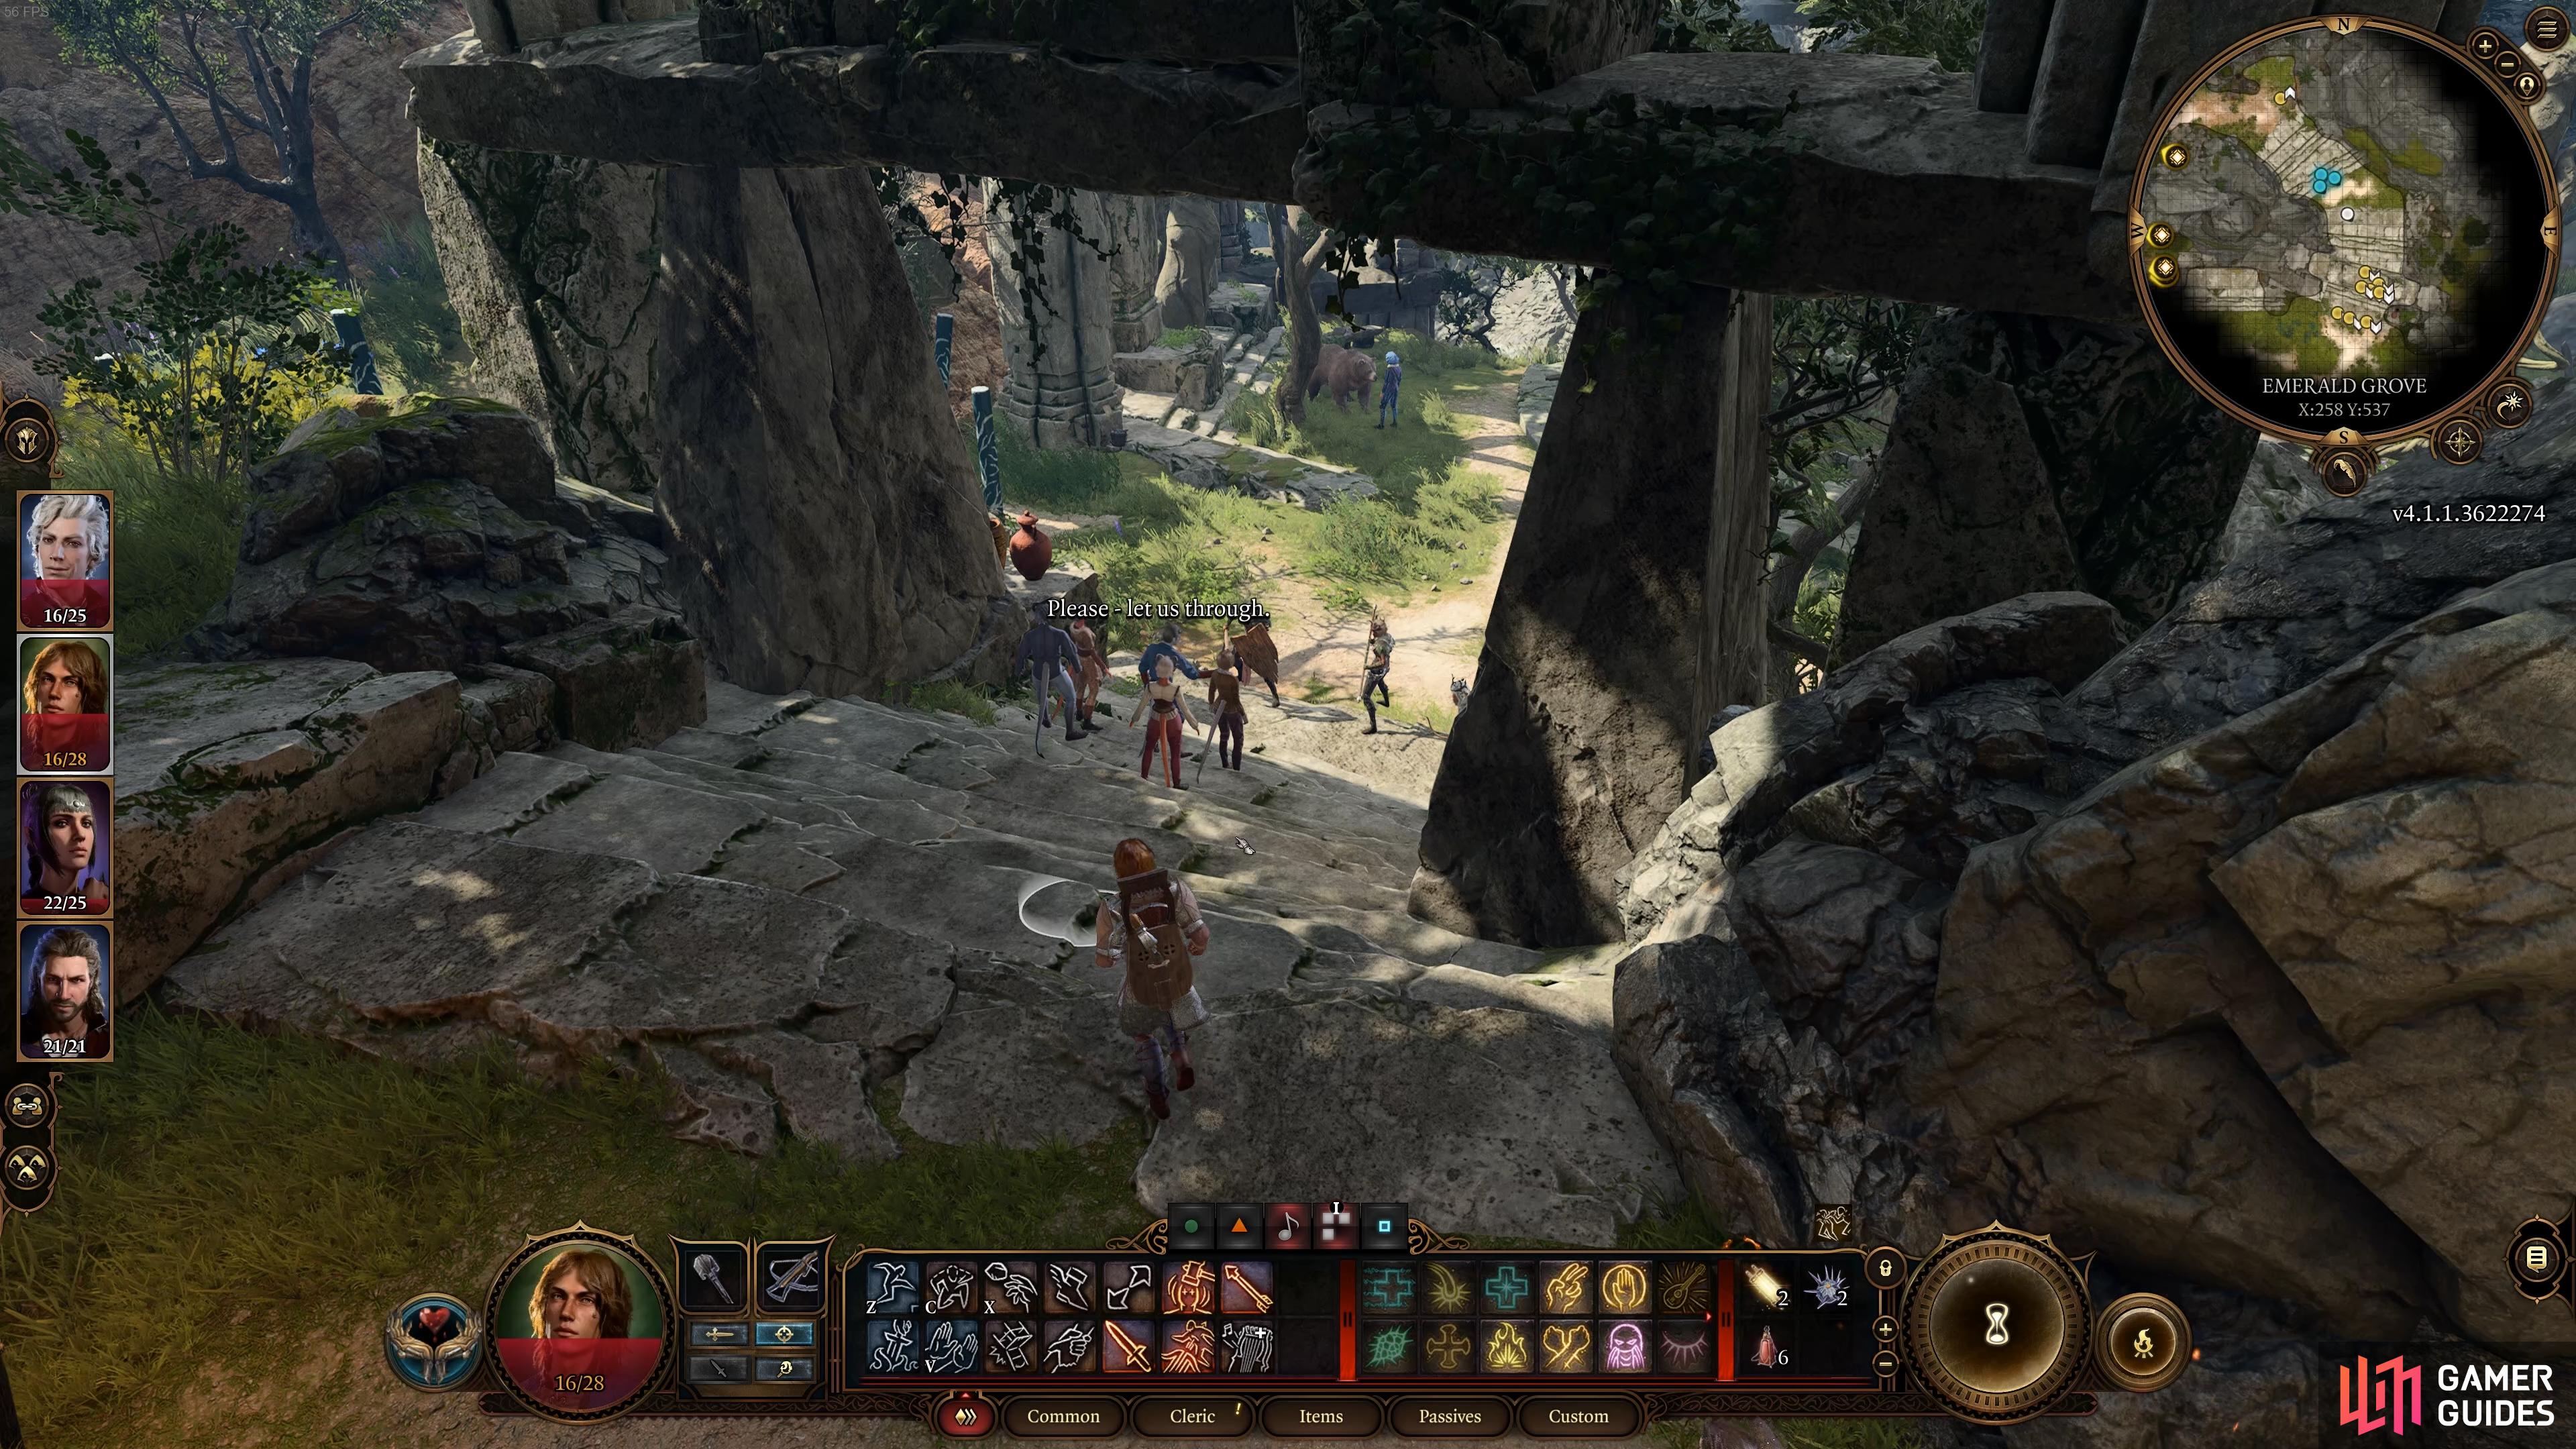
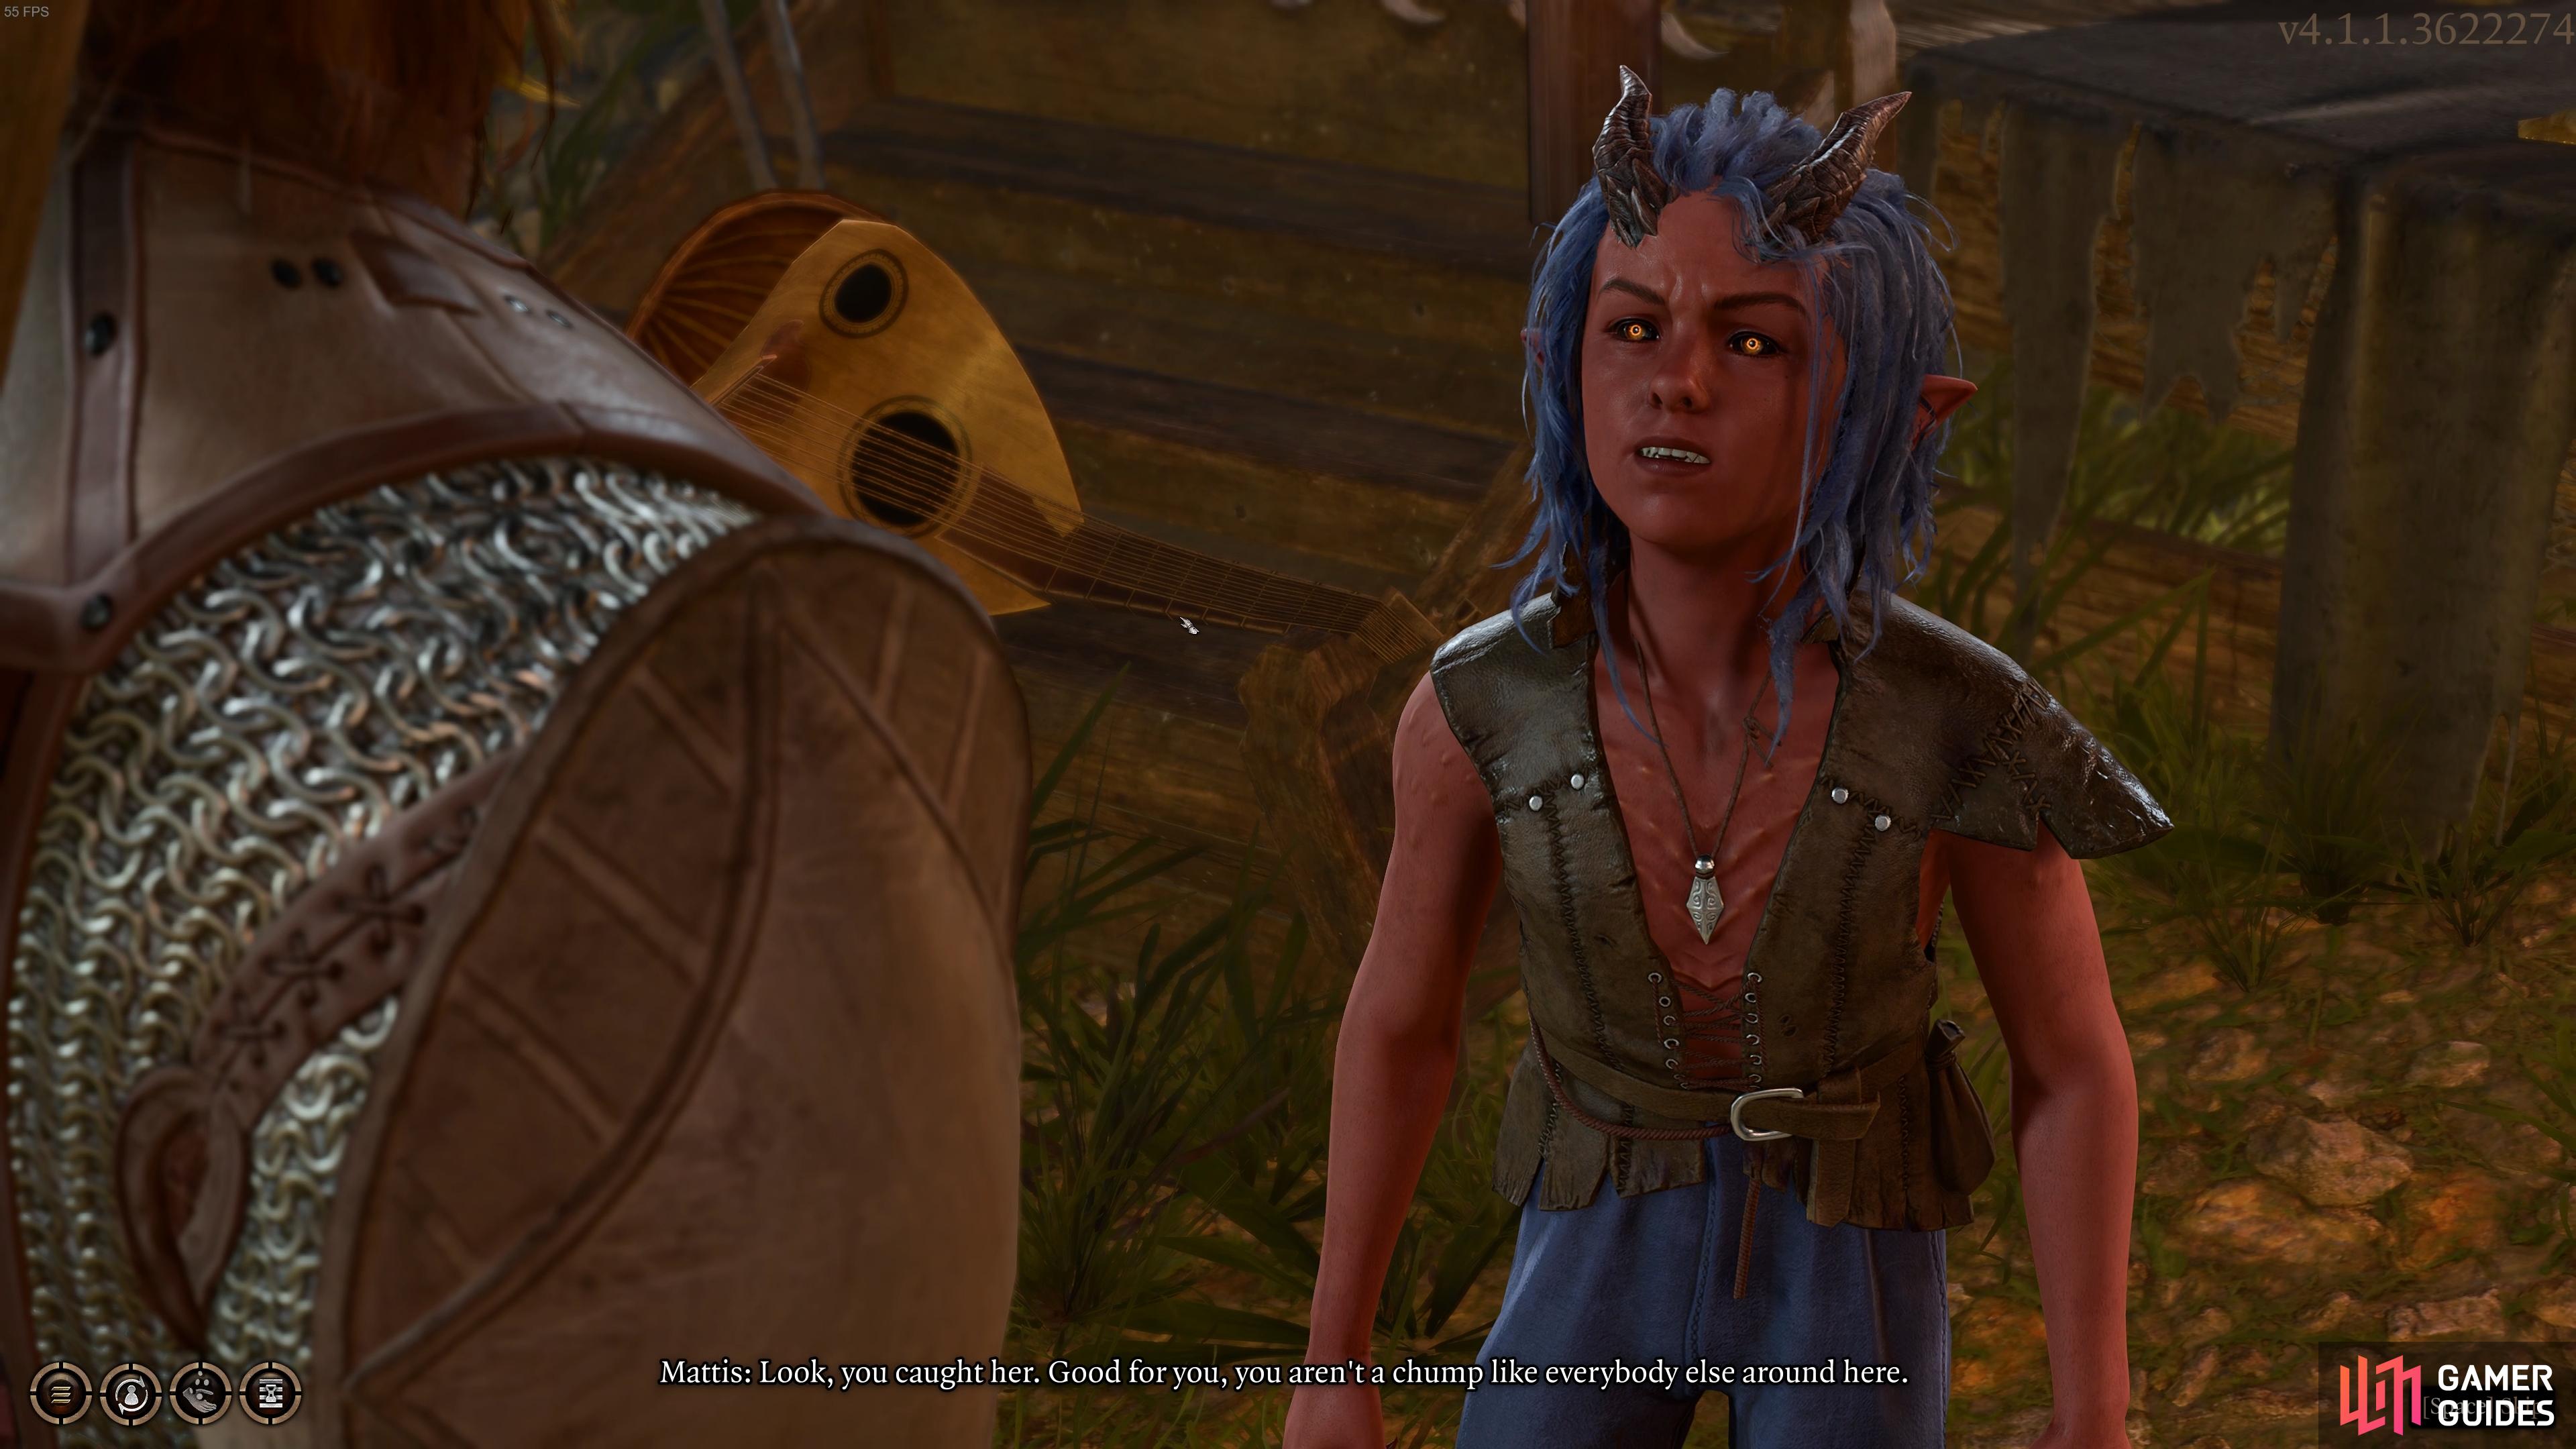
You need to approach the Druid ritual at the Emerald Grove to learn more about the situation with the refugees. (left), You’ll find some Tiefling children up to no good just up the stairs from the ritual. (right)
Save the Refugees
The ![]() Save the Refugees side quest is one of the most significant that you will encounter during Act 1. You’ll get it automatically when you visit the Emerald Grove, but be sure to speak with everyone that you can find there to get the full context of the situation. If you’re playing as a character who is generally good, the objectives for this quest are fairly straightforward, and they tie in closely with those of Save the First !Druid, including the main objectives to defeat the goblin leaders at the Goblin Camp, and save First !Druid Halsin.
Save the Refugees side quest is one of the most significant that you will encounter during Act 1. You’ll get it automatically when you visit the Emerald Grove, but be sure to speak with everyone that you can find there to get the full context of the situation. If you’re playing as a character who is generally good, the objectives for this quest are fairly straightforward, and they tie in closely with those of Save the First !Druid, including the main objectives to defeat the goblin leaders at the Goblin Camp, and save First !Druid Halsin.
If you’re playing as a character with few moral qualms, however, there are different paths that you can take, even to the point of actively harming the refugees, rather than helping them. We explore all of these outcomes on our How to Save the Refugees and How to Clear the Goblin Camp pages, so be sure to check those if you’re unsure.
Save the First Druid
As mentioned above, the objective of saving First !Druid Halsin is tied to the Save the Refugees quest, so you’re likely to encounter him as you make your way through the Goblin Camp. However, it is possible to miss Halsin entirely on your first playthrough there, so if you’re having trouble finding him you should check our page on How to Rescue and Recruit Halsin. Doing so will result in a positive outcome for the Emerald Grove, at least for now, and it will give you the opportunity to recruit Halsin as a permanent companion for your party later on. You can even romance Halsin if you wish, but it’ll take some time before that’s possible, as you move into Act 2.
The process of rescuing Halsin can be a complicated one, with many different outcomes depending on when and how you do it. For a detailed walkthrough of the Goblin Camp which explores all of these possibilities, see our Easiest Ways to Clear the Goblin Camp page.
Rescue the Gnome
The Gnome associated with this side quest can actually be found in the ![]() Blighted Village, which is located southwest of the Emerald Grove, or southeast of the Goblin Camp. You will go through here as you make your way towards the Goblin Camp for the first time, and it’s a good idea to thoroughly explore it for resources (and some secrets, more on that later!). For the purposes of this quest, you need to rescue the Gnome who is being tortured on the nearby windmill, and you can do this in different ways. It’s important to note that if you’re not careful, you can easily cause the death of the Gnome, so be sure to check our page on How to Rescue the Gnome if you need some help.
Blighted Village, which is located southwest of the Emerald Grove, or southeast of the Goblin Camp. You will go through here as you make your way towards the Goblin Camp for the first time, and it’s a good idea to thoroughly explore it for resources (and some secrets, more on that later!). For the purposes of this quest, you need to rescue the Gnome who is being tortured on the nearby windmill, and you can do this in different ways. It’s important to note that if you’re not careful, you can easily cause the death of the Gnome, so be sure to check our page on How to Rescue the Gnome if you need some help.
Rescue Volo
Volo is a character that you will first encounter at the Emerald Grove. He can be found next to where the ritual is taking place, and you can speak with him there for some amusing dialogue. The next time you encounter Volo will be in the Goblin Camp, and you’ll need to rescue him if you want to see him back at your camp later on. He’s a great edition, with some of the finest voice acting in the game, so it’s well worth it! For a detailed guide on how to save him, see our How to Save Volo in the Goblin Camp page.
Rescue the Trapped Man
The Trapped Man refers to someone who can be found at ![]() Waukeen’s Rest, a region in the far northwest of the map, not far from the entrance to the Mountain Pass. You’re most likely to come here in the latter stages of Act 1, unless you make a point of going there first. The process of rescuing the man can be more difficult than it may seem, with some environmental hazards to contend with to make sure that it goes smoothly. There’s also a hidden dowry that you can gain access to afterwards, so be sure to check our Rescue the Trapped Man & Dowry Location page for all the details.
Waukeen’s Rest, a region in the far northwest of the map, not far from the entrance to the Mountain Pass. You’re most likely to come here in the latter stages of Act 1, unless you make a point of going there first. The process of rescuing the man can be more difficult than it may seem, with some environmental hazards to contend with to make sure that it goes smoothly. There’s also a hidden dowry that you can gain access to afterwards, so be sure to check our Rescue the Trapped Man & Dowry Location page for all the details.
Rescue the Grand Duke
This quest occurs at the same time as ![]() Rescue the Trapped Man. Without spoiling too much, both of them are in the same danger and you need to rescue them quickly. It’s a fairly straightforward quest, but there are ways that you can fail it with no good alternative outcomes. If you want to make sure that you get it right, be sure to check our Rescue The Grand Duke Walkthrough for alternative solutions if you fail the roll checks required.
Rescue the Trapped Man. Without spoiling too much, both of them are in the same danger and you need to rescue them quickly. It’s a fairly straightforward quest, but there are ways that you can fail it with no good alternative outcomes. If you want to make sure that you get it right, be sure to check our Rescue The Grand Duke Walkthrough for alternative solutions if you fail the roll checks required.
Both this quest and The Githyanki Warrior will lead you to the ![]() Rosymorn Monastery, which can be accessed by going through the Mountain Pass in the far northwestern part of the Wilderness map.
Rosymorn Monastery, which can be accessed by going through the Mountain Pass in the far northwestern part of the Wilderness map.
Find the Missing Shipment
This quest can be found in the same region as Rescue the Trapped Man and ![]() Rescue the Grand Duke, in the far northwest of the map at Waukeen’s Rest. It involves discovering a hidden entrance which leads to a secret underground chamber. There’s a lot more to this quest (and area) than meets the eye, so it’s a good idea to check our Find the Missing Shipment: Endings & Options page if you want to learn about the various outcomes. It also relates to an encounter that you might have already had with an NPC named Rugan, and the purpose of the mysterious
Rescue the Grand Duke, in the far northwest of the map at Waukeen’s Rest. It involves discovering a hidden entrance which leads to a secret underground chamber. There’s a lot more to this quest (and area) than meets the eye, so it’s a good idea to check our Find the Missing Shipment: Endings & Options page if you want to learn about the various outcomes. It also relates to an encounter that you might have already had with an NPC named Rugan, and the purpose of the mysterious ![]() Iron Flask. You’ll find this particularly useful if you have Gale in your party, as referred to in the linked guide.
Iron Flask. You’ll find this particularly useful if you have Gale in your party, as referred to in the linked guide.
Hunt the Devil
The ![]() Hunt the Devil side quest can be started by speaking with some injured Paladins of Tyr, who you’ll find in the building located just southeast of
Hunt the Devil side quest can be started by speaking with some injured Paladins of Tyr, who you’ll find in the building located just southeast of ![]() The Risen Road waypoint, which itself is north of the Blighted Village. The !Paladins will ask you to help them kill a nearby devil, but there’s more to this than meets the eye. Without giving too much away, it relates to the Our Fiery Friend companion quest, and you’ll learn all there is to know about it on the How to Recruit Karlach page.
The Risen Road waypoint, which itself is north of the Blighted Village. The !Paladins will ask you to help them kill a nearby devil, but there’s more to this than meets the eye. Without giving too much away, it relates to the Our Fiery Friend companion quest, and you’ll learn all there is to know about it on the How to Recruit Karlach page.
Finish the Masterwork Weapon
This quest can be started by finding a hidden area beneath the Blighted Village, but to complete it you’ll need to explore parts of the Underdark as well. It can be a fairly involved quest, but the potential rewards, depending on your character builds, are well worth it. You can see our How to Finish the Masterwork Weapon page for all the details, including where to find the hidden area and where you need to go in the Underdark to complete the quest.
Save Mayrina
As mentioned in the tip above, the Save Mayrina quest involves some of the toughest content that you can experience in Act 1, so it’s recommended to do it towards the end of your exploration in the region. By this point you should be at least level 4, giving you a decent amount of powerful spells and abilities for your characters, alongside useful weapons and armor. The process of saving Mayrina is longer than you might expect, and it begins as soon as you enter the region south of the Blighted Village, where you’ll first encounter the Hag.
If you want to make sure that you don’t end up like some of her other victims, we recommend checking our The Hag Walkthrough: Lair, Hair, Boss Fight page. To avoid any spoilers, it could be worth making a manual save before going in blind by yourself first. You can then return to the save and use our guide if you get stuck.
Find the Nightsong
Although the ![]() Find the Nightsong quest starts during Act 1, since it’s mentioned at different times by characters such as Halsin and Will in the Goblin Camp, you can’t progress it much beyond that point until you reach Act 2, so you don’t need to worry about this one for now.
Find the Nightsong quest starts during Act 1, since it’s mentioned at different times by characters such as Halsin and Will in the Goblin Camp, you can’t progress it much beyond that point until you reach Act 2, so you don’t need to worry about this one for now.
Finishing Act 1 - Secrets and Loose Ends
Now that we’ve covered the main quests, side quests, companion quests, and personal quests that you begin in Act 1, we’ll say a bit more about the other things you can do in the first region of the Wilderness before you move on towards Act 2. There are a number of hidden areas and secrets that you can discover in the landscape, some of the most useful of which we’ve linked to guides for below. Many of these places offer a decent amount of loot, or even extra companions for your camp!
- Where to Find the Scuffed Rock in Baldur’s Gate 3
- How to Cure Pandirna and Help the Rat in Baldur’s Gate 3
- Owlbear Nest Walkthrough: Owlbear Egg & Chest
- Owlbear Cub Walkthrough: Rescue From Nest or Goblin Camp?
- Selune Chest: How to Open The Gilded Chest
- Search The Cellar: Bookcase, Mirror, Iron Gate Walkthrough
- Necromancy of Thay Walkthrough: Key and Powers
- Toll Collector’s Key, Chair Puzzle and Secret Door
- How To Solve The Defiled Temple Moon Puzzle
- Zhentarim Hideout: Location, Elevator, Underdark
How to Get Scratch the Dog Companion
In addition to the above, there’s also a dog named Scratch that you can find in the Wilderness, more specifically in the forested area located northeast of the Blighted Village, or southwest of the Emerald Grove. Here you’ll find Scratch the dog protecting his former master, and if you succeed in the required roll checks he’ll come to find you in your camp later. It will take some time before Scratch begins to trust you, but once he does you can summon him in the open world, and he’ll help you to find treasure in the landscape. You can even play fetch with him in the camp to unlock the Fetch Quest achievement!
Exploring the Underdark
Although it’s not technically separated from Act 1, much of the Underdark feels like an entirely new region that you want to avoid until you’ve thoroughly explored the Wilderness. Still, you can choose to go there earlier if you wish, but we recommend completing most of the tasks listed above before you do it. We’ve provided a brief overview for the easiest way to navigate the Underdark below, but if you want to learn more you can see our specific guides in the Act 1 - Underdark section.
- Grab the sword in the stone between the Selunite Outpost and the Zhentarim elevator. You can fight the minotaurs there too.
- Follow the pathway down to the crossroads, then go north to the Myconid village to find a few quests.
- After this, go as far west as you can for the Sussar bark required for the Finish the Masterwork quest.
- Travel to the Arcane Tower in the southwest of the Underdark.
- From here, go to the Grym forge to complete the Act 1 storyline, leading to the Adamantine Forge.
- Go back to the Selunite Outpost and climb through the broken windows to the petrified Drow. Here you’ll find a hidden boss called the Spectator, which drops some nice loot. There’s also a path down from the hidden Drow where you’ll find a cache containing more loot.
- From here, you can go to the Rosymorn Monastery which is located on the path to Moonrise Towers through the Mountain Pass, before continuing towards Act 2 through this path, or back through the Underdark depending on your choices thus far.
Can You Go Back to Act 1 in Baldur’s Gate 3?
You may be wondering whether you can return to the Wilderness and the Underdark after leaving the areas for Act 2. The answer is yes, and it’s actually surprisingly easy. You can do this either by walking through the paths in the Underdark or the Mountain Pass manually, in the same way that you did on the way, or you can open your map and select one of the waypoints from these regions on the right-hand side of the screen, which will allow you to teleport there immediately. You may need to perform a Long Rest before you can do this, depending on how rested you are at the time, and how far away you are from the region you’re trying to teleport to.
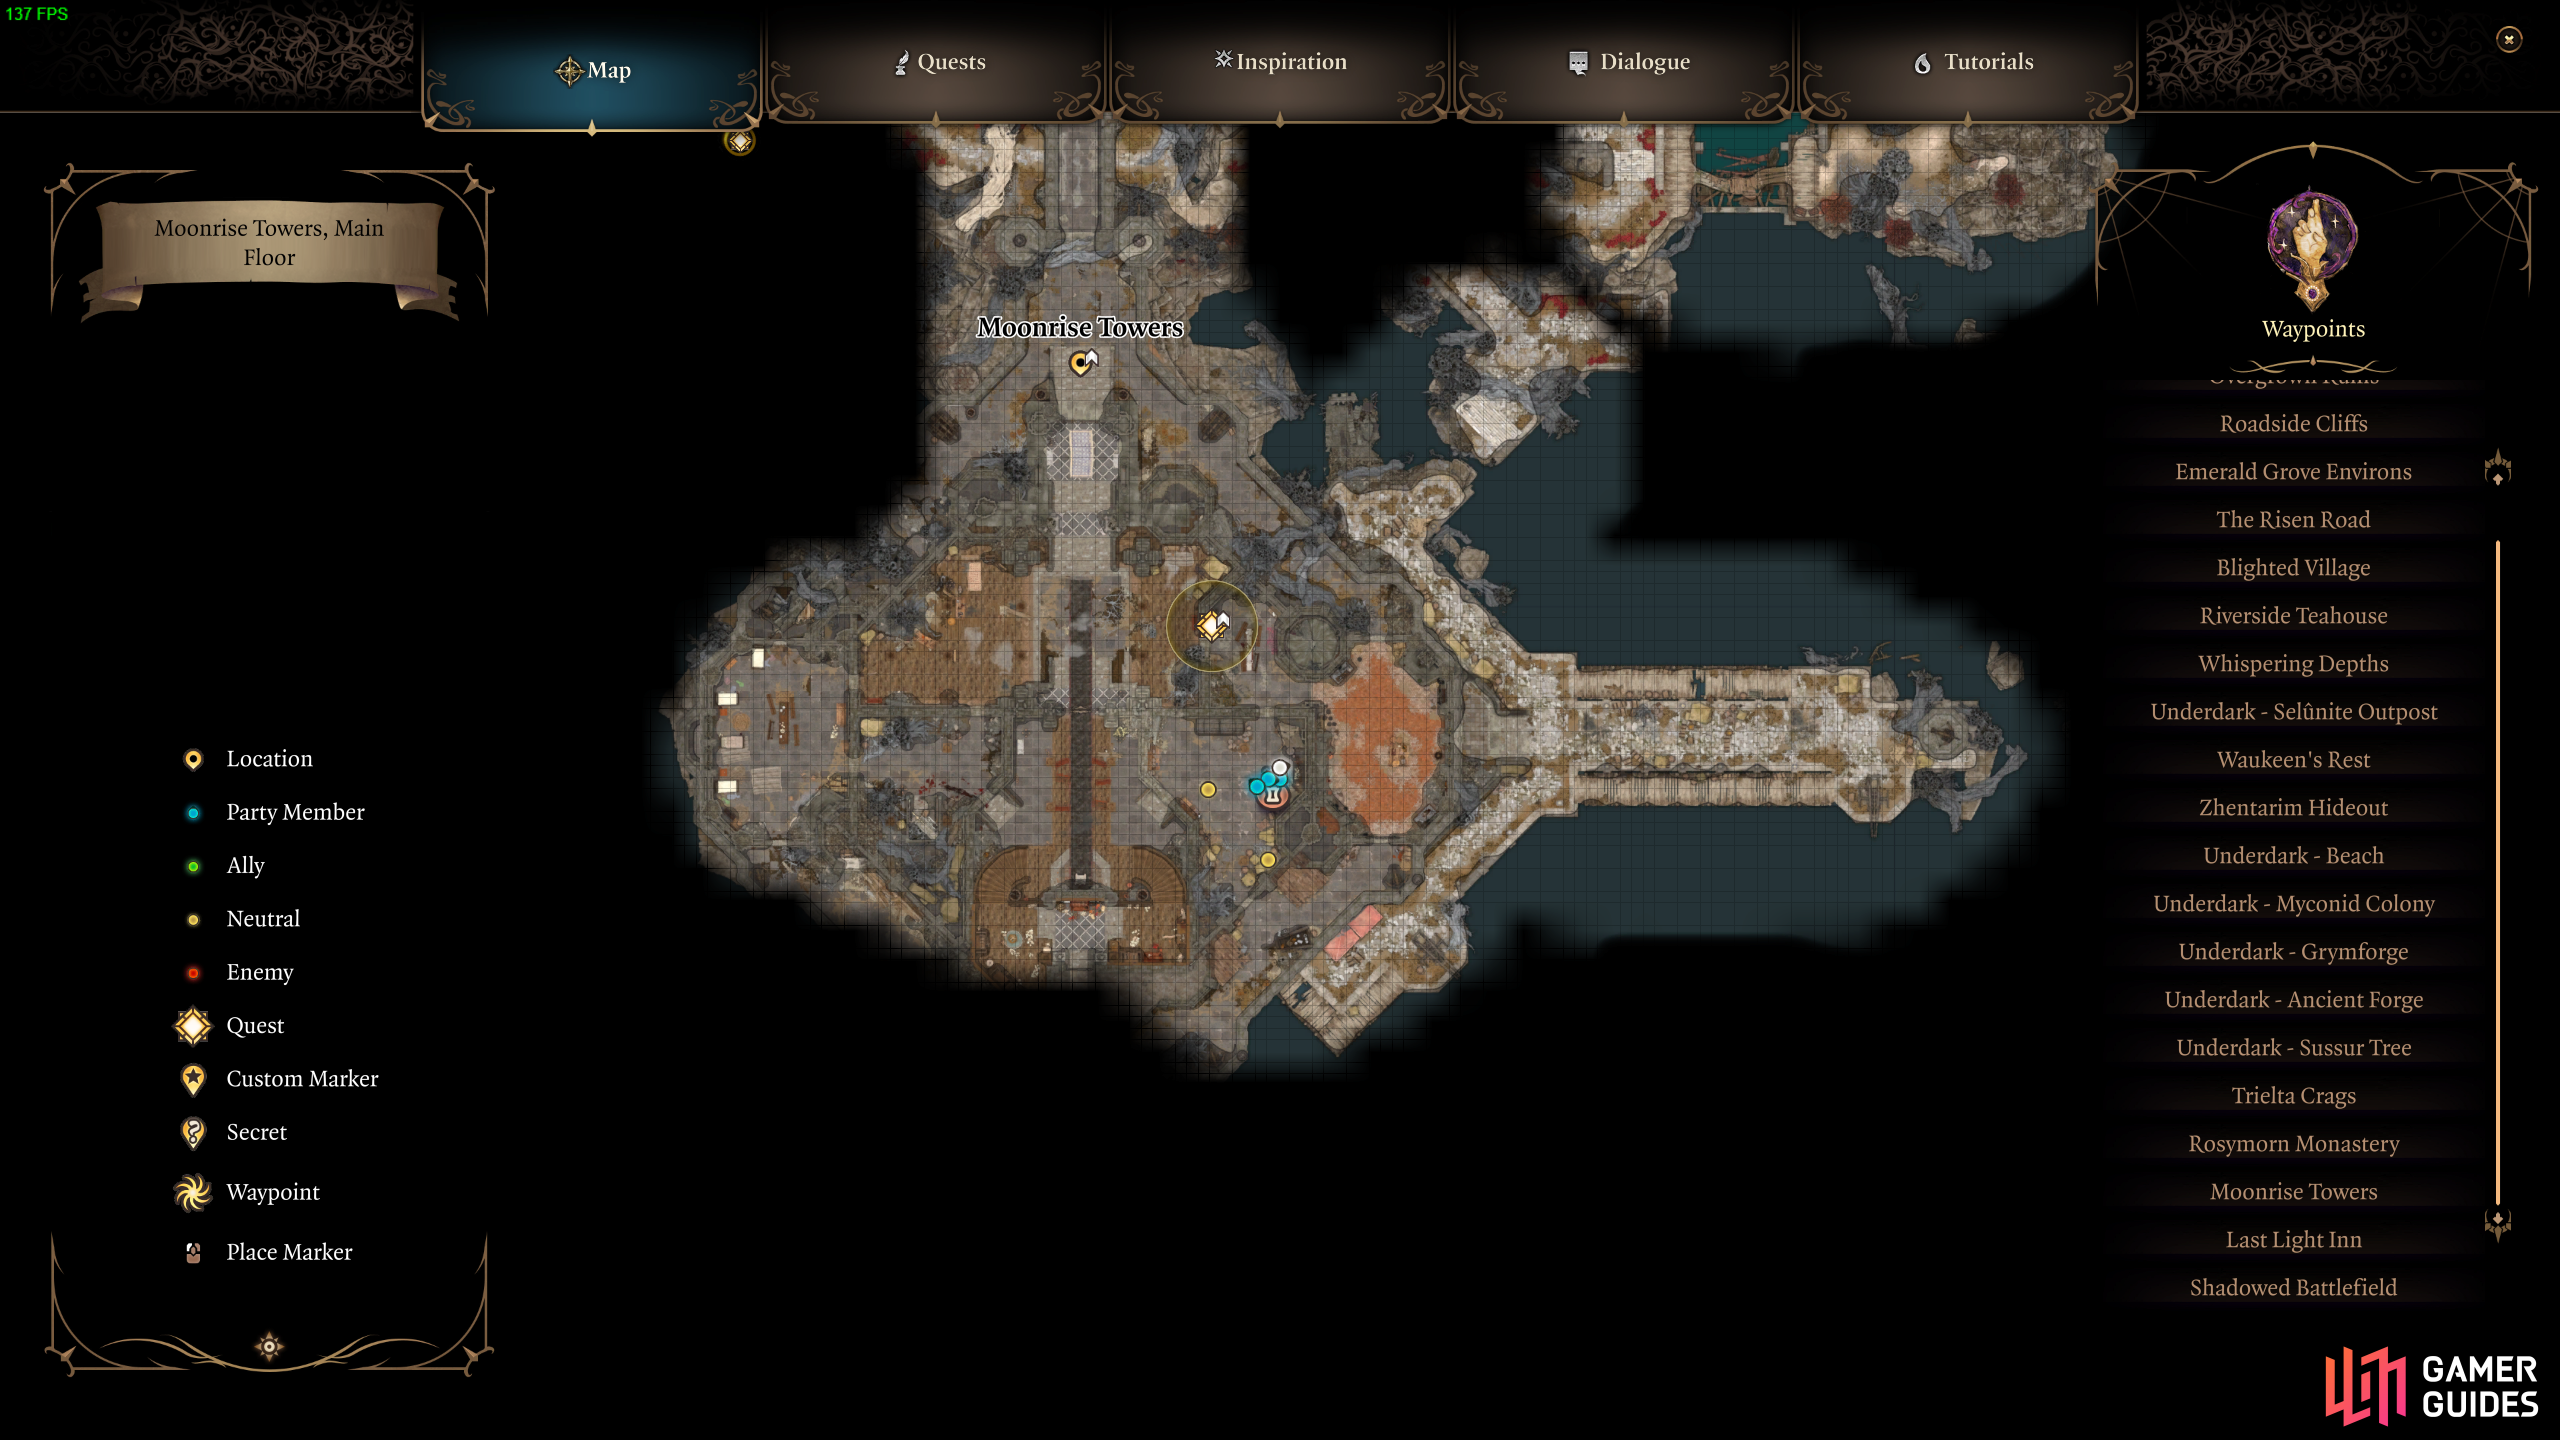
You can use the Waypoint fast travel from your map to return to areas from Act 1 at any time.
More Baldur’s Gate 3 Guides
If you’re looking for more BG3 guides, see the links below.
No Comments