
In the ![]() Grymforge region of the
Grymforge region of the ![]() Underdark in Act 1, you may have stumbled upon a
Underdark in Act 1, you may have stumbled upon a ![]() Sentient Amulet, which housed the spirit of a monk of Lathander, driven mad by the torment he endured at the hands of Sharrans. His unusual affliction causes him - and others nearby - to laugh uncontrollably, and while not possessed of any inherent malice, the spirit was nonetheless a danger, albeit one you could safely bear so long as you didn’t attempt to make use of the Sentient Amulet that bound him. Should you have held onto this amulet until you reach Act 3 you’d finally be able to complete the quest, and this page provides a walkthrough for the second phase of the
Sentient Amulet, which housed the spirit of a monk of Lathander, driven mad by the torment he endured at the hands of Sharrans. His unusual affliction causes him - and others nearby - to laugh uncontrollably, and while not possessed of any inherent malice, the spirit was nonetheless a danger, albeit one you could safely bear so long as you didn’t attempt to make use of the Sentient Amulet that bound him. Should you have held onto this amulet until you reach Act 3 you’d finally be able to complete the quest, and this page provides a walkthrough for the second phase of the ![]() Help the Cursed Monk quest in Baldur’s Gate 3, including information on how to find Shirra, and how to overcome the cursed monk’s laughing curse.
Help the Cursed Monk quest in Baldur’s Gate 3, including information on how to find Shirra, and how to overcome the cursed monk’s laughing curse.
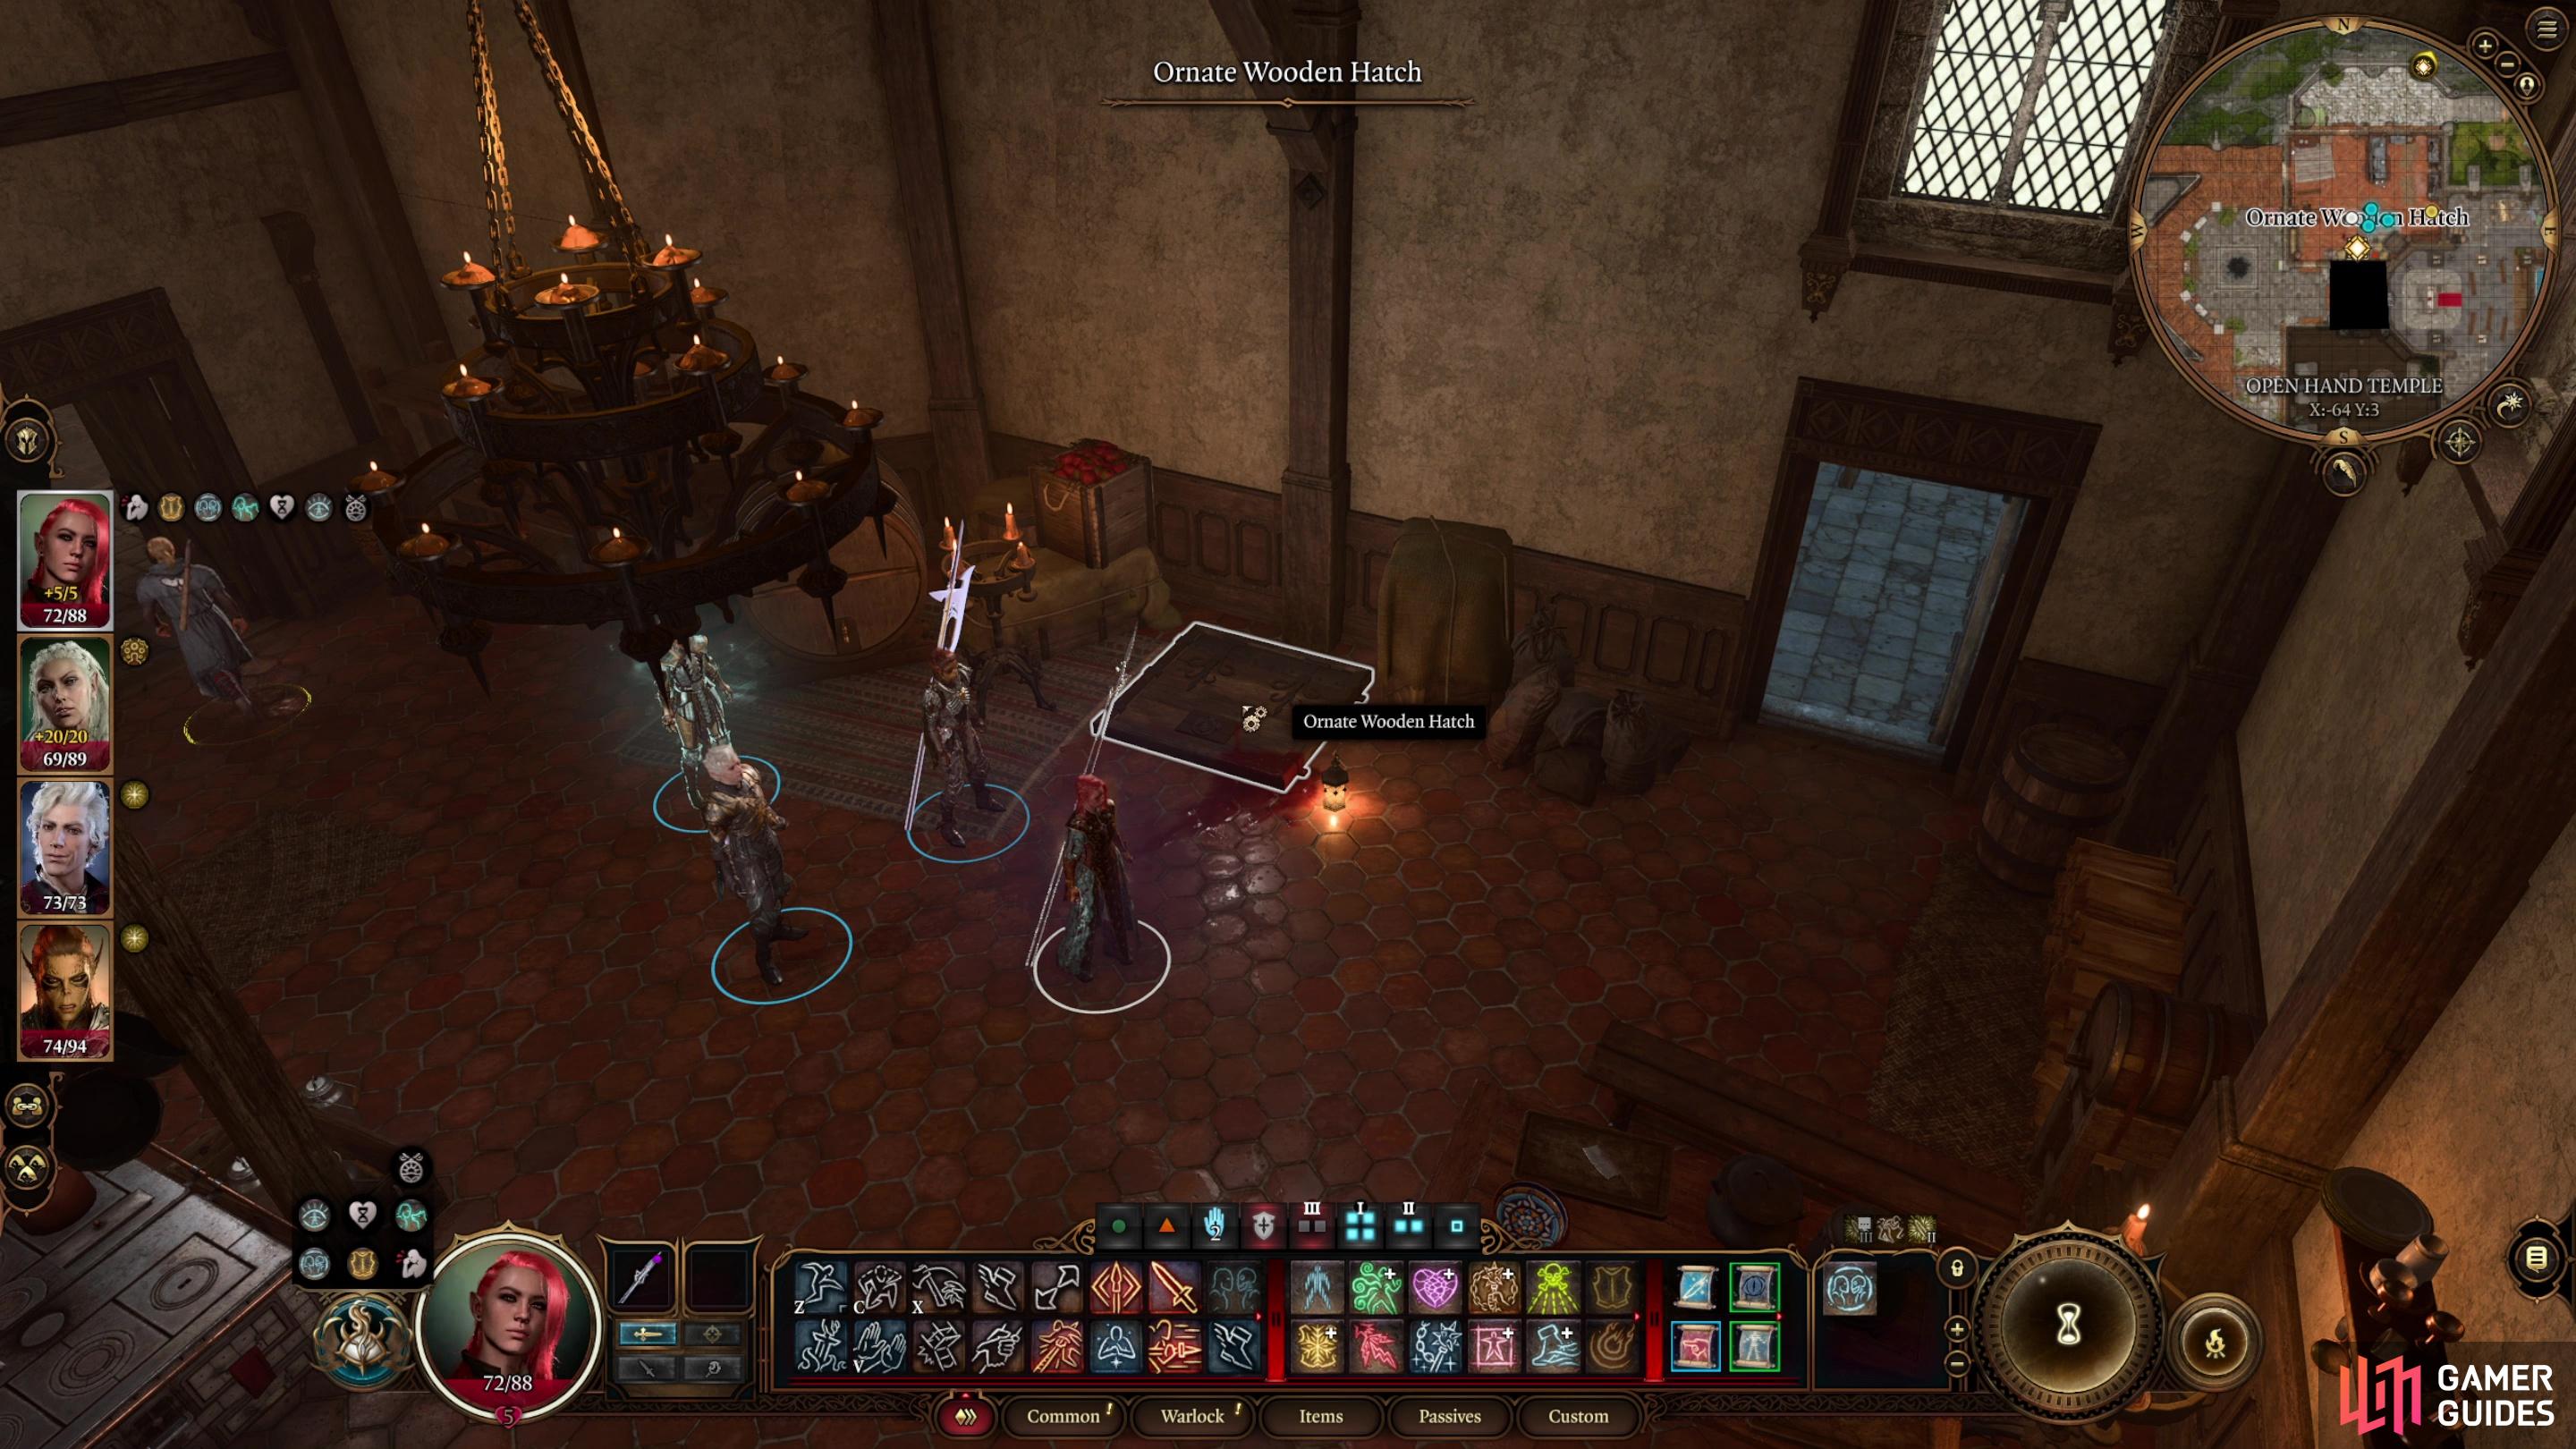
Enter the kitchen in the Open Hand Temple to find a hatch,
which leads underneath the temple, where you can find Shirra’s sarcophagus.
Where to Find Shirra in Act 3 in Baldur’s Gate 3
After claiming the Sentient Amulet in the Grymforge (check out the linked page for a complete walkthrough for the first phase of this quest) you’ll need to hold onto your prize for quite a long time - the entirety of Act 2, at the very least. You can “![]() Talk to the Sentient Amulet”, but this mostly just replicates the chat you had when you acquired the amulet, and you can also use the amulet to cast
Talk to the Sentient Amulet”, but this mostly just replicates the chat you had when you acquired the amulet, and you can also use the amulet to cast ![]() Shatter and restore 2 Ki Points via “Ki Restoration”, but you also get the “High Spirits” debuff that forces you to make a Wisdom Saving Throw or become “Hysterical” (aka affected by
Shatter and restore 2 Ki Points via “Ki Restoration”, but you also get the “High Spirits” debuff that forces you to make a Wisdom Saving Throw or become “Hysterical” (aka affected by ![]() Tasha’s Hideous Laughter). Or you could just keep the thing safely stashed away in your inventory for half the game.
Tasha’s Hideous Laughter). Or you could just keep the thing safely stashed away in your inventory for half the game.
Make it to ![]() Rivington in Act 3, however, and you’ll finally be able to continue the quest. Your goal is to deliver the Sentient Amulet to the cursed monk’s granddaughter, a priestess of Ilmater named Shirra, who can be found at the Open Hand Temple. Unfortunately this temple has its own problems right now (check out the linked page for information on this quest - it’s not a requirement to complete your current task, however), and worse, Shirra has come down with a slight case of death. If you inform the cursed monk of this fact, he’ll insist he can still make use of Shirra’s remains, which… sure, creepy, but he’s a laughing ghost, so we’re kind of in unsettling territory already.
Rivington in Act 3, however, and you’ll finally be able to continue the quest. Your goal is to deliver the Sentient Amulet to the cursed monk’s granddaughter, a priestess of Ilmater named Shirra, who can be found at the Open Hand Temple. Unfortunately this temple has its own problems right now (check out the linked page for information on this quest - it’s not a requirement to complete your current task, however), and worse, Shirra has come down with a slight case of death. If you inform the cursed monk of this fact, he’ll insist he can still make use of Shirra’s remains, which… sure, creepy, but he’s a laughing ghost, so we’re kind of in unsettling territory already.
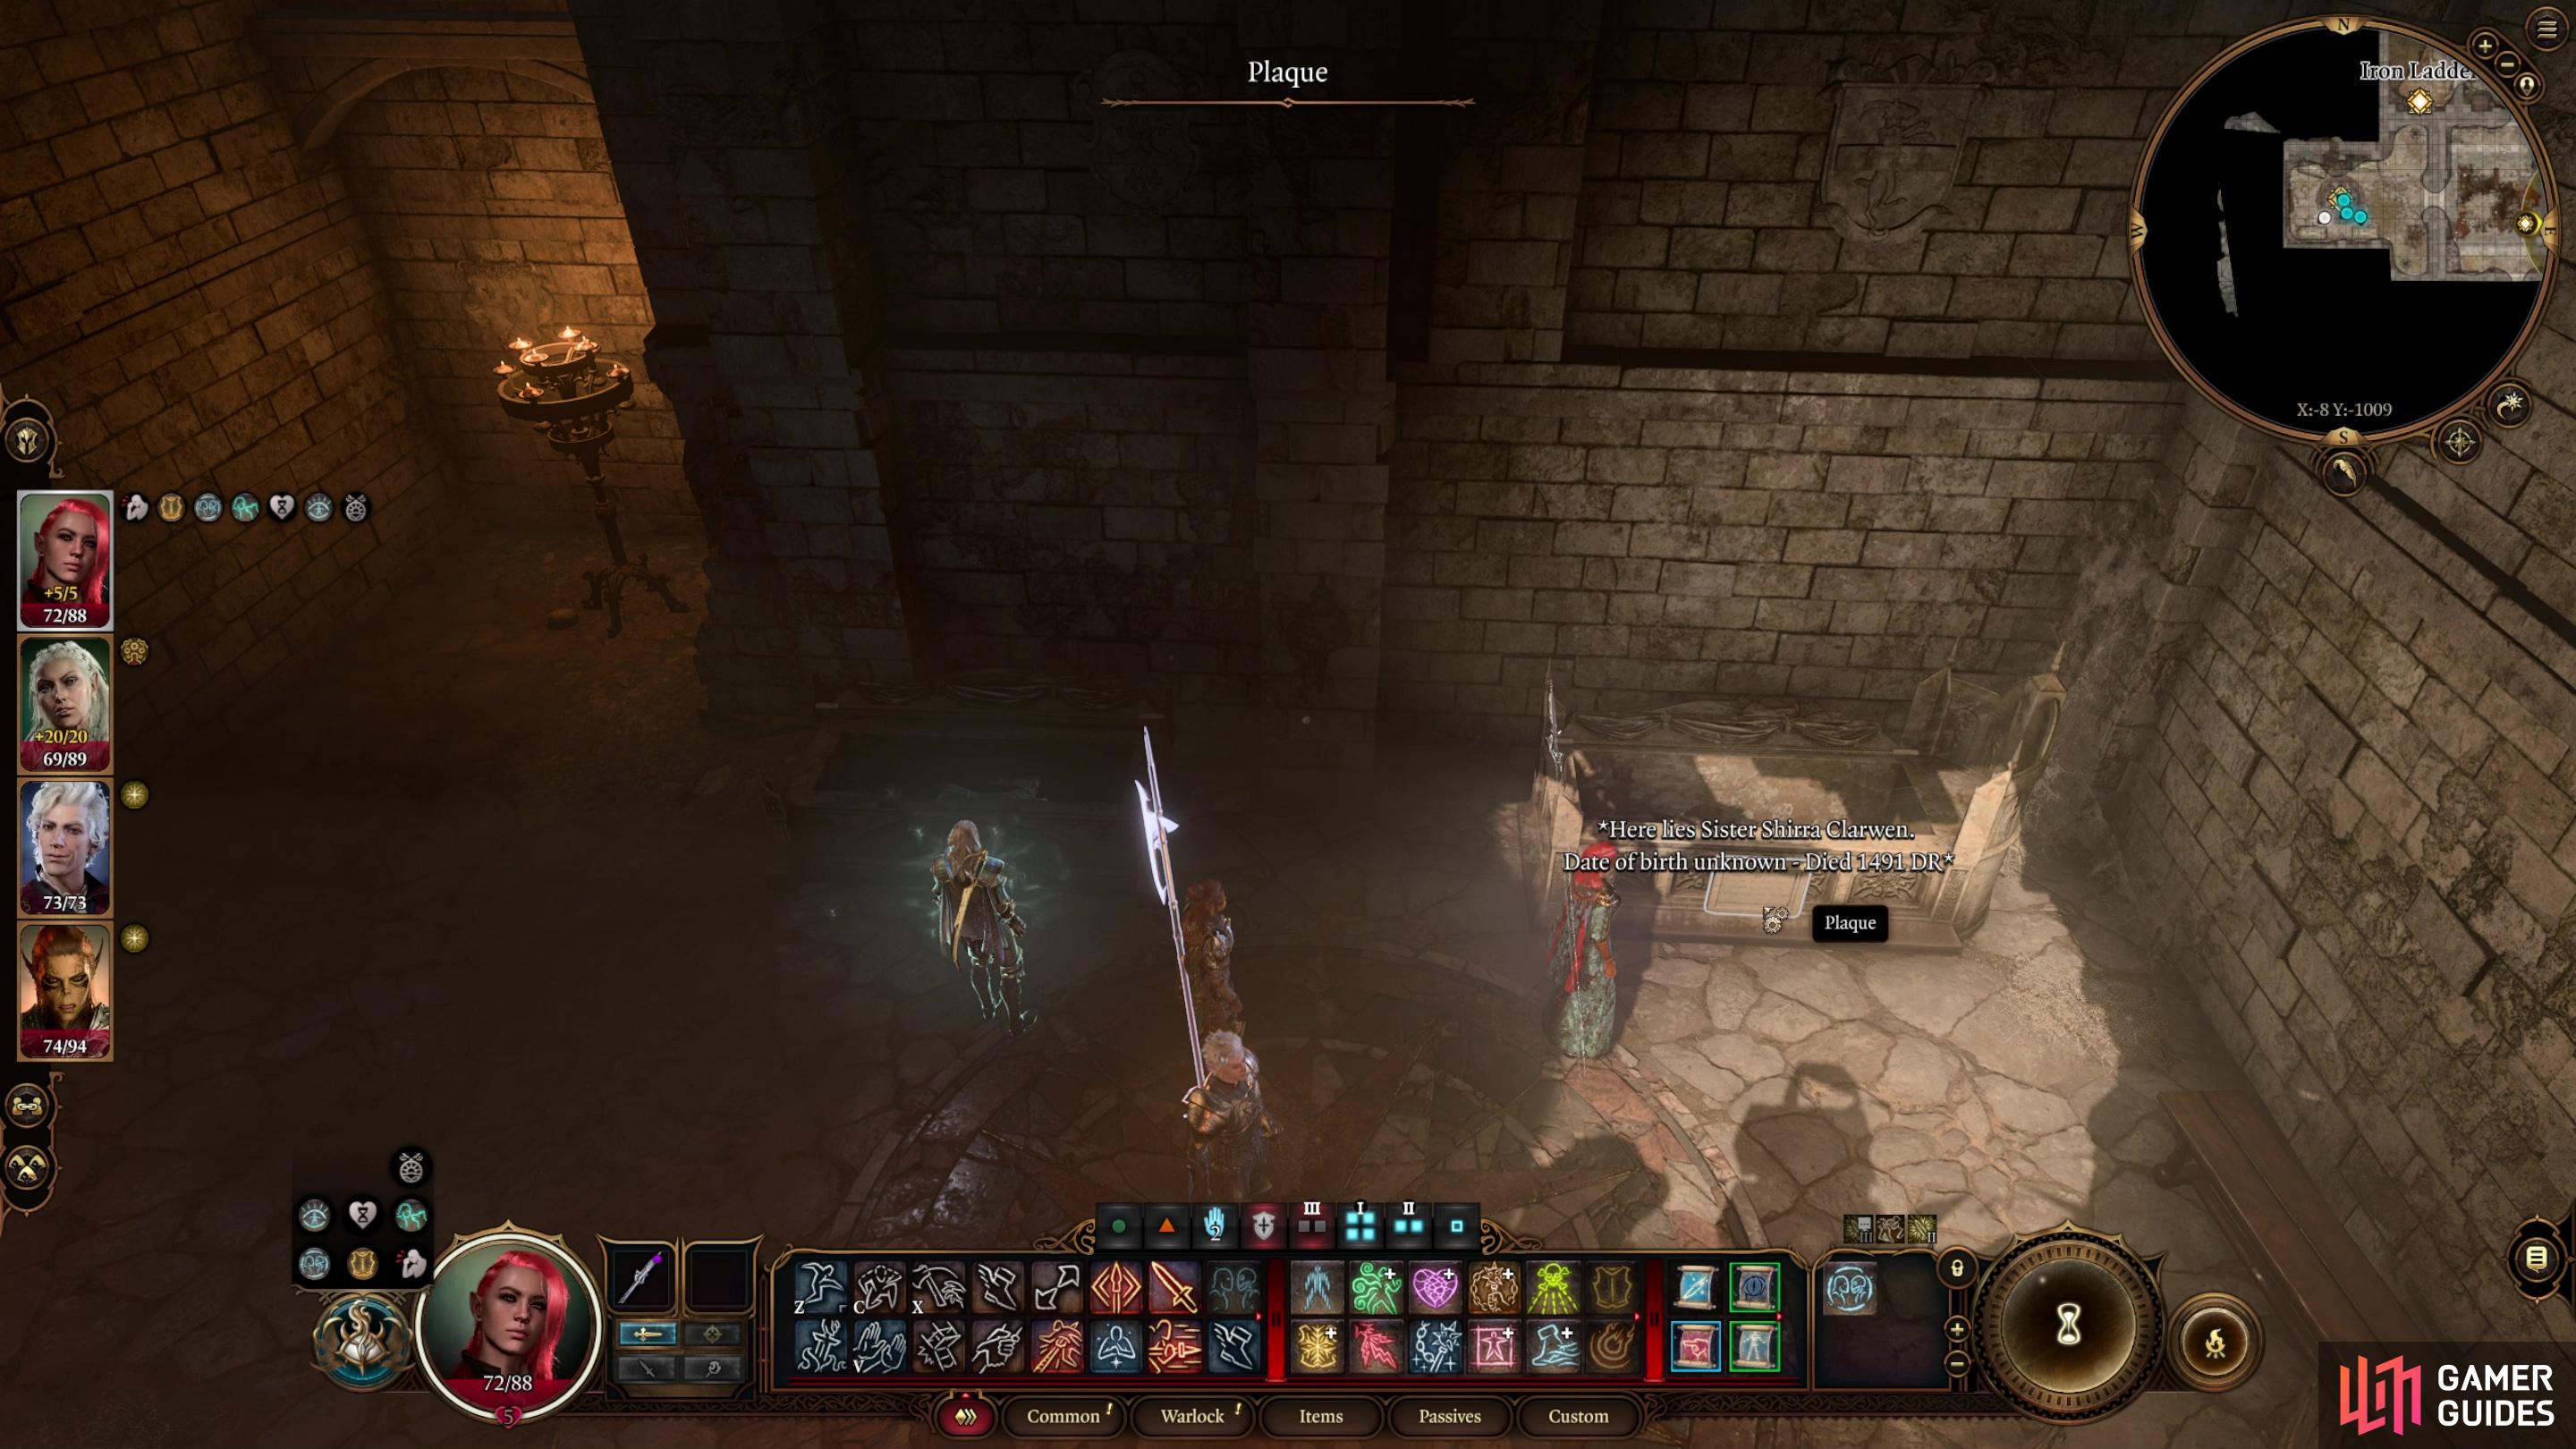
Head to the kitchen along the north-center of the temple and search the floor for an “Ornate Wooden Hatch” - it’s not hidden, so you should easily be able to spot it. Descend into the depths and go east, south, then west to find a room with four sarcophagi. Read the plaques on each one to find that the southwestern one belongs to Shirra. You may want to save beforehand, as identifying the correct sarcophagus will cause the cursed monk to manifest.
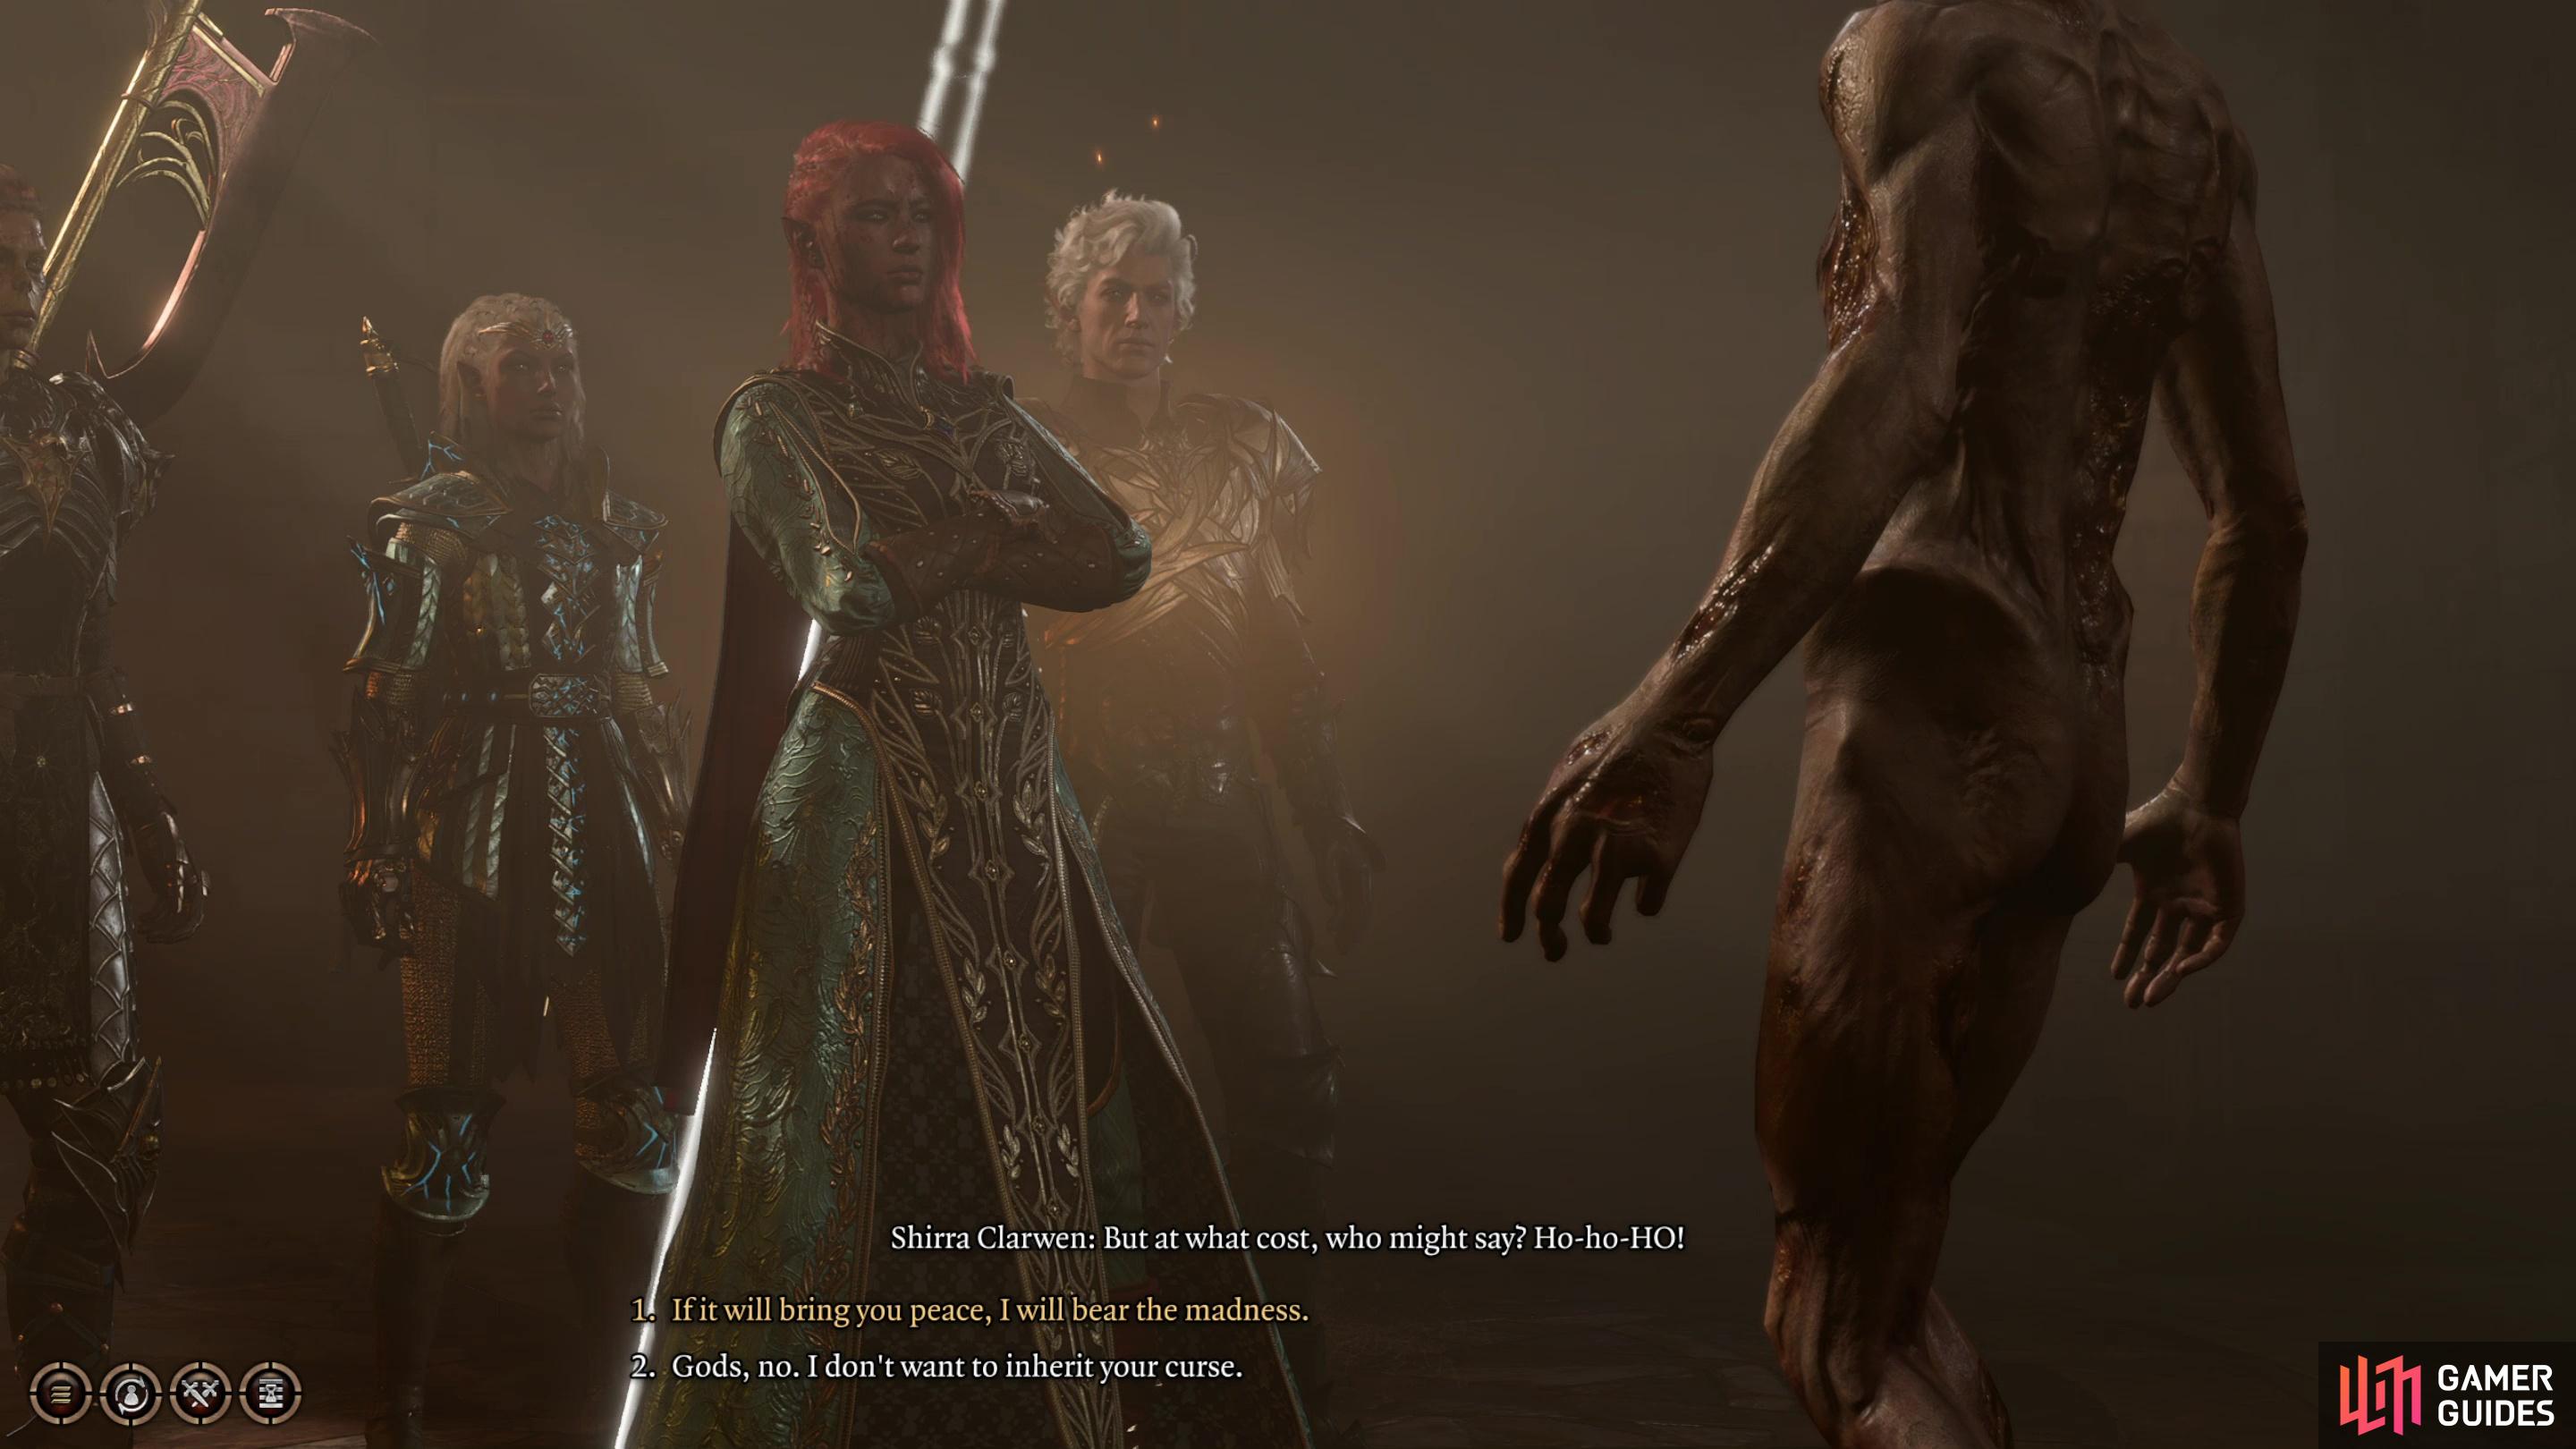
(1 of 3) When you examine Shirra’s sarcophagus you’ll get two choices - bear the monk’s curse to free him, or refuse.
Should You Take the Curse from the Cursed Monk in Baldur’s Gate 3
When the cursed monk appears, he’ll explain his plans to you, which have been thwarted by Shirra’s demise. You’ll get a couple of options here, but it really just boils down to two choices: refuse to bear the curse yourself or undertake the burden of the monk’s curse. The [Arcana 15] check you can attempt just informs you that you’ll gain the ability to cast Tasha’s Hideous Laughter if you take on the curse.
If you refuse to bear the madness, the cursed monk will attack, animating the other corpses in the room to assist him. You’ll be facing four rather nondescript zombies, boasting a laughable Armor Class of 8 and 42 Hit Points each, they shouldn’t be remotely threatening at this point in the game. Kill them and the cursed monk will laugh at his eternal torment, just now beginning before vanishing and the quest will complete. You’ll learn Tasha’s Hideous Laughter and the Sentient Amulet will retain most of its powers, sans the ability “Talk to the Sentient Amulet” - an unhappy ending, but safe, and relatively lucrative.

(1 of 3) If you attempt to bear the curse, you can attempt to pass some checks to avoid permanent Wisdom drain.
Alternatively, you can attempt to bear the curse, the effects of which include madness as the price you’ll pay for the ability to cast Tasha’s Hideous Laughter. This takes the form of a -2 penalty to your Wisdom score (technically two -1 penalties, if you want to be pedantic). You can either just surrender to the inevitable and take the Wisdom hit as the price you’re willing to pay for power, or you can try and resist the madness. There’s no penalty for failure, at least not one worse than refusing to try, so you might as well. You’ll have to pass a pair of checks, either [Constitution 15], [Wisdom 15] or a mix of the two, if you prefer. You can also leverage your tadpole to pass an [Illithid | Wisdom 2] check. Each check you pass lowers the Wisdom penalty by 1, and if you pass both checks you’ll negate the penalty entirely. Bearing the curse in the monk’s place - whether you mitigate its effects or not - gives you a happy ending, for what that’s worth.
Should you have borne the effects of the curse, the Sentient Amulet will become inert, having no abilities or effects. It does sell for a bit, though. You’ll also gain the ability to cast Tasha’s Hideous Laughter once per Long Rest as an innate ability. It consumes no spell slots or other resources, but it still requires concentration and otherwise functions identically to the spell.
Now that you’ve wrapped up this long-running quest, check out the following pages for walkthroughs on other things you can do and see around Rivington:
No Comments