
This page details how to complete the fight at ![]() Moonrise Towers and how to beat Ketheric Thorm on the Moonrise Towers Rooftop in Baldur’s Gate 3. You’ll find information on combat strategy against the Cult of the Absolute and Ketheric Thorm, including information on enemy strengths and weaknesses.
Moonrise Towers and how to beat Ketheric Thorm on the Moonrise Towers Rooftop in Baldur’s Gate 3. You’ll find information on combat strategy against the Cult of the Absolute and Ketheric Thorm, including information on enemy strengths and weaknesses.

It’s time to face off against Ketheric Thorm at Moonrise Towers!
Before you can fight Ketheric Thorm at Moonrise Towers, you’ll first need to have completed the ![]() Gauntlet of Shar and found the Nightsong. For the best and easiest experience during the fight against Ketheric Thorm, you should save Nightsong but the choice is absolutely down to player preference. If you’ve not yet done any of these things, head over to our guide on the Nightsong Quest for more information, and take a look at our walkthrough guide for all things Gauntlet of Shar!
Gauntlet of Shar and found the Nightsong. For the best and easiest experience during the fight against Ketheric Thorm, you should save Nightsong but the choice is absolutely down to player preference. If you’ve not yet done any of these things, head over to our guide on the Nightsong Quest for more information, and take a look at our walkthrough guide for all things Gauntlet of Shar!
How to Defeat Disciple Z’rell and the Cult of the Absolute at Moonrise Towers
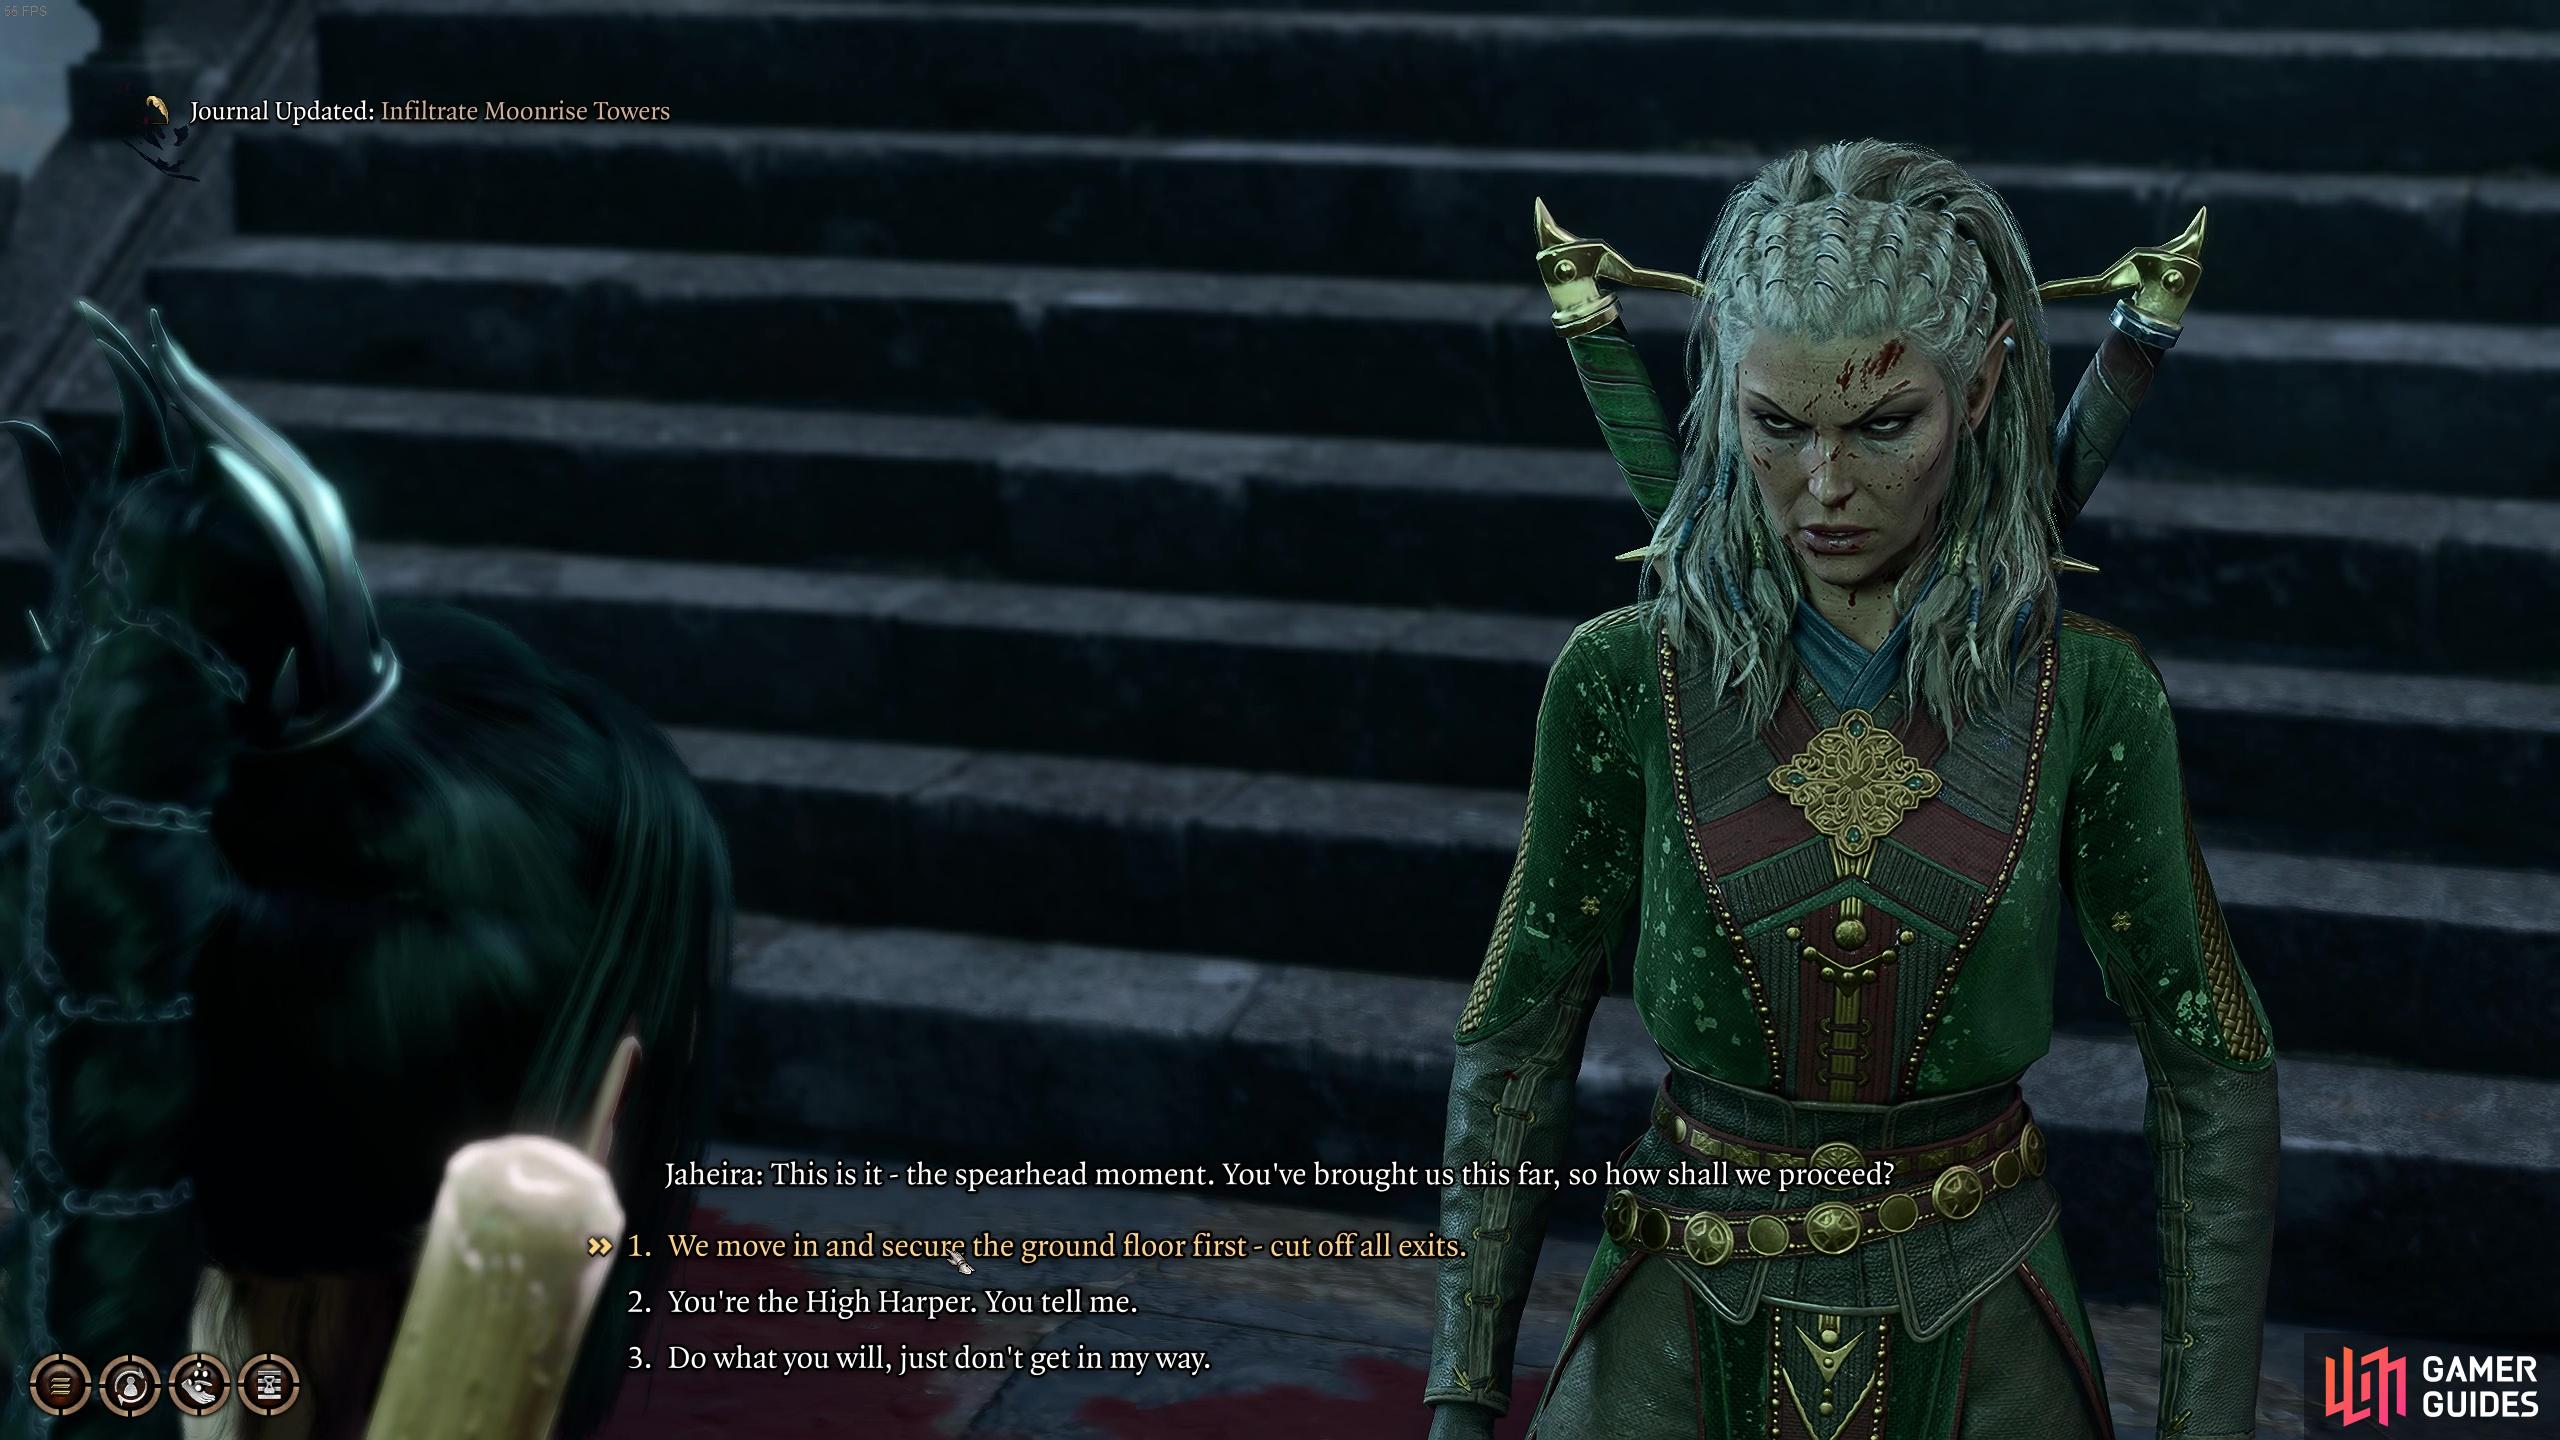
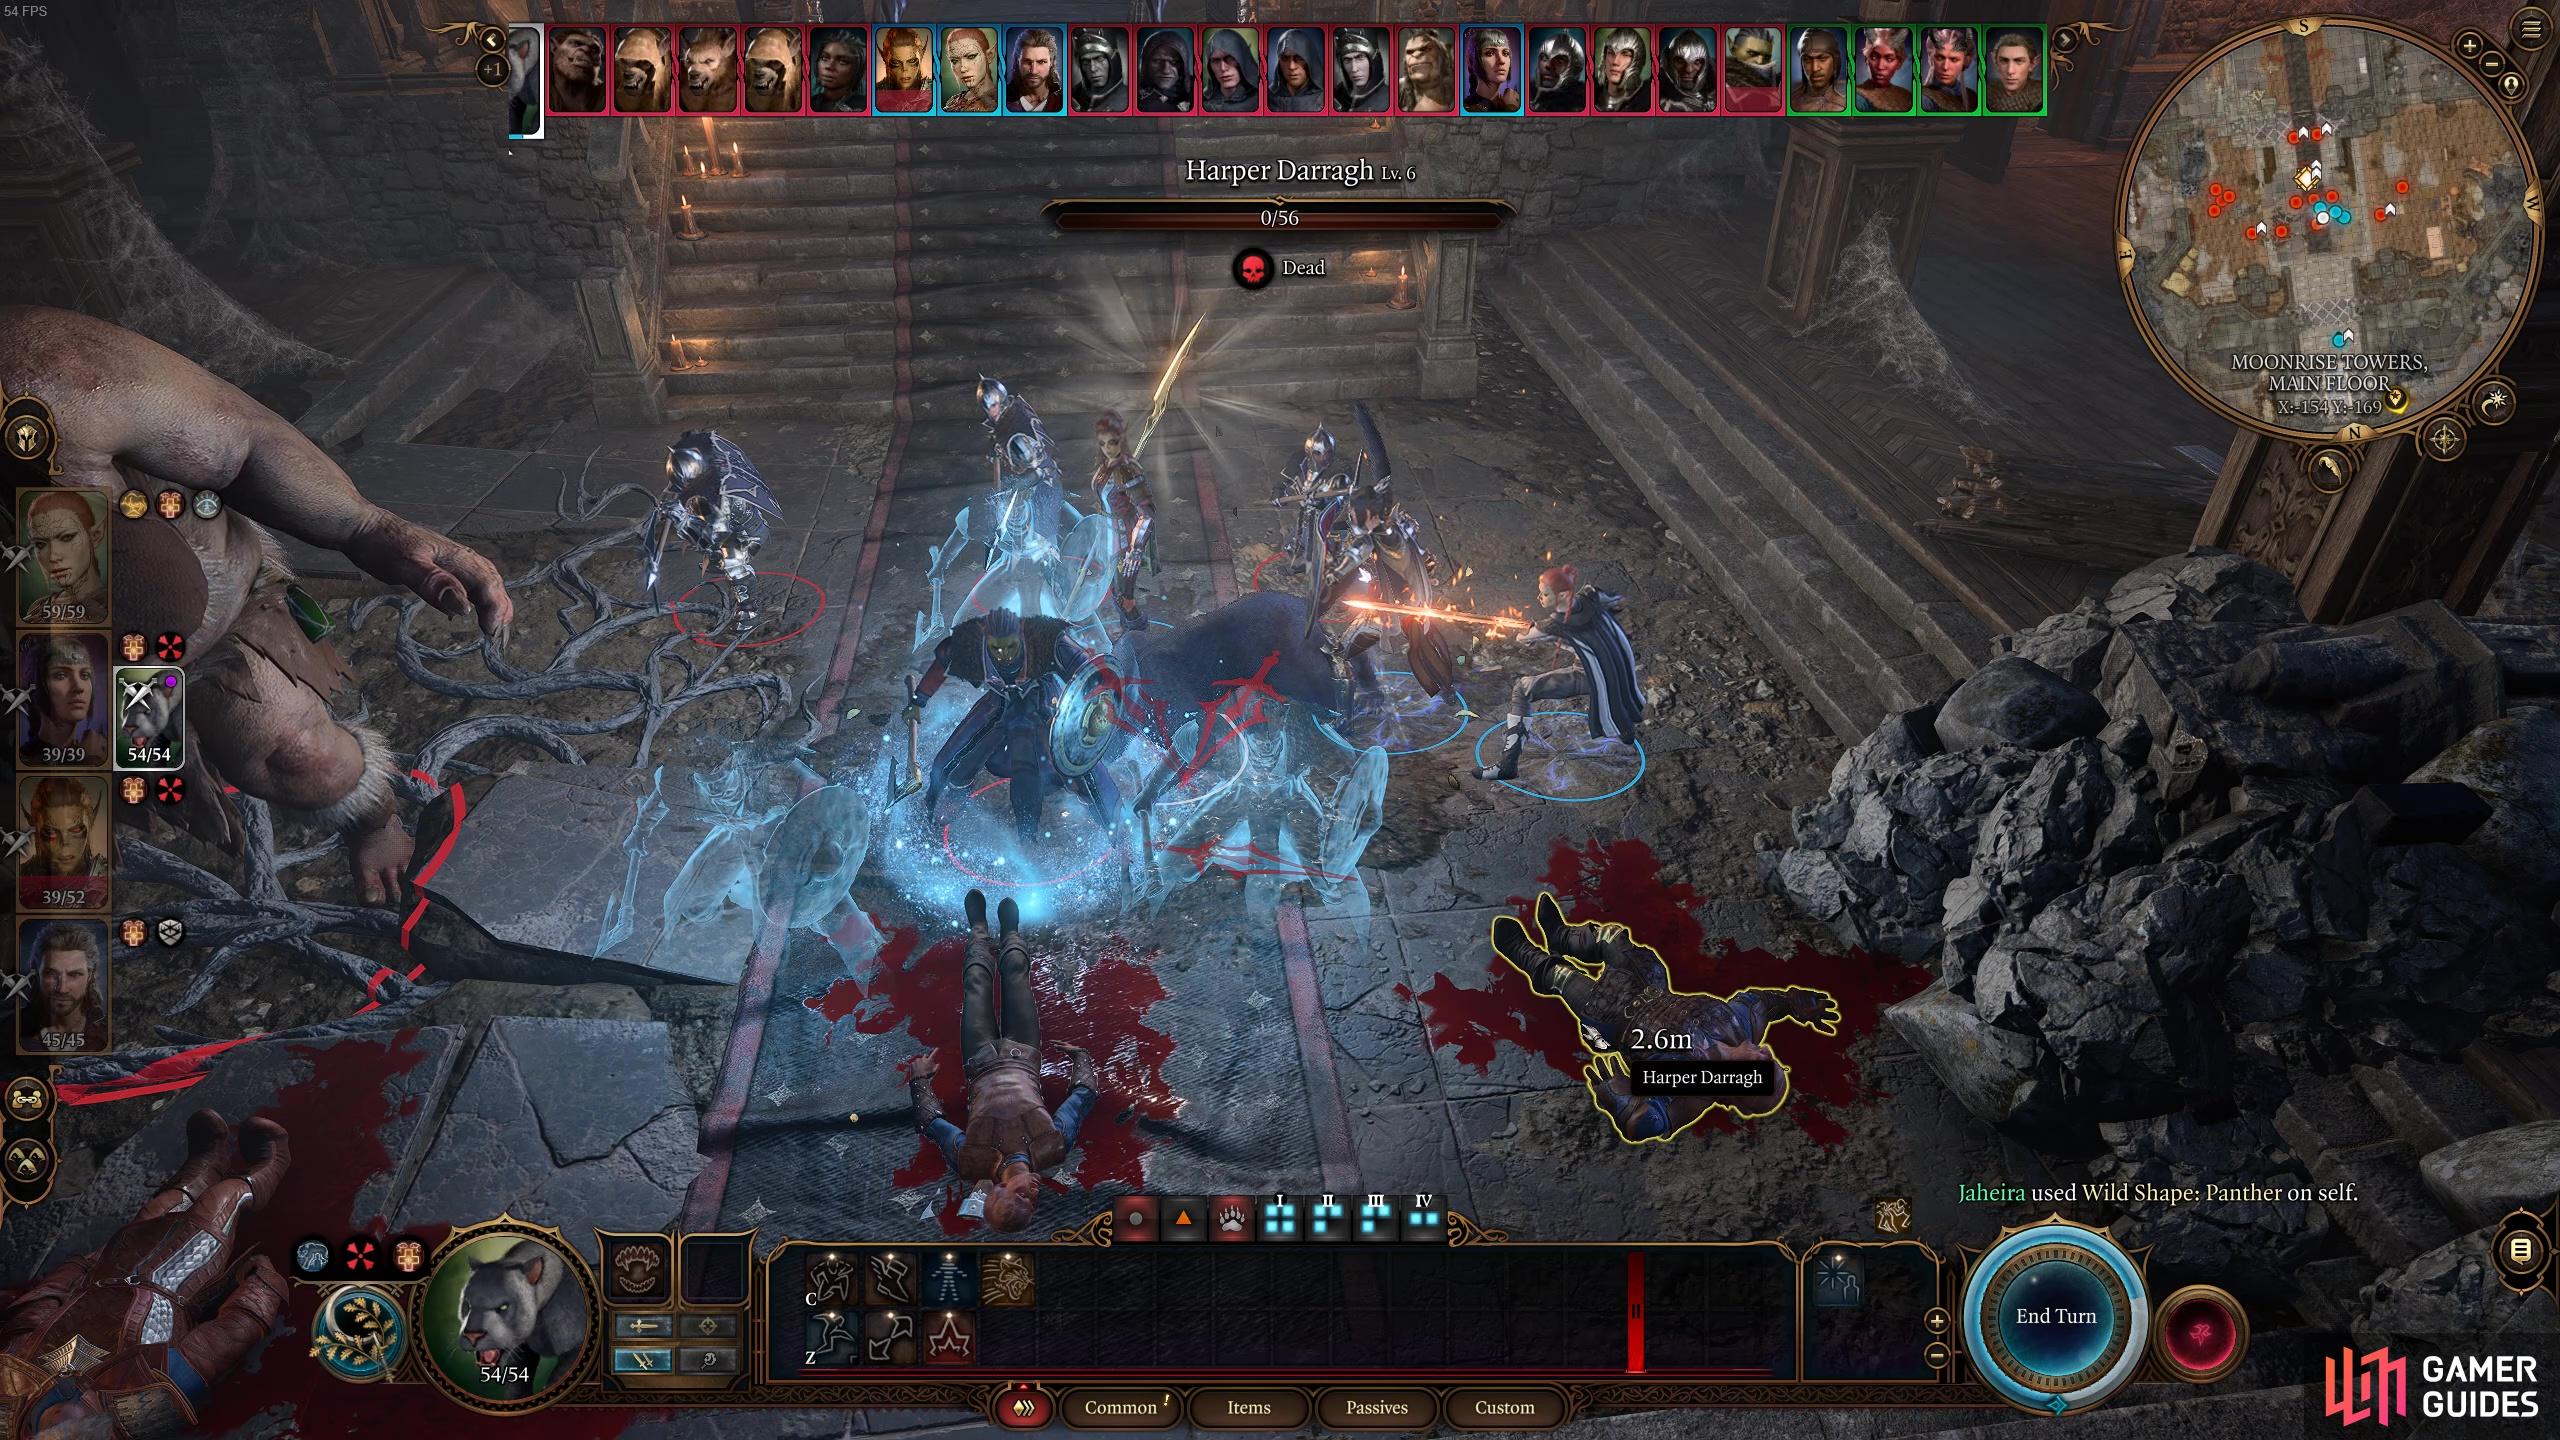
When you’re ready to take on the Moonrise Towers, fast travel over to the Moonrise Towers way point and head over to speak with Jaheira. Here, you can choose whether you’d like to control her character or she can just stay with the band of Harpers. We recommend doing the first option as this will give you control over her temporarily (she isn’t a companion just yet) and lets you control her moves and attacks during combat. If you want to recruit Jaheira as a companion, you’ll want to keep her alive during this battle and this is definitely easier to do when you have control over her. And since she’s a temporary add-on to your party, you don’t need to remove any other party members to have her for these fights! If you’re looking to keep her alive, make sure to use her Wild Shape ability as it will essentially give her two health bars.
In addition to some Harper reinforcements, the Fist group will also help out in the battle so long as you helped them at Waukeen Manor during Act 1 (Rescue the Grand Duke).
You can gain Jaheira as a temporary party member if you choose.
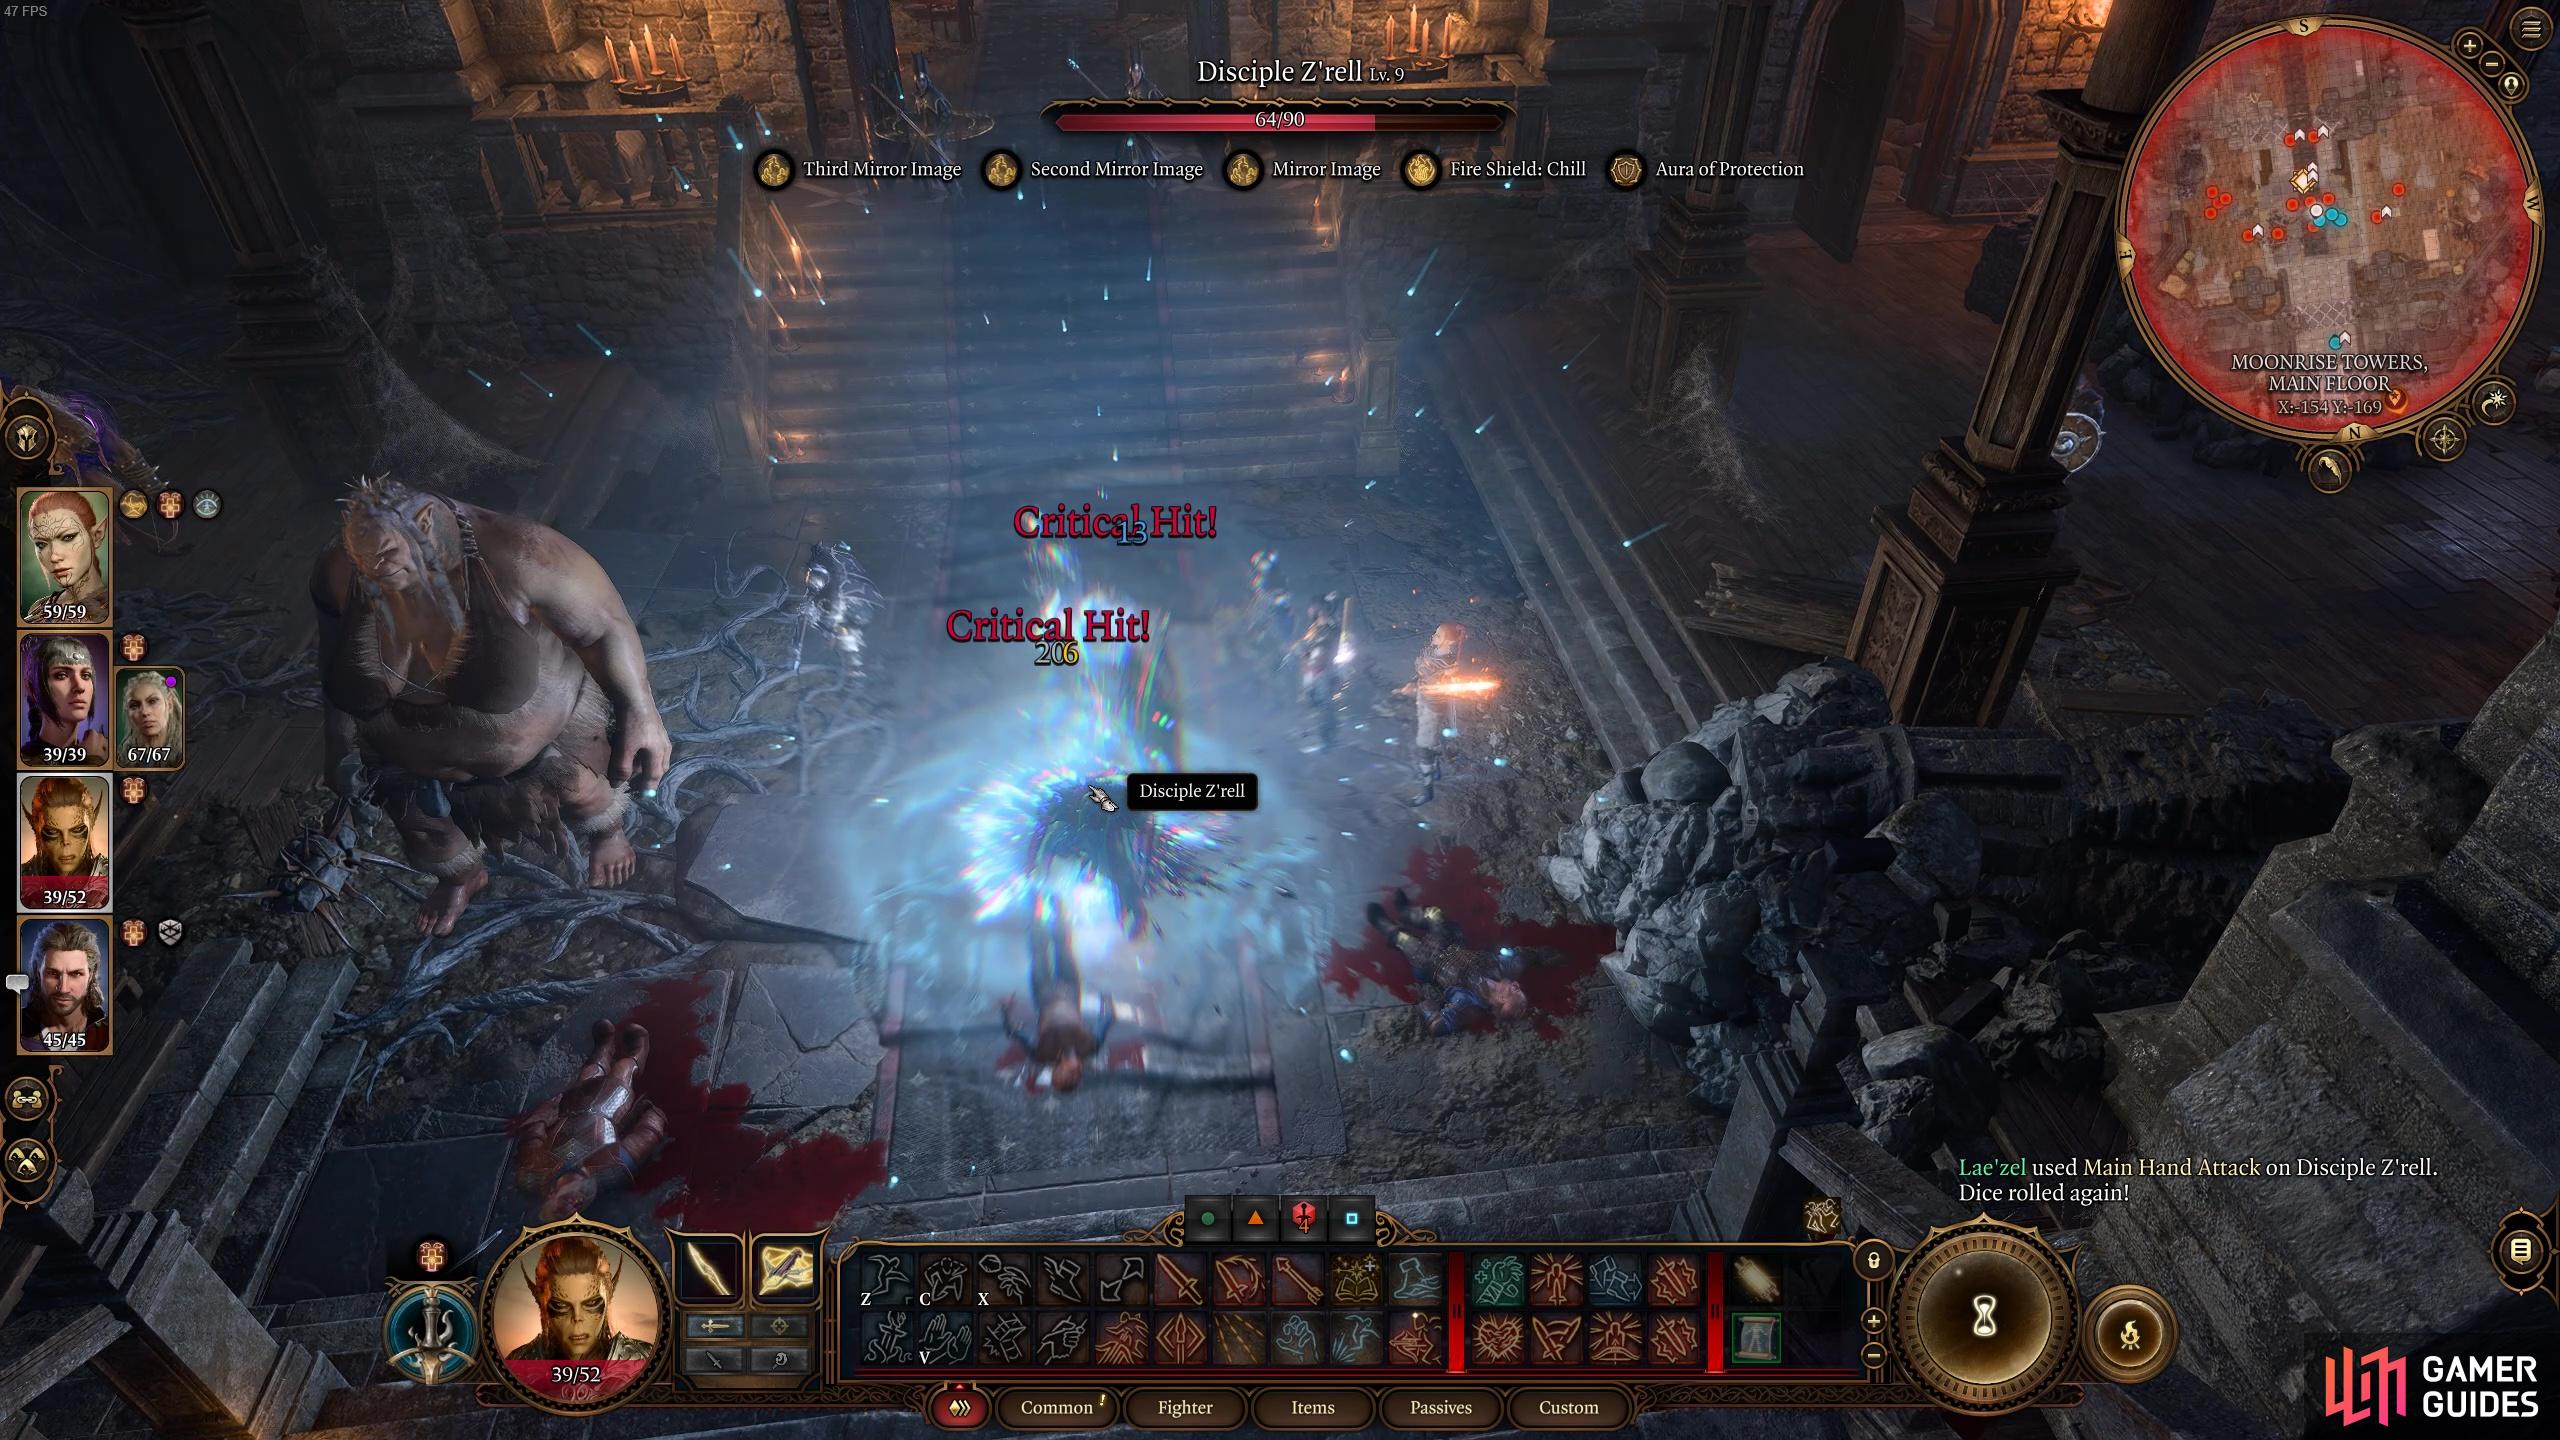
Once you’re ready, proceed into the first room of the towers. Here, you’ll come face to face with Disciple Z’rell and a whole heap of Absolute Cultists including several Zealot, Adept and Acolyte Enemies and some archers, Gnolls and a big ol’ Troll. Disciple Z’rell is the most powerful of the enemies in this fight, but the Zealots and Adept enemies can also be very annoying to deal with. When you first enter the room, you’ll have a short moment to speak with Z’rell. You can’t talk your way out of the fight but this does give you the opportunity to move your other party members into more advantageous positions. For example, we placed our spellcasters on the rafters above (there are a few enemies up here, but they’re low health and easy to push off the rafters!). Here, your spellcasters and ranged characters will have a great vantage point and will also be harder to hit by enemies below.
You could also use your party members to start the combat first, prior to Z’rell even finishing the conversation. This tactic is great for getting in some early damage, but will lose your character’s action in their initial turn unless they’re a Rogue Assassin. It can be good to get in some guaranteed early damage before the fight though! Using a strong AoE damage spell before the fight begins and targeting the center of the room can be a great method of doing some damage prior to starting turn-based combat.
Start the fight off right with a big swing against Z’rell whilst she’s in dialogue with another party member!
It also goes without saying that healing is a huge must have in this fight, whether that’s by having prepared healing spells or by using tons of health potions. This is because it’s quite a long fight with loads of enemies, like some that do huge spell attacks and others that do consistent poke damage. You’ll soon find that your party members (and Jaheira who you’ll want to keep alive as you can’t revive her!) are being chunked for a ton of health. Our respecced Life Domain Cleric ![]() Shadowheart was the MVP of this fight as she consistently used bonus actions to heal whilst also conjuring up Faith Guardians and other powerful AoE attacks to manage the hordes of lesser enemies. If you’ve had trouble with your team comp in prior fights, now could be a good opportunity to test out new builds! We have a page on How to Respec with more information! We also have a whole host of great build pages including one on the Best Life Cleric Build!
Shadowheart was the MVP of this fight as she consistently used bonus actions to heal whilst also conjuring up Faith Guardians and other powerful AoE attacks to manage the hordes of lesser enemies. If you’ve had trouble with your team comp in prior fights, now could be a good opportunity to test out new builds! We have a page on How to Respec with more information! We also have a whole host of great build pages including one on the Best Life Cleric Build!
Disciple Z’rell: Spells and Combat Strategy
As mentioned, Z’rell is the strongest of the bunch and she has a few different (and annoying!) tricks up her sleeve. Firstly, she will often begin combat with ![]() Mirror Image activated, making her tougher to hit in the initial round of combat. She is also constantly enveloped in a Fire Shield: Chill, which gives her resistance to
Mirror Image activated, making her tougher to hit in the initial round of combat. She is also constantly enveloped in a Fire Shield: Chill, which gives her resistance to ![]() Fire Damage and also means that any melee attacks will deal 2-16
Fire Damage and also means that any melee attacks will deal 2-16 ![]() Cold Damage to the attacker! This can make it very punishing to attack her in close combat, but we found that dealing at least some damage in melee range was worth it to get her out of the combat quickly.
Cold Damage to the attacker! This can make it very punishing to attack her in close combat, but we found that dealing at least some damage in melee range was worth it to get her out of the combat quickly.
Z’rell’s Mirror Image ability can make her harder to hit at first.
In addition to being annoying in close combat, Z’rell also has ![]() Counterspell. Luckily, the AI isn’t too smart and you can overcome the issue by using only low level spells first and waiting for her to use her two lots of counterspell and then use your big high level spells. It isn’t guaranteed that she’ll use her counterspell on any old spell but you will find that most of the time she will use it if you’re targeting her specifically. If you have a Spellcaster, you should also possess the counterspell ability as it can help manage Z’rell’s and the other enemy spellcasters’ powerful attacks (particularly the AoE ones that target multiple party members).
Counterspell. Luckily, the AI isn’t too smart and you can overcome the issue by using only low level spells first and waiting for her to use her two lots of counterspell and then use your big high level spells. It isn’t guaranteed that she’ll use her counterspell on any old spell but you will find that most of the time she will use it if you’re targeting her specifically. If you have a Spellcaster, you should also possess the counterspell ability as it can help manage Z’rell’s and the other enemy spellcasters’ powerful attacks (particularly the AoE ones that target multiple party members).

Cone of Cold can be a complete party wipe-out if they’re all caught in it! Brutal!
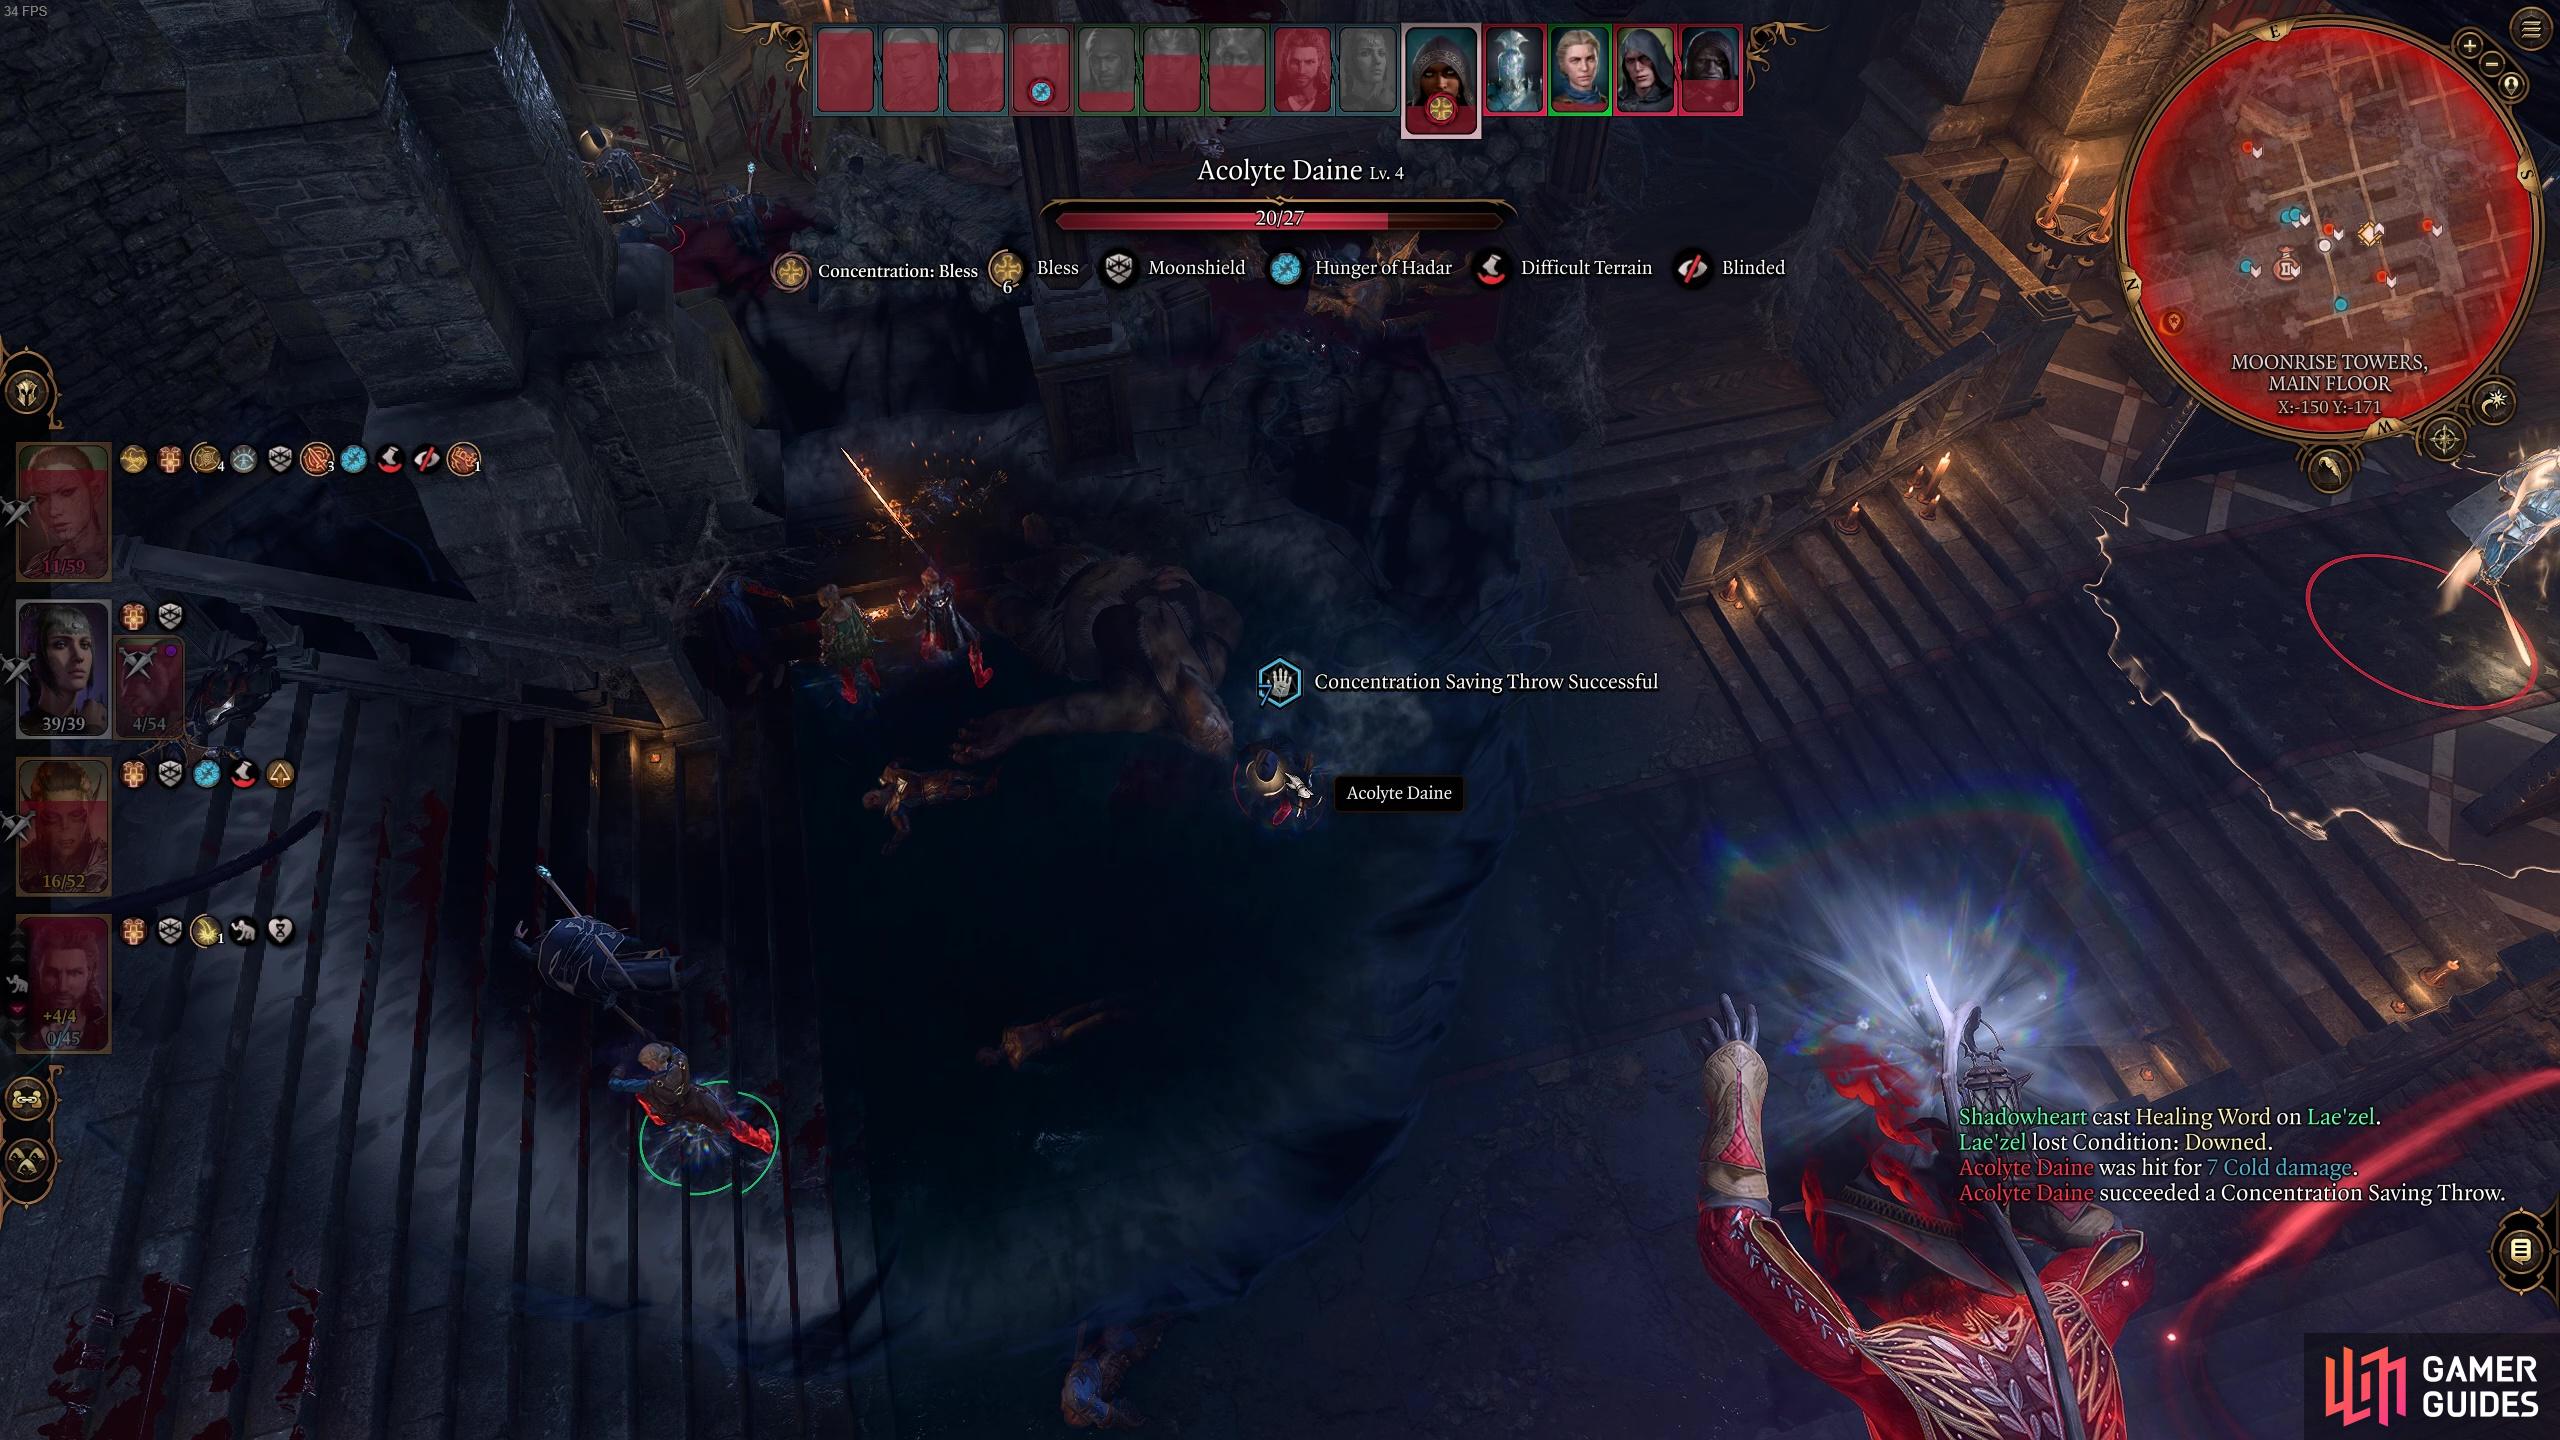
The third big thing up her sleeve is her Black Hole spell, which she’ll use to pull your party members and other nearby allies together and slow their movement. This will also place you and your allies in a prime spot for the enemies’ brutal AoE spells, such as her ![]() Cone of Cold spell, which is a devastating cold spell that does damage in a cone radius. And what makes it worse is that the other enemies like the Adepts also have AoE spells like
Cone of Cold spell, which is a devastating cold spell that does damage in a cone radius. And what makes it worse is that the other enemies like the Adepts also have AoE spells like ![]() Hunger of Hadar.
Hunger of Hadar.
It can be tough to know who to focus first in this fight, but we found that primarily focusing Z’rell, Mig the Troll and the Archers to the left worked quite effectively. Mig is a good target mostly because (for some reason) the Harper Archers love to focus their attacks on her instead of Z’rell, so it can be good to get Mig out of the way quickly so that they start targeting the other tankier and stronger enemies. If you find that your Harpers are a bit smarter and target other enemies then by all means, leave Mig till later on!
A good strategy in this fight is to keep kinda spread out enough so as not to have your whole party caught in the Black Hole spell or any other AoE spells. This strategy can also help with dealing with the different groups of lesser enemies like the archers to the left hand side of the room. Although there are loads of scarier enemies in this fight, we found that taking out the archers (there are some on the rafters too) and thinning out the enemy numbers a bit really made a difference since the constant poking from the archers is actually more punishing than you might initially think.
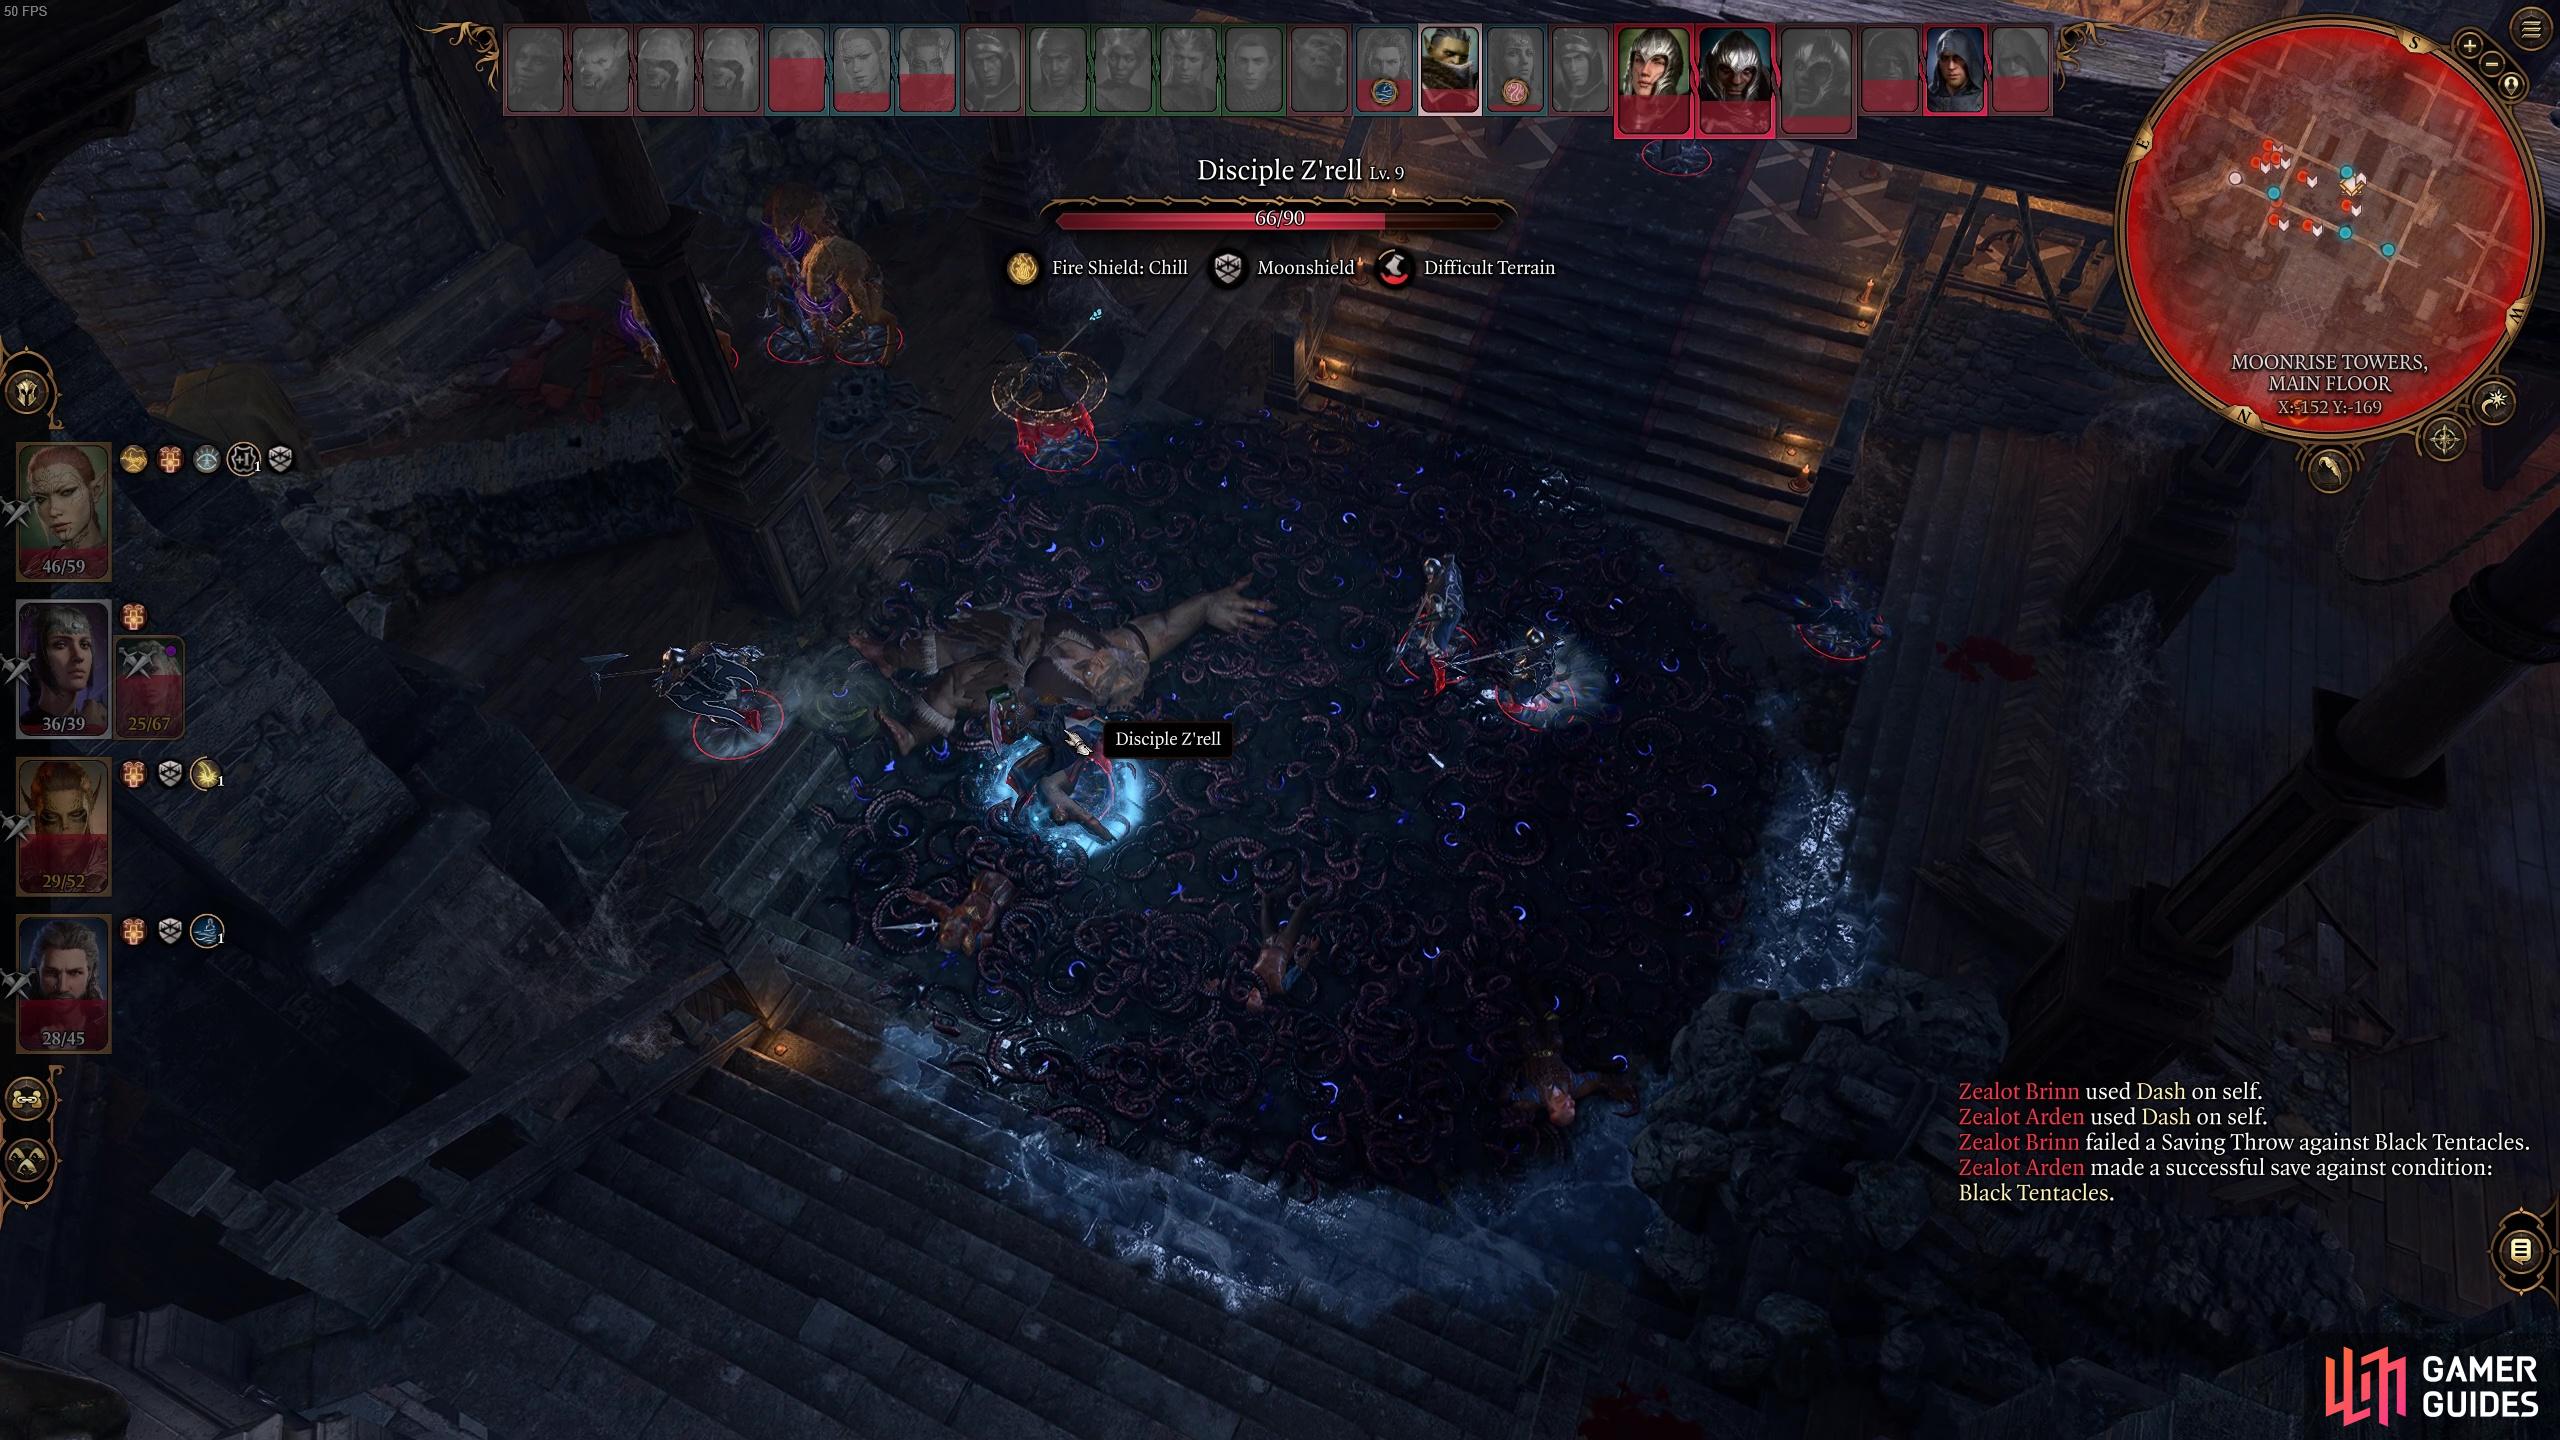
Use AoE spells like Black Tentacles
or Hunger of Hadar to help control the enemies’ movements and deal extra damage.
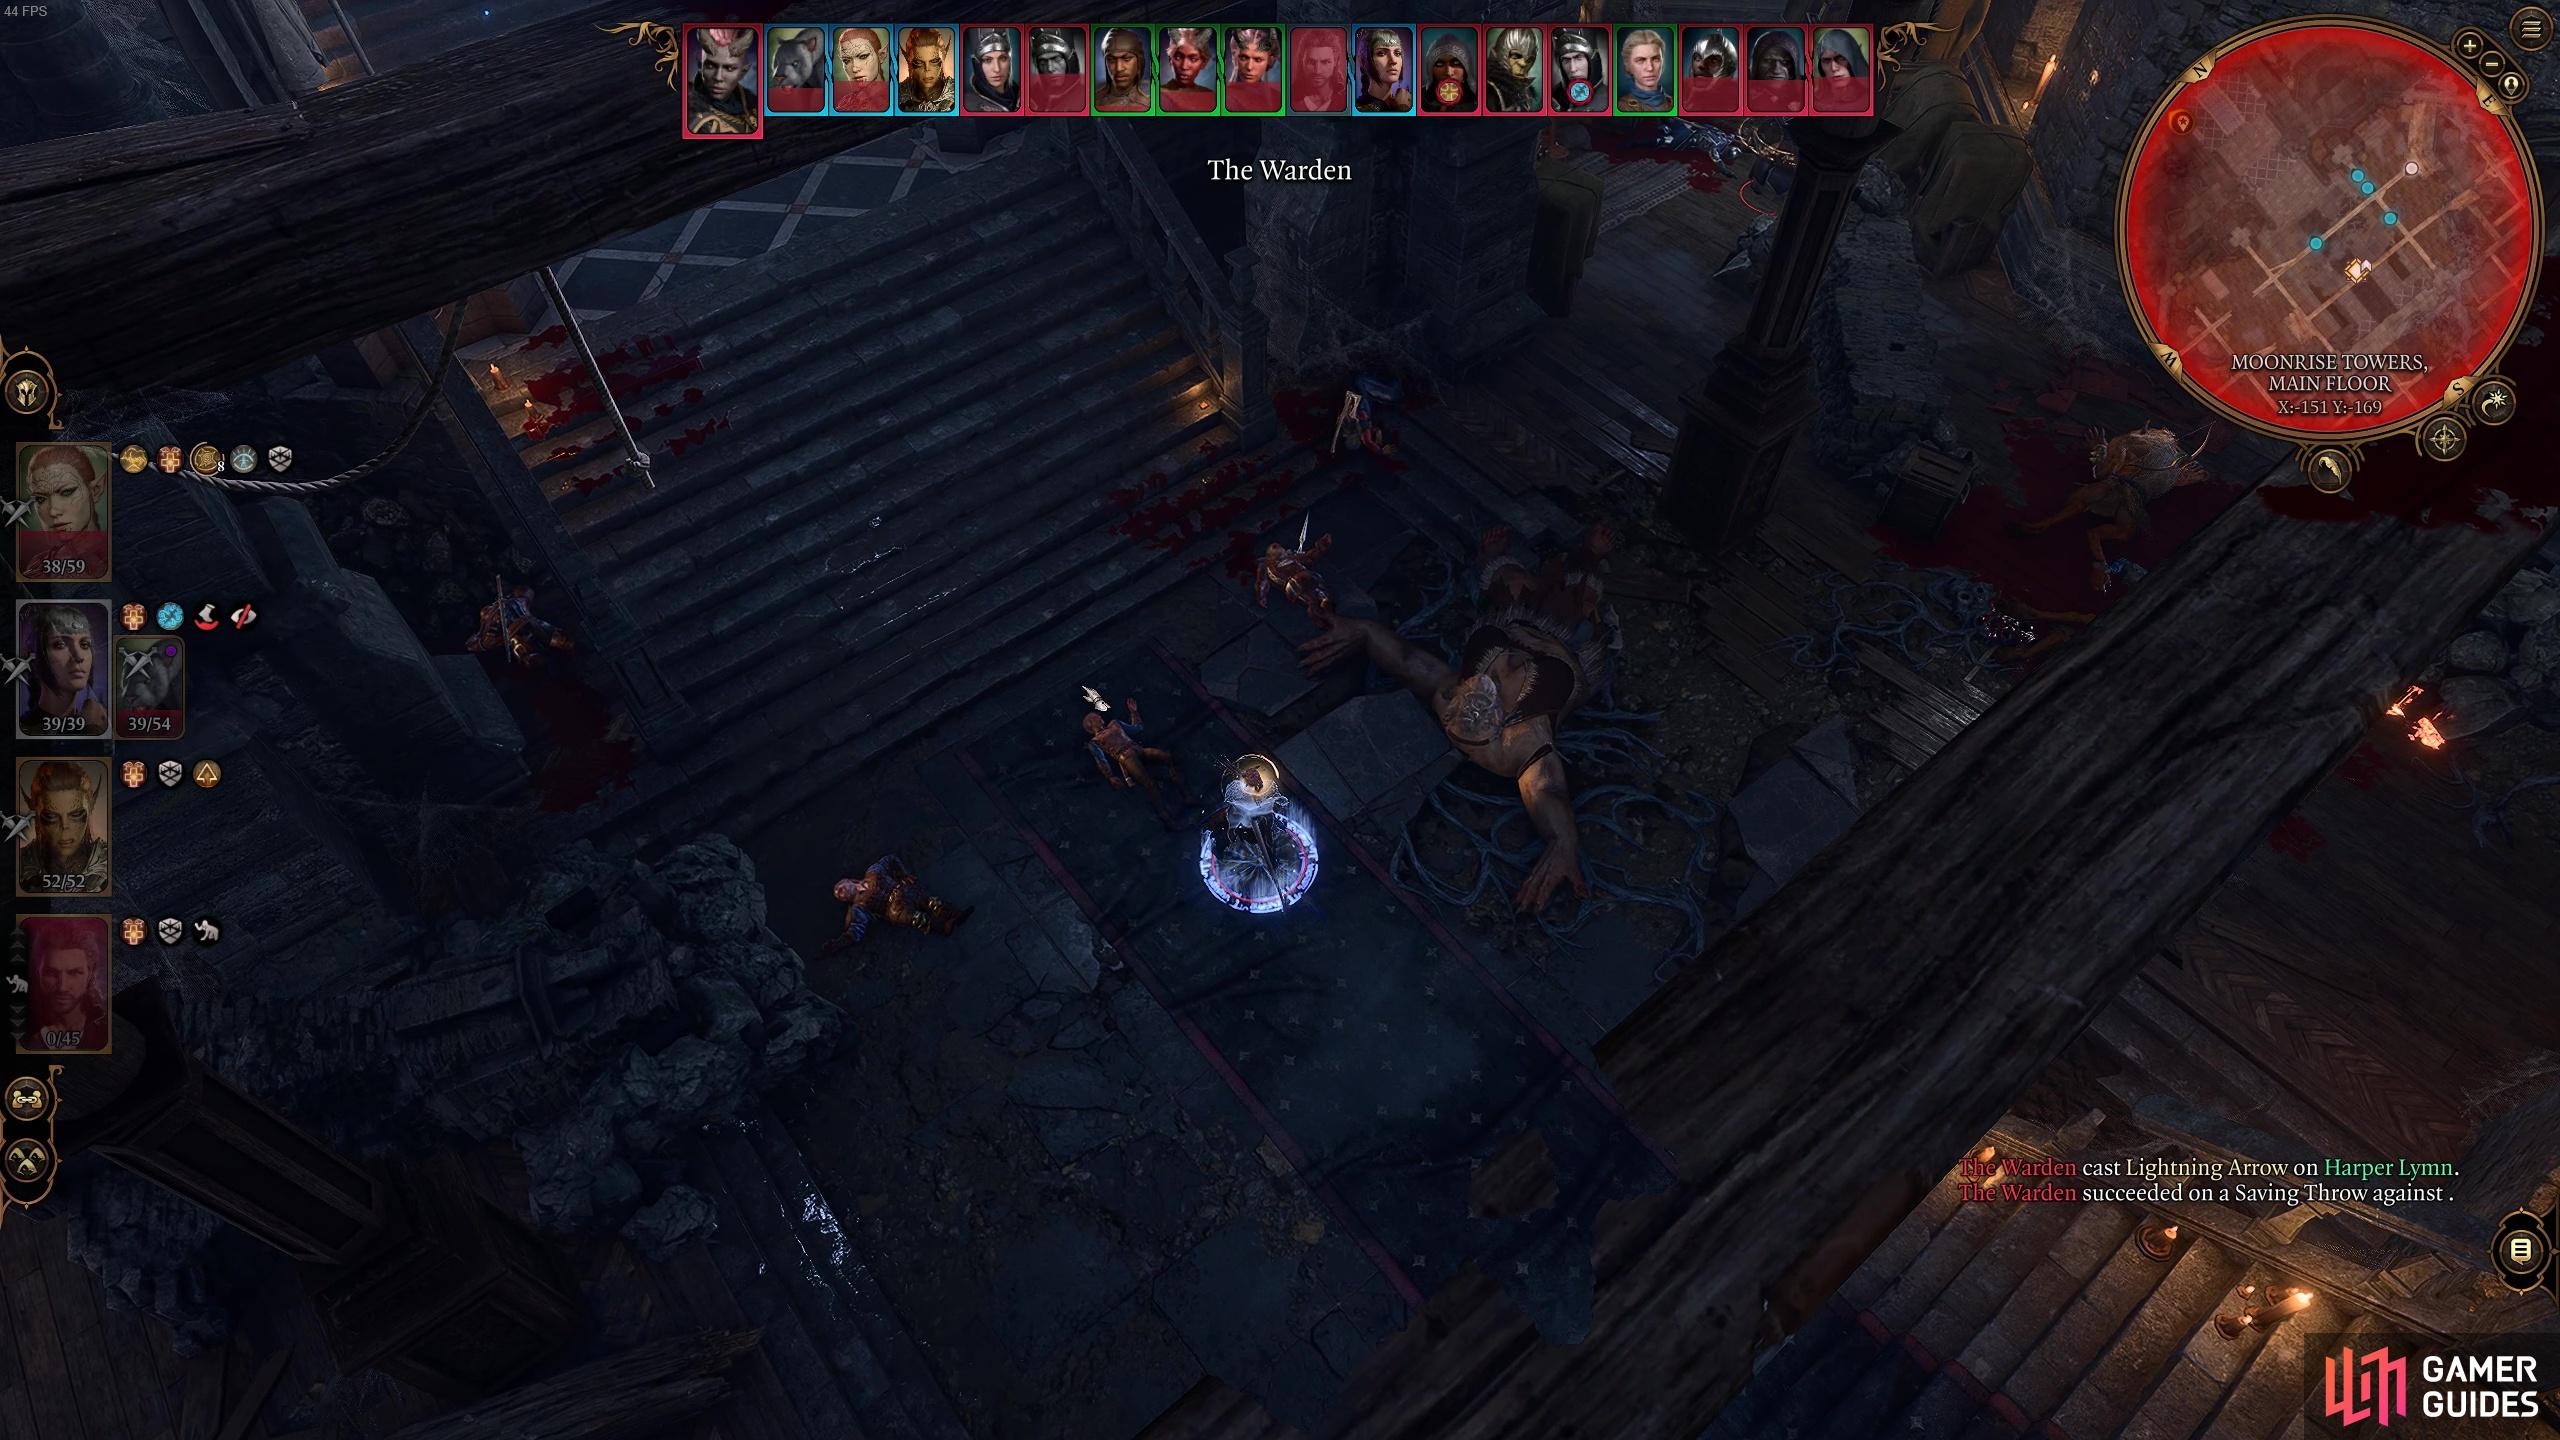
After a few turns of combat, you will also have to now deal with even more Zealot and Adept enemies and The Warden - another powerful mini-boss enemy (provided you didn’t kill the guards at the prison during the Rescue the Tieflings quest). These guys can really make the fight feel overwhelming, hence why being at least Level 7 can make it more manageable. The Warden can go invisible and will use it to sneak up on her targets. We found that the added Zealots and Adepts were the real challenge with these added reinforcements, however.
You could use AoE spells or a summon like Faith Guardian near the entryway so that when they proceed into the room to join the fight they take damage before they even properly join the fight. Again, keeping the spellcasters at a safe distance, like on the rafters or even behind the Harper reinforcements can help with protecting them from the barrage of Zealot and Adept enemies who are particularly strong and tanky.
The added reinforcements come in from the throne room
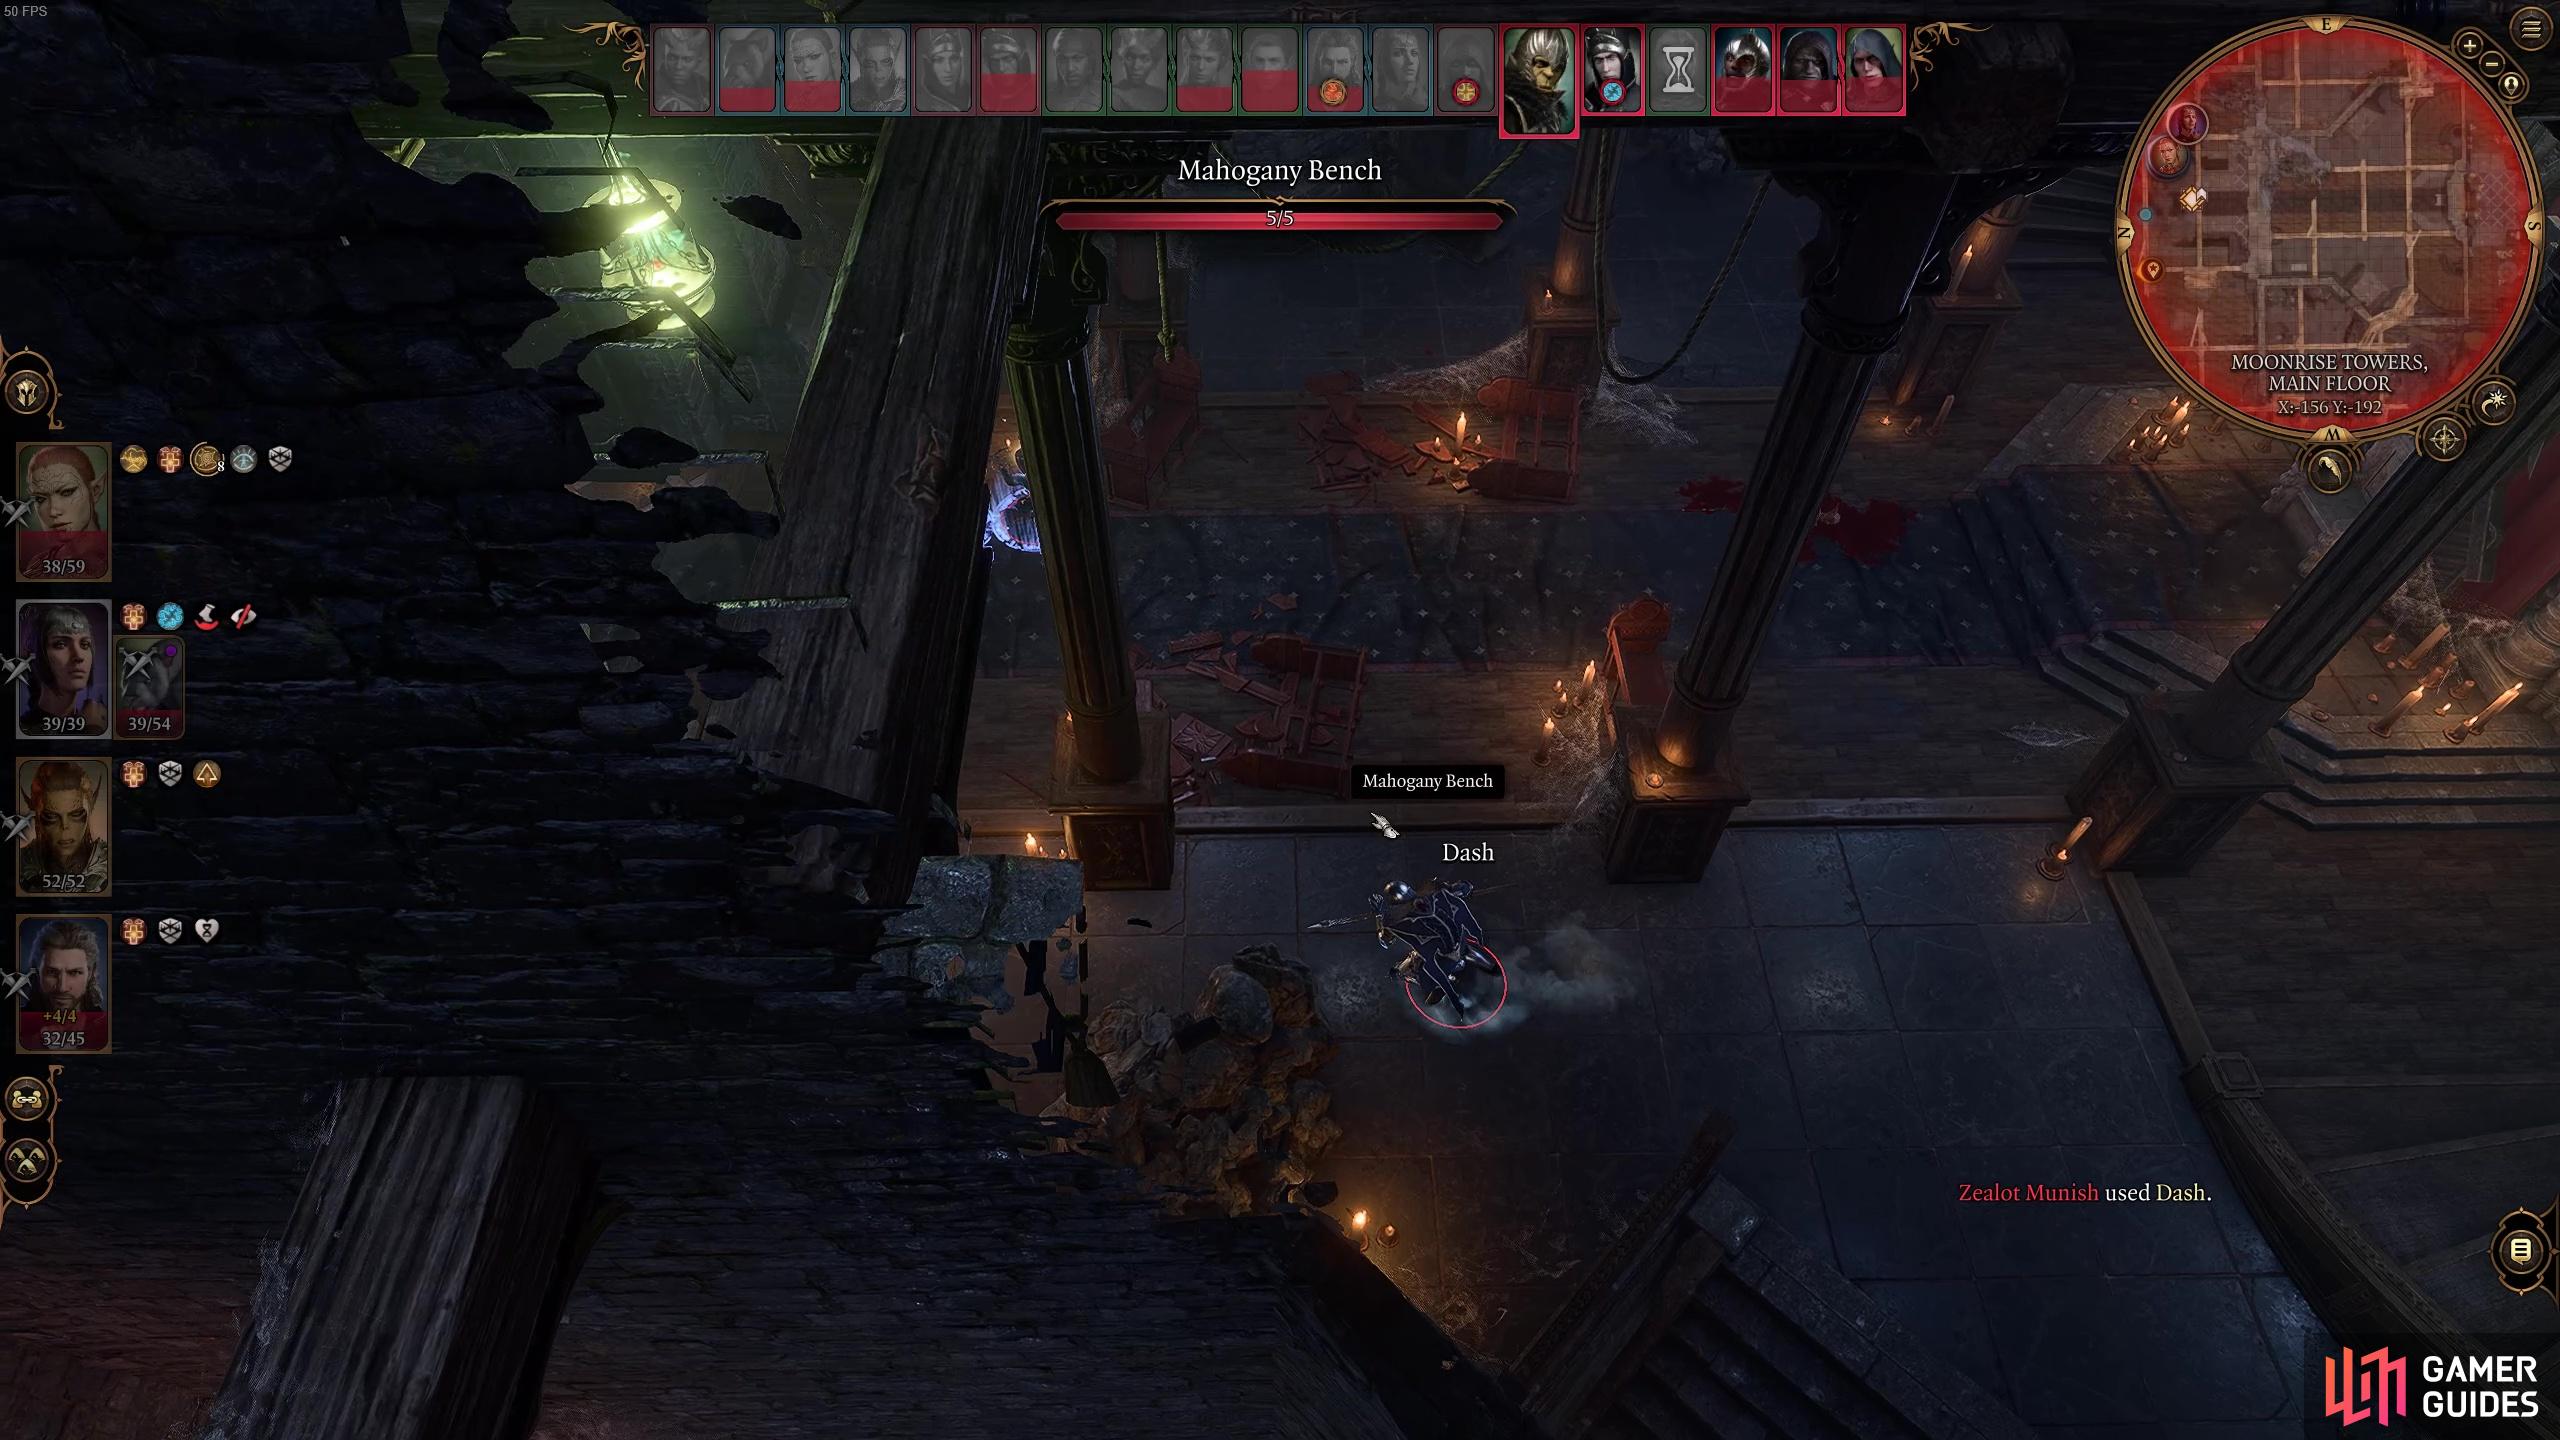
and can be quite punishing, especially since you’ve likely used a lot of resources to take down Z’rell.
You should also not feel too afraid of letting the Harper reinforcements (not Jaheira though!) take some heat from the enemies. If you do maneuver your party to hard to reach places like the rafters, you’ll find that a lot of the enemies will begin targeting the Harpers. This can be a huge benefit to the combat as it’ll give you the opportunity to heal up and reposition. And fortunately, there doesn’t seem to be any negatives to letting them die.
Once you’ve defeated all the enemies in this long and arduous fight, you’ll want to head into the throne room and speak with Jaheira. Here, she’ll ask to join you again as you face down Ketheric himself on the rooftop! Before you go up there, you’ll want to loot the enemies for some powerful items. The former trader, Lann Tarv has some particularly strong armor and weapons for Barbarians!
As you proceed up the stairs, you’ll face one last mini-boss, Radija, and some Necromites to fight but these shouldn’t pose too much of a threat. Radija’s main threat is her ability to cast Fire Ball. But honestly, as long as you get your fighters into the fight early, you should have no problem chunking her entire HP bar before the end of the first round! You could also counterspell her ![]() Fireball to mitigate the damage! She can also summon more Necromites if given the chance.
Fireball to mitigate the damage! She can also summon more Necromites if given the chance.
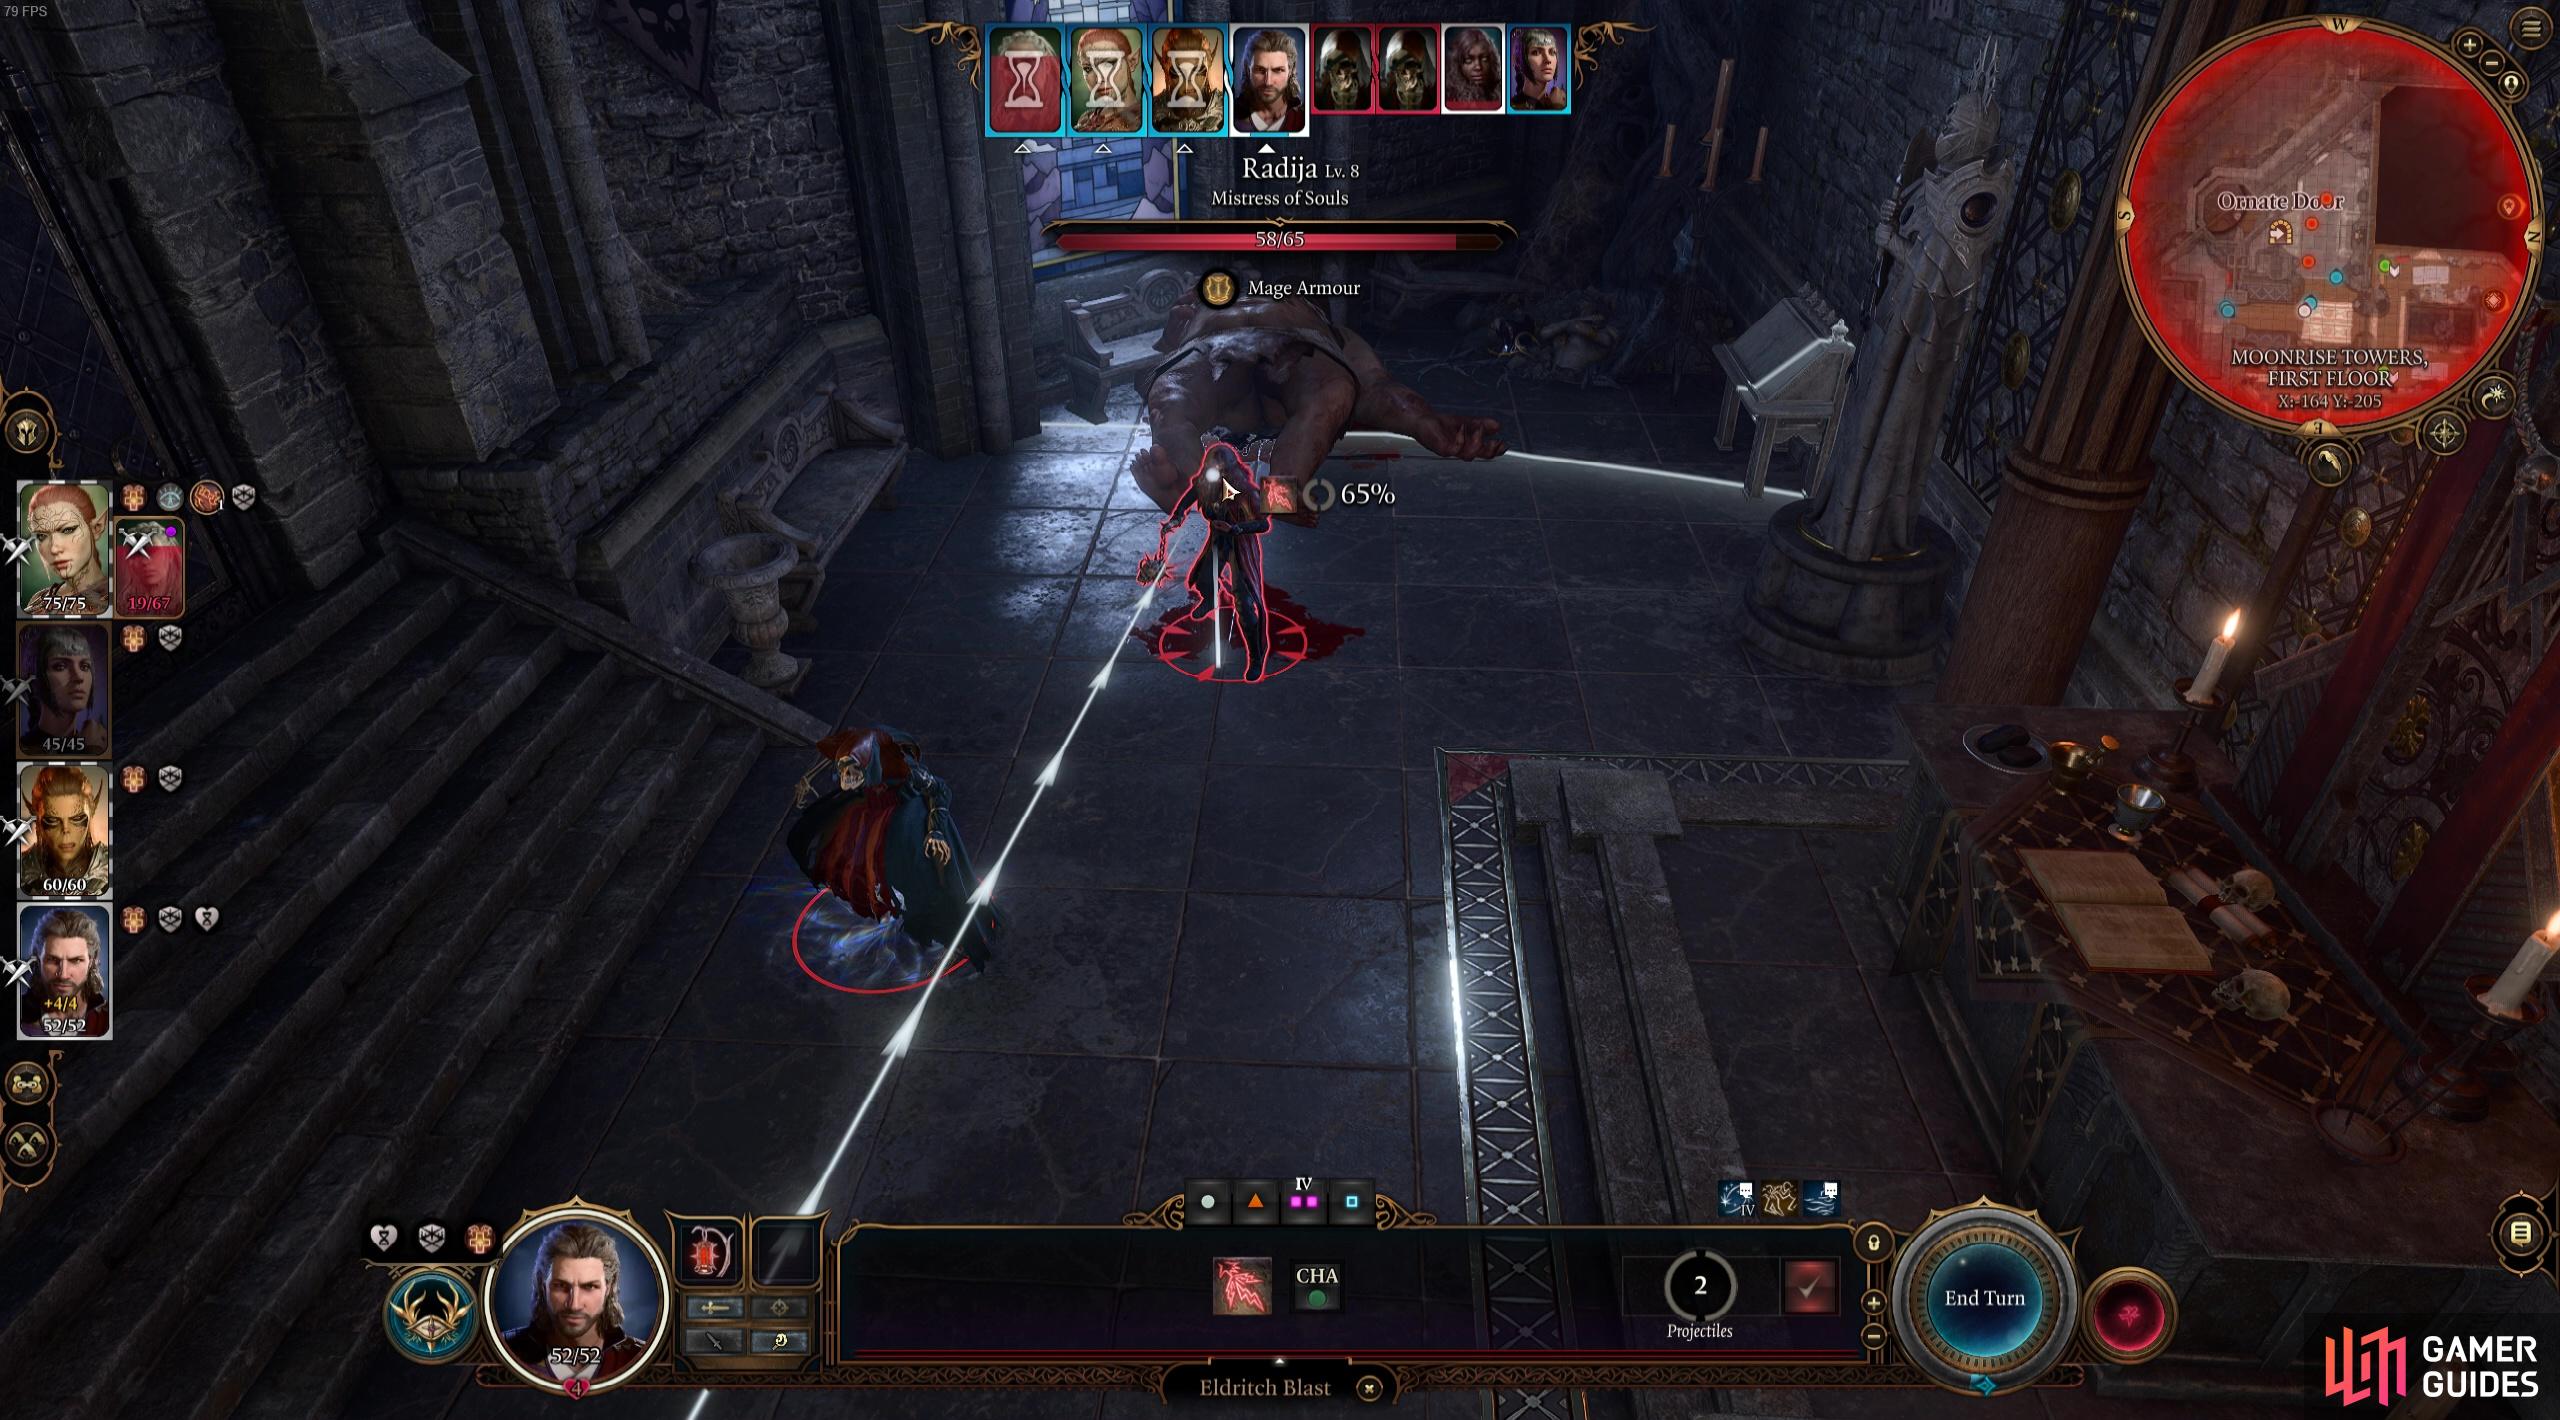
Radija is the final stop before the big fight against Ketheric
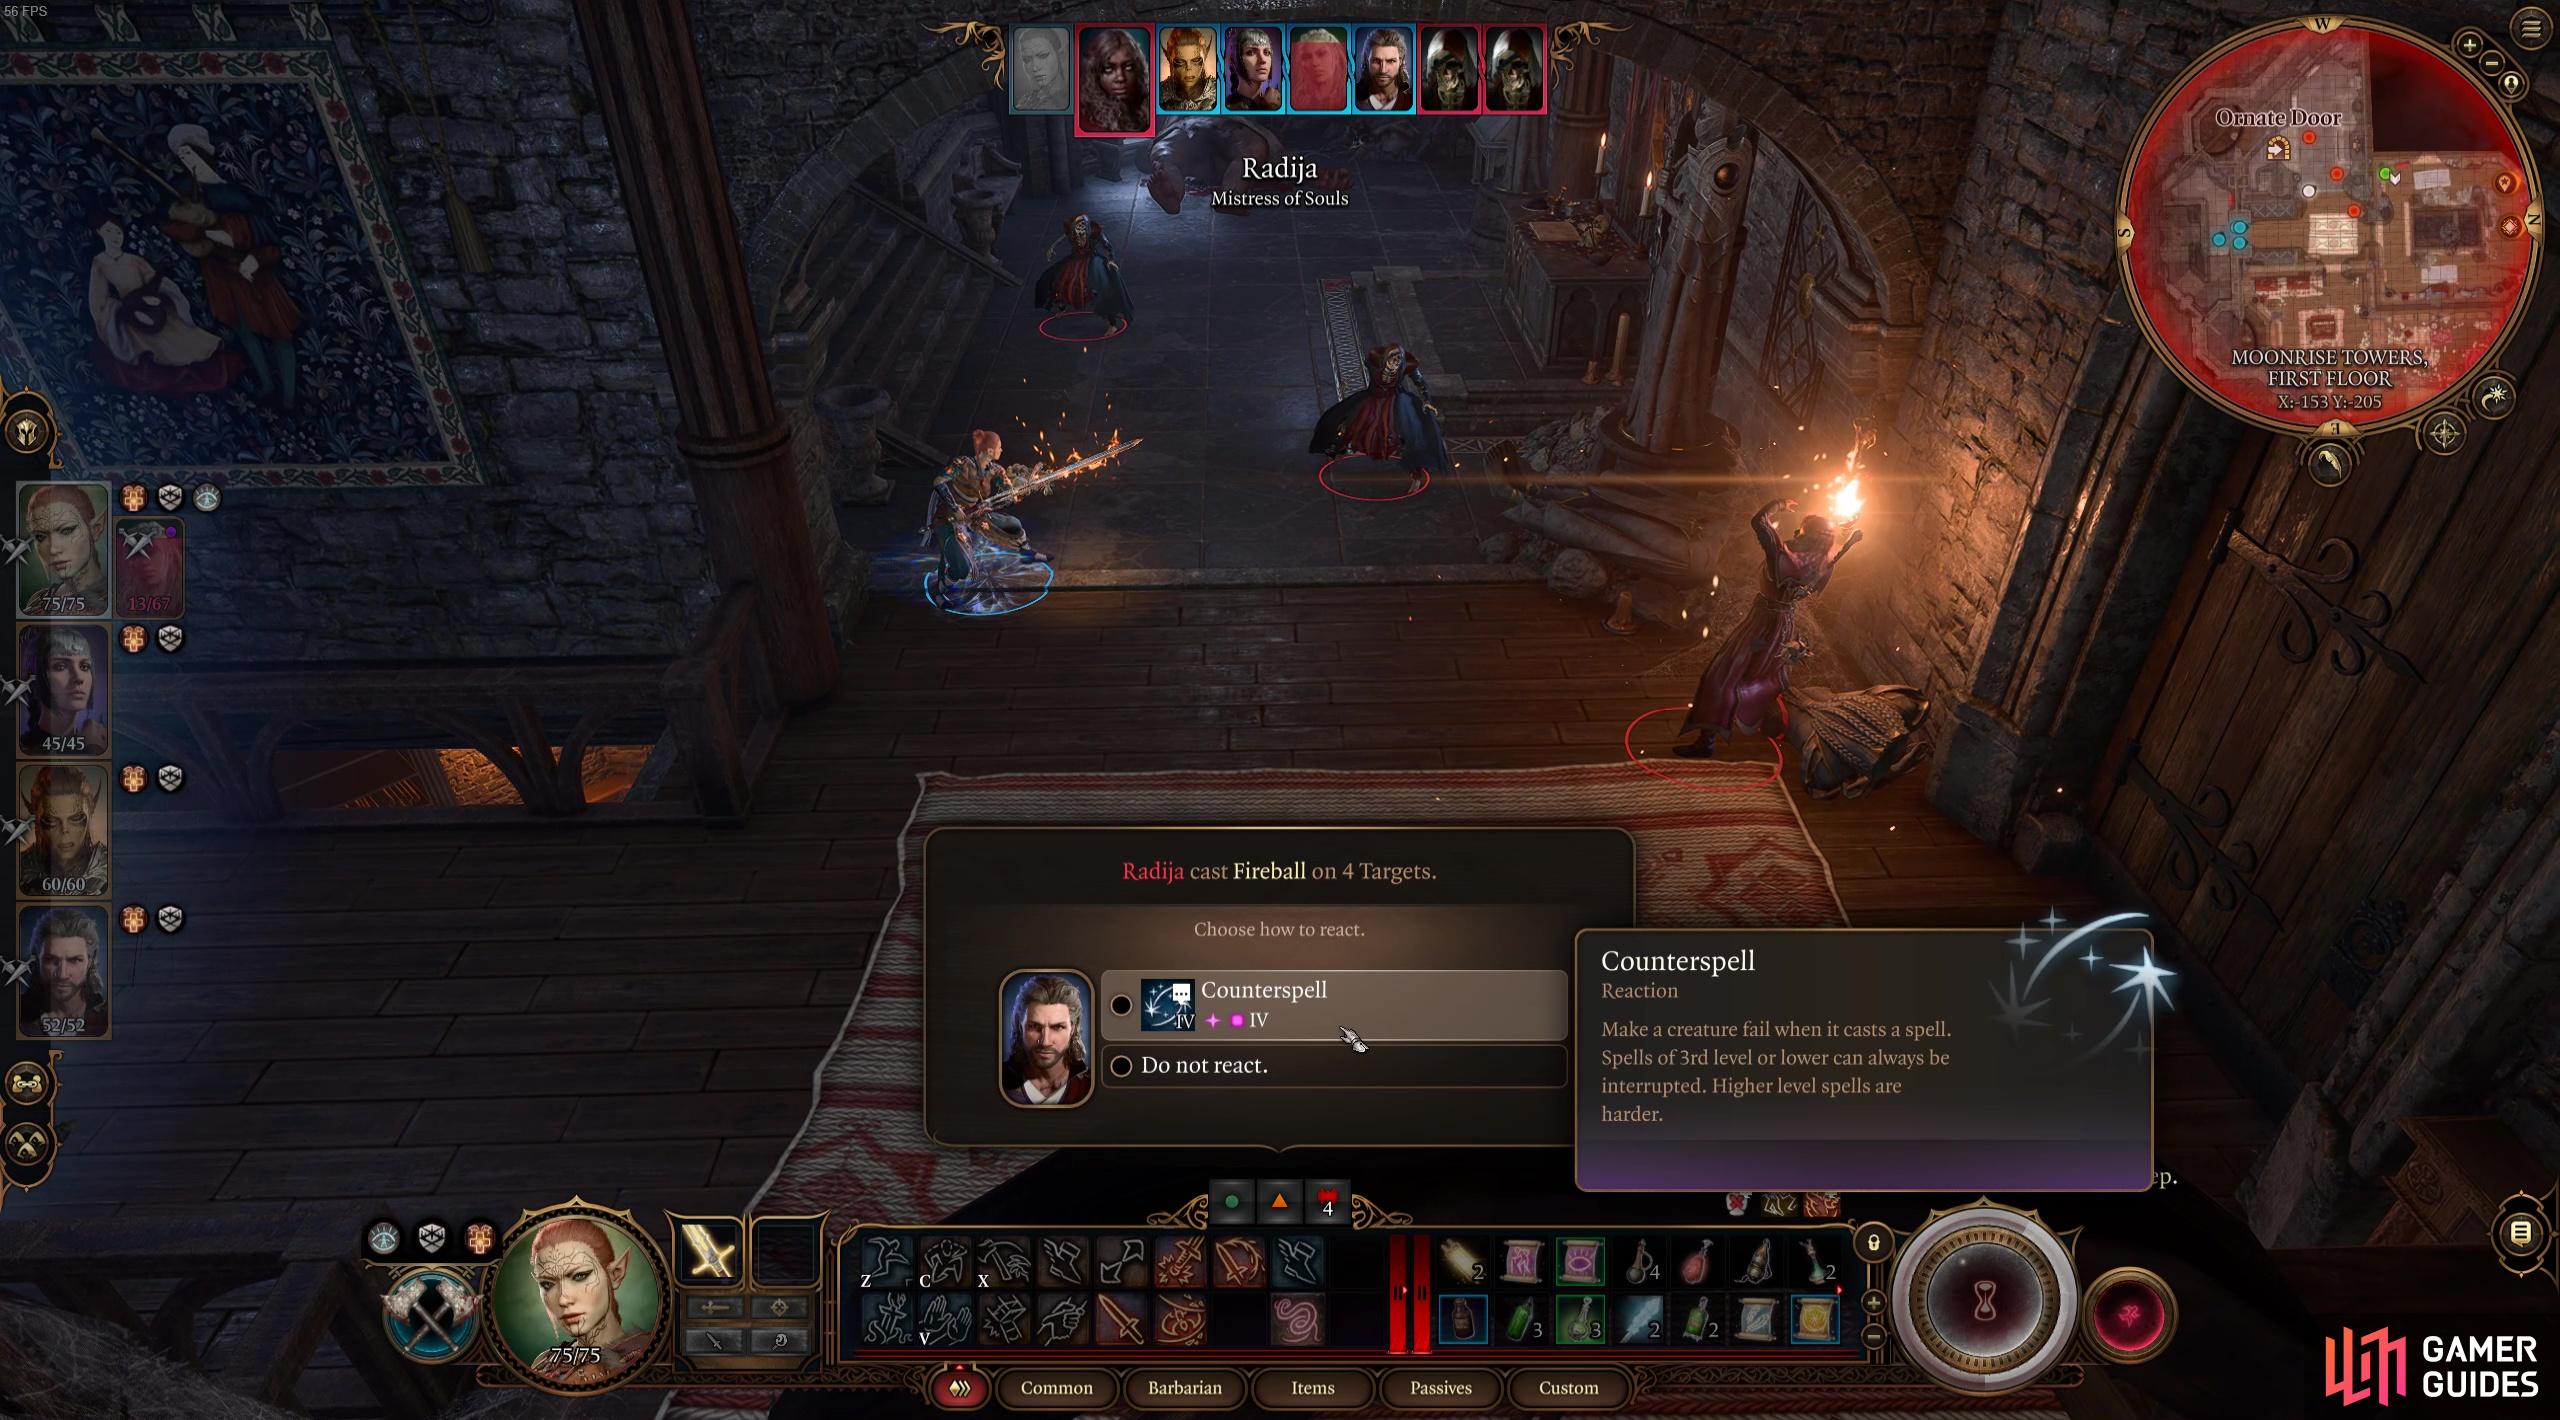
and her main attack is a powerful Fireball spell.
How to Defeat Ketheric Thorm in Moonrise Towers Rooftop
Proceed up onto the roof and after witnessing a brief cut scene, you’ll come face to face with Ketheric Thorm, a few Necromites, his undead dog Squire and Susdera the Mistress of Souls. If you saved Nightsong Aylin, then she’ll be very useful in this fight and she will focus her efforts on hitting Ketheric Thorm.

Players might find this fight a little easier than the one against Disciple Z’rell!
We’d recommend making your way over to Ketheric, but as you do head over you can focus your efforts first on Susdera, as she starts the fight in the middle of the battle arena. Additionally, since there are a fair few enemies to deal with, you can try to get rid of some additional enemies by using your favorite AoE spell. You’ll probably find this battle a lot easier than the previous one against Disciple Z’rell and the Cultists as there are far less enemies to deal with and only two real threats: Ketheric and Susdera.
Ketheric Thorm: Stats, Abilities and Weaknesses
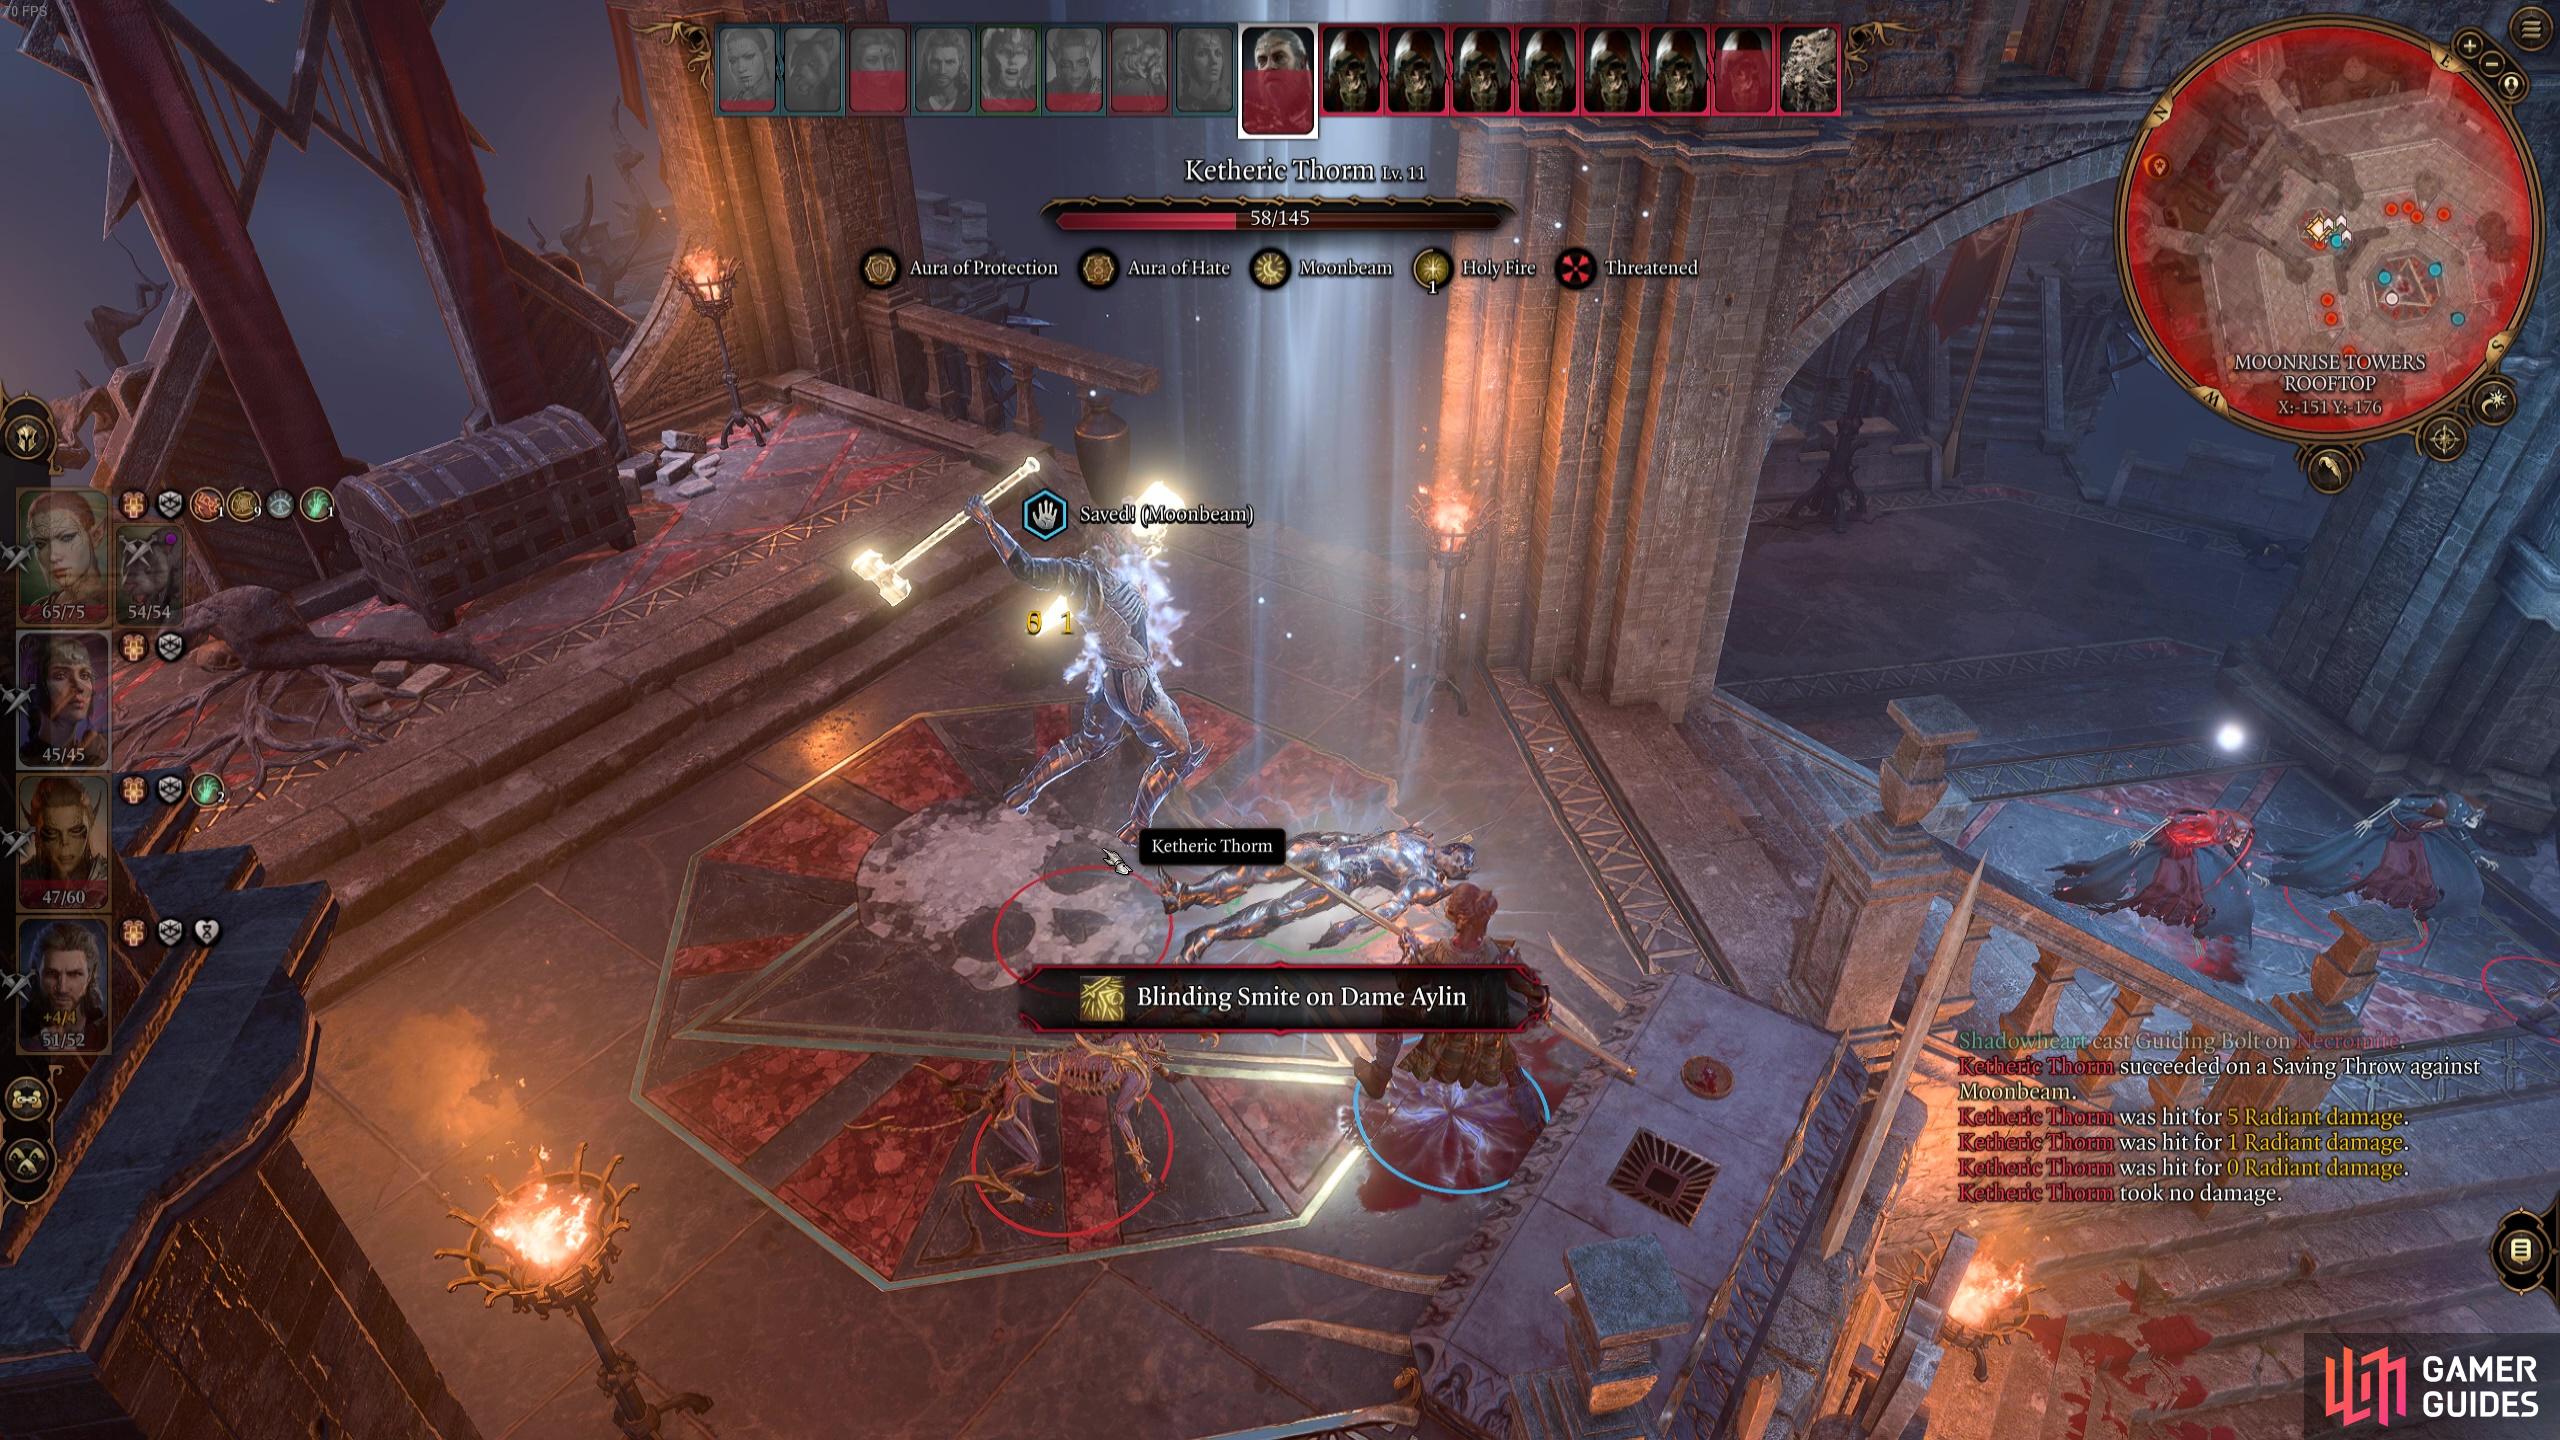
Ketheric Thorm has 145 HP (balanced mode), which isn’t that much considering he’s a big villain. However, he does have an Armor Class of 22, making it quite tough to land hits with your attack rolls.
He has no resistances, immunities or weaknesses so you don’t need to exploit or avoid any specific damage types. He does have the Aura of Protection condition though, which will make the undead Necromites around the arena deal an extra 5 bludgeoning damage. Ketheric can do three attacks in one turn and will also often use Deadly Orders to focus all his allies on one target. Then, during that turn you’ll find that all the Necromites will solely attack that one chosen target. This is especially scary if you’re trying to keep Jaheira alive so you can recruit her later. We highly recommend constantly using her turn to transform into a Panther so she has that extra HP bar to survive the barrage of attacks if she is targeted by Deadly Orders. In general, we didn’t find Jaheira to be all that useful in the fight as she has a limited amount of things she can shape shift into, so we just focused on keeping her alive.
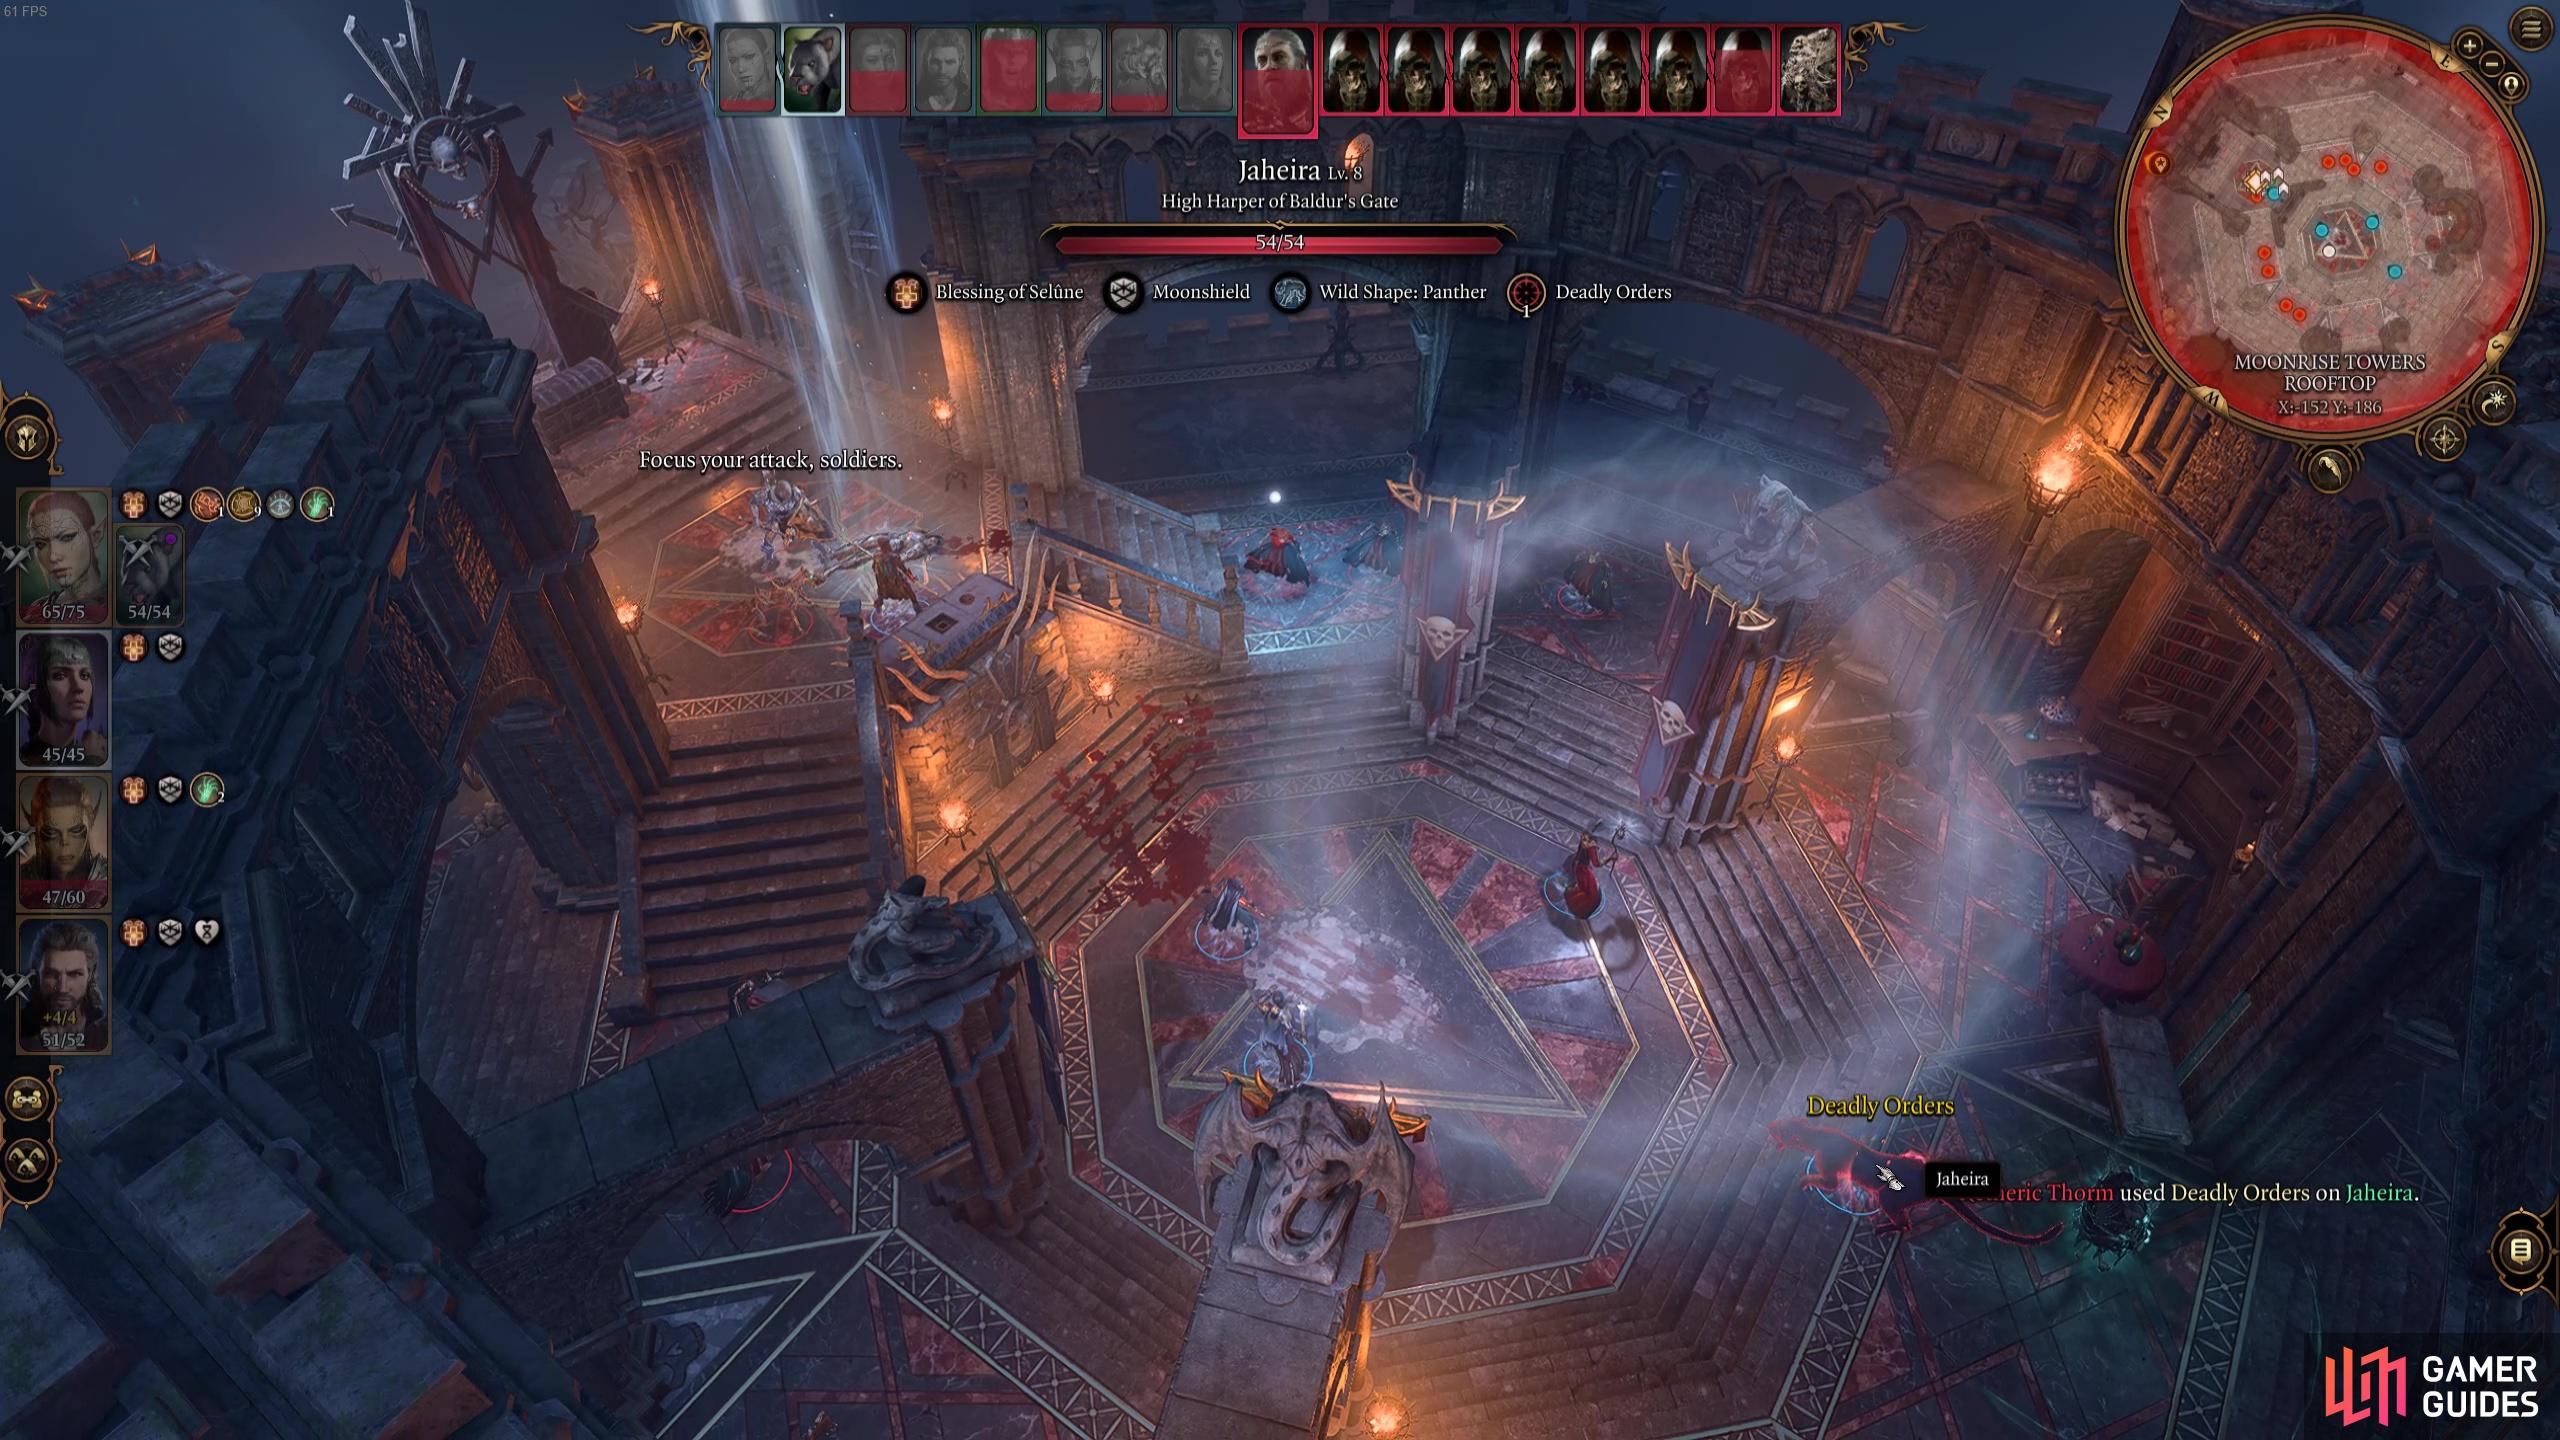
Ketheric Thorm will use Deadly Orders to get his followers to focus their attacks
he also has some powerful smite attacks that deal extra Radiant damage.
You’ll find that Aylin and Ketheric really focus on each other at first, which gives your party the opportunity to really go to town on Ketheric with melee attacks and spells. Aylin will do some pretty decent damage to Ketheric too! He does have shield bash though, which can potentially knock any melee attackers prone, including Aylin. He has some huge damage attacks like Divine Smite and ![]() Blinding Smite, but our party didn’t feel the brunt of these attacks since he focused them on Aylin.
Blinding Smite, but our party didn’t feel the brunt of these attacks since he focused them on Aylin.
When you get him to below 10HP, you’ll trigger a cut scene and he’ll flee the battlefield. The battle won’t be over until you’ve cleaned up any remaining Necromites, however. They shouldn’t pose too much of an issue though and when they’re dealt with, you can speak with Jaheira. Here, you can now recruit her provided you have space in your party!

You can choose to recruit Jaheira now and take her into the depths to face Ketheric once more!
The battle with Ketheric isn’t over yet though! You’ll now need to follow him down into the depths below Moonrise Tower and face him again.
No Comments