
This page offers a guide on how to recruit the Nightwarden Minthara into your party in Baldur’s Gate 3. She is a Drow Paladin companion who is quite tricky to recruit as you’ll need to perform actions that will have grave consequences on your story.
This guide will detail all the steps you need to take, but a word of caution for those of you who do not want to do “evil” things in your playthrough: recruiting Minthara will require siding with the Goblins and attacking Druid Grove!
Minthara can be recruited as a companion…but it will cost you!
Where to Find Minthara the Drow Companion
Before you can actually recruit Minthara, you’ll need to find her. She’s found in the ![]() Shattered Sanctum inside the
Shattered Sanctum inside the ![]() Goblin Camp found to the west of Druid Grove. You may also come here during the
Goblin Camp found to the west of Druid Grove. You may also come here during the ![]() Save the Refugees side quest or
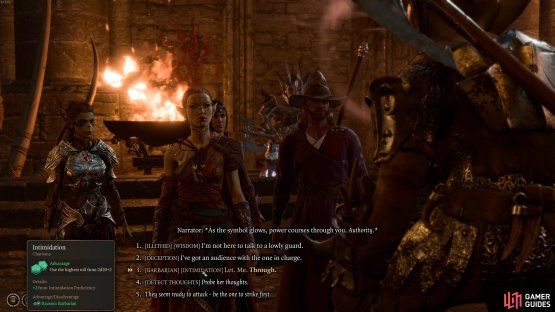
Save the Refugees side quest or ![]() Save the Goblin Sazza side quest, but if you want Minthara as a companion you’re going to need to abandon any hopes for completing the Refugees quest. This is because in order to speak with her, you’ll need to enter into the Goblin Camp without initiating combat with any of the Goblins. It’s relatively straightforward to do so, you can do any number of ability checks such as intimidation, nature, deception or wisdom to succeed in passing into the Goblin Camp peacefully.
Save the Goblin Sazza side quest, but if you want Minthara as a companion you’re going to need to abandon any hopes for completing the Refugees quest. This is because in order to speak with her, you’ll need to enter into the Goblin Camp without initiating combat with any of the Goblins. It’s relatively straightforward to do so, you can do any number of ability checks such as intimidation, nature, deception or wisdom to succeed in passing into the Goblin Camp peacefully.

(1 of 2) First land a successful roll on a check with the goblins at the entrance
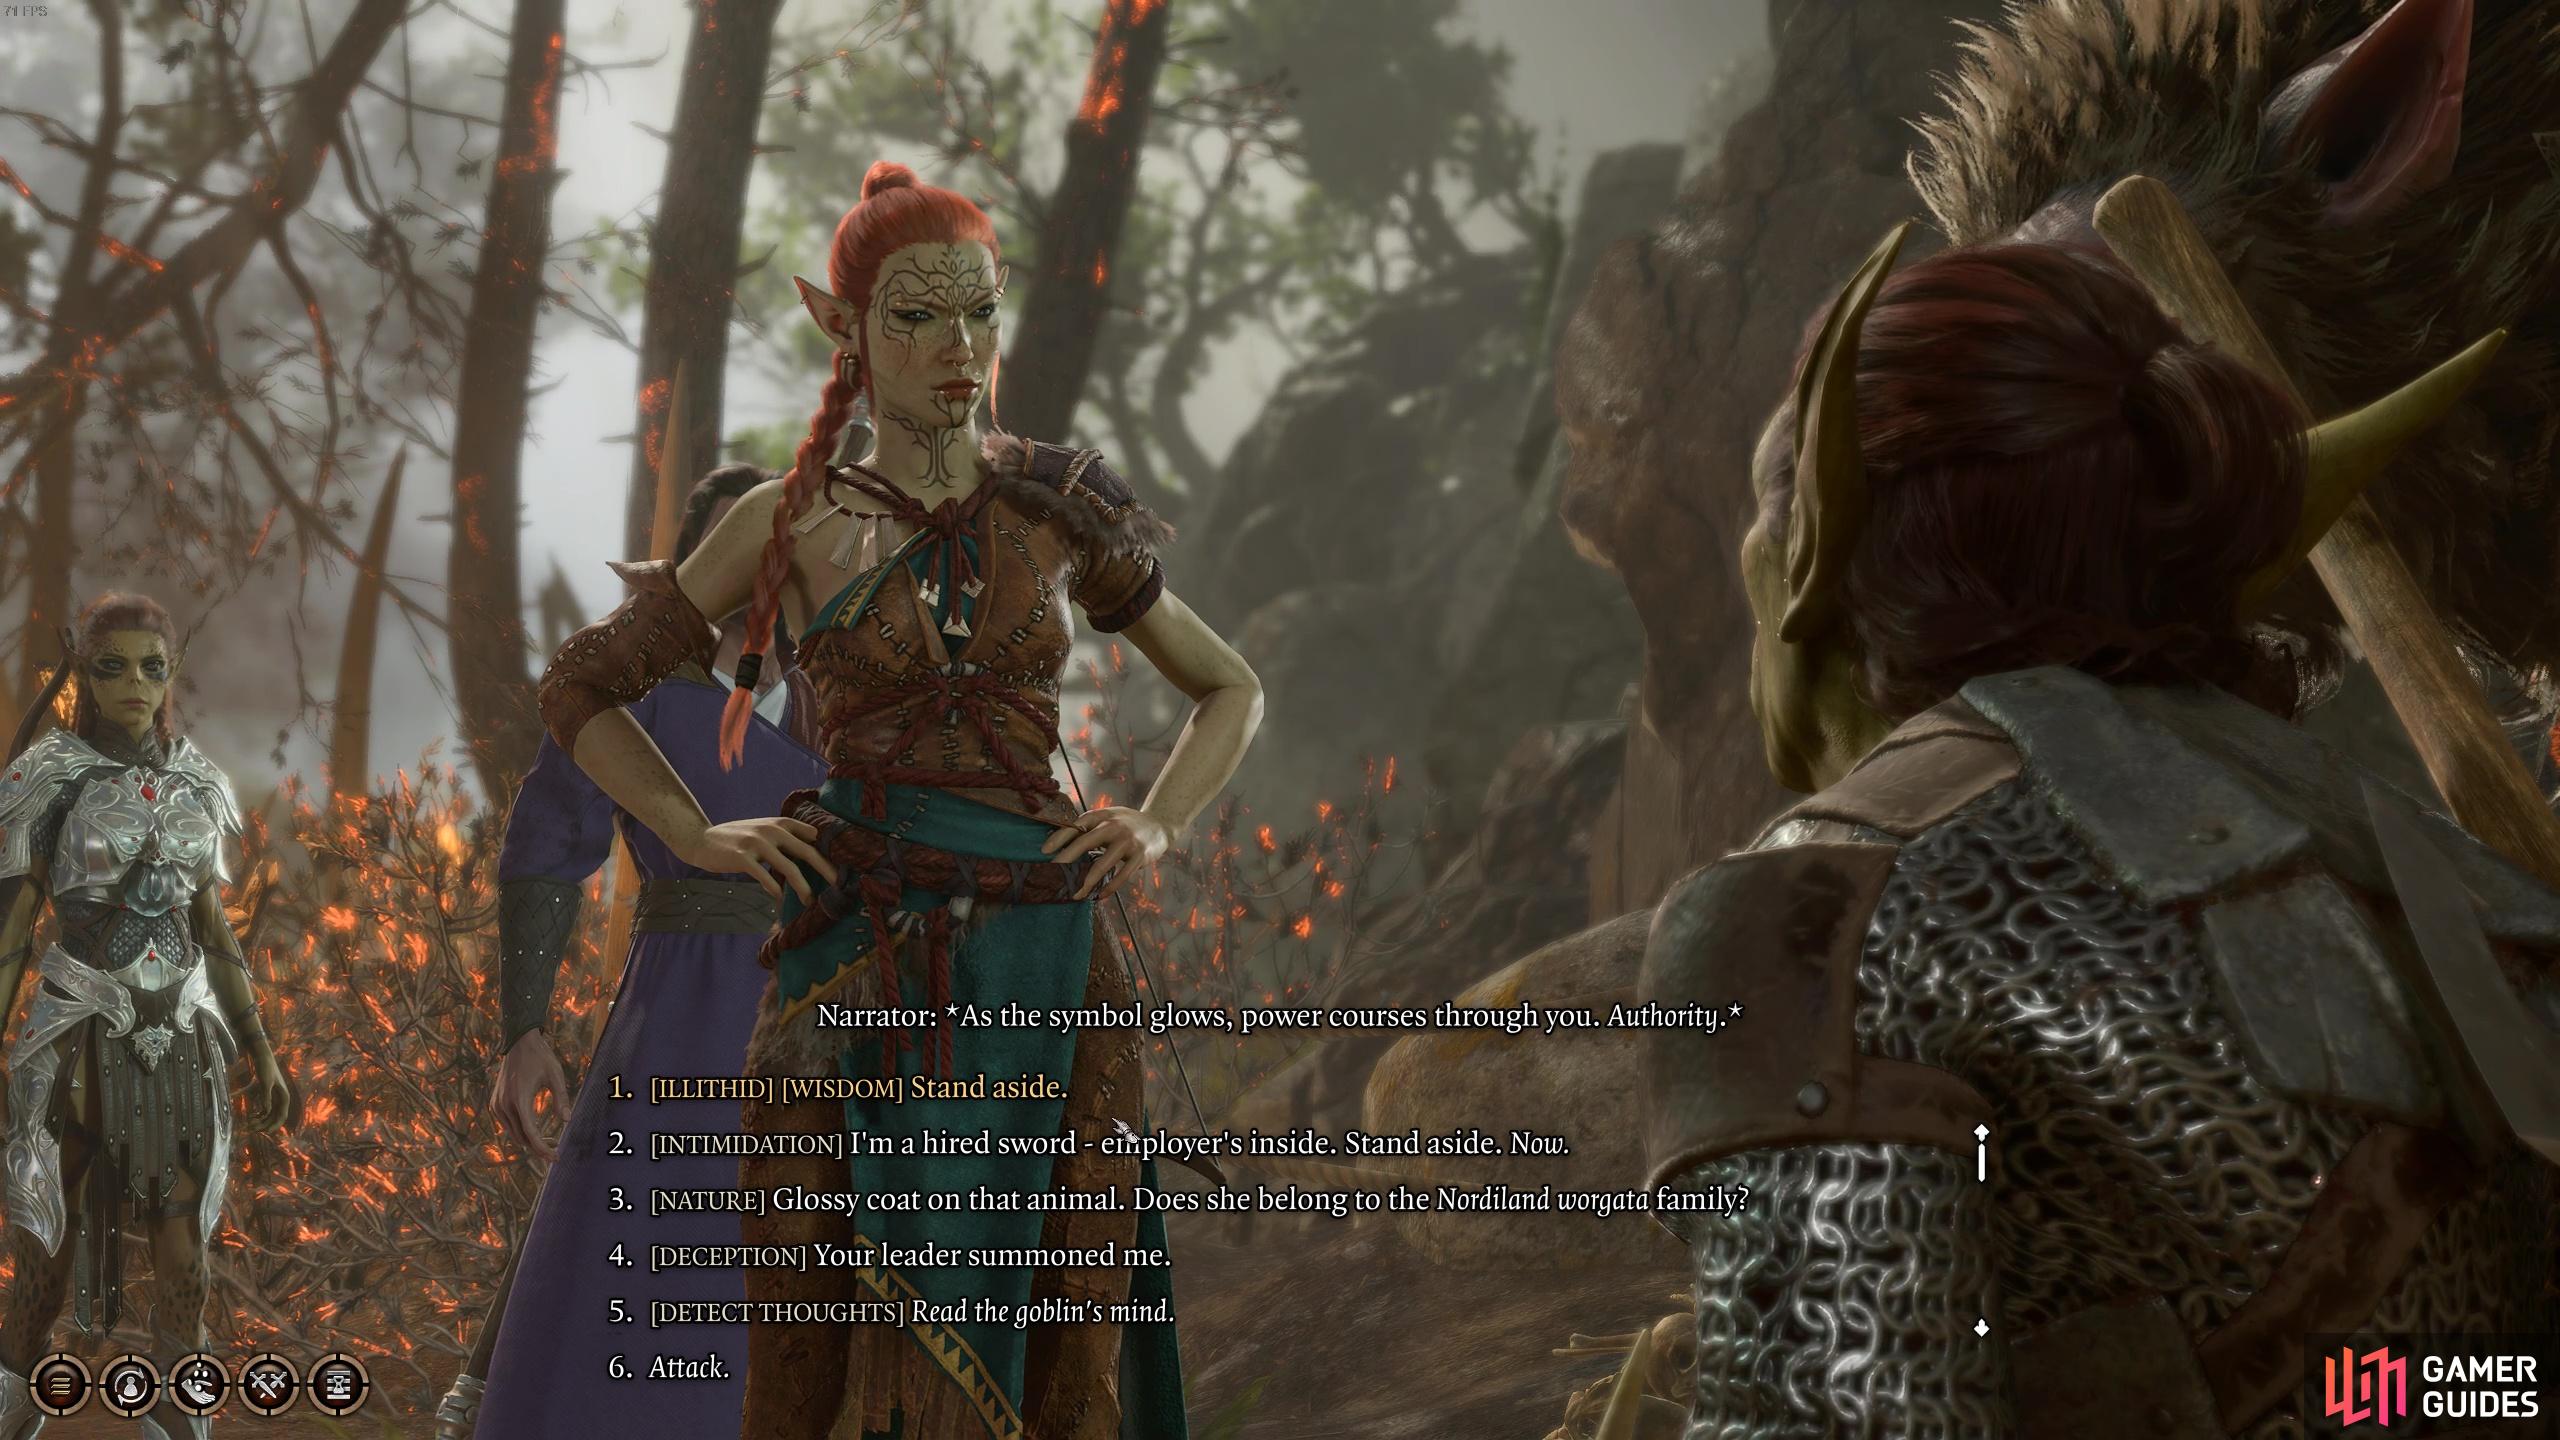

First land a successful roll on a check with the goblins at the entrance (left), then do the same to enter into the Shattered Sanctum. (right)
Cross the bridge and proceed into the stone building ahead. Then head through the large gate on the opposite end of the entry hall and you’ll be stopped by another Goblin asking where you’re going. Once again, you’ll need to pass an ability check of your choosing to get into the Shattered Sanctum. After succeeding on your roll, you’ll be asked who you want to meet with. You can choose any of the options but since you’re here to get Minthara, you probably want to mention that you’re here to speak with the Drow.
How to Get Minthara as a Companion
Once inside the Shattered Sanctum, you’ll need to proceed northeast to find Minthara talking with a goblin near a stone table. The dialogue will be a bit different depending on whether you come alone or with Sazza. Whichever way you do it, you need to ensure you tell her where the Druid Grove is - you can show her on the map or Sazza will tell her for you. And after doing that, speak to her again and she’ll ask for your help in taking on the Grove. To recruit her as a companion, you’re going to need to assist her in the assault on Druid Grove. So as we mentioned before, make sure you’re really sure you want to take this path as the Druid Grove assault will lock you out of certain future side quests and encounters.
To win Minthara’s favor you must help in the assault against Druid Grove.
How to Attack Druid Grove
Once you’ve agreed to attack the Grove with her, you’ll want to head to Druid Grove. Before you can launch the assault, you’re required to have a rest at camp. After, proceed up onto the top of the gates and open the gates using the Gate Winch.
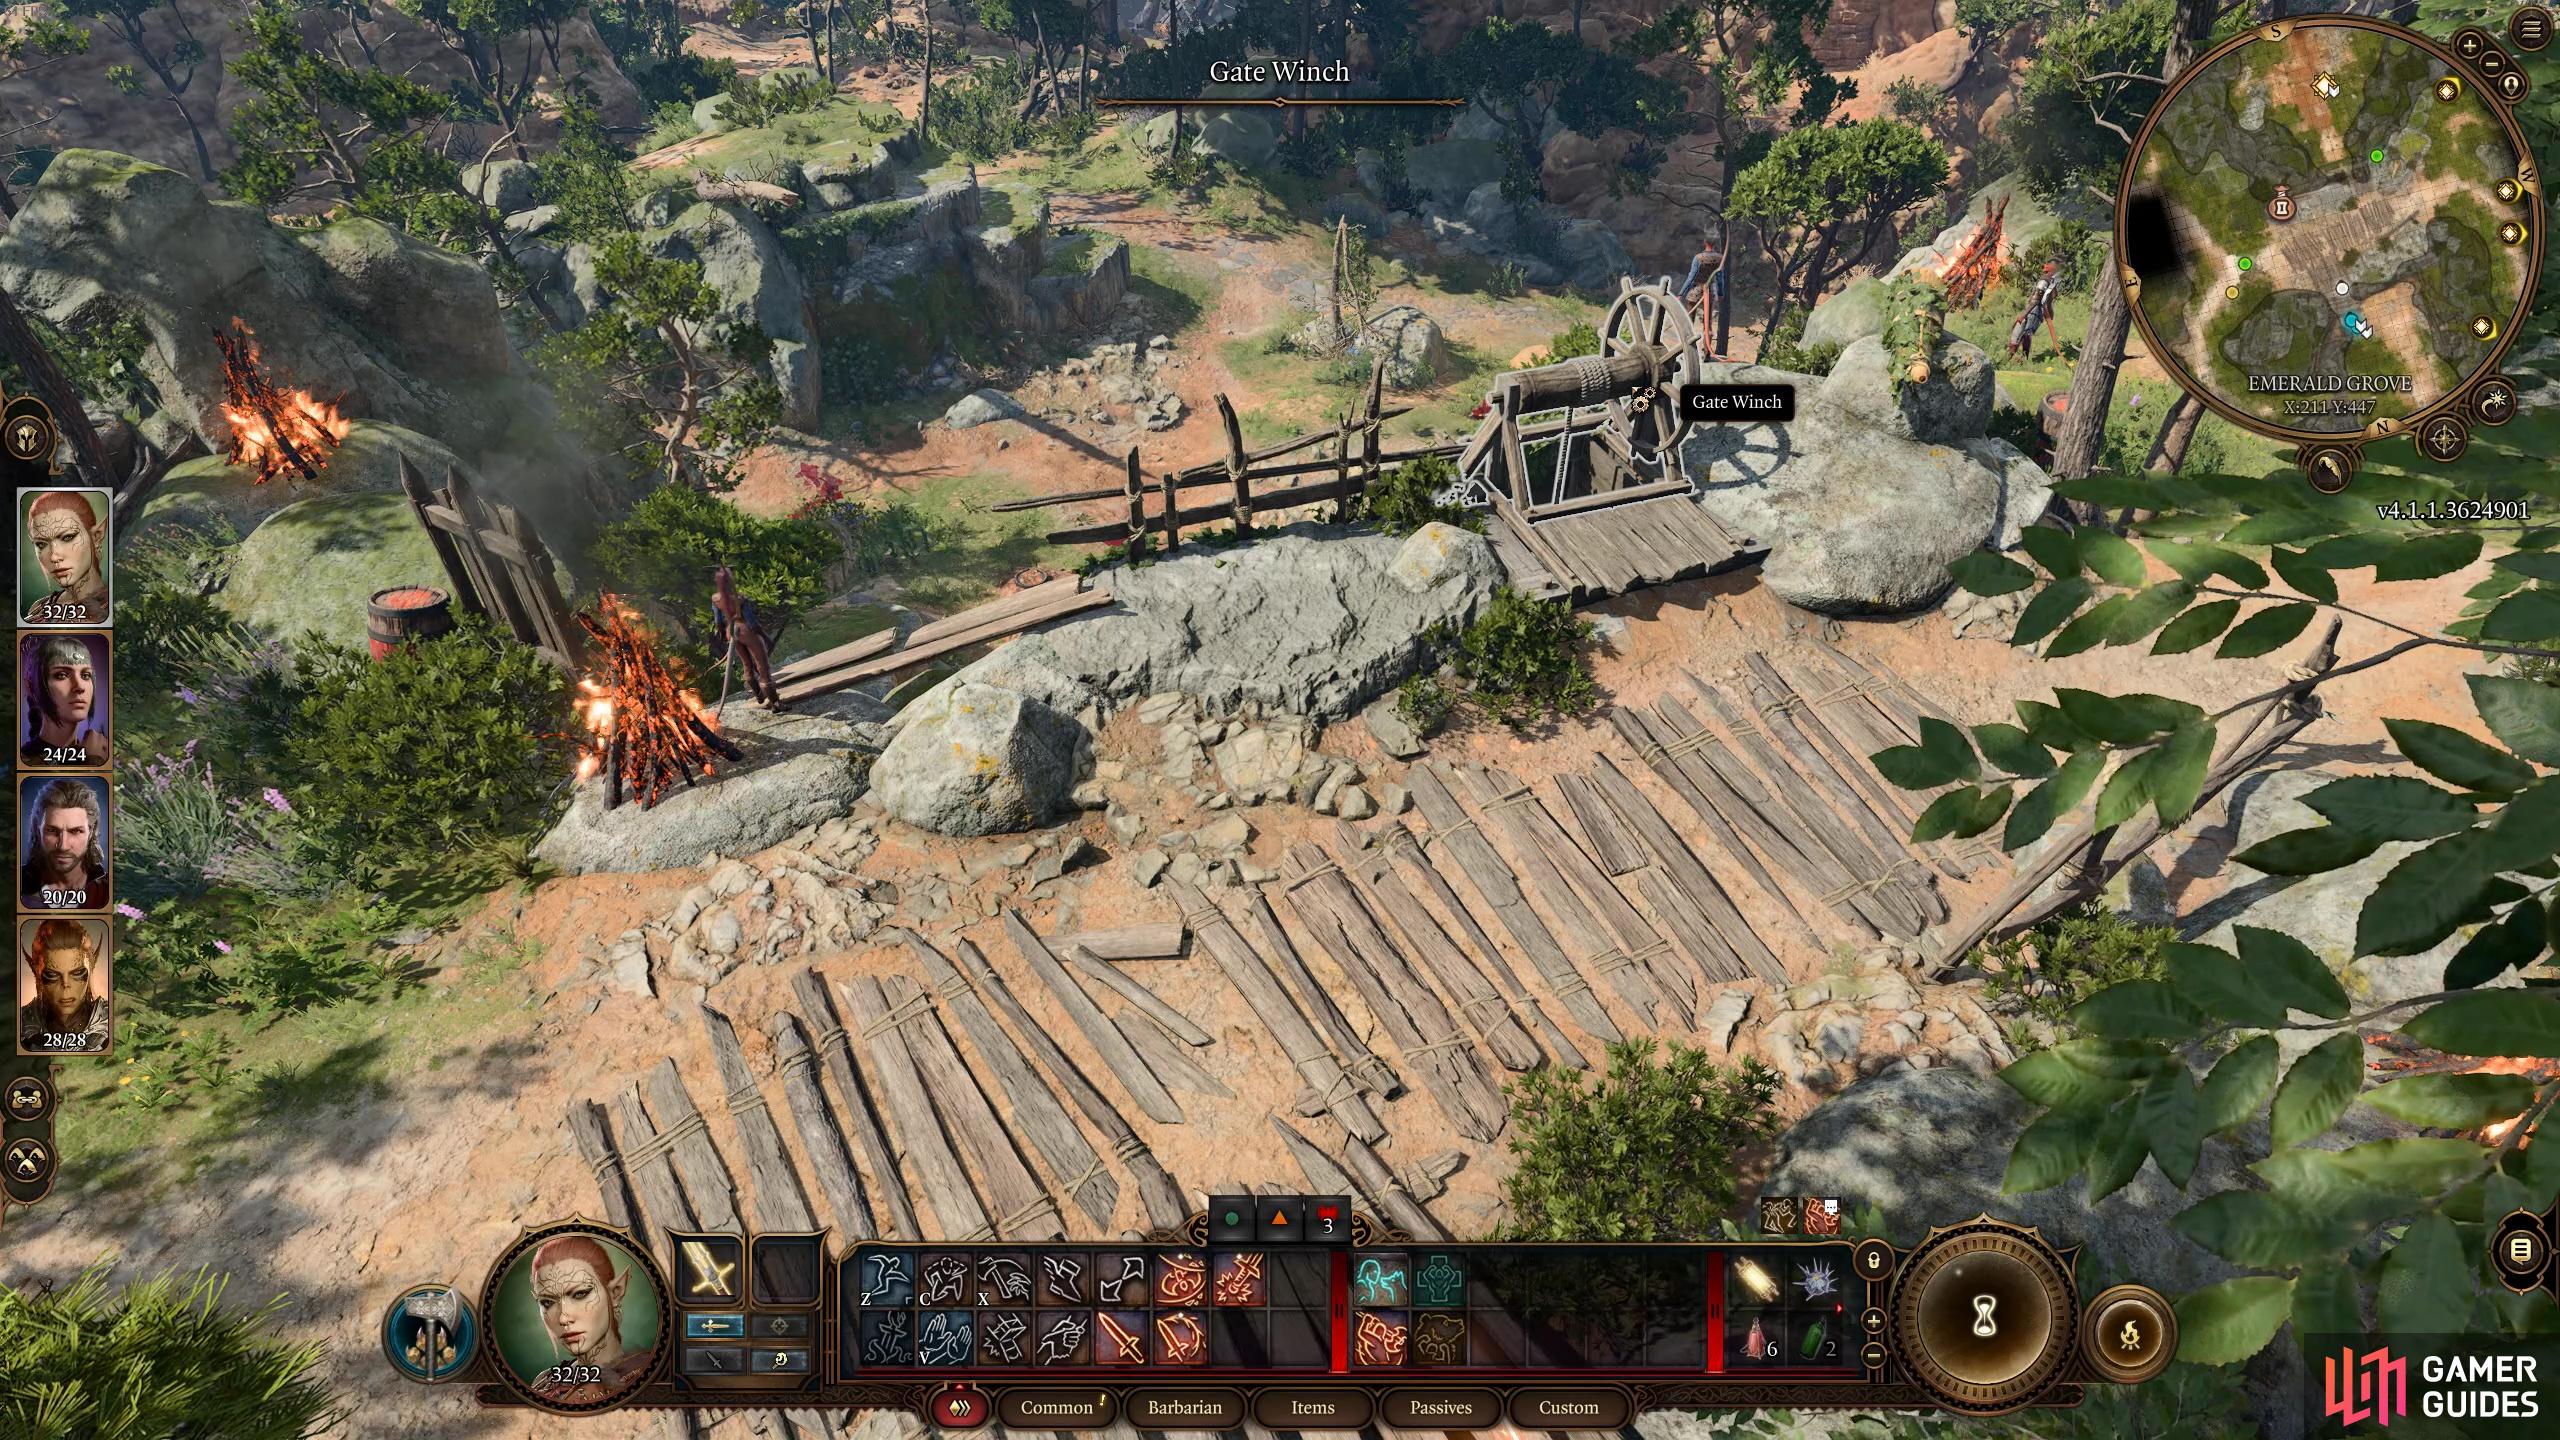
Open the gates into Druid Grove then launch an attack on the patrolling Tieflings.
How to Beat the Tieflings
Then, choose to attack any of the Tieflings manning the watch. We recommend focusing your efforts on Zevlor the Hellrider Exile as he’s got the most HP and hits the hardest! There are two other Tieflings manning the gates as well. After a turn of combat, Minthara’s reinforcements will arrive and start making their way to the fight - she has goblins and spiders in her arsenal, and she herself is a formidable fighter!
Zevlor has “High Defence”, making it harder to get in attacks. However, the other Tieflings are reasonably weak so you can just focus on getting in attacks on Zevlor. Once Minthara joins the fight, it’ll be over quite quickly!
After dealing with the guardsmen, you’ll need to head towards The Hollow. Here, you’ll fight several low levelled Tiefling enemies. Minthara will help in this portion of the assault too, as well as a few other goblins, so you should make quick work of them. It can be useful to position your ranged/spell wielding characters atop the slop or on the wooden balcony so you can get the High Ground buff when shooting the enemies below. When performing a ranged attack from High Ground, you’ll get +2 to your attack roll, meaning you can land shots a bit easier.
This portion of the fight isn’t that difficult but you should try to reserve your spell slots here, as there’s a much tougher combat later on! For your spellcasters, use cantrips wherever possible and conserve your harder hitting spells! Plus, Minthara does a lot of damage and also takes quite a few punches as she’s quite tanky!
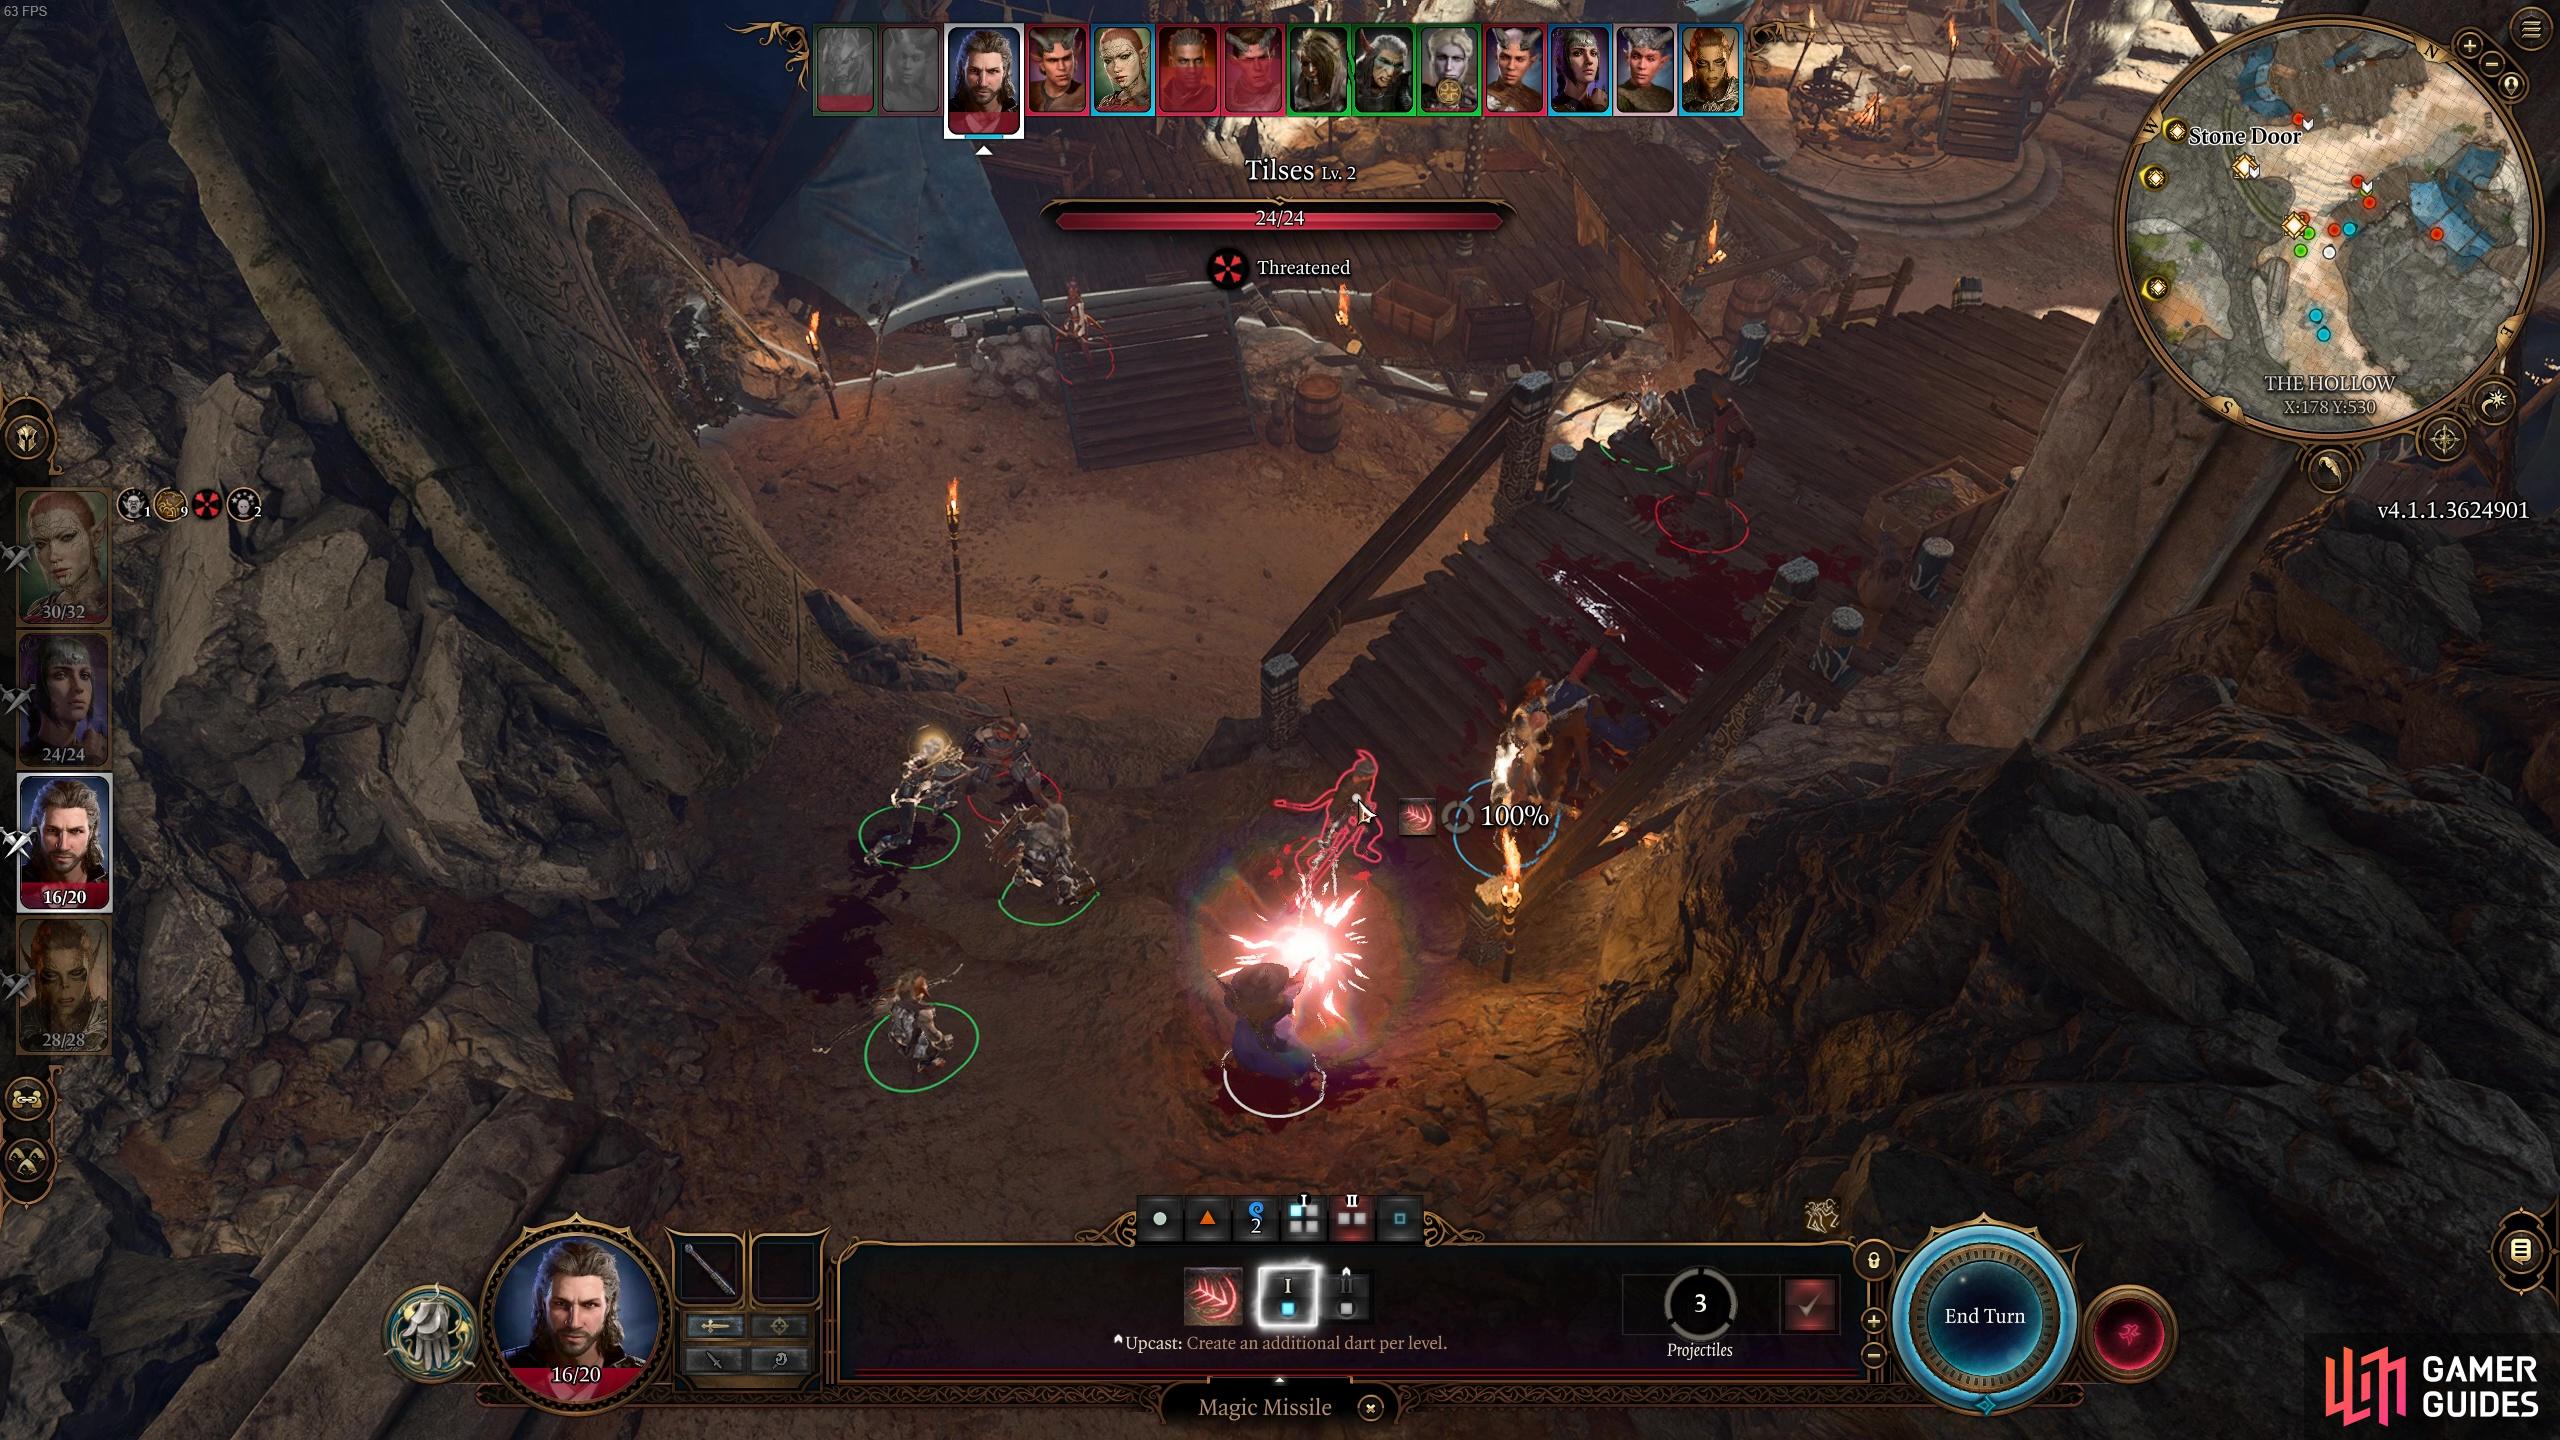
There are several Tieflings to take out but they won’t pose too much of a threat.
The fighting still isn’t over, however, and after dealing with the marketplace tieflings, you’ll need to head into the secluded chamber (via the large stone door). In here you’ll find a fair few more Tieflings, but again, these guys really don’t pose much of a threat. The biggest issue with this room is the narrow corridor which can make it tough to navigate your front liners into melee range. But there are a fair few squishy low-HP Tieflings in here that can be taken out with ease with one bow shot or a damaging cantrip. Some of the guys in here won’t even put up a fight…which really makes you question if all this slaughter is worth it for the dubious Drow Paladin companion.
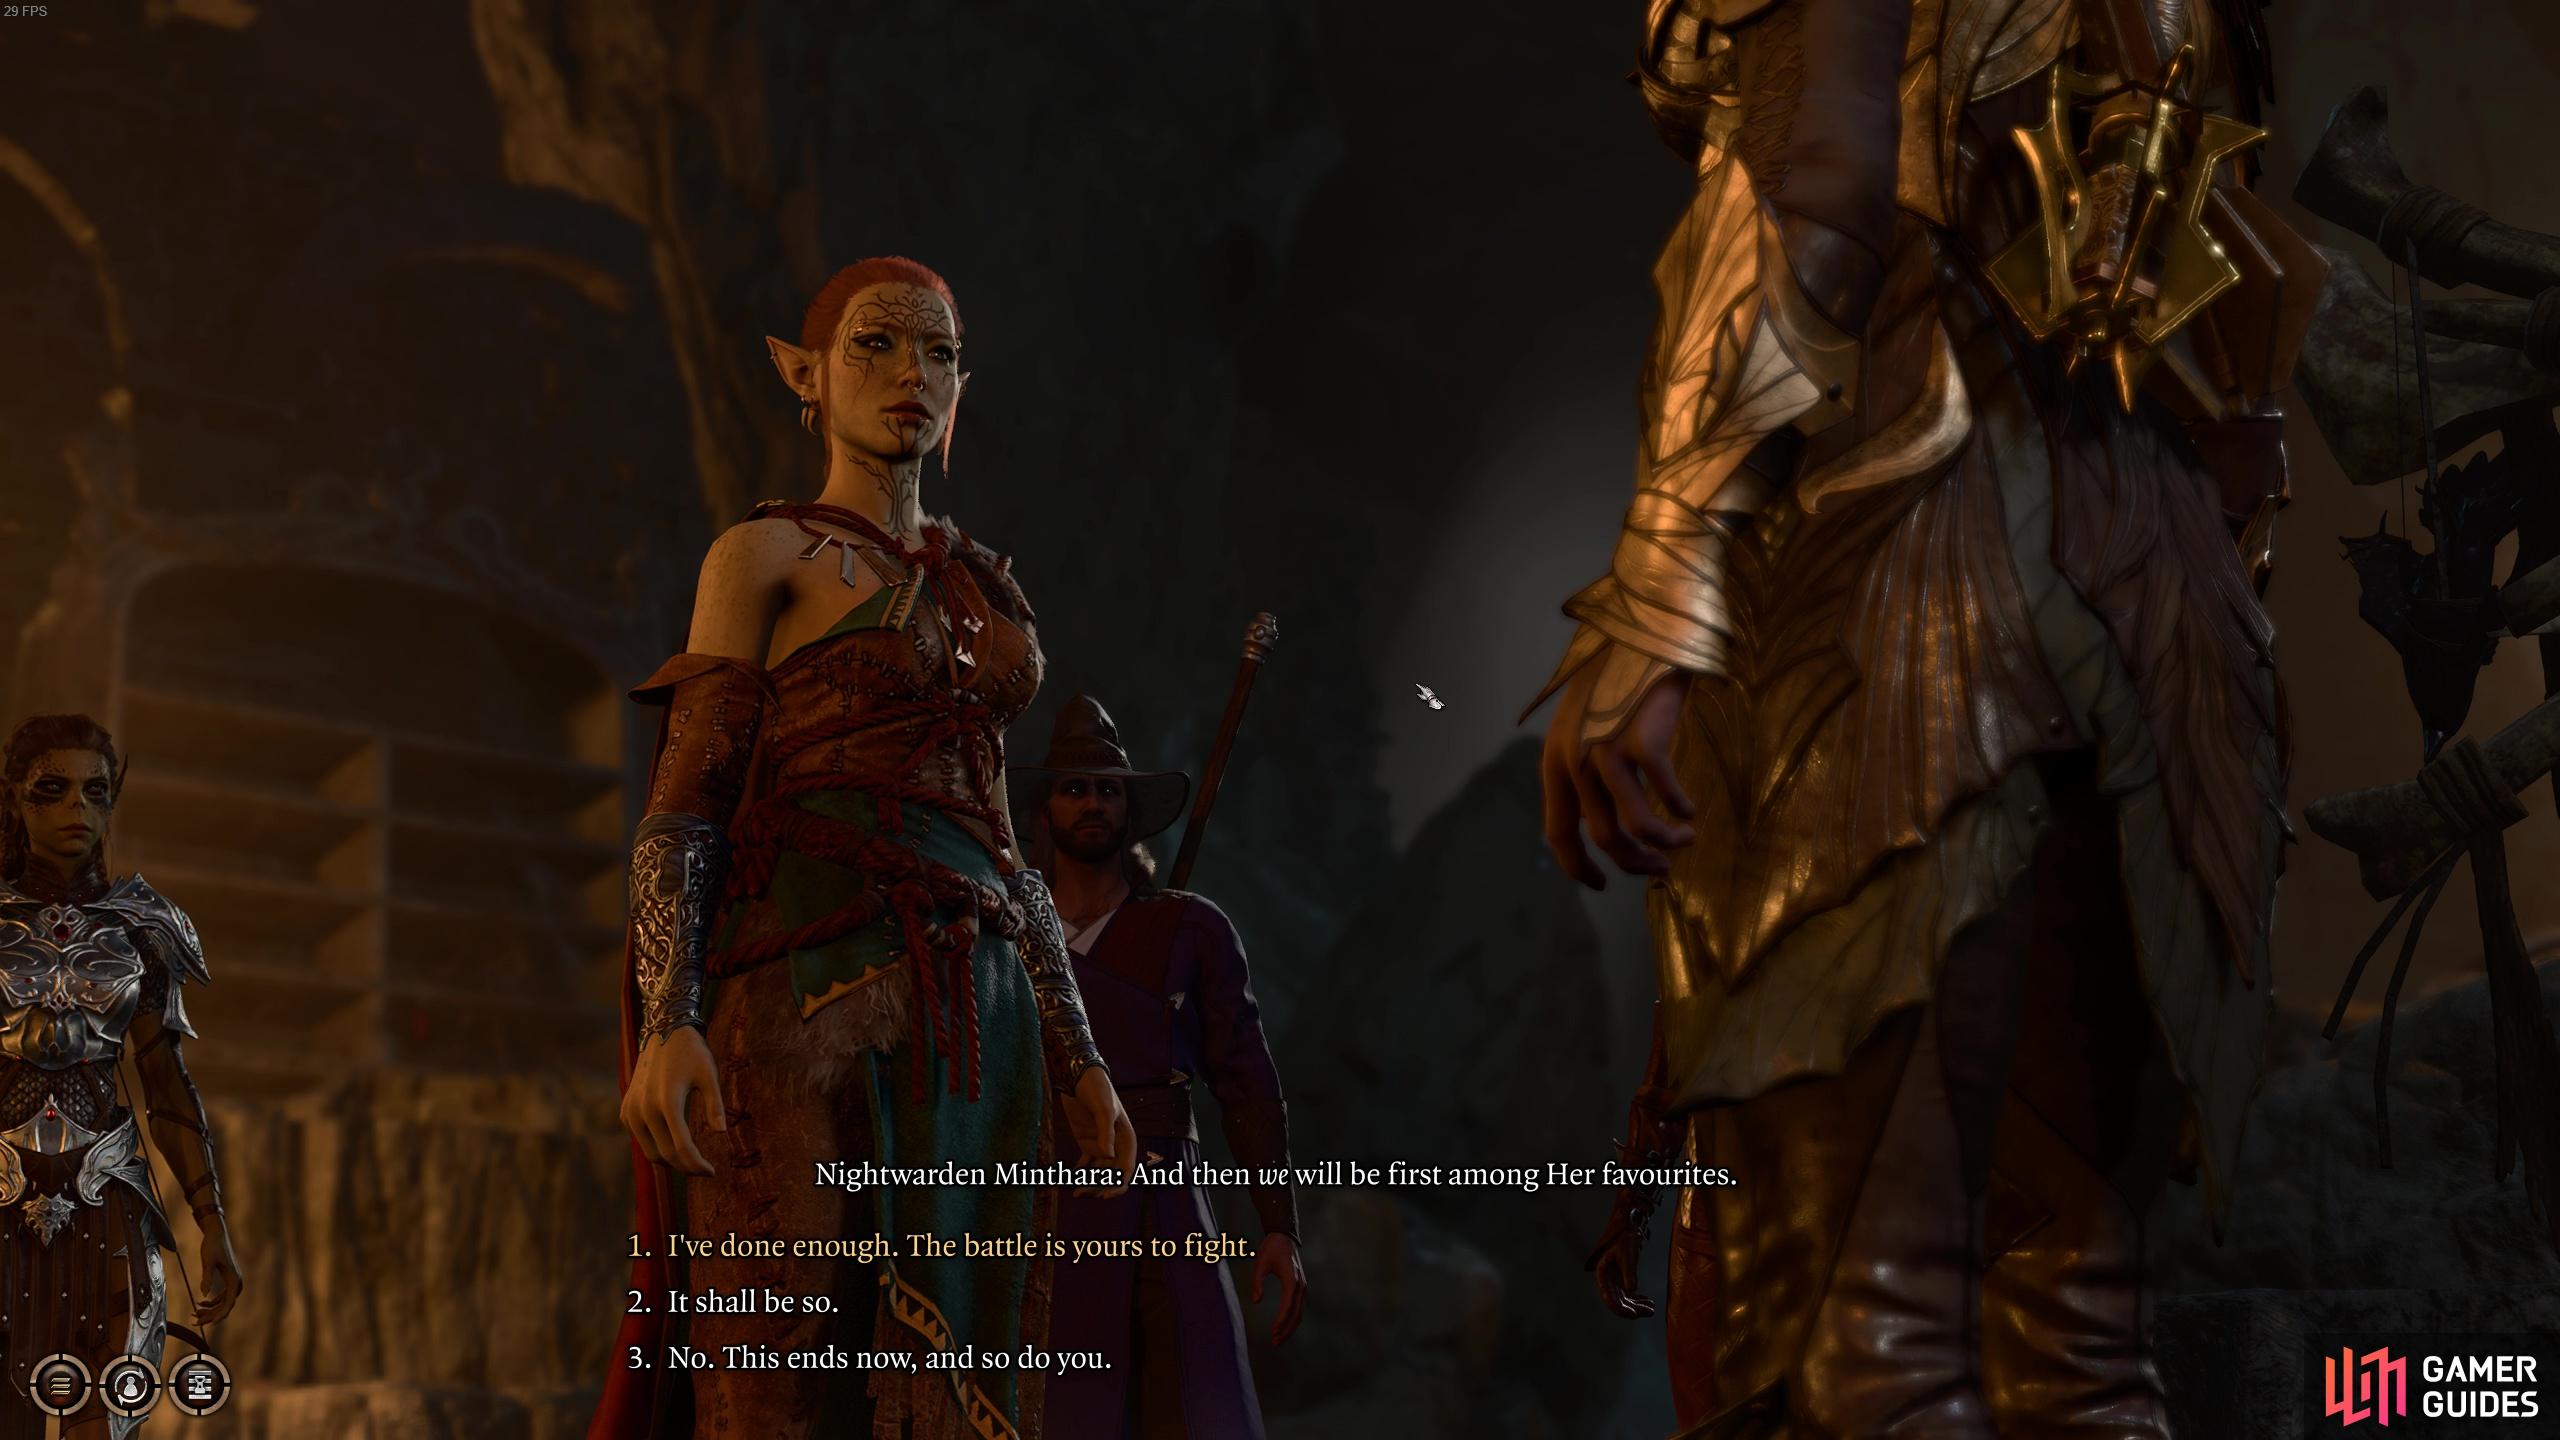
After taking out the remaining Tieflings, speak with Minthara and she will command you to go to the Sacred Pool and defeat all of the !Druids residing there.
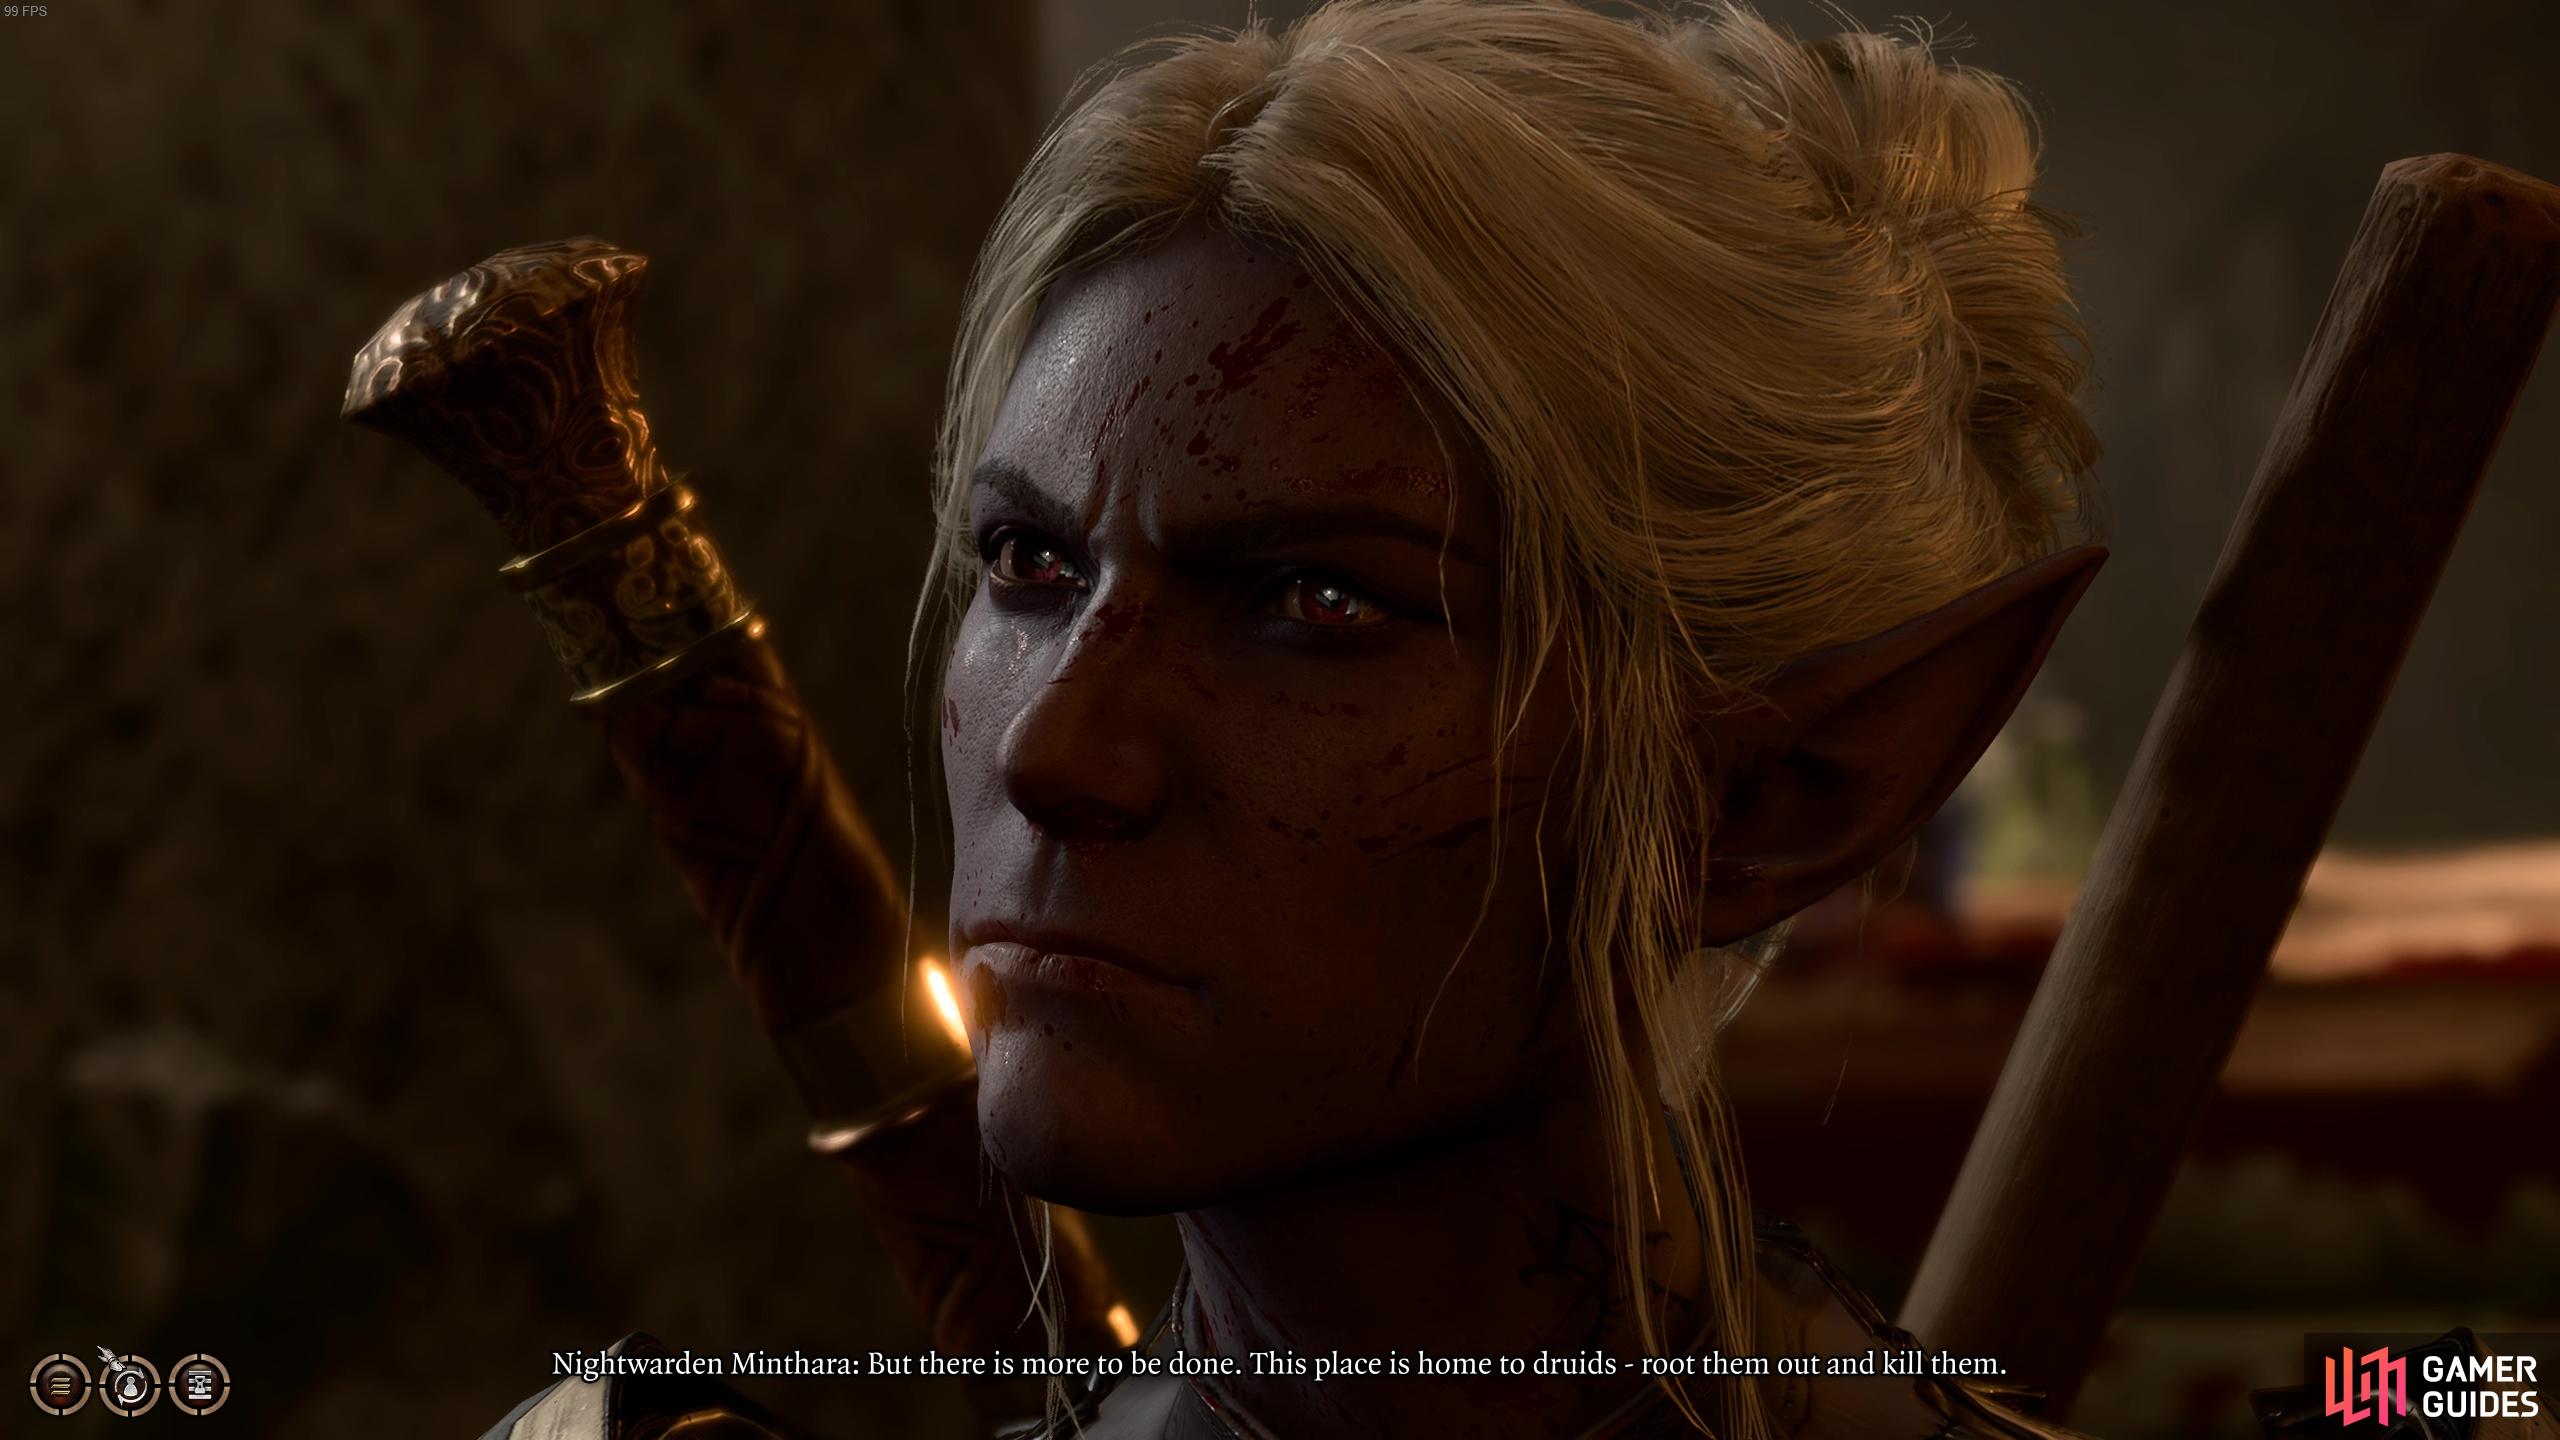
Minthara is still not satisfied!
How to Beat the Druids
The !Druids are the toughest of the bunch and the fight is made all the more difficult because chances are you’ve expended a lot of spell slots and abilities and haven’t had a chance to rest. If you are looking a little worse for wear, consider taking a rest before embarking on this final fight. If you’re not looking too shabby, then you might be able to take this fight on with limited resources, but it will be a bit more challenging.
During this final stretch of the onslaught, you’re going to fight Kagha the Archdruid, Nettie (!Druid), Silver the Wolf, Rath (!Druid), Marcoryl and Arron the trader. We recommend focusing your efforts on the Kagha and the druids as the Goblin reinforcements will do a decent job of dealing with Arron and Marcoryl.
The druids are able to cast ![]() Hold Person which is a super punishing spell that prevents the target from moving, acting or reacting. You can try to break the caster’s concentration by hitting them with attacks and we definitely encourage you to break hold person as quick as possible otherwise it renders one of your party members useless.
Hold Person which is a super punishing spell that prevents the target from moving, acting or reacting. You can try to break the caster’s concentration by hitting them with attacks and we definitely encourage you to break hold person as quick as possible otherwise it renders one of your party members useless.
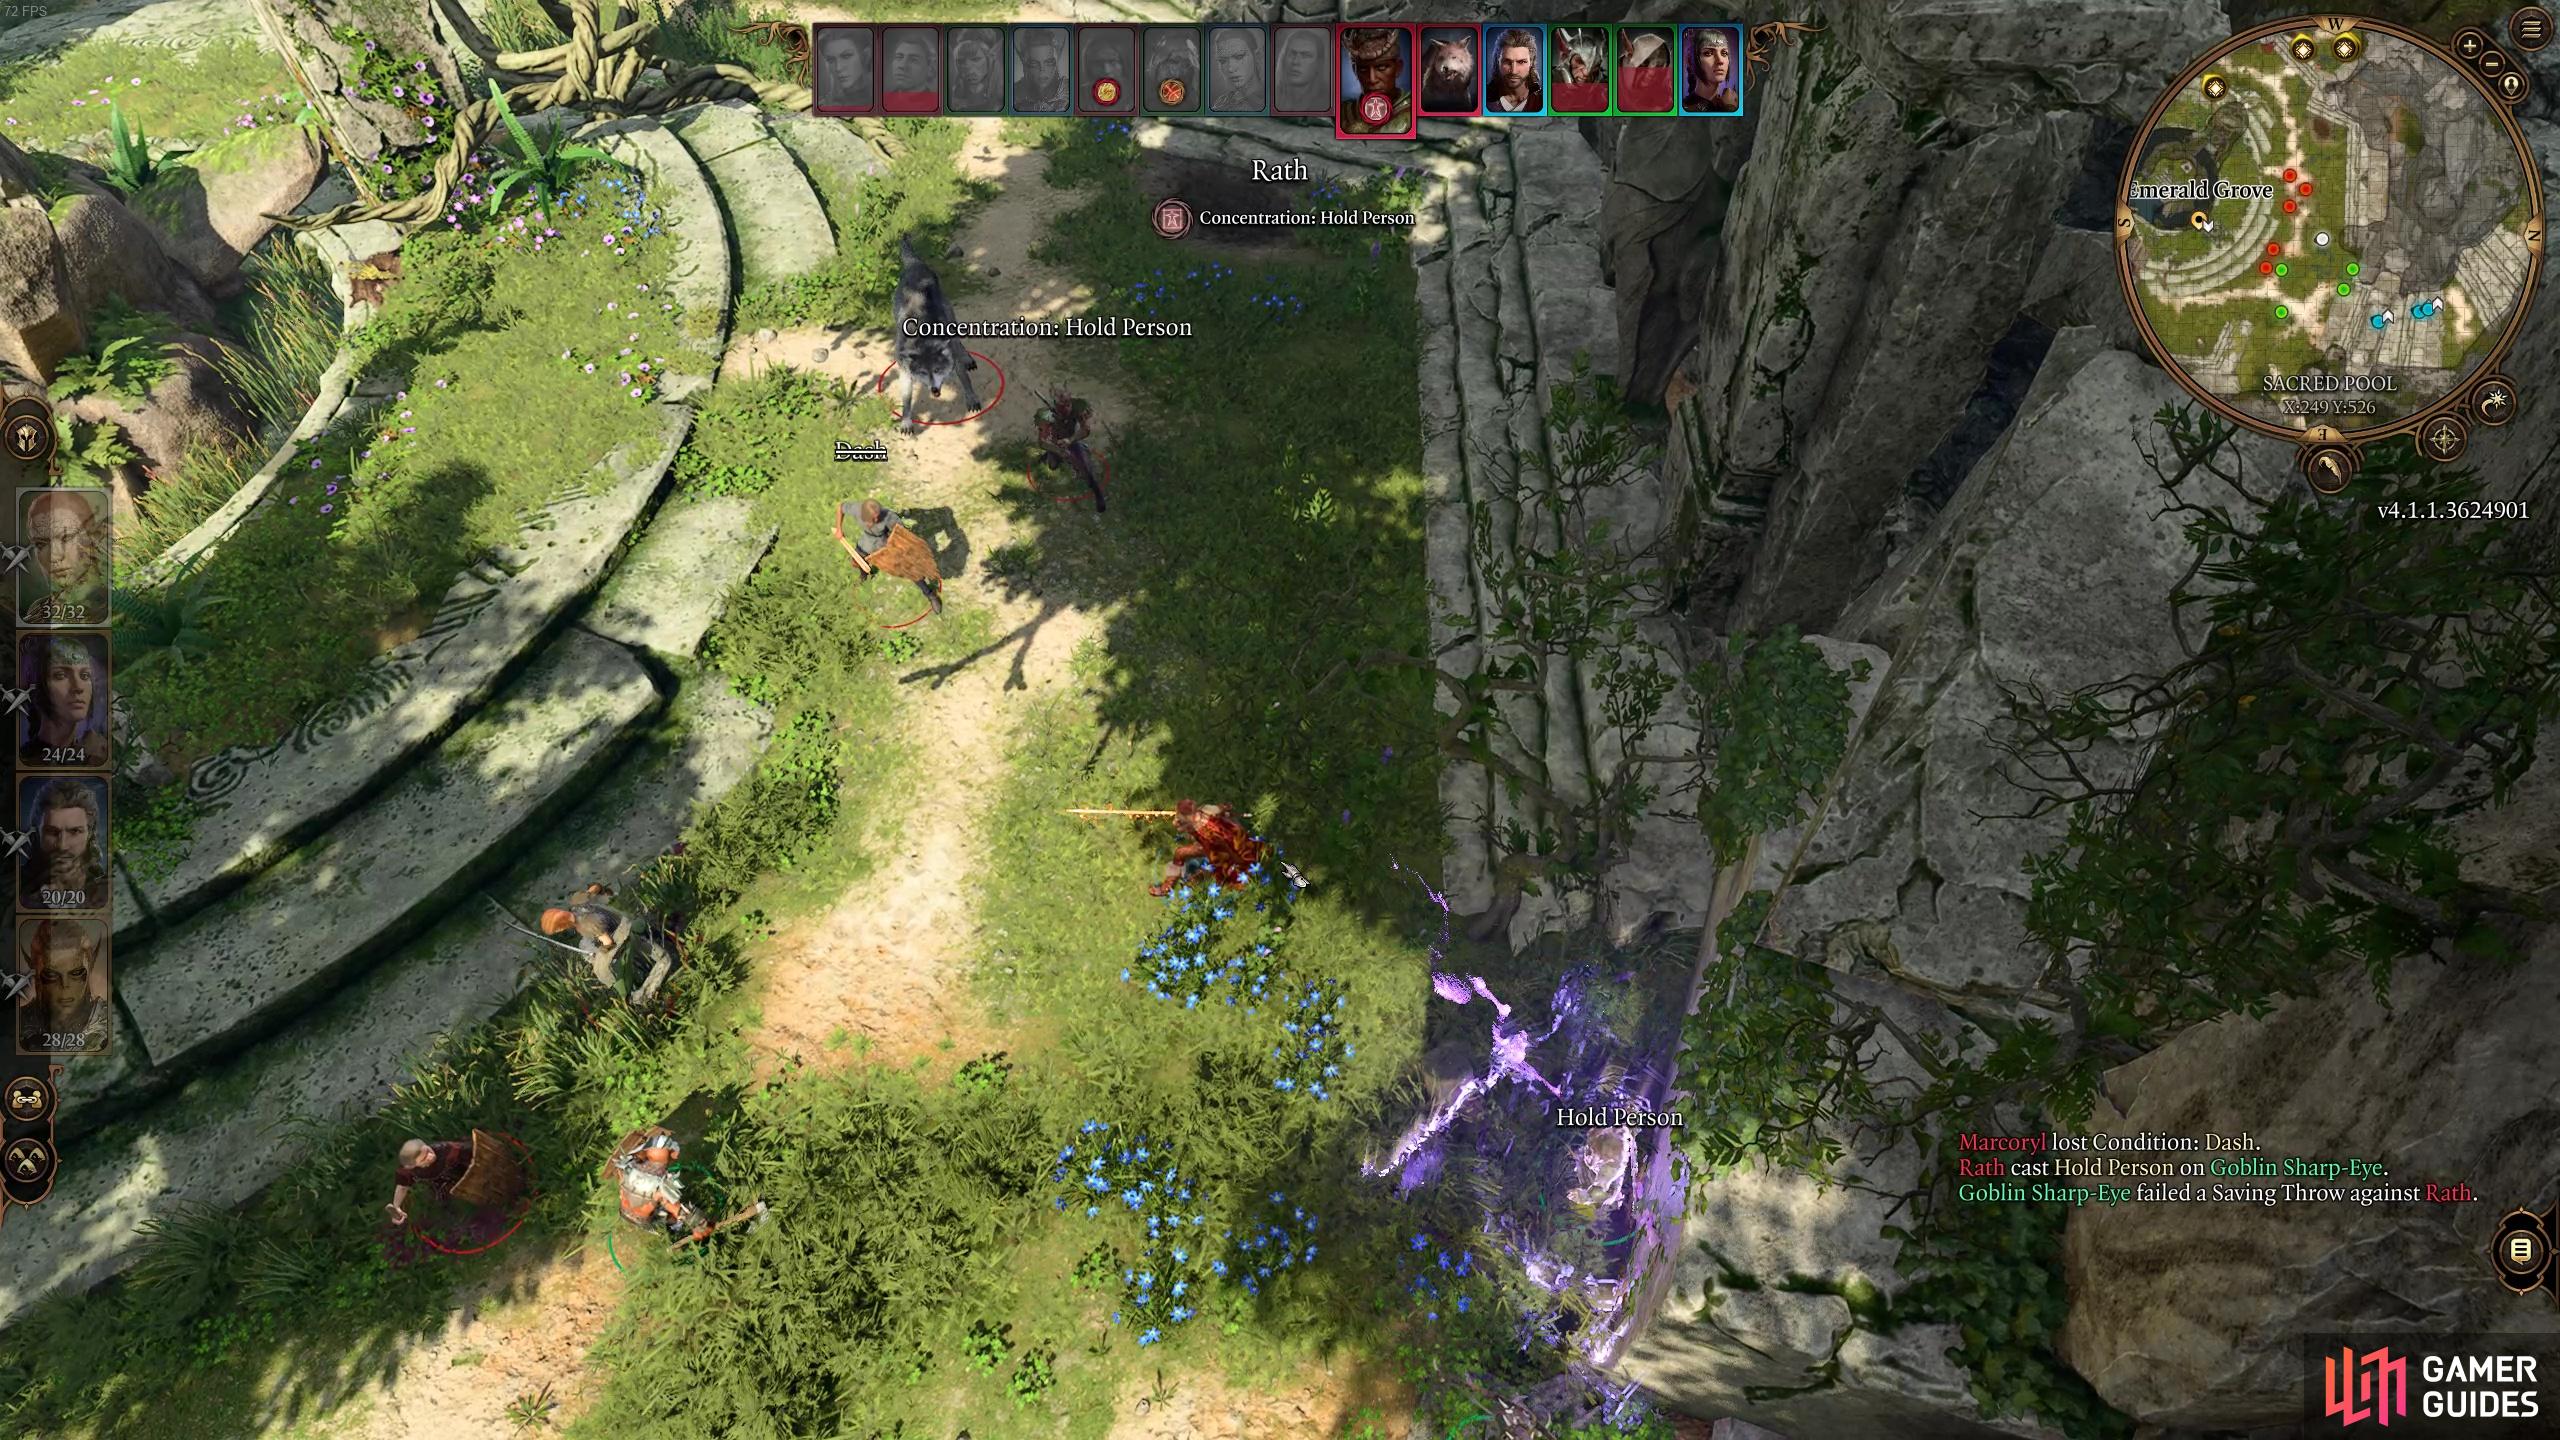
Make sure you keep an eye on who’s casting which concentration spells!
The !Druids, Nettie in particular, will also use ![]() Heat Metal which causes a metal weapon or armor to glow red-hot and force the target holding it to drop it or receive Disadvantage on Attack Rolls and Ability Checks. If the target is only wearing metal armor, it always receives Disadvantage. And to make matters worse, if the target is still touching the metal, you can use a bonus action on subsequent turns to deal another 2d8
Heat Metal which causes a metal weapon or armor to glow red-hot and force the target holding it to drop it or receive Disadvantage on Attack Rolls and Ability Checks. If the target is only wearing metal armor, it always receives Disadvantage. And to make matters worse, if the target is still touching the metal, you can use a bonus action on subsequent turns to deal another 2d8 ![]() Fire damage and force the target to let go or receive Disadvantage! This is, thankfully, a spell that requires concentration so when your character is affected by this, make sure to deal some damage to the caster to stop it.
Fire damage and force the target to let go or receive Disadvantage! This is, thankfully, a spell that requires concentration so when your character is affected by this, make sure to deal some damage to the caster to stop it.
Kagha can also cast a pretty powerful Level 3 spell called ![]() Plant Growth, which makes a huge area of thorny flowers, and creatures moving through the plants have their Movement Speed quartered. This plant growth will last 10 turns and can be quite difficult to deal with if she’s cast it onto some of your more mobile party members. If you’re having a difficult time moving around and need to get them out quickly, consider casting a
Plant Growth, which makes a huge area of thorny flowers, and creatures moving through the plants have their Movement Speed quartered. This plant growth will last 10 turns and can be quite difficult to deal with if she’s cast it onto some of your more mobile party members. If you’re having a difficult time moving around and need to get them out quickly, consider casting a ![]() Fire Bolt or any other fiery spell at the ground to set the plants on fire. This will damage anyone (including your party members) in the plant growth radius, but in a lot of cases a bit of fire damage is better than not being able to move - just make sure to get them out of the fire as soon as you can.
Fire Bolt or any other fiery spell at the ground to set the plants on fire. This will damage anyone (including your party members) in the plant growth radius, but in a lot of cases a bit of fire damage is better than not being able to move - just make sure to get them out of the fire as soon as you can.
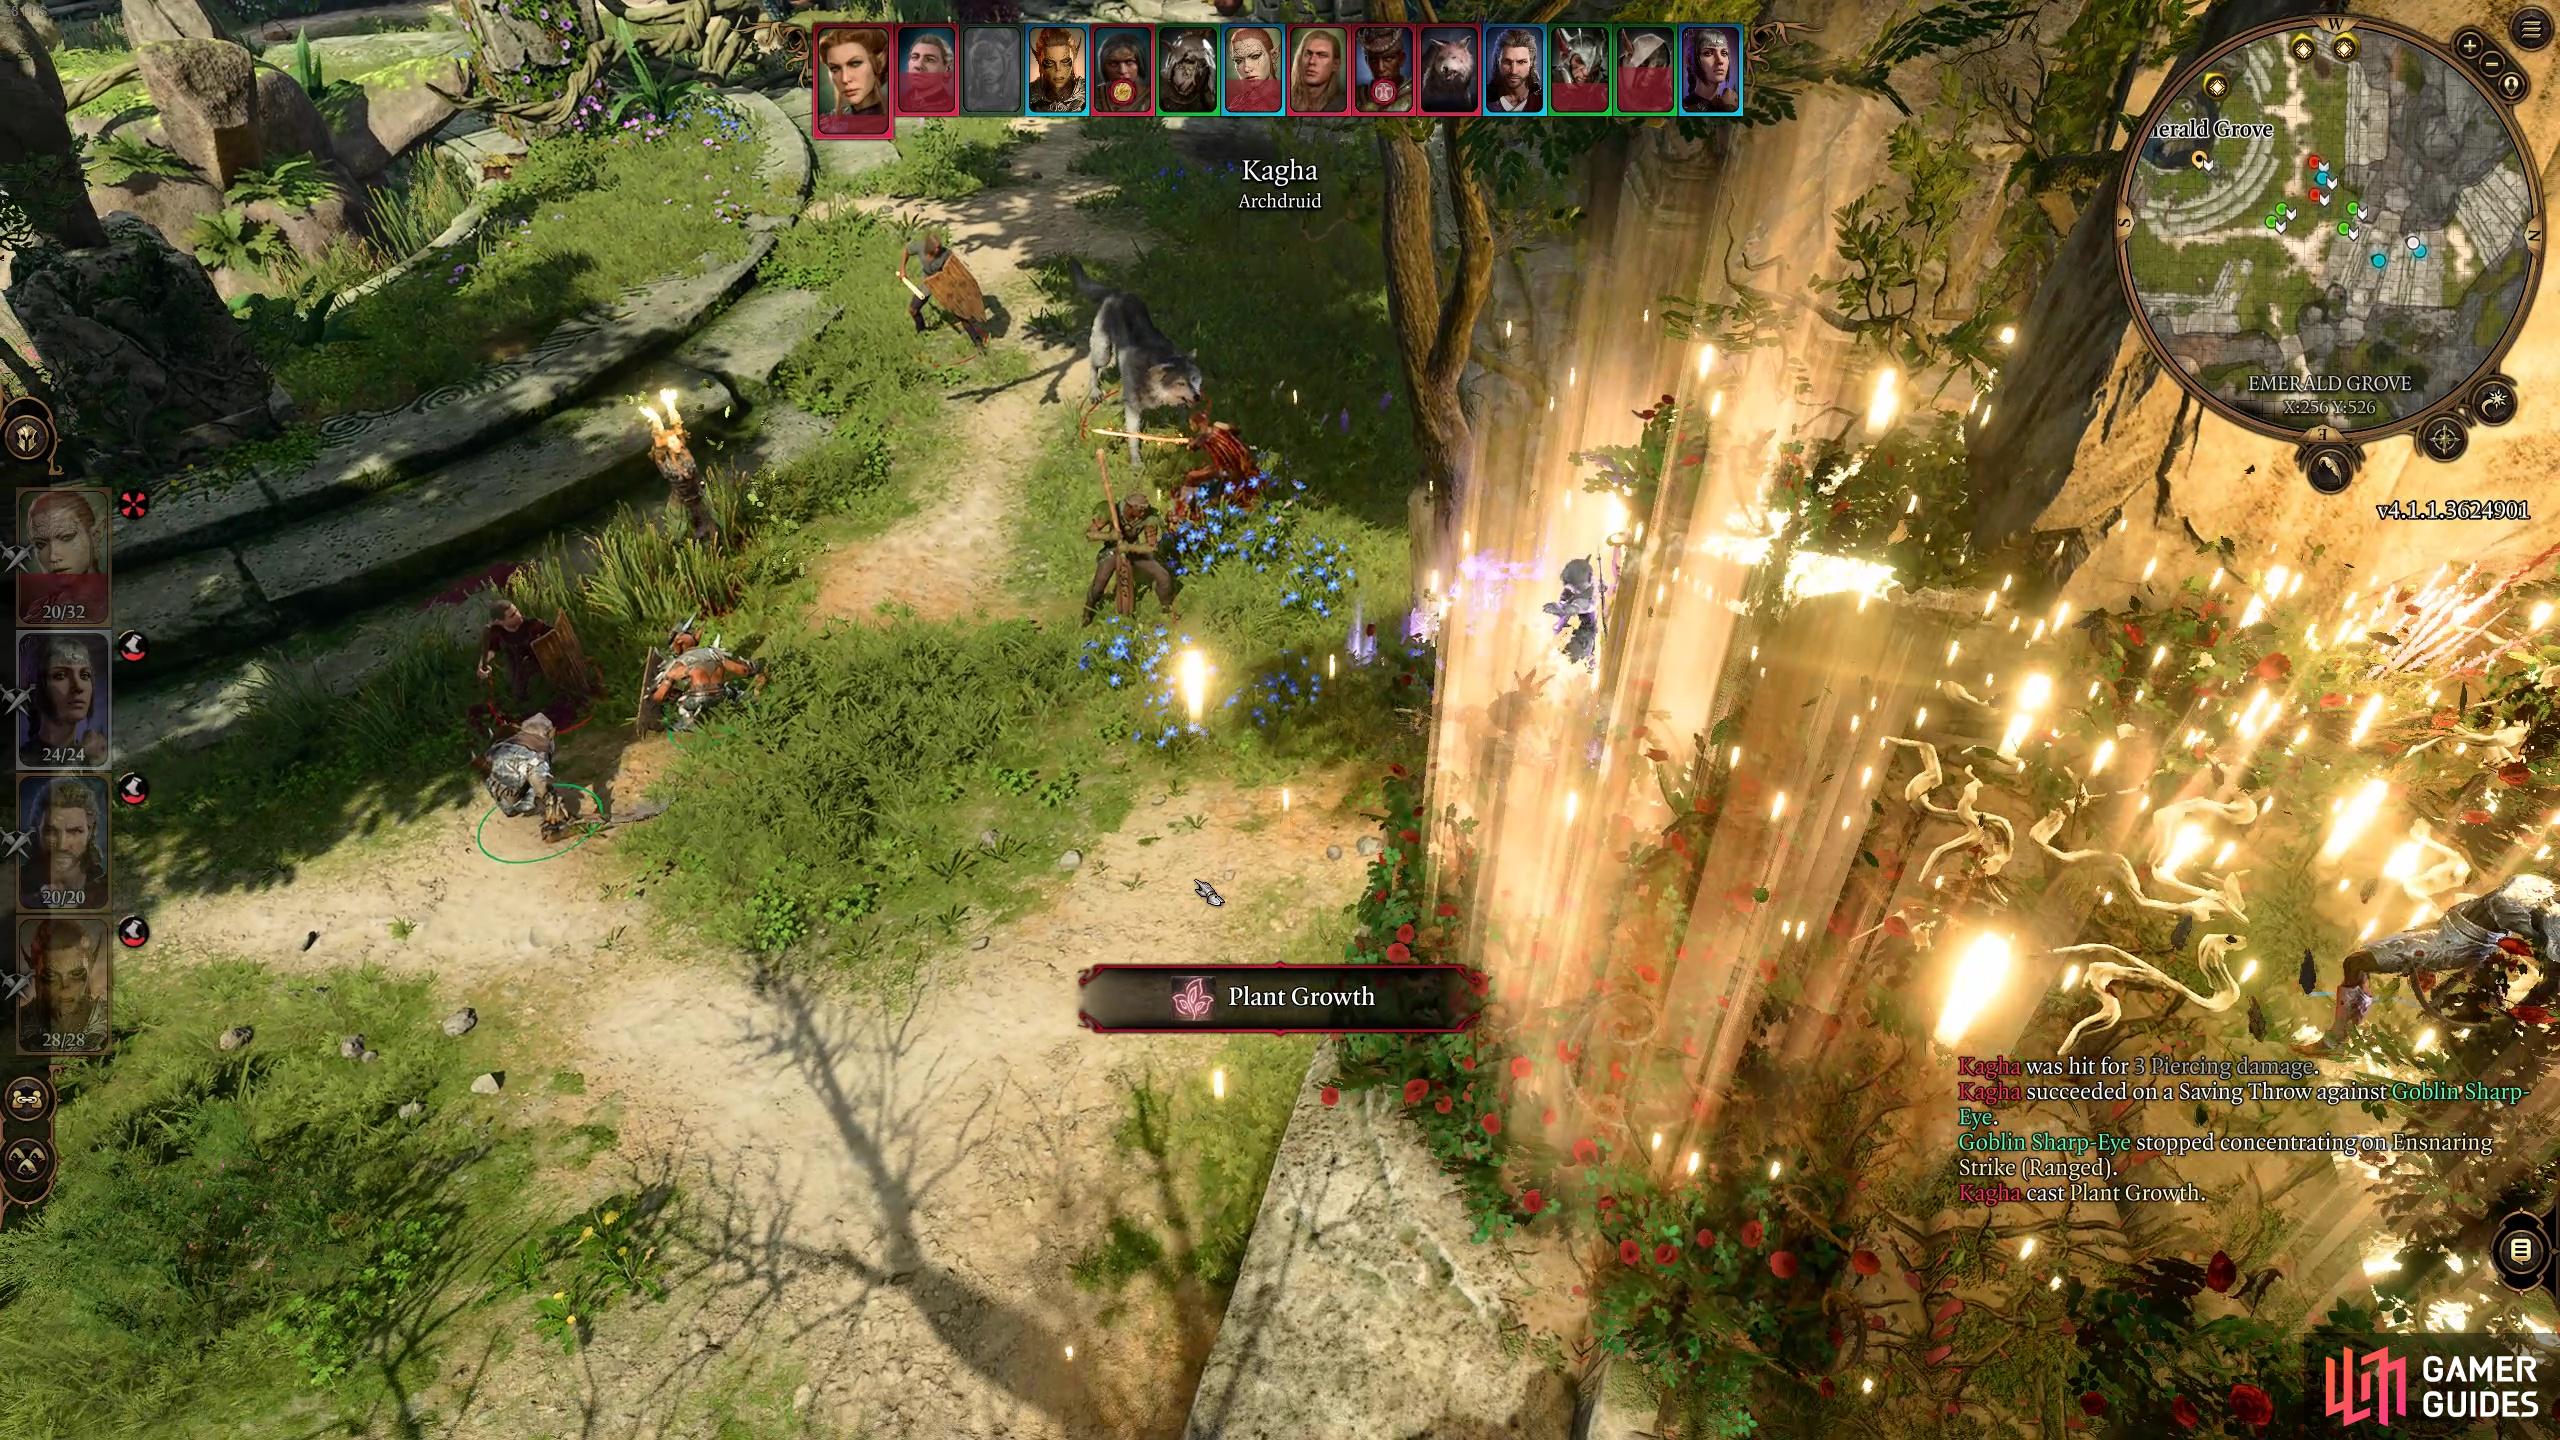
Plant Growth quarters your speed if you’re caught in the vines!
Additionally, when you’ve damaged the druids to around 30-50% health, they’ll shapeshift into animals using Wild Shape. Rath will transform into a bird that can blind his targets but is relatively weak HP wise, Nettie will transform into a boar with a small ish HP bar, and Kagha can transform into a wolf that has big movement, bite attacks and a decent HP bar. These shapeshifting abilities are also difficult to deal with because when you damage their whole animal HP bar, this won’t kill them but rather it forces them to transform back into their Humanoid shape. And their original humanoid shape won’t have taken any extra damage during their shapeshifting period. This is made even more annoying by the fact that the druids will be able to wild shape twice, making it a bit harder to actually kill them. We recommend trying to use some sort of demobilizing ability such as Hold Person to prevent them from taking a turn and allowing you to whittle down their actual HP bar before they shapeshift. You could also use area of effects to do passive damage to them.


(1 of 3) Kagha will turn into a large white wolf.
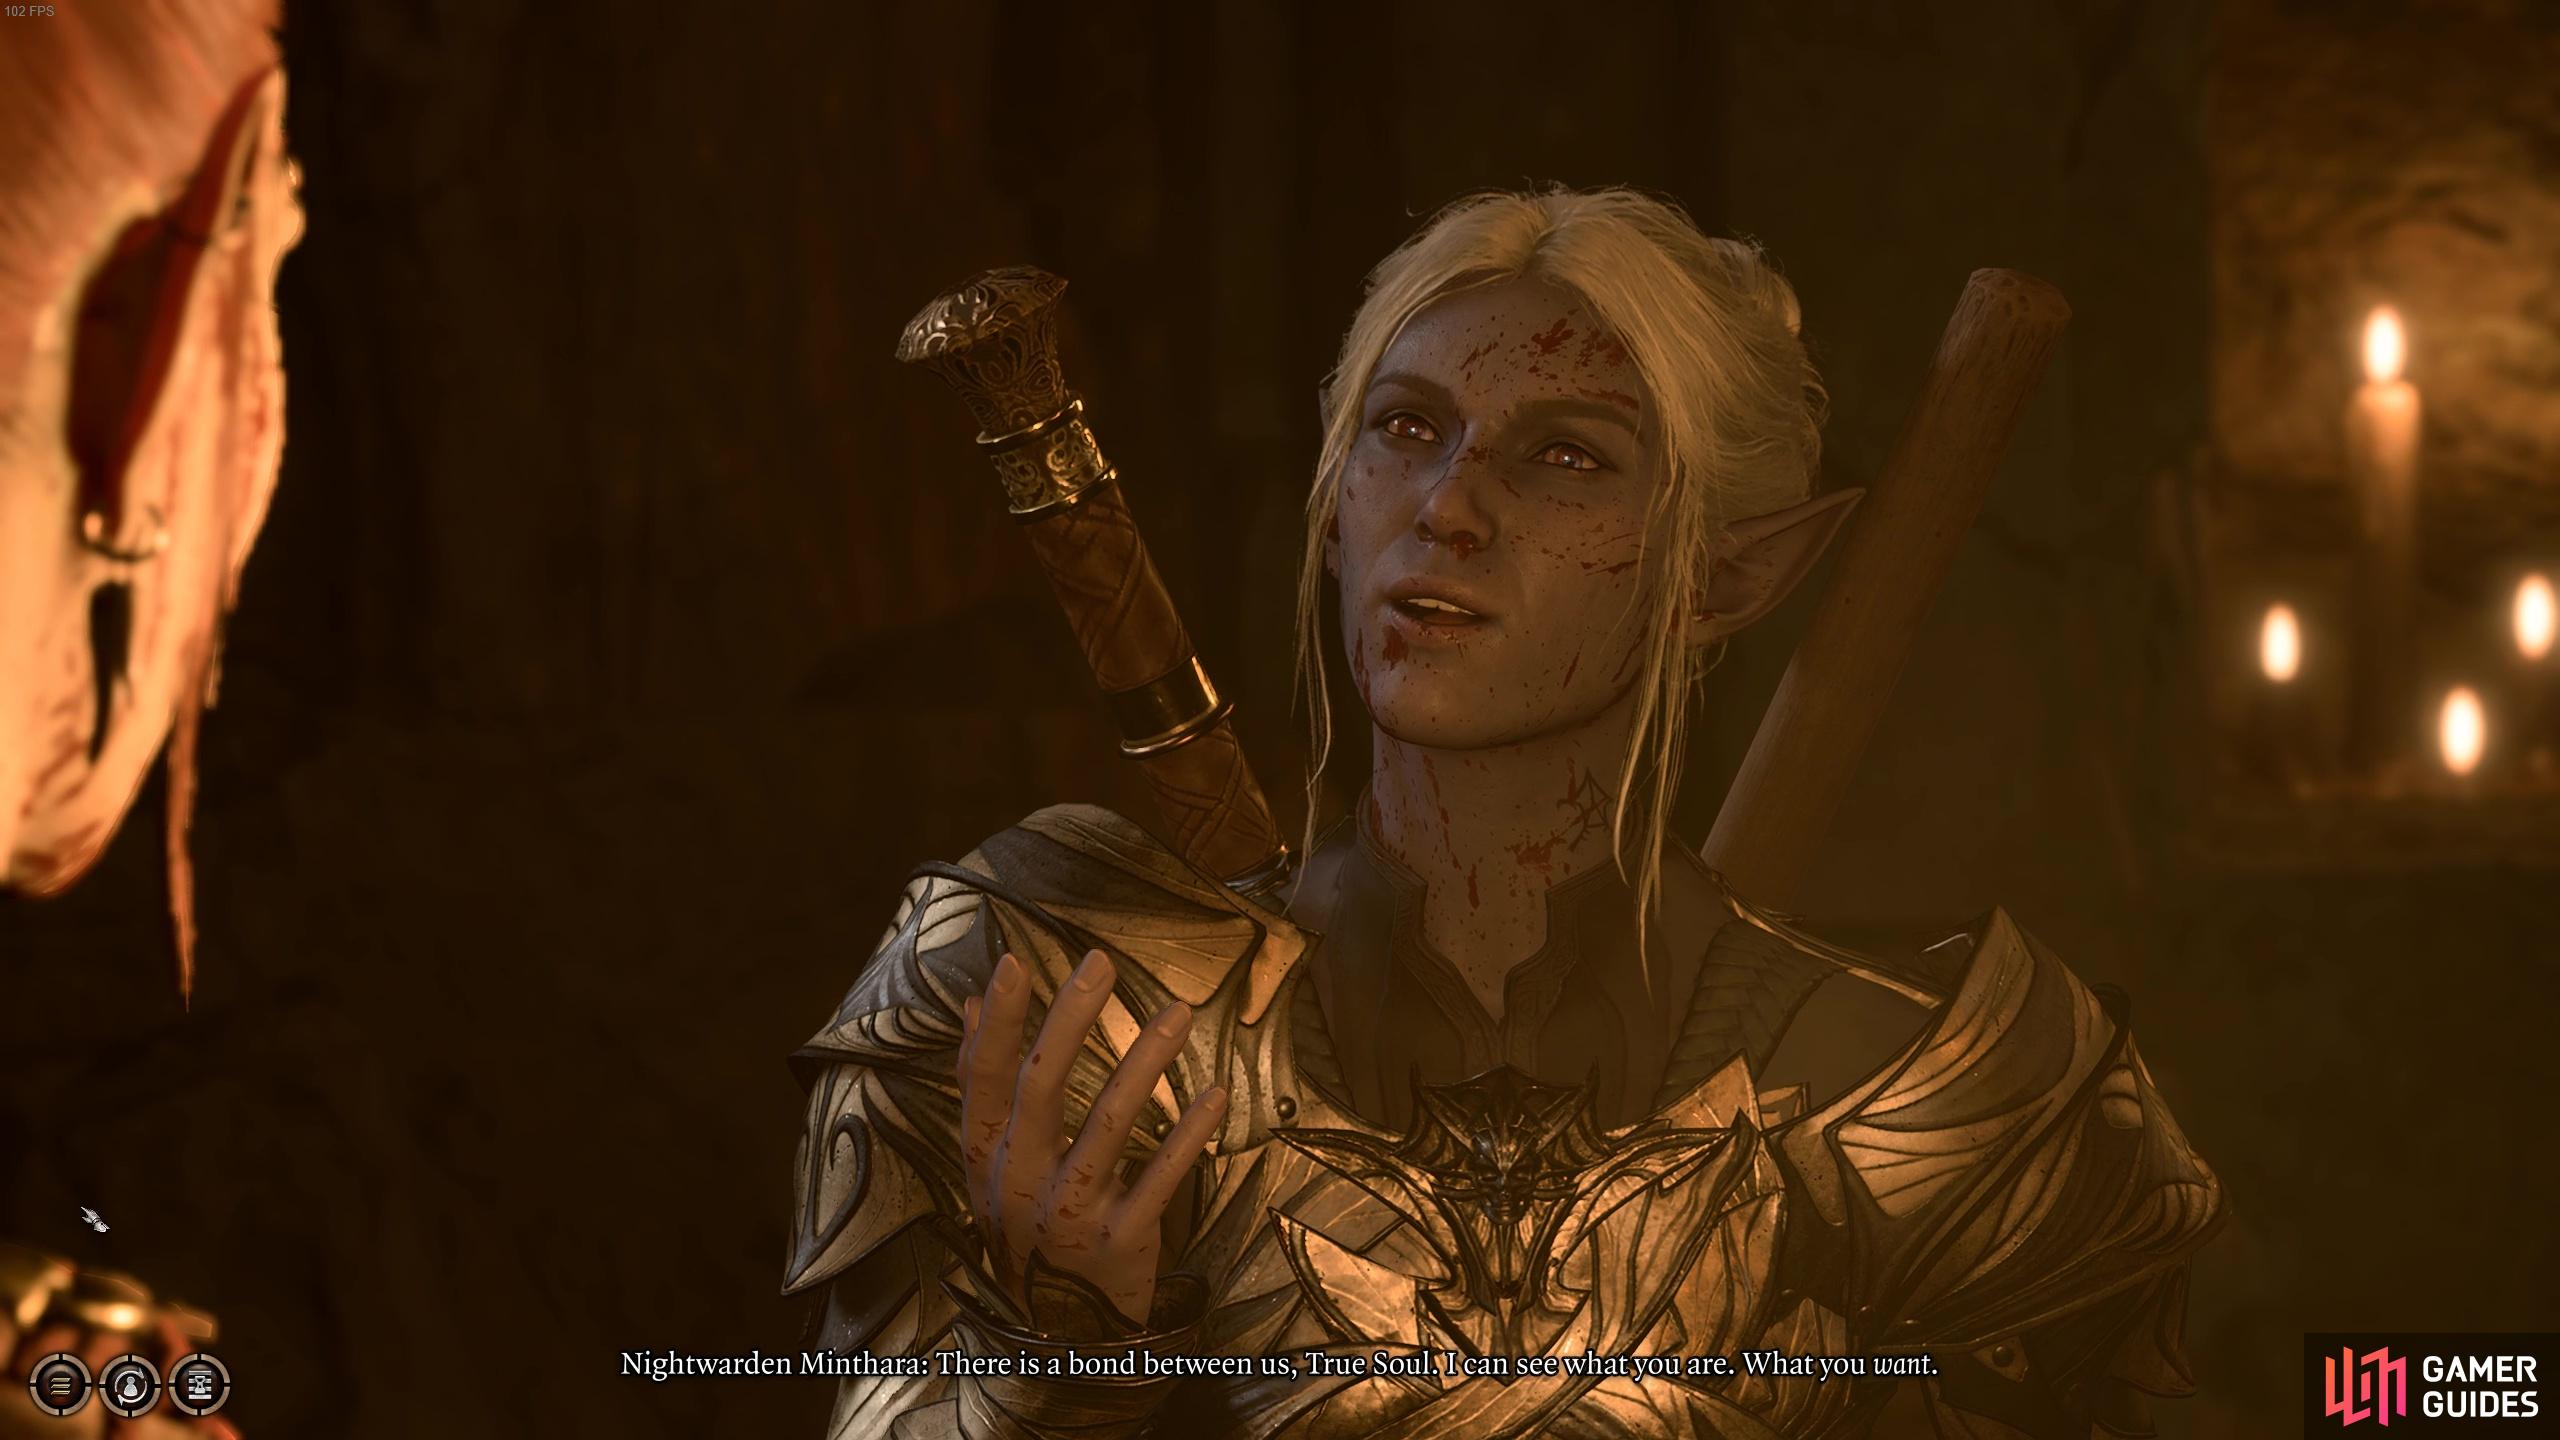
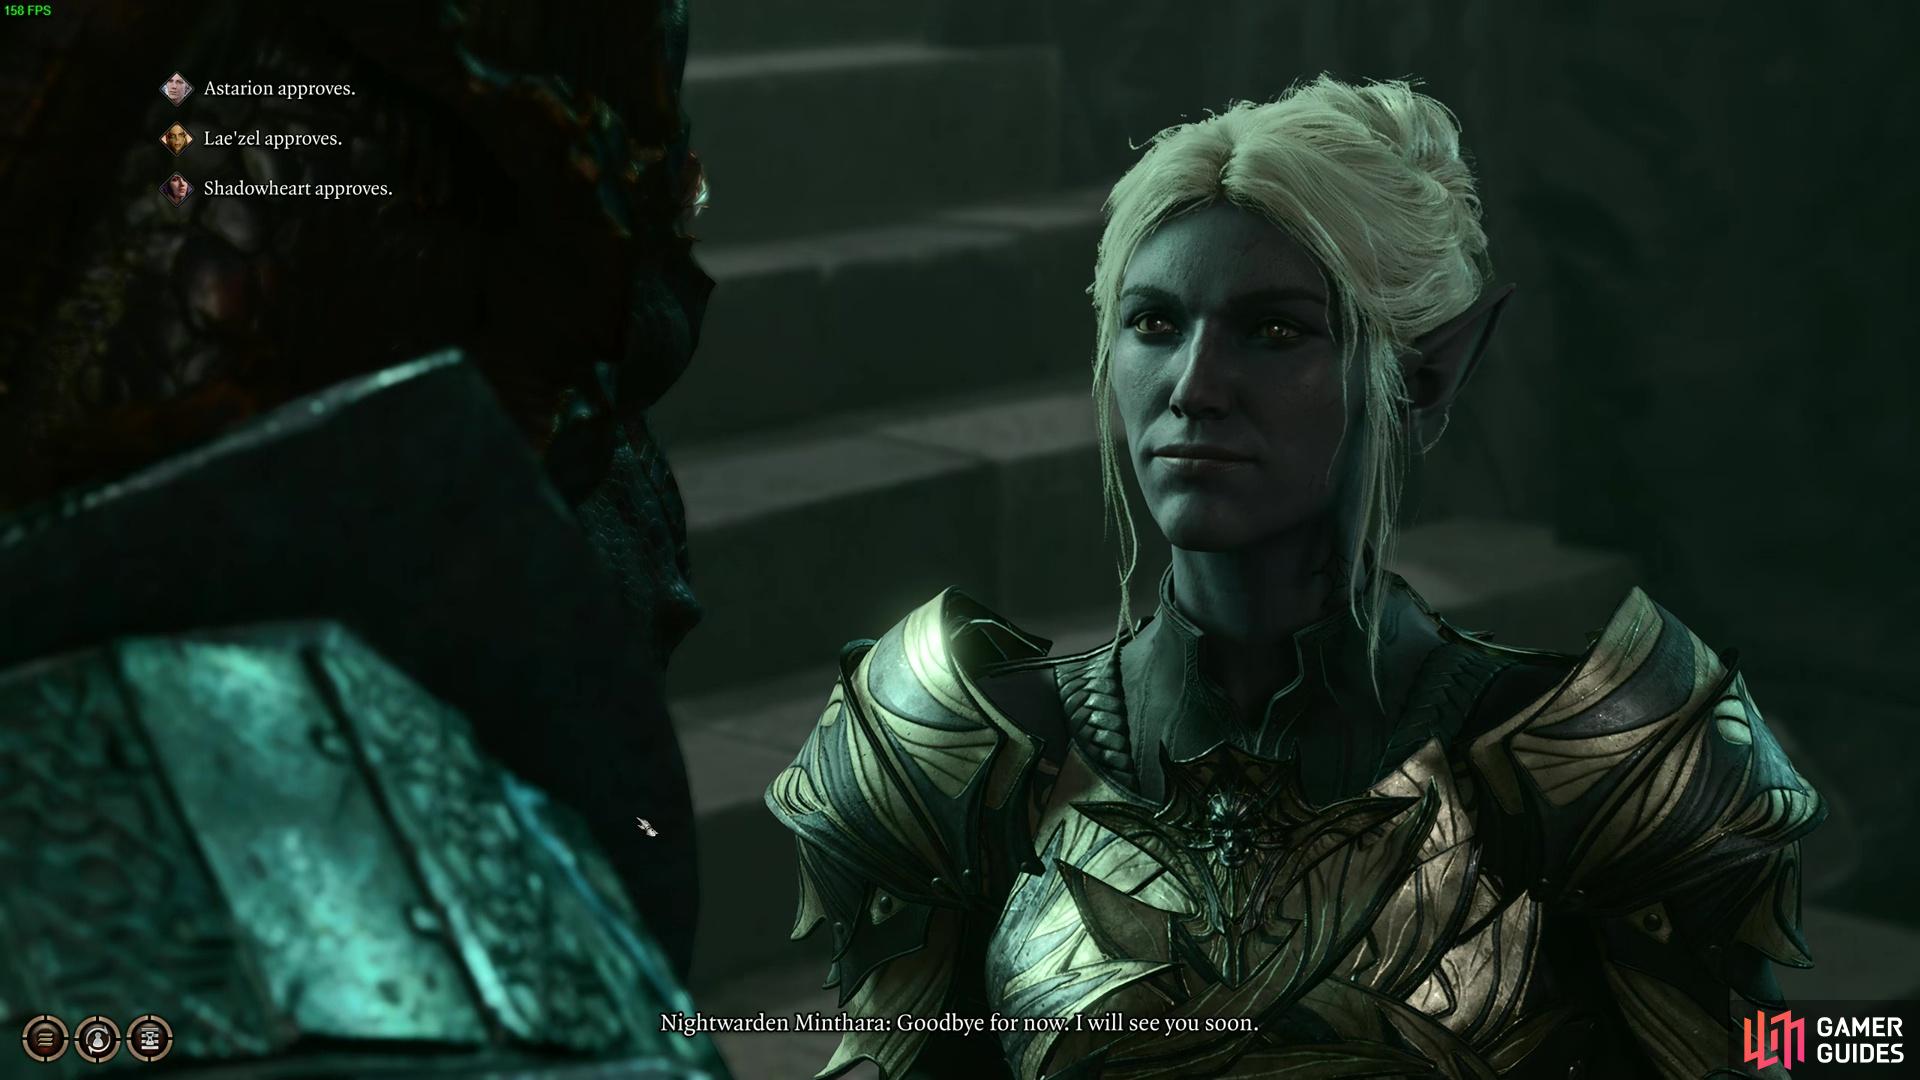
After you’ve defeated the !Druids, don’t forget to loot them for some decent loot and return to Minthara in the Secluded Chambers. You can choose to betray her here or she can return to your camp. You’ll now have the opportunity to make her a companion and romance her!
Can You Romance Minthara?
After assisting in the assault against Druid Grove and speaking with Minthara, your opportunity to romance Minthara will begin. You can tell her to head to your camp and meet with you there, and naturally the conversation is very flirty. Head to camp and speak with her and she’ll ask to join you in your bed. If you accept her advances, you can begin a romance journey with Minthara.
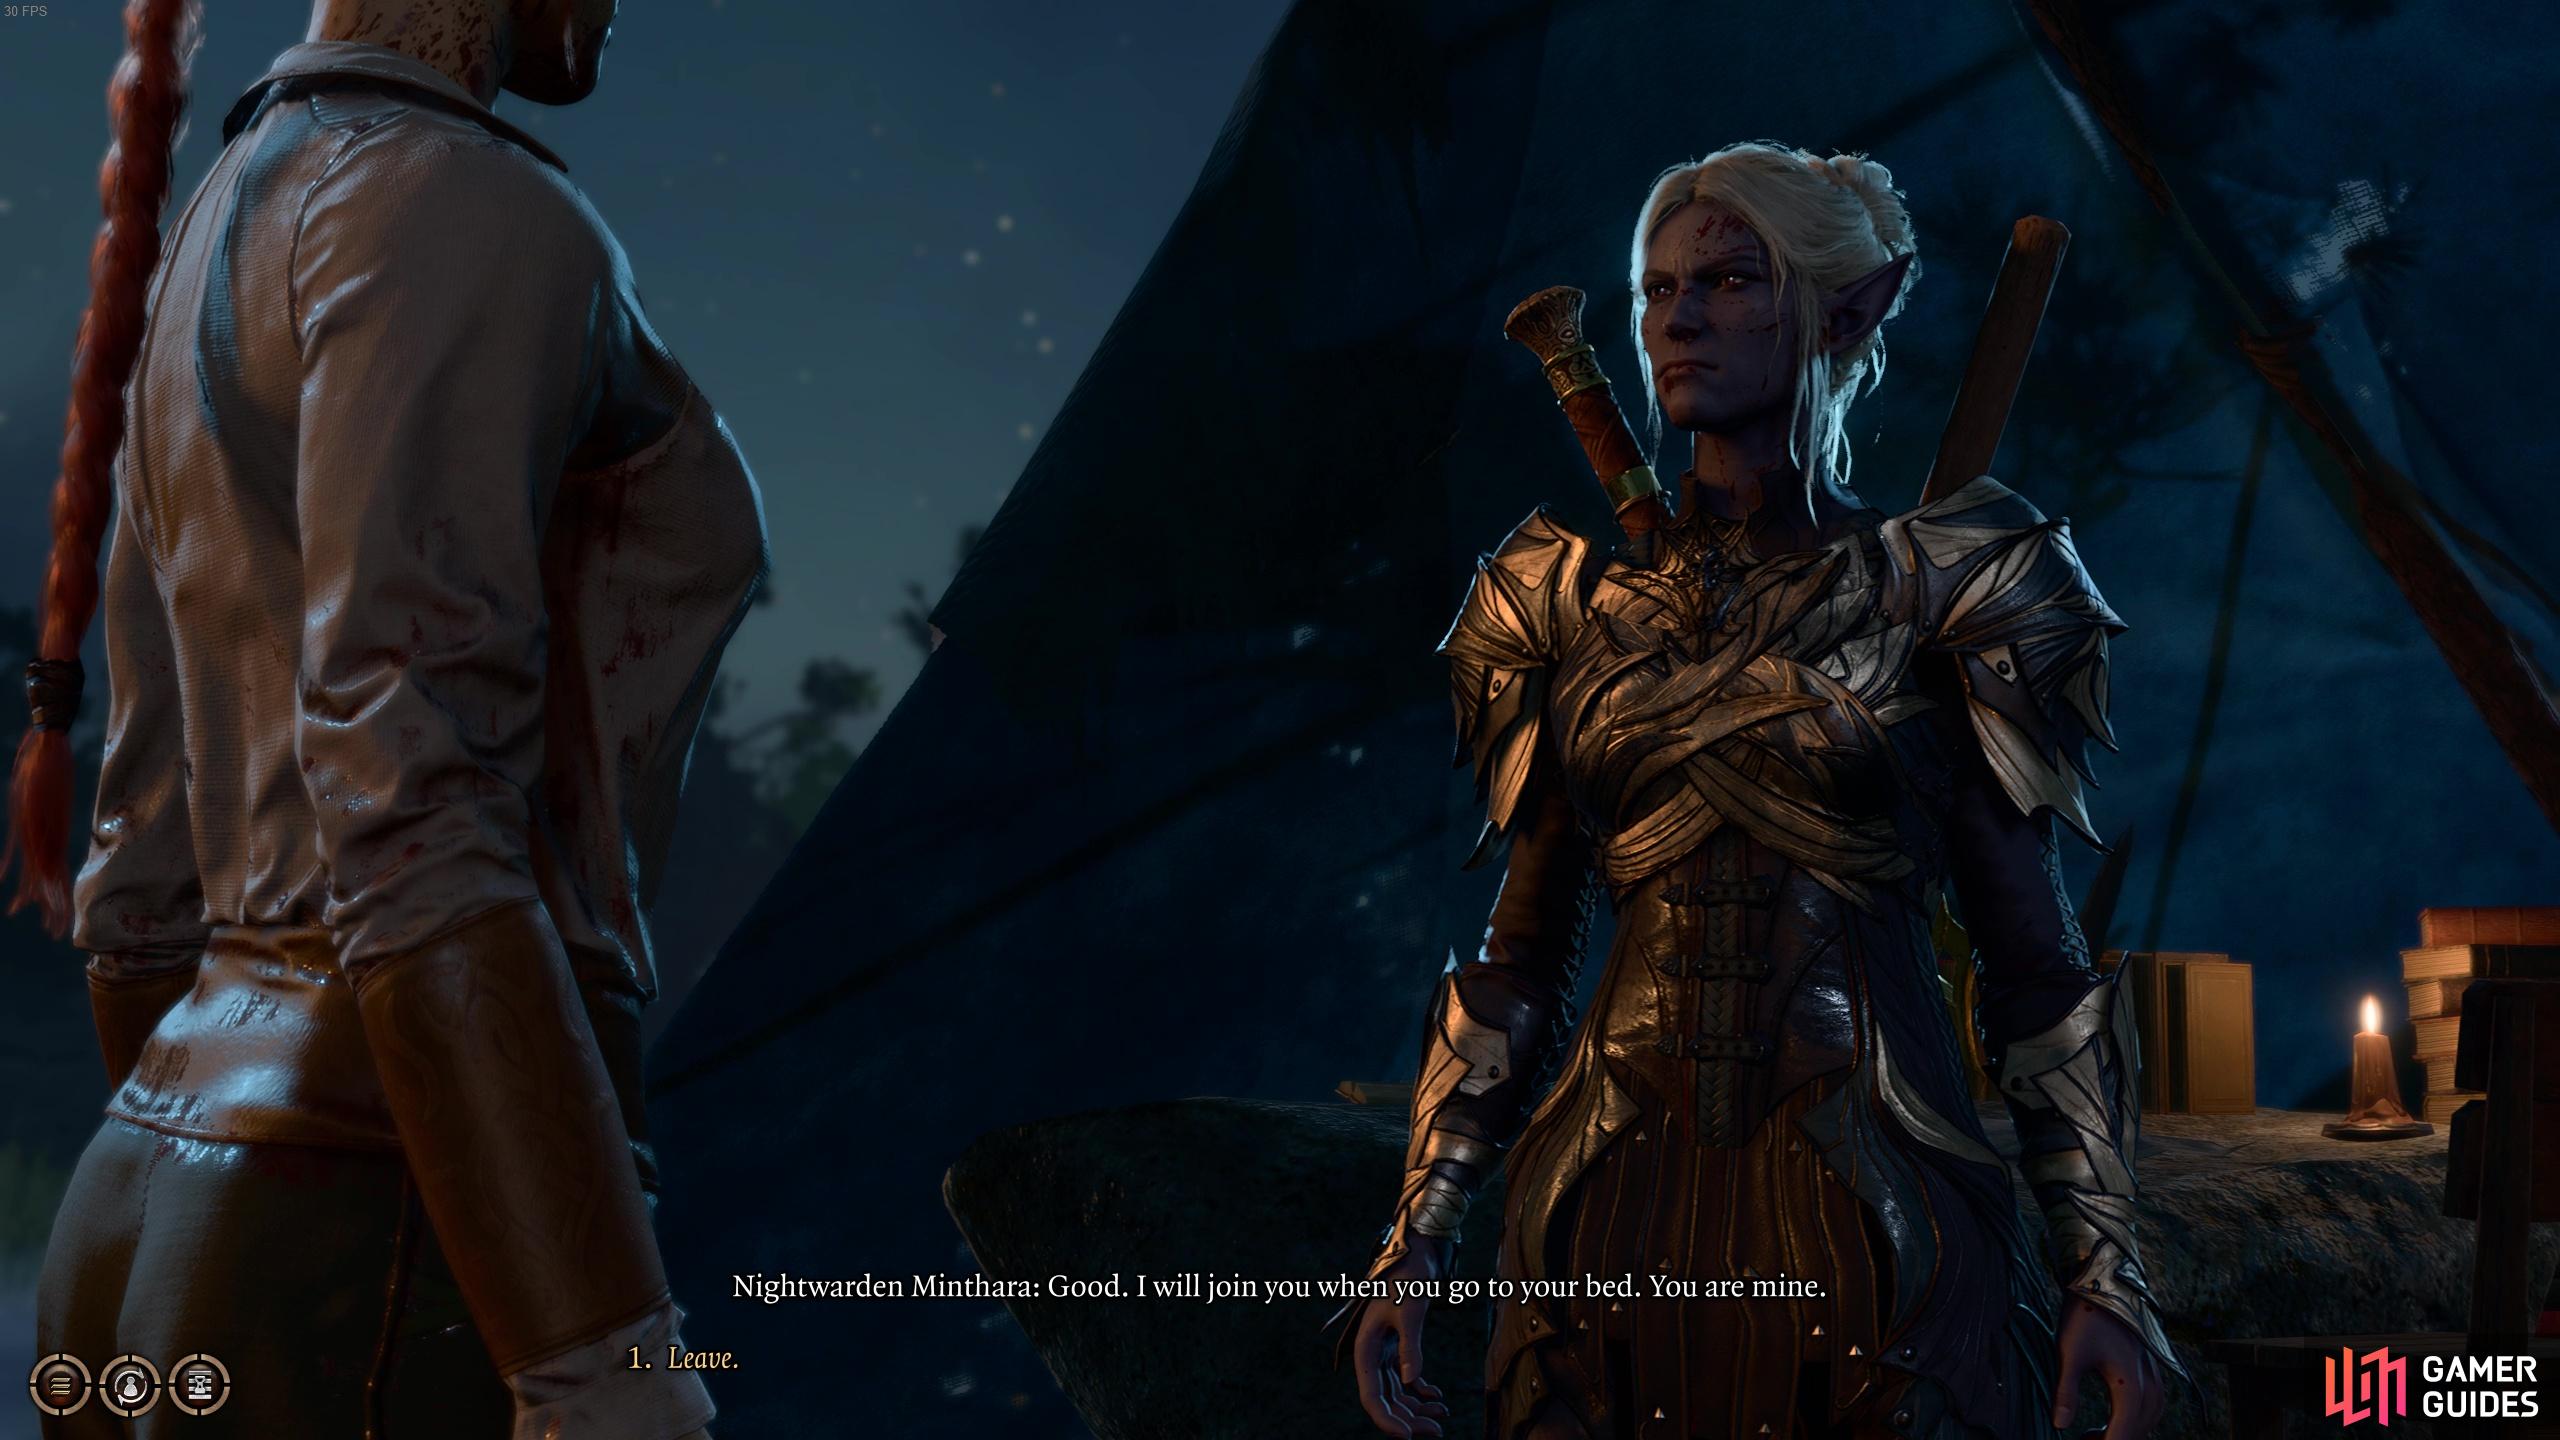
Minthara is…very grateful for your help in Druid Grove.
Recruiting Minthara in Act 2 of Baldur’s Gate 3
Once you break Minthara from jail in Moonrise Towers, you can tell her to go to your camp and recruit her from there.
After a night of sin with Minthara, you will need to make some rolls to keep her an ally, as she thinks the Absolute is telling her to kill you. If you convince her, she gives you the Spider’s Lute, so you can go through Act 2 Mountain pass. When you finally arrive at ![]() Moonrise Towers, you will find her in a meeting with Ketheric Thorm. He will throw in jail for failing to find the artifact. If you want to, you can go into the jail, kill her captors, and then rescue her. To do so, bring her from the cell, and go to the large doors that lead to the docks. From there, there’s a bit of the dock that you can jump to that leads to Reithwin Toll House. If you jump there with Minthara and the character escorting he, you can get a cutscene, and you can tell her to go to your camp. Once she is in your camp, talk to her about what she wants, and you can ask her to join you.
Moonrise Towers, you will find her in a meeting with Ketheric Thorm. He will throw in jail for failing to find the artifact. If you want to, you can go into the jail, kill her captors, and then rescue her. To do so, bring her from the cell, and go to the large doors that lead to the docks. From there, there’s a bit of the dock that you can jump to that leads to Reithwin Toll House. If you jump there with Minthara and the character escorting he, you can get a cutscene, and you can tell her to go to your camp. Once she is in your camp, talk to her about what she wants, and you can ask her to join you.
Looking for other Companion options? See our guides below for more information on how to recruit them:
No Comments