
Near the end of Baldur’s Gate 3, you’ll start tying up loose ends, and some of these will be the companion quests. For ![]() Astarion’s quest,
Astarion’s quest, ![]() The Pale Elf, you’ll need to defeat the Vampire Lord, Cazador. This is an extremely difficult battle, but there are a few tricks you can use to make it more manageable. Even after you defeat him, you’ll have a lot of difficult choices to make, so read below the best way to defeat Cazador, and what the best ending for the quest is.
The Pale Elf, you’ll need to defeat the Vampire Lord, Cazador. This is an extremely difficult battle, but there are a few tricks you can use to make it more manageable. Even after you defeat him, you’ll have a lot of difficult choices to make, so read below the best way to defeat Cazador, and what the best ending for the quest is.
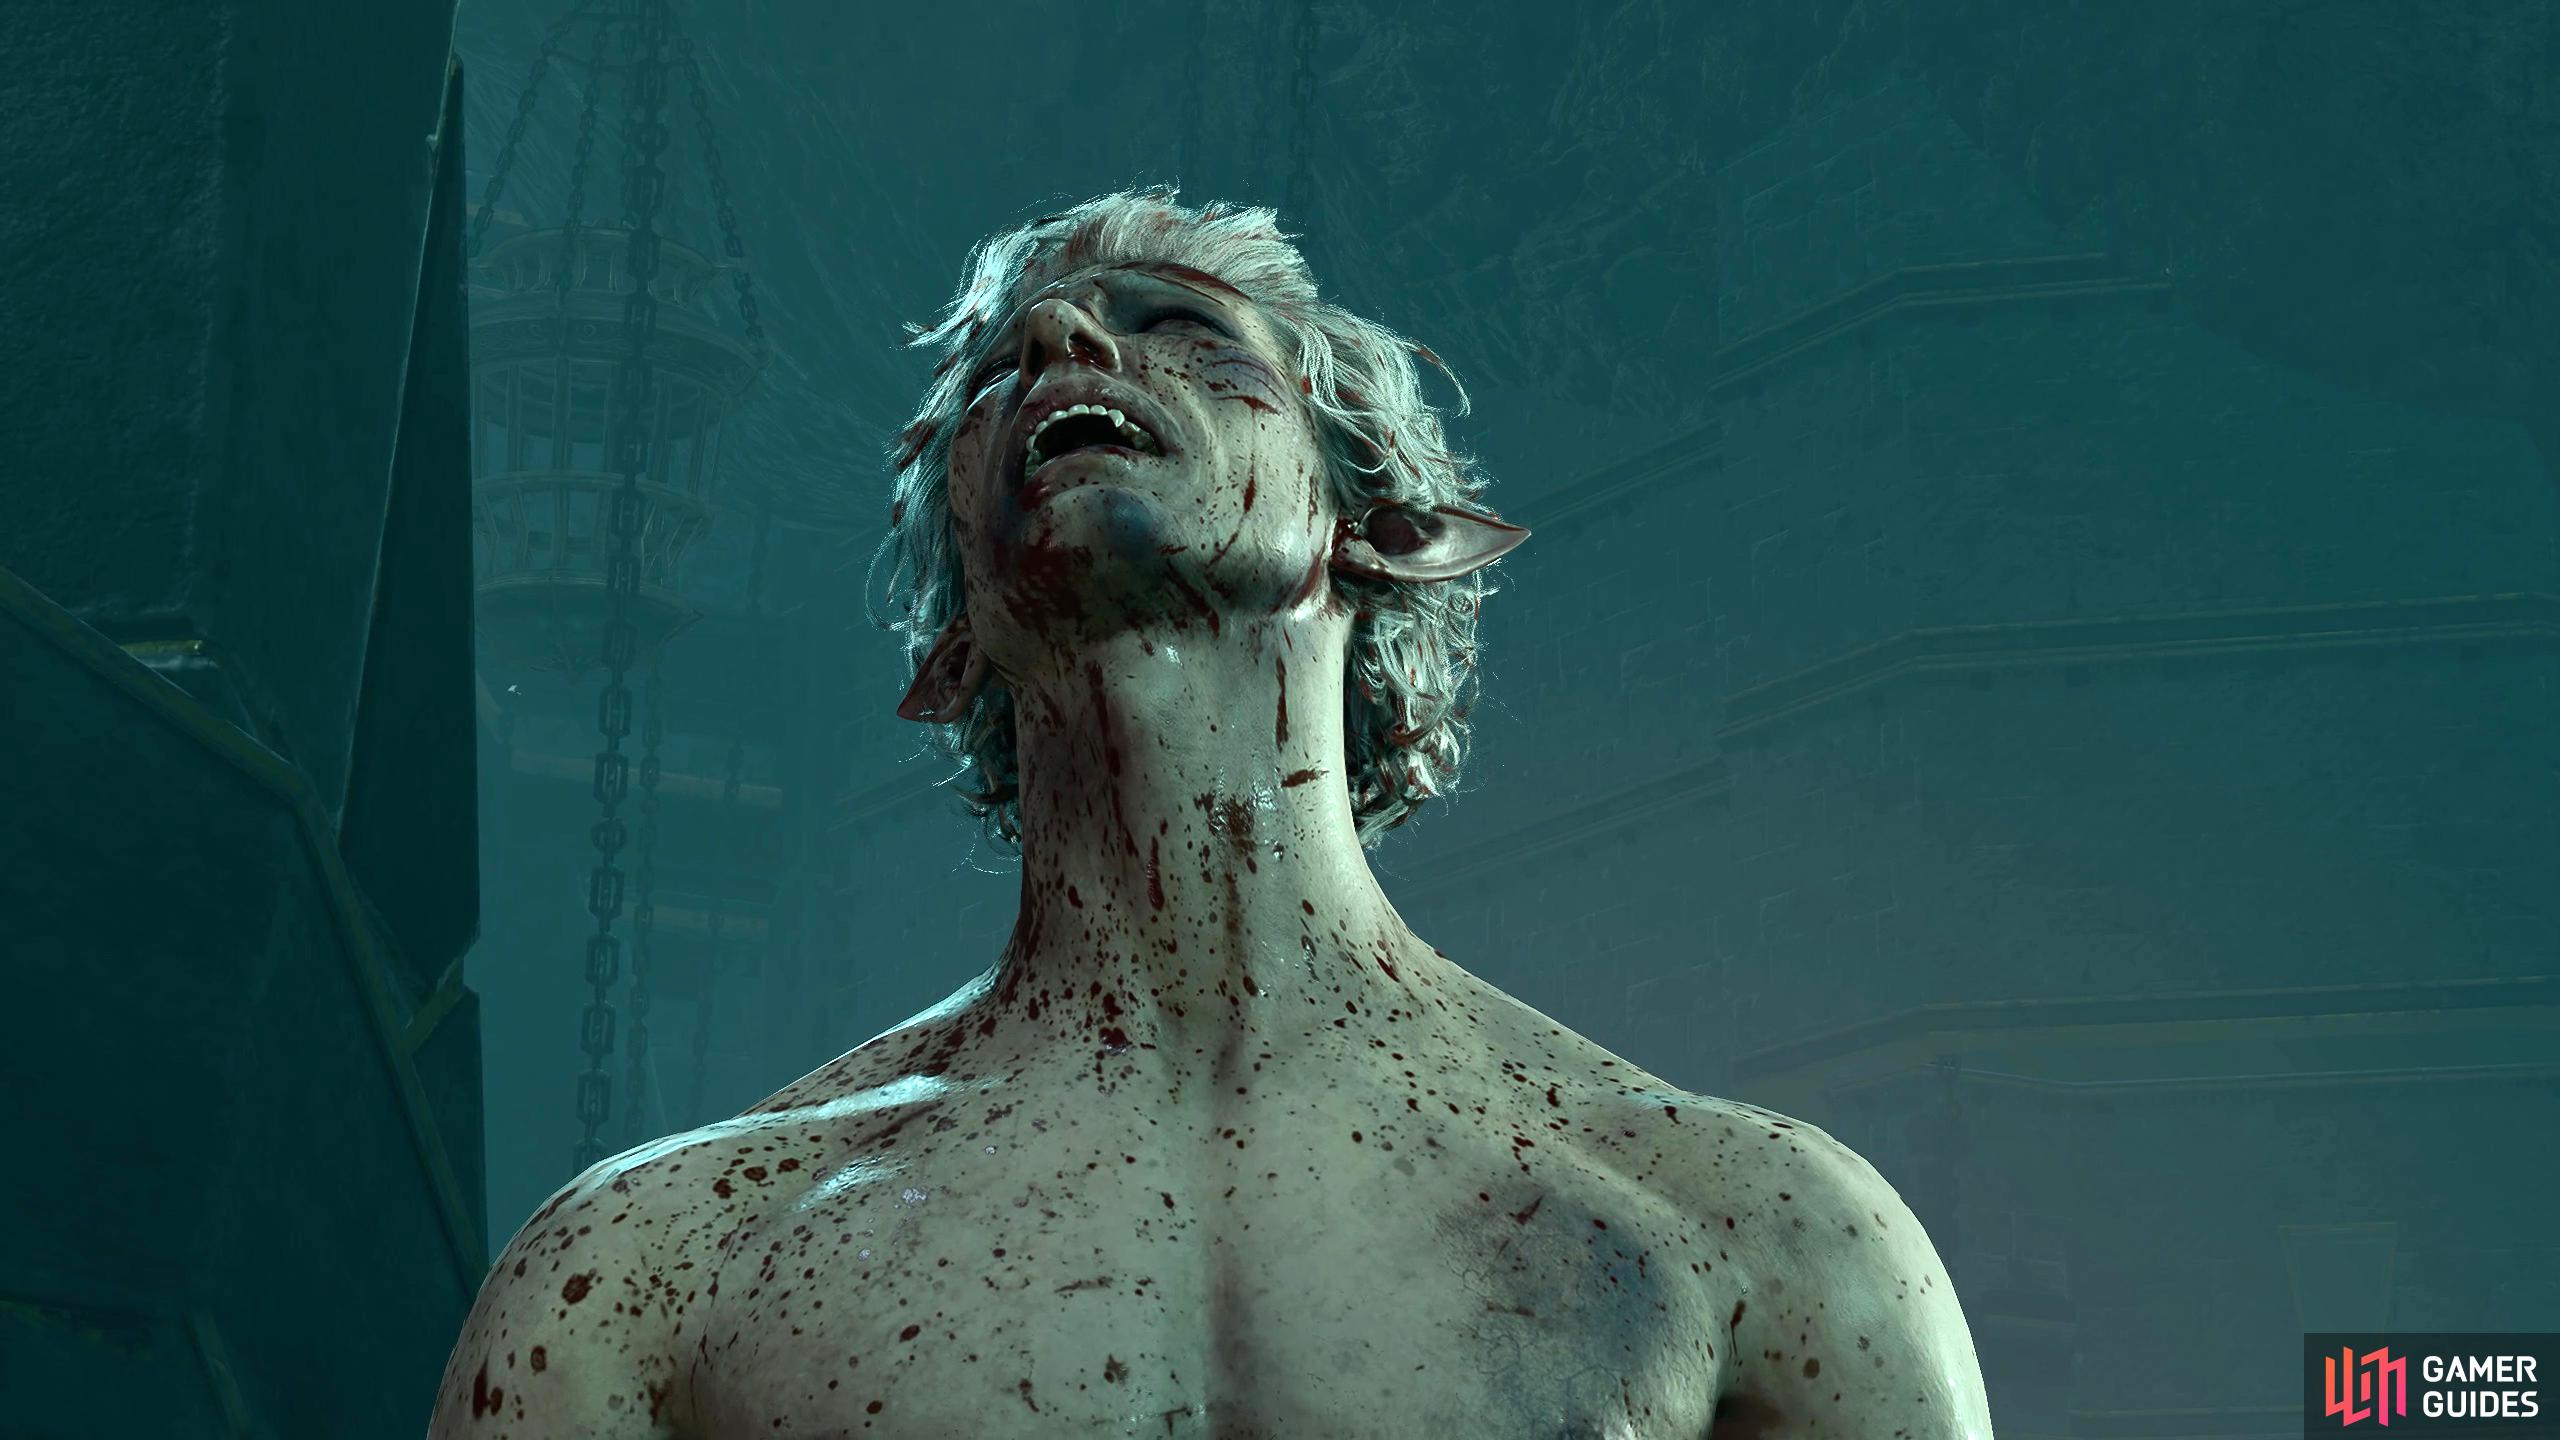
Is Astarion in pain, or relief? Find out below!
How to Find the Szarr Palace (Cazador Manor)
There are a few ways to enter the palace, you could go through the Lower City Sewers, but that’ll require picking a DC 30 lock to enter the palace from there, or you could head up the Central Wall Watchtower, near the Lower City Central Wall waypoint, pass a Persuasion check, and enter from the upper balcony. The palace itself is situated in the northwest of the Lower City.
As the Old Watchtower is quicker, we’ll choose that route. From the Lower City Central Wall waypoint, head into the tower that the sigil is on, and make your way up a few flights of stairs until you can exit the watchtower to get onto the wall. From here, head north and go through the Szarr Palace South Tower. In the tower, climb the ladder in front of you and use Persuasion on Merony to let you through while also giving you the Rampart Key. Go up the stairs into the Upper Tower door, and follow the stairs up into the Szarr Palace Ramparts. Now head across the wall north then west to find the Szarr Palace door. Enter it and you’ll be inside the palace.
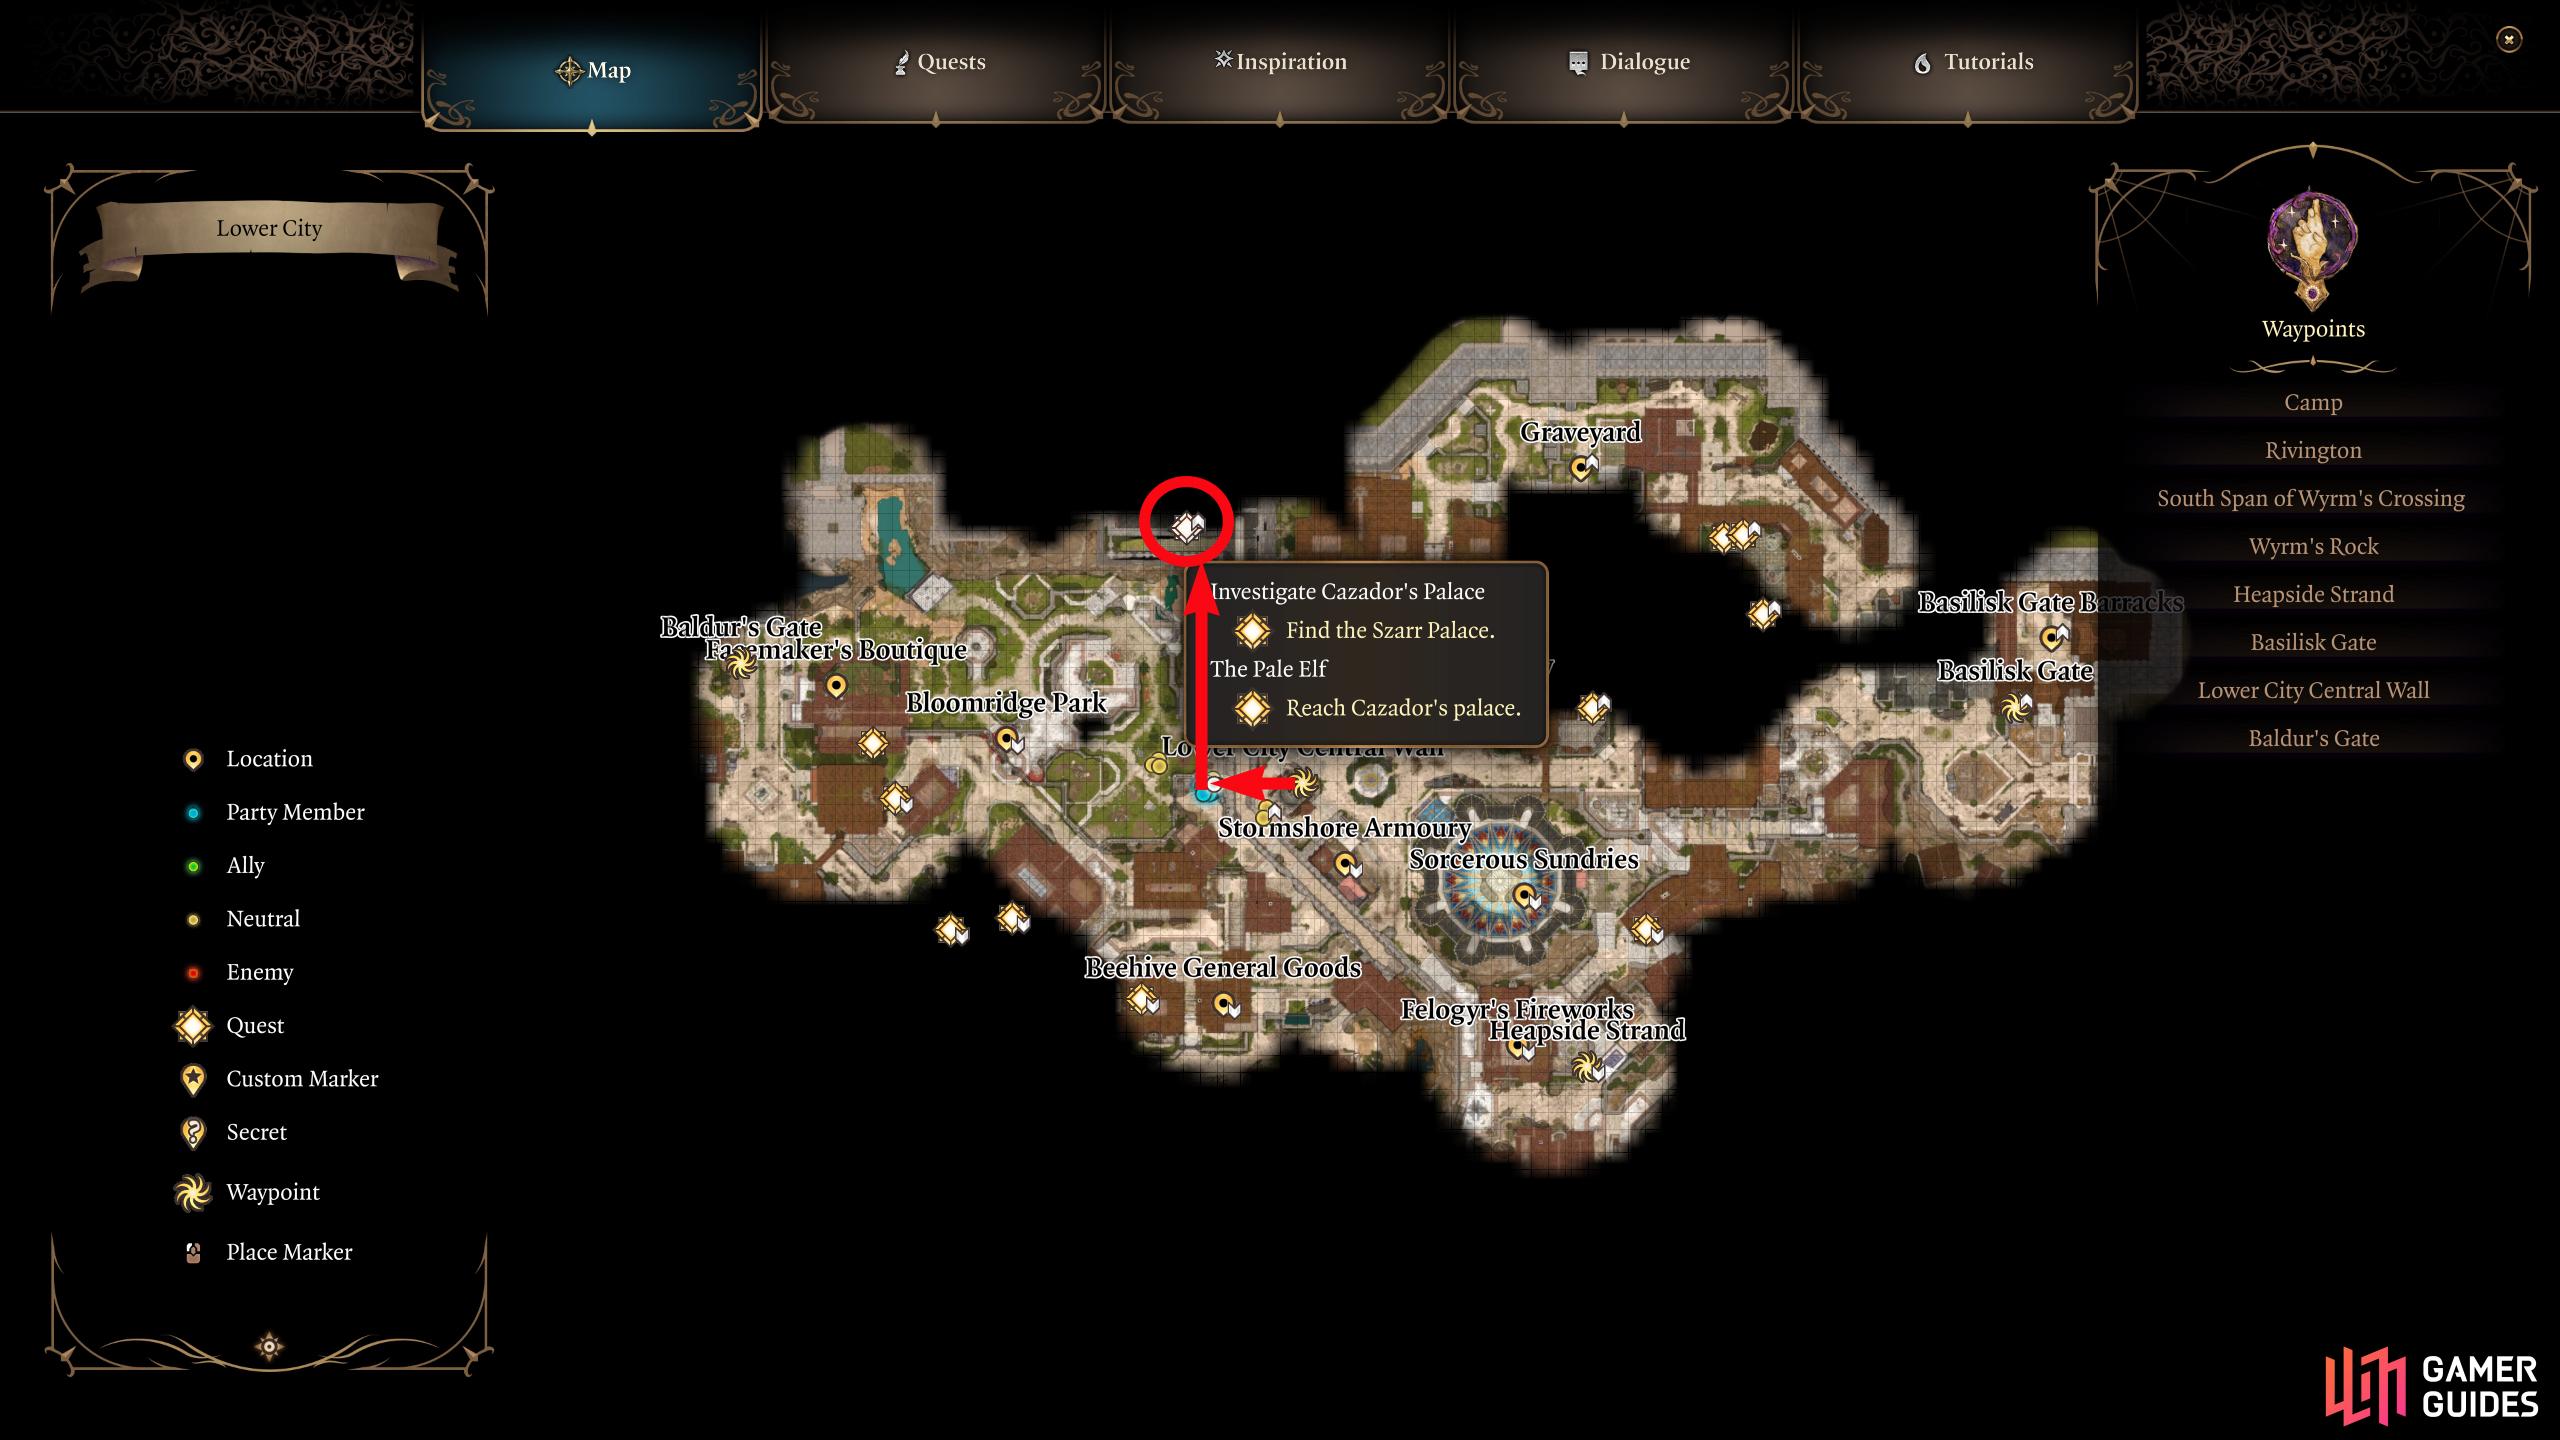
(1 of 4) Teleport to the Lower City Central Wall waypoint and enter the watchtower next to it.
How to Open the Sinister Door
Once you’re in the palace, you can move around freely. Make your way down the stairs to find the Sinister Door. This door is magically sealed, so you’ll need to find a Key for it. If you interact with the door, you’ll get two choices, Investigation, and History. The former is a DC15 Intelligence check while the latter is a DC25 check. Passing the Investigation check will tell you that you need a signet ring to open the doors. If you can’t pass the checks, read below regarding the dictionary.
Find the Kozakuran Dictionary
Before you head back up to the Sinister Door, enter the Guest room. As you approach the door, you’ll note a misty green mist coming from the door. Open it anyway, and head into the room. You will take approximately 3-28 Necrotic damage (changes with your WIS) every turn while you stand inside the mist as it will cause Vitality Drain. If you have a long jump or ![]() Misty Step, use that to avoid the green mist, if not, hit
Misty Step, use that to avoid the green mist, if not, hit ![]() Dash, and run through it. Inside the room, open up the Mahogany Wardrobe to the left of the bed where you’ll find the Kozakuran dictionary. This is useful to have if you failed the Sinister Door checks. When you’re done, head back to the Sinister door and press the signet into the slot to open them.
Dash, and run through it. Inside the room, open up the Mahogany Wardrobe to the left of the bed where you’ll find the Kozakuran dictionary. This is useful to have if you failed the Sinister Door checks. When you’re done, head back to the Sinister door and press the signet into the slot to open them.
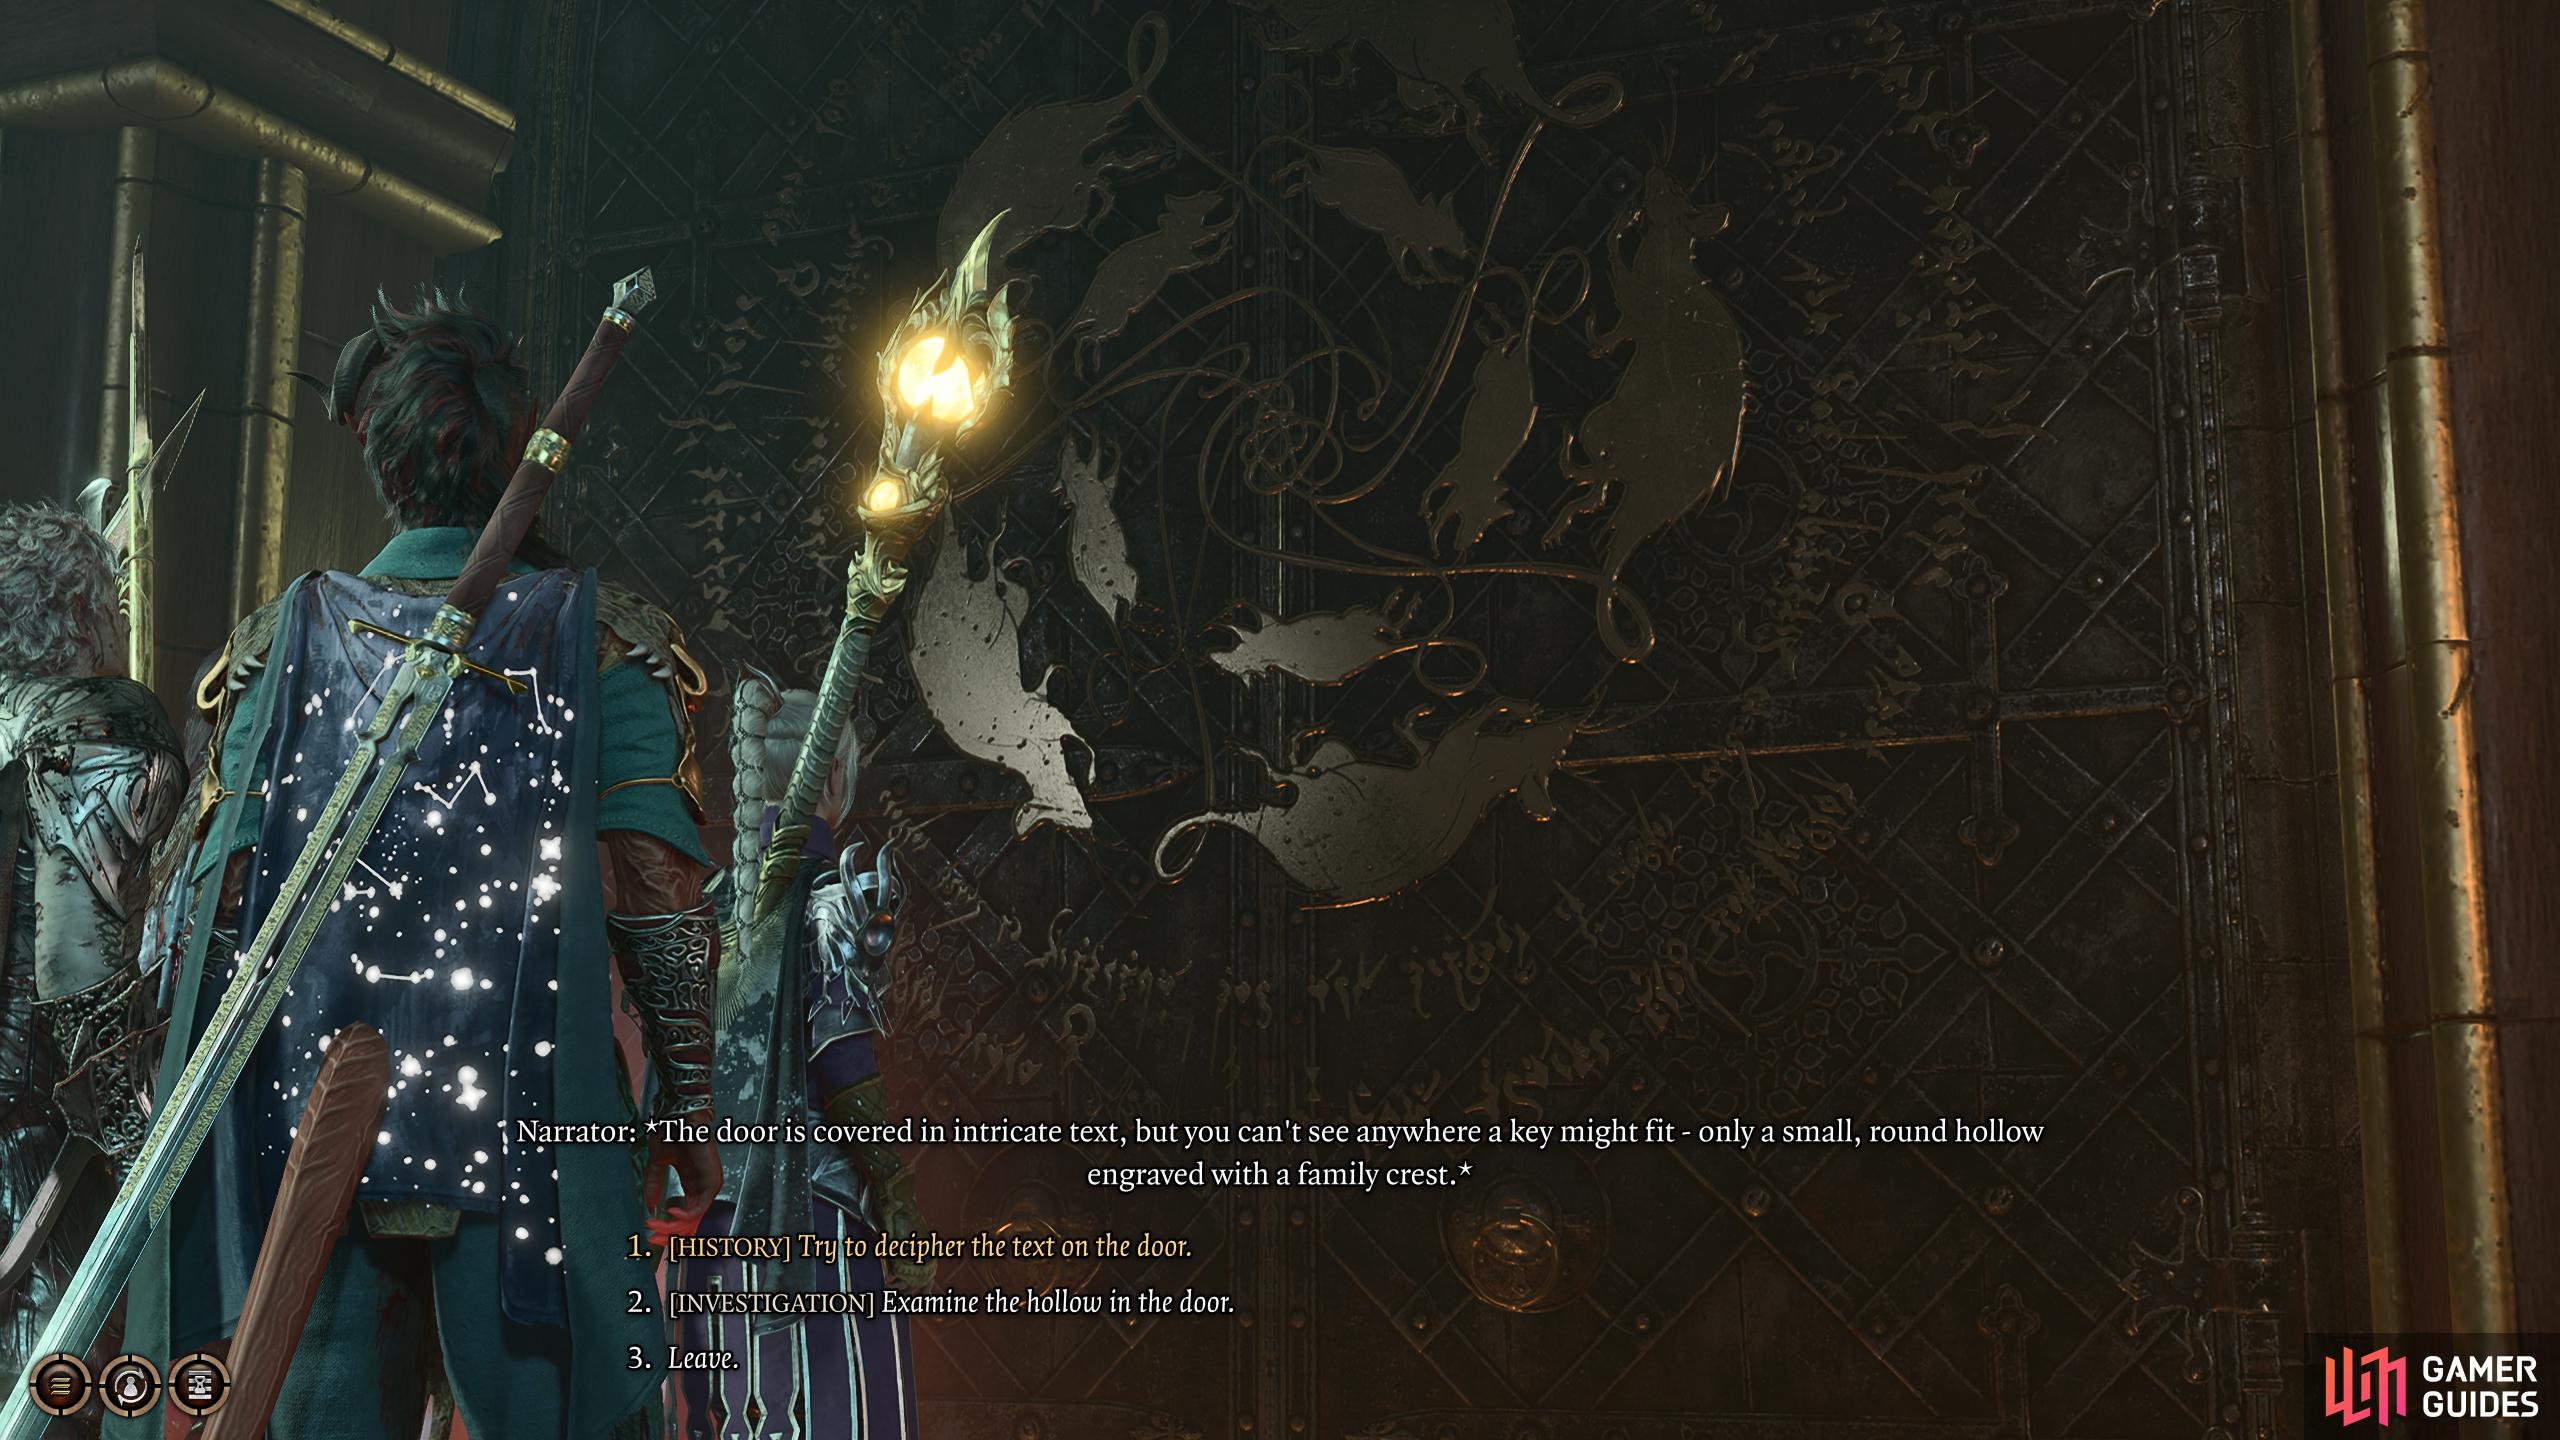
(1 of 3) If you pass the checks, you’ll find out you need a Signet Ring to open the doors.
Where to Find the Signet Ring
Go through the curtains to the right of the door, and head to the bottom floor. Follow the corridor until you pass an Arcana check to find the Kennel which is hidden behind an Illusionary wall. Enter the Kennel, but be careful as Godey in there will ambush you. You can sneak, pickpocket, and loot the Signet Ring, but if you have Astarion with you, and you should, you can get a scene between the two if you just walk in, although you’ll have to pass a dialogue check or defeat Godey to leave. There are a few more things you can do in the palace, with Illusionary walls, and whatnot but this is all you need to progress the quest.
Sinister Room Hhune Encounter
Behind the sealed doors you’ll get into an encounter with the Hhunes who are Werewolves as well as some other animals. This is a relatively easy battle provided you can cast area-of-effect spells such as ![]() Flame Strike. If your party is predominantly melee focused, it may be a bit tougher, but nothing to worry about. All the enemies here attack at close range, so a blindness, or confusion spell works well. Once the encounter is dealt with, head through the Office Hall door, then descend deeper into the palace by standing on the Dais in the side room. There is some loot to find by going through the other door, but nothing special, so get it if you want, then head down.
Flame Strike. If your party is predominantly melee focused, it may be a bit tougher, but nothing to worry about. All the enemies here attack at close range, so a blindness, or confusion spell works well. Once the encounter is dealt with, head through the Office Hall door, then descend deeper into the palace by standing on the Dais in the side room. There is some loot to find by going through the other door, but nothing special, so get it if you want, then head down.
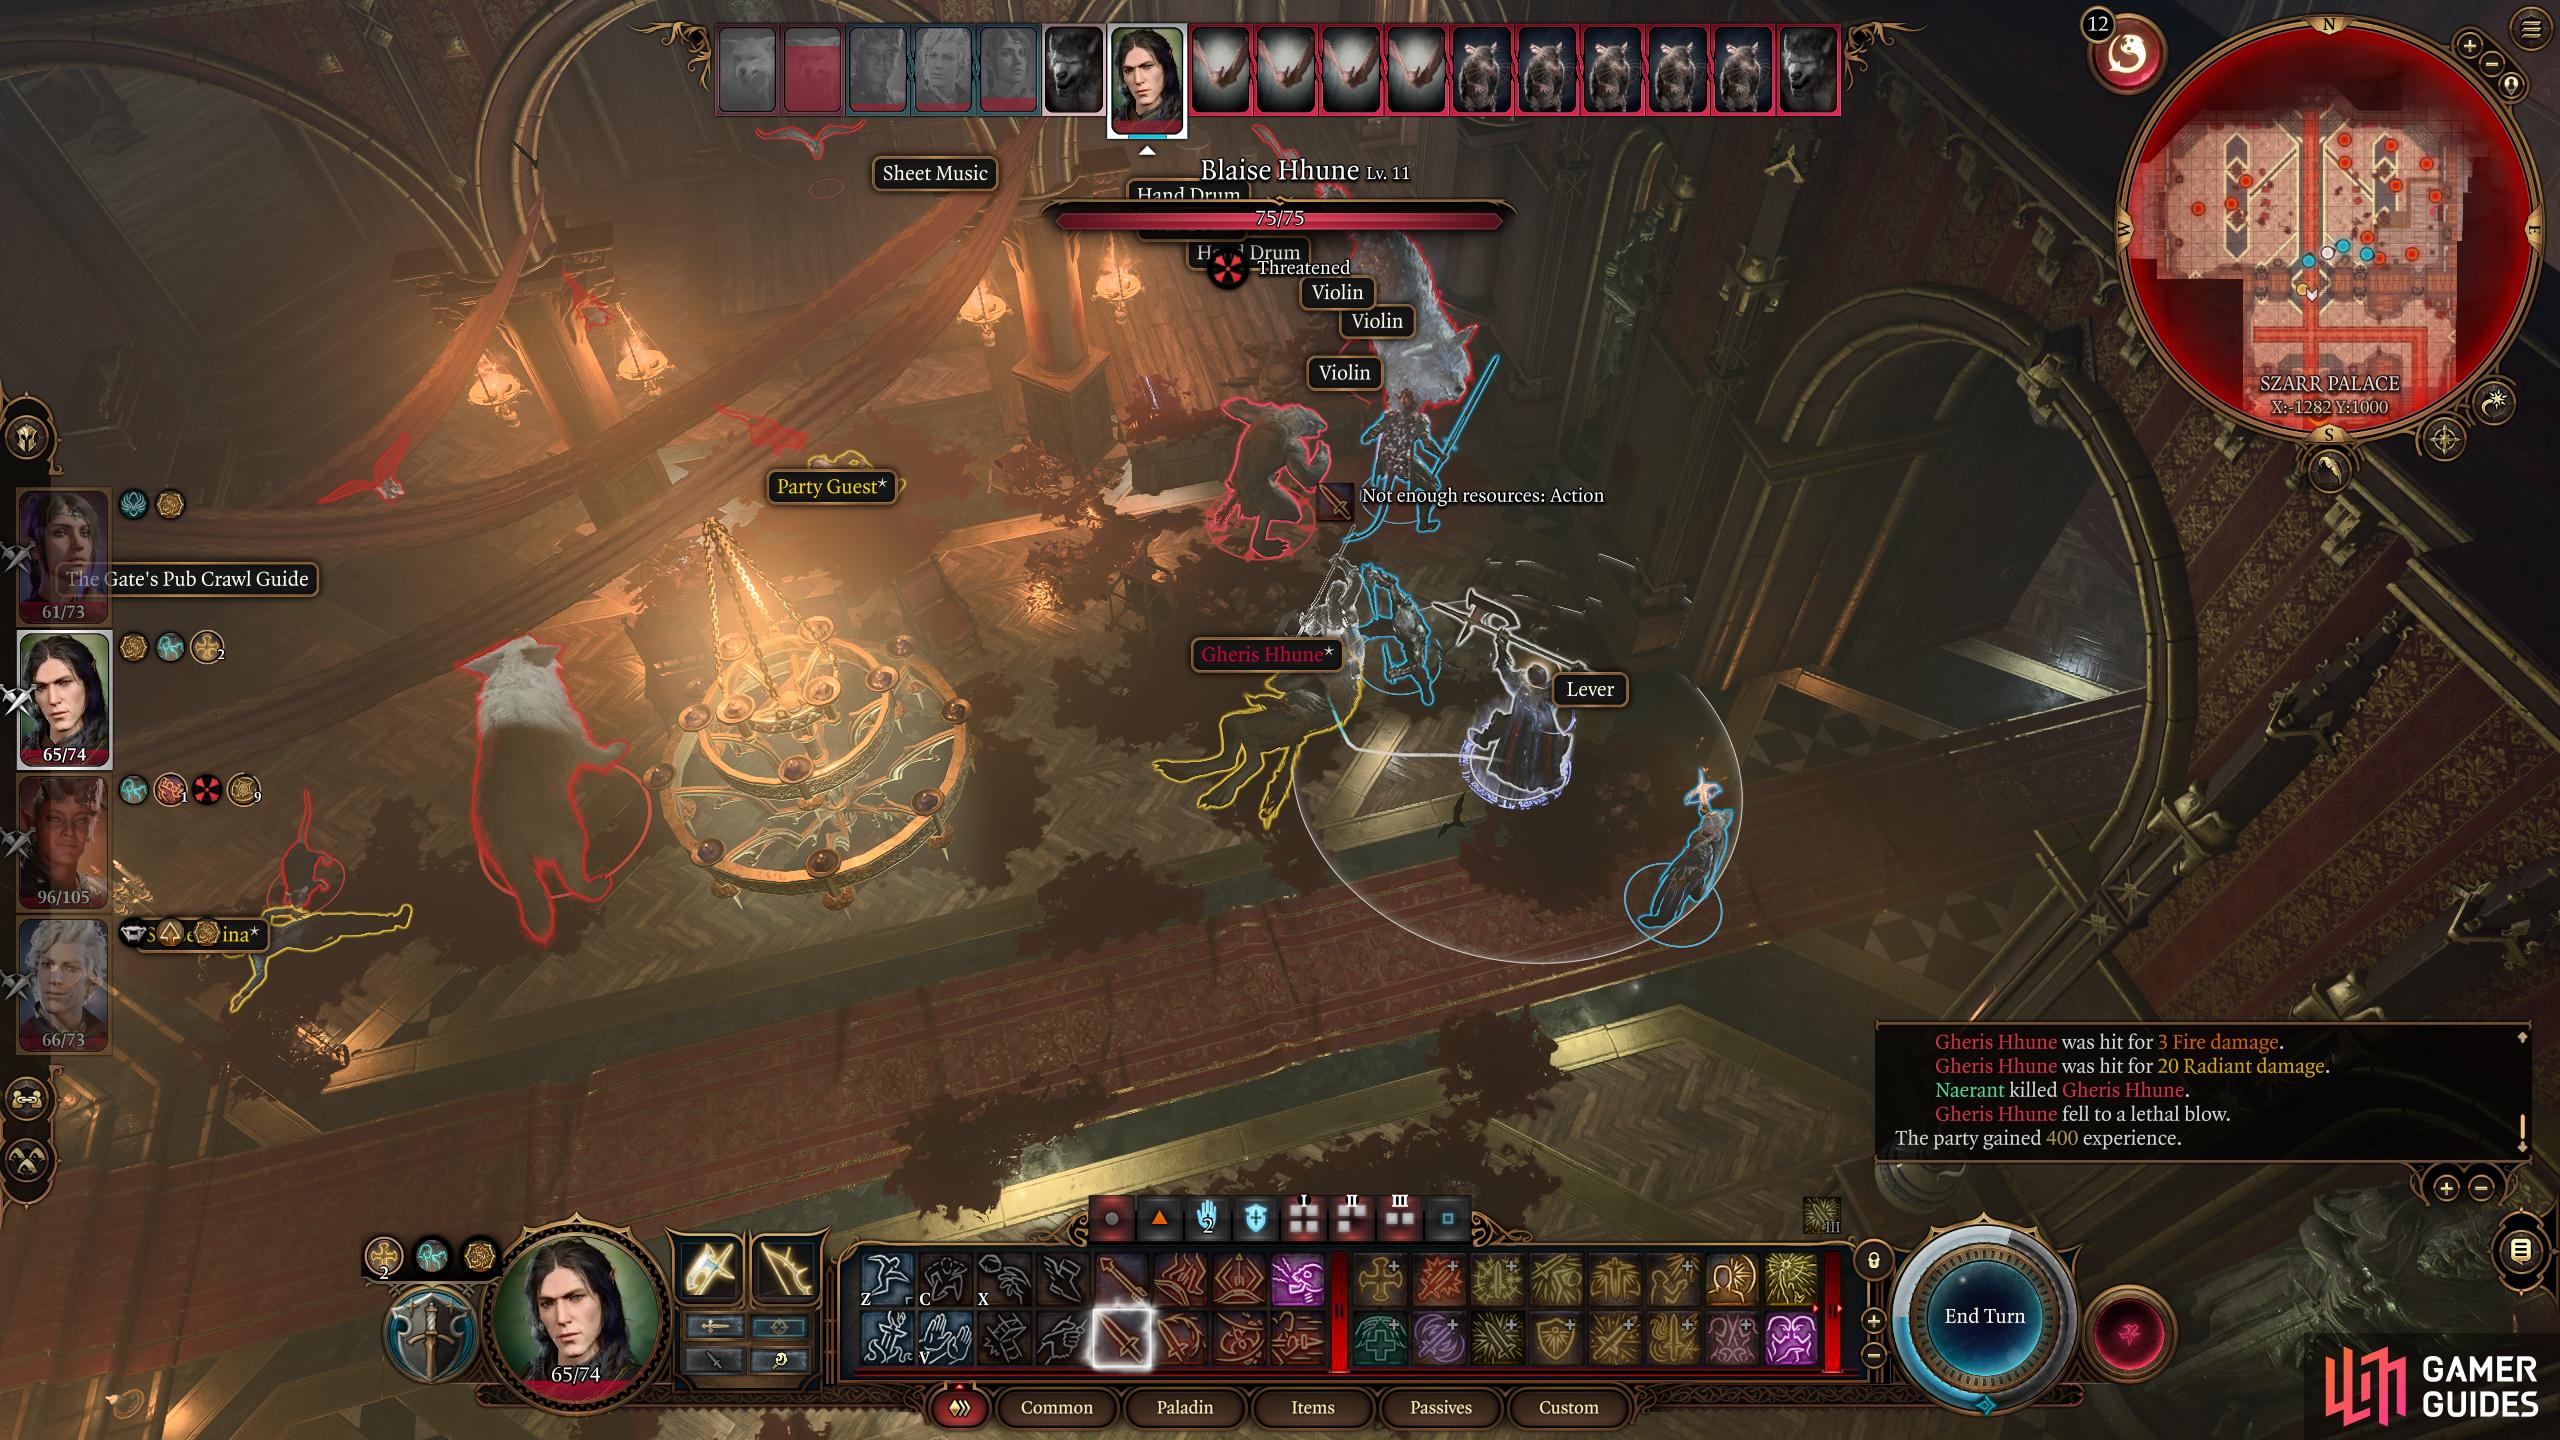
Behind the Sinister Doors is a fight with some werewolves. Although it may look difficult, it is fairly easy if you use area of effect spells.
Cazador’s Dungeon and Vellioth
When you enter the dungeon, you’ll find a few crypt doors you can open that lead to a chasm, you can jump from these ledges to the lower floor for some loot such as scrolls and pots and there is also a buried treasure in there too, but to proceed further, you will want to head through the shielded door at the end. The signet will give you safe passage through them, but before you do go through, enter the crypt door to the left first, and search the room across the narrow bridge. Here, you’ll get some lore and loot, but the main reason is to interact with the bones of Vellioth, the Vampire Lord who preceded Cazador.
Before interacting with the bones, make sure the character doing it has high Wisdom as you’ll need it for some checks. Let the skull “connect” with you, and pass the checks to learn what transpired between Cazador and Vellioth. Once you’re done, you’ll get the Black Mass Scroll which contains the ritual Cazador is attempting now. Read the scroll to update the Pale Elf quest as this is required for one of Astarion’s endings.
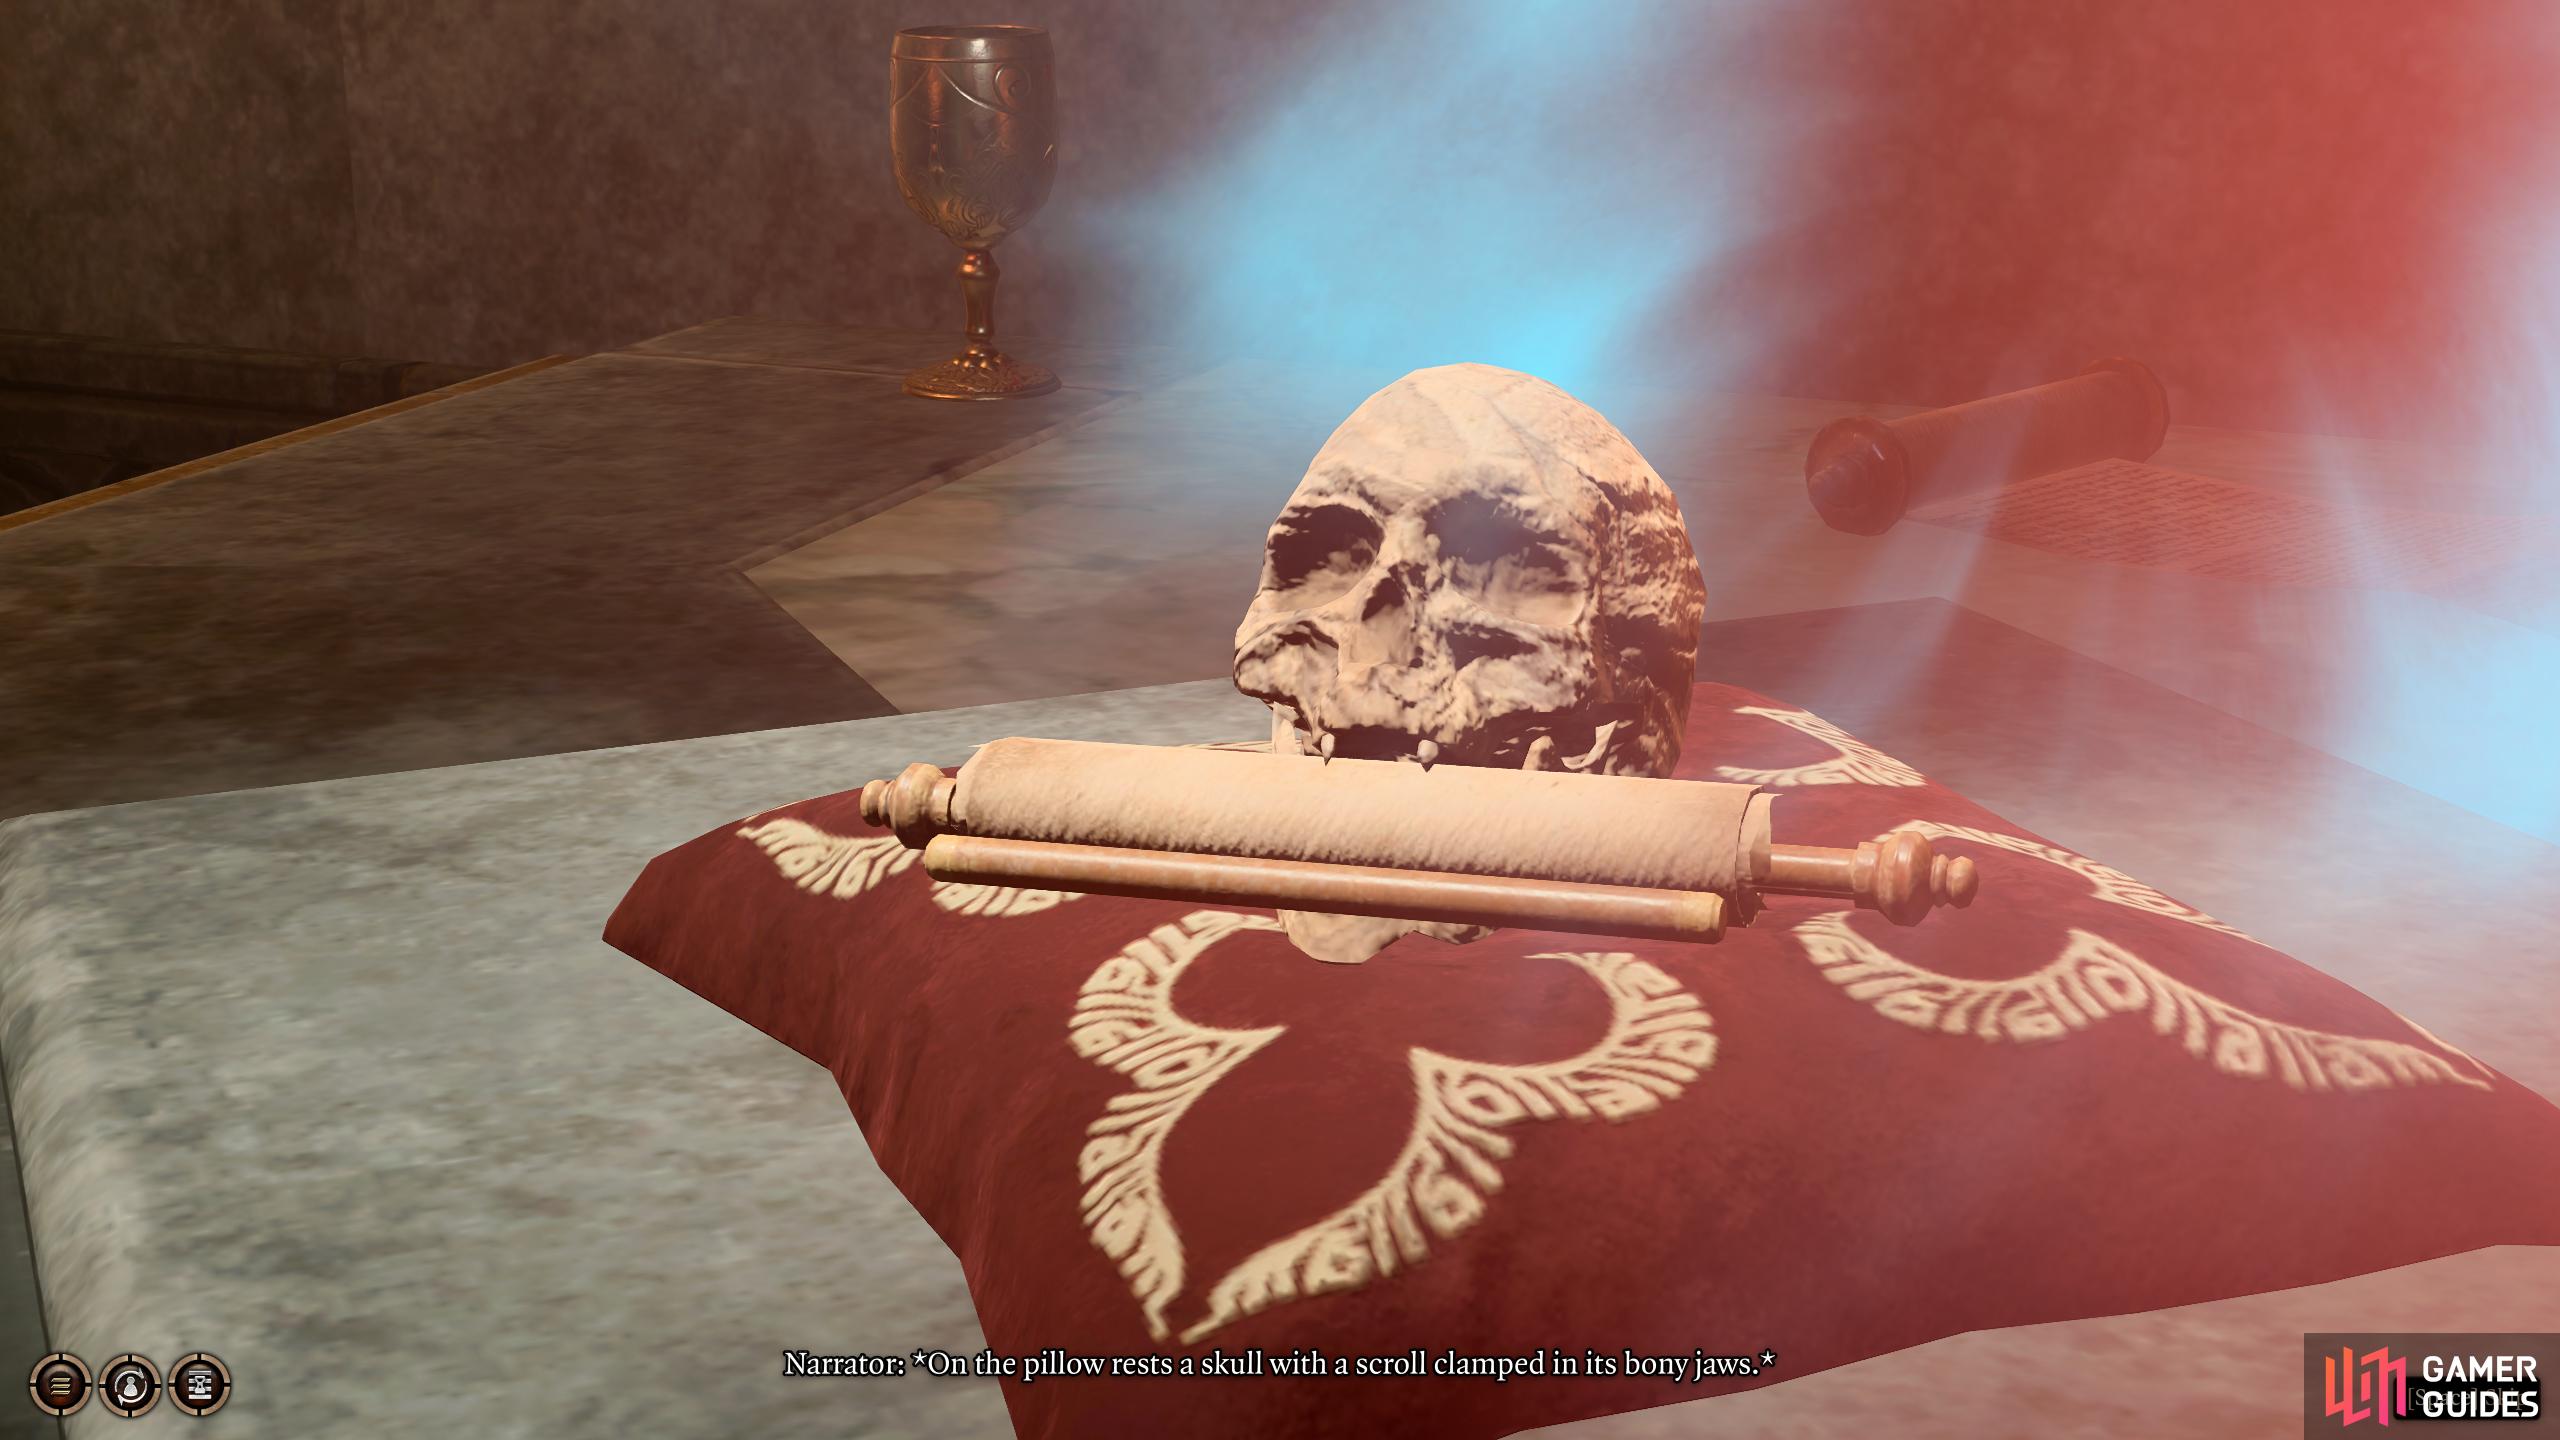
(1 of 3) You can obtain the Black Mass Scroll by passing the checks when interacting with the Vellioth Bones. This is the same scroll that Cazador is using for the Ritual.
Head back to the corridor and enter the northern door. In this room, you’ll meet the victims that Astarion lured here. These include the same kids that the Gur camp of Monster Hunters was asking you to find. Your choices don’t matter too much right now as you can’t do anything with them until later, but if you want a better ending, give them some hope. When you’re done talking, head through the only door you can, and get ready for a difficult encounter with Cazador.
Cazador Boss Fight Guide
The battle won’t start straight away, so hit sneak on everyone, and make your way close to the ritual, but wait to start it. This battle has a few things you need to know. Once you talk to Cazador, Astarion will end up as one of the sacrificial lambs, and you’ll be relegated to three party members until you rescue him with the ![]() Help command. If at any time Astarion is downed again, Cazador will put him back there.
Help command. If at any time Astarion is downed again, Cazador will put him back there.
Cazador is a force to be reckoned with, he comes with a host of buffs, and even more monsters. Most of the buffs increase his stats with Vampire Regeneration giving him +20HP at the start of the turn. It’s not all bad though as he also has a negative effect called Sunlight Hypersensitivity which makes him take 20 Radiant damage every time he ends his turn in sunlight. This is the same for all the enemies here. You may be thinking that this place is as dark as it can get, but if you cast a ![]() Daylight Sphere into the center of the room, it will affect them as the spell works like the sun.
Daylight Sphere into the center of the room, it will affect them as the spell works like the sun.
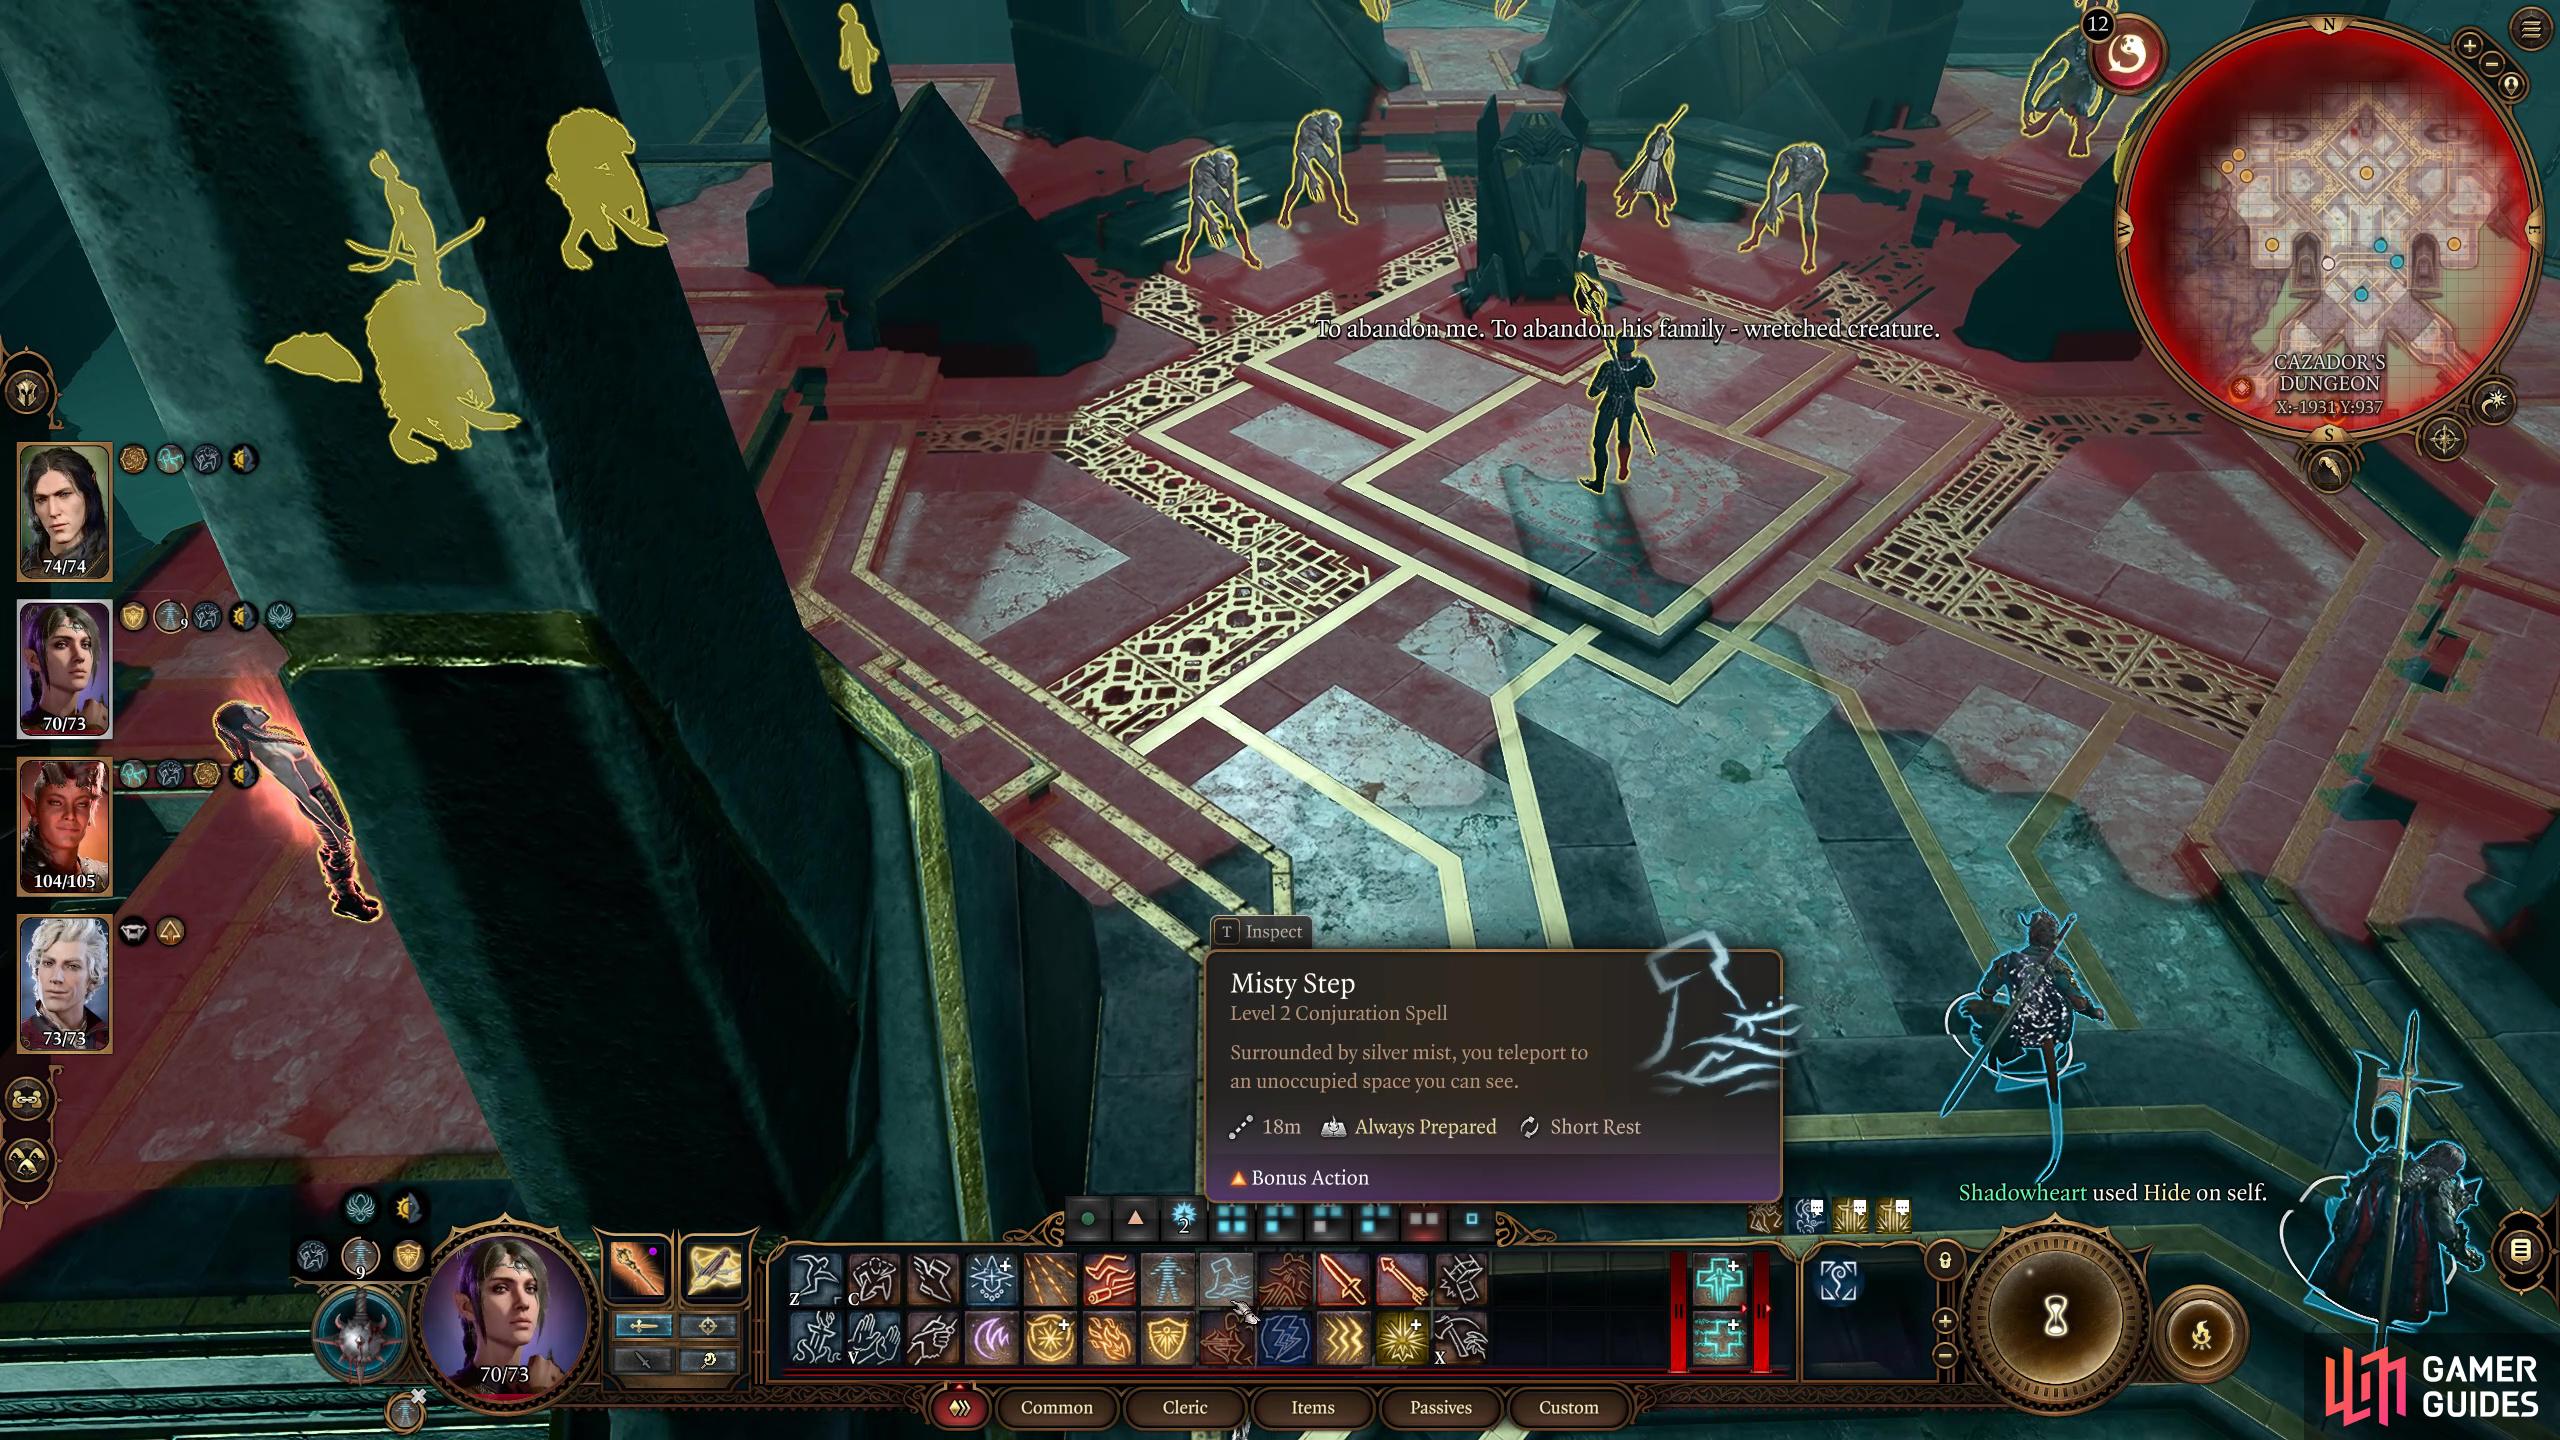
At the start of the battle sneak and invis someone who has Misty Step then teleport behind the sarcophagus.
This allows you to help Astarion out of the ritual at the start of the battle.
Another important factor of the battle is the turn limit. You heard me right, if you don’t stop the ritual within three turns, Cazador will complete the Ritual, and that will not only kill Astarion for good, but it will give Cazador the Sinister Lord feat which will greatly increase his stats. It gets worse, there are a lot of enemies, and they hit hard, and block you from maneuvering around the arena without activating an ![]() Attack of Opportunity, while other enemies can make you nauseous (can’t act) or paralyze you. Then you have Chatterteeth, blasted Chatterteeth. This jerk can fear you, put you to sleep, and do lots of other fun tricks.
Attack of Opportunity, while other enemies can make you nauseous (can’t act) or paralyze you. Then you have Chatterteeth, blasted Chatterteeth. This jerk can fear you, put you to sleep, and do lots of other fun tricks.
So how do you defeat him? You don’t, you get into a corner and sob your heart out. Not really, you can do this fairly easily providing you have a bit of luck, and you save scum. Make a quick save before the battle, walk up to Cazador for an interesting scene, then load it back up. You don’t want to fight him fair, he won’t do it for you. Now, before you initiate the battle, have everyone sneak then cast the best Invisible spell you have on someone with Misty Step. Get them to teleport to the empty spot behind the sarcophagus, in between the two bats. This is where Astarion will end up sooner or later.
(1 of 4) Sneak and Invis a high athletics person next to the ledge where you start the battle.
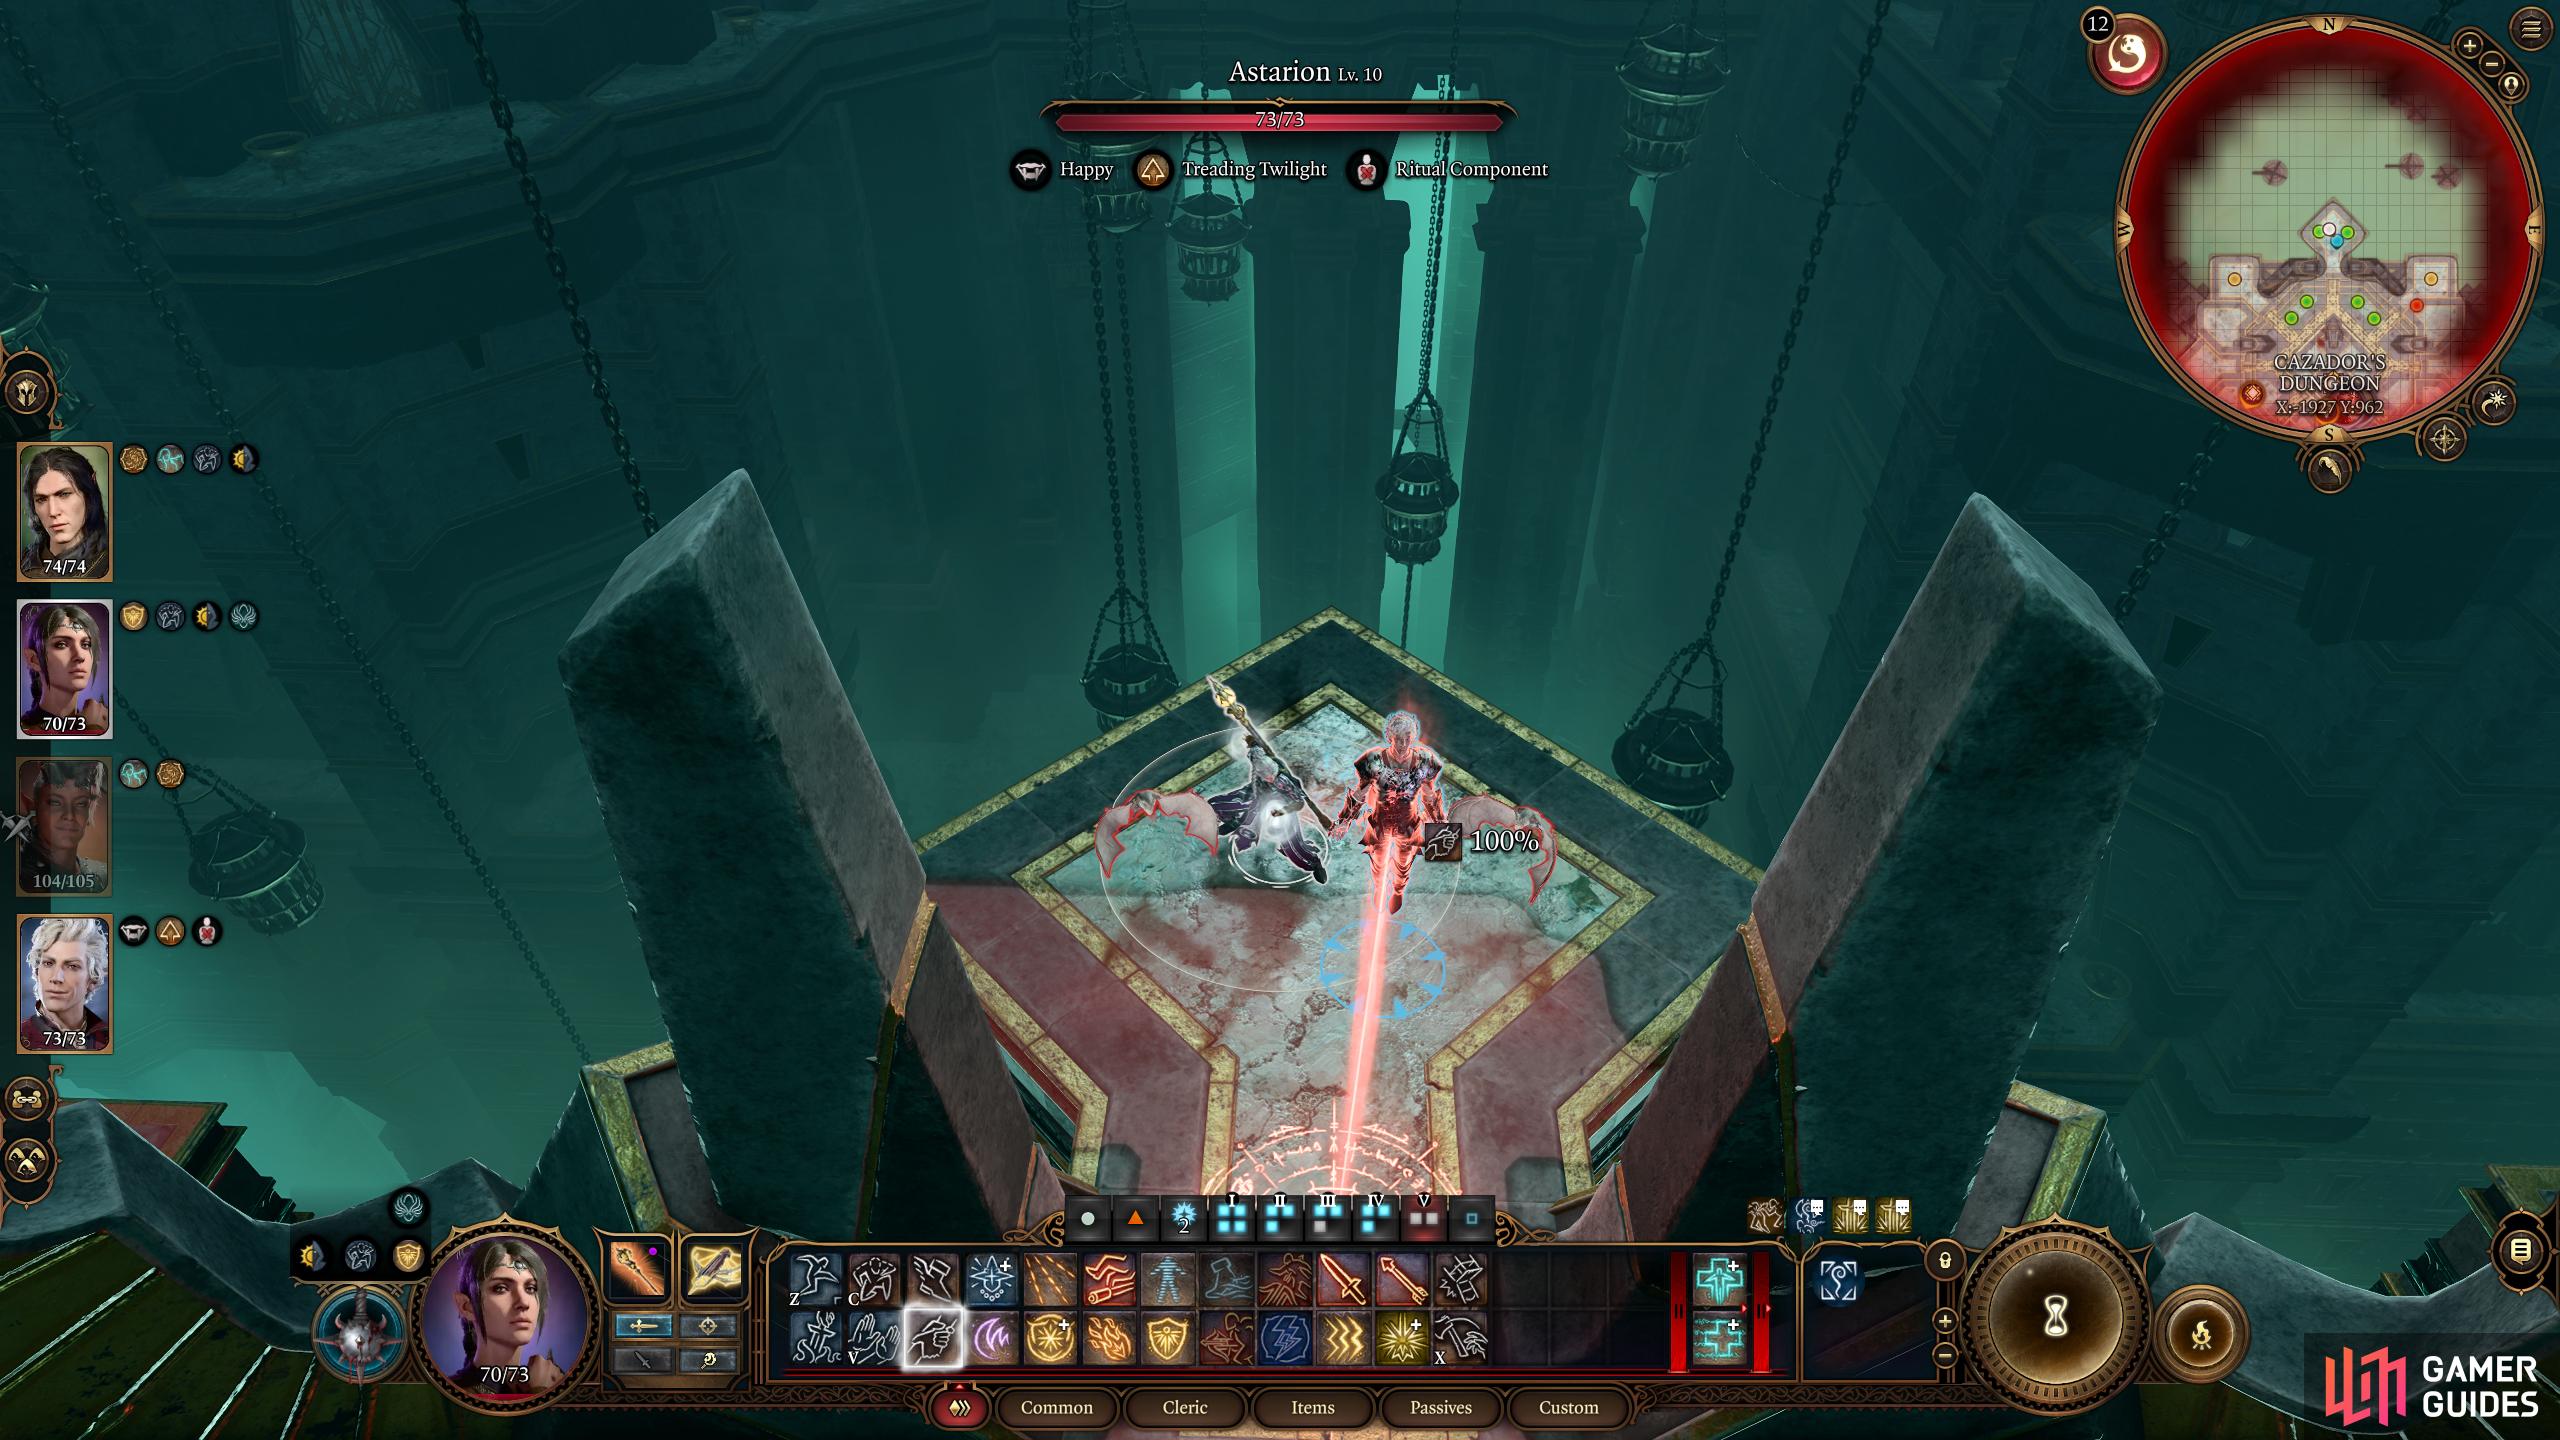
Now use ![]() Telekinesis on Cazador, and place him right next to a ledge nearby one of your characters, preferably someone with high Athletics. This does require some RNG luck, so you may have to try this a few times. I bet you can guess what’s going to happen next. Move the high athletics character behind Cazador, and push him off the edge. You won’t lose any loot as he won’t die there (he’ll be in the sarcophagus), and that will get rid of the turn limit, and keep you with four party members.
Telekinesis on Cazador, and place him right next to a ledge nearby one of your characters, preferably someone with high Athletics. This does require some RNG luck, so you may have to try this a few times. I bet you can guess what’s going to happen next. Move the high athletics character behind Cazador, and push him off the edge. You won’t lose any loot as he won’t die there (he’ll be in the sarcophagus), and that will get rid of the turn limit, and keep you with four party members.
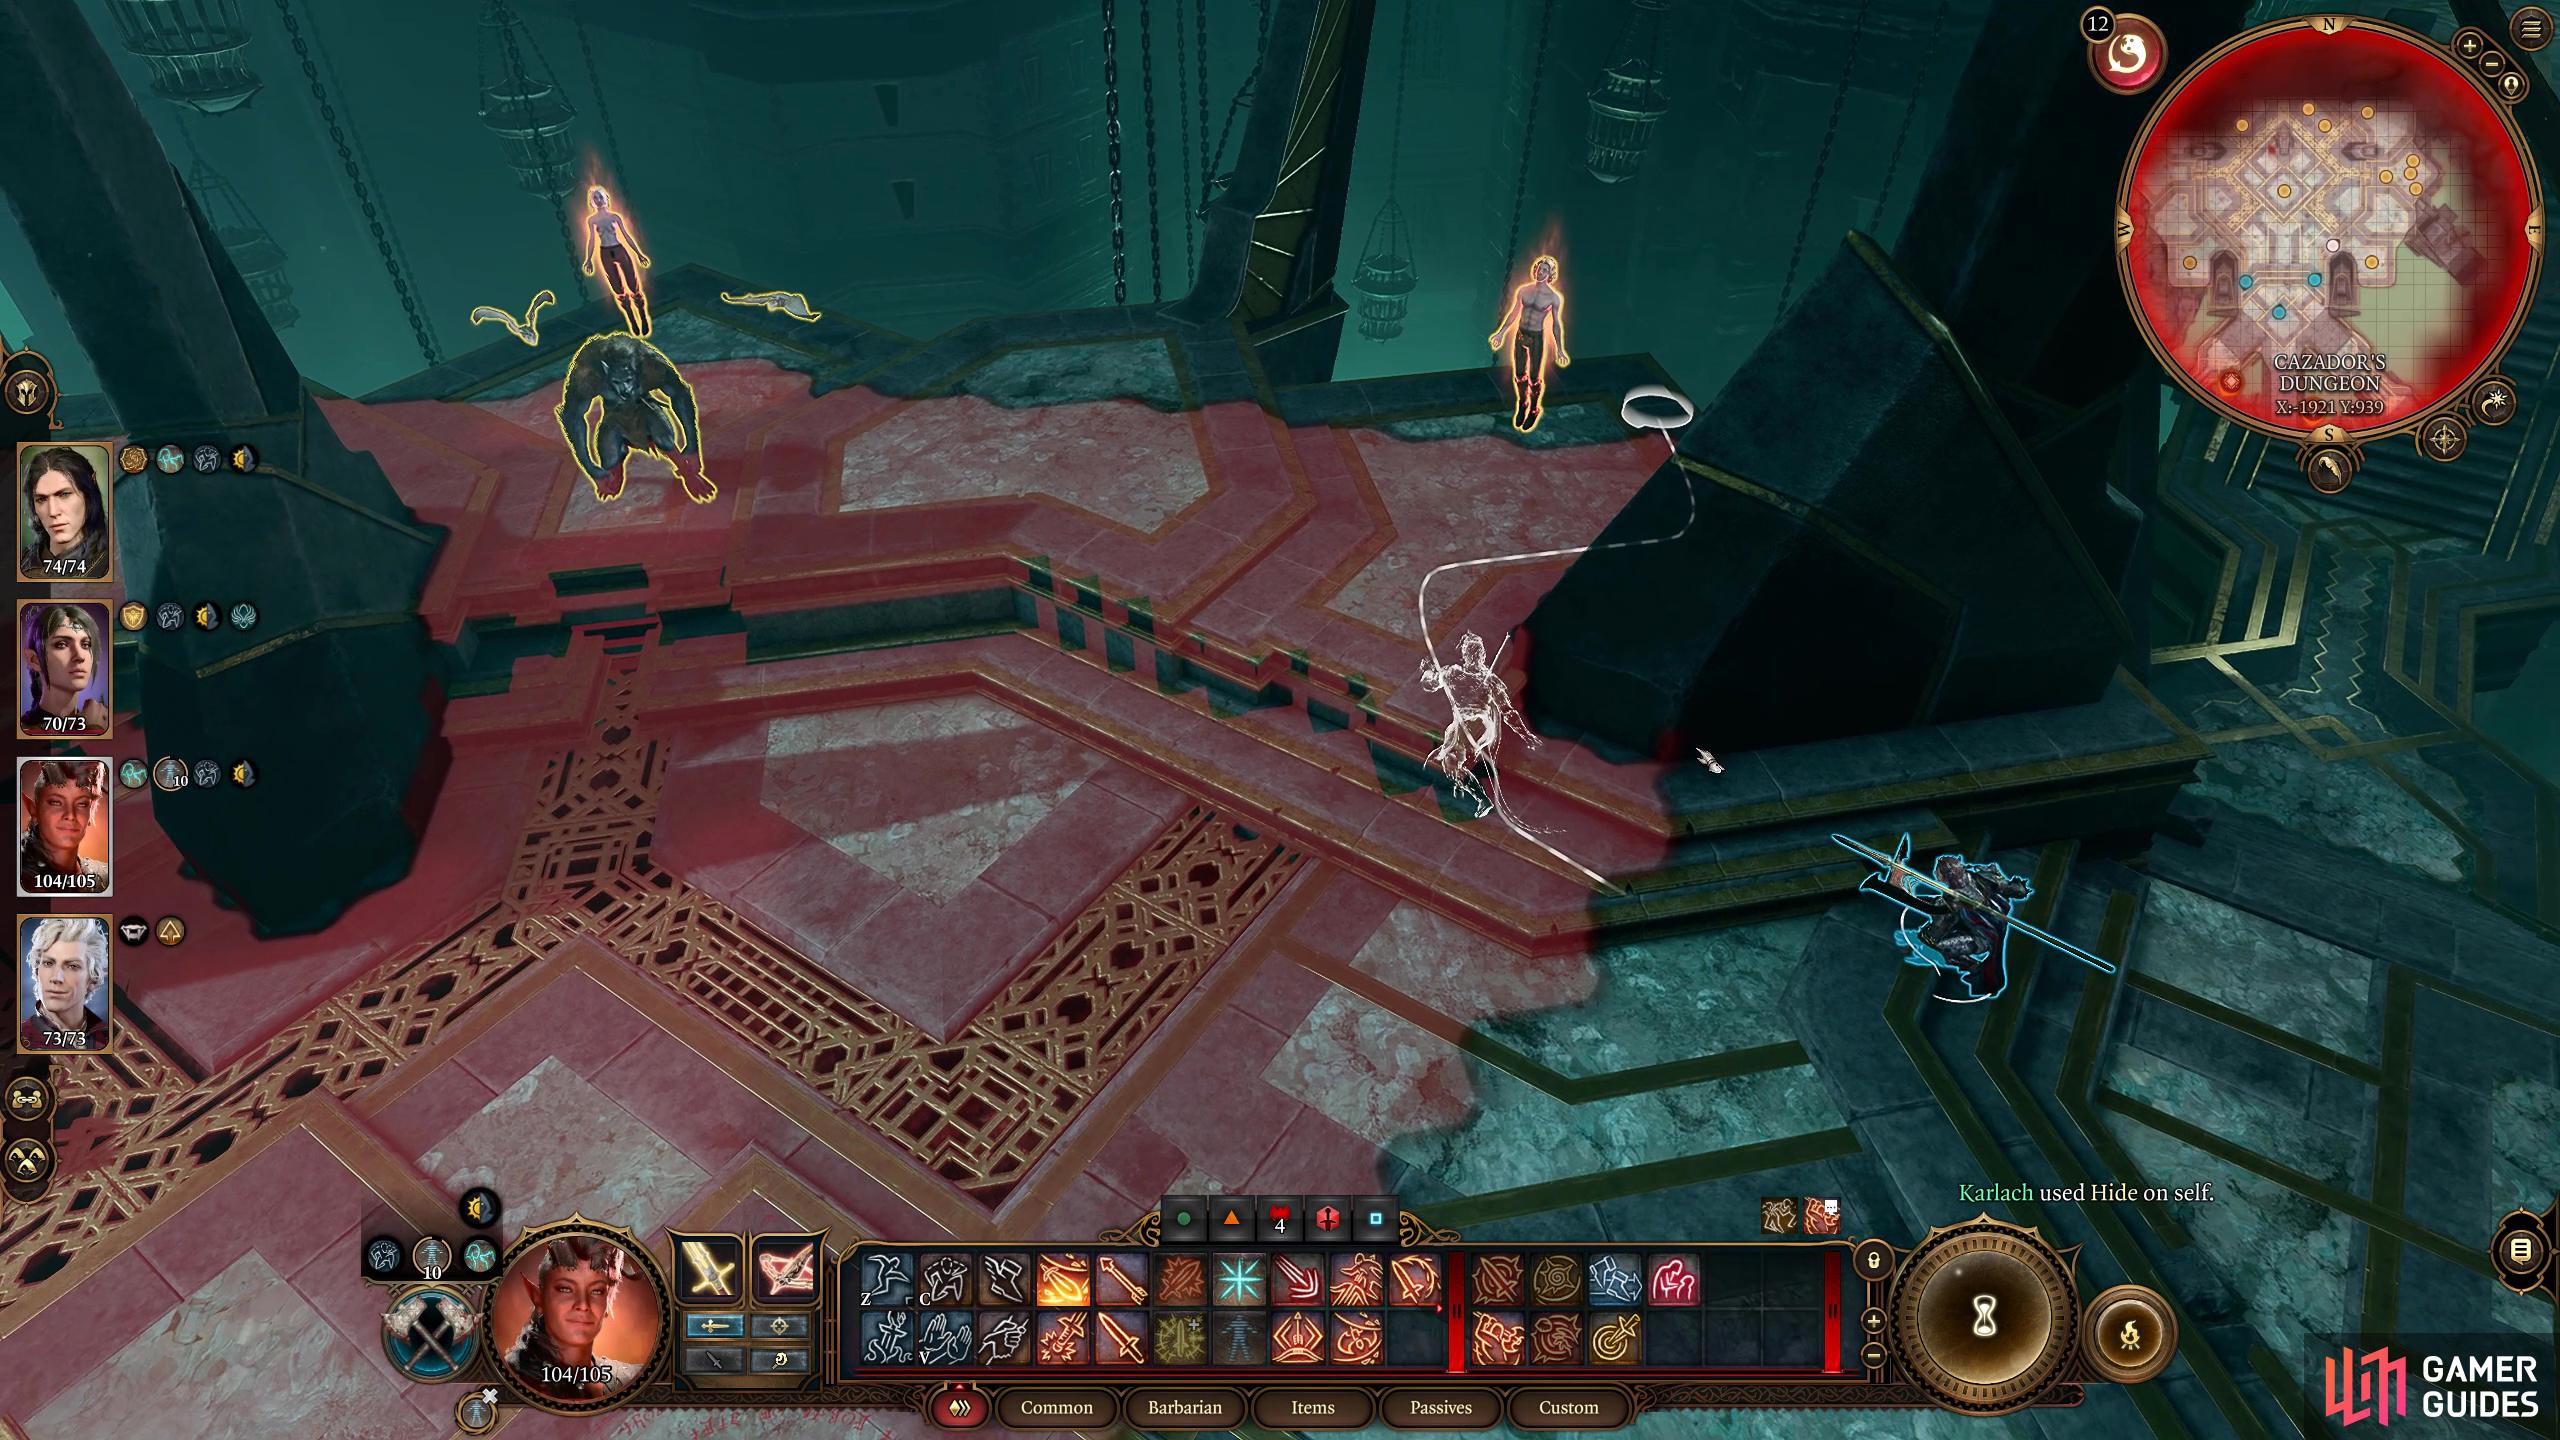
Although he’s out of the battle, it’s still a pretty tough fight, but it goes from outrageous to manageable. Next up on the list is Chatterteeth, use your melee characters to sneak/invis over to it and whack away at it until it dies. If you have a Paladin, they can make short work of Old Chatterteeth, if not, use ![]() Silence, and Silence Arrows (Arcane Interference) to keep its magic at bay.
Silence, and Silence Arrows (Arcane Interference) to keep its magic at bay.
Now it’s a case of mopping up all the enemies. There are too many variables to write the perfect guide, so we’ll give you some tips instead.
- Place a Daylight Sphere in the center of the arena on the glyphs in front of the sarcophagus. This will cover 90% of the arena and trigger Sunlight Hypersensitivity on the undead. This is also useful for getting Cazador to stand near a ledge if Telekinesis fails.
- All the enemies are susceptible to crowd control skills such as, but not limited to,
 Slow, Silence,
  Darkness,
  Blindness,
  Confusion, and many more.
  Turn Undead: If you have
  Shadowheart (or someone else with it) you can turn the undead to make them waste some turns. Although they will have an advantage to it, their Wisdom is low, and it will work with some luck. This also works on Cazador.
- Yeet - If any enemies, and I mean any, including bats, go near the edge of the arena push them off.
- Bring lots of high-tier potions and elixirs with you. Potion of Superior Healing and Potion of Speed make the battle a lot easier while Elixir of Universal Resistance, and Arcane Cultivation can come in clutch.
- Use a lot of area-of-effect spells as the enemies will group up a lot of the time.
Let Astarion Finish the Ritual?
Once the enemies are dead, head towards the sarcophagus for a scene. Mad in his hatred and rage, Astarion has Cazador exactly where he wants him. Now you’ll get some important choices that can lead to Astarion’s and many others’ demise, so read carefully. The first choice you’ll have is after Astarion calls you over to help him with the Ritual. The first option will play along with Astarion’s hunger for power, and revenge, but it could eventually lead to his death by your hands, depending on if you stop him mid-ritual, but he will be free from his curse.
By choosing the first option in the previous piece of dialogue, you’ll get another choice that allows you to back out of it if you select the second or third option which are: “You can’t finish the ritual - you’ll kill all these people!” and “I’m not doing this”. Choosing “All right, what do you need?” will give you one final chance to back out of helping him complete the ritual. Either enter his mind to help him, or tell him you won’t help him. As he performs the ritual, you can stop the Ascension, but you will have to battle him and end his life for good.
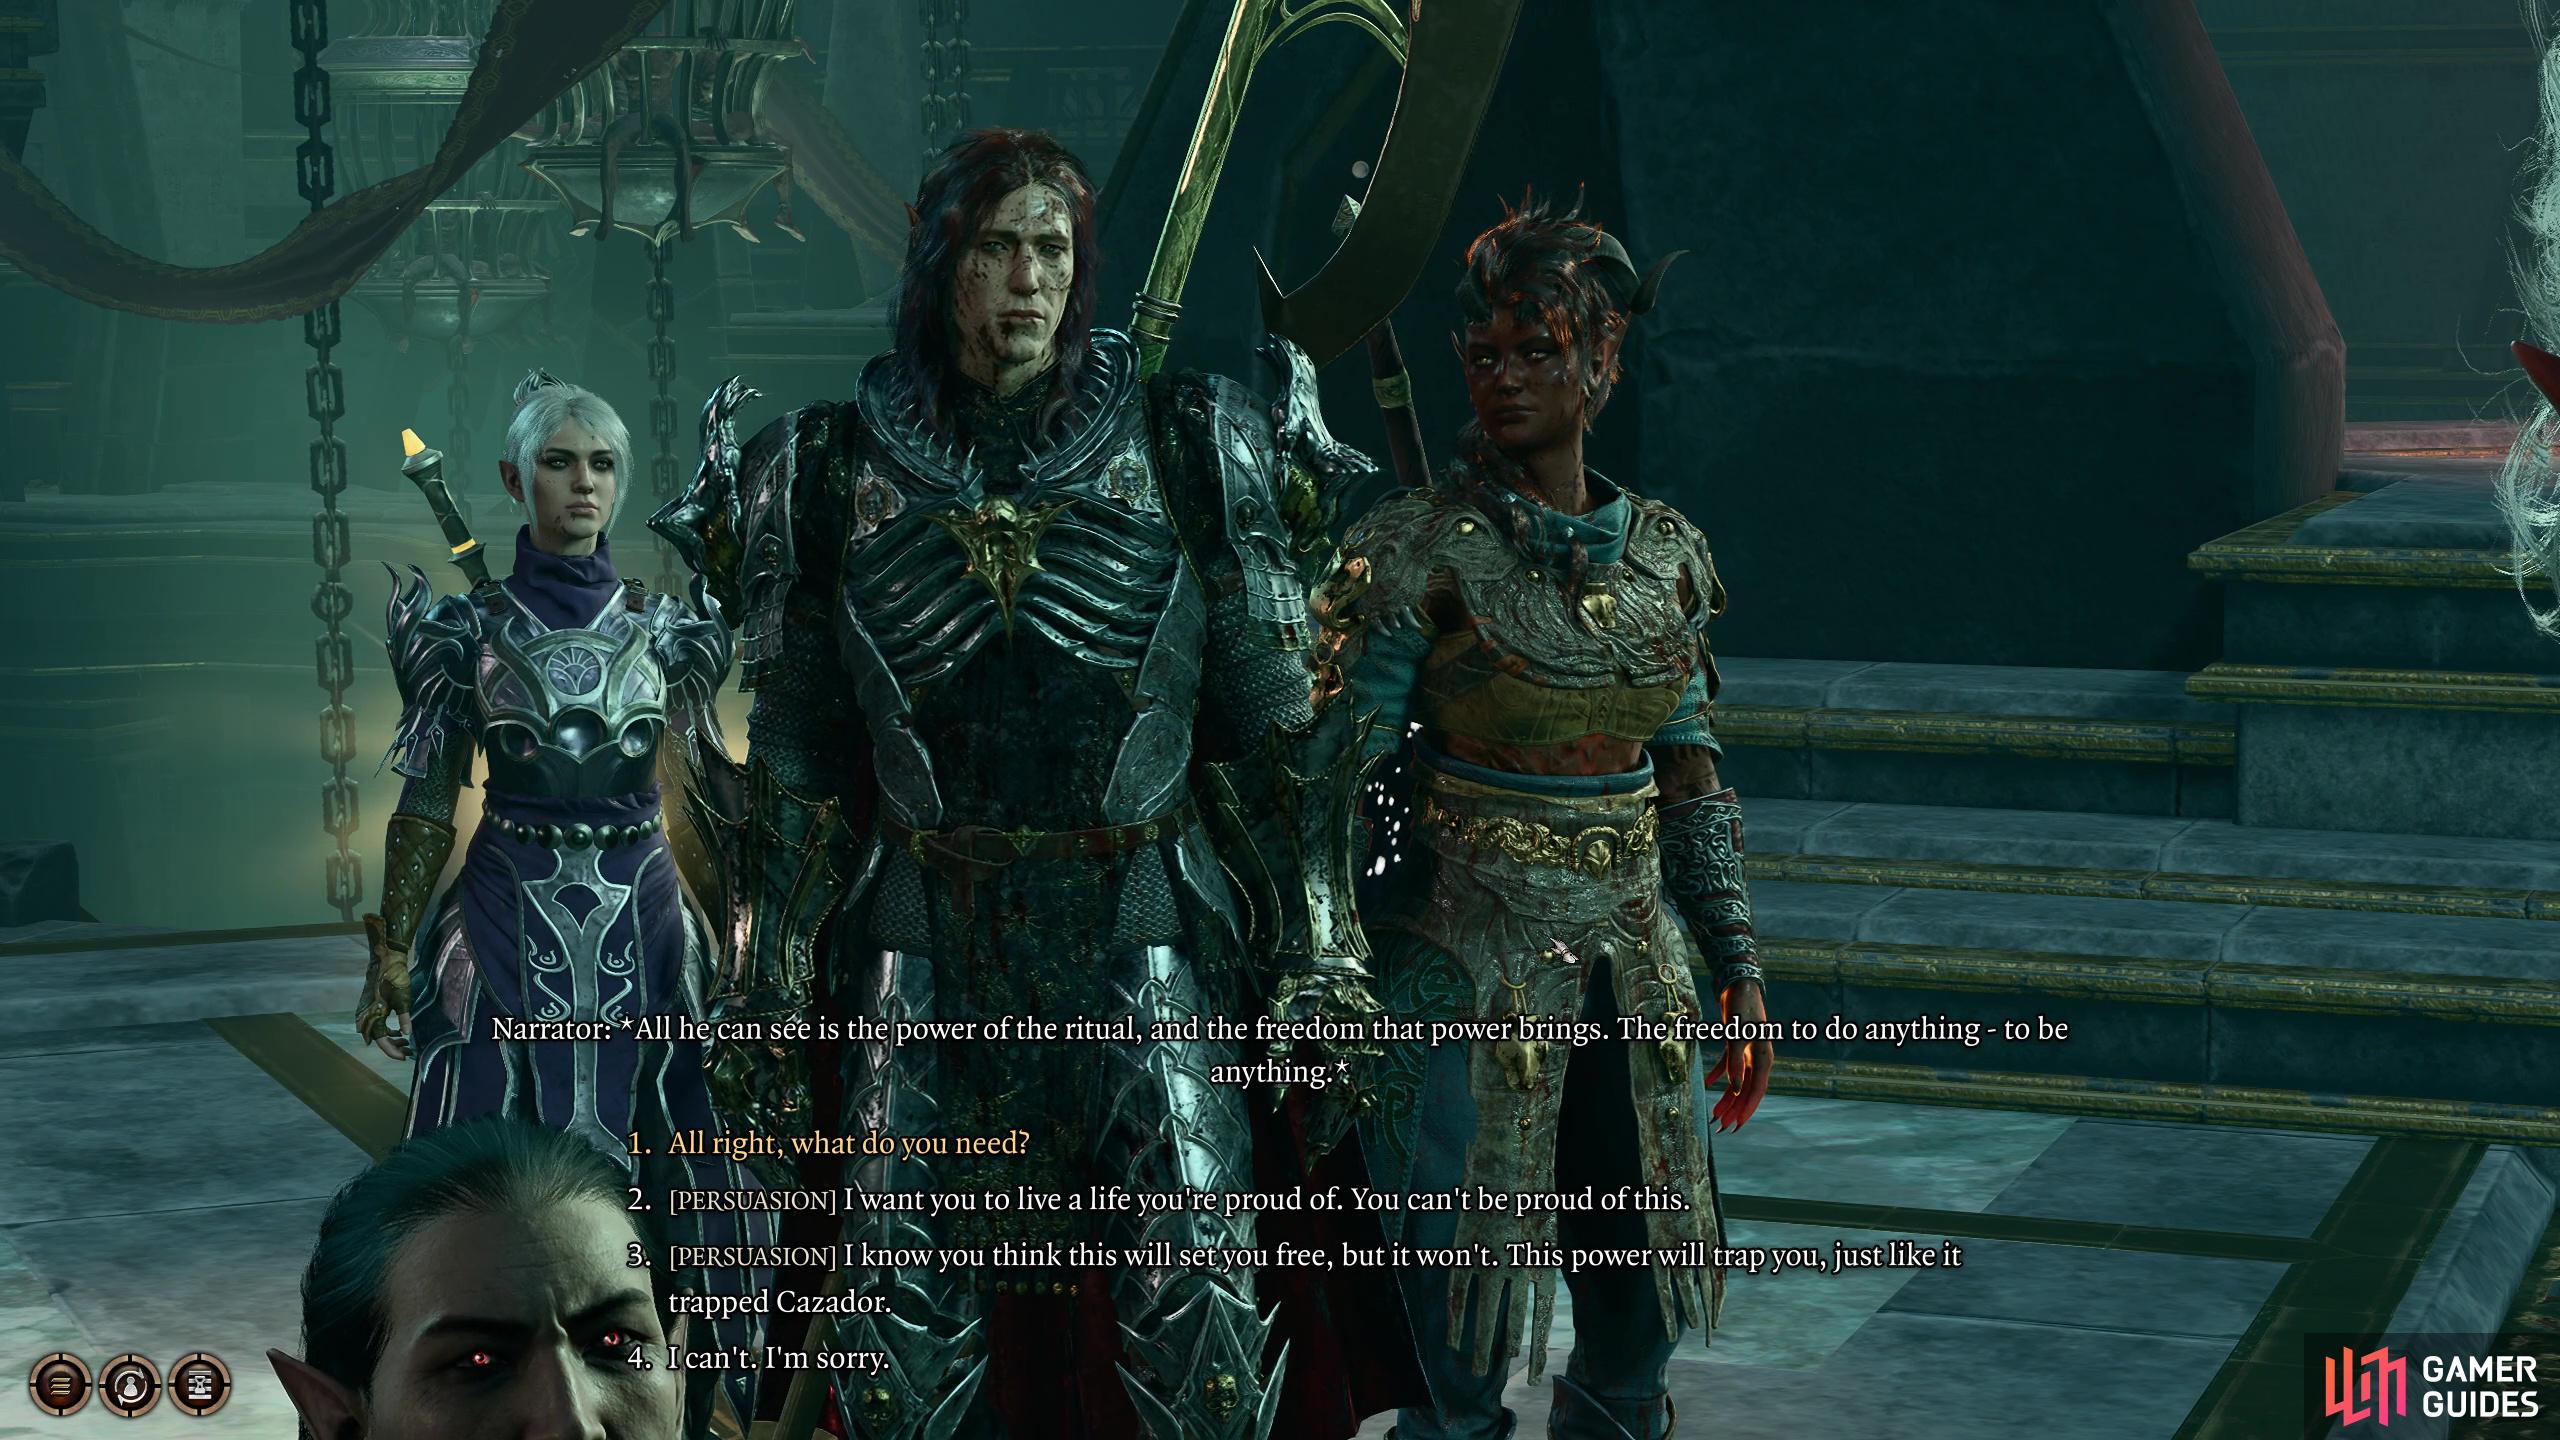
Allowing Astarion to complete the ritual has its benefits.
Helping Astarion with the Ritual
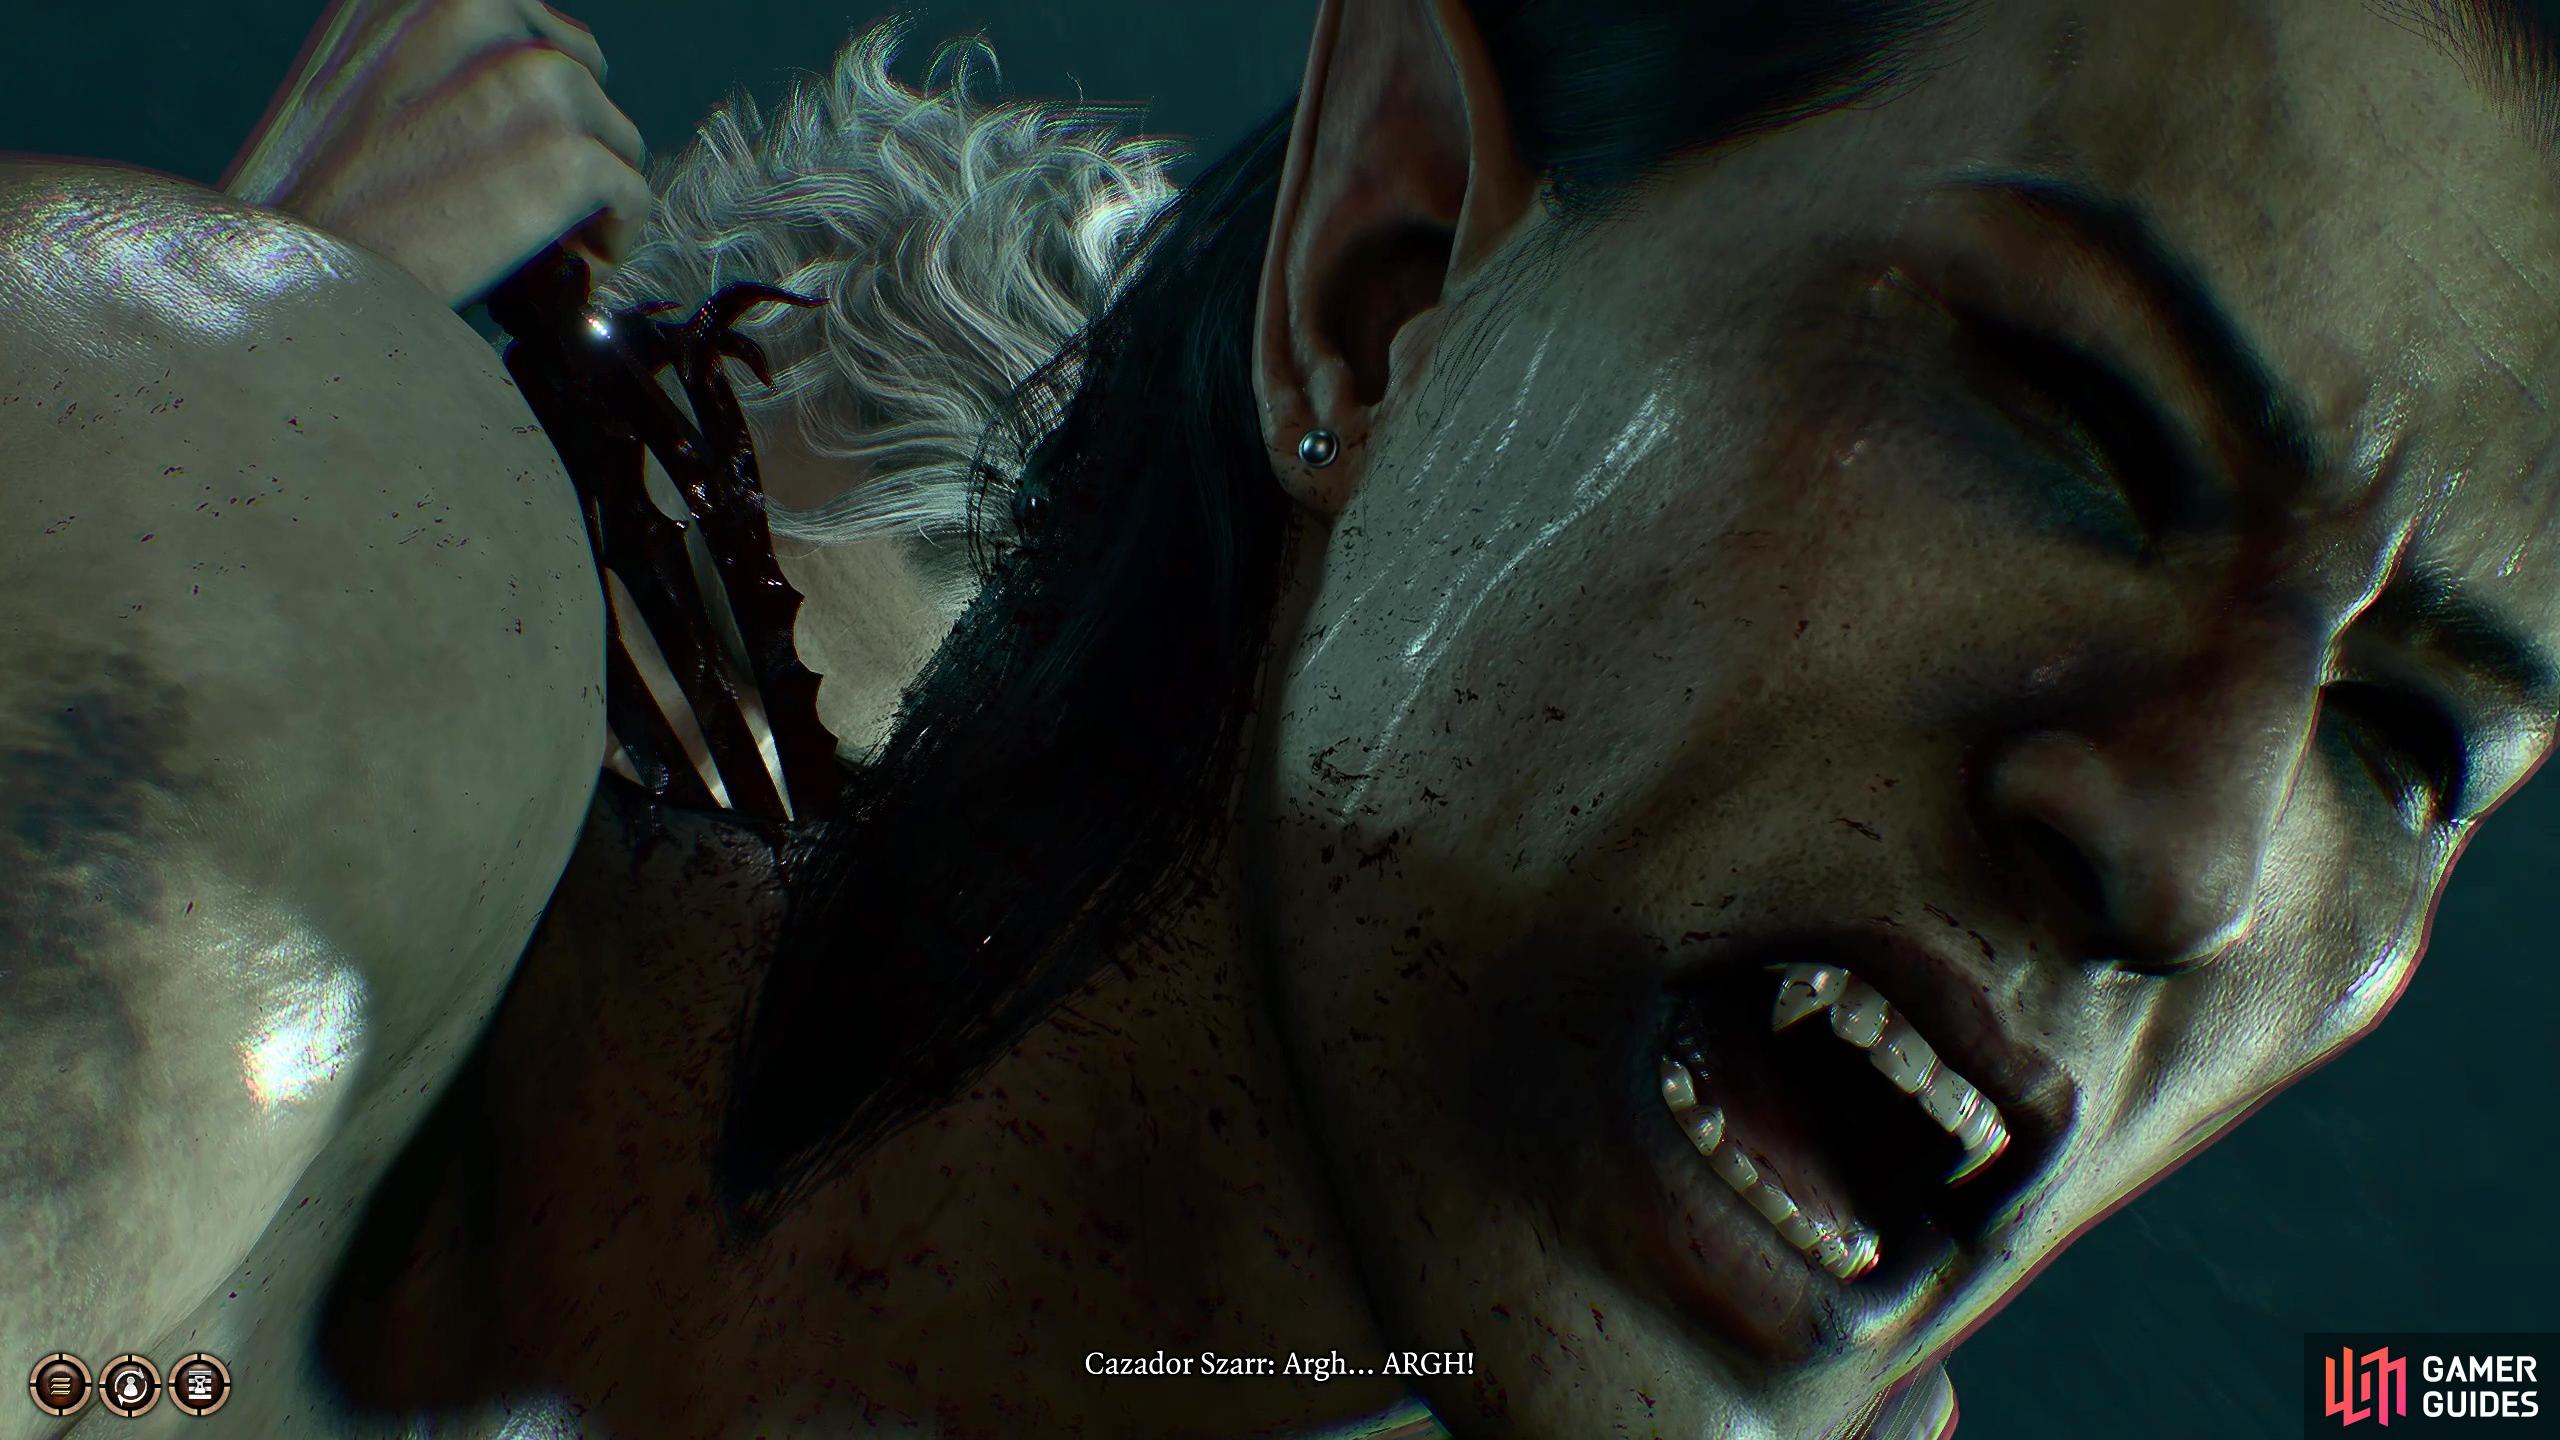
Watch Astarion carve the ritual onto Cazador’s back then he’ll pick up Cazador’s staff and complete the ritual. Stopping Astarion now will only cause him to hate and turn on you which will leave you with no other choice other than to put him down. Let him finish the ritual, and you’ll have a couple of pieces of dialogue to go through, all of which are interesting then once the scene ends, you’ll be free to loot the battlefield.
If you check Astarion’s Notable Features, he will have acquired the Vampire Ascendant feat which grants him “Ascendant Bite” which gives him 12-72 Healing when he performs his bite on a living creature! He will also get the ![]() Gaseous Form which is basically Cazador’s Mist form. That’s not all, he will also gain a 1-10 necrotic damage bonus from melee and unarmed attack rolls. For the Gather the Allies quest, you’ll get Ascendant Astarion and his dark powers when the time comes. Note: Taking this path means you’ll have to fight Ulma and the rest of the Monster Hunters when you reach the room with the captured vampires, and you’ll lose them as allies for the
Gaseous Form which is basically Cazador’s Mist form. That’s not all, he will also gain a 1-10 necrotic damage bonus from melee and unarmed attack rolls. For the Gather the Allies quest, you’ll get Ascendant Astarion and his dark powers when the time comes. Note: Taking this path means you’ll have to fight Ulma and the rest of the Monster Hunters when you reach the room with the captured vampires, and you’ll lose them as allies for the ![]() Gather Your Allies quest.
Gather Your Allies quest.
(1 of 5) If you agree to let him perform it, he’ll carve the glyph onto Cadazor’s back. Ouch.
Stopping Astarion with the Ritual
Choosing any other option other than 1 will lead to another choice where you can use Insight (Wisdom check) to see what he’s really thinking (worth it for the lore), and Persuasion (Charisma check) to persuade him not to go through with the ritual. If you did the Insight check, you’ll get a second Persuasion check which basically tells him that he’ll be just like Cazador which is more than enough to persuade anyone. He’ll agree that you’re right, then viciously stab Cazador to death. You’ll now have another choice to make, what to do with the vampires in the cells. You can either kill them all, release them (they’ll end up in the ![]() Underdark), or leave them here.
Underdark), or leave them here.
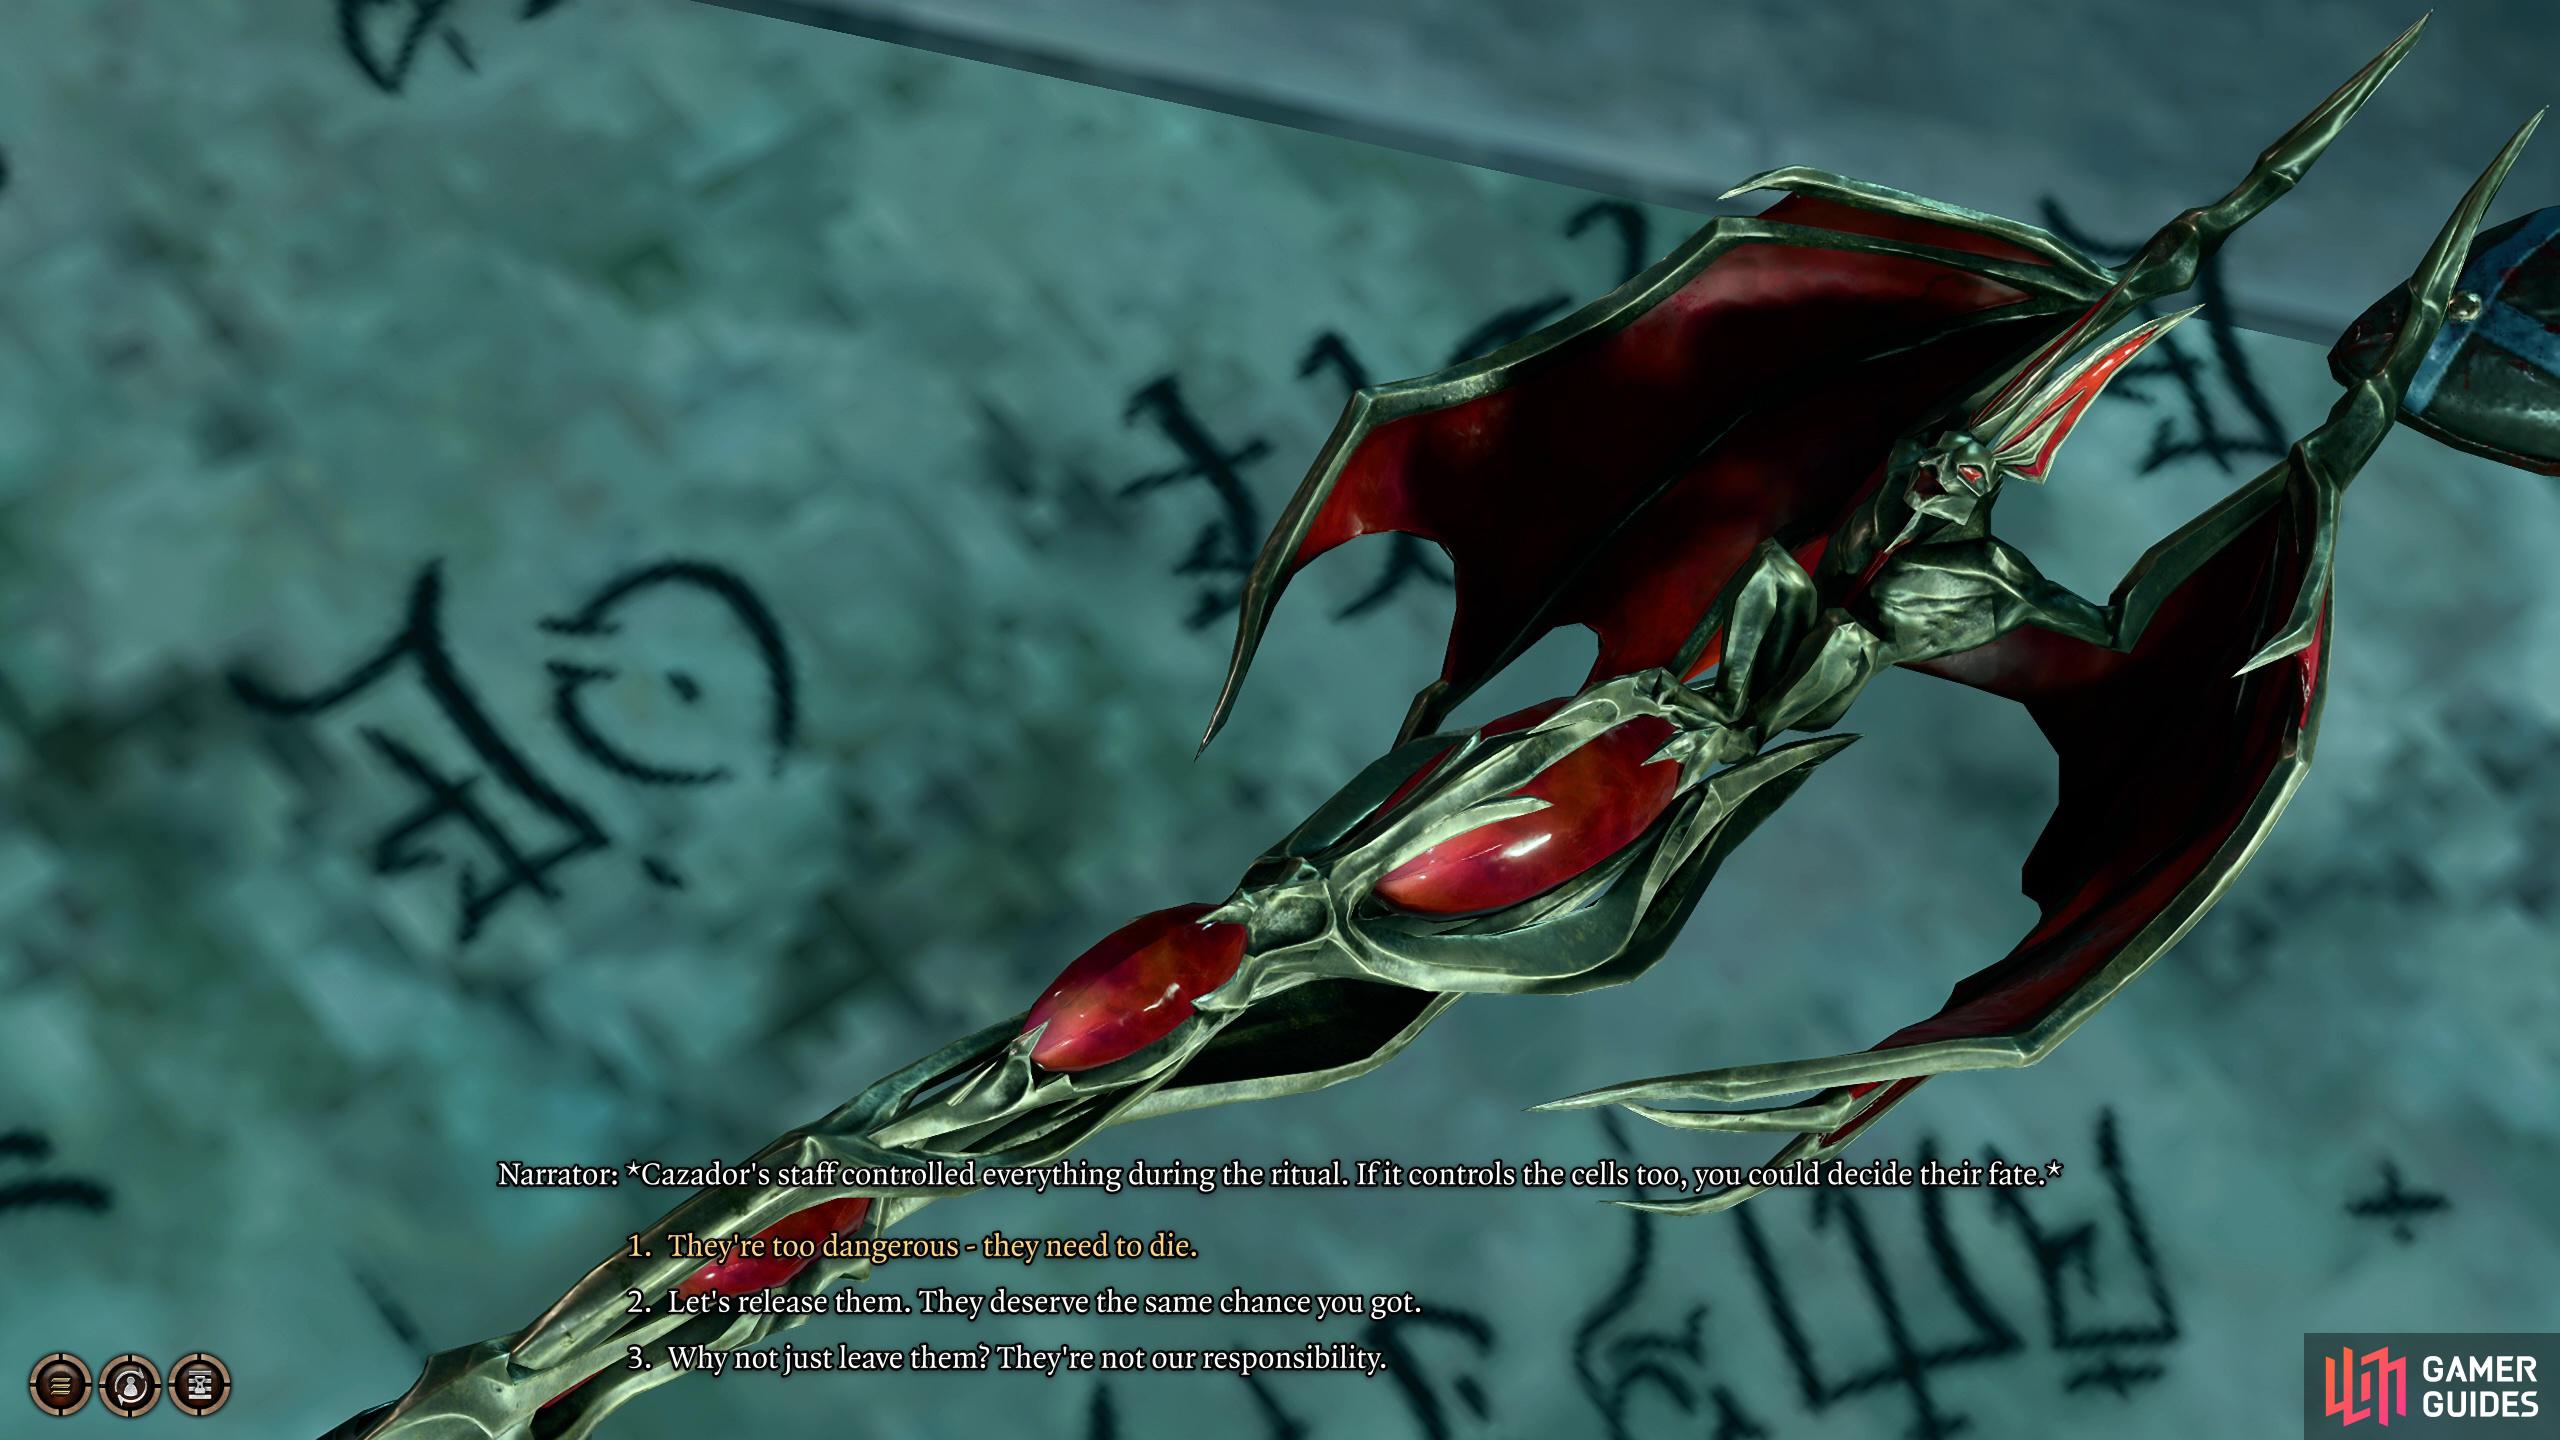
(1 of 3) After stopping the ritual, you’ll have another important choice to make, free the prisoners, kill them, or leave them.
Choosing the second option now can help you in a bit when dealing with Ulma and the Monster Hunters, so choose the second option, just make sure you stay out of the Underdark for a few millennia. After you loot the battlefield (loot the sarcophagus too for the ![]() Counting House Vault 3 Key) then head up the stairs to get out. On your way, you’ll encounter Ulma and the rest of the Monster Hunter crew. Naturally, they won’t be happy with letting several thousand vampires loose, but if you tell them that includes their children, they’ll reluctantly accept it. Although you won’t get Super Astarion, and he will still have his vampire curse, you will gain the Gur as allies. This feels like the “good” path, but we’ll leave that choice to you.
Counting House Vault 3 Key) then head up the stairs to get out. On your way, you’ll encounter Ulma and the rest of the Monster Hunter crew. Naturally, they won’t be happy with letting several thousand vampires loose, but if you tell them that includes their children, they’ll reluctantly accept it. Although you won’t get Super Astarion, and he will still have his vampire curse, you will gain the Gur as allies. This feels like the “good” path, but we’ll leave that choice to you.
Cazador Rewards
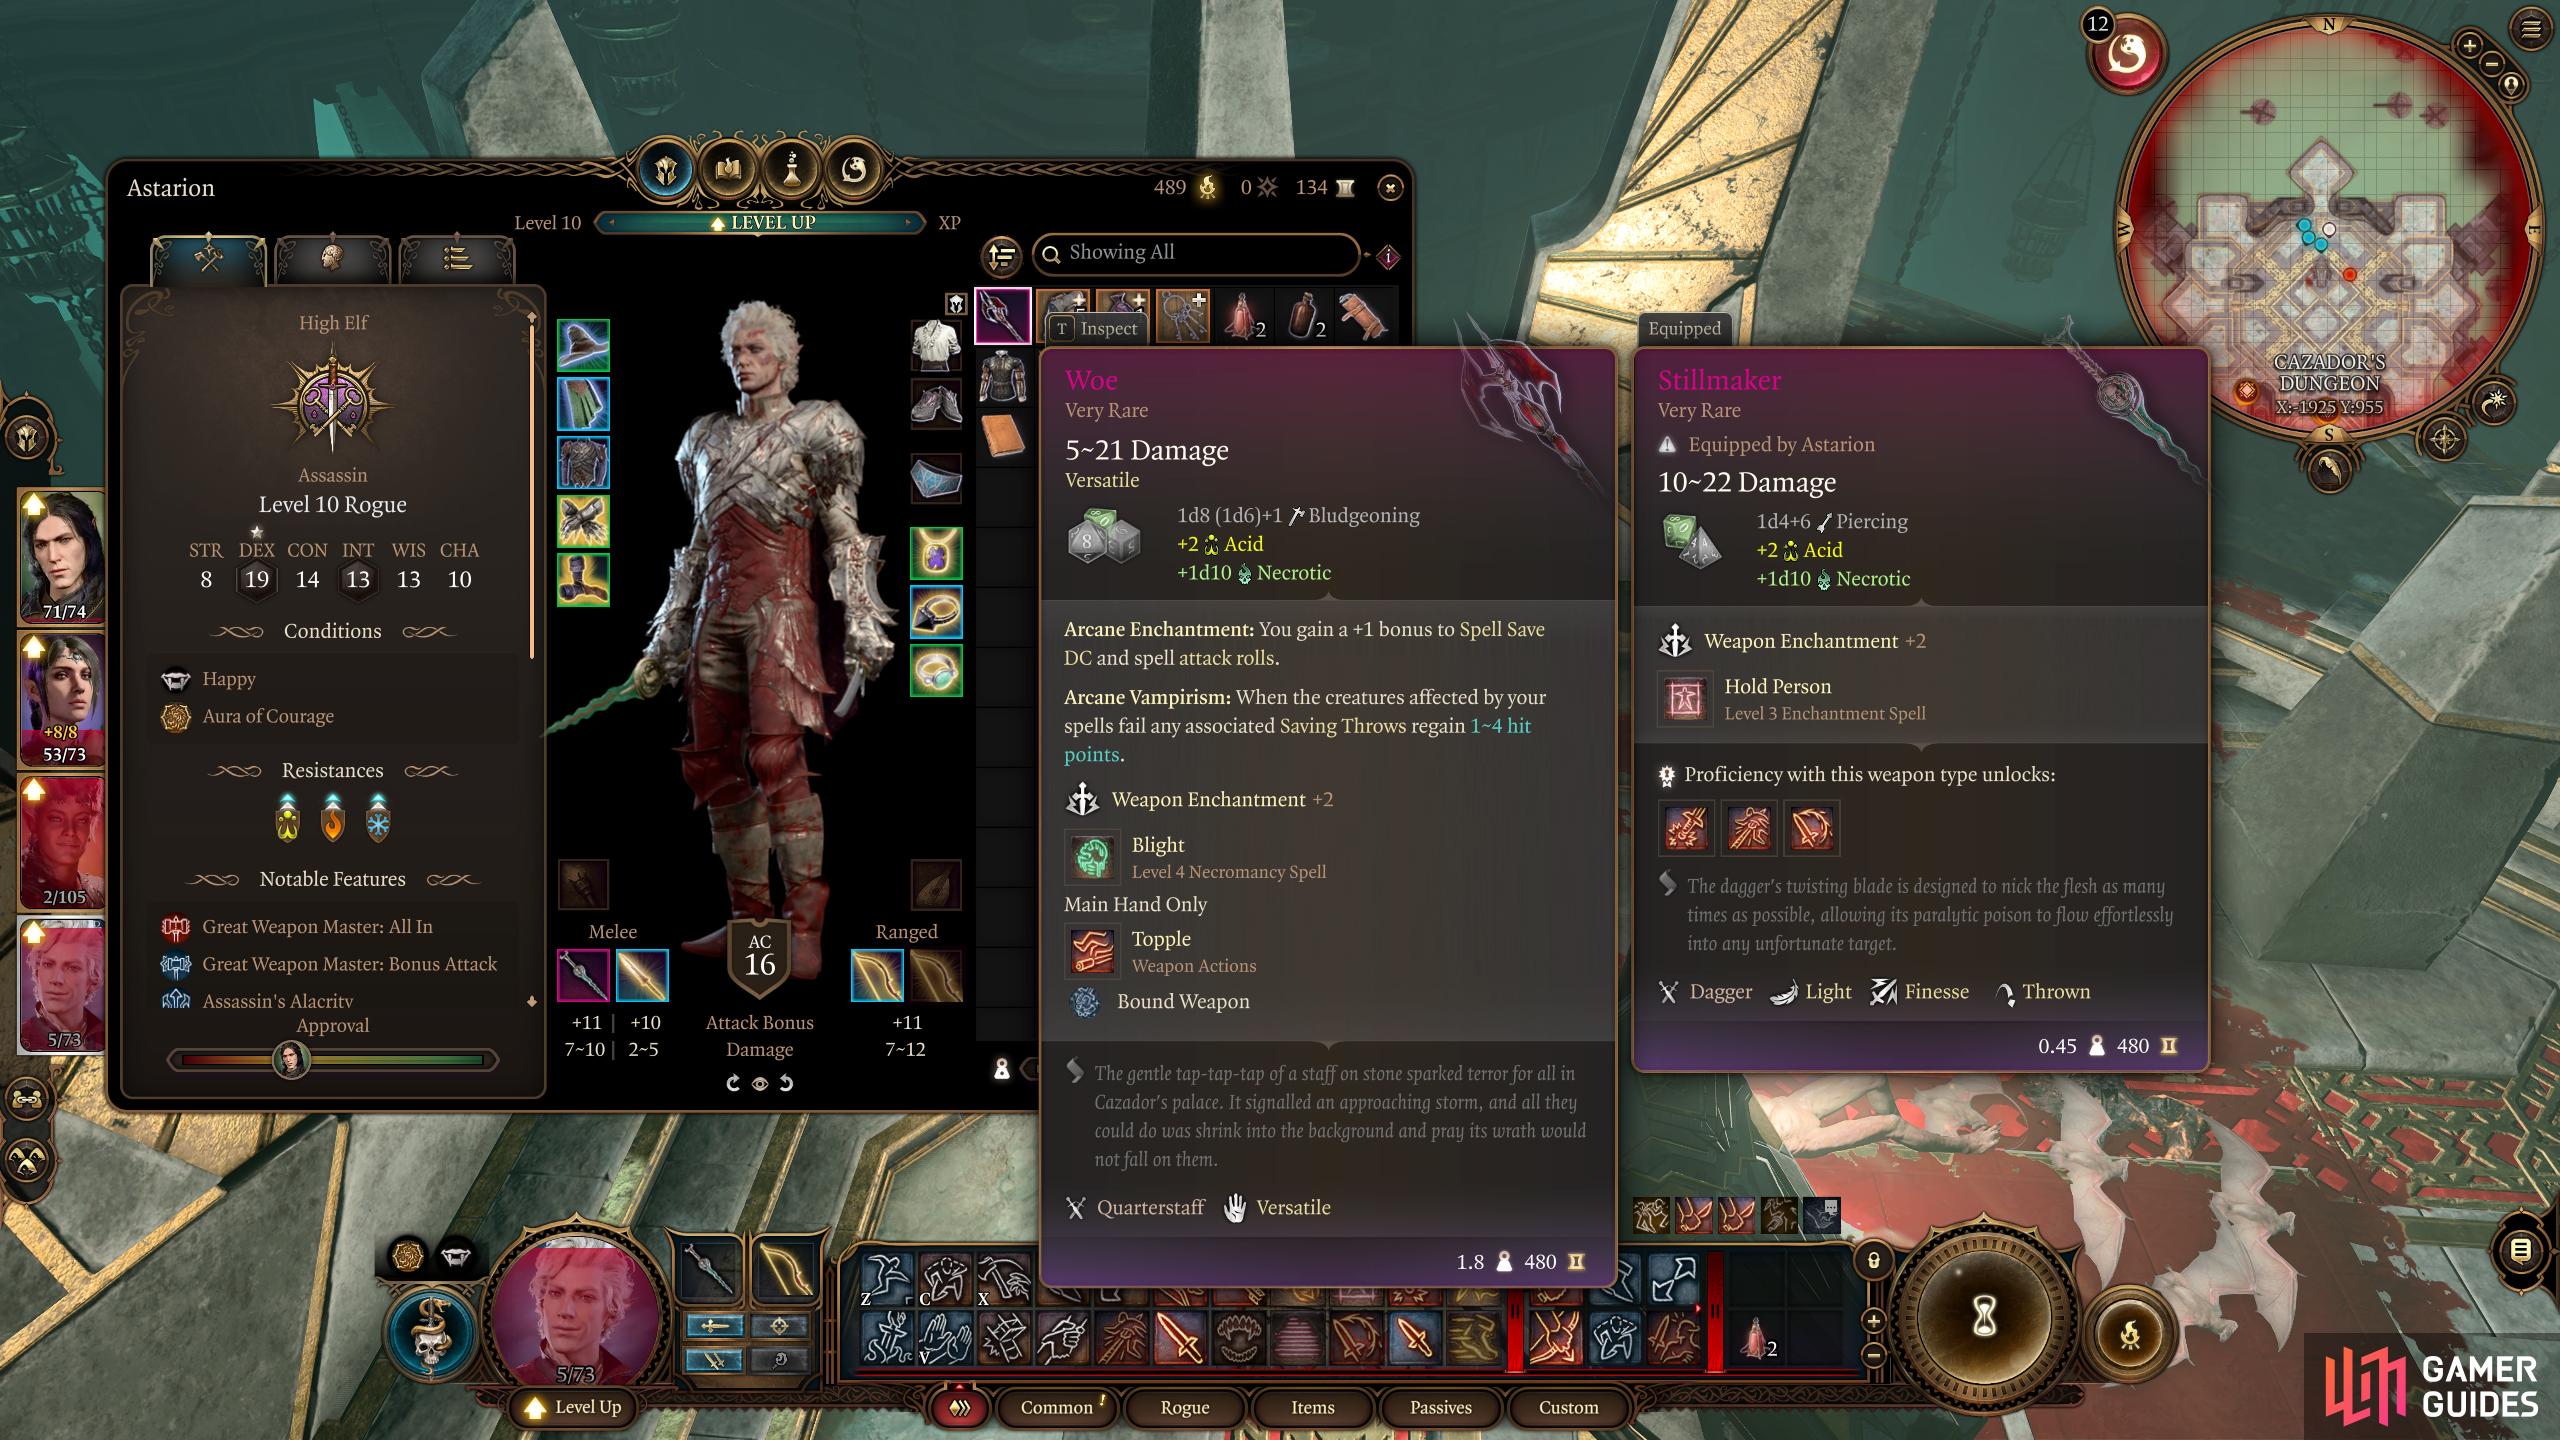
Other than the choice-specific rewards, there is some nice loot to pick up as well. You’ll receive the Very Rare Quarterstaff, ![]() Woe after the scenes are complete. Then you can pick up the Very Rare
Woe after the scenes are complete. Then you can pick up the Very Rare ![]() Dagger,
Dagger, ![]() Rhapsody from Cazador’s cold dead body. Finally, you can pick up the Counting House Vault 3 Key which can be used later.
Rhapsody from Cazador’s cold dead body. Finally, you can pick up the Counting House Vault 3 Key which can be used later.
No Comments