
For those who make it to the ![]() Moonrise Towers and begin to explore the halls of the Absolute, there’s a prison section for you to stumble across. Walking around, you can speak to some Rock Gnomes, who will let you in if they want to escape jail. If you are willing to assist them in their jailbreak attempt, put the Thin Lizzy record on, and learn more about how to complete the
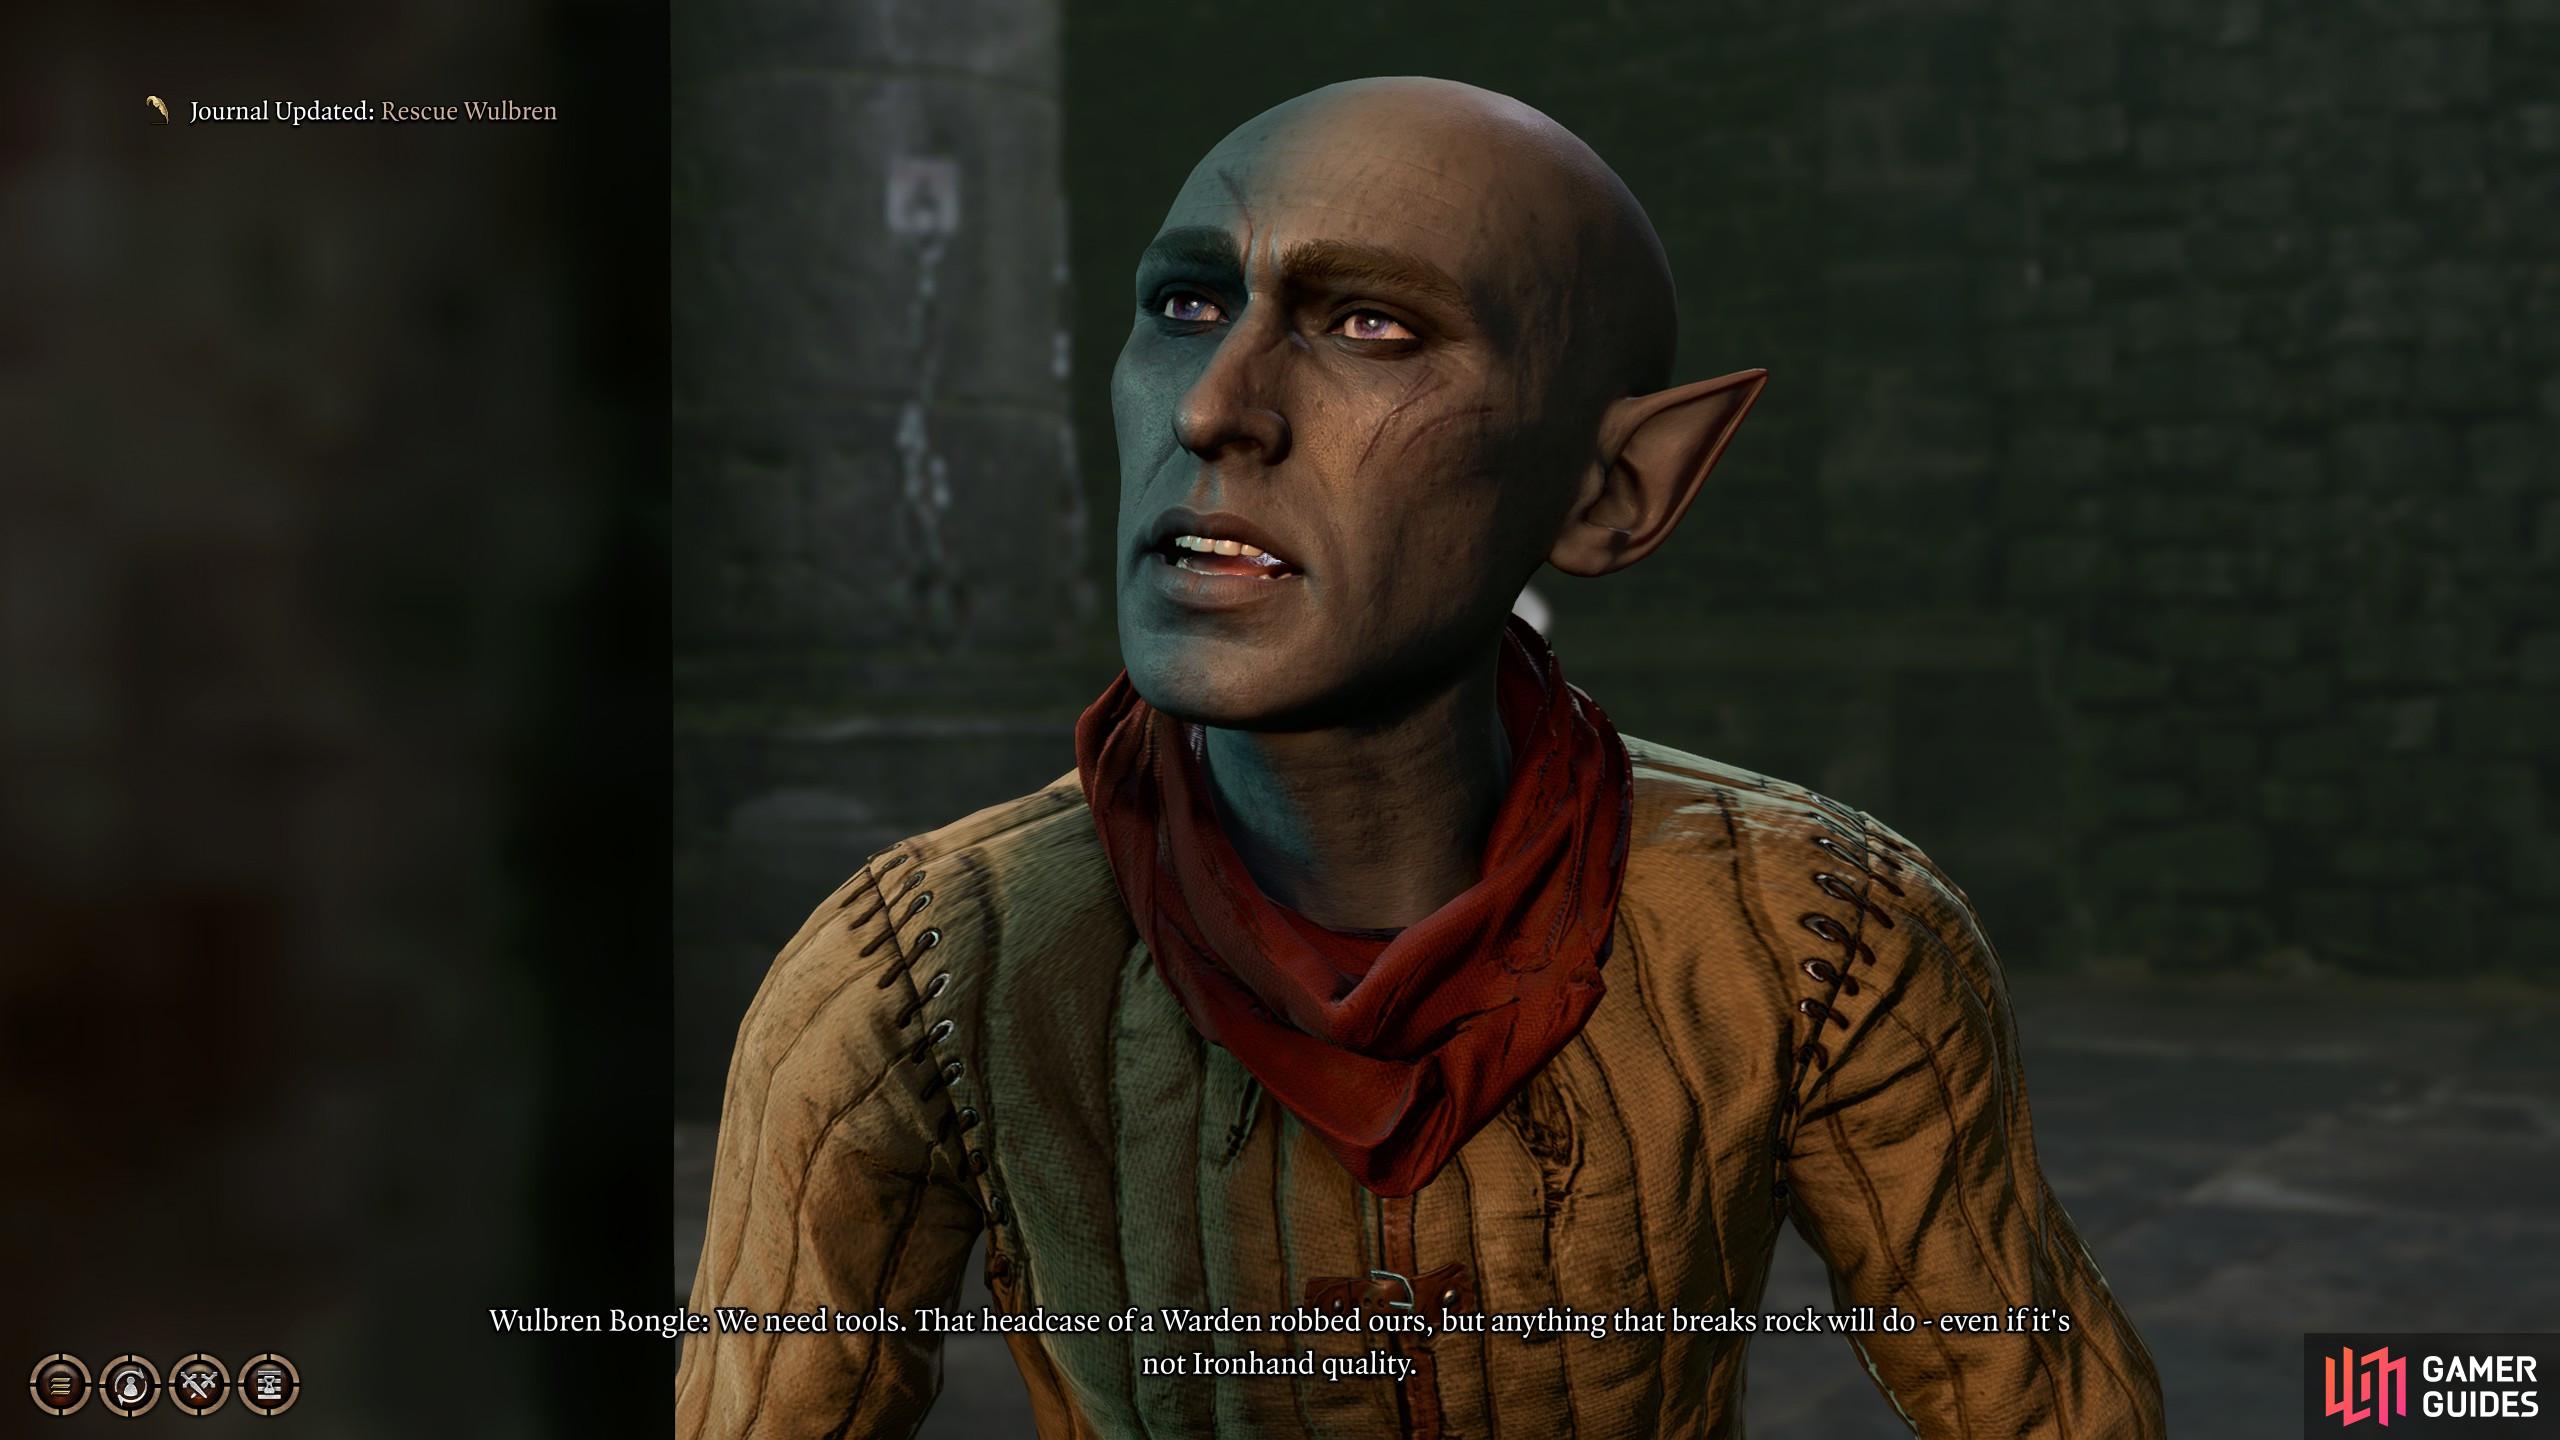
Moonrise Towers and begin to explore the halls of the Absolute, there’s a prison section for you to stumble across. Walking around, you can speak to some Rock Gnomes, who will let you in if they want to escape jail. If you are willing to assist them in their jailbreak attempt, put the Thin Lizzy record on, and learn more about how to complete the ![]() Rescue Wulbren quest in Baldur’s Gate 3.
Rescue Wulbren quest in Baldur’s Gate 3.
How to Rescue Wulbren in Baldur’s Gate 3
Here’s everything you need to know about the Rescue Wulbren quest in Baldur’s Gate 3.
This section is going to highlight some important context regarding this quest. You’ll need to know if you intend to get as many people to Baldur’s Gate for the final act of the game, or just want to know what you can get, the trouble you can get yourself into, and the rewards for the quest itself.
Also, you can choose how you want to finish the quest. You can either get in the boat with them or stay. The boat will take them to Last Light Inn, regardless of your choice, at the end of the jailbreak, where you can complete the quest.
With the context out of the way, here are the methods you can do to rescue Wulbren in Baldur’s Gate 3. Feel free to click an option and auto scroll to the jailbreak method.
- Smuggle the item - Wulbren’s method
- Oubliette - Likely the best option
- Warden Levers - The riskiest option, yet quickest option.
Contraband Method
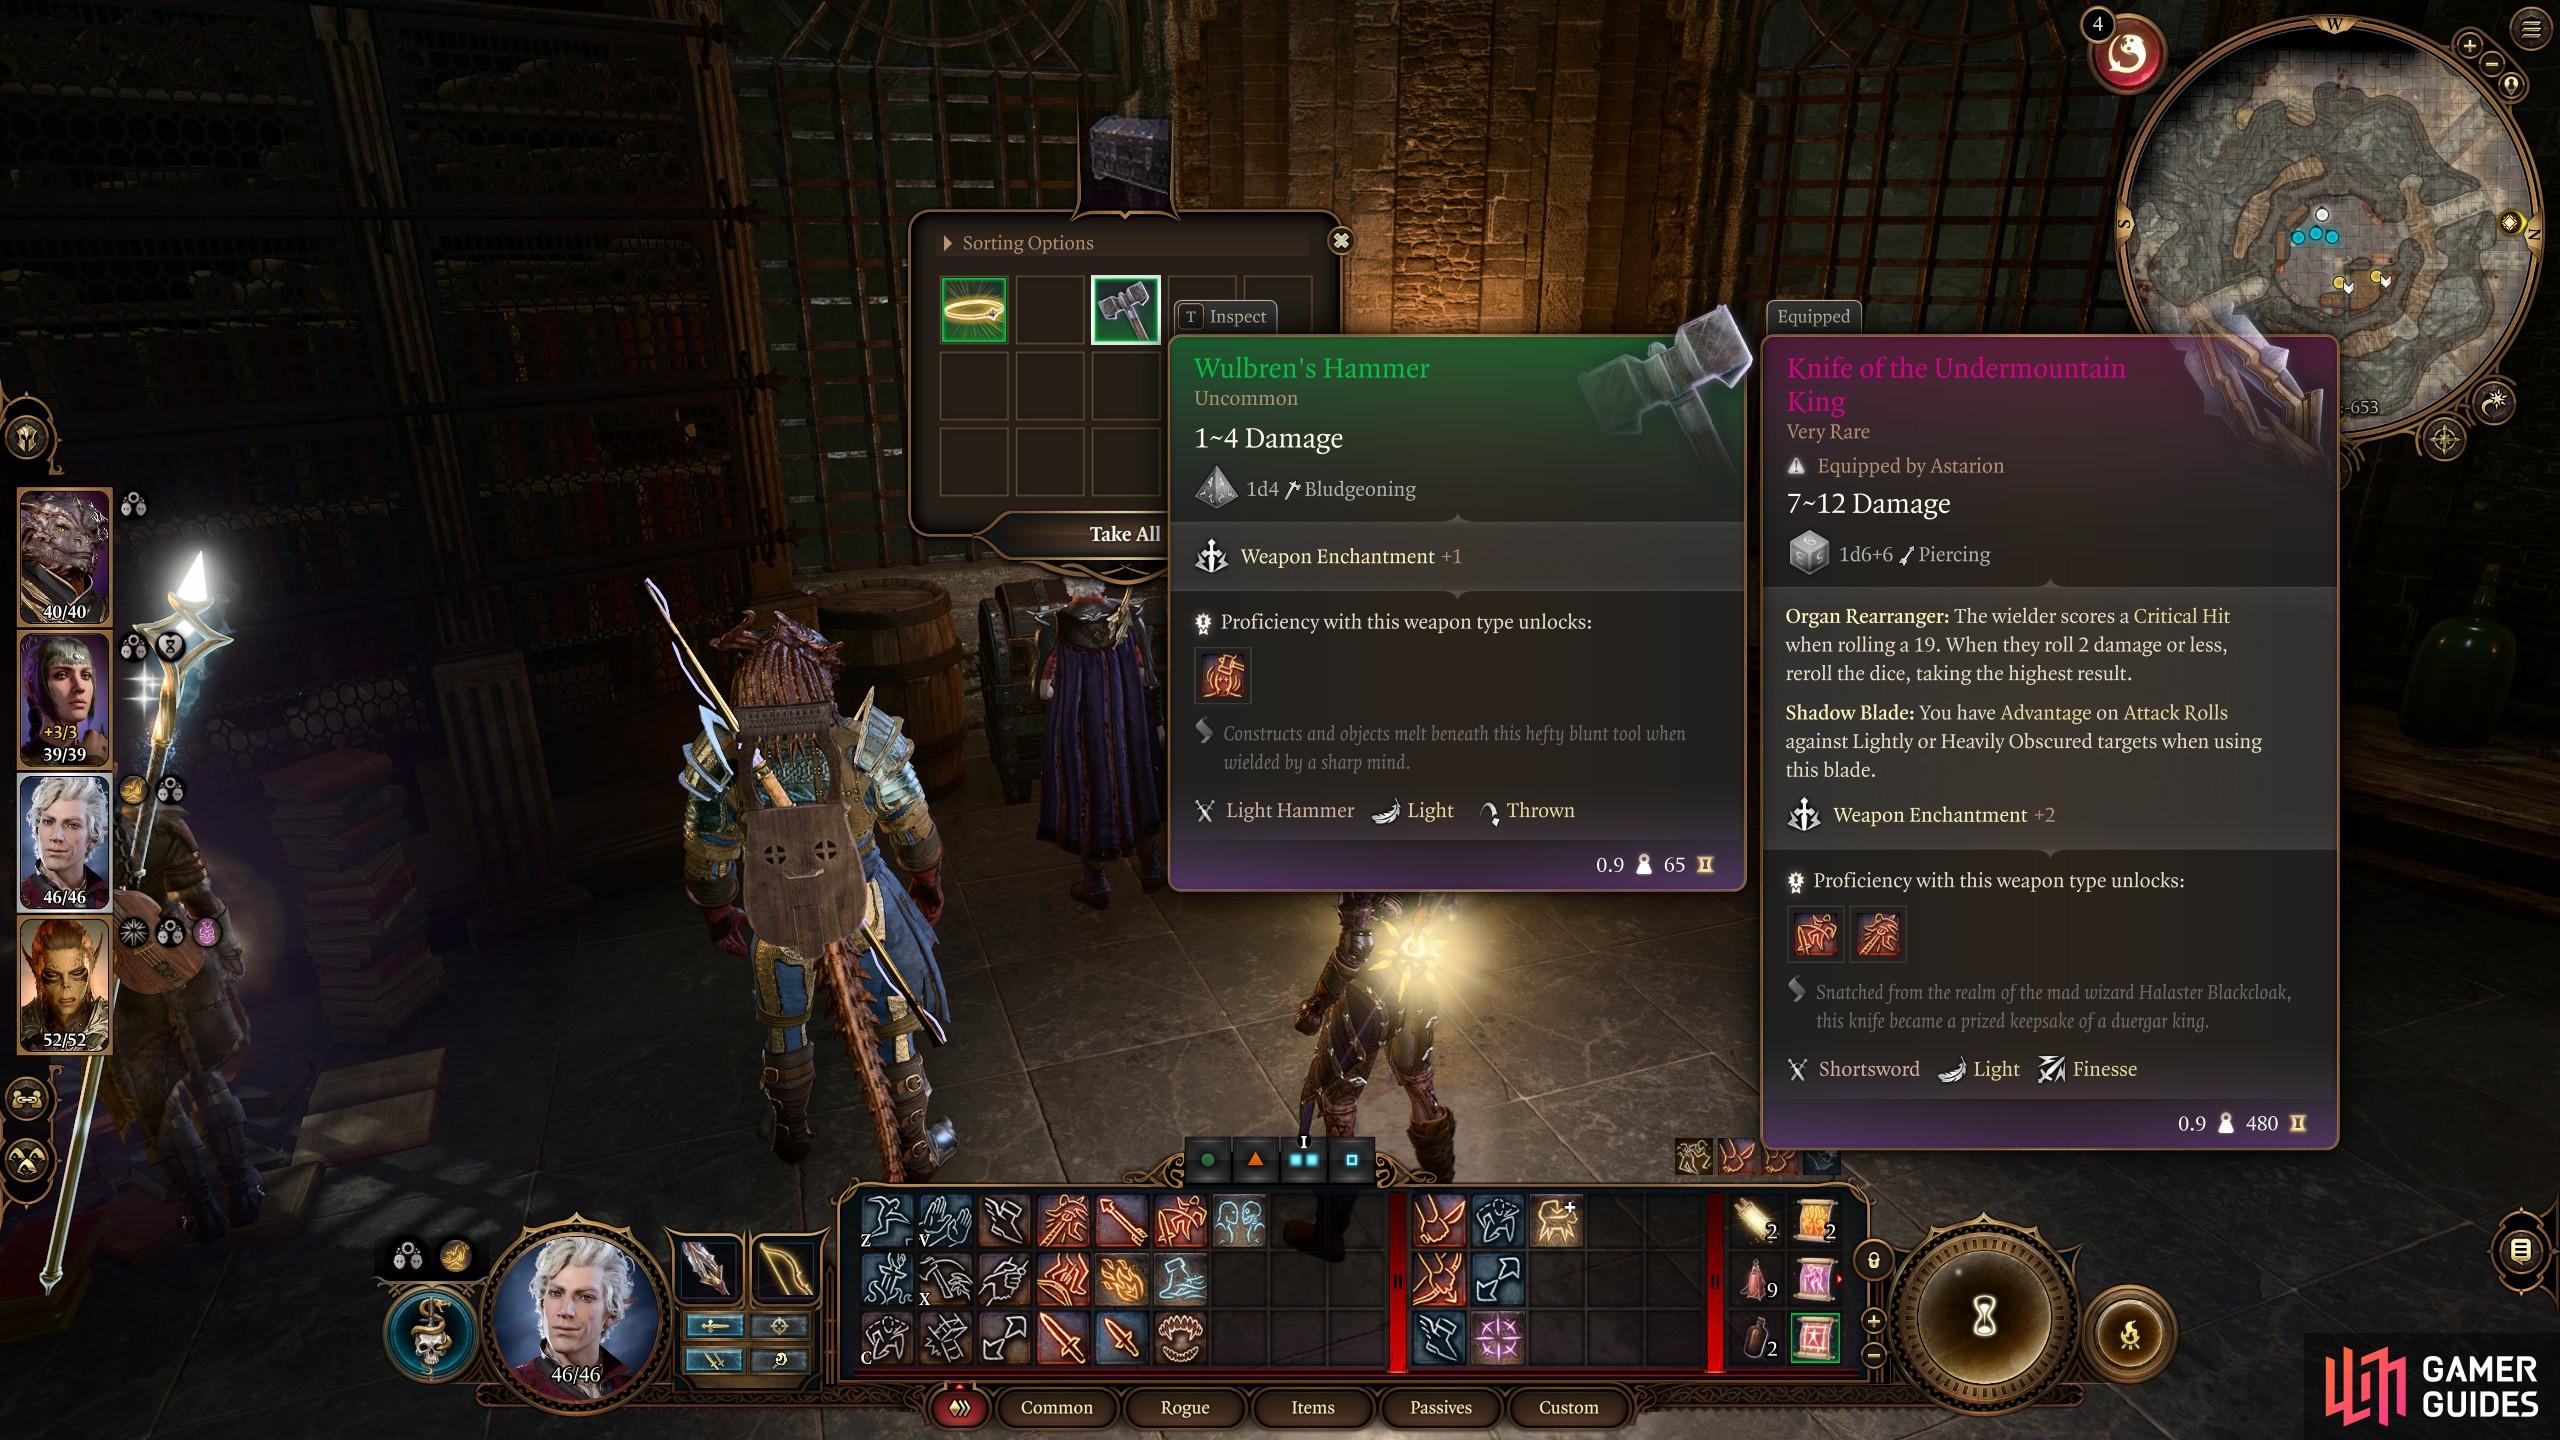
The hammer Wulbren needs is inside the Evidence Chest of the Warden’s Tower.
Throw him any bludgeoning weapon you don’t need or his hammer, and he will wait for guards to pass, then start whacking the wall down.
The first is where you pass the Gnome some contraband. If you do as Wulbren says, you can throw a weapon through the gates when the guards and the floating eyeballs are not looking. Once the guards pass over the fence, you can throw any form of bludgeoning weapon over the it. Wulbren will pick it up, and then proceed to bonk the wall down and make a getaway to a boat in a lake on the other side of the wall. If you have any bludgeoning items you can throw away, you can do it and make this process very fast. You wont get these weapons back as far as I can tell, so be wary of throwing your Barb’s best weapon away or something silly like that.
If you don’t, then you may need to infiltrate the Warden’s Tower in the middle of the prison. Inside is the Warden, and one patrolling eyeball at the top of the ladder. You can try your best to sneak up the ladder, and deal with the eyeball up there patrolling. If you get caught, you must either bribe the warden around 1500 gold or make some persuasion, deception, or intimidation check to convince them you are not here to cause trouble. The pass mark is very high, and if you get caught killing the eyeball, you need to fight the Warden who climbs the ladder angrily at you. So, we recommended a few options to do avoid getting caught:
- Use a stealthy character to sneak about up there and kill the eye in one move.
- Cast
 Pass Without Trace.
 - Have someone with high Dex to consume an
 Invisibility Potion.
 - Cast Fog or
 Darkness around the ladders.
 - Any other sight-altering spell or item up your sleeve.
Once you’re at the top of the Warden’s Tower, you can unlock the Evidence Chest and grab Wulbren’s Hammer. You can head down the ladders, and back to the cell, throw his hammer through the gates so they can break themselves out once the guards are not looking near the cell.
Method 2: The Oubliette Route
Alternatively, the likely better option for the Gnomes to escape is the more long-winded one. You must start this Rescue Wulbren method from the top of the Warden’s Tower. You should see some scaffolding when you reach the top, which can take you to the red well. Alternatively, you can pick the lock off the other door in the Warden’s office room, but it’s harder to do due to eyeball patrols and the Warden’s borderline inability to be distracted. No matter which option you try, just make it to the red well a short distance away and then jump down it.
- Again, use the sneaking methods in the list above this section for ideas on how to get up the tower safely
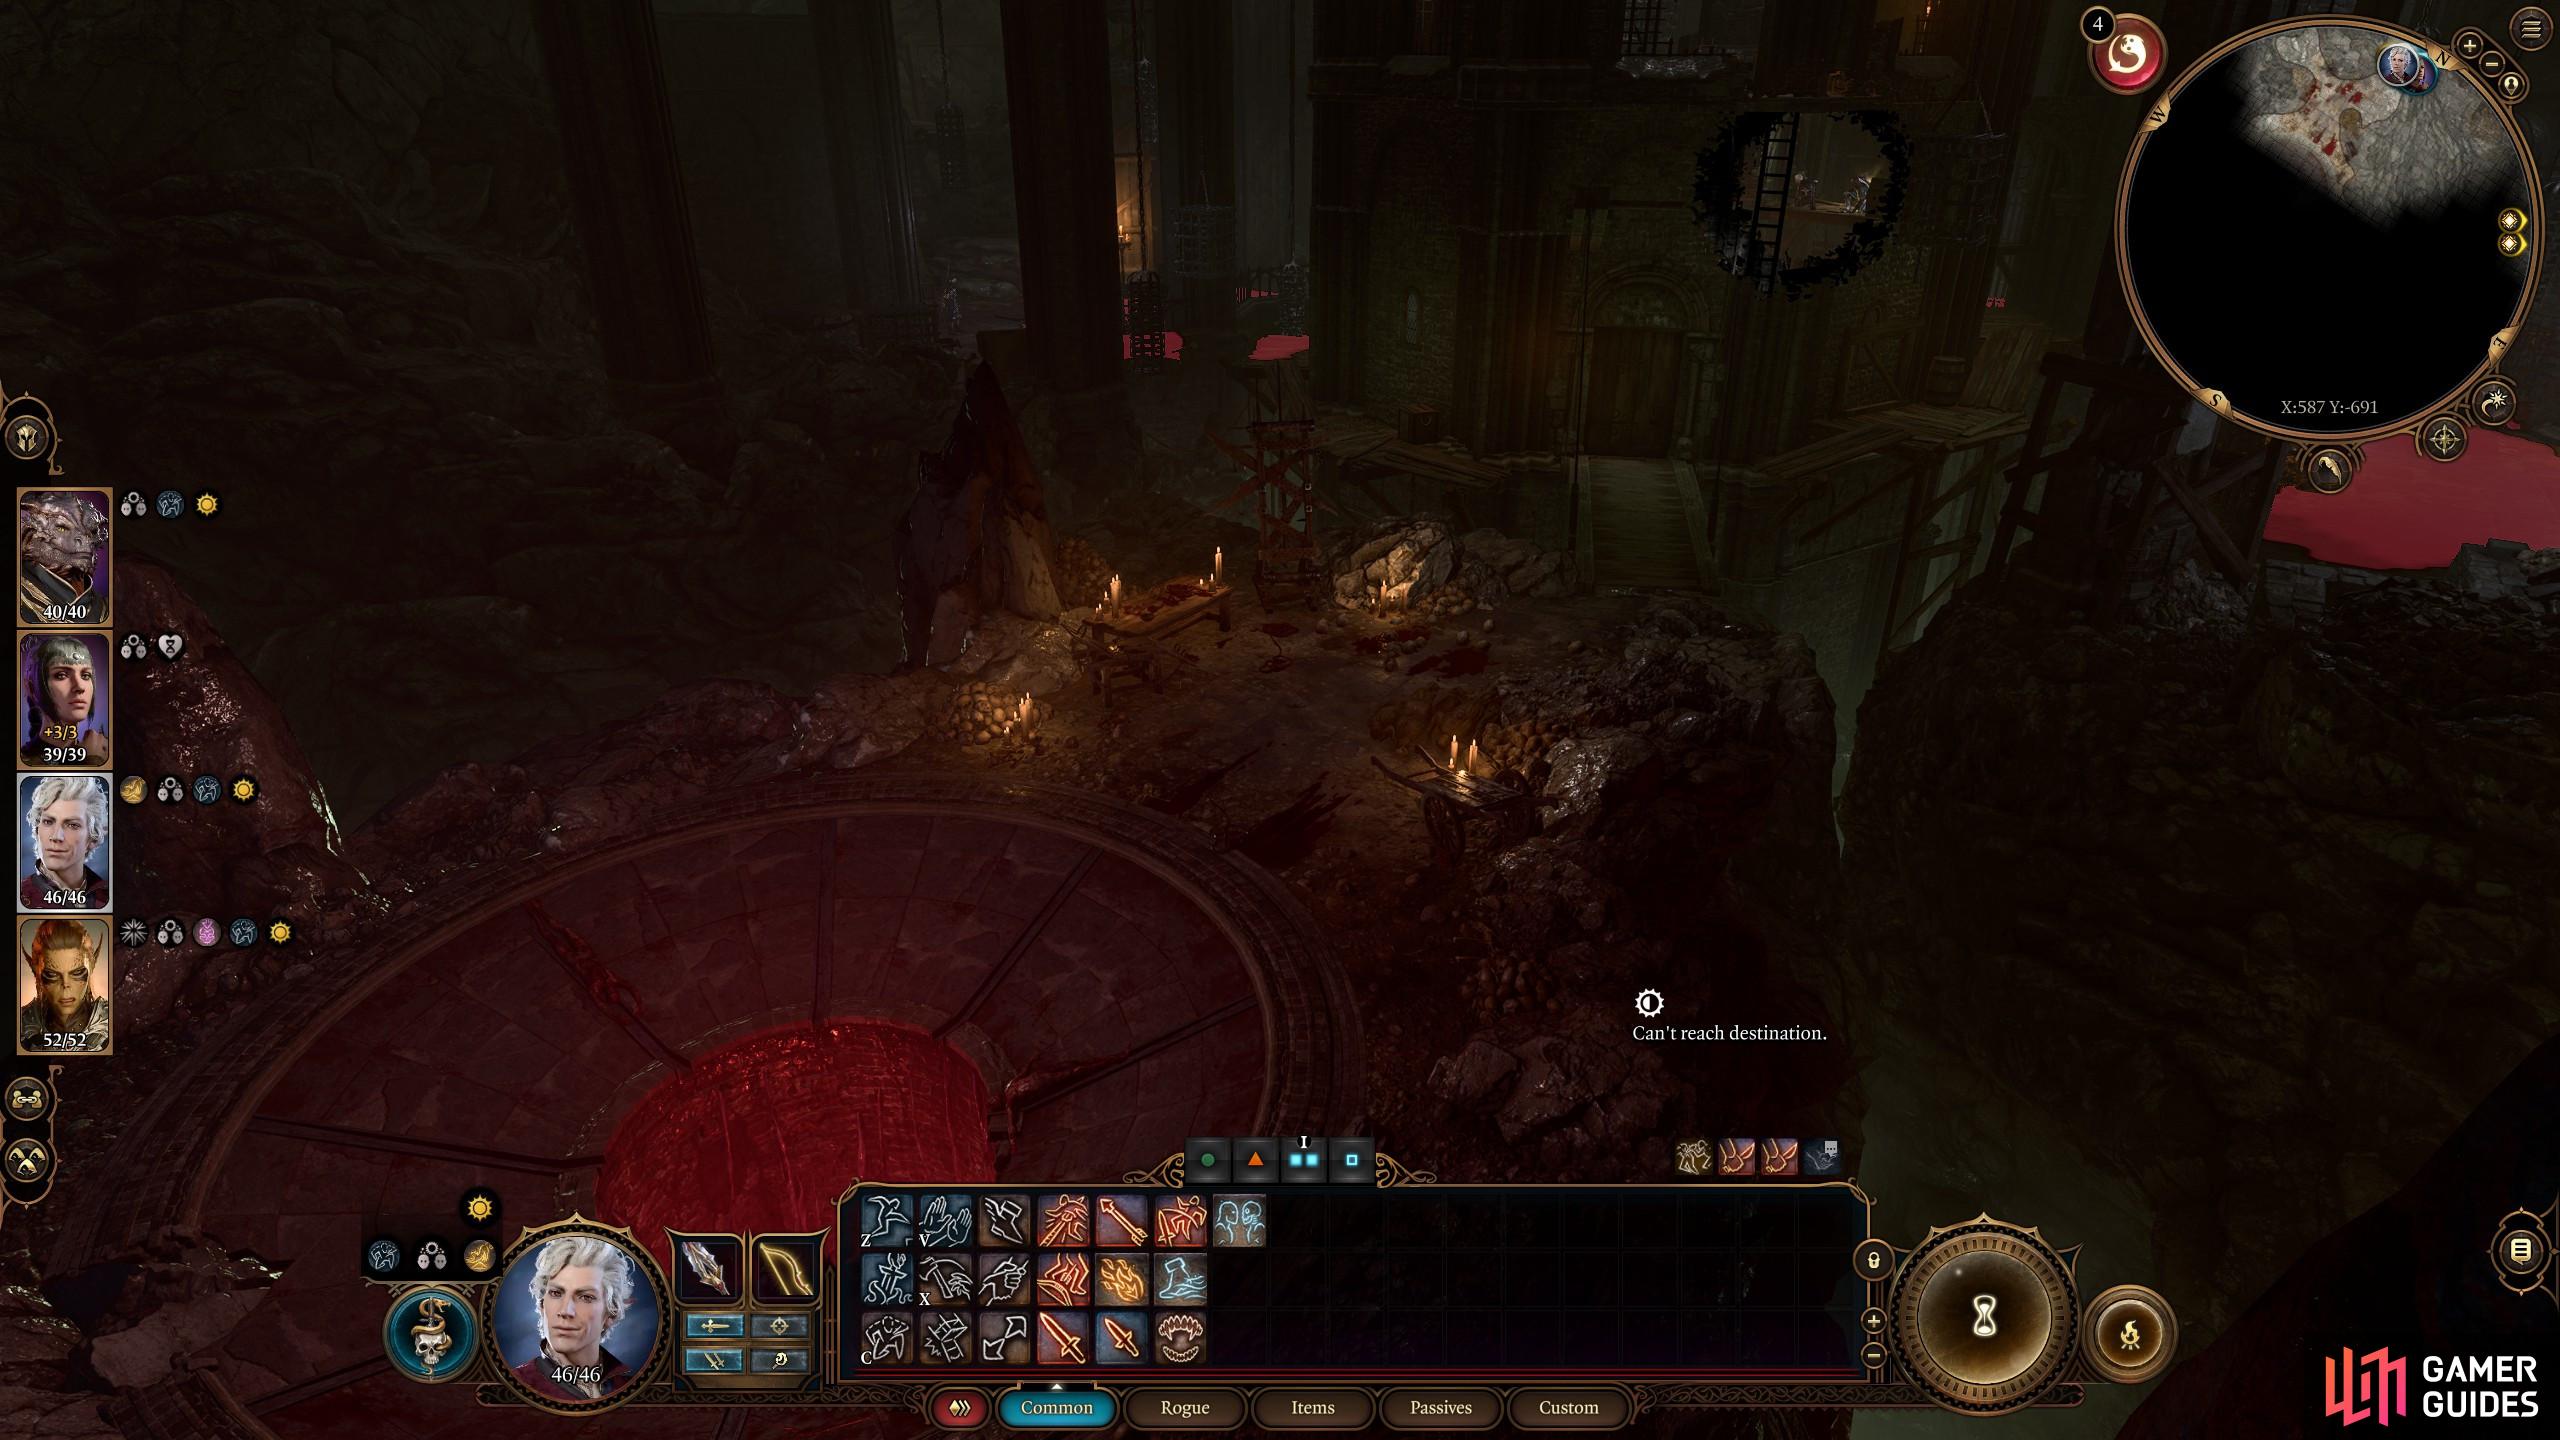
Now you will arrive in the ![]() Oubliette. This is where the Warden throws prisoners into a trapped location, which Hook Horrors occupy to feast on them later. There are only two of them, and if you plan your movements and skills correctly, you can deal with them in two turns. Once they are dead, you can move through the Oubliette and climb out. The exit of this location brings you to a cave area near the cells.
Oubliette. This is where the Warden throws prisoners into a trapped location, which Hook Horrors occupy to feast on them later. There are only two of them, and if you plan your movements and skills correctly, you can deal with them in two turns. Once they are dead, you can move through the Oubliette and climb out. The exit of this location brings you to a cave area near the cells.
Explore the cave at your leisure, and you will eventually find a spot to jump down onto a path, leading to the wall Wulbren and his crew are hiding. Instead of breaking the wall straight away, move down to the boat, and start smashing the chains that keep the boat tied up. Once the boat is free, smash down the wall. But, before you do it, make sure to peep your camera over the wall. For some reason, you can see what’s going on in the prison and therefore see the patrols. Wait for them to pass and then whack it.
As the wall comes crumbling down, the Gnomes will make a run for it, and head straight for the boat. Since you’ve already destroyed the Brittle Chains keeping the boat in place, you can talk to Wulbren and get on the boat with him and escape. The good news is that you can do this before any of the guards know that the Gnomes escaped, so you’ll never be a suspect in the gnome’s escape efforts.
Method 3: Pull the Levers
Open the Lever to Cell 2, charge in, and smack the wall down if you fancy the more chaotic option.
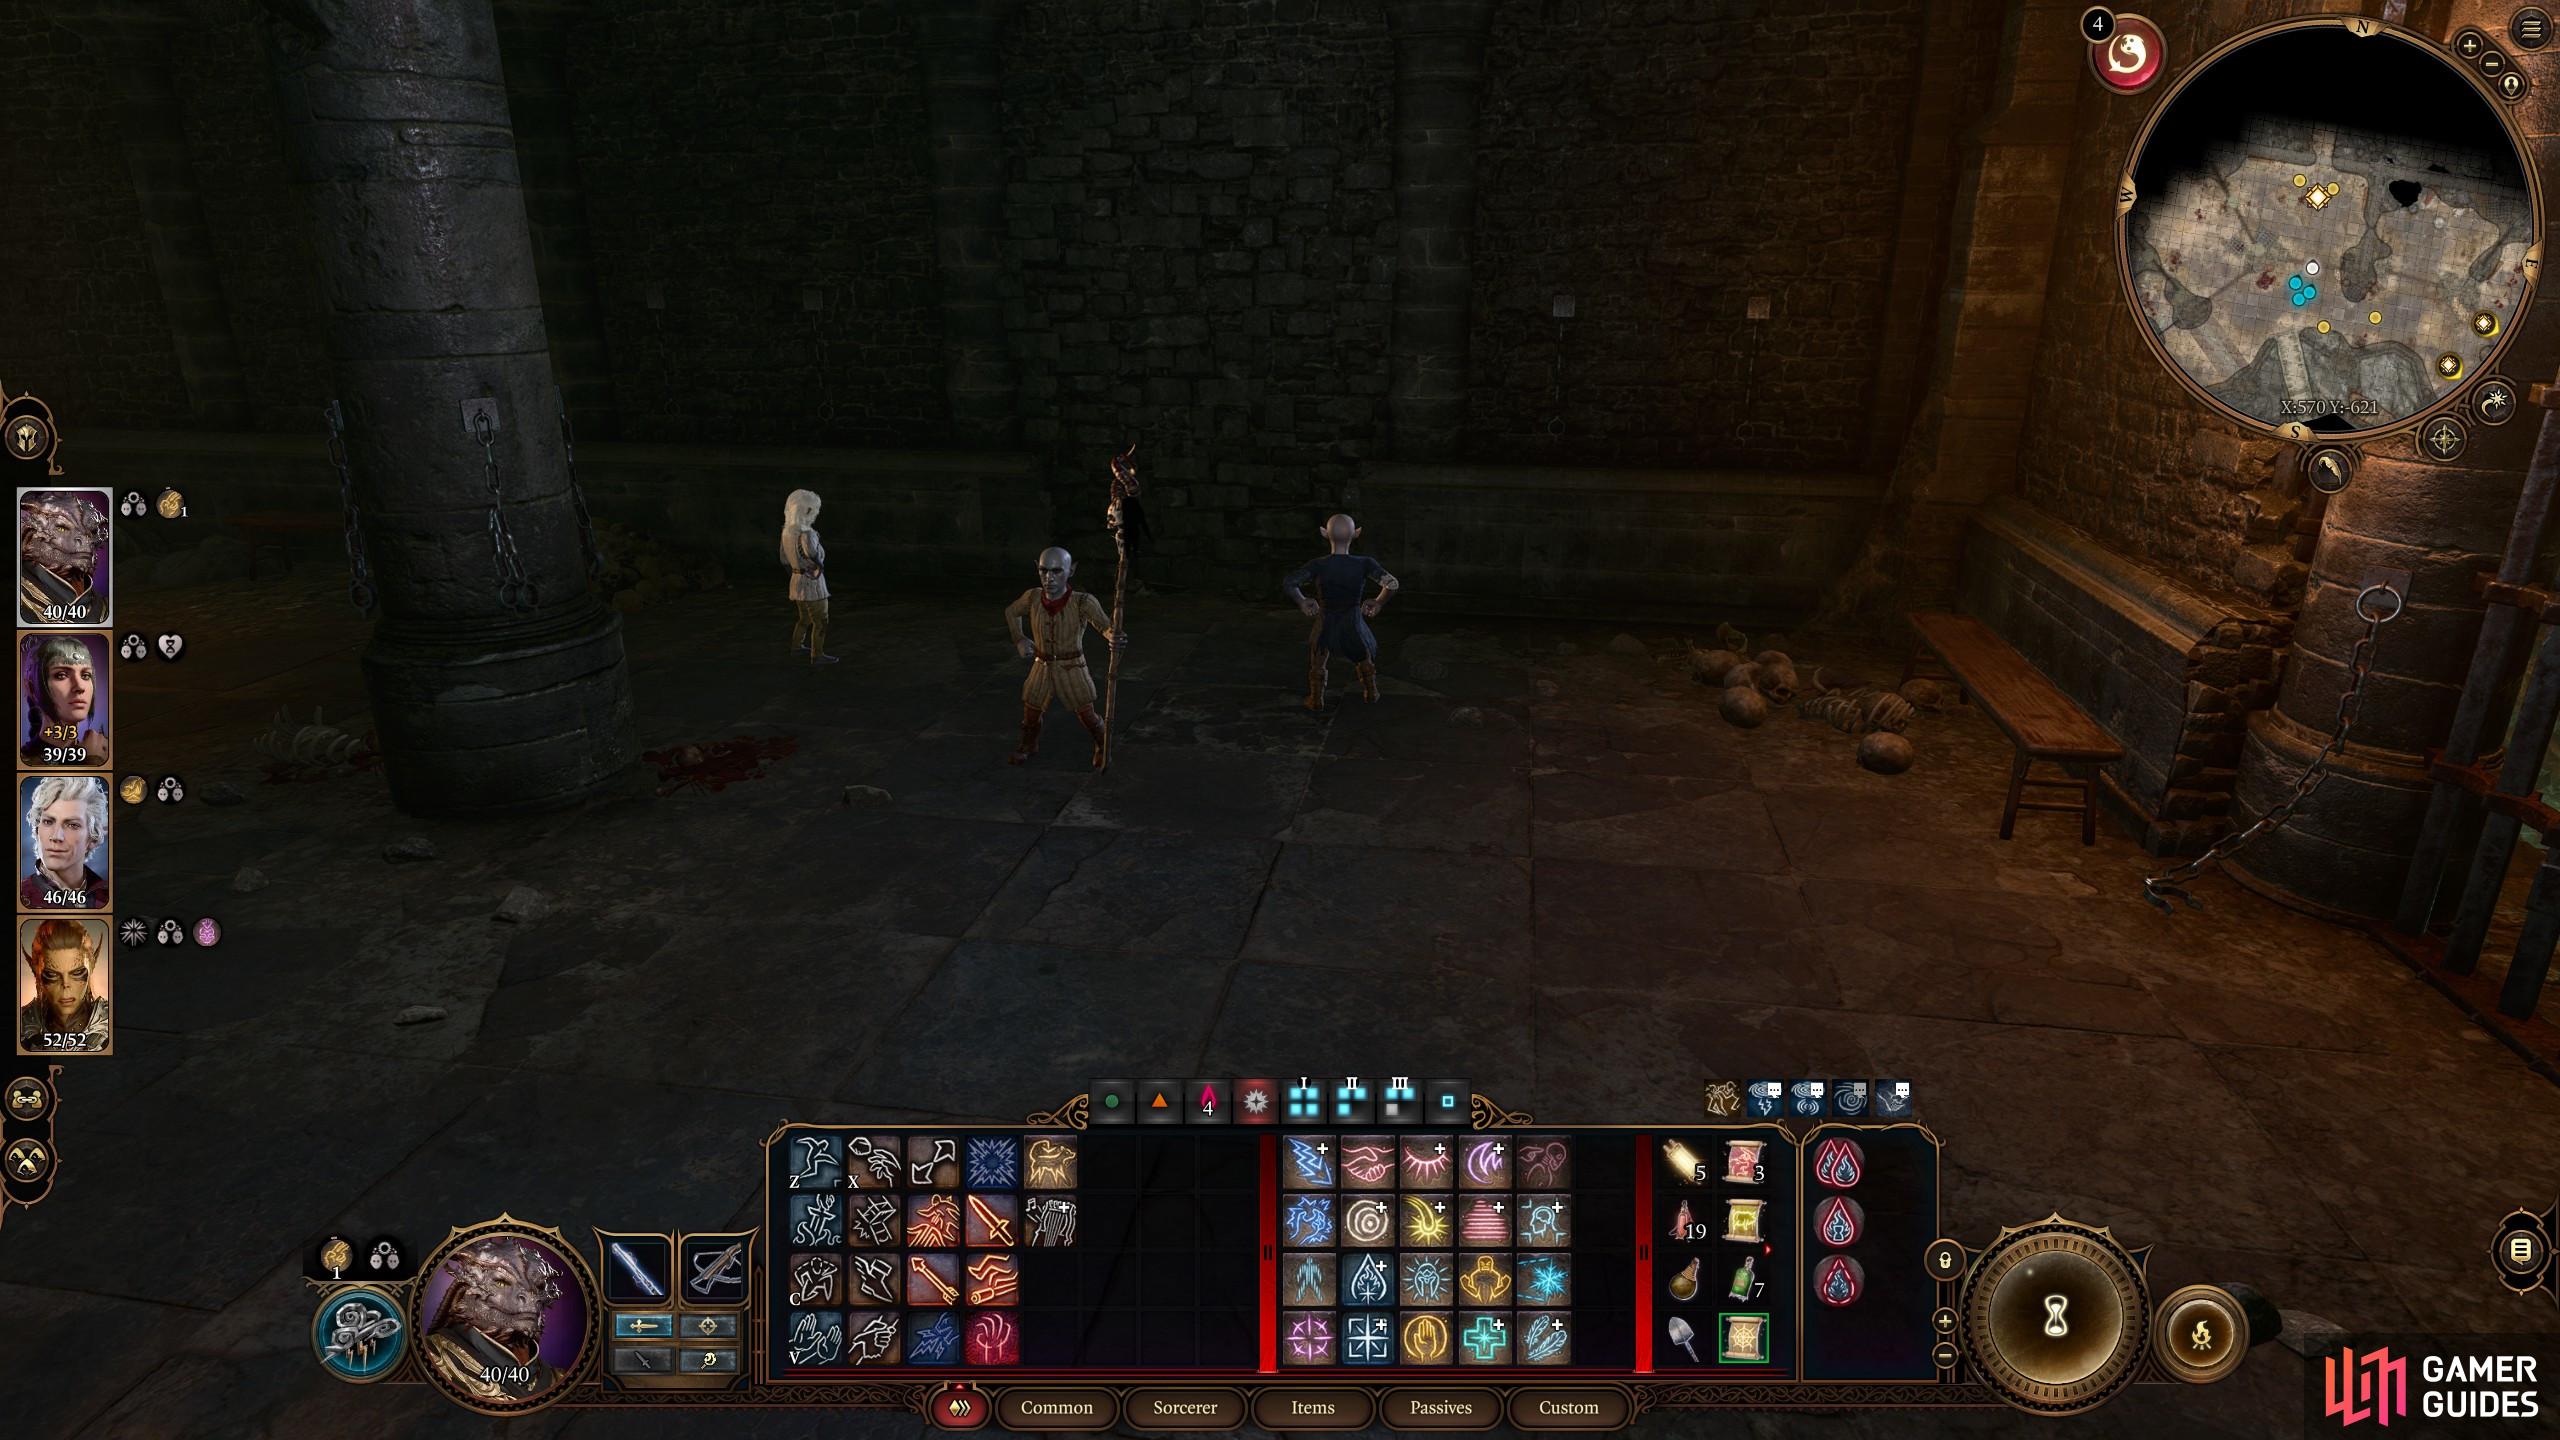
You can make some investigation checks to talk to the Warden, and learn that the big switch at the bottom is an alarm switch that opens all gates, while the smaller levels open the specific cell doors. If you open the lever while the Warden is preoccupied for whatever reason, then you can run into the cell, beat the wall down and escape with the Gnomes, all the while the guards don’t notice you do it. Make sure to open the cell level 2, as that’s where the Gnomes are. You can verify this by the plaque on the wall next to their sell.
Once you’re through the wall, you must break the chains tying the boat up to the dock. You can force attack the tie-up points on the dock, with one on each side. Once that’s done, speak to Wulbren, and you can leave together.
This is likely the worst option for getting caught and starting a fight, but it is there if you want it.
No Comments