
As you explore the underdark you’ll eventually stumble across a Myconid Colony, where you’ll get a frosty reception from their fungal Sovereign. Remain peaceful and meet it in its village and it’ll eventually ask you to help them by exterminating some duergar near a lake. Once that’s done you’ll be rewarded, but Sovereign will ask you to go a step further and destroy the roots of this menace by bringing it the head of the power behind these duergar - a drow named Nere. While defeating the first group of duergar was mostly a simple hunt and kill mission, dealing with Nere can potentially be much more involved, and half of a sizeable map is devoted to dealing with him. This page will provide a walkthrough for the quests ![]() Deliver Nere’s Head and
Deliver Nere’s Head and ![]() Free True Soul Nere in Baldur’s Gate 3, including information about what trigger’s Nere’s death, how to free him before he dies, how to deal with Nere and his duergar guards, and more.
Free True Soul Nere in Baldur’s Gate 3, including information about what trigger’s Nere’s death, how to free him before he dies, how to deal with Nere and his duergar guards, and more.
How to Keep Nere Alive in Baldur’s Gate 3
After killing the duergar near the lake you’ll need to commandeer their boat and sail across the lake to reach ![]() Grymforge, where Nere and his duergar can be found. Before you go, you should take a Long Rest. Stash excess loot, but make sure you’re ready for a fight. Nere, it turns out, has got himself into a spot of trouble, and once you sail into the darkness you’re on the clock. If you fast travel out of Grymforge twice (even if it’s just to camp) or you take a Long Rest, Nere will die… which might not be the worst thing, if you’re just here for his head, but if you want to maximize your experience or you’ve been siding with the Absolute’s cultists and wish to continue doing so, you’ll need to hurry. It should be noted that no amount of in-game time seems to matter, so you don’t need to rush through this area, and you can still take two Short Rests (if you have them), but you’ve got to be fit enough for a fight once Nere is freed.
Grymforge, where Nere and his duergar can be found. Before you go, you should take a Long Rest. Stash excess loot, but make sure you’re ready for a fight. Nere, it turns out, has got himself into a spot of trouble, and once you sail into the darkness you’re on the clock. If you fast travel out of Grymforge twice (even if it’s just to camp) or you take a Long Rest, Nere will die… which might not be the worst thing, if you’re just here for his head, but if you want to maximize your experience or you’ve been siding with the Absolute’s cultists and wish to continue doing so, you’ll need to hurry. It should be noted that no amount of in-game time seems to matter, so you don’t need to rush through this area, and you can still take two Short Rests (if you have them), but you’ve got to be fit enough for a fight once Nere is freed.
You should also strive to be level five or higher before attempting this, as there will be at least one fight that could feature up to a dozen enemies. Having Extra Attack on your warriors, double casting Cantrips and access to 3rd-level spells like ![]() Haste and
Haste and ![]() Fireball will make this all so much easier.
Fireball will make this all so much easier.
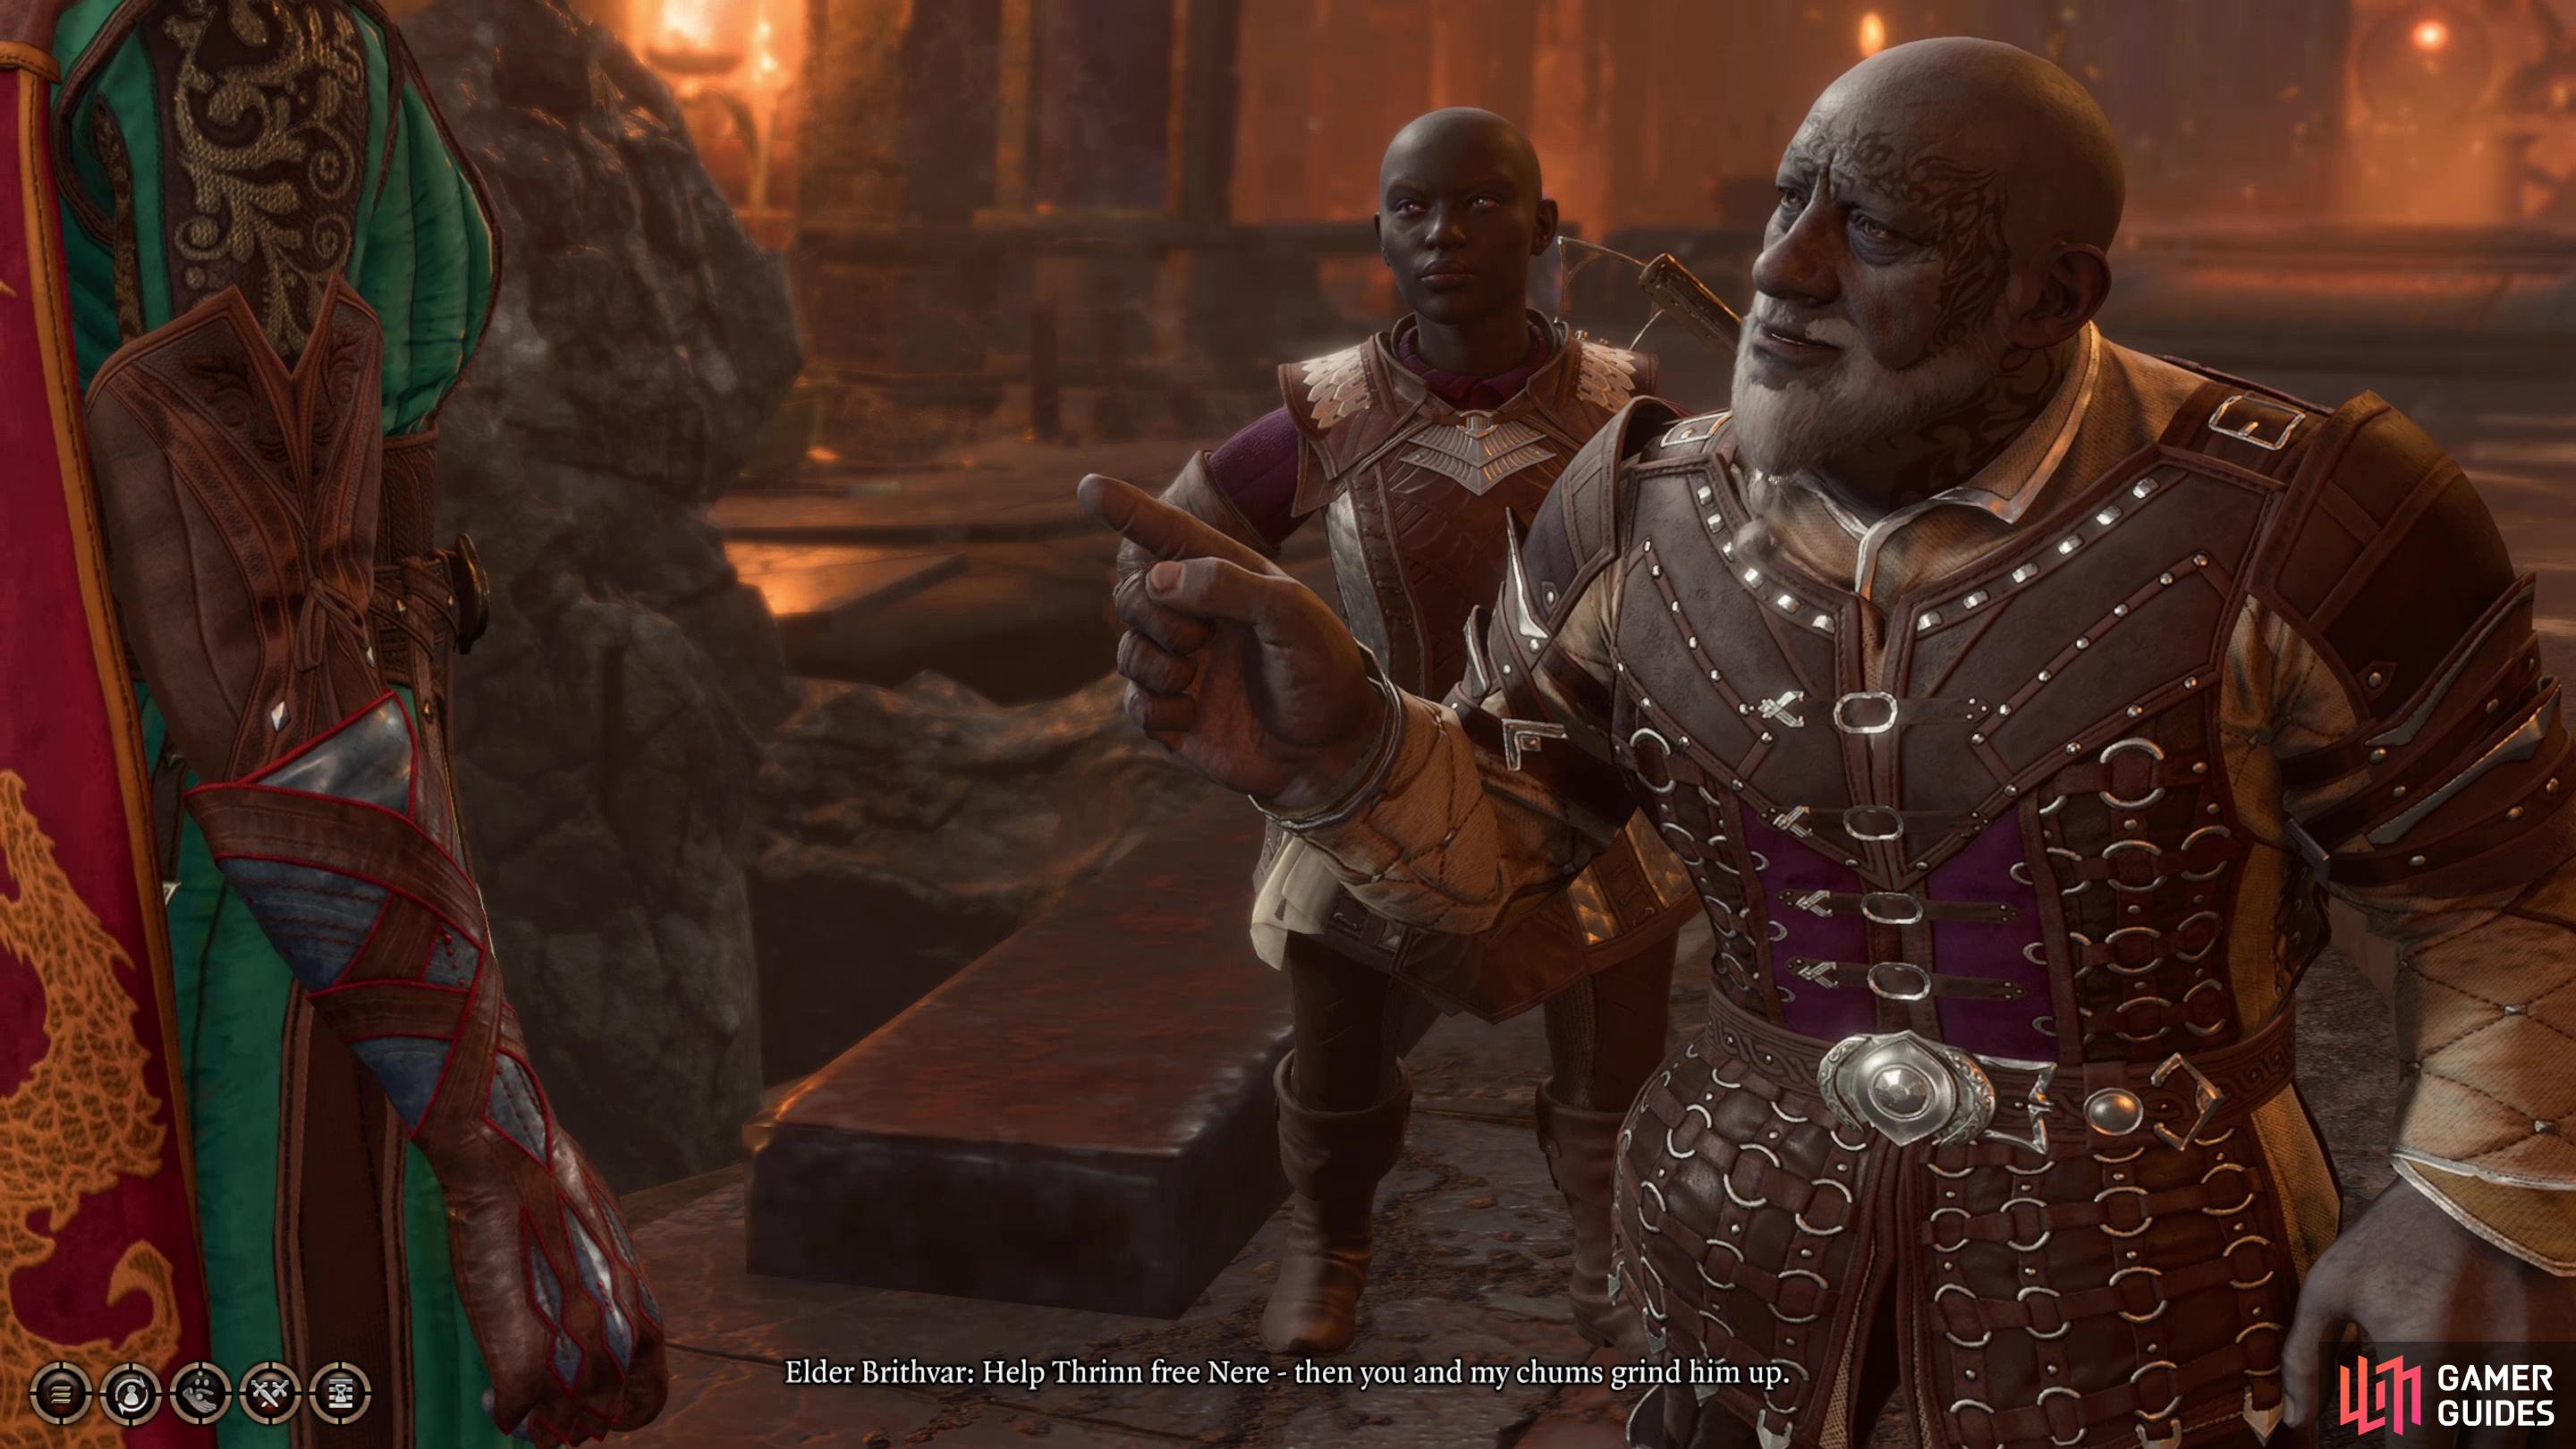
Talk to Elder Brithvar and you can enter into a conspiracy against Nere.
How to Convince the Duergar to Turn on Nere
The first thing you should do when you land in Grymforge (keep the peace with the duergar - you can always pick a fight with them later, if you wish) is head up some stairs to the south to discover the Grymforge waypoint, then continue up a second flight of stairs to the south, then a third to the southeast.
Just atop these stairs you’ll find Elder Brithvar, and if you talk to him you’ll find that he mentions some slave “running with a barrel under her arm” before turning his attention to you. He’s not a fan of “True Souls”, which he has you pegged as, and will continue spitting vitriol although his companion, Stone Guard Kur, will keep him somewhat restrained unless you force the issue. Advance the conversation until you get two [Deception 10] checks and a [![]() Detect Thoughts 11] check - all of these will lead to Elder Brithvar making you an offer. Seems that some of the duergar employed here are true believers, while others are just in it for the money. Elder Brithvar is in the latter camp, and Nere owes them money. You get Nere free, then the two of you can kill the drow and take his gold. Having extra allies on hand for the confrontation with Nere will be quite helpful, and there’s no good reason to turn Elder Brithvar down. Succeed at a [Persuasion 10] check and you’ll demand a larger cut of the bloody profits - no good reason not to do this, too.
Detect Thoughts 11] check - all of these will lead to Elder Brithvar making you an offer. Seems that some of the duergar employed here are true believers, while others are just in it for the money. Elder Brithvar is in the latter camp, and Nere owes them money. You get Nere free, then the two of you can kill the drow and take his gold. Having extra allies on hand for the confrontation with Nere will be quite helpful, and there’s no good reason to turn Elder Brithvar down. Succeed at a [Persuasion 10] check and you’ll demand a larger cut of the bloody profits - no good reason not to do this, too.
Finally, you’ll be tasked with destroying the Scrying Eye floating about to secure Elder Brithvar’s support. This isn’t strictly necessary, as Elder Brithvar will put his own continued existence over quibbling about details, but it does remove a pesky enemy from the upcoming fight, which makes eliminating this eye a good idea. We’ll get to it right before we’re ready to free Nere.
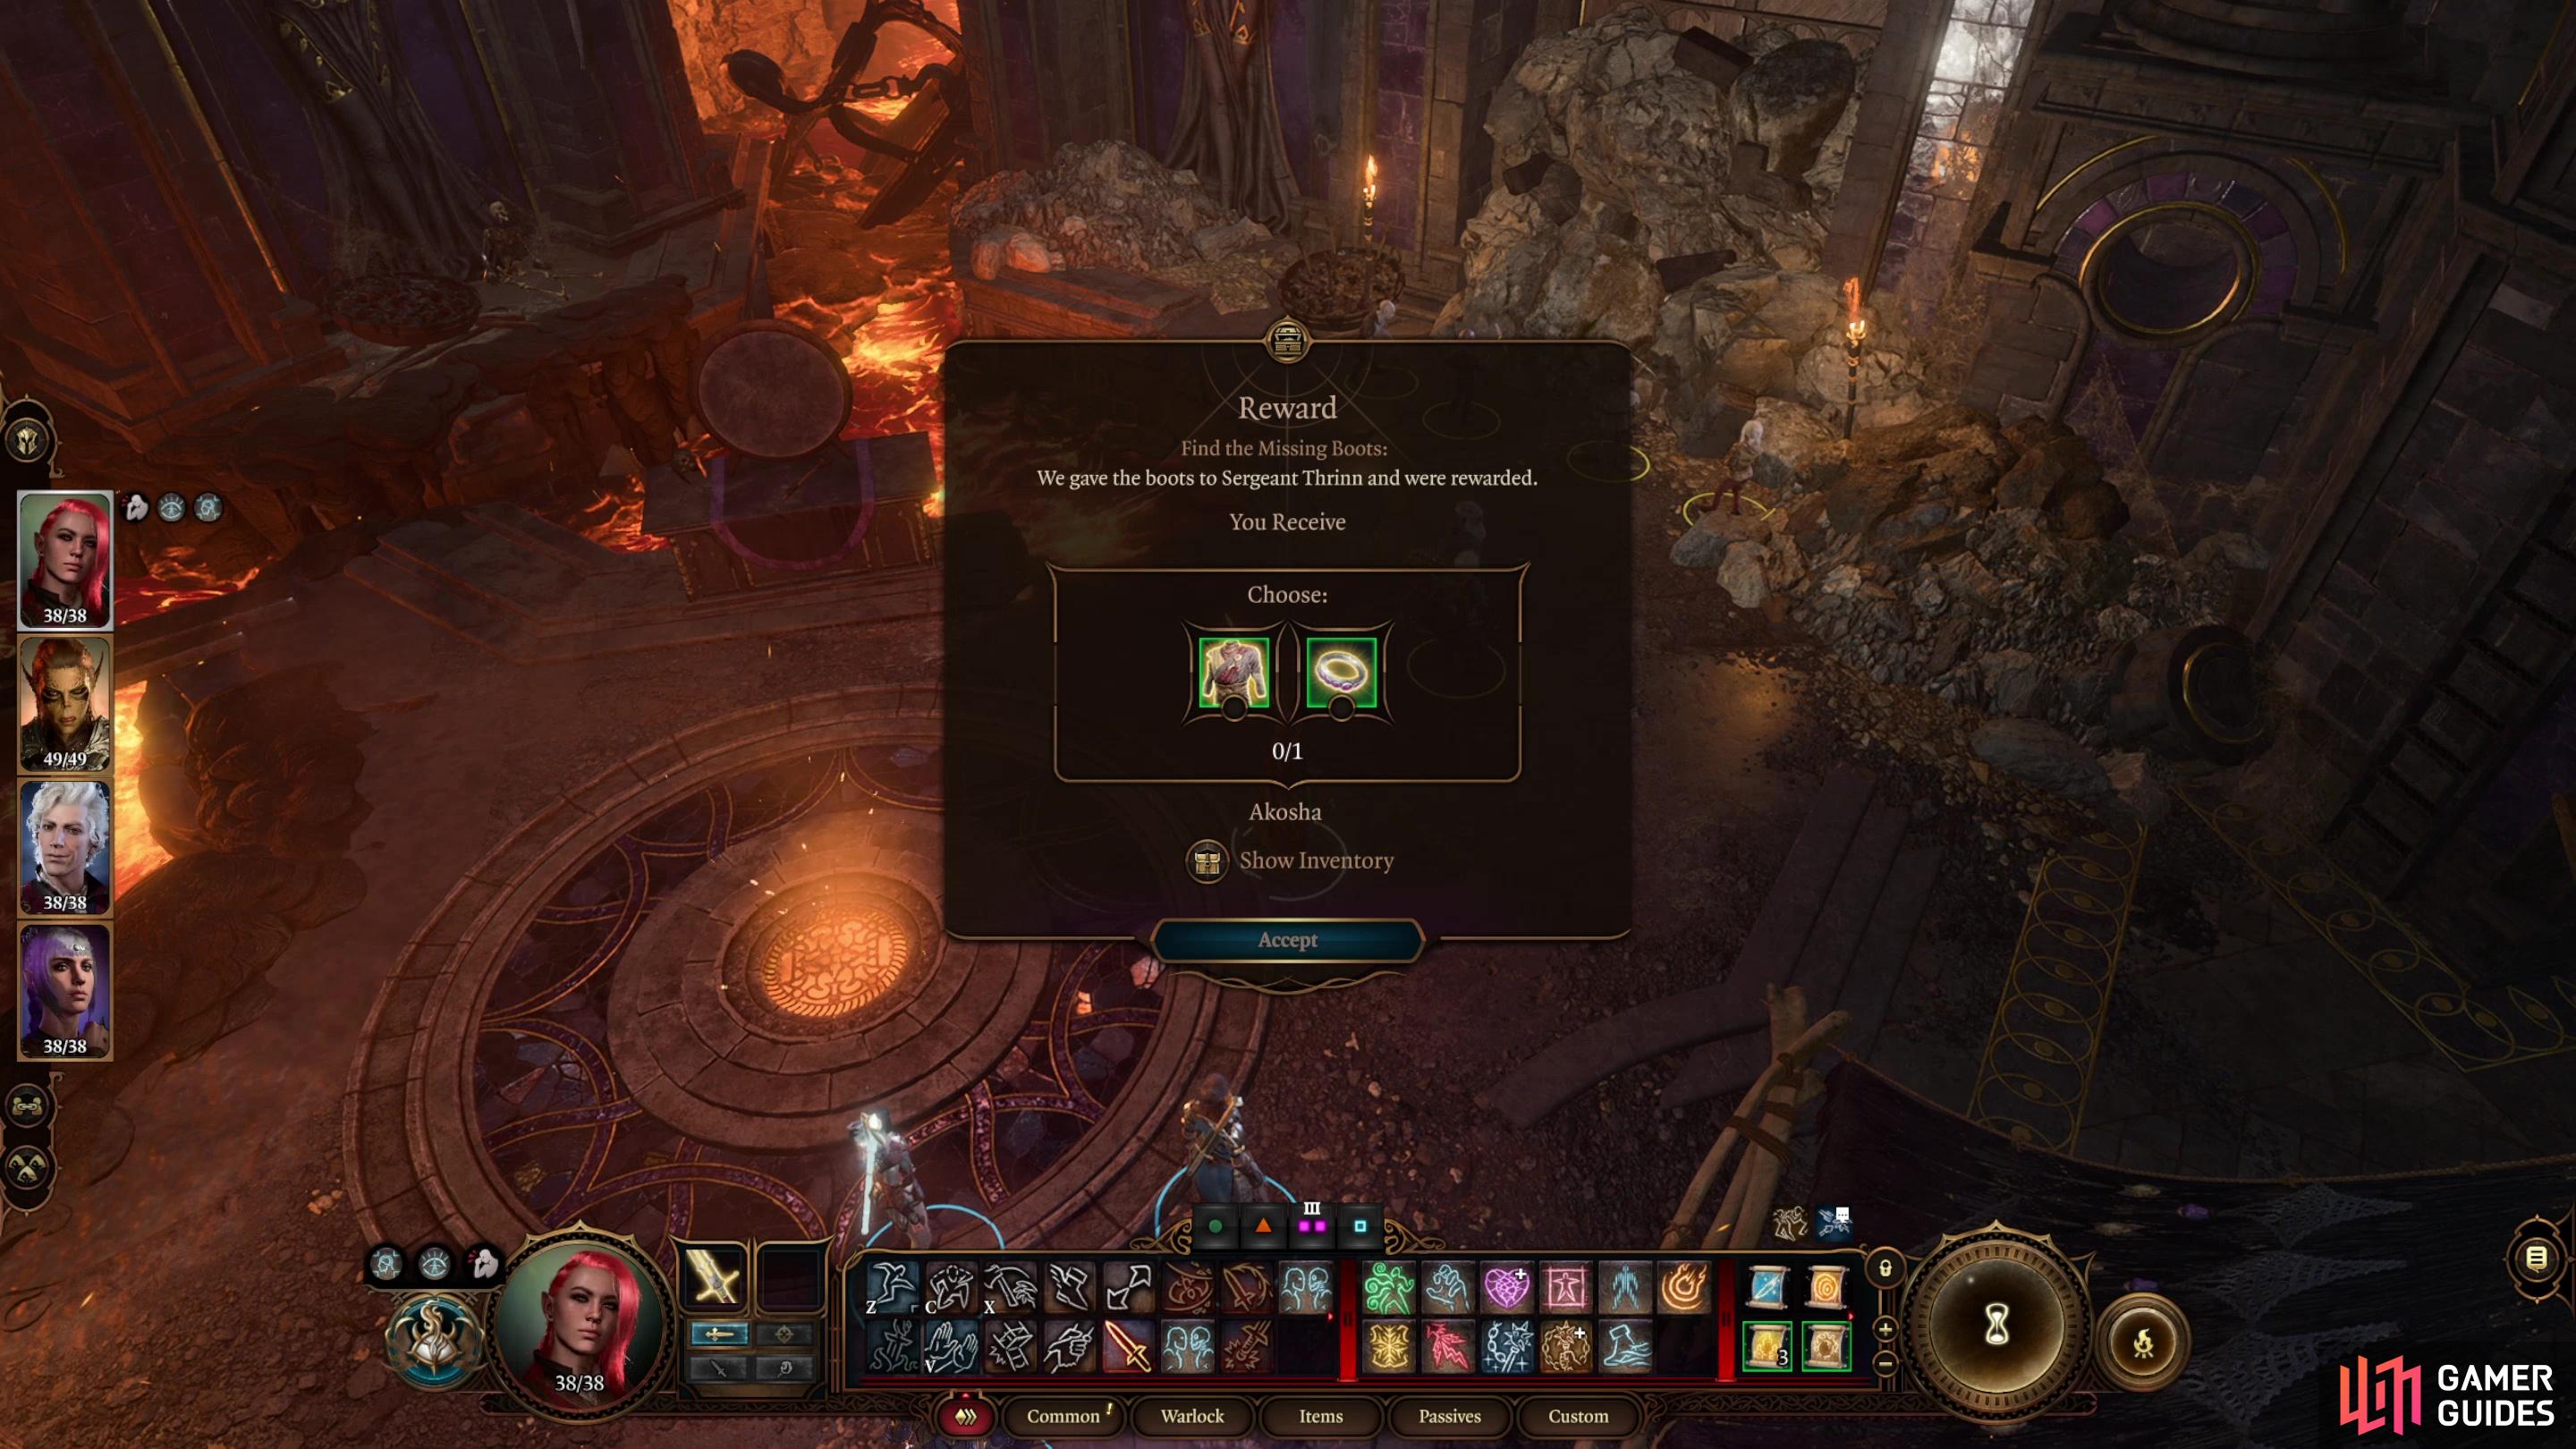
Give Sergeant Thrinn her Boots of Speed back and you can select a reward - you can always kill Sergeant Thrinn later to reclaim the Boots of Speed.
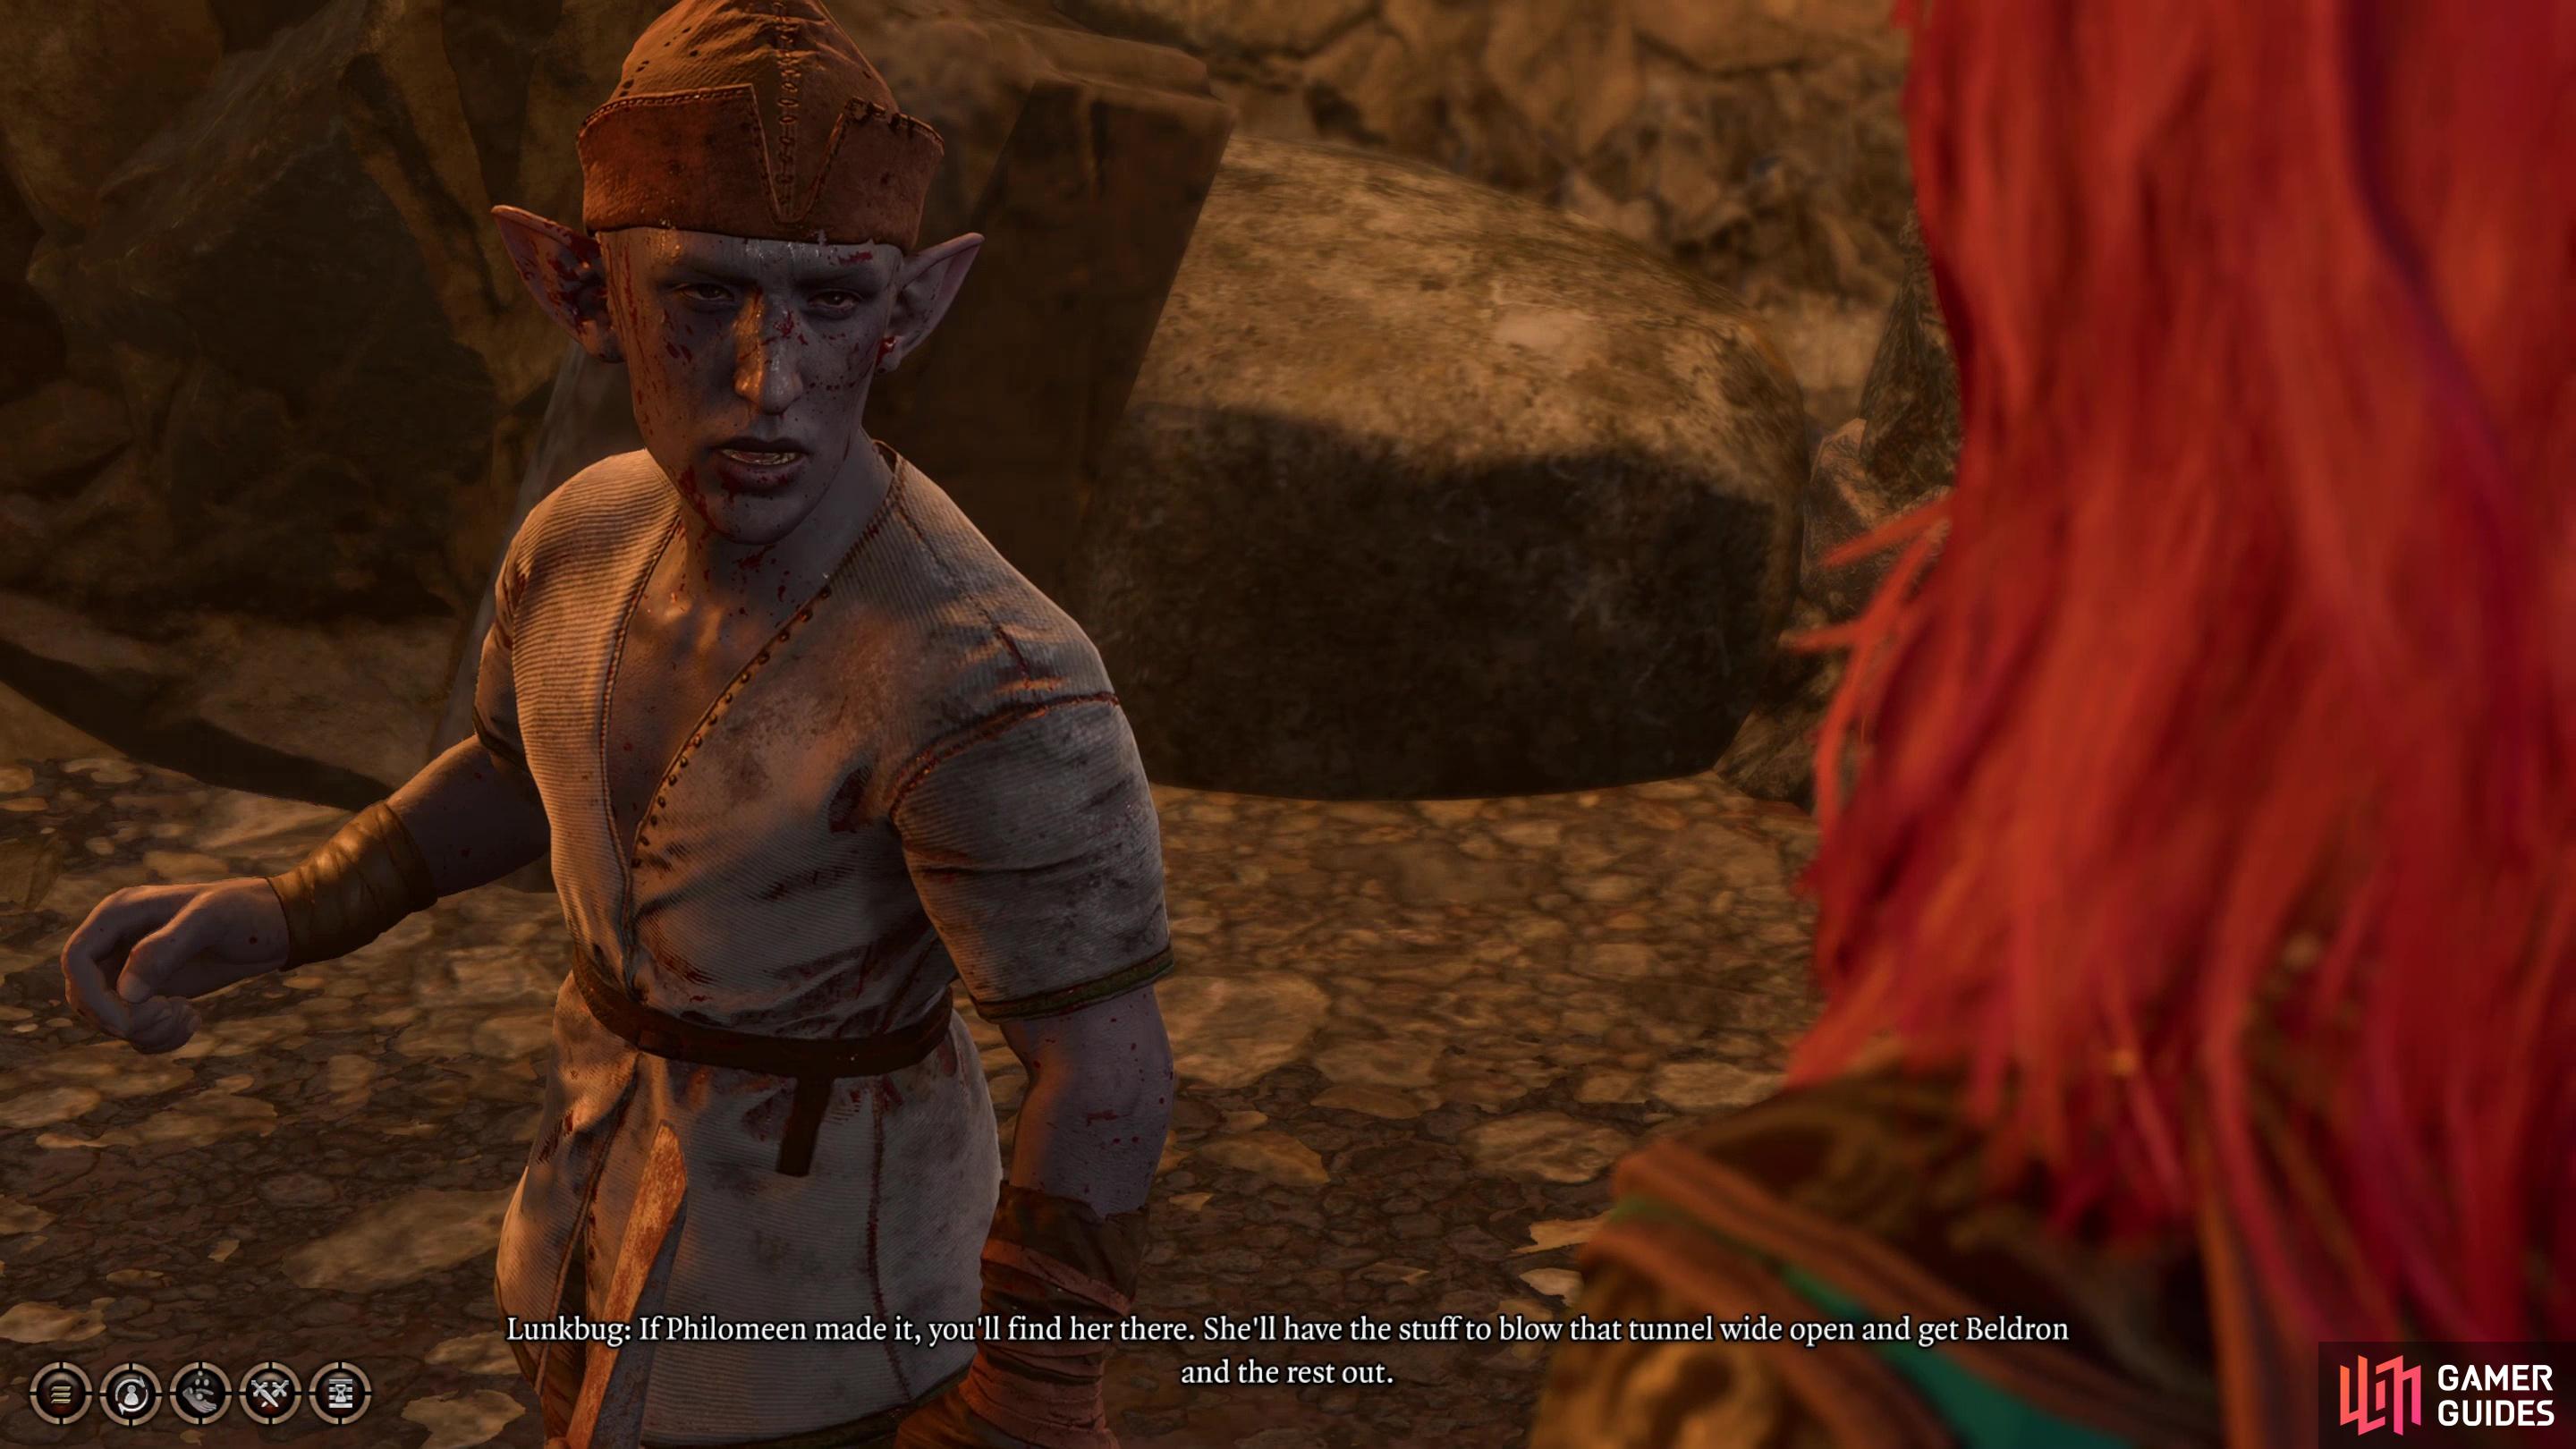
Talk to the gnomes to learn the location of Philomeen, who has absconded with a barrel smokepowder.
How to Free Nere - Find Explosives
With that in your back pocket, continue south to a lava-filled chamber, where several deep gnome slaves toil under the lash of one Sergeant Thrinn. Talk to Thrinn and she’ll give you the skinny on the situation - Nere got himself trapped by a cave in, and while that’s bad enough, there is poisonous gas where he’s trapped. If he isn’t rescued soon, he’ll perish.
After chatting with Thrinn you can investigate the cave-in to get into mental communication with Nere, but aside from a [Perception 10] check there’s not much of interest here, unless you find Nere’s brand of haughty, entitled sniveling to be endearing. The cave-in itself is actually more interesting, as it’s a fairly straightforward puzzle. It has 44 Hit Points, Medium Toughness (it ignores all damage unless the source deals 22 damage in a single go) and it’s immune to most everything. Not included in its list of immunities is piercing damage (it’s only resistant to this) and bludgeoning and force damage (takes full damage). Conceivable, then, a character dealing enough damage with a maul could chip away at this cave-in, as could a spell dealing enough force damage. The solution the game is really looking for, however, is explosives, which seem to bypass the cave-in’s damage threshold, and there are a few ways to get your hands on such devices.
First, and perhaps simplest, is to use Smokepowder Bombs, which you may have found scattered throughout the game. Some enemies may have even introduced you to some, in a rather unfortunate way. They’re not the most common of devices - we only have five at this point in the game - but if you have some on you, you can clear the cave-in with two Smokepowder Bombs.
If you don’t have any Smokepowder Bombs or another means of chipping away at the cave-in, you’ll have to search for alternative solutions, and fortunately there are at least two. If you talked to Elder Brithvar you’d have heard about a slave “running with a barrel under her arm”, along with the mention that it was enough to free Nere. Doubt that’s a barrel of rum.
Talk to the gnomes working the cave-in and you can find out about a runaway slave named Philomeen, who just so happens to have made off with a barrel of runepowder. You can get this information by just going through the dialog options, or by succeeding at a [Persuasion 10] then either an [Intimidation 5] or [Persuasion 5] check, if you want to roll dice unnecessarily. This is covered in greater detail on the page How to Find Philomeen’s Hiding Spot, but we’ll provide a quick rundown here.
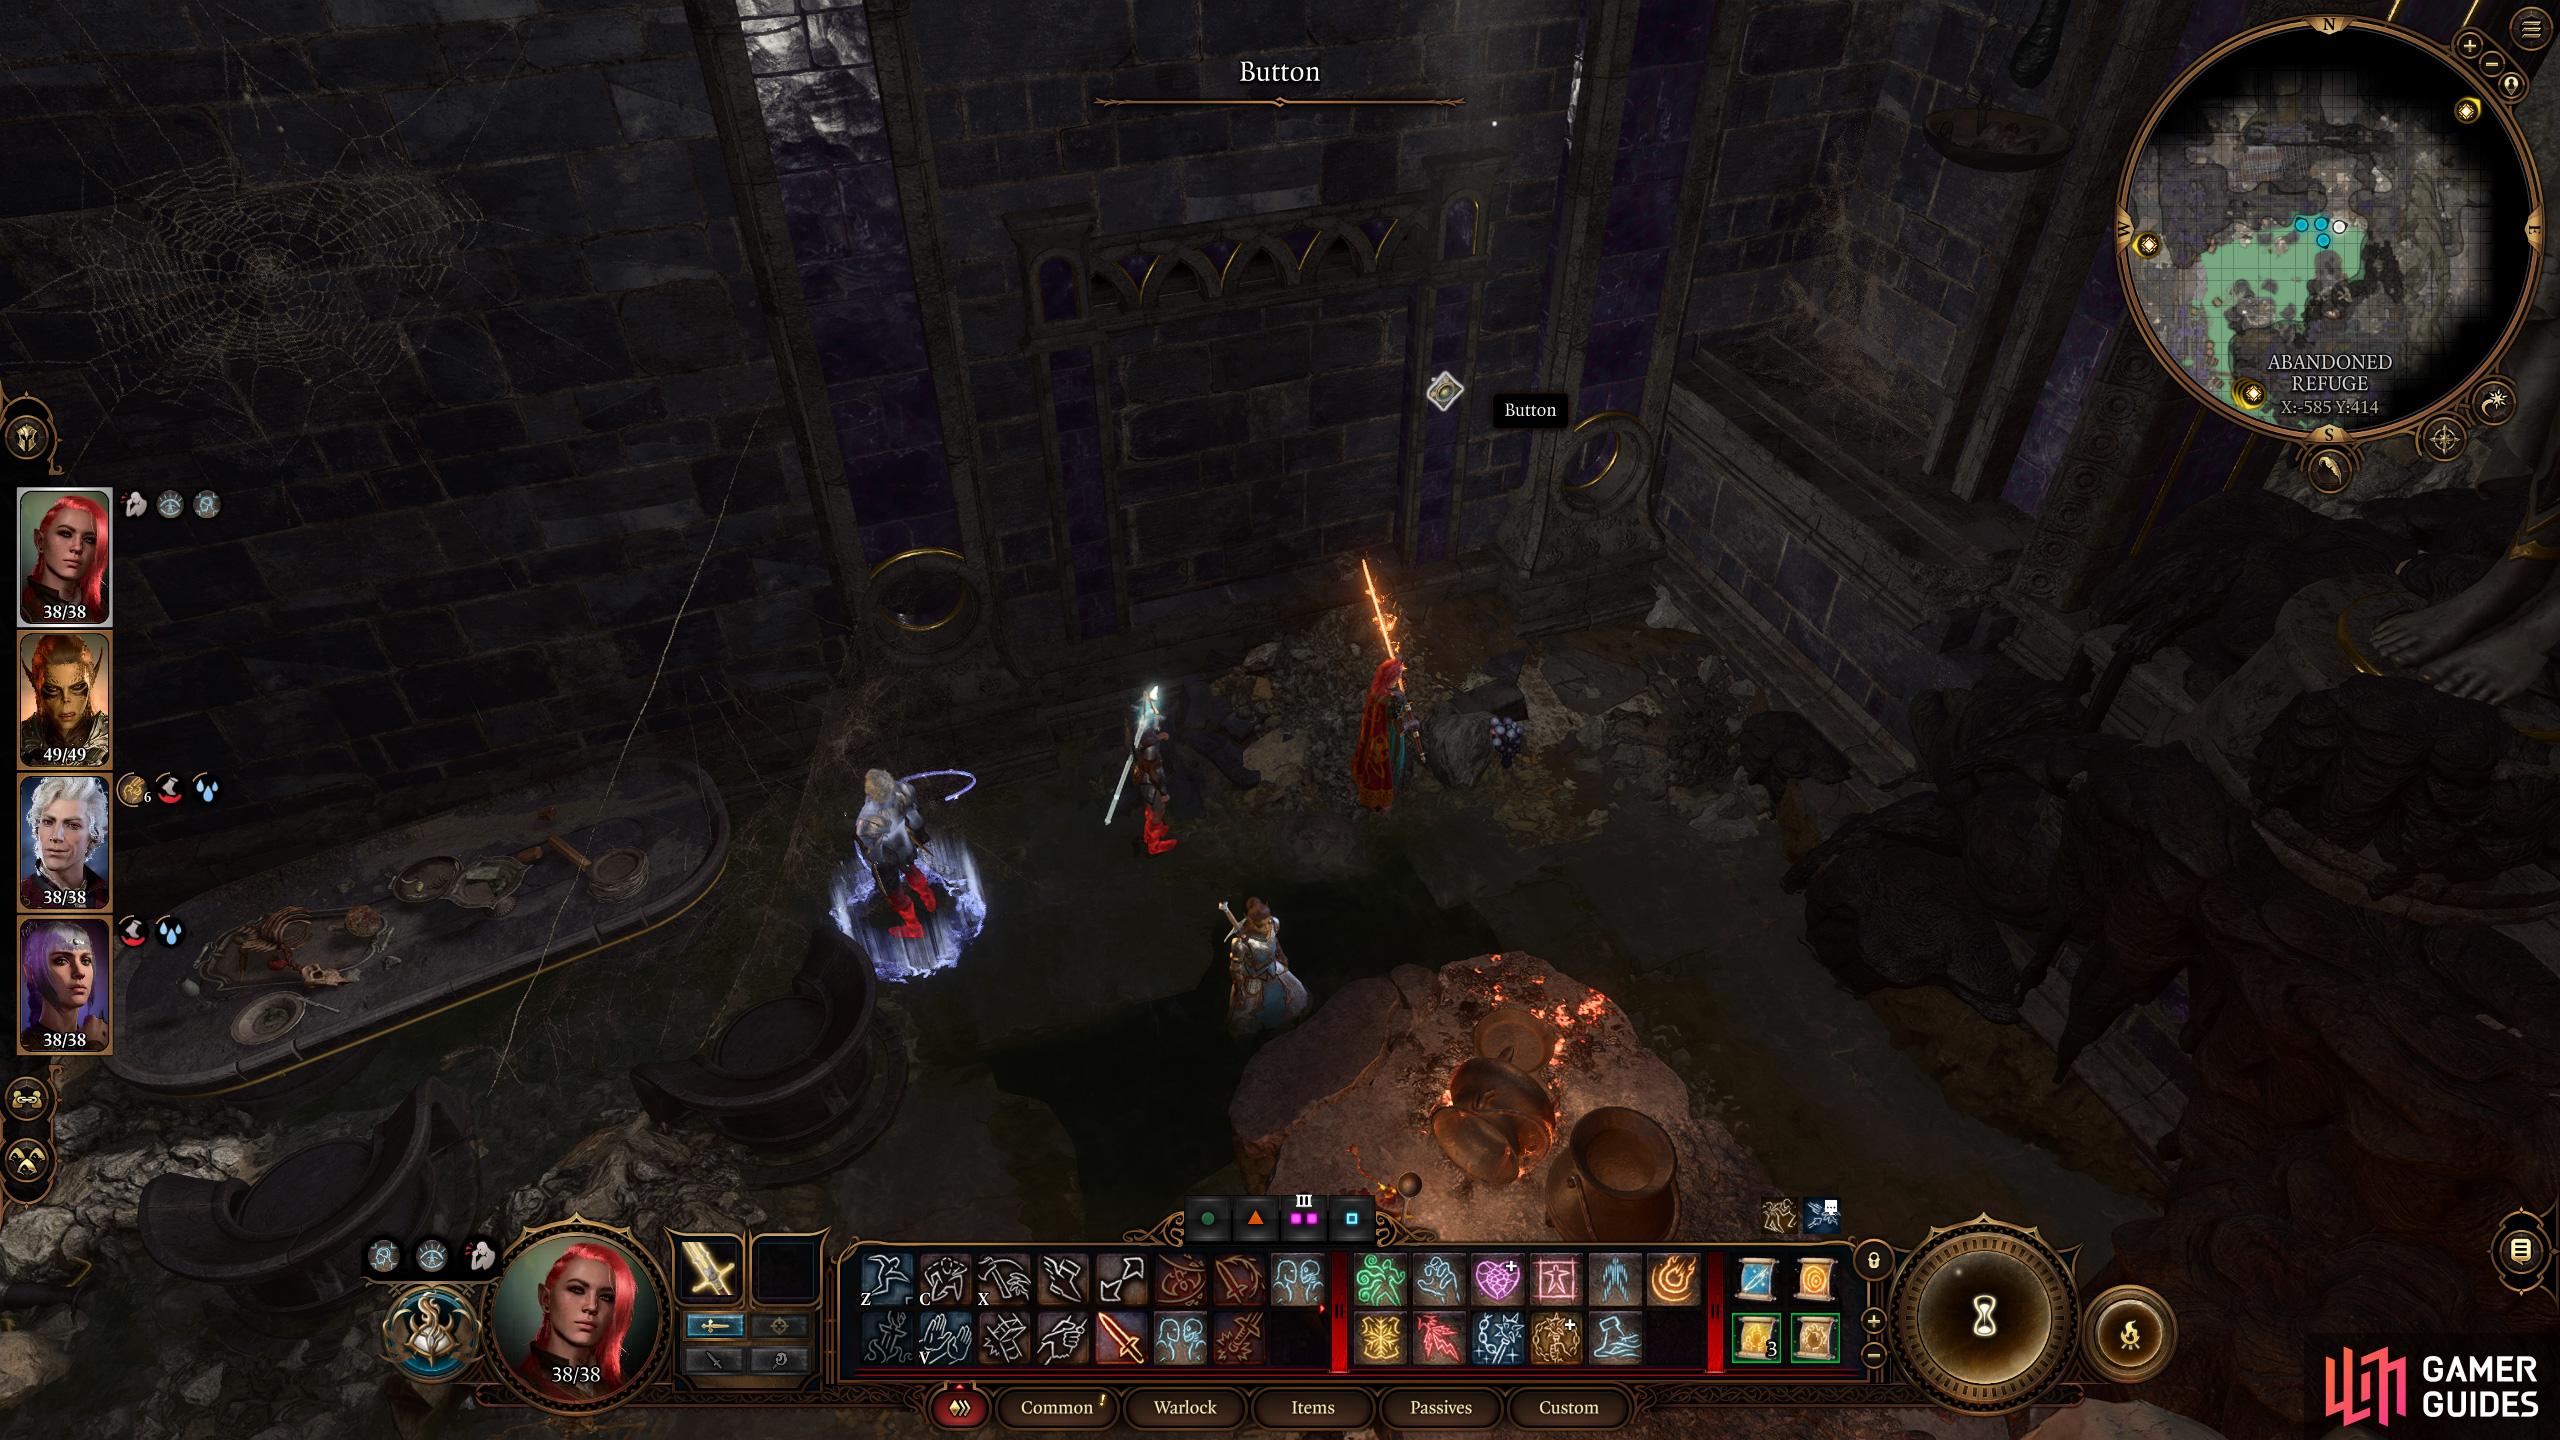
(1 of 7) To find Philomeen, pick a locked door and find a hidden button to reveal a secret door,
Find Explosives - Philomeen’s Runepowder
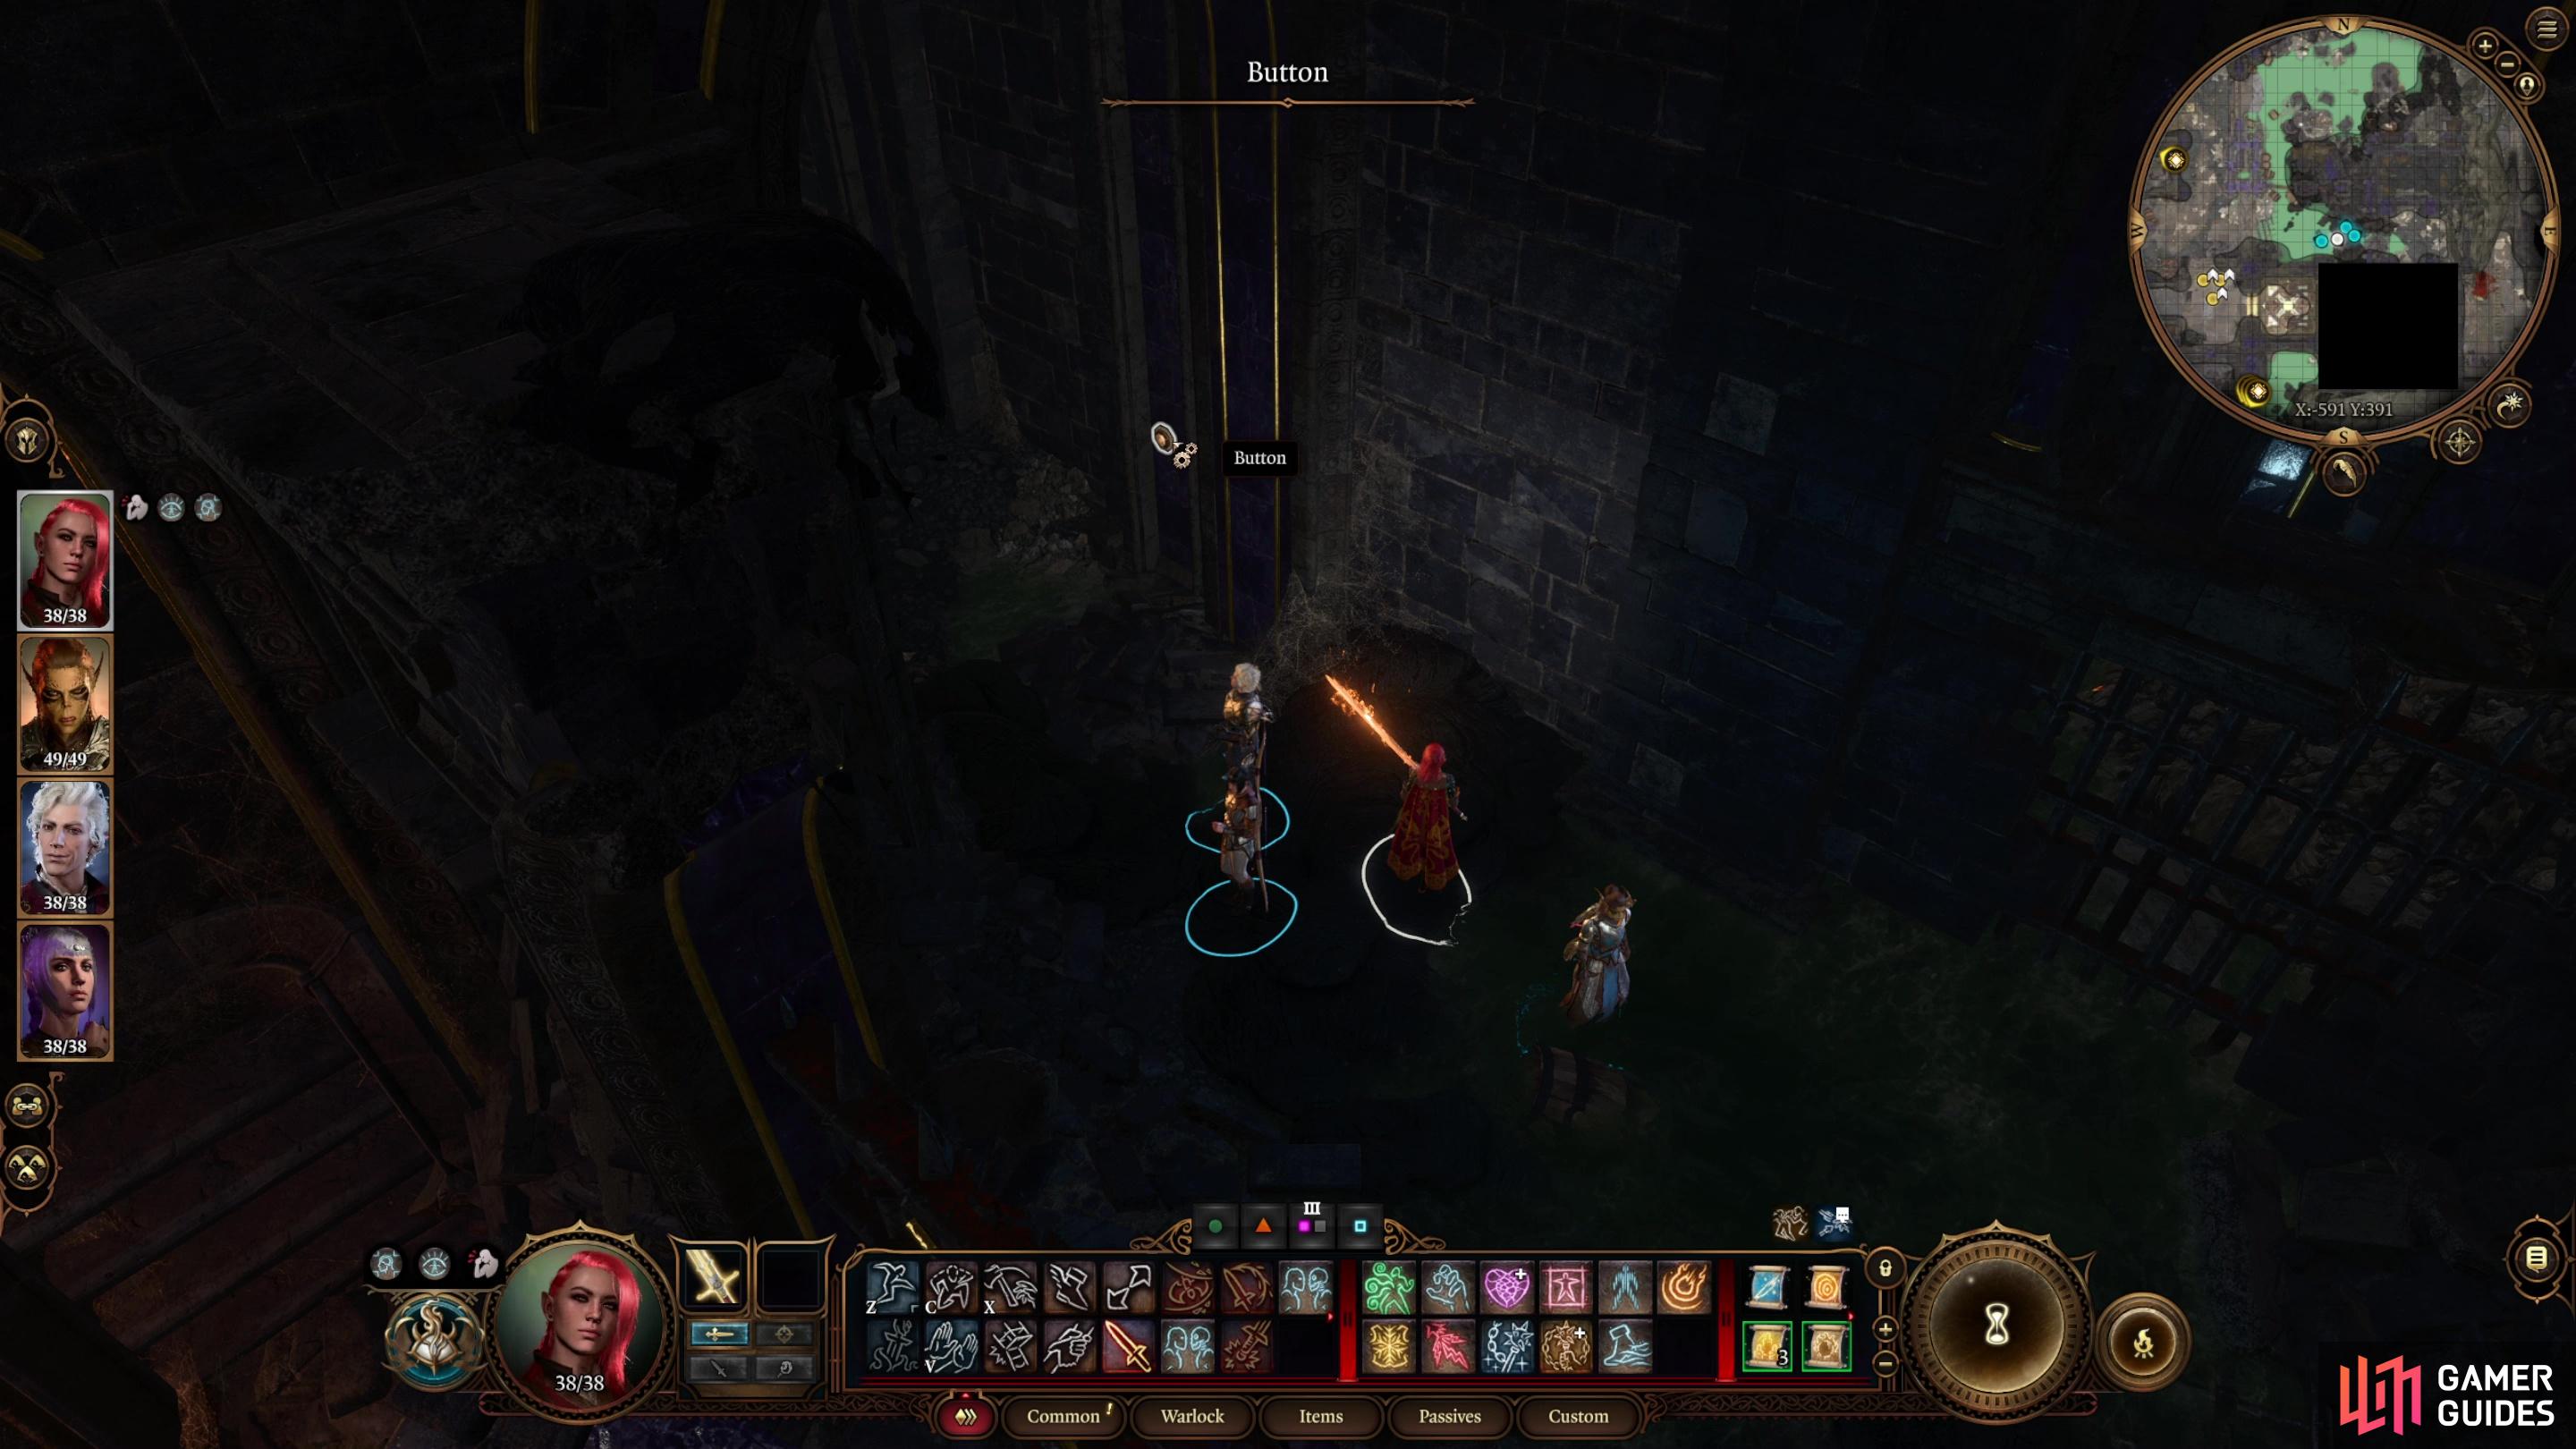
Fast travel back to the Grymforge waypoint and from there head downstairs to the east, then when you reach some stairs leading up, go around them to the northeast, where you’ll spot some doors to the east. Your explosives lie through these doors, but we’ll focus on Philomeen for now. Continue north and lockpick some Double Iron Doors [Sleight of Hand 14] and head to the northeastern corner of the watery room beyond to find [Perception 5] a Button on the wall. Press it to lower a nearby wall, go through another set of Double Iron Doors, then climb some ledges (a [Perception 10] check will hint that an ambush lies ahead. Either sneak up the stairs, or just go forward and defeat three Ochre Jellies. Once the slimes are vanquished, go upstairs and continue east up a rocky ledge, then jump a gap to the northeast to reach an Intricate Door. Pick the lock [Sleight of Hand 10] save your game, then head inside to meet Philomeen.
Exchange words and you’ll get a ton of checks you can make. If you talked to the gnomes near the cave-in you’ll get a [Persuasion 10] check mentioning Laridda, but you’ll also have an [Intimidation 15] check, two more [Persuasion 15] checks and a [Detect Thoughts 12] check. If you fail any of these checks, Philomeen will detonate the runepowder, dealing massive damage to everybody nearby. A properly leveled warrior who passes their Dexterity Save might survive, but this isn’t an ideal outcome. Pass one of the checks and Philomeen will submit, at least inasmuch as she won’t detonate the runepowder. If you ask for the runepowder, you’ll get a chance to make a [History 20] check, but this just provides some background on runepowder. The most Philomeen is willing to part with is a single vial of runepowder, which is enough for your purposes. Demand more or let Philomeen run off without giving any runepowder and she’ll grab the barrel of runepowder and run off - if you want the full barrel you’ll need to interrupt her (enter turn based mode with shift + spacebar) and attack her as she escapes. You don’t need to be careful here, even lobbing a Fireball at her won’t detonate the runepowder, and once she’s slain you can loot both the Runepowder Barrel and Runepowder Vial from her body.
However you go about it - whether you talk Philomeen into giving you a Runepowder Vial or you kill her and take the whole barrel, you should have what you need to free Nere. That said, we’ll cover another source of explosives, just in case something goes awry.
If for some reason you can’t get Philomeen’s explosives, go through another door adjacent to the one that took you to Philomeen and search for another hidden button,
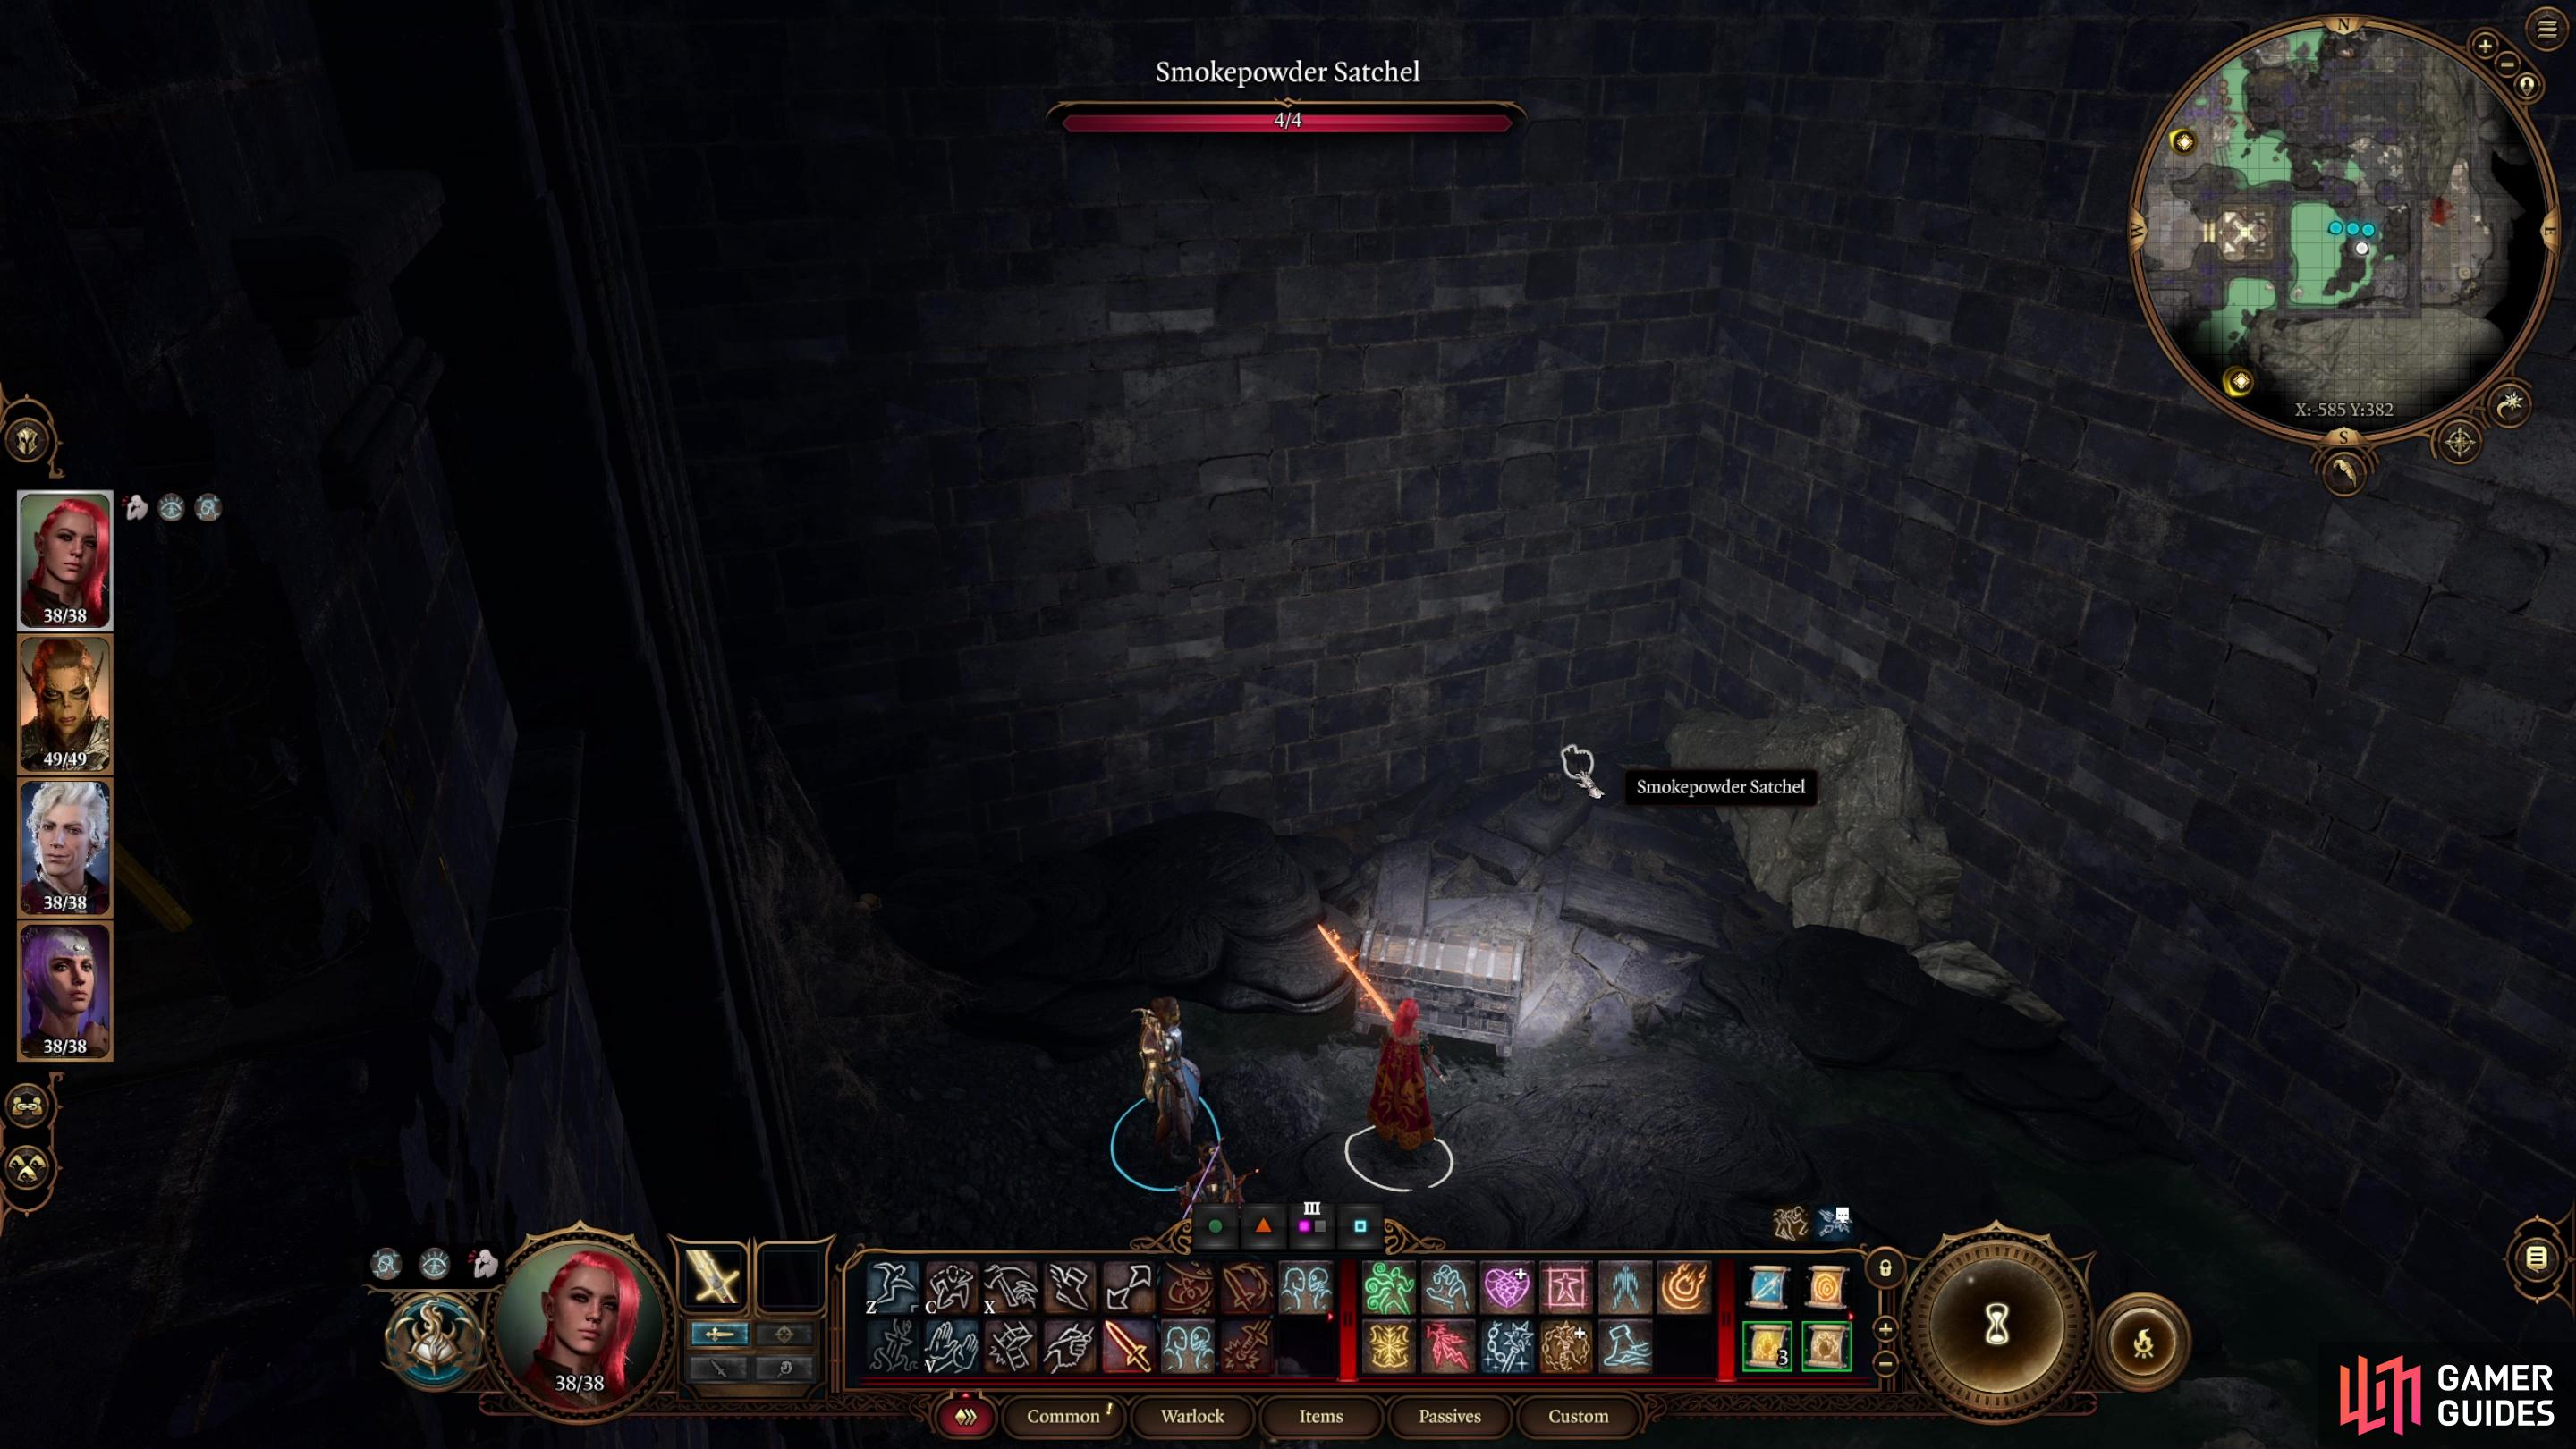
beyond which you’ll find some Smokepowder Satchels.
Find Explosives - Smokepowder Satchels
South of the first set of Double Iron Doors that led to Philomeen’s hideout you’ll find a Metal Door. Go through it and head to the end of the hallway beyond, where you’ll need to pass a [Perception 5] check to notice a Button on the wall. Press it to find a secret room, inside of which is a chest and two Smokepowder Satchels. Don’t ask how they got here - just thank your good fortune and grab them.
Deliver Nere’s Head - Blind the Absolute
Now we’re ready to free Nere, but there’s one more thing we should consider taking care over before doing so. Elder Brithvar asked us to destroy the Scrying Eye floating about here, and it’s a good idea if you plan to fight Nere, as it’ll get rid of a nuisance enemy before the fight starts. The Scrying Eye will float about the lava-filled room near the cave-in, but it will also follow you around though most of the duergar-infested area. You can use its dogged pursuit of you to lure it to its doom. Naturally it goes without saying that killing it near any duergar will turn the dwarves hostile (sometimes even though floors!), so we’ll need to find a nice little secluded spot where we can do away with this peeper.
From Elder Brithvar, head downstairs to the northwest, then ignore the archway in front of you and go around it by heading west and north, heading past Stonemason Kith and then some Rothe. Go up some stairs to the north and turn a corner to the west to encounter Herdmaster Skarjall and his lackeys, Morgya and Grundril. When you approach he’ll demand you help tend to his rothe, which have become non compliant. Not much of a herdmaster, eh? That’s fine, this helps us. Pass one of two [Animal Handling 15] checks, then pick the option Incline your head towards the duergar. They’re the real problem.”. This will start a fight with the duergar, albeit with two helpful rothe on your side. None of the other duergar in the area should aggro, either, so feel free to pick off these isolated chumps (a Warlock can ![]() Eldritch Blast both Morgya and Grundril off the ruins with a bit of luck - good fun!). Defeat the duergar and loot them, then… wait, what does this have to do with the Scrying Eye again?
Eldritch Blast both Morgya and Grundril off the ruins with a bit of luck - good fun!). Defeat the duergar and loot them, then… wait, what does this have to do with the Scrying Eye again?
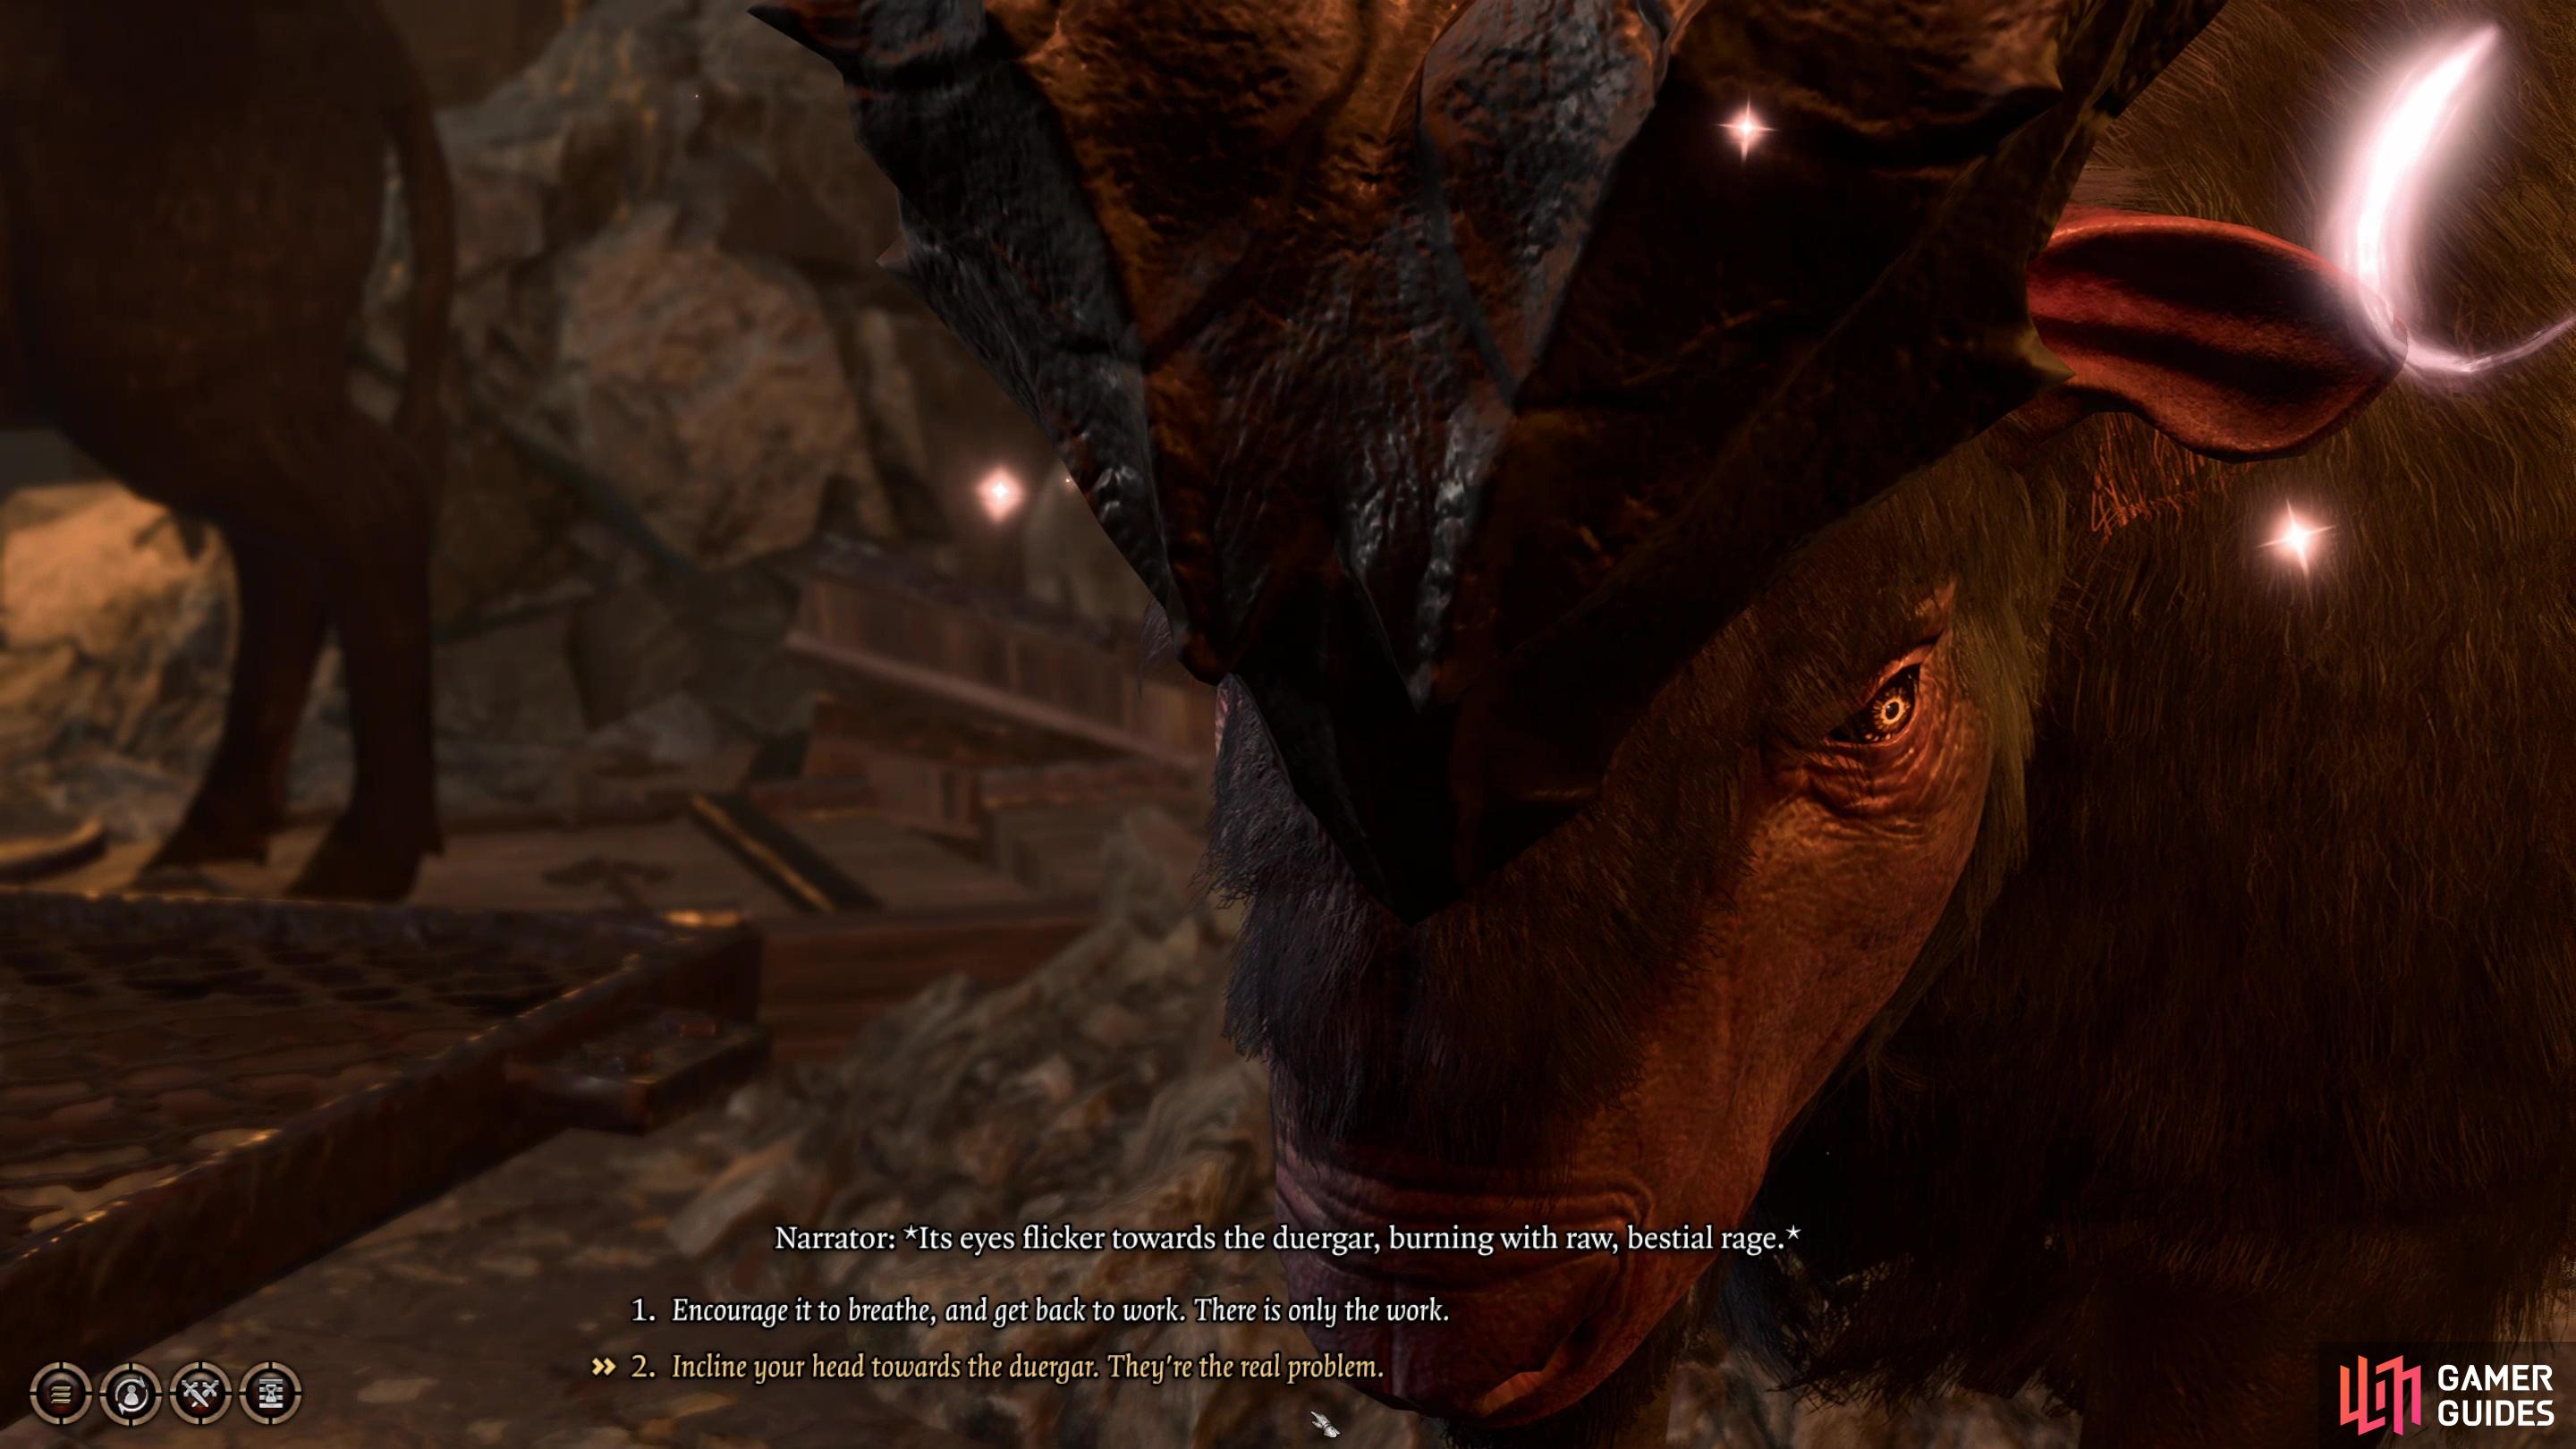
(1 of 3) Conspire with some mistreated Rothe and they’ll attack their deurgar handlers.
Right! The other duergar in this area didn’t aggro during your fight with Herdmaster Skarjall and his subordinates, so they shouldn’t aggro if you dispatch the Scrying Eye, either. Just to be safe, I used some crates to the east to gain high ground and had ![]() Astarion sneak attack it to ensure I was hiding and killed the Scrying Eye in one hit. Sorted.
Astarion sneak attack it to ensure I was hiding and killed the Scrying Eye in one hit. Sorted.
How to Free Nere - Destroy the Cave-In
Now that we’ve secured aid, taken out the Scrying Eye and got our hands on some Smoke Powder, it’s time to deal with the Cave-In, and by extension, Nere. Head back to the lava room and en route, consider chatting with Elder Brithvar to inform him of your progress. You can also update Sergeant Thrinn and the gnomes, depending on your actions. Before dealing with the cave-in, note a nearby ladder leading up to some high ground. There will be a fight soon, and depending on your choices you could end up fighting a dozen enemies, or as few as three. Either way, having high ground and buffing ahead of time will help. Use Haste or Potions of Speed on your most competent characters (resources depending) and ![]() Bless can, as usual, help a ton. You can send characters up the ladder before or after buffing, depending on what they need to do, and you might need to enter turn-based mode to sort this all out without burning through your durations.
Bless can, as usual, help a ton. You can send characters up the ladder before or after buffing, depending on what they need to do, and you might need to enter turn-based mode to sort this all out without burning through your durations.
Once that’s sorted, it’s time to save your game, then turn your attention to the cave-in. If you need to lob some Smokepowder Bombs, aim as high up on the cave-in as you can so you miss the gnomes, lest you get accosted by the duergar earlier than you mean to. If you use the Smokepowder Satches or the Runepowder Vial, you’ll need to drop or throw it at or near the cave-in. We prefer to drop it - the gnomes and duergar should get the hint and run away - then move it next to the cave in. Stand back and deal fire damage to the explosive (trusty ![]() Fire Bolt works in a pinch, as always) and when the cave-in has been cleared, Nere will imperiously storm out.
Fire Bolt works in a pinch, as always) and when the cave-in has been cleared, Nere will imperiously storm out.
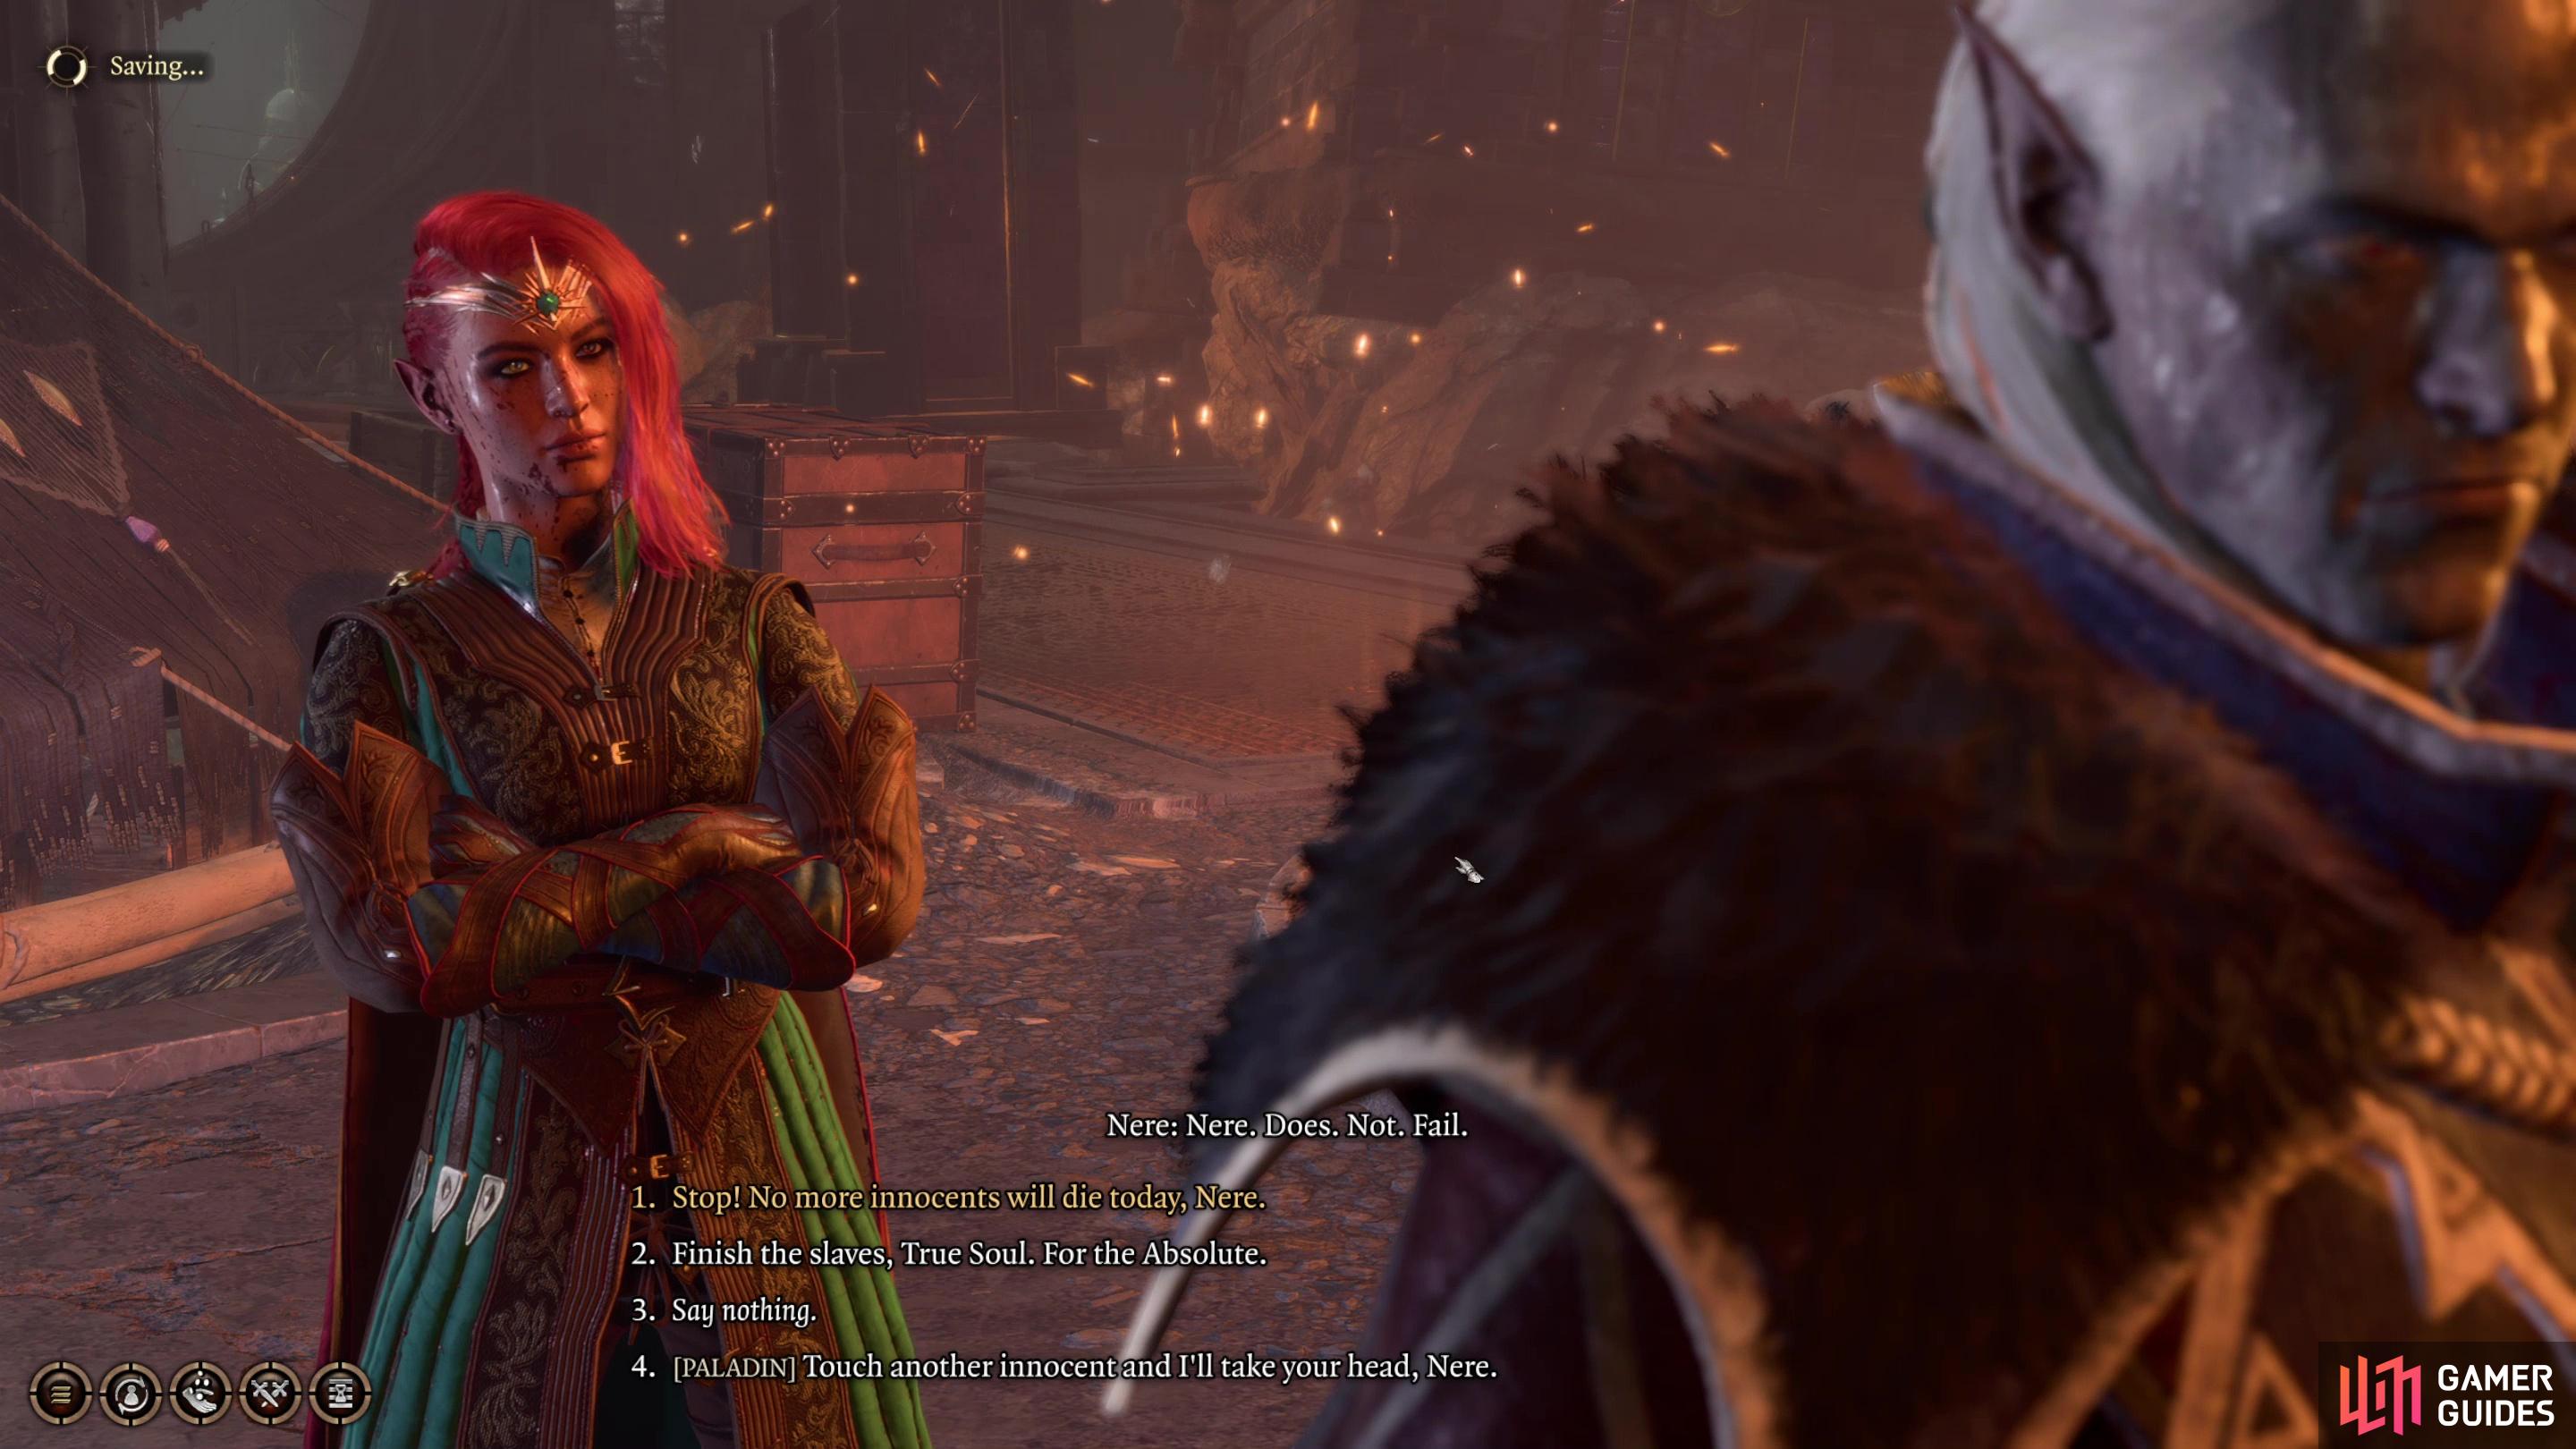
When Nere arrives from his poisonous tomb, he’ll take his frustrations out on the gnomish slaves - if you want to keep them alive, you’ll need to intervene.
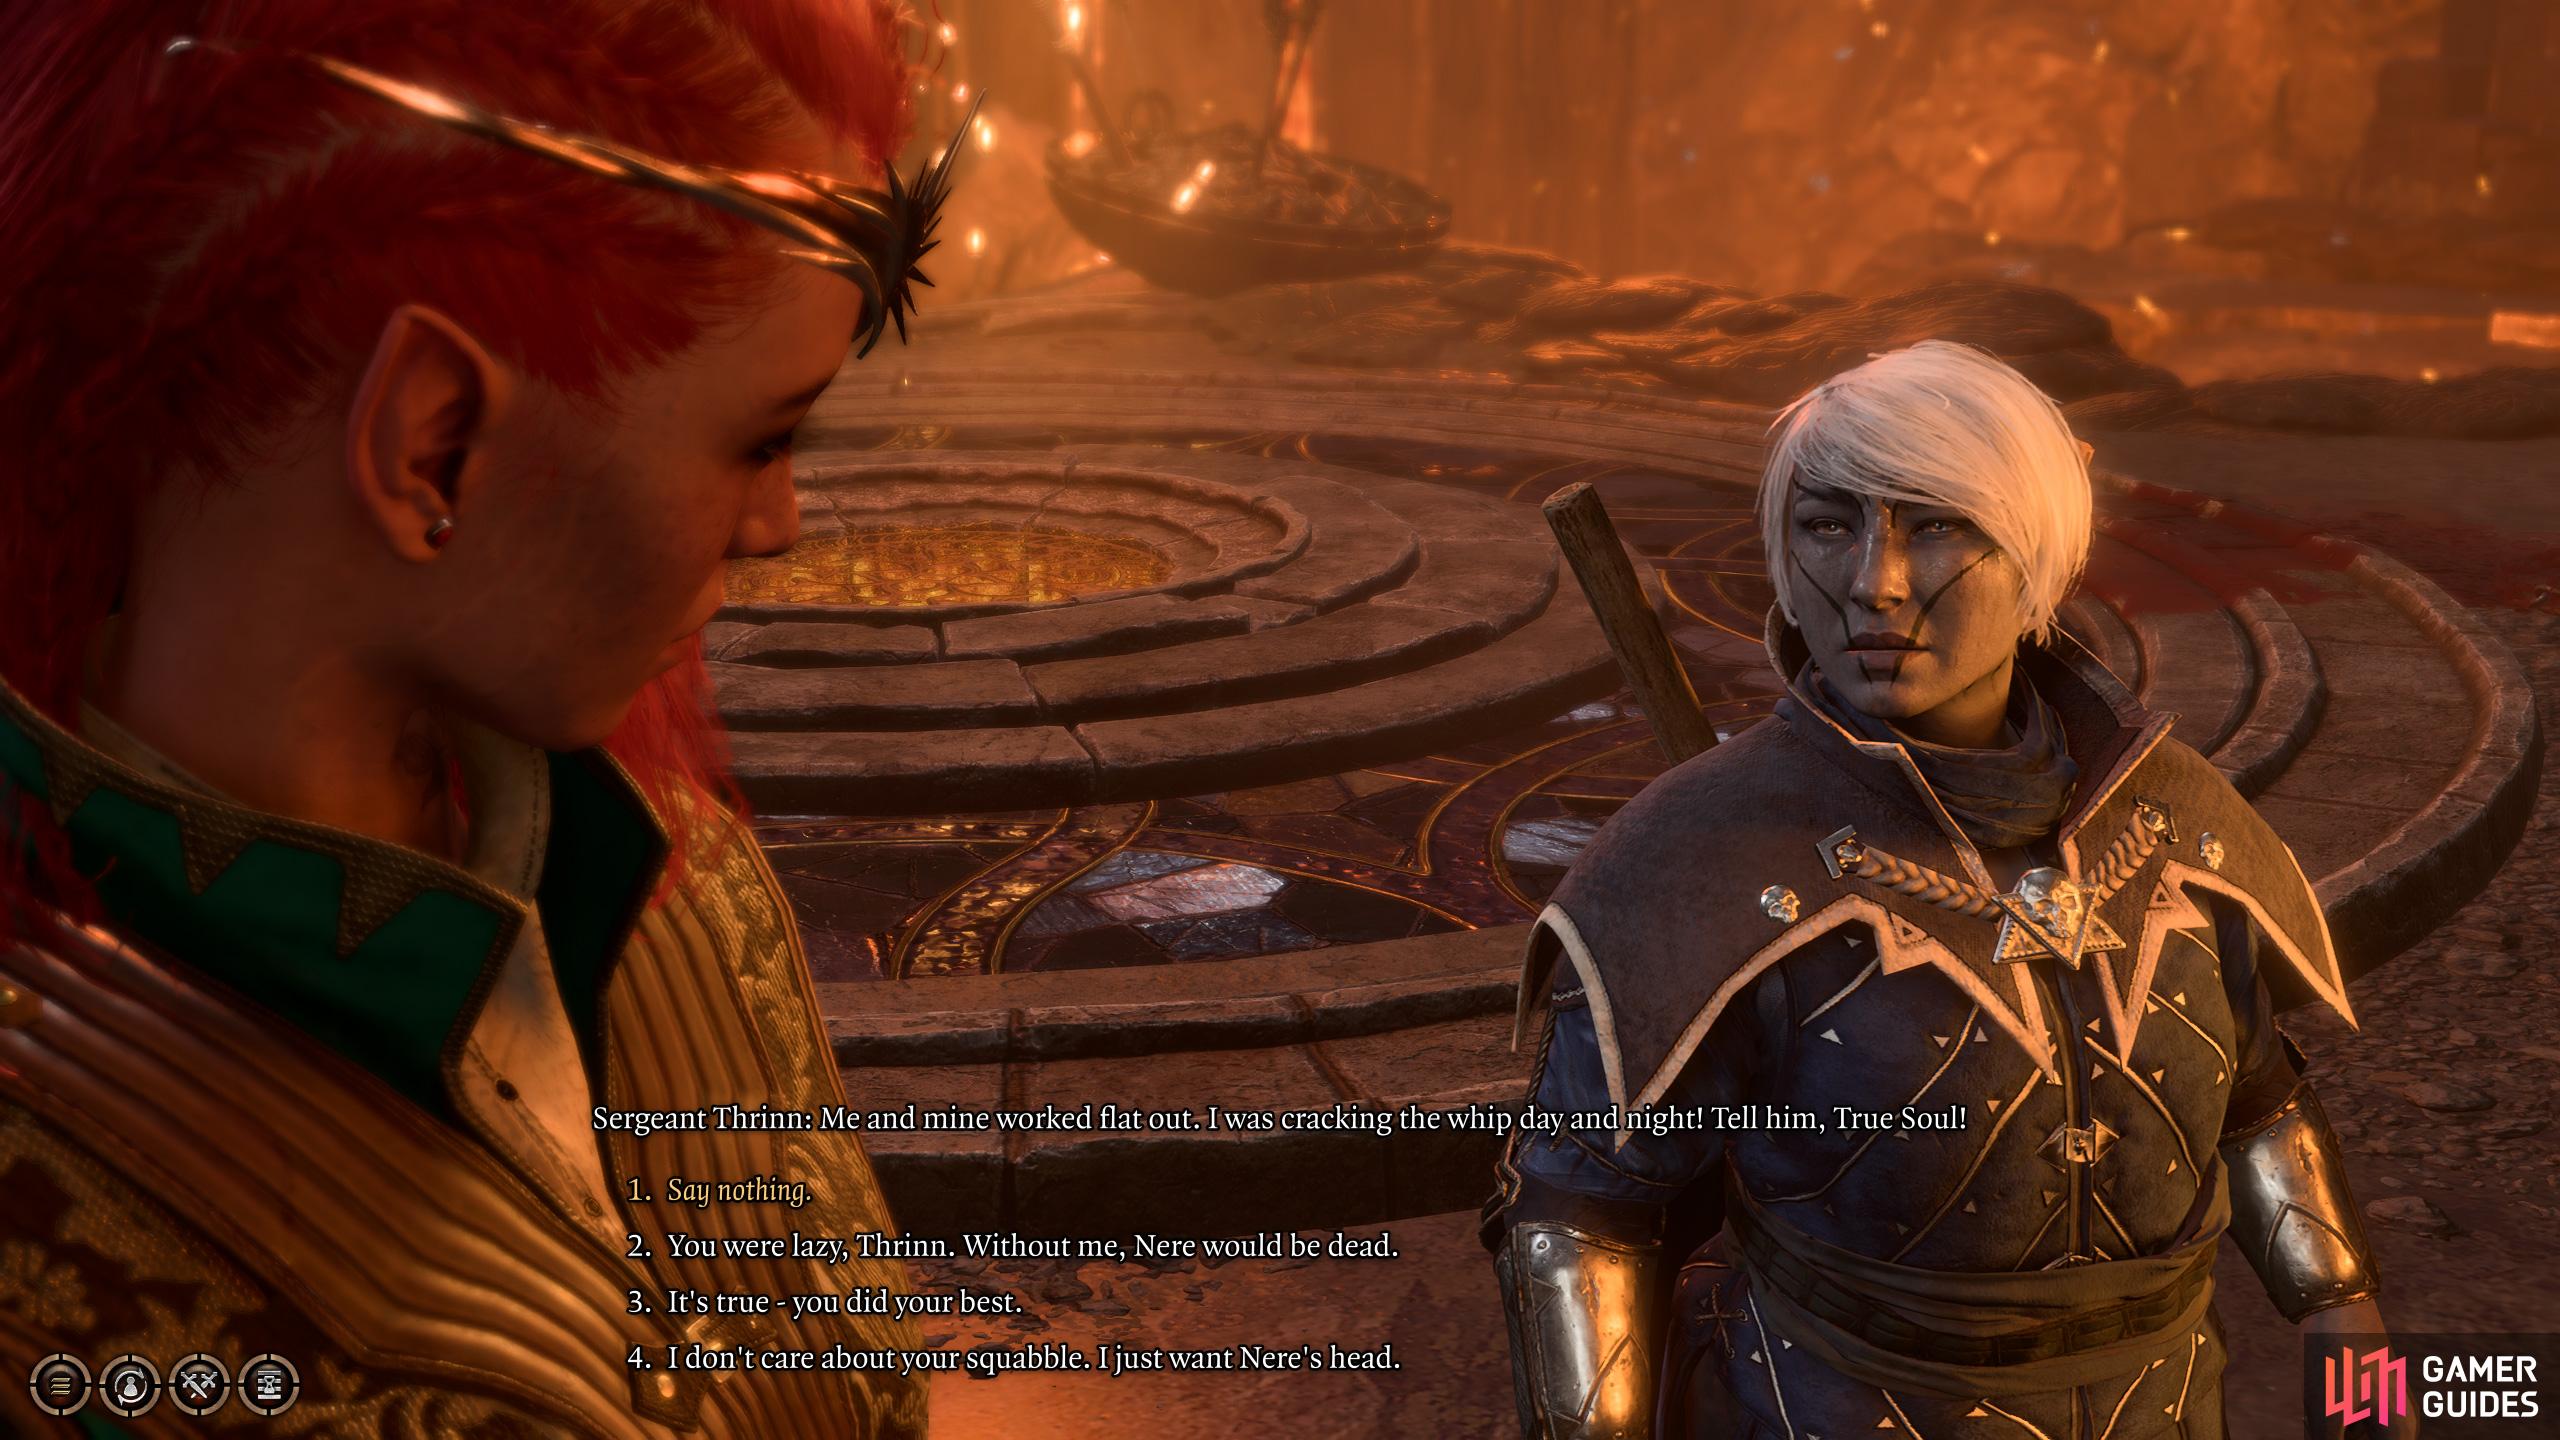
If Nere is allowed to kill the gnomes, he’ll turn his tantrum on Sergeant Thrinn next.
How to Defeat Nere and the Duergar in Grymforge
Nere will immediately go about proving what a nasty piece of work he is, and your responses here and preparations ahead of time will determine what sort of fight you’ll have. First, if you play the paladin and stand up for the slaves without having made a deal with Elder Brithvar, you could end up fighting the following enemies:
Enemies if You Stop Nere From Killing the Gnomes Without Conspiring With Elder Brithvar
- Nere
- Sergeant Thrinn
- Elder Brithvar
- Stone Guard Kur
- Mind Master Dunnol
- Mind Master Fonmara
- Drar
- Thudd
- Corsair Greymon
- Dalthar
- Scrying Eye
- Danna
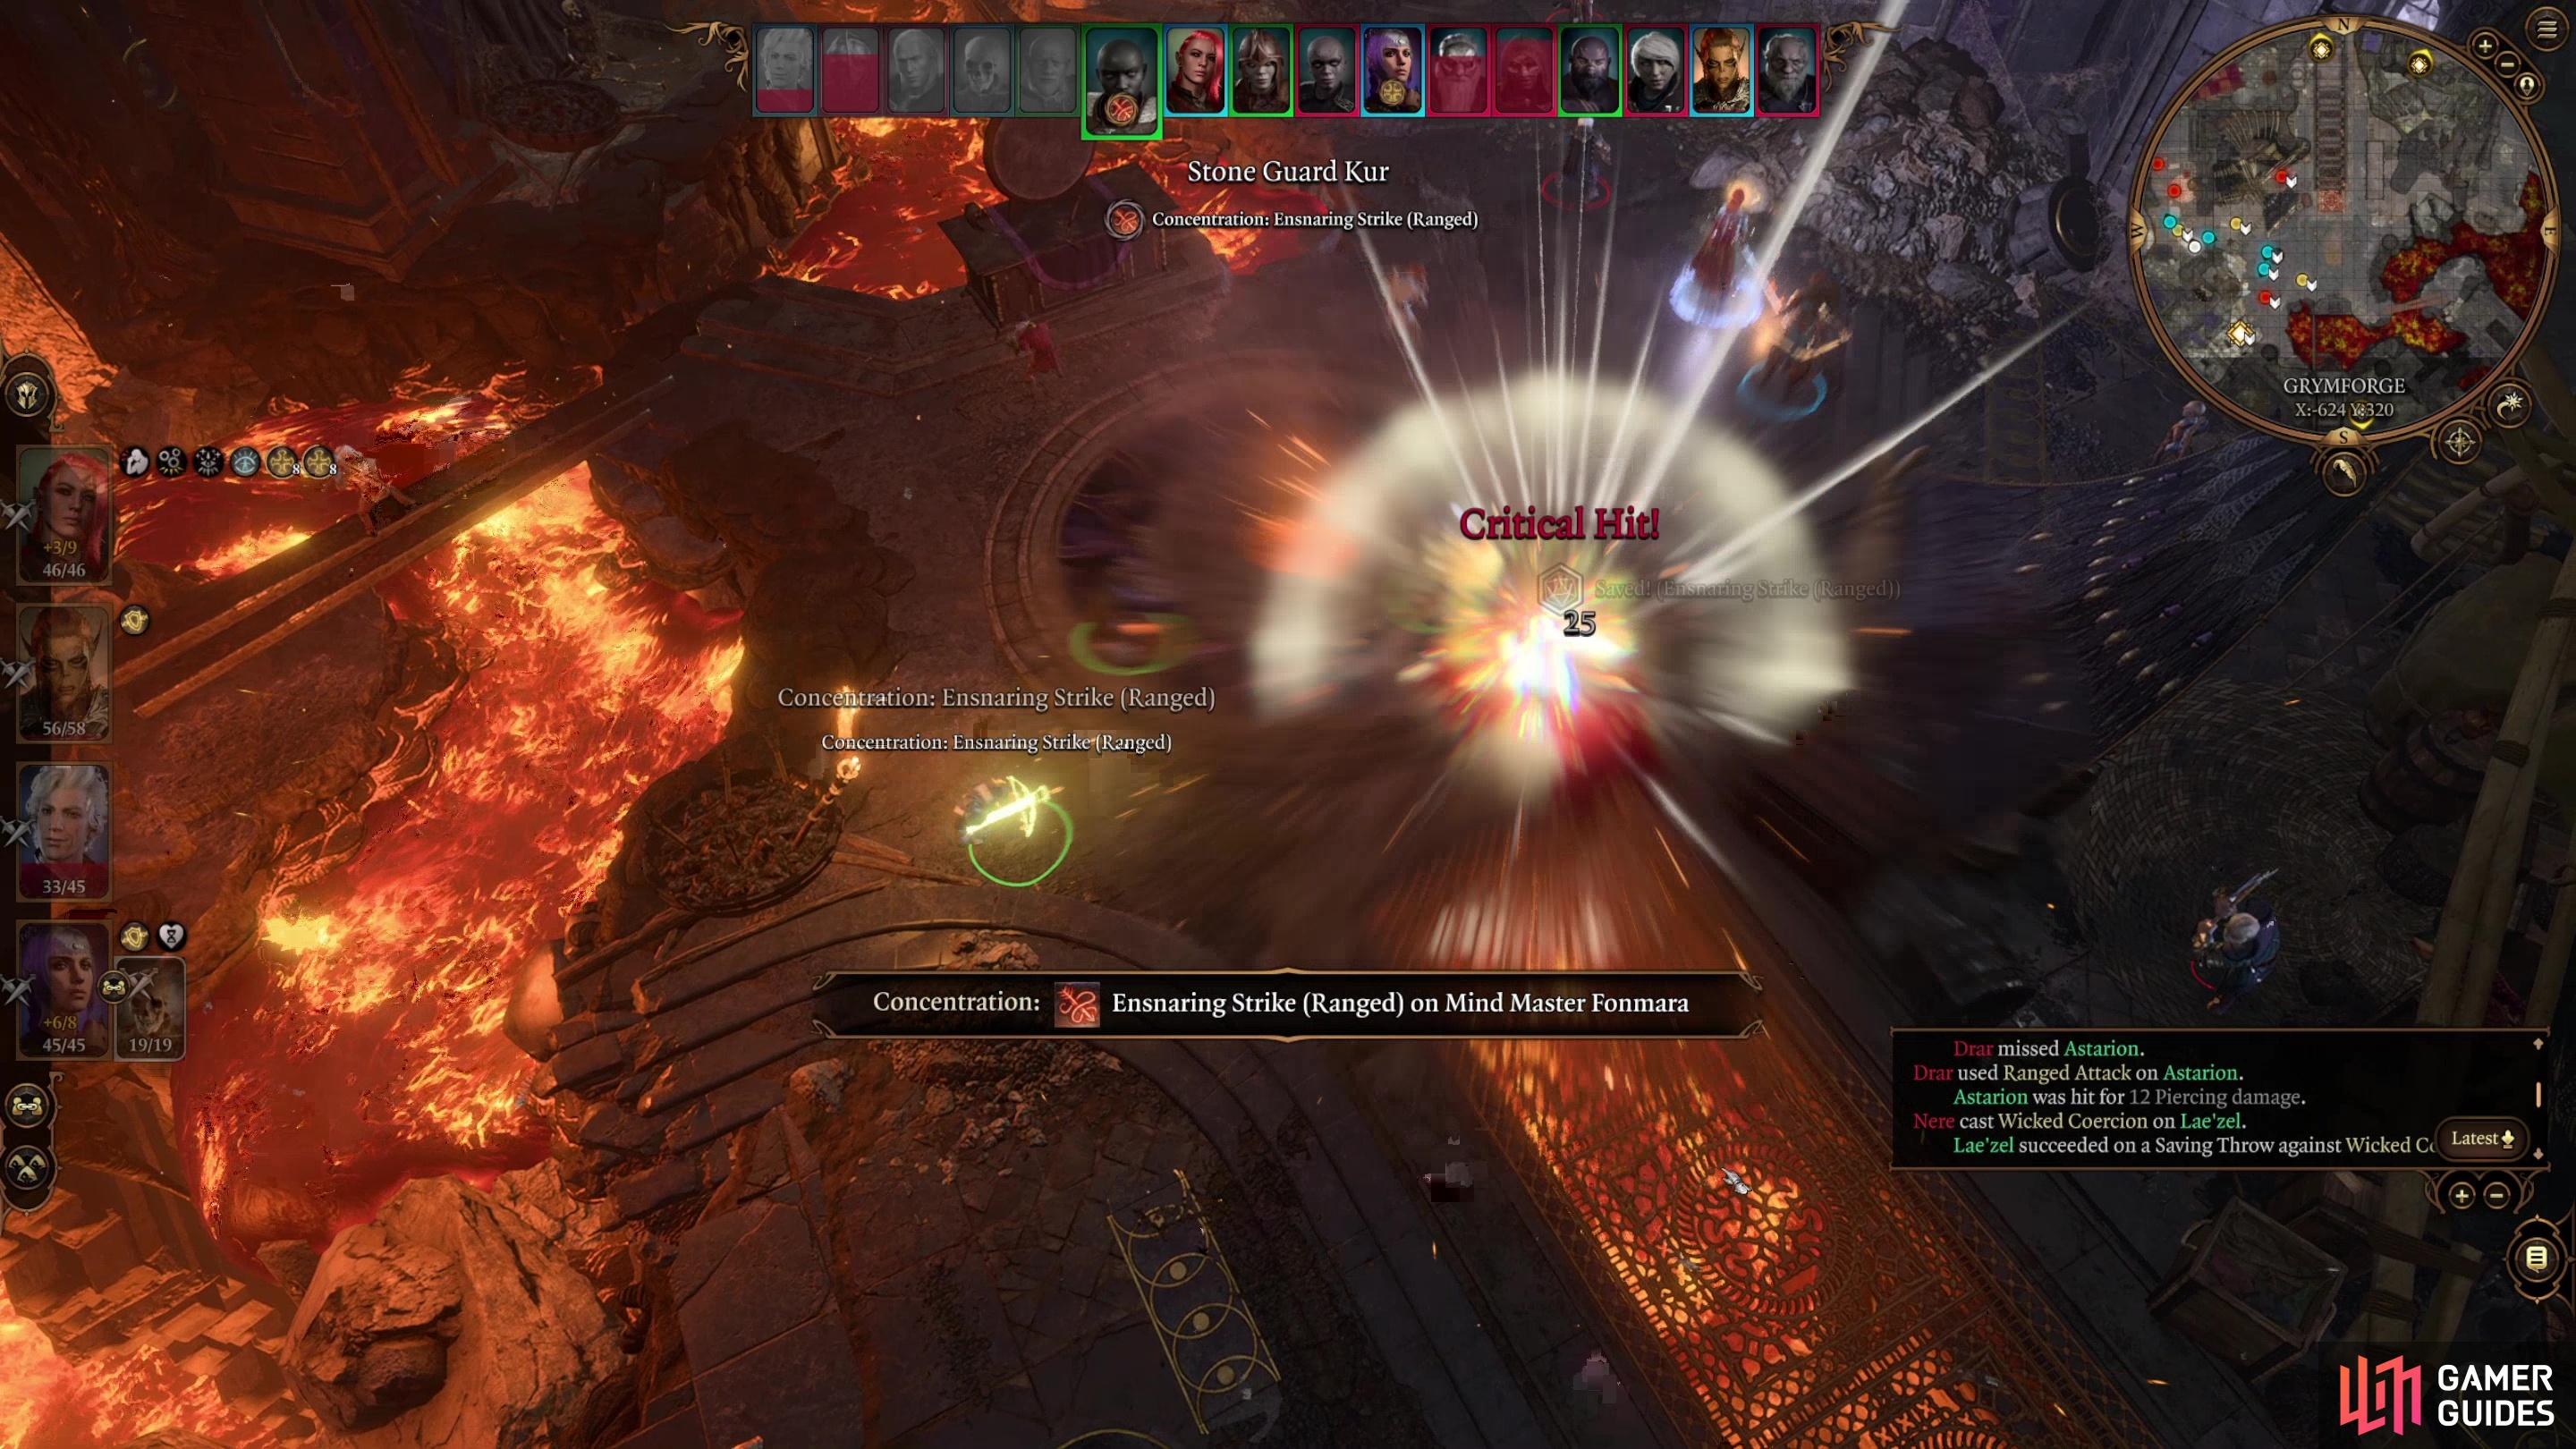
This is not ideal, even with buffs and preparation. You’ll need to secure the high ground and target spellcasters like Corsair Greymon and Nere. Stay clear of the lava, as the duergar aren’t above shoving you in, nor should you have any qualms about returning the favor, if the opportunity presents itself. The duergar aren’t individually overwhelming, but against a dozen of them, even the odd melee or ranged hit for 10 damage can really stack up, especially if anybody ends up debuffed by Nere or Corsair Greymon. If the Scrying Eye is still alive, it might also call for backup like the one back at the ![]() Shattered Sanctum, which will make a bad situation even worse. To win this fight you will need to use potions and scrolls to expand your offensive, defensive and restorative capabilities beyond their normal extent… and you’ll probably need to get lucky on a few Saving Throws and Concentration checks early in the fight, too.
Shattered Sanctum, which will make a bad situation even worse. To win this fight you will need to use potions and scrolls to expand your offensive, defensive and restorative capabilities beyond their normal extent… and you’ll probably need to get lucky on a few Saving Throws and Concentration checks early in the fight, too.
That’s the absolute worst-case scenario (or the worst-case scenario for the Absolute?), but you’ll almost certainly end up fighting fewer foes via a variety of contrivances. First, Nere is in no mood for mercy when he emerges from his poisonous tomb, and if he’s allowed to kill the gnomes he will also turn on Sergeant Thrinn, eliminating her with his Jedi-Illithid powers. His vengeful tantrum still not sated; he’ll follow up by commanding you to kill the duergar - all of them. In this case the roster will be the same as above, minus Nere (who is an ally for this fight) and Sergeant Thrinn (whom Nere already killed):

If you didn’t conspire with Elder Brithvar, Nere will attempt to sic you on all of the duergar.
If you did conspire with Elder Brithvar, you’ll find the assistance of his duergar to be invaluable.
Enemies if You Let Nere Kill the Gnomes and Agree to Kill the Duergar
- Elder Brithvar
- Stone Guard Kur
- Mind Master Dunnol
- Mind Master Fonmara
- Drar
- Thudd
- Corsair Greymon
- Dalthar
- Scrying Eye
- Danna
If you refuse to kill the duergar, Nere just commands the duergar to kill you, and you end up with the same list as above, save that Nere will be hostile now. Don’t feel bad about betraying Elder Brithvar - he’d do the same to you. Alternatively, if you made a deal with Elder Brithvar, Nere will instead tell you to kill the rebellious duergar, and your options here splits the battle in a much, much better way. If you choose to carry out your deal with Elder Brithvar, he, Stone Guard Kur and Thudd will join you, leaving the list of hostiles looking like this:
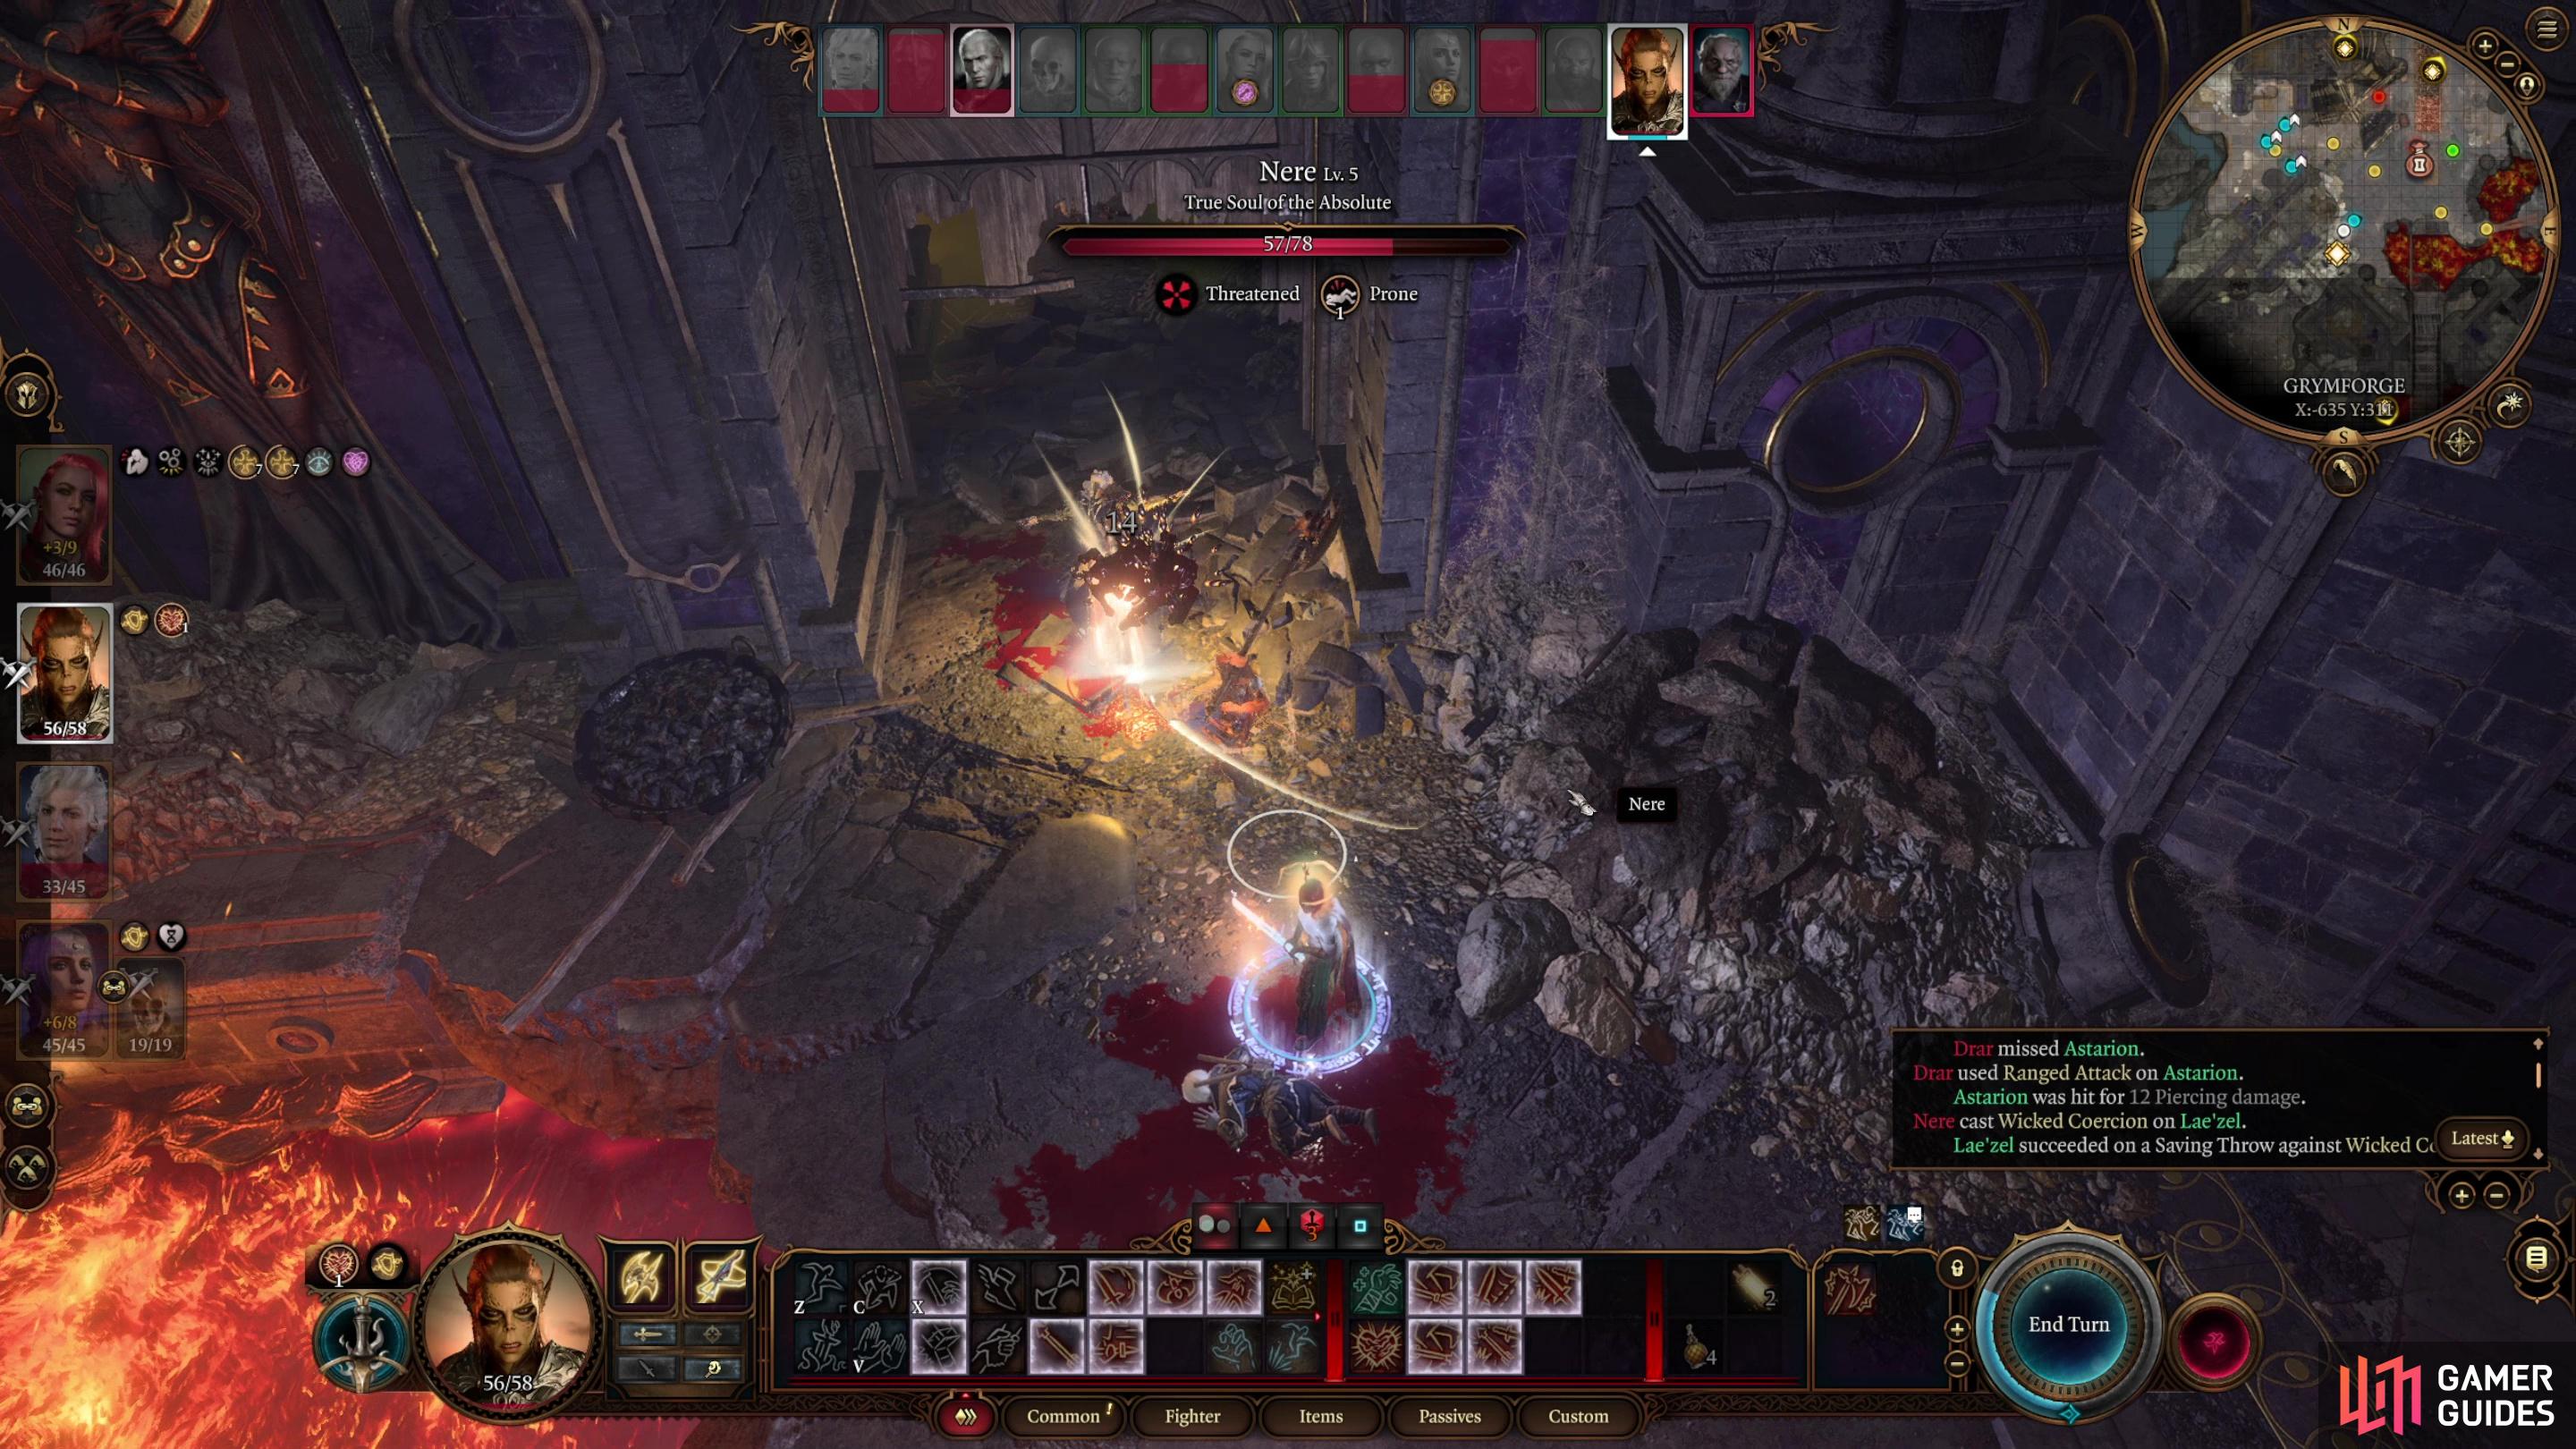
Nere is dangerous, but not so much that you need to headhunt him - a Fighter with trip attack can easily lock down Nere.
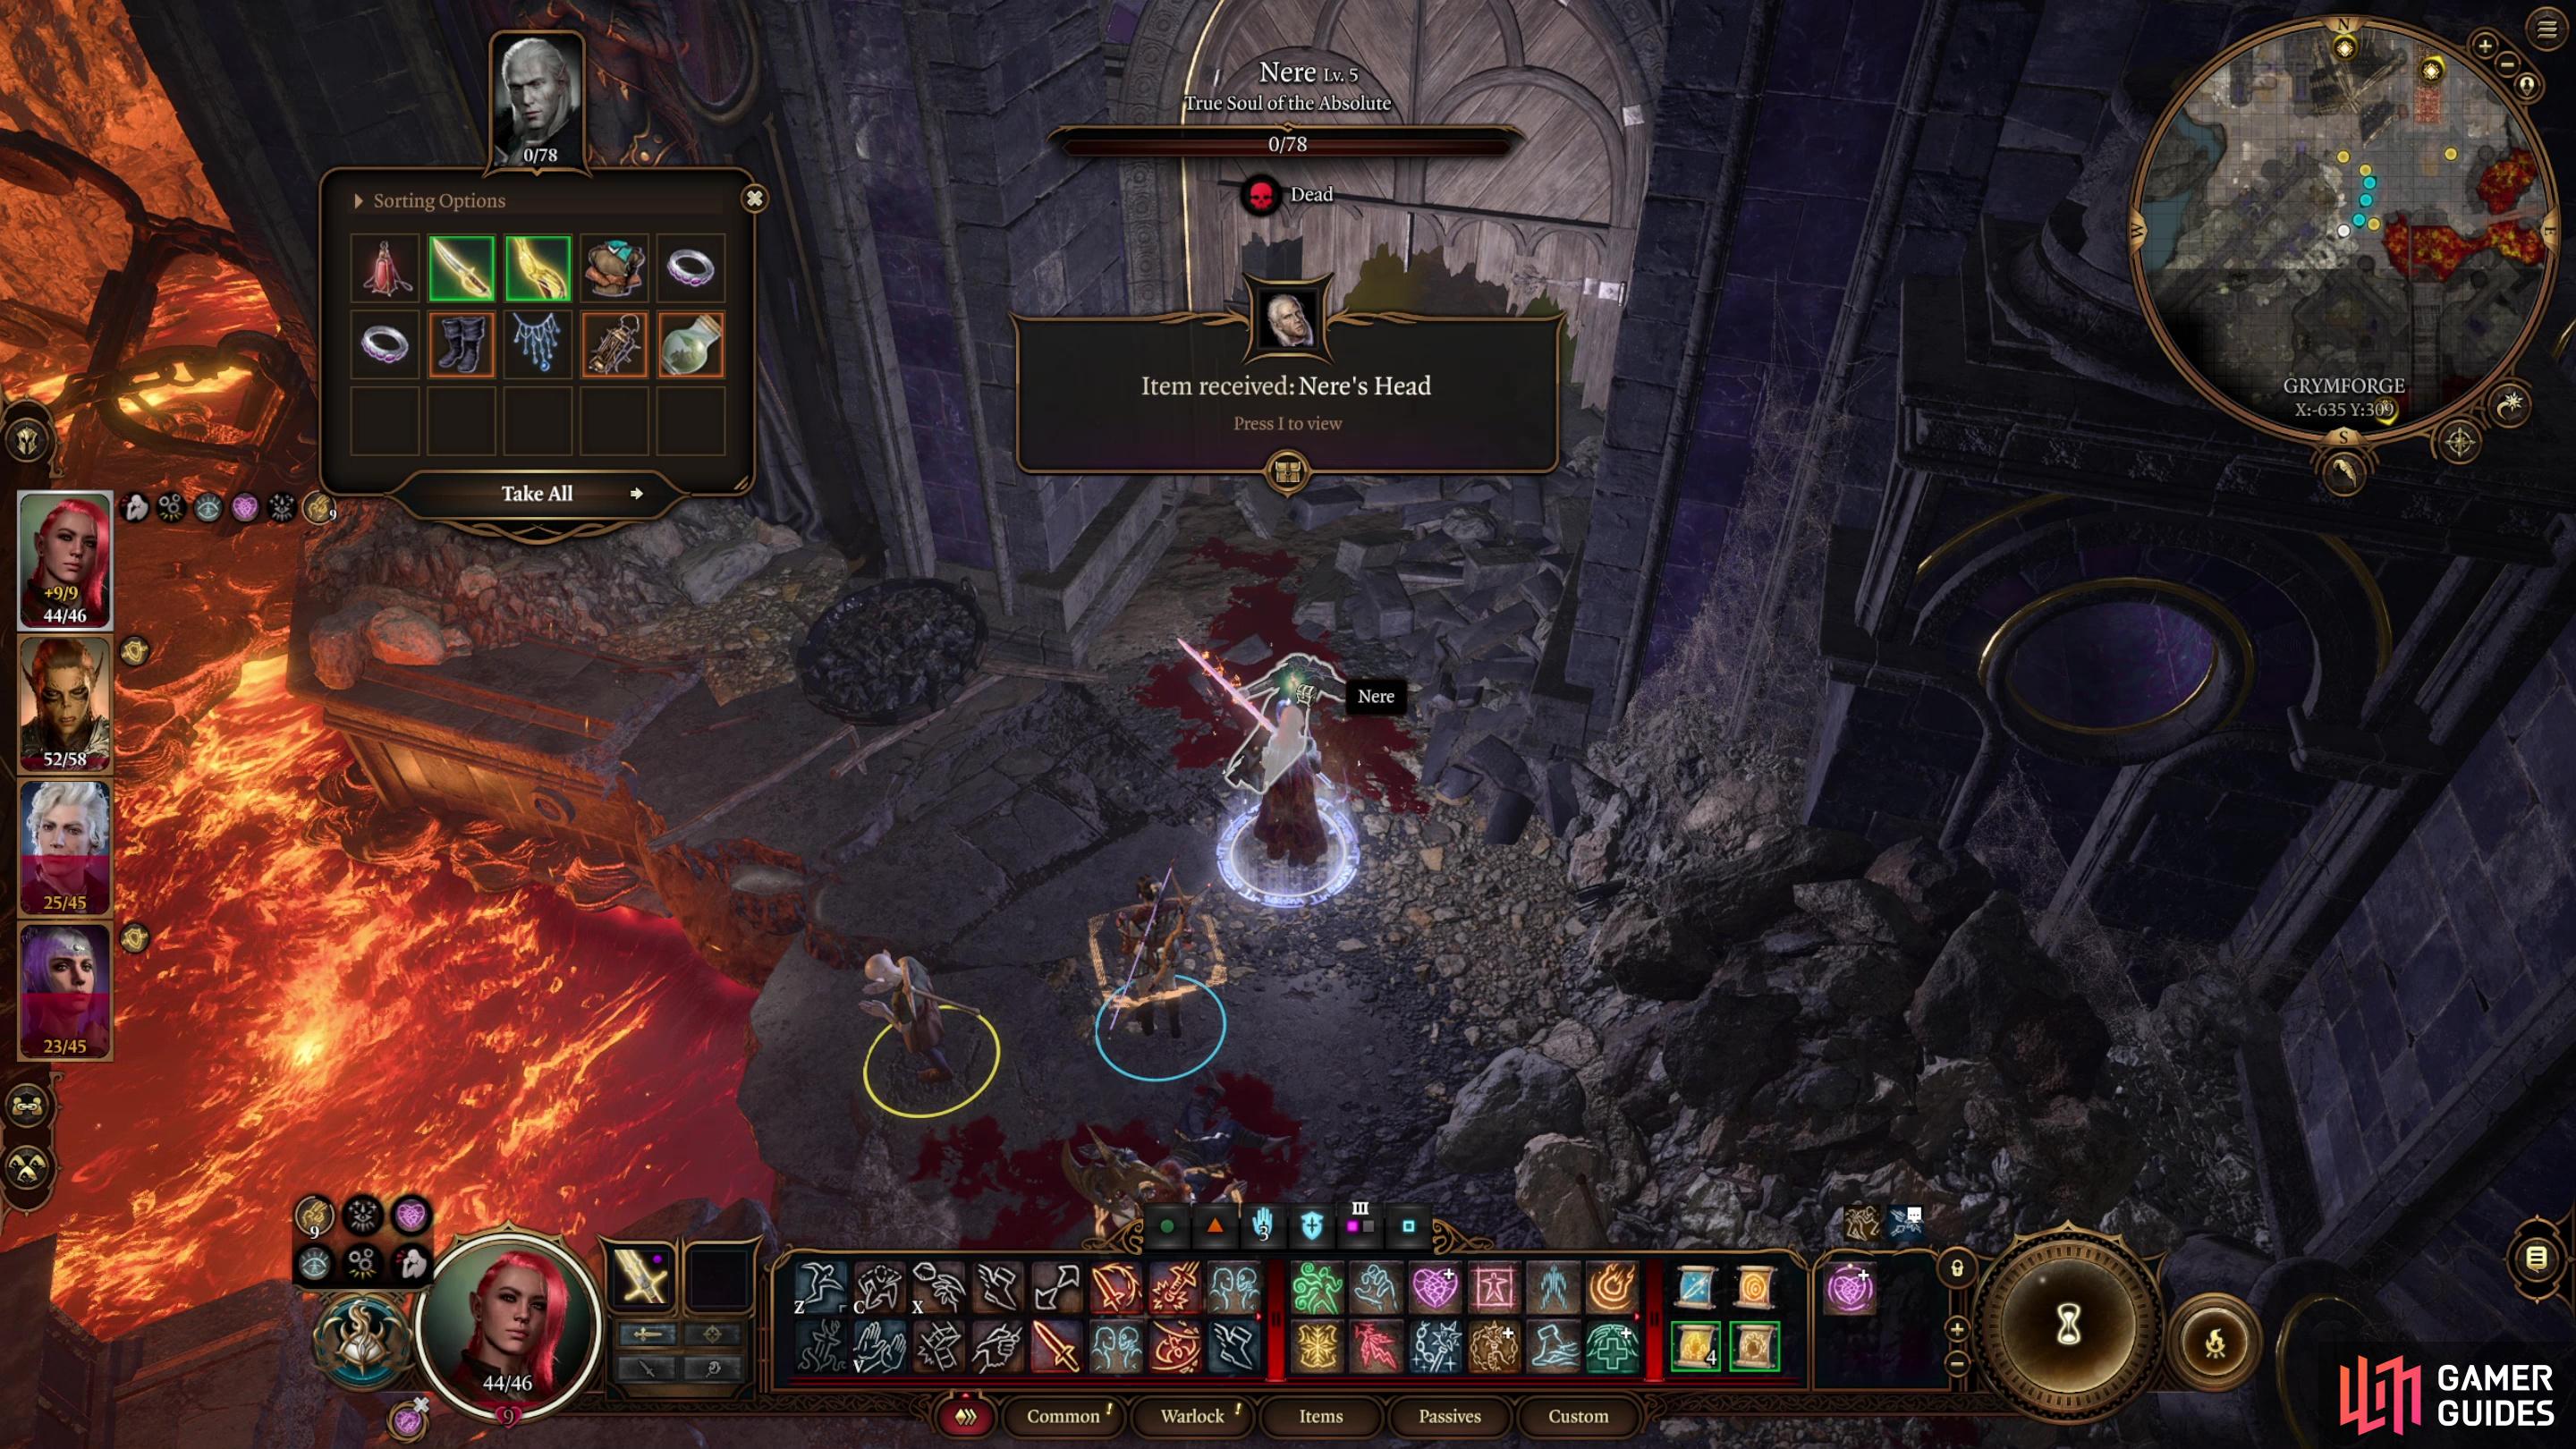
Once Nere is defeated, loot him for a variety of goodies, including a Broken Moonlantern and pass a Strength 10 check to take his head.
Enemies if You Conspired with Elder Brithvar and Attack Nere
- Nere
- Sergeant Thrinn (only if you intervene on behalf of the gnomes)
- Mind Master Dunnol
- Mind Master Fonmara
- Drar
- Corsair Greymon
- Dalthar
- Scrying Eye (only if you neglected to kill it earlier)
It’s still a lot of enemies, but going this route is arguably the best mix of risk and reward. Keep in mind that Danna likely won’t actually be around, and there’s a good chance you killed the Scrying Eye earlier. Sergeant Thrinn will be gone if you didn’t stand up for the gnomes (Elder Brithvar doesn’t care about the gnomes either way - the option to join up against Nere will be available as long as you conspired ahead of time), turning this into a six-on-seven encounter in your favor. High ground and buffing should be all you need here, and afterwards Elder Brithvar will give you your cut of the spoils - 500 gold. You also get to loot the bodies! If that’s not a sweet enough deal, you can pass an [Intimidate 10] check to convince Elder Brithvar to let the gnomes free, or better yet, intentionally roll until you fail it to pick a fight with him, too. This allows you to exterminate the rest of the duergar in the area piecemeal, earning you a fair amount of experience and treasure without ever having to fight while outnumbered. Absolute best-case scenario, in our opinion.
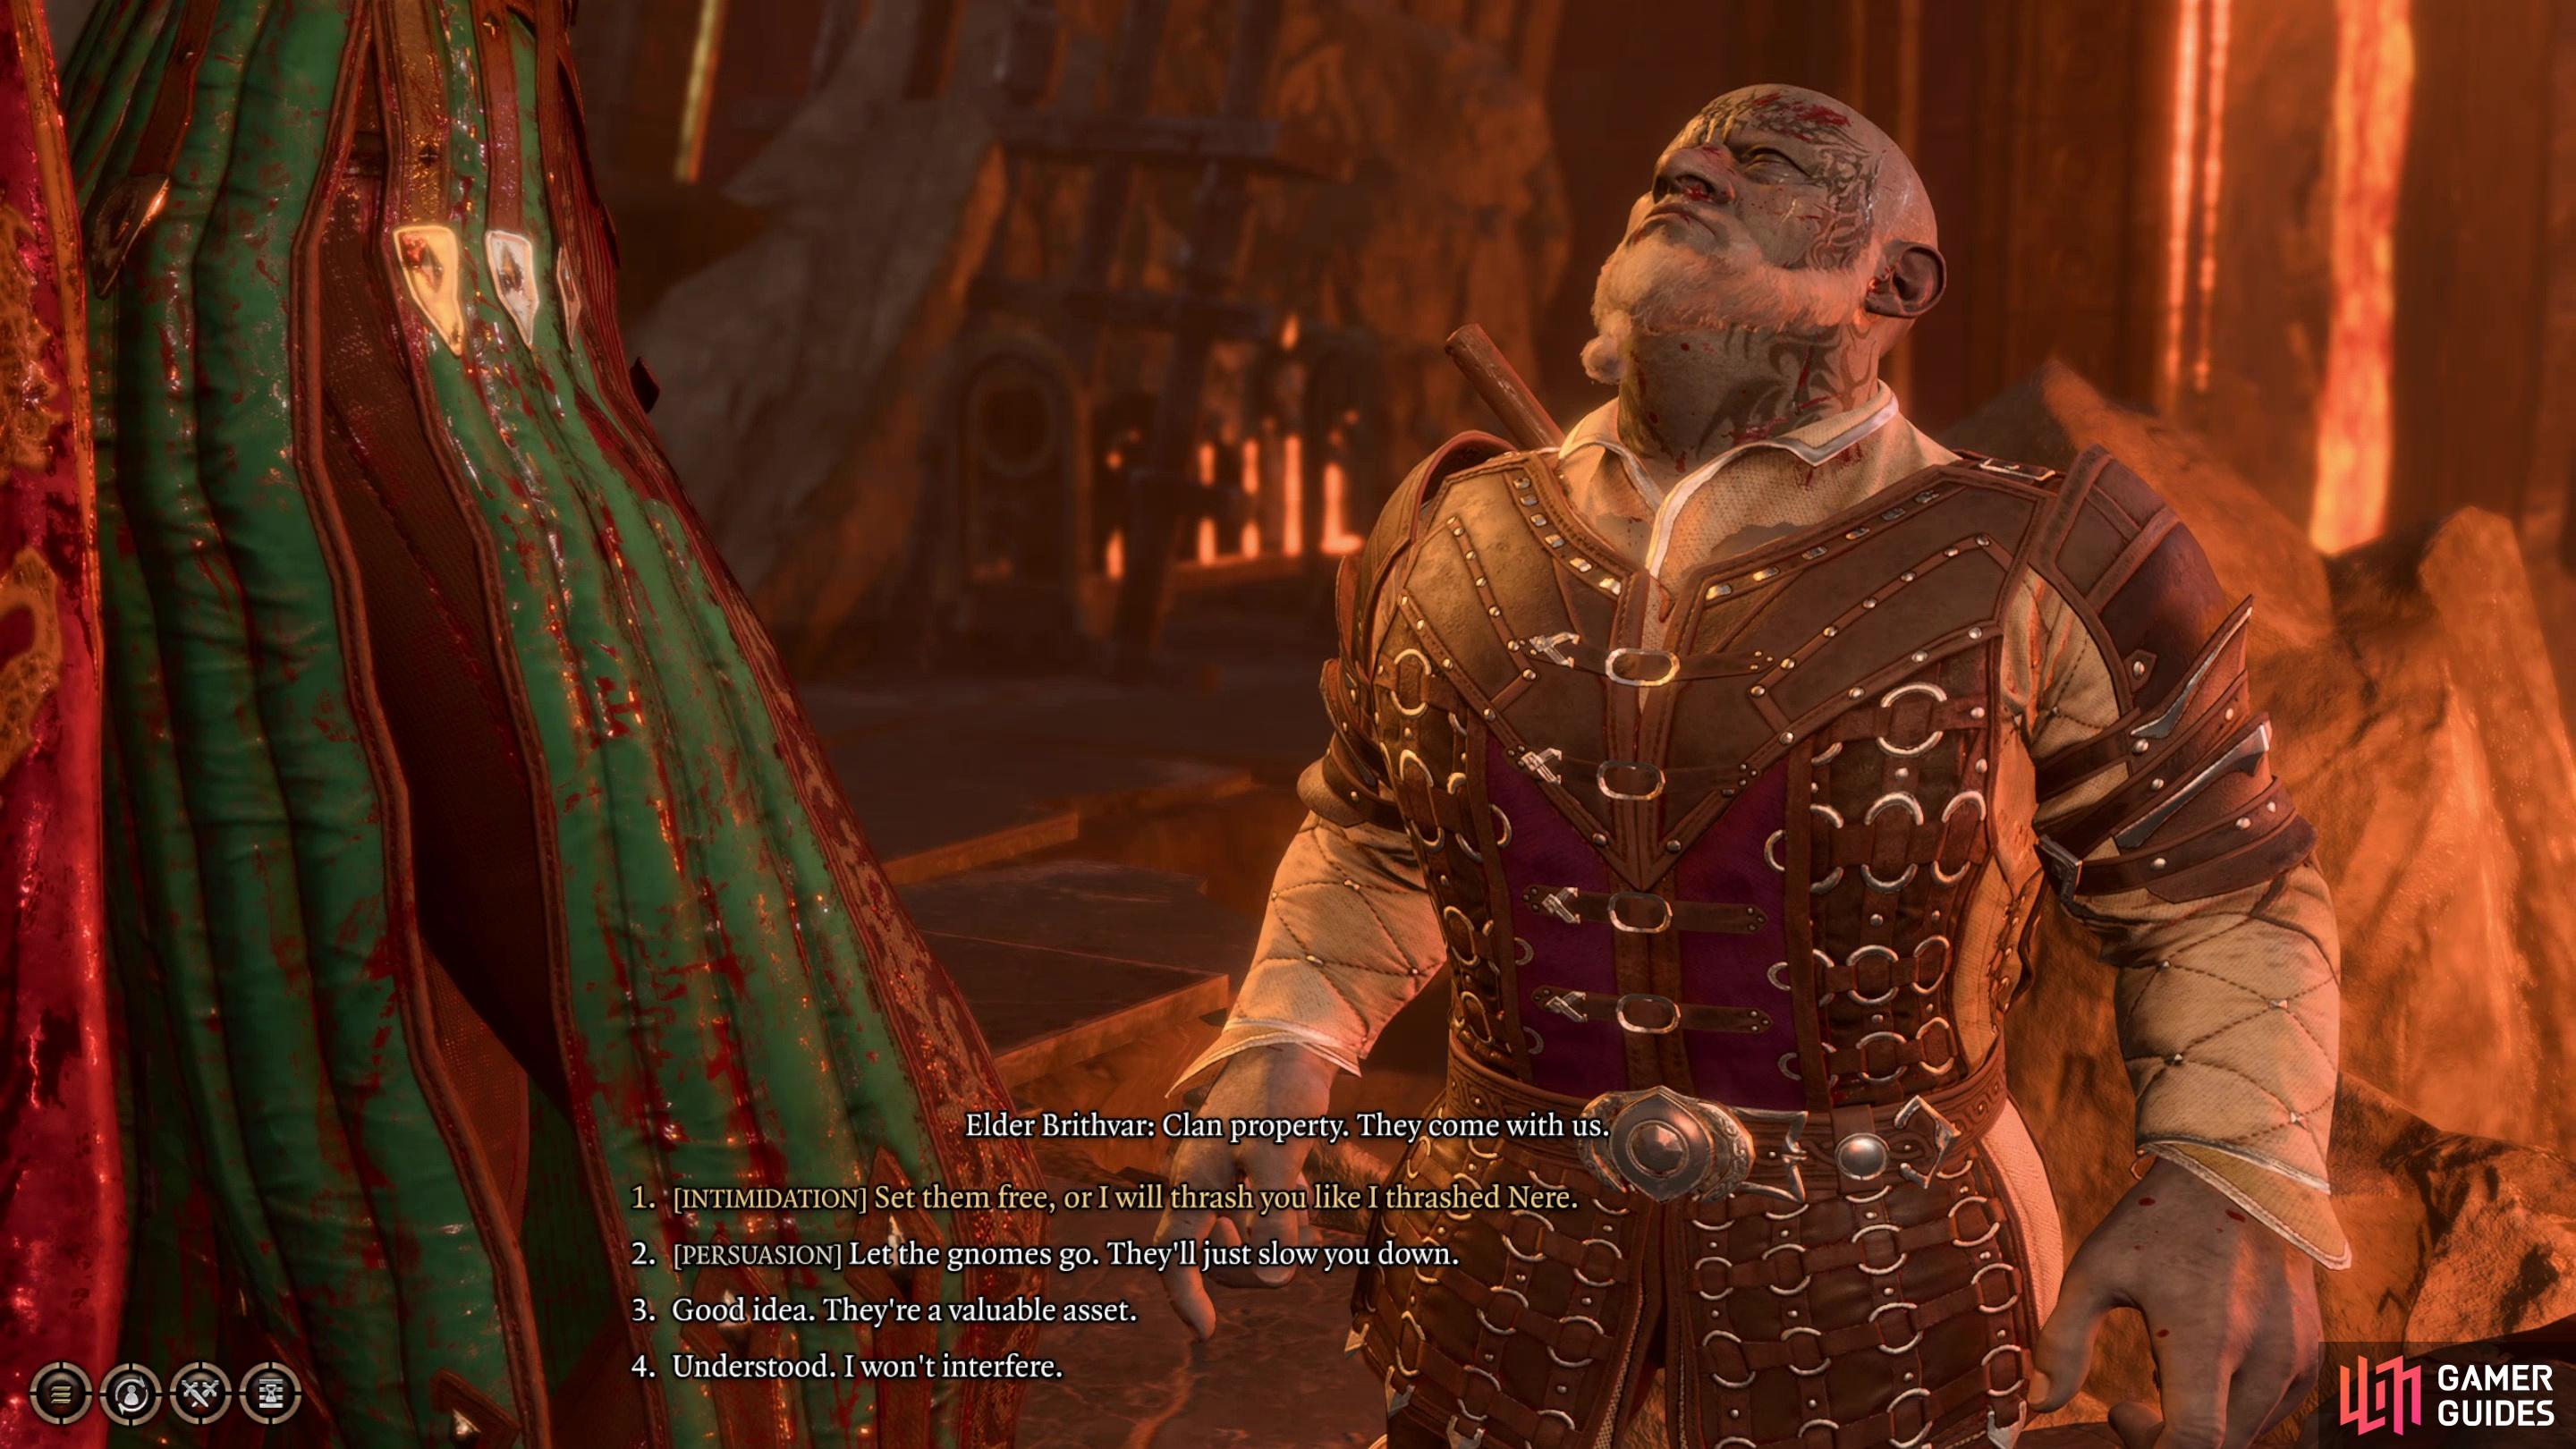
(1 of 3) After working together to defeat Nere, you can pass some dialog checks to convince Elder Brithvar to free his slaves,
Enemies if You Conspired with Elder Brithvar and Side With Nere
- Elder Brithvar
- Stone Guard Kur
- Thudd
- Danna
Finally, you can opt to betray Elder Brithvar during your confrontation with Nere, in which case most of the duergar in the vicinity (Sergeant Thrinn, if she’s alive, Mind Master Dunnol, Mind Master Fonmara, Drar, Corsair Greymon and Dalthar) will join you in snuffing out Elder Brithvar, Stone Guard Kur and Thudd. With the odds stacked this heavily in your favor, defeating your enemies should be a trivial matter, although you should be warned that other duergar will trickle in over time, including Danna (if she’s not near the lava room when combat begins), Stone Guard Orgarth and Morghal. Their piecemeal arrival should ensure that their efforts end in futility, however.
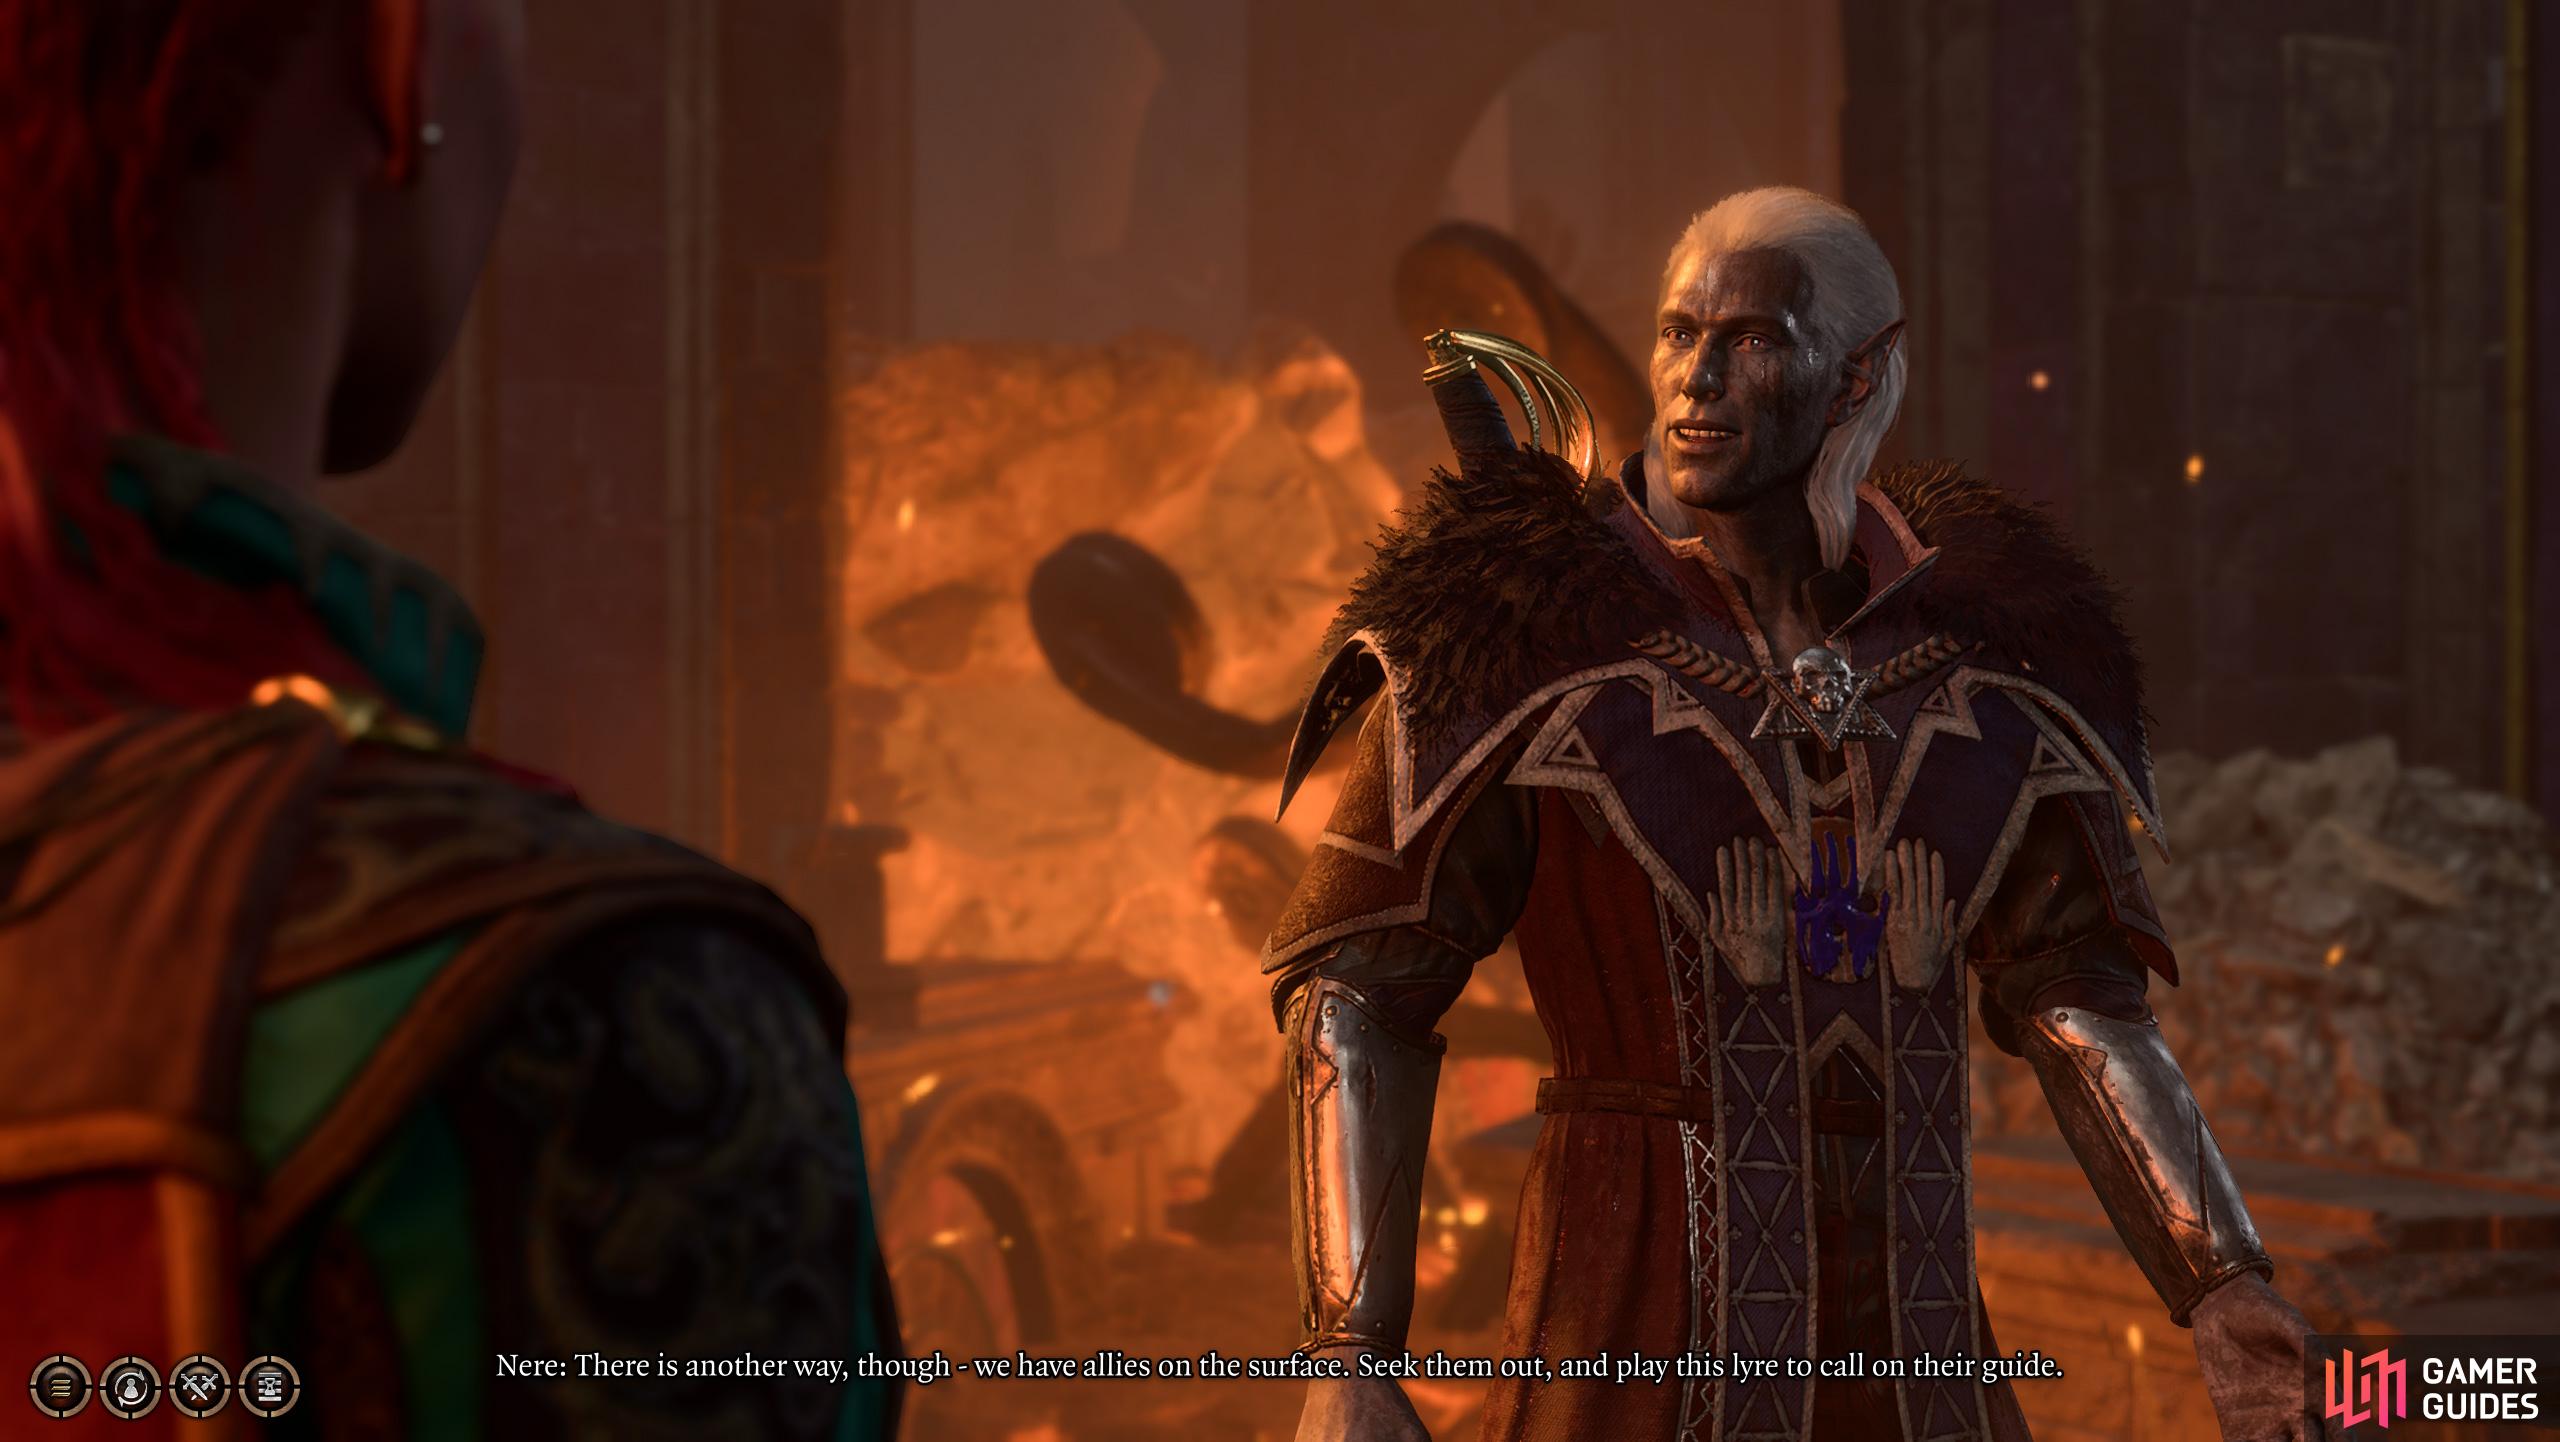
If you sided with Nere, after the fight he’ll send you to Moonrise to make excuses for his failure.
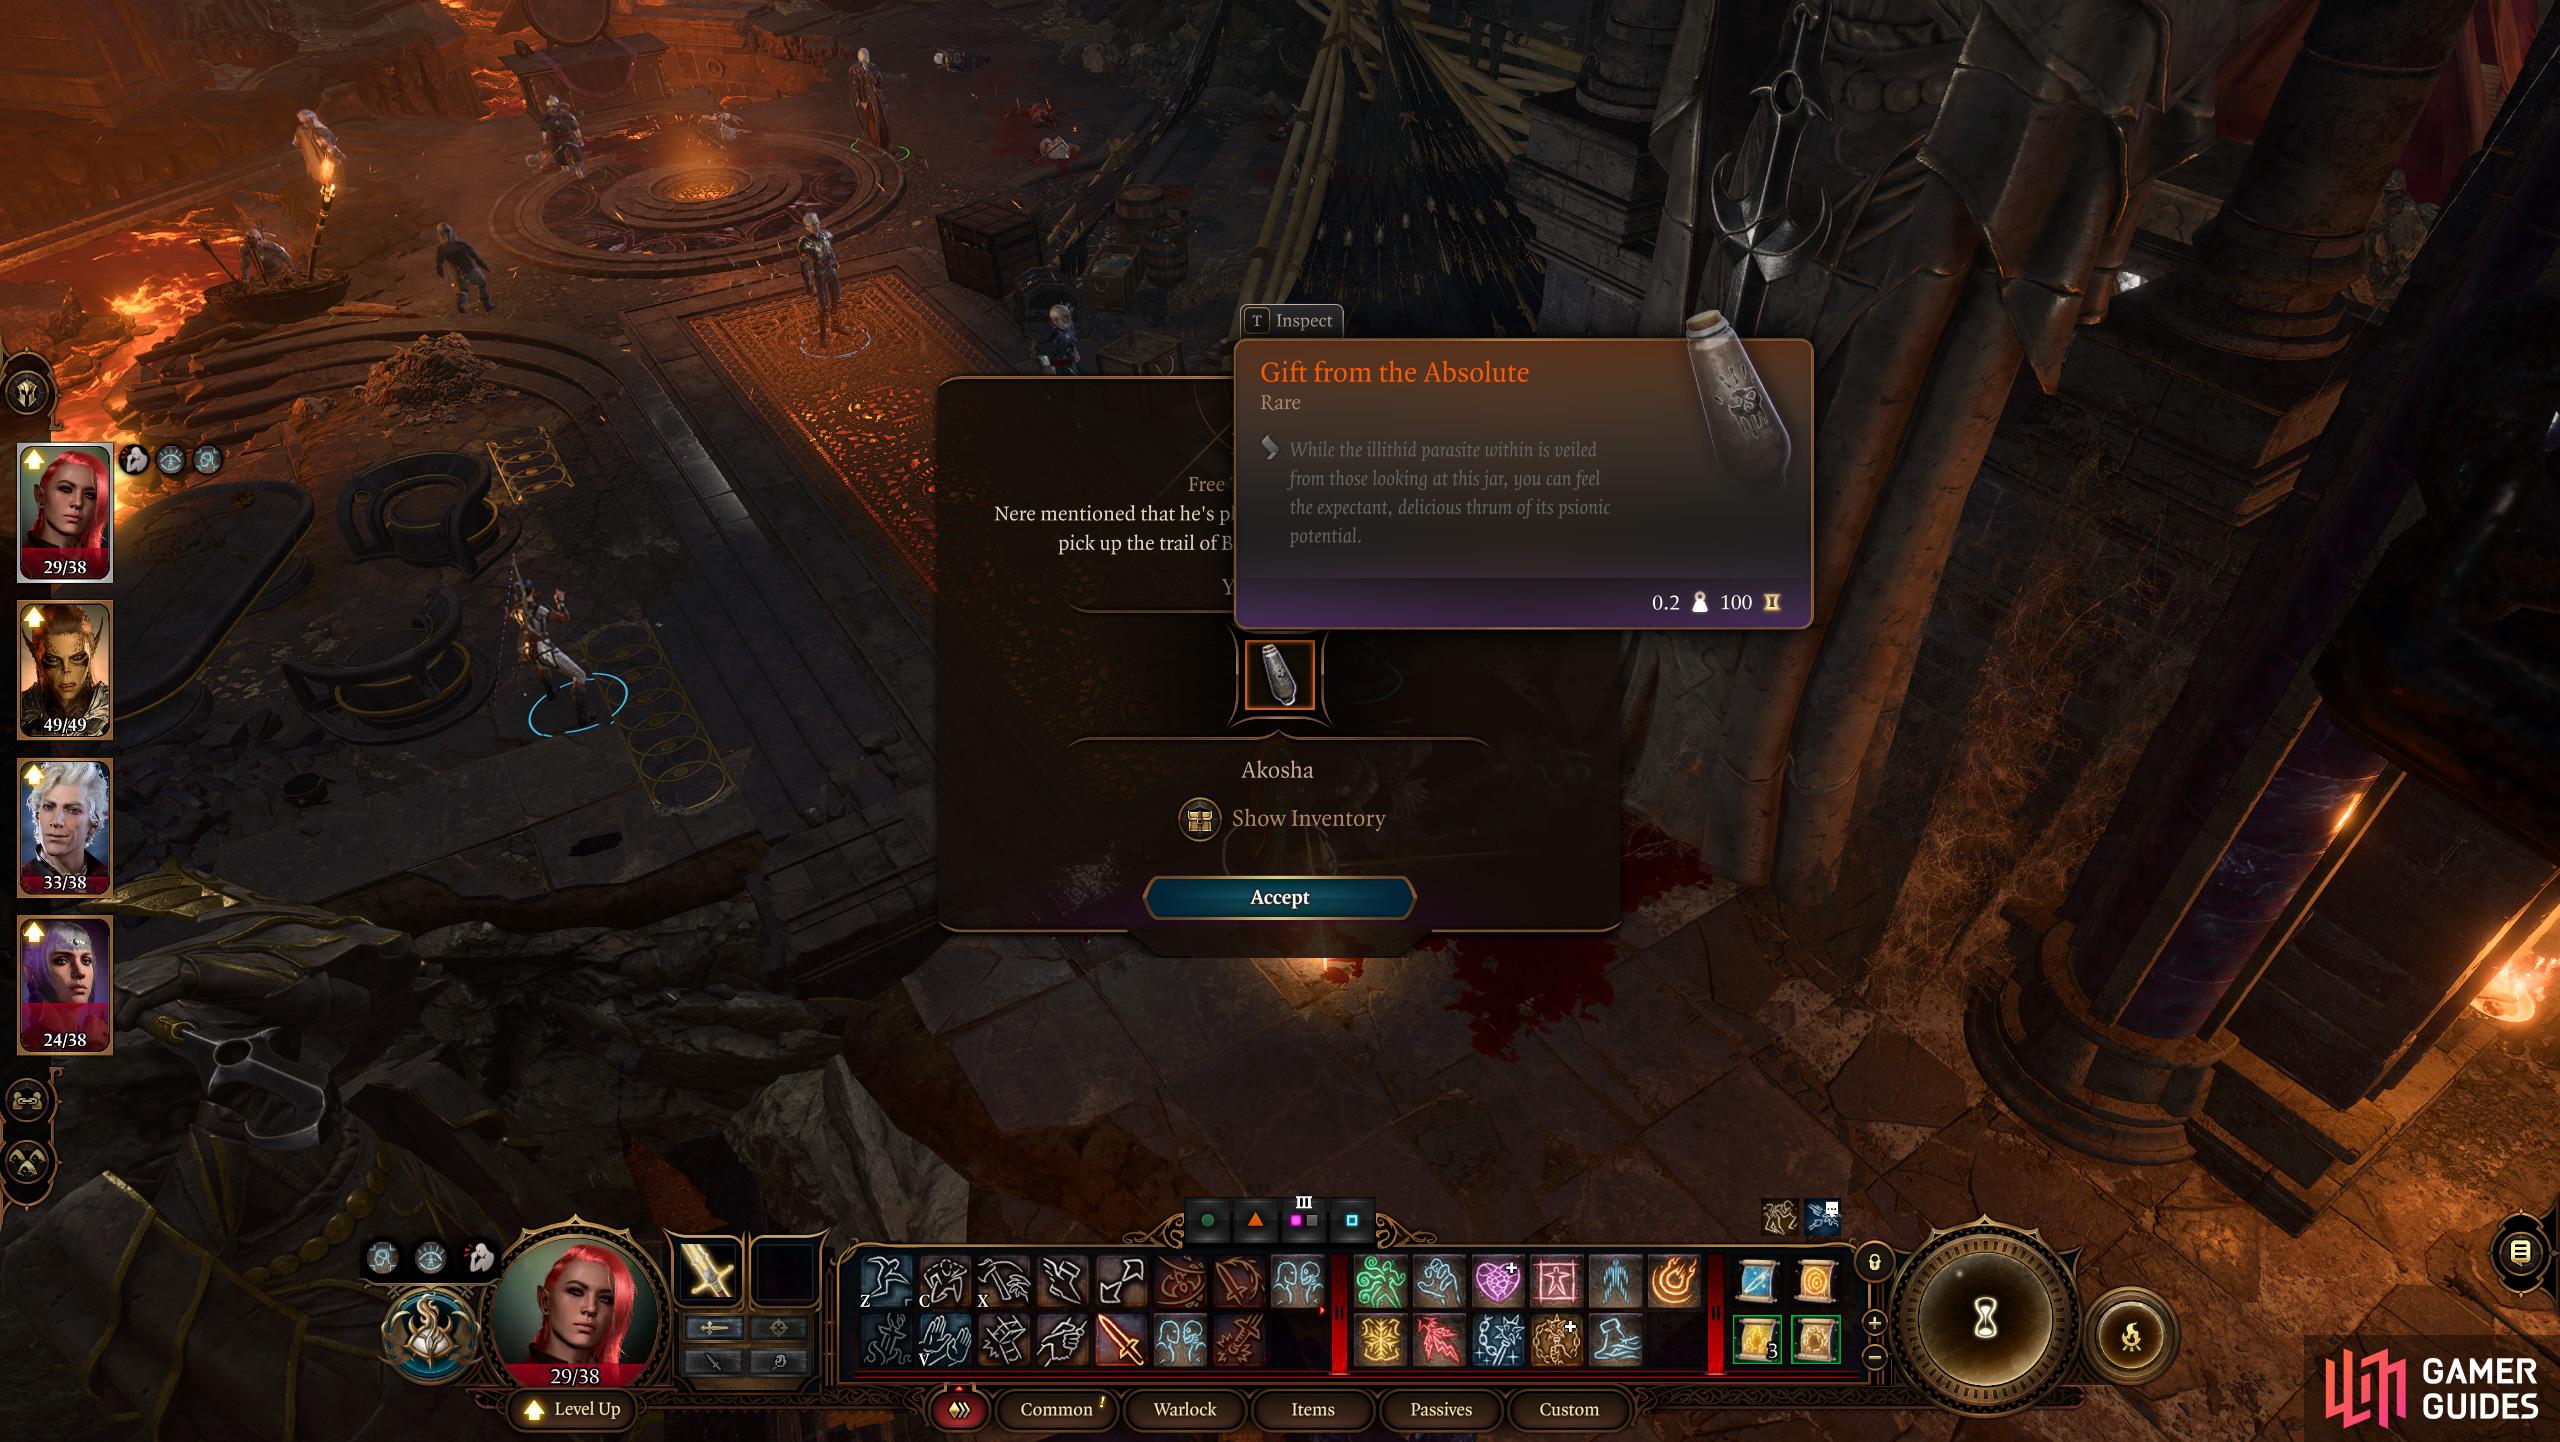
He’ll also give you a Gift from the Absolute, which will enhance your psionic powers.
If you side with Nere - and this is arguably the best way to do so - he’ll instruct you to go to Moonrise Tower and report on his failings (although he’d probably rather it be worded somewhat more positively) and he’ll ultimately end up giving you a Gift from the Absolute - another tadpole you can use to enhance your current abilities, although the effects aren’t immediate.
Failing that, you can disparage Nere and blaspheme the Absolute to the point where he and his faithful duergar turn hostile. It’s not quite as easy as siding with Elder Brithvar and splitting the fight up that way, but it’s better than fighting them all at once. Alternatively you can also convince Nere that the Absolute is just a front for Mind Flayers by succeeding at a [Deception 10] check or a [Persuasion 10] followed by a [Persuasion 10] check, [History 10] check or [Detect Thoughts 11] check. Convincing Nere to abandon the Absolute will net you a ![]() Dagger +1, a shamefully bad reward that might just be the most evil thing Nere has done so far.
Dagger +1, a shamefully bad reward that might just be the most evil thing Nere has done so far.
Deliver Nere’s Head
If you just want Nere’s head, you can choose any of the combat options above that lead to you fighting Nere, ideally securing a deal with Elder Brithvar to make things easier. Alternatively… there’s no reason to really fight Nere at all, if you don’t want to. Just let him die from the poison and you can loot his body. Either way, once Nere is dead, interact with his corpse and pass a [Strength 10] check to cut off his head - a fine trophy for the myconid sovereign. You should also claim his Broken Moonlantern, as it’s a device that has some significance in Act 2. You should also nick Nere’s ![]() Disintegrating Night Walkers, as they make you functionally immune to
Disintegrating Night Walkers, as they make you functionally immune to ![]() Web,
Web, ![]() Entangle,
Entangle, ![]() Grease and other environmental hazards, as well as giving the wearer access to
Grease and other environmental hazards, as well as giving the wearer access to ![]() Misty Step every Short Rest.
Misty Step every Short Rest.
If you ended up hostile to Elder Brithvar through any of the contrivances mentioned above, expect other duergar in the area to be hostile, too, including Ward Magmar and Ward Pistle, who are guarding the exit to Act 2. They’re generally spread out too much to be a serious threat, especially since you can travel and rest freely now that you’re no longer under any time constraints.
Finally, if you intervened on behalf of the gnomes and hence managed to keep any of them alive, you should talk to them. Barcus Wroot - the gnome whom was found taking unwanted windmill rides at the ![]() Blighted Village - can be found here, now in bondage to the duergar, and this time he’s wise enough to go to your camp if you offer it, at least for the time being. You’ll also get other rewards for taking Nere’s head back to the myconid sovereign, talking to the freed gnomes, and checking in on Thulla back at the Myconid Colony, where the other gnomes will have congregated.
Blighted Village - can be found here, now in bondage to the duergar, and this time he’s wise enough to go to your camp if you offer it, at least for the time being. You’ll also get other rewards for taking Nere’s head back to the myconid sovereign, talking to the freed gnomes, and checking in on Thulla back at the Myconid Colony, where the other gnomes will have congregated.
That should cover just about every way to deal with Nere, from abandoning him to his well-deserved fate, to conspiring with his mercenaries to take his head, to serving as Nere’s attack dog before irreparably harming his faith in the Absolute. To continue your adventures, check out the following pages:
No Comments