
Act 3 of Baldur’s Gate 3 is the final Act of the game and is by far one of the longest pieces of content in the game. The area comprises ![]() Rivington, Wyrm Gate, Lower City, and the Sewers, as far as a player’s exploration is concerned. Here you can get plenty of side quests given by the city itself, along with some other pieces of content, depending on your decisions in Acts 1 and 2. Given this Act, for the most part, is tailored to how you’ve managed the rest of the game, this Complete Walkthrough of Act 3 in BG3 is going to be rather nuanced in its guide. Expect a list of possible things you can do in this Act, broken into appropriate sections.
Rivington, Wyrm Gate, Lower City, and the Sewers, as far as a player’s exploration is concerned. Here you can get plenty of side quests given by the city itself, along with some other pieces of content, depending on your decisions in Acts 1 and 2. Given this Act, for the most part, is tailored to how you’ve managed the rest of the game, this Complete Walkthrough of Act 3 in BG3 is going to be rather nuanced in its guide. Expect a list of possible things you can do in this Act, broken into appropriate sections.
Complete Checklist Walkthrough of Act 3 in Baldur’s Gate 3
A complete walkthrough for Act 3 of Baldur’s Gate 3, featuring all important quests, objectives, and more.
To summarize the main things you need to do in Act 3, check the list of main objectives below:
- Find a way into the Lower City from Rivington
- Interact with Orin and Gortash for the first time
- Gather Your Allies
- Companion Questlines
- Get control of the Netherstones from Gortash and Orin
- Go to the Elder Brain and start the final fight
- Defeat the Elder Brain and beat the game
While this checklist of the main things you need to do is relatively small, you can expect to get towards 40 hours of real play time in this Act alone if you want to.
For the most part, you’ve got plenty of side content you must get through Act 3 to get to the max level of 12. Doing so will allow you to take on the final fights in the game properly, along with any of the major boss battles to come in the Act. So, expect there to be plenty of side quests in the Lower City, along with any potential quest-related content relating to your decisions in Acts 1 and 2, alongside your Companions and more.
Most of these quests will relate to concluding some storyline stuff, while others will be part of the Gather the Allies questline that you are tasked with as an overarching plotline in Act 3. Simply put, do quests for your companion or side content, and you will likely get an ally somewhere down the line. When you’re ready, these allies will grant you direct combat support, spell buffs, or passive buffs for the final showdown. Doing them will make some of the tougher gauntlet parts much better, easier, or simpler. Not to mention get you money, and experience, and offer some more RPG content for you to enjoy.
With that said, we’ll break up each major area and section into their own parts for you to look for below in narrative order.
- Rivington Walkthrough
- Rivinginton Side Quest
- Lower City Walkthrough
- Lower City Side Quests
- Ending Act 3
Rivington Walkthrough in Baldur’s Gate 3
Once you’ve done with the interlude opening moments of Act 3, fighting the Githyanki, going into the Astral Plain, and dealing with the Emperor, you will make your way to Rivington. In Rivington, players can expect a variety of content to partake in, featuring a range of traders, some side quests, and a main quest objective.
But, before you can properly engage with that stuff, we recommend walking around Rivington and visiting specific locations first. The reason why is that you have some main story stuff you need to discover first. We recommend speaking to:
- The blacksmith near the Rivington General.
- The journalist near the start of the bridge crossing from Rivington.
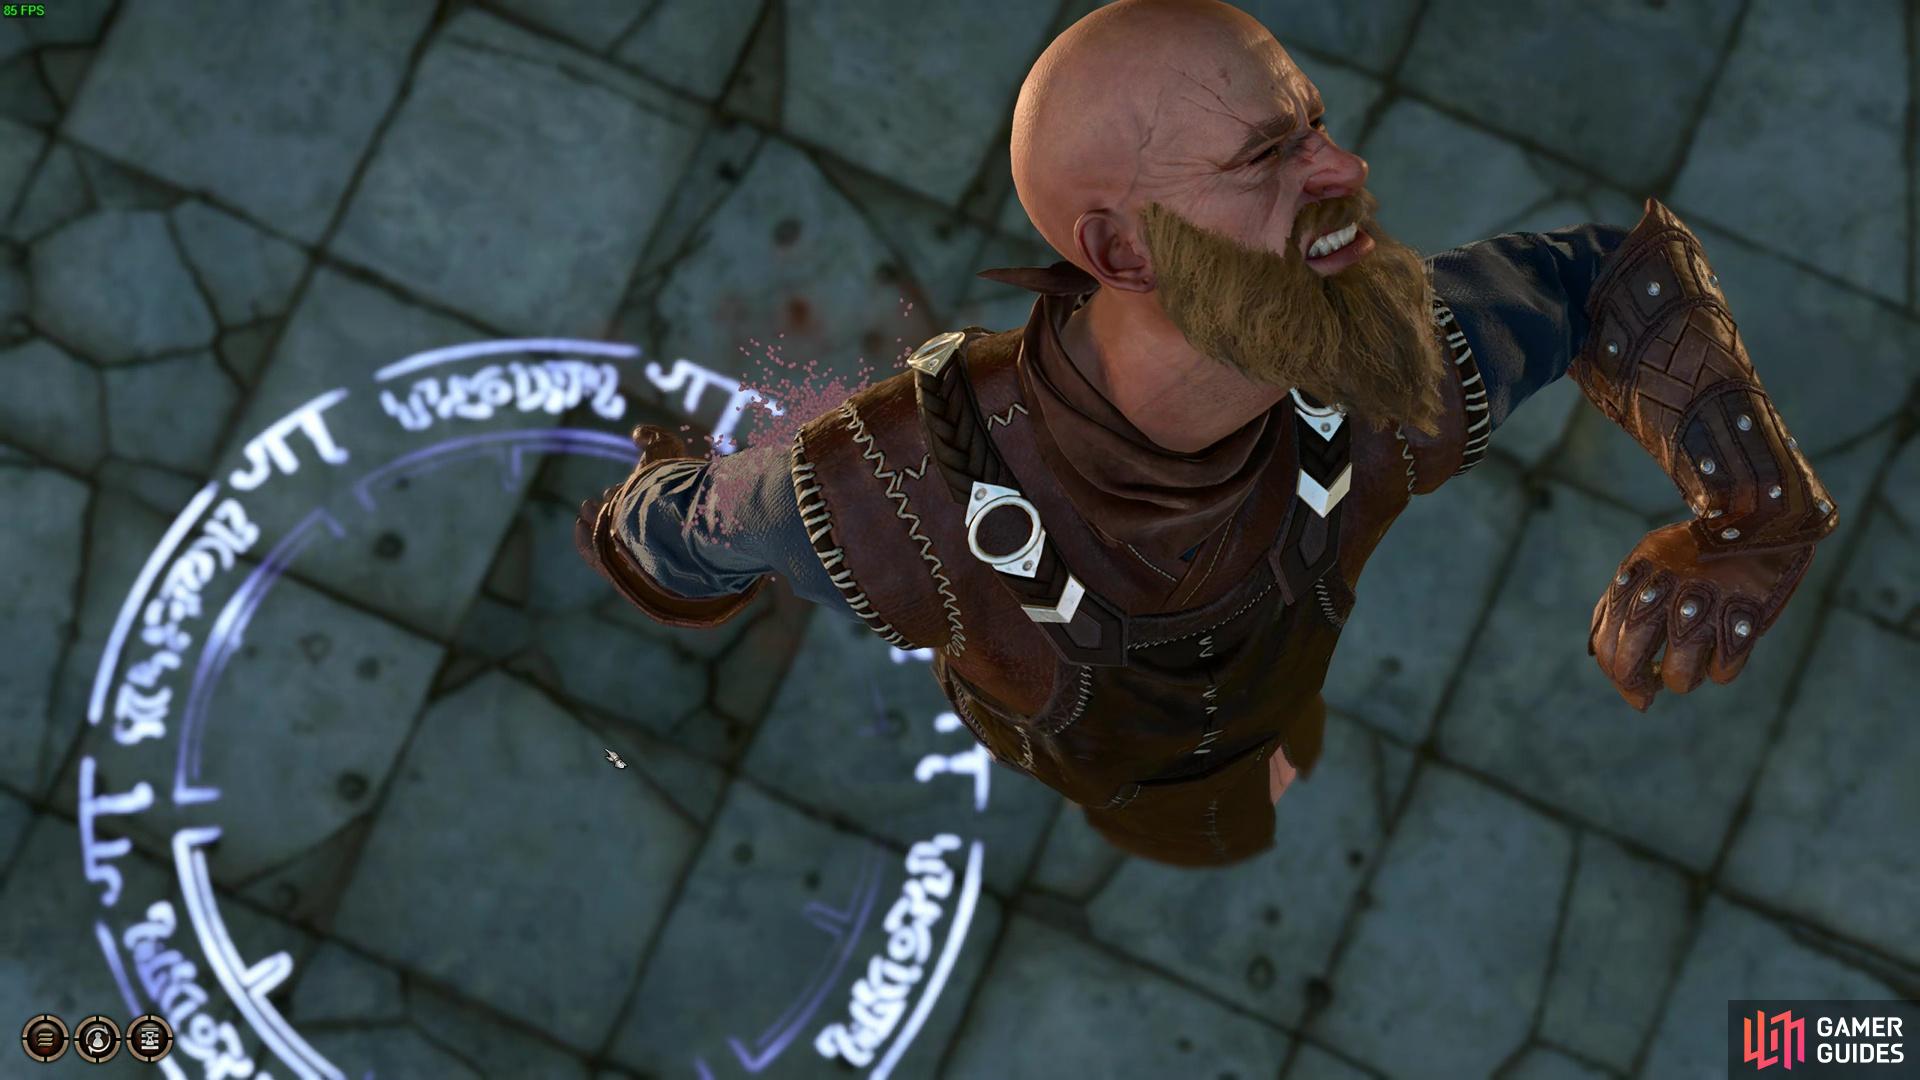
Orin is up to mischief from the get-go in Rivington.
Orin has disguised herself as both of those, so speak to them, and she will reveal herself twice. From then on, your introduction with Orin is over. Now you’re free to enjoy the Rivington chapter as you please.
With Orin out of the way, your main job is to get over the bridge and enter the Wyrm Gate. You can do this in two ways:
- The first is to convince the guards and roll like a demon to get them to lower the gate.
- The other is to get a pass by doing the Open Hand Monk temple murder quest. The Temple Murder is one of the side quests, and we have a list of those Activities for you below in the side quest selection.
Once you’re over the bridge, you can go and visit Gortash, who is having a ceremony in the Wyrm Rock Hall. He will even be nice to you and say you’re free to walk around the city as you feel. And even offers you a deal. You’ll even see Grand Duke Ravengard with him and get updates on that quest too, with more on that to come in the Lower City. Florrick should also be arrested at this point, allowing you to unlock a new side quest, presuming you managed to save Florrick to start the ![]() Rescue the Grand Duke quest in Act 1.
Rescue the Grand Duke quest in Act 1.
Rivington Side Quests
In terms of Side Quest, you have the following options:
| Quest | Location |
|---|---|
| Investigate the Murders | Monk Temple near the Circus and the Bridge |
| Investigate the Suspicious Toys | |
| The Missing Worker at the Sharess Caress | A pub along the bridge |
| Find The Missing Letters | In the mail room on the east side of |
| Help The Cursed Monk | Underneath |
| The Gur | Along the refugee camps to the far east of |
| Dribbles The Clown | Part of the Circus on the western side of |
| The Strange Ox | inside a small barn above the |
| Win the Jackpot from the Genie at the Circus. | |
| Rescue Florrick | Inside the Wyrmgate Prison, which is the small section after you lower the bridge before entering the Lower City |
| Raphael’s Deal | Inside one of the bedrooms in the Sharess Caress. |
The Investigate The Open Hand Monk Temple Murder starts in the temple and requires you to find evidence. When ready, report to the floating Elephant in the Sharess Caress. You should visit this place and learn of the missing girl, as you can do both quests simultaneously.
Other important side quests here are going to see the Gur, The Strange Ox. Both of these can give you allies, so visit them, and start their quest chains off. Both cannot be completed until you get into the Lower City and do their pieces of content. Florrick is another one of those quests you can do on the side for an Ally, but, that quest is only activated once you’ve managed to cross over into the Wyrm Gate by lowering the Rivington Bridge.
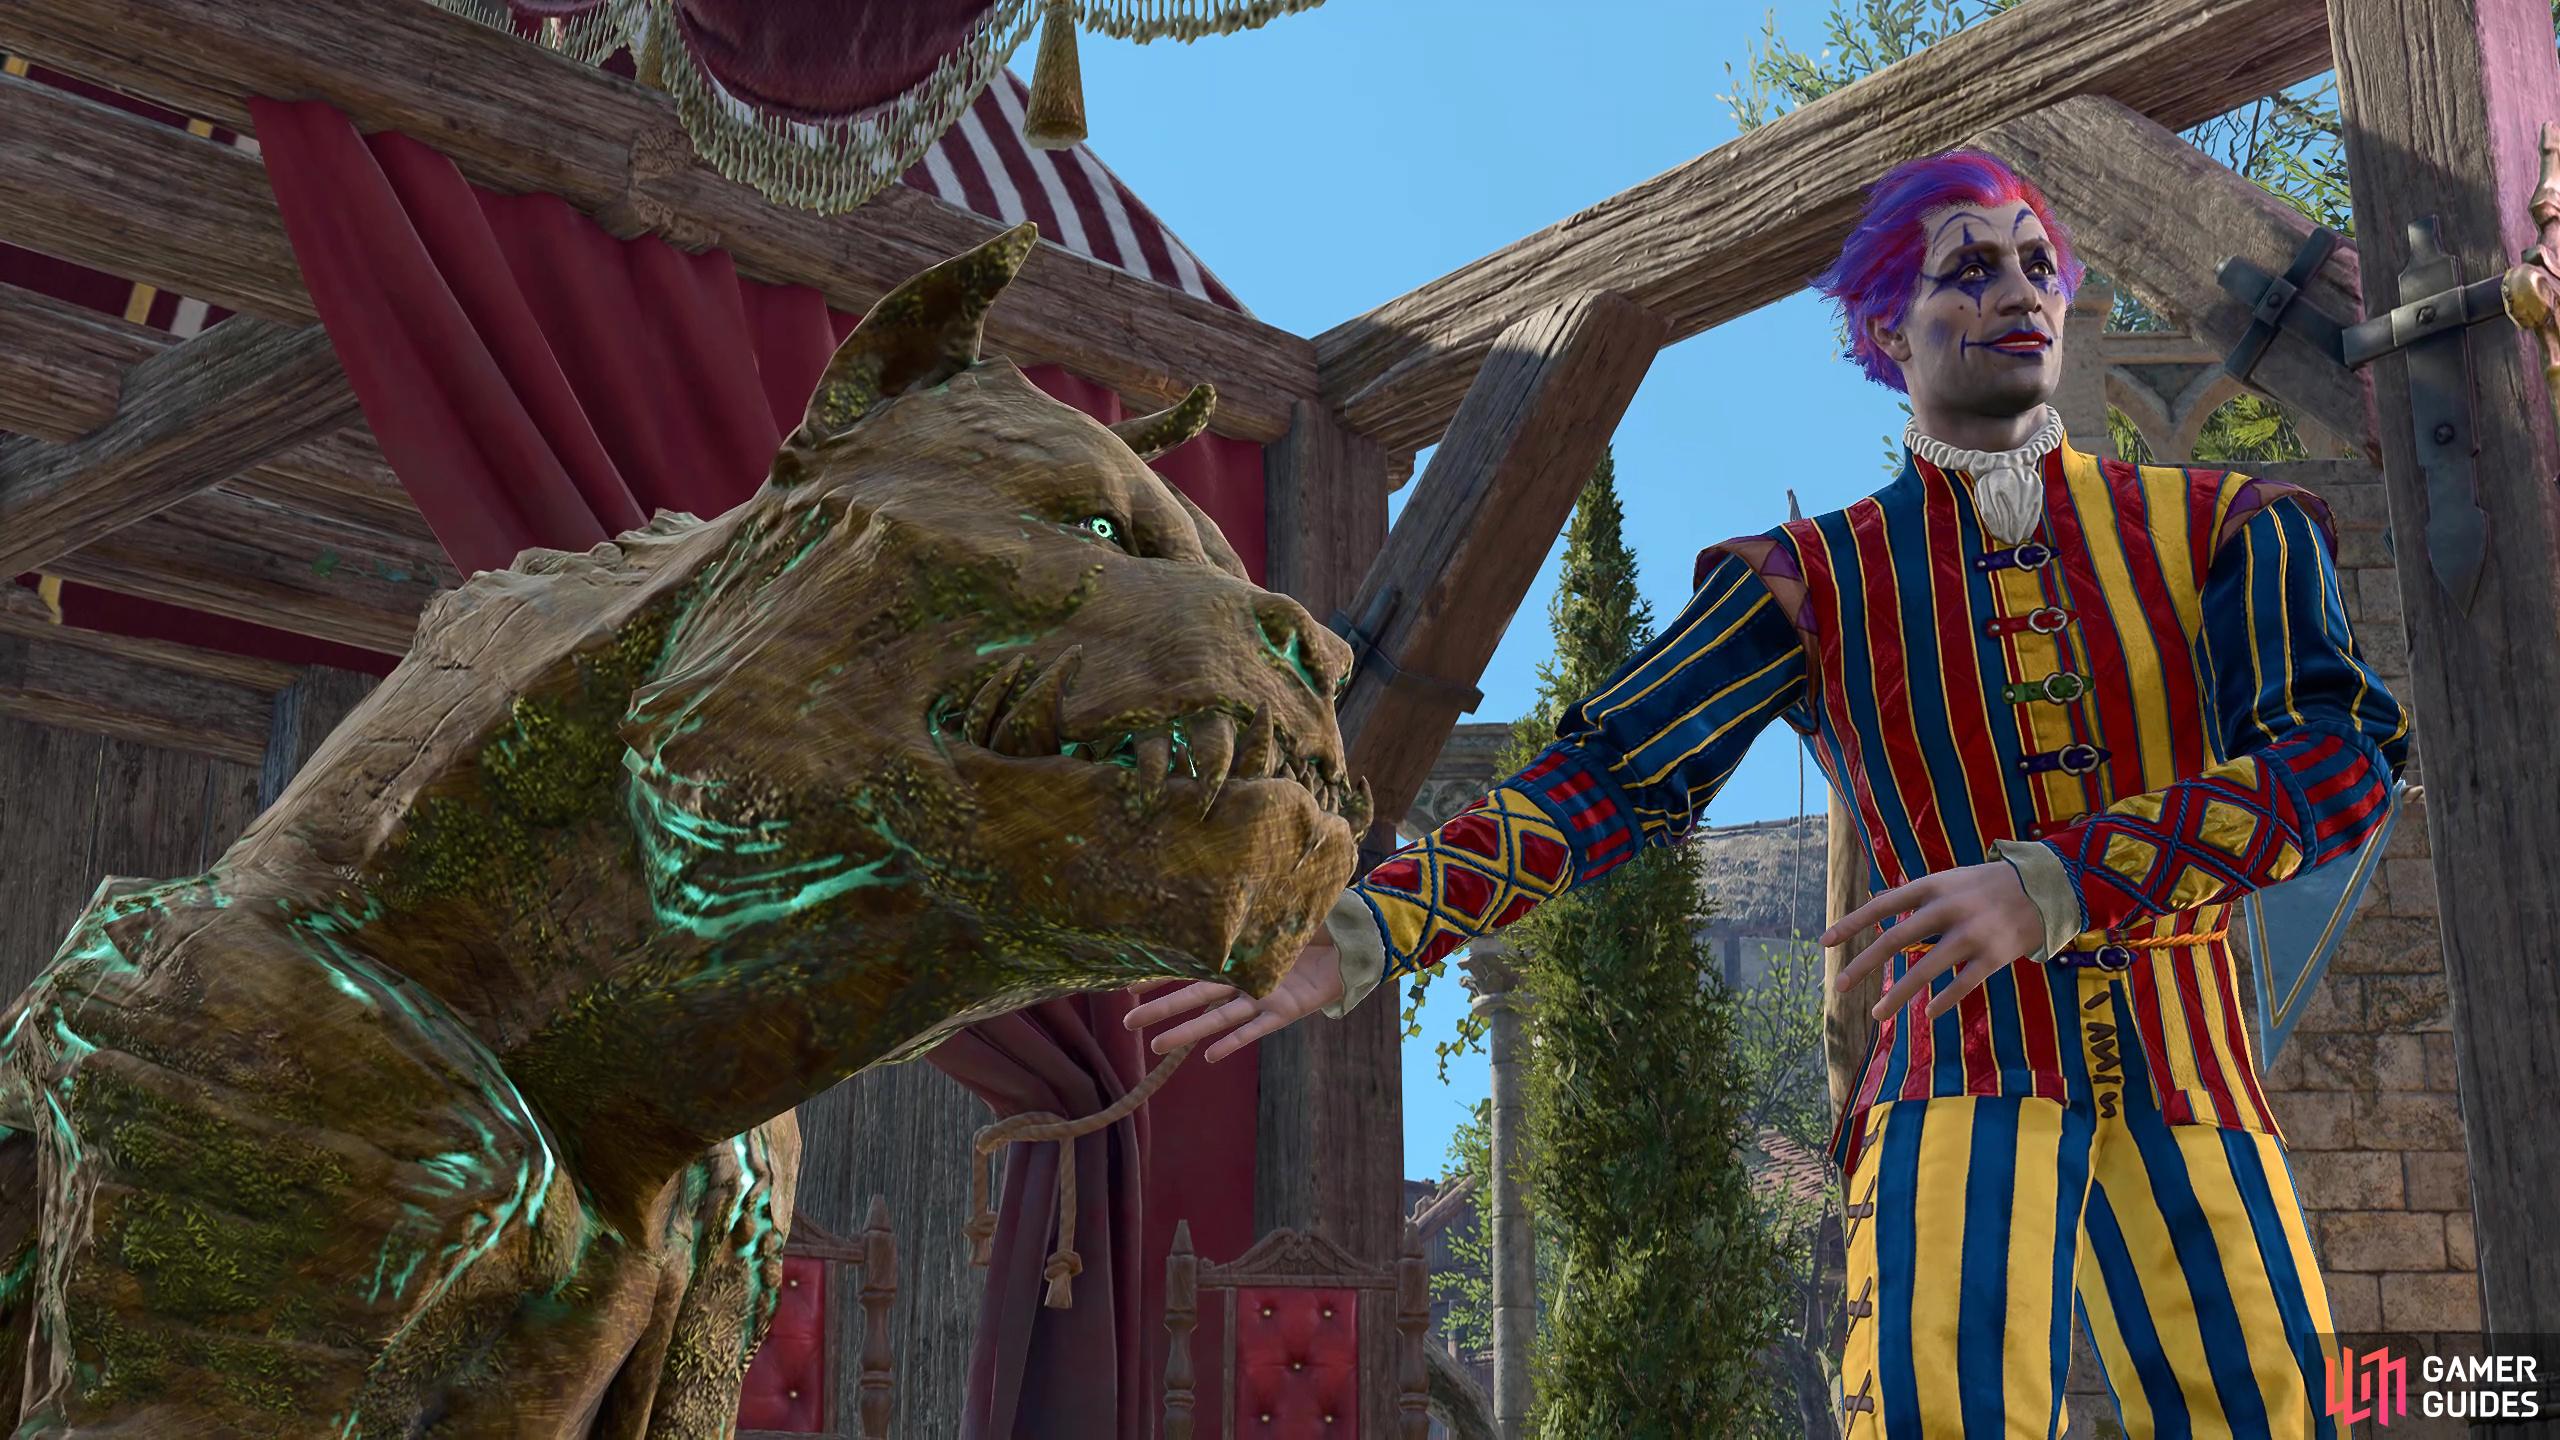
Dribbles the Clown entertaining the Rivington crowd.
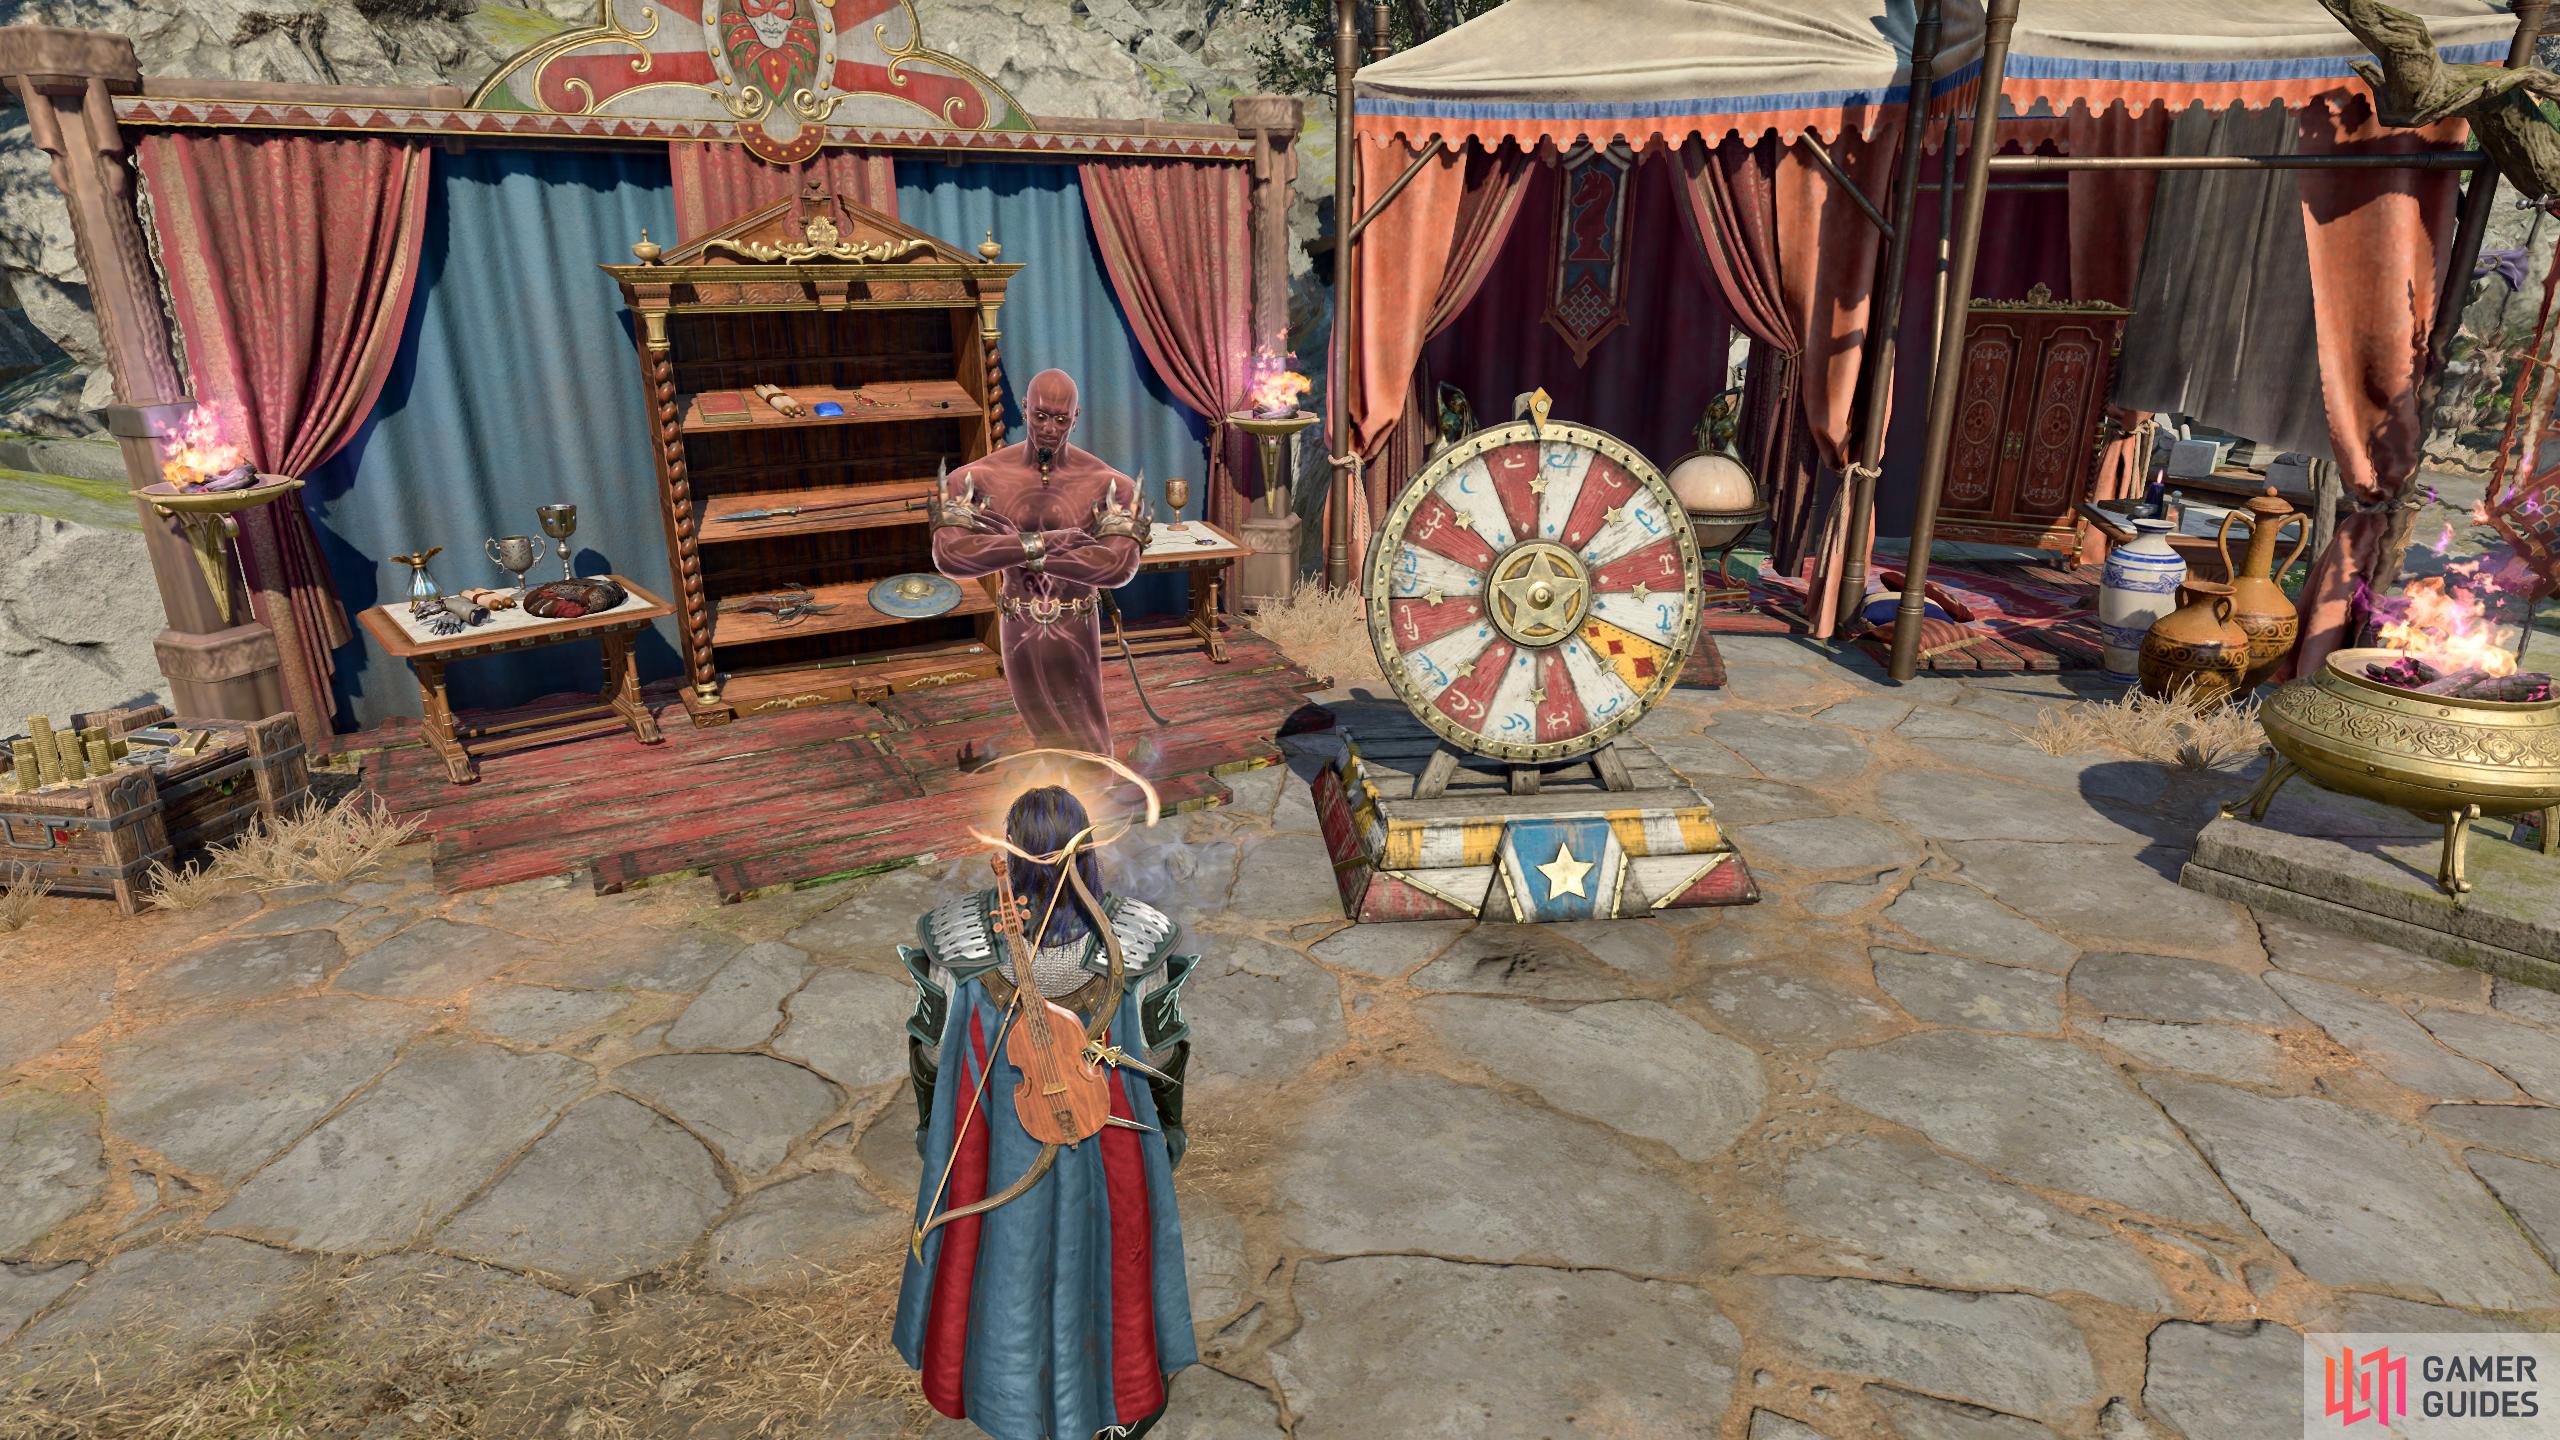
Akabi can be found in the Circus of The Last Days in Rivington.
The other quest you should do in Rivington is the Genie at the Circus. This quest requires you to pickpocket the genie, and steal his magic ring. You can then spin the wheel, get the jackpot, and then go on a quest. You will be awarded with your first Act 3 legendary weapon for doing so, called the ![]() Nyrulna.
Nyrulna.
Raphael is also important to the game; you should visit him soon. Raphael is ready to offer you a deal, allowing you to be free from your tadpoles, and a means to defeat the Elder Brain. However, he wants the Crown that controls the Netherbrain, allowing him to enter Avernus and fight the Blood War. This can affect the ending, depending on what you do. So, you can go up to him, and then figure out how you want to do what you want to do when the ending arrives. We also have a much more detailed guide on whether you should take the Raphael deal or not here without getting too bogged down in the details.
Dribbles the Clown is another potential side quest for you to do. You’ll find that the poor sod has been torn to pieces after you visit the Circus. You can find various body parts scattered around Rivington and the Lower City, and if that is a quest you want to do, then you can read more on the Dribbles the Clown parts locations page here.
Also, don’t forget to visit the refugee areas for some more lore, traders, and get the quest from the Gar. You’ll have encountered one in Act 1 near the Hag’s lair, and they are not particularly best pleased about the vampire situation. These can be allies if you want them to be, and their quest is associated with ![]() Astarion’s for better or for worse.
Astarion’s for better or for worse.
Lower City Walkthrough in Baldur’s Gate 3
Now that you’re into the Lower City Walkthrough of Act 3, you have many potential quests, interactions, and more, depending on your journey through the game.
Once you’re ready to go into Lower City, you’ll have a super large and populated busy city to explore. For the most part, you will do any of the content in any order you want to. However, we recommend leaving the Companion quests alone until you’re max level. We also recommend avoiding going into the House of Hope at the ![]() Devil’s Fee and making enemies of Raphael until you’re max level, as he is probably the hardest fight in the game. You should also leave Orin and Gortash alone until the end of the game. The reason for it is that having one of them die does negatively affect some of the Elder Brain activity, so it can make The Emperor either more annoying, or some of those with tadpoles start turning, making city navigation harder. The same goes for Gortash, as his Steel Watch will turn against you, once again making combat and city exploration harder than it needs to be.
Devil’s Fee and making enemies of Raphael until you’re max level, as he is probably the hardest fight in the game. You should also leave Orin and Gortash alone until the end of the game. The reason for it is that having one of them die does negatively affect some of the Elder Brain activity, so it can make The Emperor either more annoying, or some of those with tadpoles start turning, making city navigation harder. The same goes for Gortash, as his Steel Watch will turn against you, once again making combat and city exploration harder than it needs to be.
Also, in the Lower City, you’ll likely encounter a lot of differing content, based on your Act 1 and 2 Actions. We’ve got a list of things to watch out for:
| Possibilities | What Changes? |
|---|---|
| Rescued the Tieflings | You’ll find Mol in the Guild Hall, Arabella in the sewers, and Dammon around the Forge of the Nine, for example, if you rescued the Tieflings in Act 1, and then again from Moonrise in Act 2. |
| Gave Lady Esther the Githyanki Egg | If you gave her the egg, you’ll find a house full of slaughtered intellectuals, and Otheluum won’t appear later in the Act. If you didn’t give her the Githyanki Egg, then the Society of Brilliance will be around in one of the buildings west of the |
| Isobella Survived | She will accompany you in camp, and have some relation to the Sorcerer’s Sundries side quest. |
| The Nightsong | If you killed the Nightsong, you’ll miss out on a quest in the Sorcerer’s Sundries. If you saved her, you will get a quest in there too. |
| Saved Mayrin | If Mayrina survived Act 1 with the Hag, she’ll be a part of the Hag surviving group in the city, and play a part in the quest. |
| The mushroom sellers | In Act 1 |
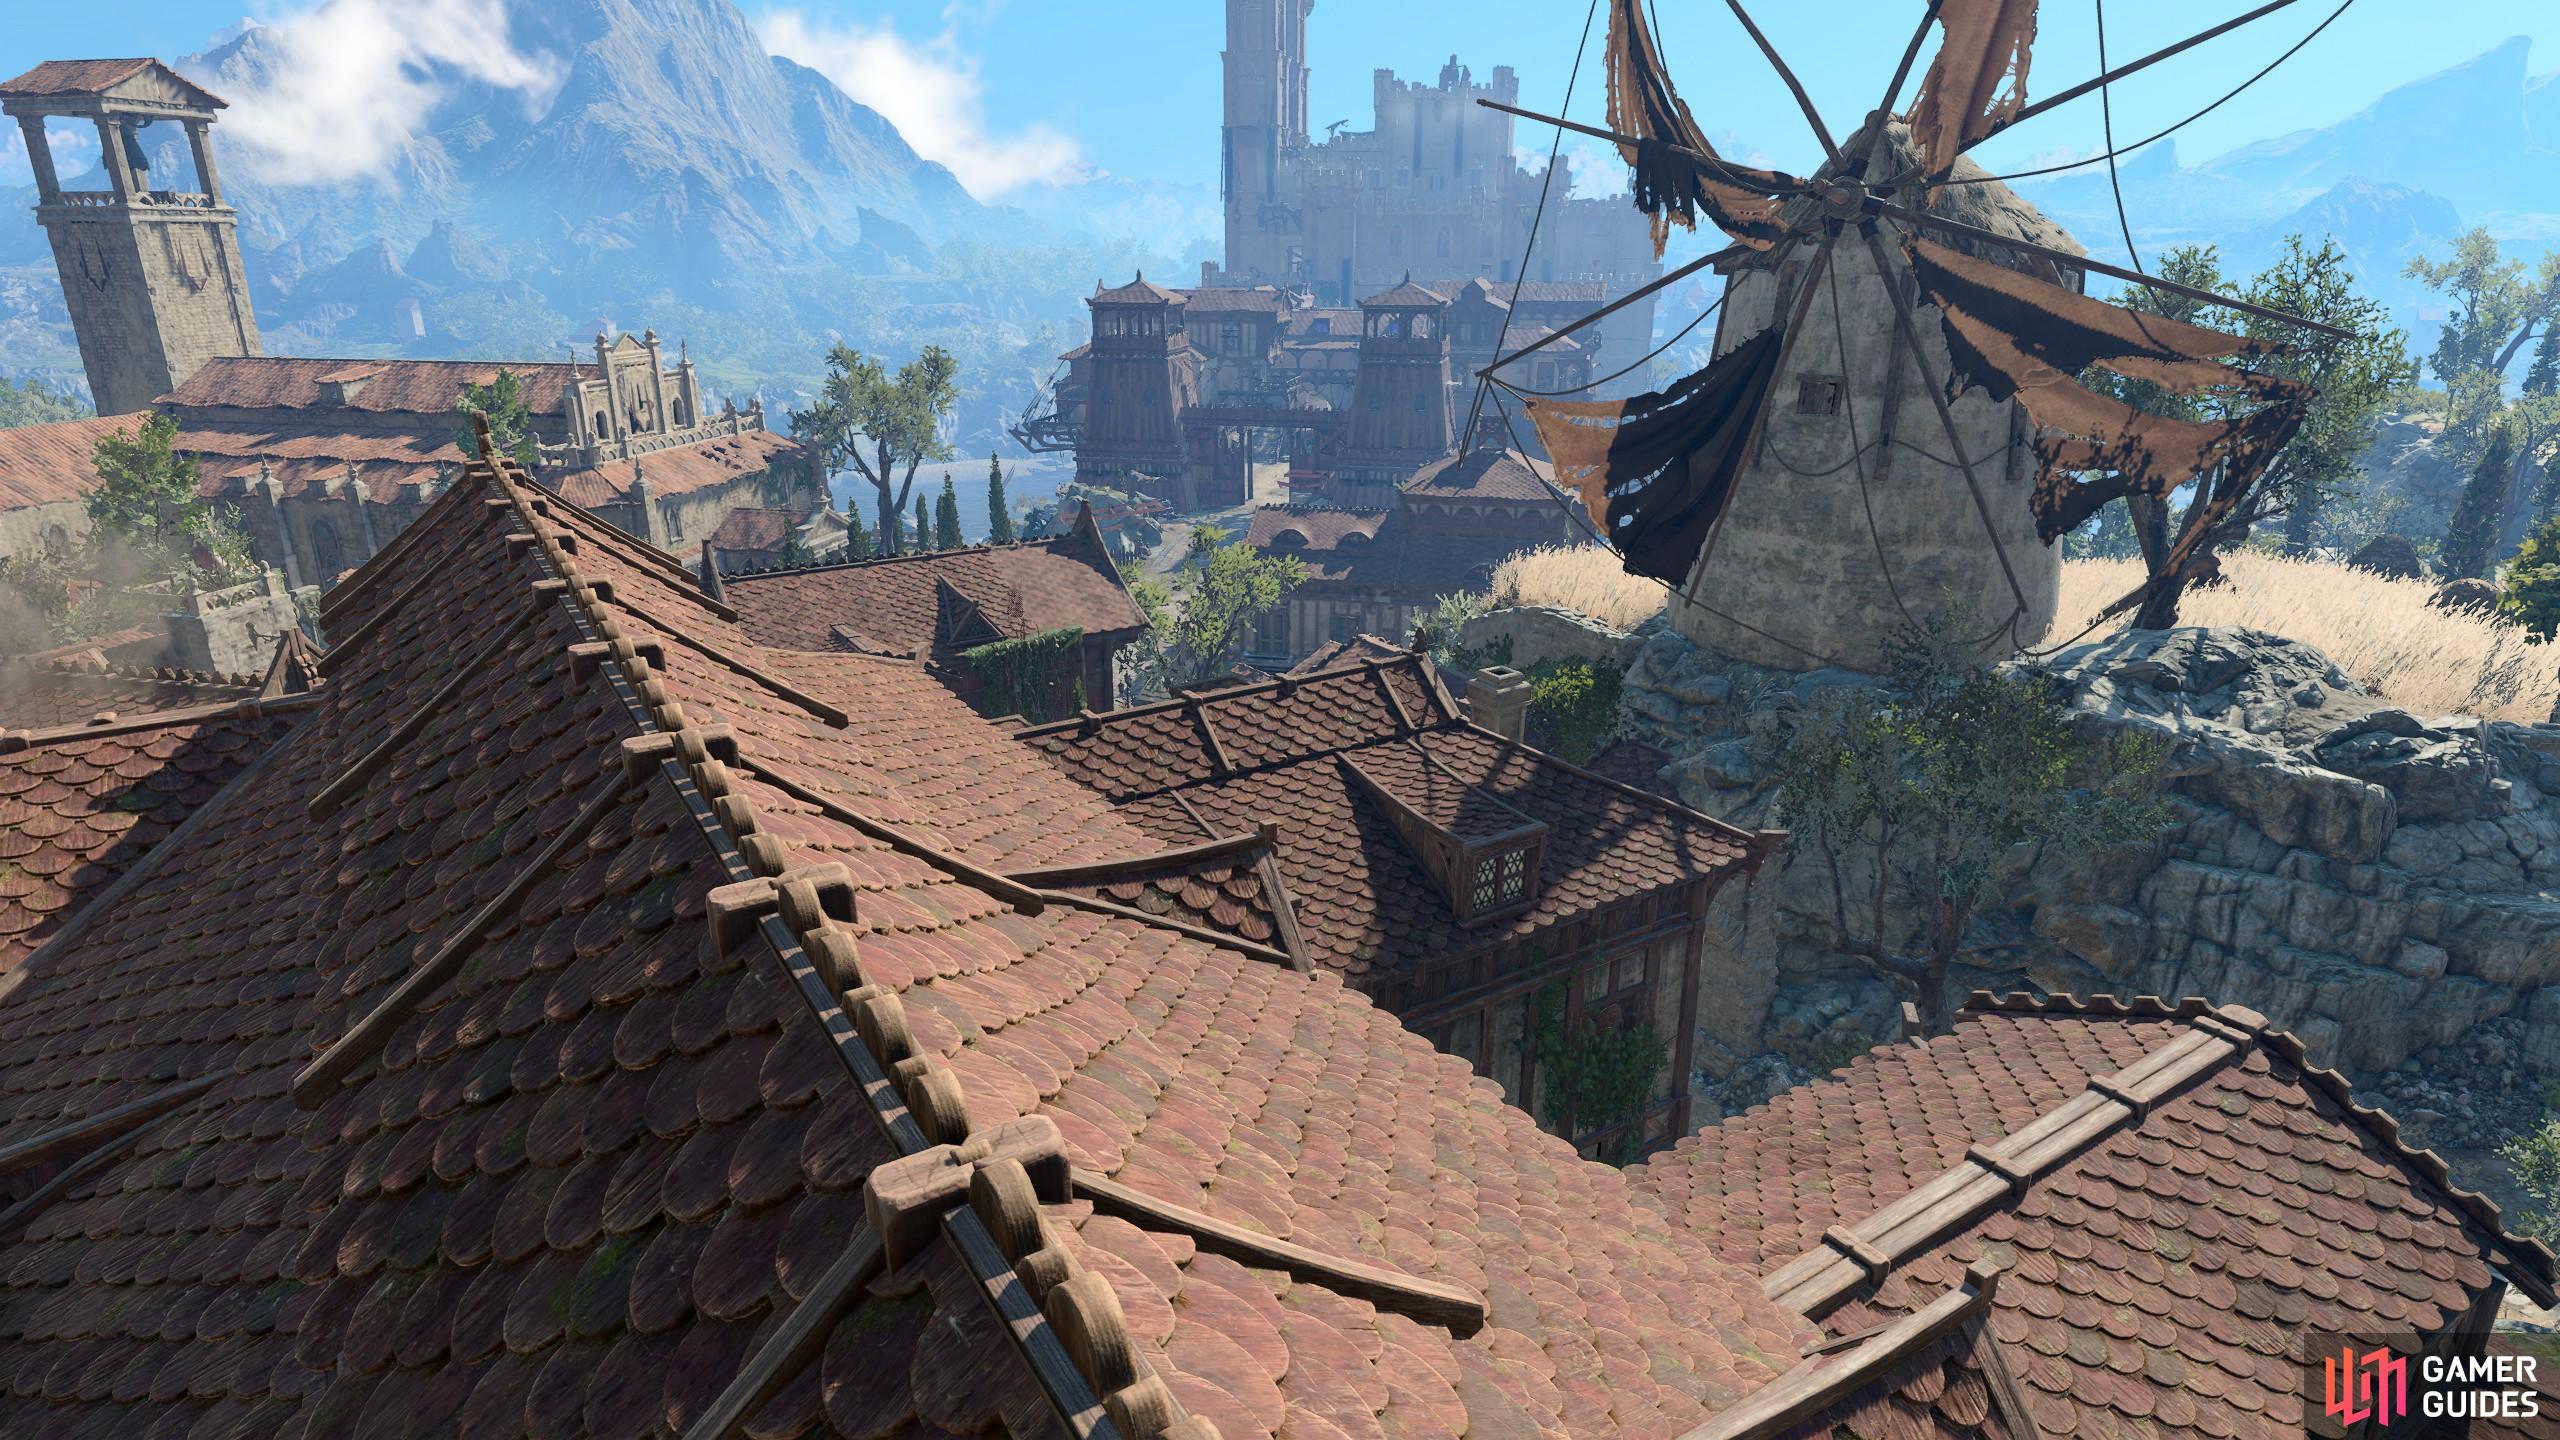
| Saved Wulbren and the Gnome at the Windmill | If you rescue the Gnome from the Goblins in Act 1, and then save Wulbren and his band of Gnomes in Act 2 of Moonrise, they’ll grant side quests later on in Act 3 when you’re ready to deal with the Steel Watch Foundry. |
| Jaheira’s Harpers storyline | If you killed Jaheira, or made her neutral by letting Isobel die in Act 2 during the Last Light Inn attack, you miss out on that storyline with the Harpers. |
| Araj Oblodra | She takes your blood in |
| The Artist | If you managed to |
As you can see, if you killed a lot of people either directly or indirectly, you will be missing out on a fair amount of content and storylines. It’s worth noting these down, so you can follow the Complete Act 3 Walkthrough of BG3 and miss out on any relevant sections that do not apply to you.
Also, plenty of the best items in Act 3 come from trailers in the city too. Before going too far off the rails, we recommend visiting the following traders for items. Between these and the ones in Rivington, you should be well on your way to some BiS items for your builds. Other items come from quests or discoveries over time:
| Trader | Location |
|---|---|
| Dammon | Forge of the Nine, west of Elfsong Tavern (He’s only there if he survived Acts 1 and 2.) |
| Helsin | |
| Sorcerer’s Sundries | Ibid |
| Vicar Humbletoes | Stormshore Tarbarnacle, the stone church near the |
| Voiceless Penitent | Undercity Ruins in the Sewers (north end of the sewers). |
You need to visit these four Lower City and sewer traders and buy some of the best items for Barbarians, Druids, Casters, Clerics, and Paladins. There are also some legendary weapons and armor to collect through the Act, each with different difficulties and objectives. We recommend checking our Best Armor and Weapons in Act 3 to get an idea of what areas you want to visit to best equip your party, presuming you don’t want to follow our recommended quest progression order you’ll find in the section below.
Recommended Side Quest Order
When it comes to partaking in side content, there is a lot, you have the companion quests and regular side content. You can expect the content as follows:
| Side Mission | Companion |
|---|---|
| Avenge of the Drowned | |
| Emperor’s Hideout | Jaheira |
| Free The Artist | |
| Hag Survivors | Wyll |
| Investigate The Murders | – |
| Lorroaken | – |
| Murder Tribunal | – |
| Sarin’s Skeleton | – |
| – | |
| Steel Watch Foundry | – |
| Stop The Presses | – |
| Thrumbo and Philgrave’s Mansion | – |
In terms of what order you should do the quests, we recommend the following, for both difficulty and quest log orderings:
- Emperor’s Hideout
- Stop The Presses
- Sava Vanra and Hag Survivors
- Free The Artists (choice dependent from Act 1)
- Philgrave Mansion Quest and Finding Thumbro
- Lorroaken (choice dependent from Act 2)
- Aid The Underduke / Jaheira’s questline
 Avenge the Drowned
- Sarin’s Skeleton
If you follow that list in that order, you will naturally explore and find content related to the easy enough to do side content. This order will help you hit several quests in one go, or, allow you to easily avoid any quest progression blockers since a few of the quests are intertwined.
Emperor’s Hideout is a fairly simple enough quest to start off with. You get this quest just by entering the Lower City, and going near the Elfsong Tavern. It’s an easy enough quest to do for the level you enter the city. Although you will fight Githyanki as part of it, it should only be a challenge if your comp is not best suited for fighting Githyanki. You get some interesting lore and items for it too!
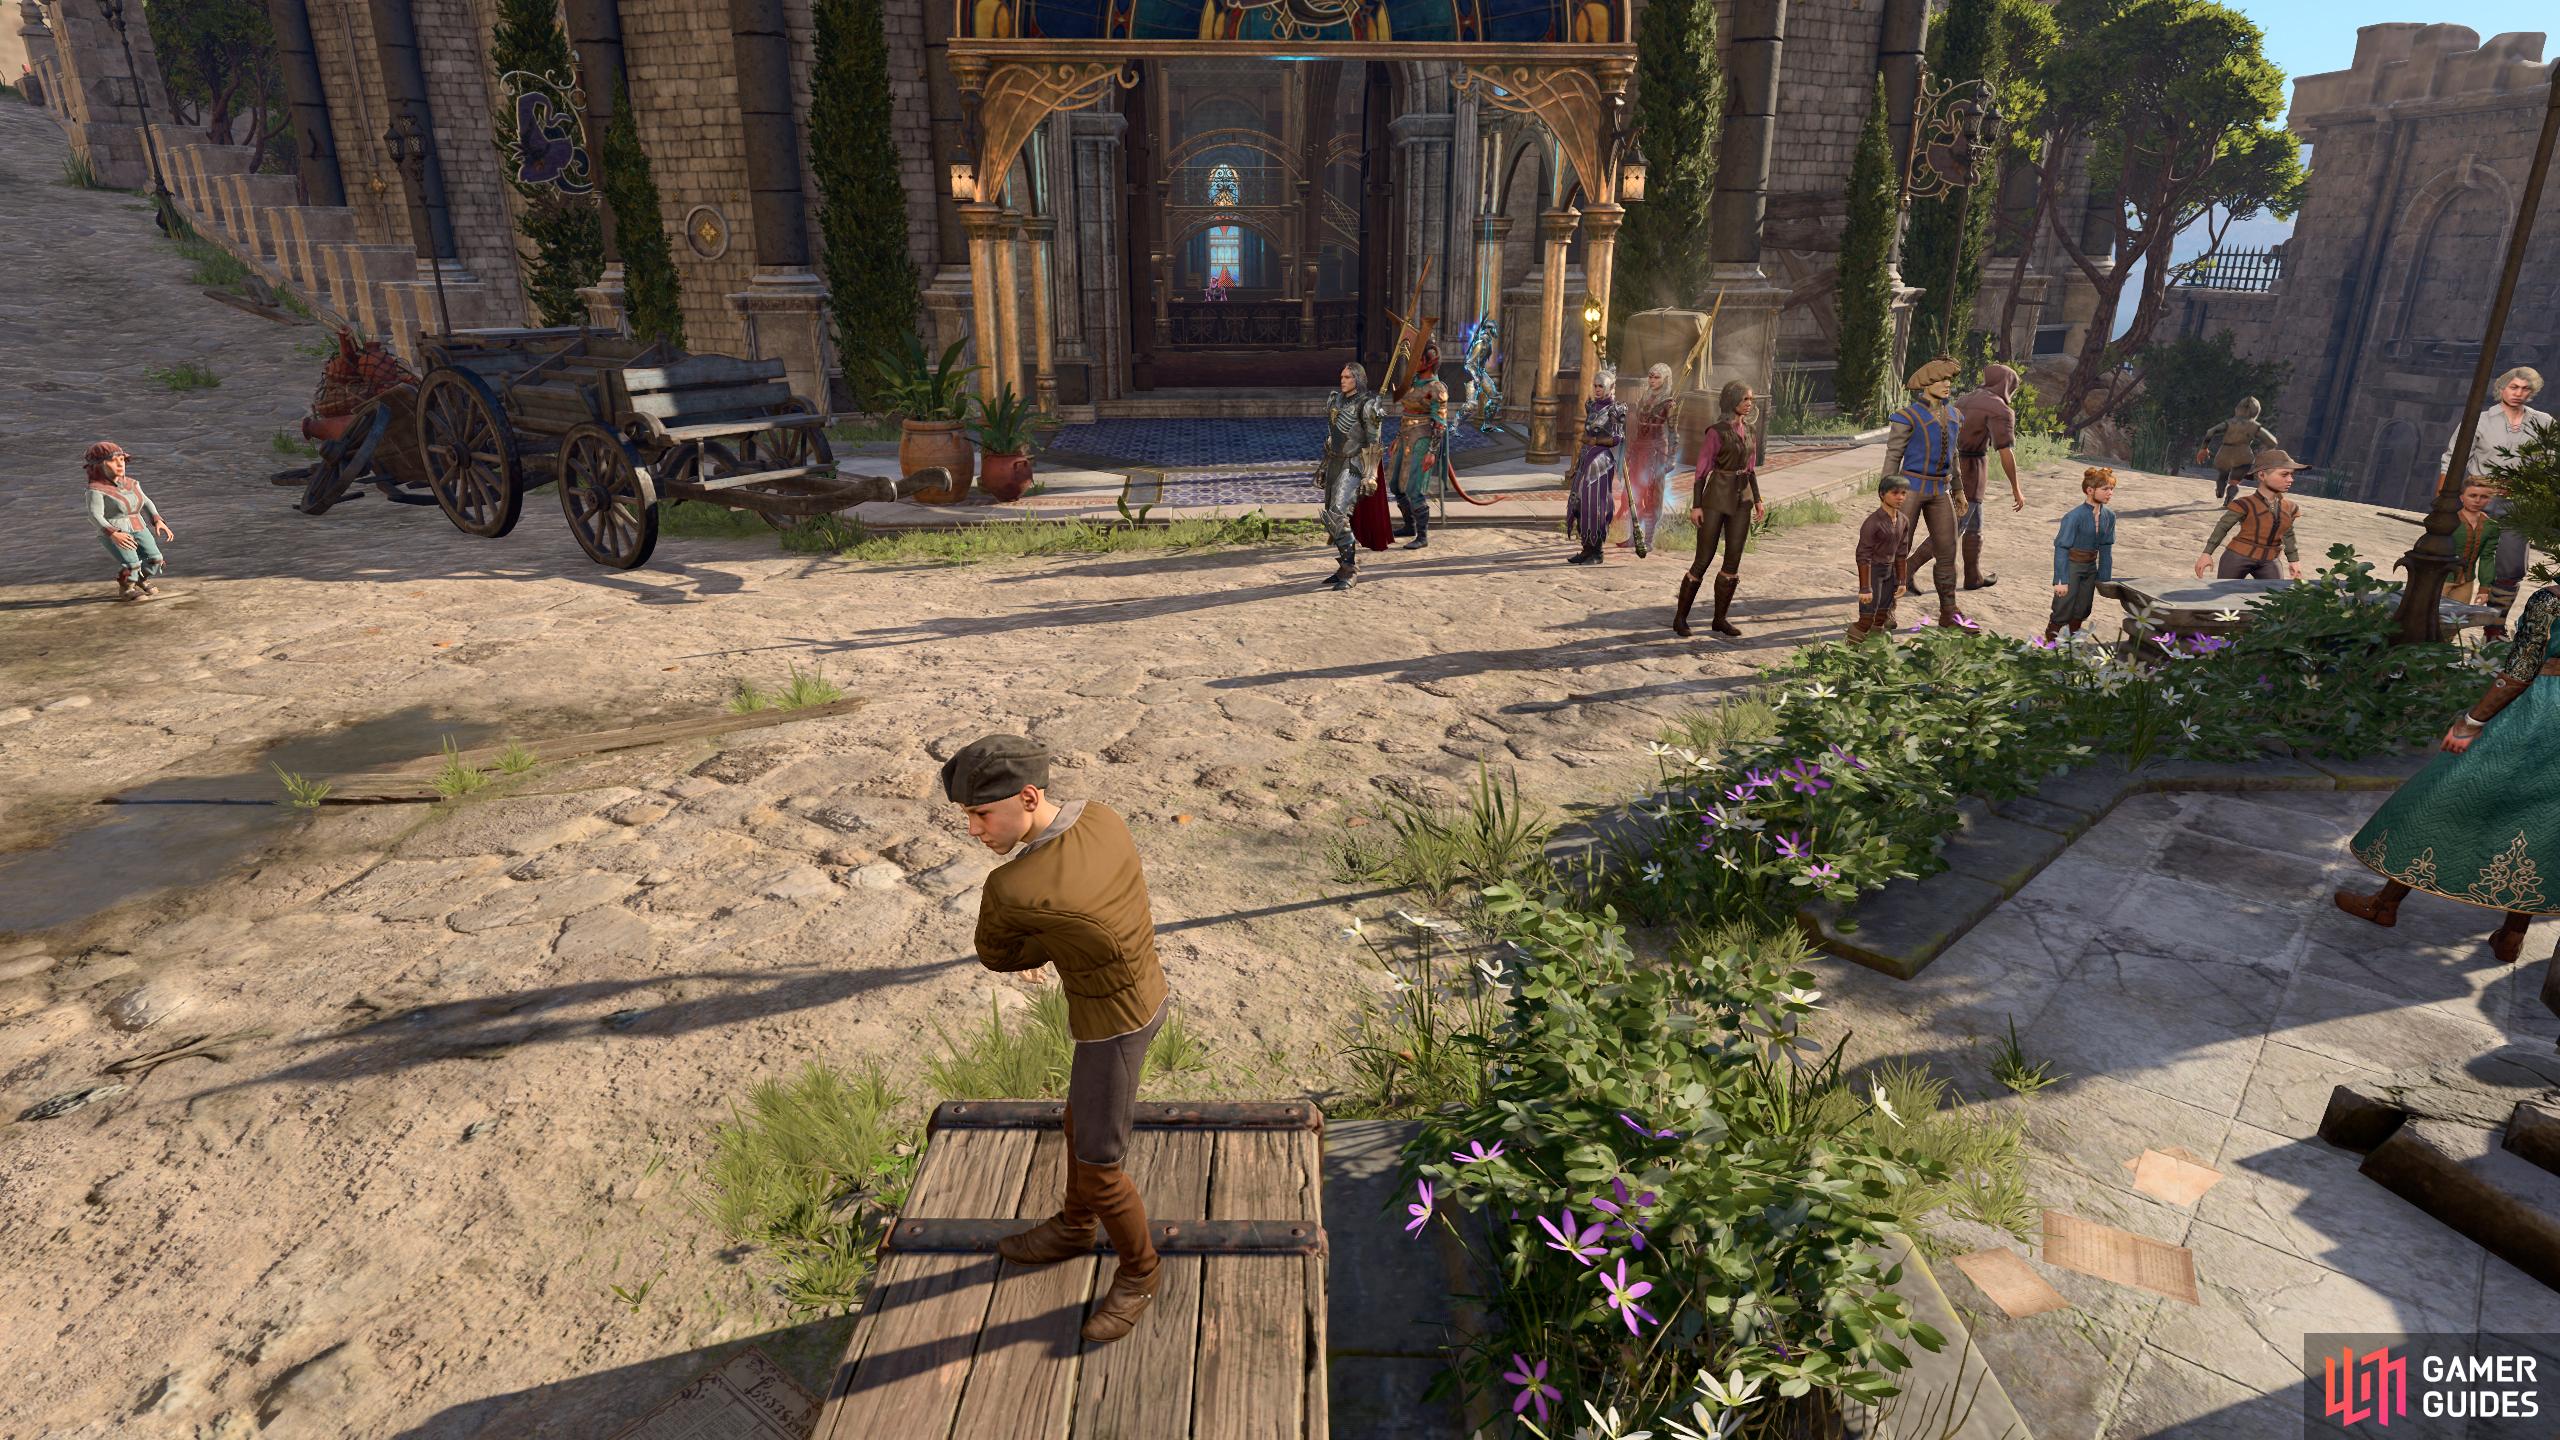
Player’s can find the Gazzette at the Basilisk Gate area.
After that, you can leave the Tavern and go and do the Stop The Presses quest. You can find the Baldur’s Gazette building in the square as you enter the Lower City for the first time. This is better suited for more villainous characters, but, a little bit of chaos thrown into a good save can’t hurt either. You’ve got to sneak into the basement of the printing press and deal with some Steel Watcher guards down there. Once inside, you can get a quest from a talking printing press, and you can change the news story of the day. Some good light-hearted fun and propaganda. Just be careful, as you can start massacring the journalists. Bit of irony in me writing this, but hey-oh.
City Exploration
From this point on, you have some city exploration to do. The Save Vanra Quest can be picked up near the Basilisk Barrack, next to the Elfsong Inn. Meanwhile, the Hag support group is located towards the middle area of the city. To make it easier to track locations, we’ve got a completed map inserted below, taken from our BG3 Act 3 Map page.
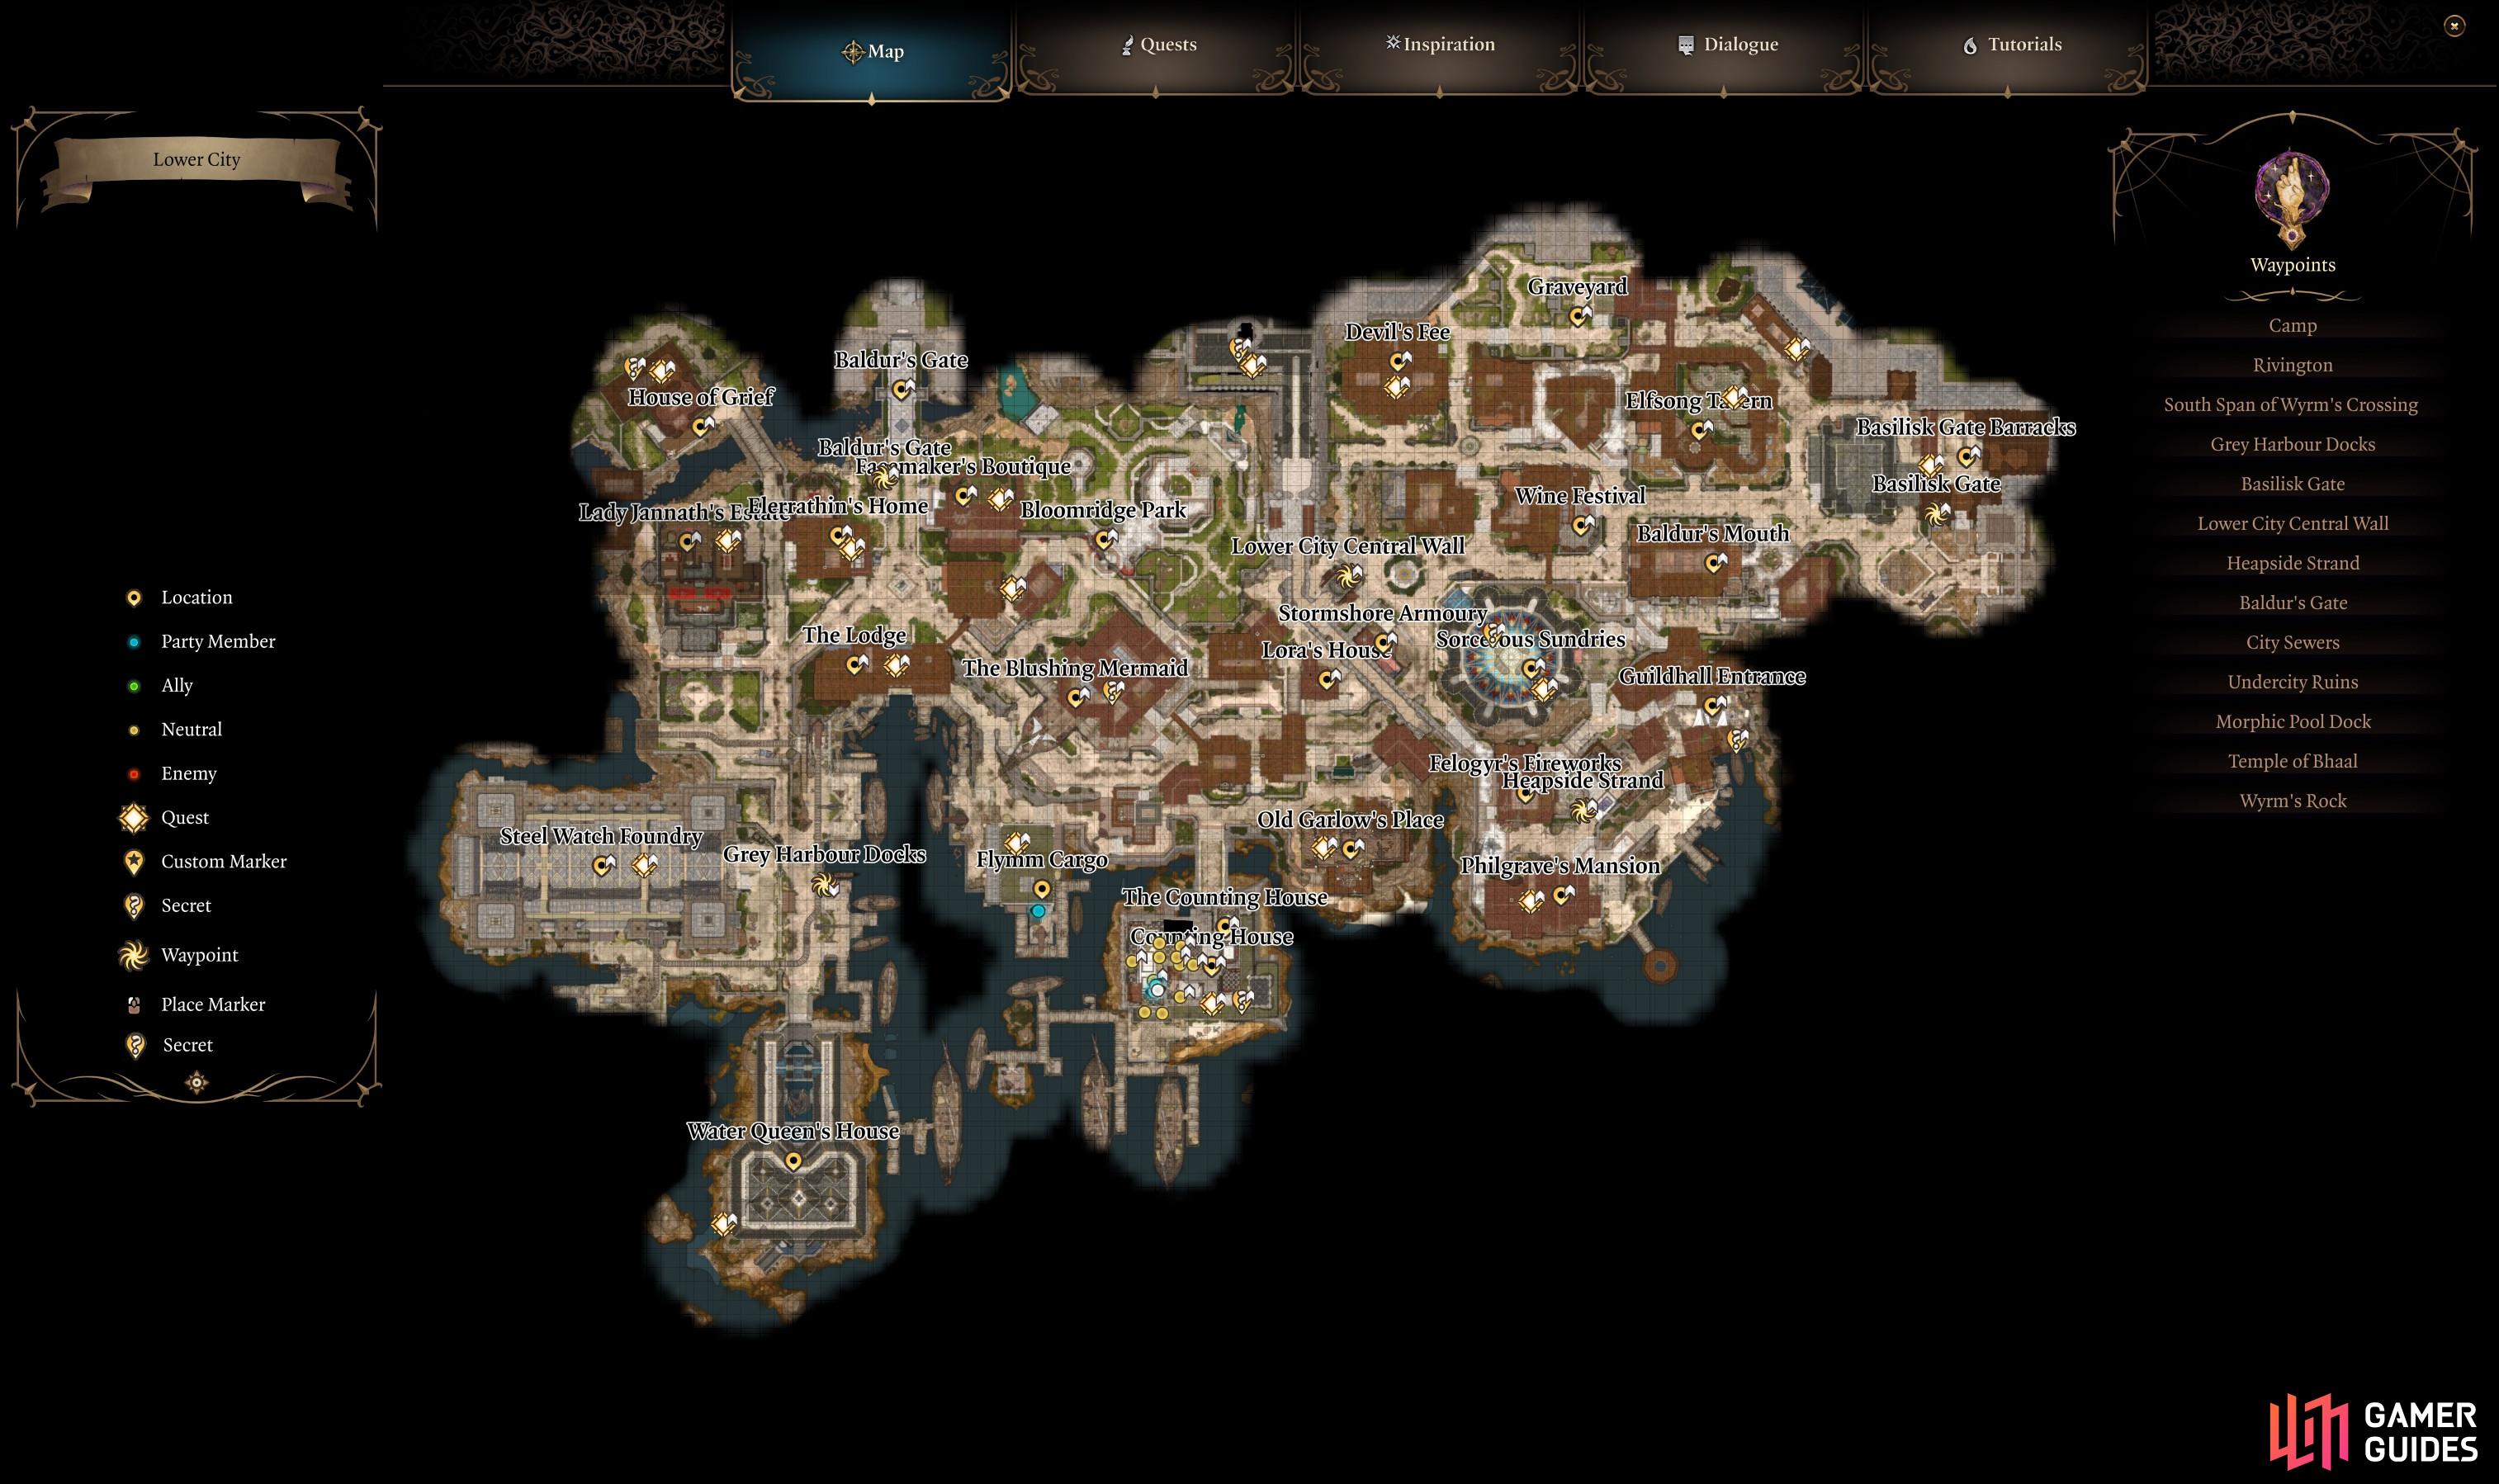
A Map of the Lower City in Baldur’s Gate 3
This should help you track down some of these more nuanced areas of the Lower City. We recommend doing these quests together because of the connection between the two of them. If you intend to deal with a good playthrough, then doing both simultaneously is ideal. If you fancy being a bit naughty, the negative outcome can lead to failing both quests in a weird way for you to discover. So, the choice is yours. You can get some really good legendaries and epics from doing these quests too in certain ways, like the Duelist’s Prerogative.
Now that is taken care of, we recommend doing the Free the Artist follow-up quest, located in a mansion near the Baldur’s Gate City waypoint with the Dragon kin butler in the mid-west area of the city. If you free the artist, you’ll find a haunted mansion, the artist, and the lady he told you about back in the Zhentarim hideout. If not, then no one is here for you to assist. If you can do the quest, you’ll need to visit Philgrave’s Mansion and get an item to assist with the quest. Having not already visited this mansion and spoken to Carrion makes completing this easier. However, if you have, it’s fine, as it means you need to either go and find Thrumbo, or complete the parts to kill Carrion sooner and then take the quest item you need from the box. The quest journal doesn’t do a good job of telling you that, though.
With the Artist follow-up quest done, you can now go ahead and do the Philgrave mansion questline. Depending on the perspective here, you can take whichever option you want for a good or bad ending. The perspective will reveal itself by visiting a small shack near the fisherman on the east side of Philgrave’s Mansion. You’ll find the building locked, with a hatch on its balcony. Head inside that and check the closet inside to reveal Thrumbo’s location. If you intend to kill Carrion, which is a good idea if you have a Necromancer in your party or a Spore Druid, then you need to eliminate some of his body parts in the sewers. Head towards the Undercity on the northern side of the Sewers, then turn left and find the secret undead area. Kill the enemies, then destroy the parts relating to the Mummy’s organs to break his immunity to death, then go back and fight it.
Ramazith’s Tower is above Sorcerous Sundries, but you’ll need to prove to Loroakan that you have information he needs.

You’ll have an important decision to make with Lorroakan and Nightsong.
Longer Quests and Choices
Next on the list is Lorroaken. He is a quest giver in the Sorcerer’s Sundries, a place with really good loot for casters for sale, so it is definitely worth visiting anyway. When you enter the place, follow the image apparitions for Lorroaken, and then go through the grey portal that coincides with what the Nightsong actually is. It will take you to Lorroaken’s hideout, and you can talk to him. If you killed the Nighstong you won’t get far as he starts crying. But if you did, you can decide to give the Nightsong over to Lorroaken. Say yes, and you get yourself an ally in Lorroaken. Deny him, and you get into a fight, but, you get the Tiefling Wizard, the Nightsong, and Isobel as locked-in allies, so, there’s that. Have fun, but remember, there is a fight, and he has lots of elemental summons guarding him, which can make the fight tough. Feel free to prepare some anti-elemental spells like Protection from Good and Evil, ![]() Banishment,
Banishment, ![]() Hold Monster, etc. It shouldn’t be a problem at this point, as you should have gotten close to or are level 12. Also, make sure to explore the Sorcerer’s Vaults as there is some really good caster loot, scrolls, legendaries, and an update on the Necromancy of Thay down there too. We have a guide on that in more detail if you’re interested.
Hold Monster, etc. It shouldn’t be a problem at this point, as you should have gotten close to or are level 12. Also, make sure to explore the Sorcerer’s Vaults as there is some really good caster loot, scrolls, legendaries, and an update on the Necromancy of Thay down there too. We have a guide on that in more detail if you’re interested.
We recommend the next stage of your journey to go to the Guild Hall. You can find this via an entrance with an Orc guard just to the south of Sorcerer’s Sundries along a thin ally overlooking the coastline. Alternatively, you may have already discovered it by opening the locked door in the sewers, presuming you’ve done some Sewer exploration at this stage. We recommend going in there and looking for the Guild leader. She will give you the Aid the Underduke questline. Players who have Jaheira can also complete her side quest here, and recruit Minsc in the process if you want that companion. Note there is a good and bad ending, but both endings lead to an ally in the Gather your Allies scenario. While in the sewers, make sure to find Mol, who is in the Guildhall, along with Arabella in the sewers, presuming the Tieflings survived Acts 1 and 2. You can also fast-track the Sarin Skeleton quest if you want to while down here since you spend a lot of the time in the sewers.
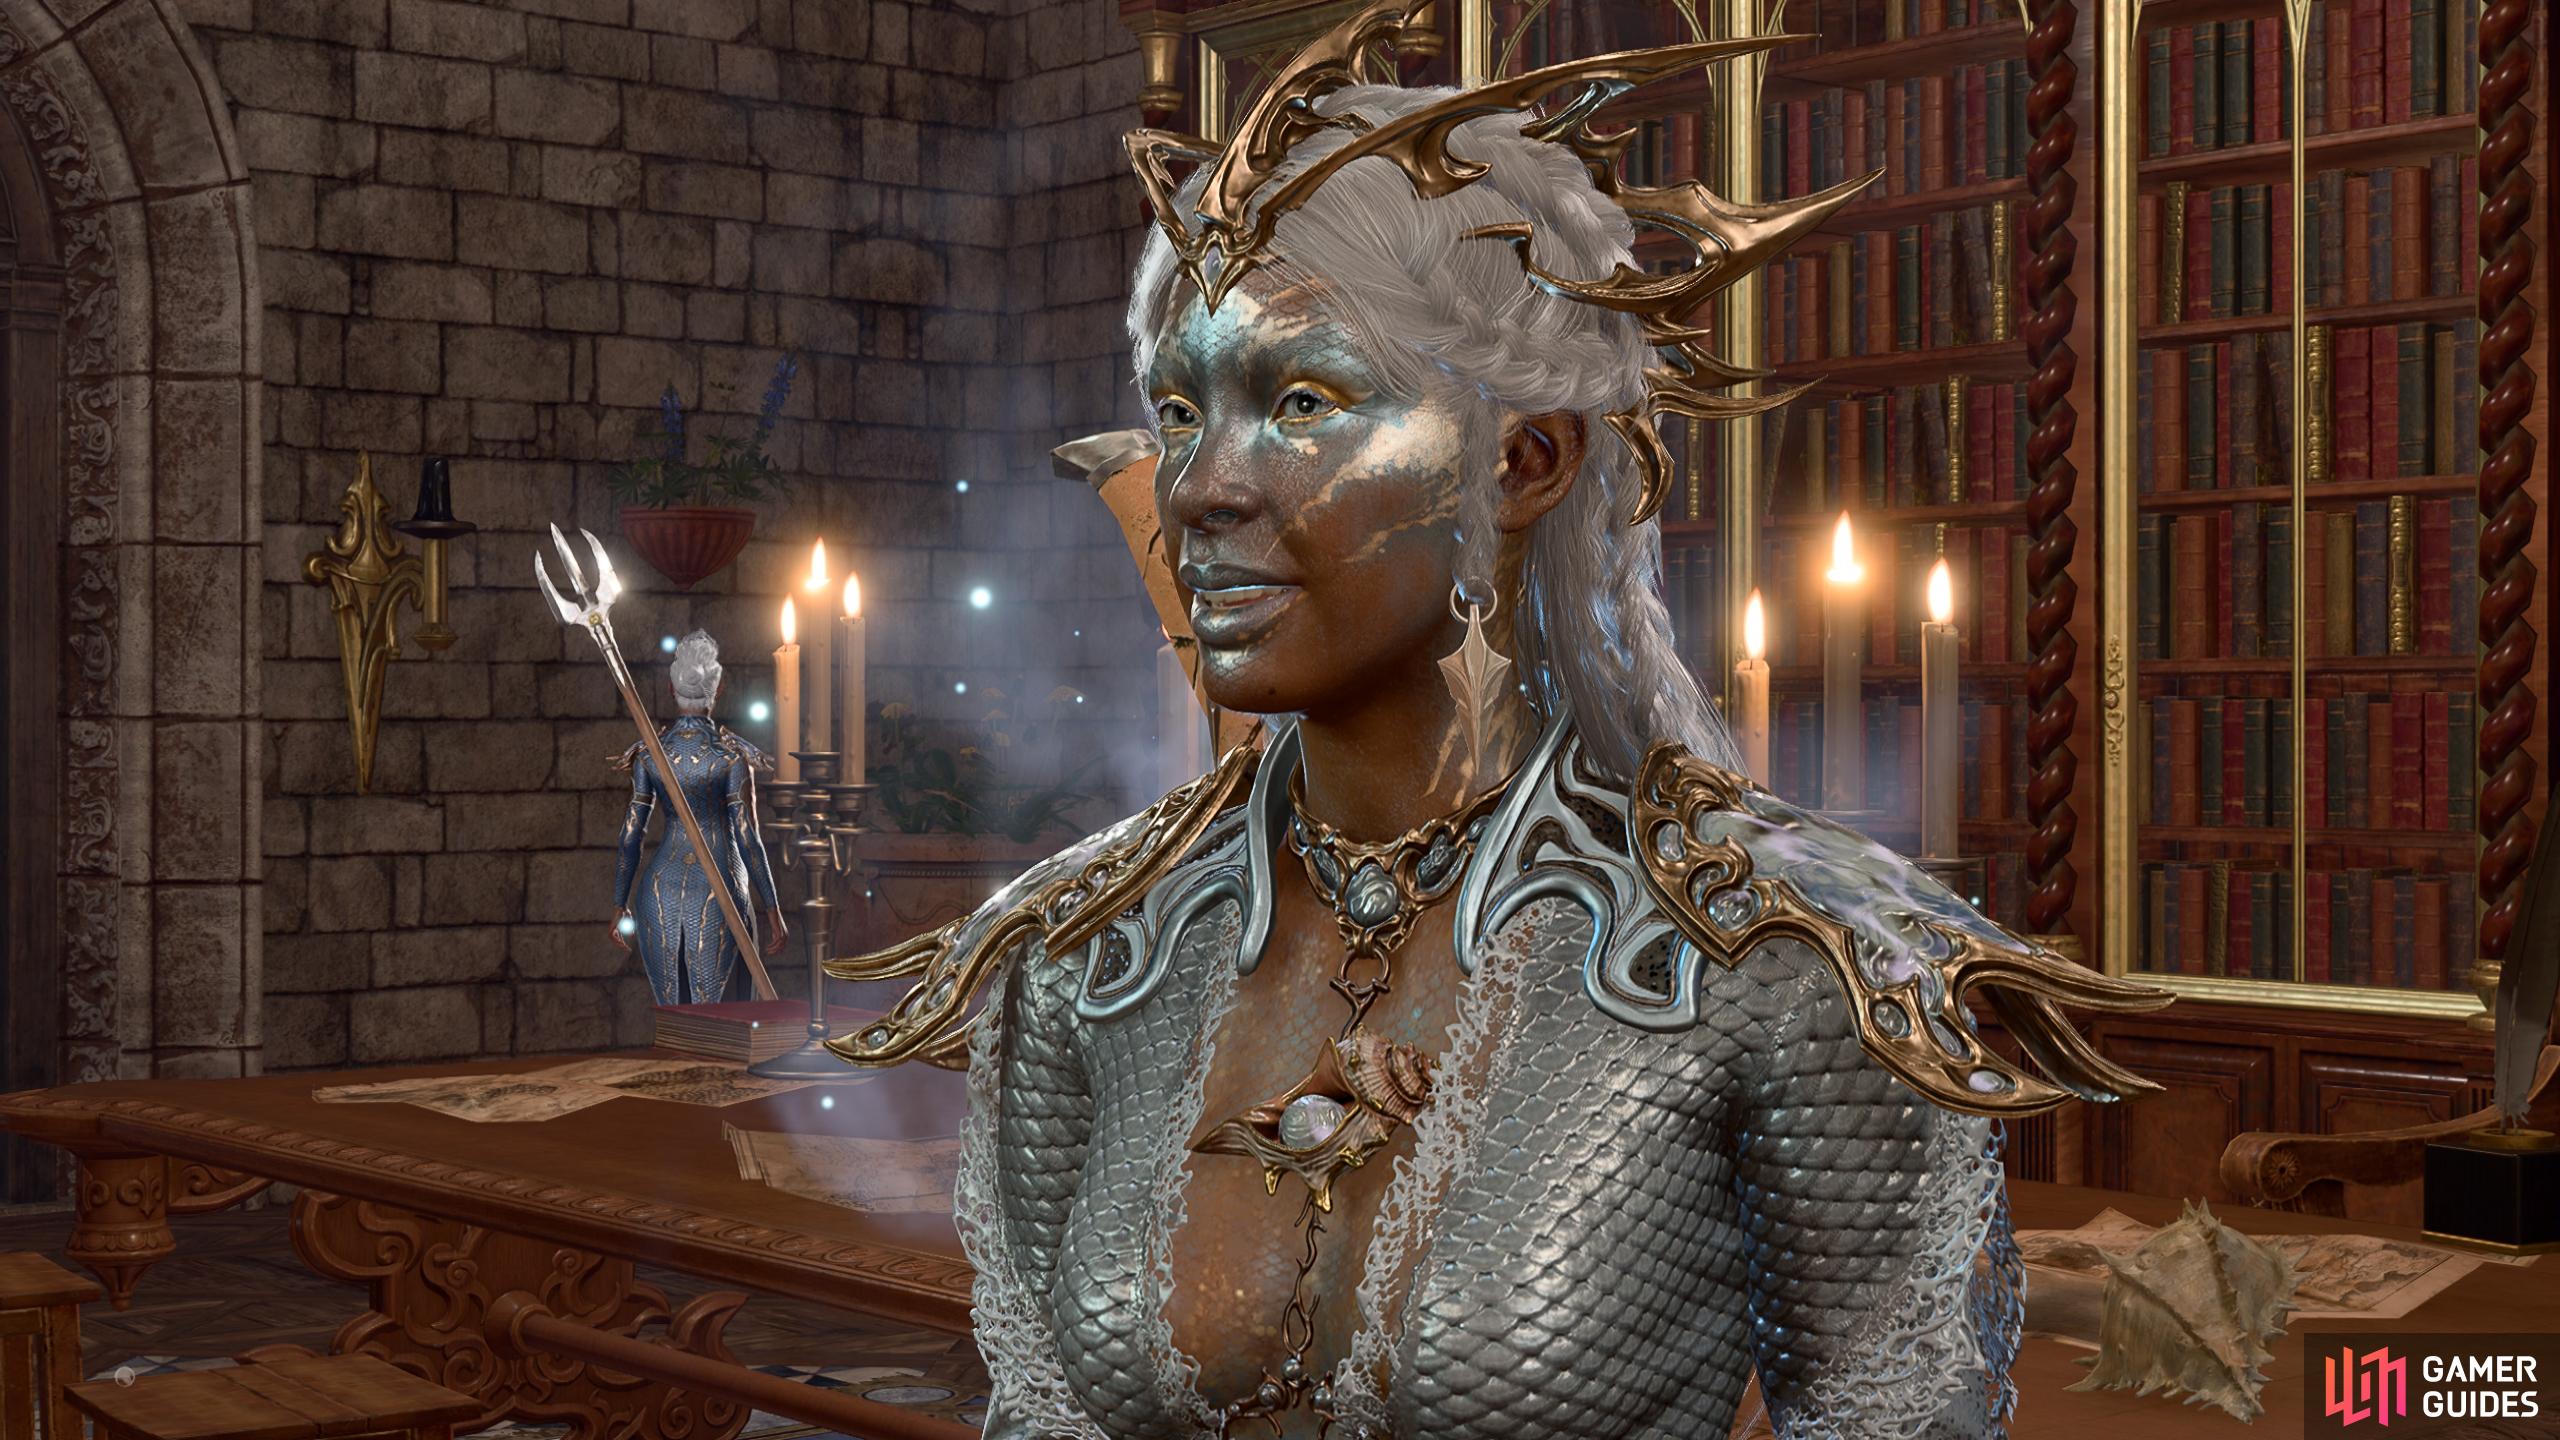
Speak to Allandra Grey in the Water Queen’s House to start the Avenge the Drowned quest.
Now, for the possible last option, it is the Avenge the Drowned. There is a water temple near the main docks in the very southwest corner of the Lower City at the tip of the docks. Visit her for another side quest unrelated to anything else for some more goodies and experience points.
After you’re done with all of these, you should be able to take on most of the companion quests like ![]() Shadowheart,
Shadowheart, ![]() Gale, and Astarion, along with visiting the House of Hope, accessible from the Devil’s Fee. These areas have some powerful bosses to fight, or some troubling encounters, such as Shadowheart’s, presuming you saved the Nightsong. These are arguably the hardest fights in the game coming up, hence the need to be prepared to fight them. Wyll is an entirely different ball game, and we recommend doing him, and the Steel Watch Foundry last.
Gale, and Astarion, along with visiting the House of Hope, accessible from the Devil’s Fee. These areas have some powerful bosses to fight, or some troubling encounters, such as Shadowheart’s, presuming you saved the Nightsong. These are arguably the hardest fights in the game coming up, hence the need to be prepared to fight them. Wyll is an entirely different ball game, and we recommend doing him, and the Steel Watch Foundry last.
Ending Act 3 of BG3
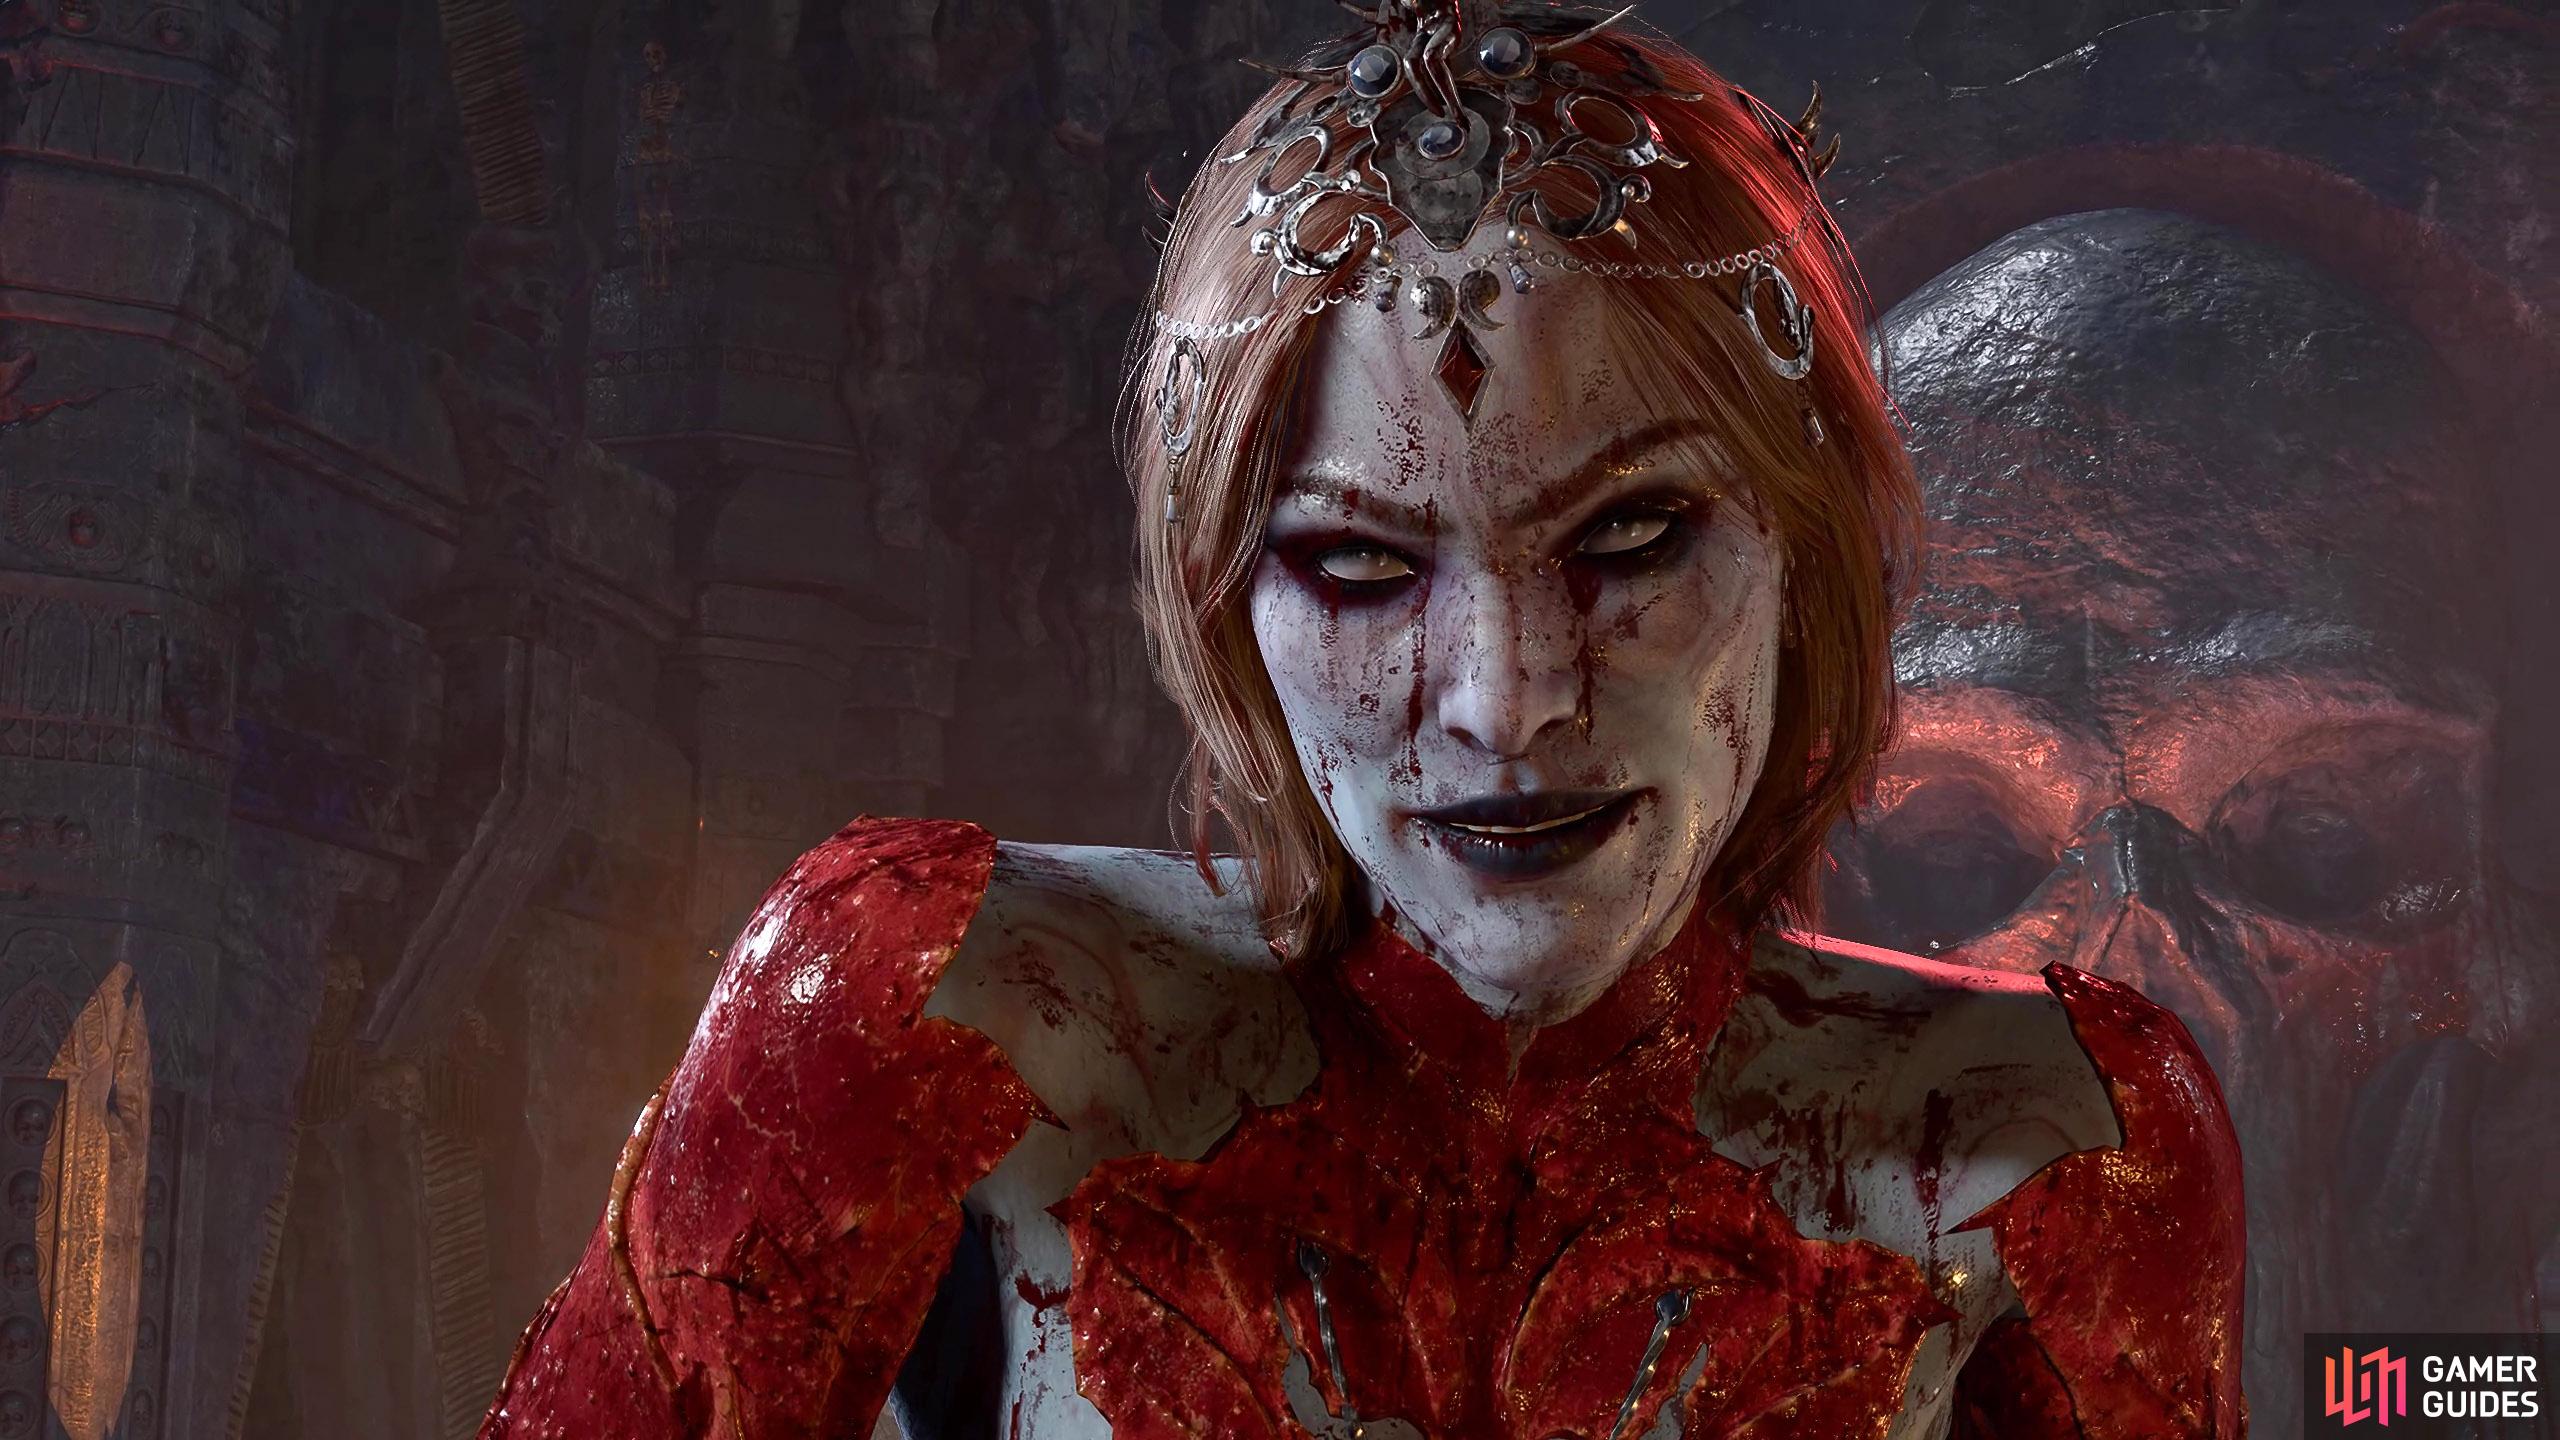
Orin is one of the main antagonists in Baldur’s Gate 3.
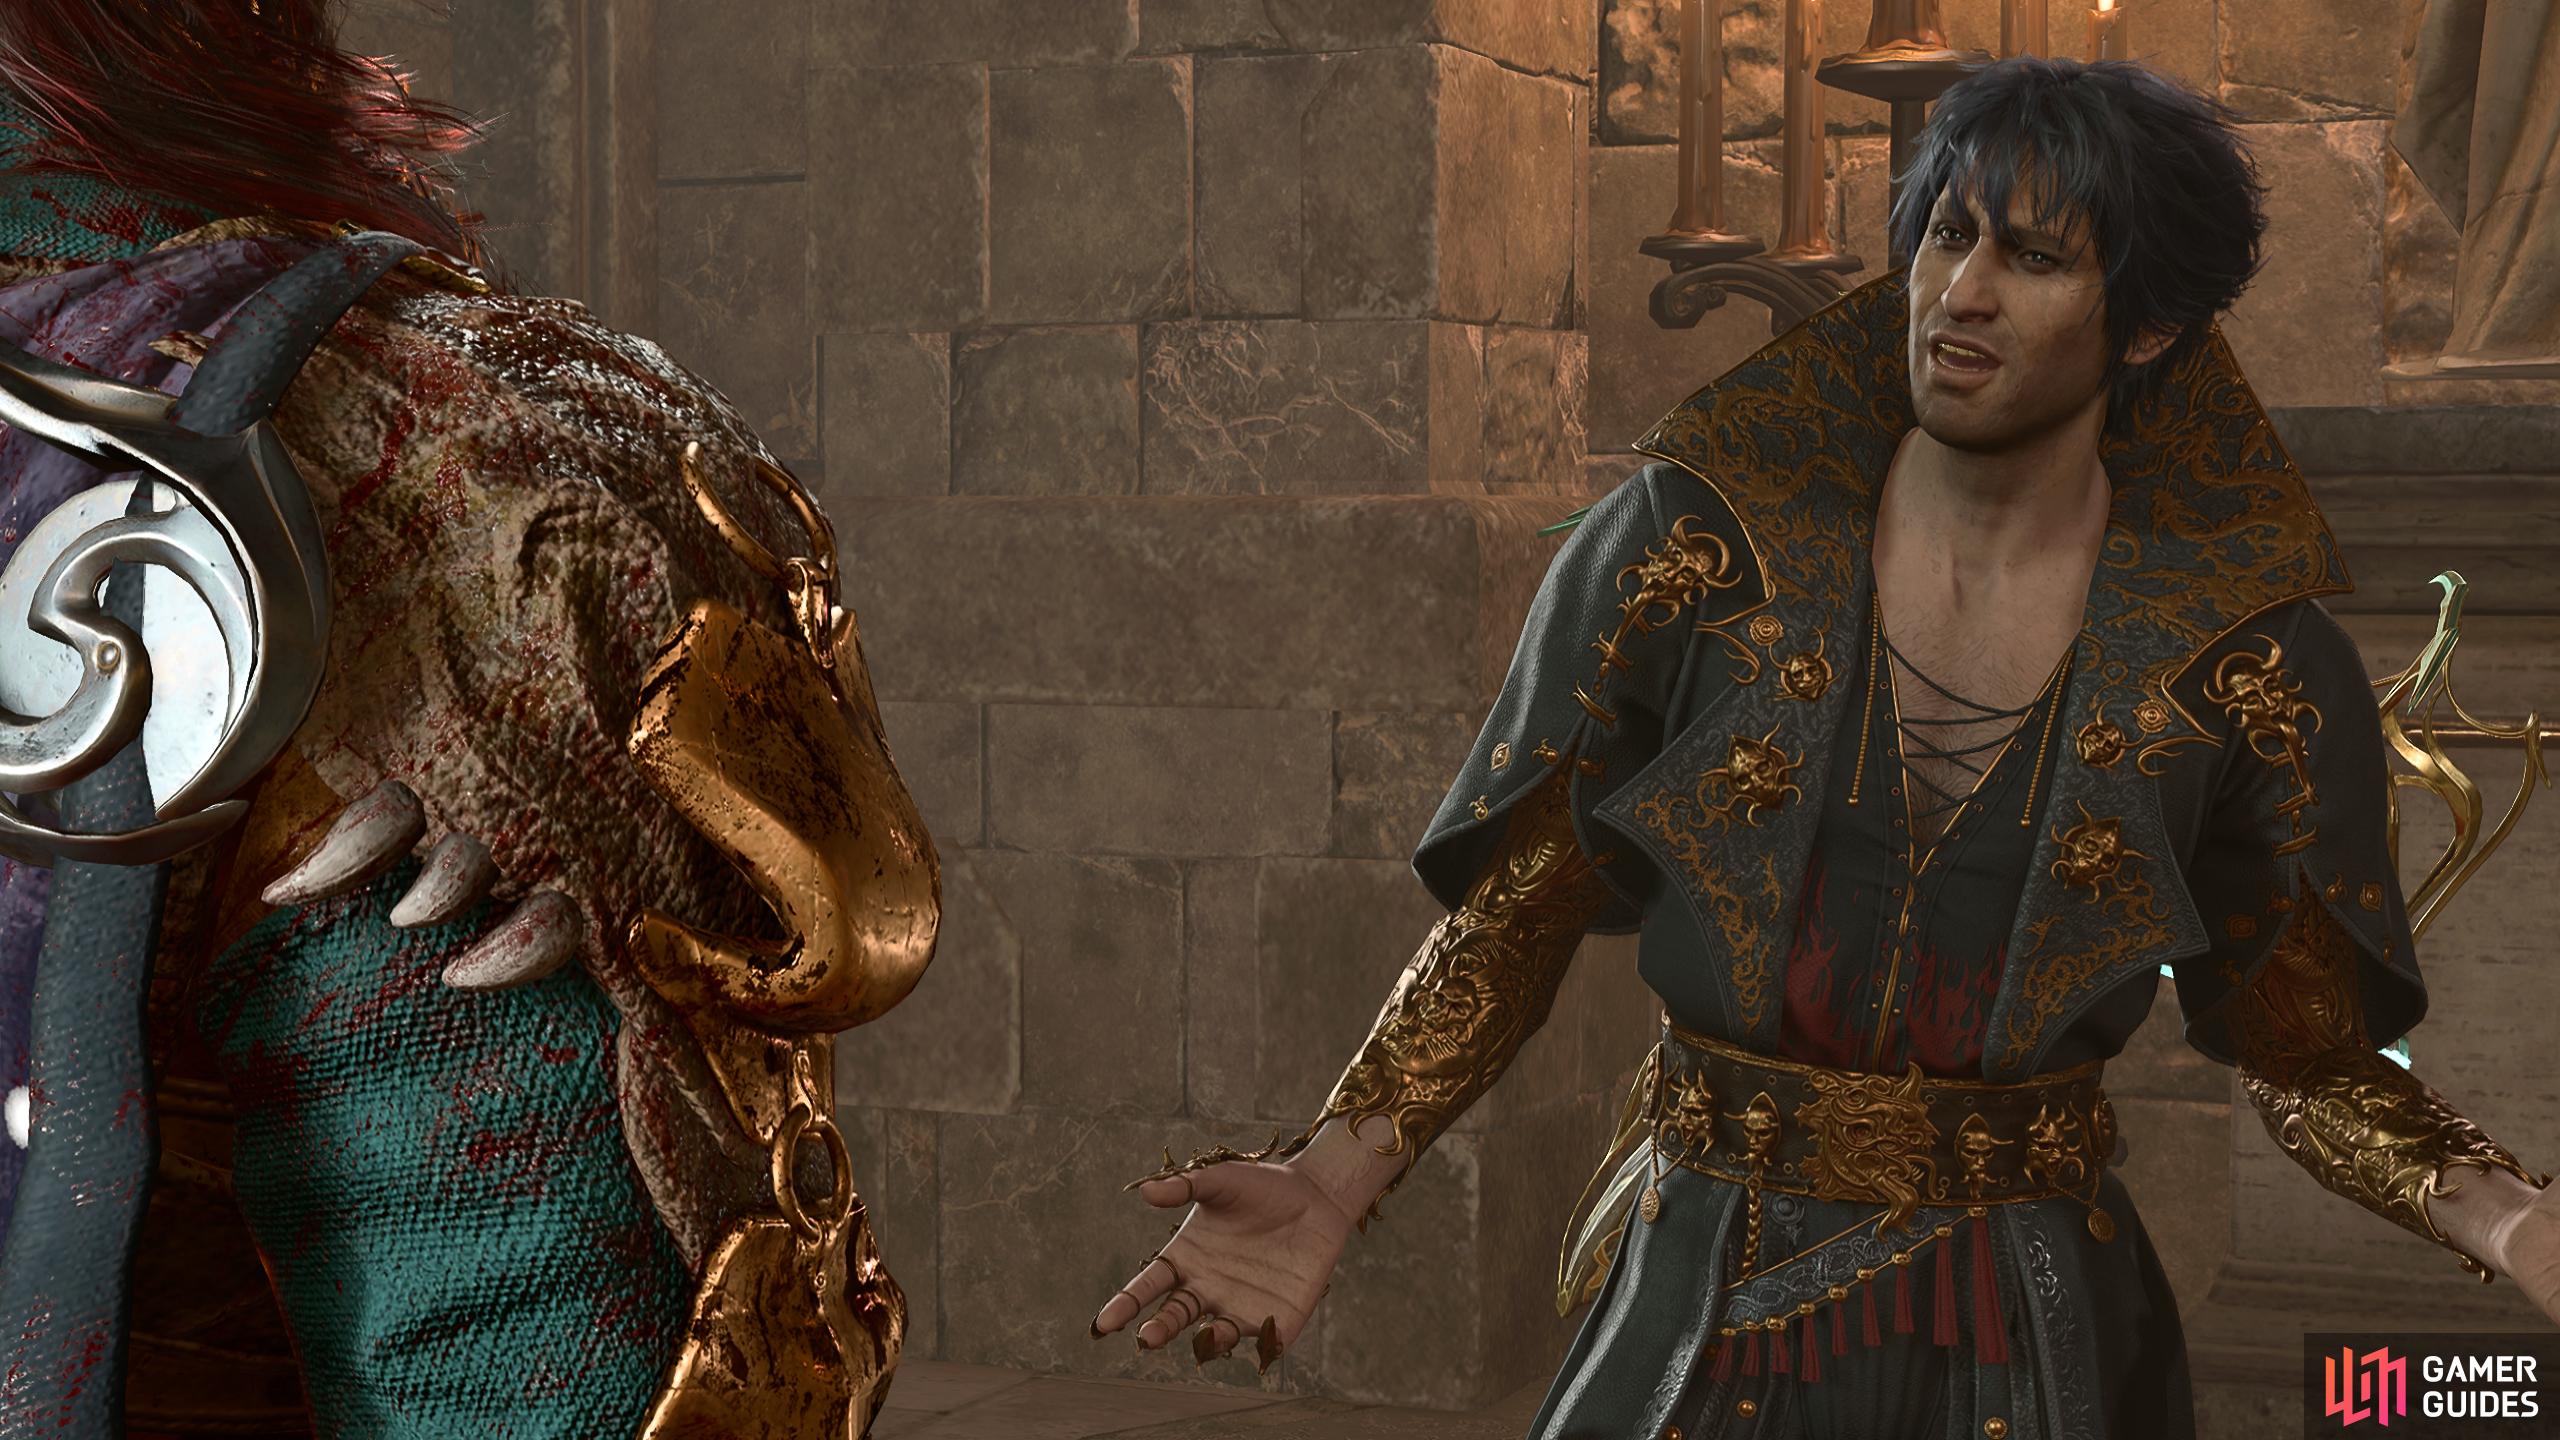
Gortash is best served till last.
While you’ve done the bulk of content in Act 3, there are still a few more missions and objectives still left to go. When you’re ready to start dealing with the Absolute cult leaders, we recommend finding and defeating Orin. To do this, complete the ![]() Investigate the Murders quest. You may have already done it by accident, which is fine, but, it should point you towards Orin’s hideout in the Undercity Ruins. Alternatively, you may have picked up the location of the Bhaalist Hideout with the Murder Tribunal questline. Do both of these, as they both lead to the same location, hidden away in the Gravestone building to the side of the Elfsong Tavern. There’s a hidden lever behind the painting on the will to enter. When inside, you can complete the quest. There are some options here, but one option can lead to a fight, while another option leads to an entirely different situation. It doesn’t matter too much which one you pick, as both will get you access to Orin’s hideout in the Undercity, and both can lead to an ally for the ending battle. Once you’ve got the location, go to the Undercity, and deal with Orin. We have a boss guide on Orin here if you’re interested.
Investigate the Murders quest. You may have already done it by accident, which is fine, but, it should point you towards Orin’s hideout in the Undercity Ruins. Alternatively, you may have picked up the location of the Bhaalist Hideout with the Murder Tribunal questline. Do both of these, as they both lead to the same location, hidden away in the Gravestone building to the side of the Elfsong Tavern. There’s a hidden lever behind the painting on the will to enter. When inside, you can complete the quest. There are some options here, but one option can lead to a fight, while another option leads to an entirely different situation. It doesn’t matter too much which one you pick, as both will get you access to Orin’s hideout in the Undercity, and both can lead to an ally for the ending battle. Once you’ve got the location, go to the Undercity, and deal with Orin. We have a boss guide on Orin here if you’re interested.
With Orin defeated, you now have one last task, defeat Gortash. You can if you want to, go straight to Gortash, hand over Orin’s artifact, and then ally with Gortash, which takes you straight to the Upper City ending fight stuff, or you can choose to fight him later. If you want to fight him then we recommend doing so with his Steel Watch down, but, to do that, you need to make them hostile.
This is where one of the hardest sequences of events comes in. If you have Wyll, and saved the Gnomes, then the Steelwatch gets very convoluted. It can get even more convoluted if you have the Society of Brilliance alive, as the Iron Throne section gets even weirder.
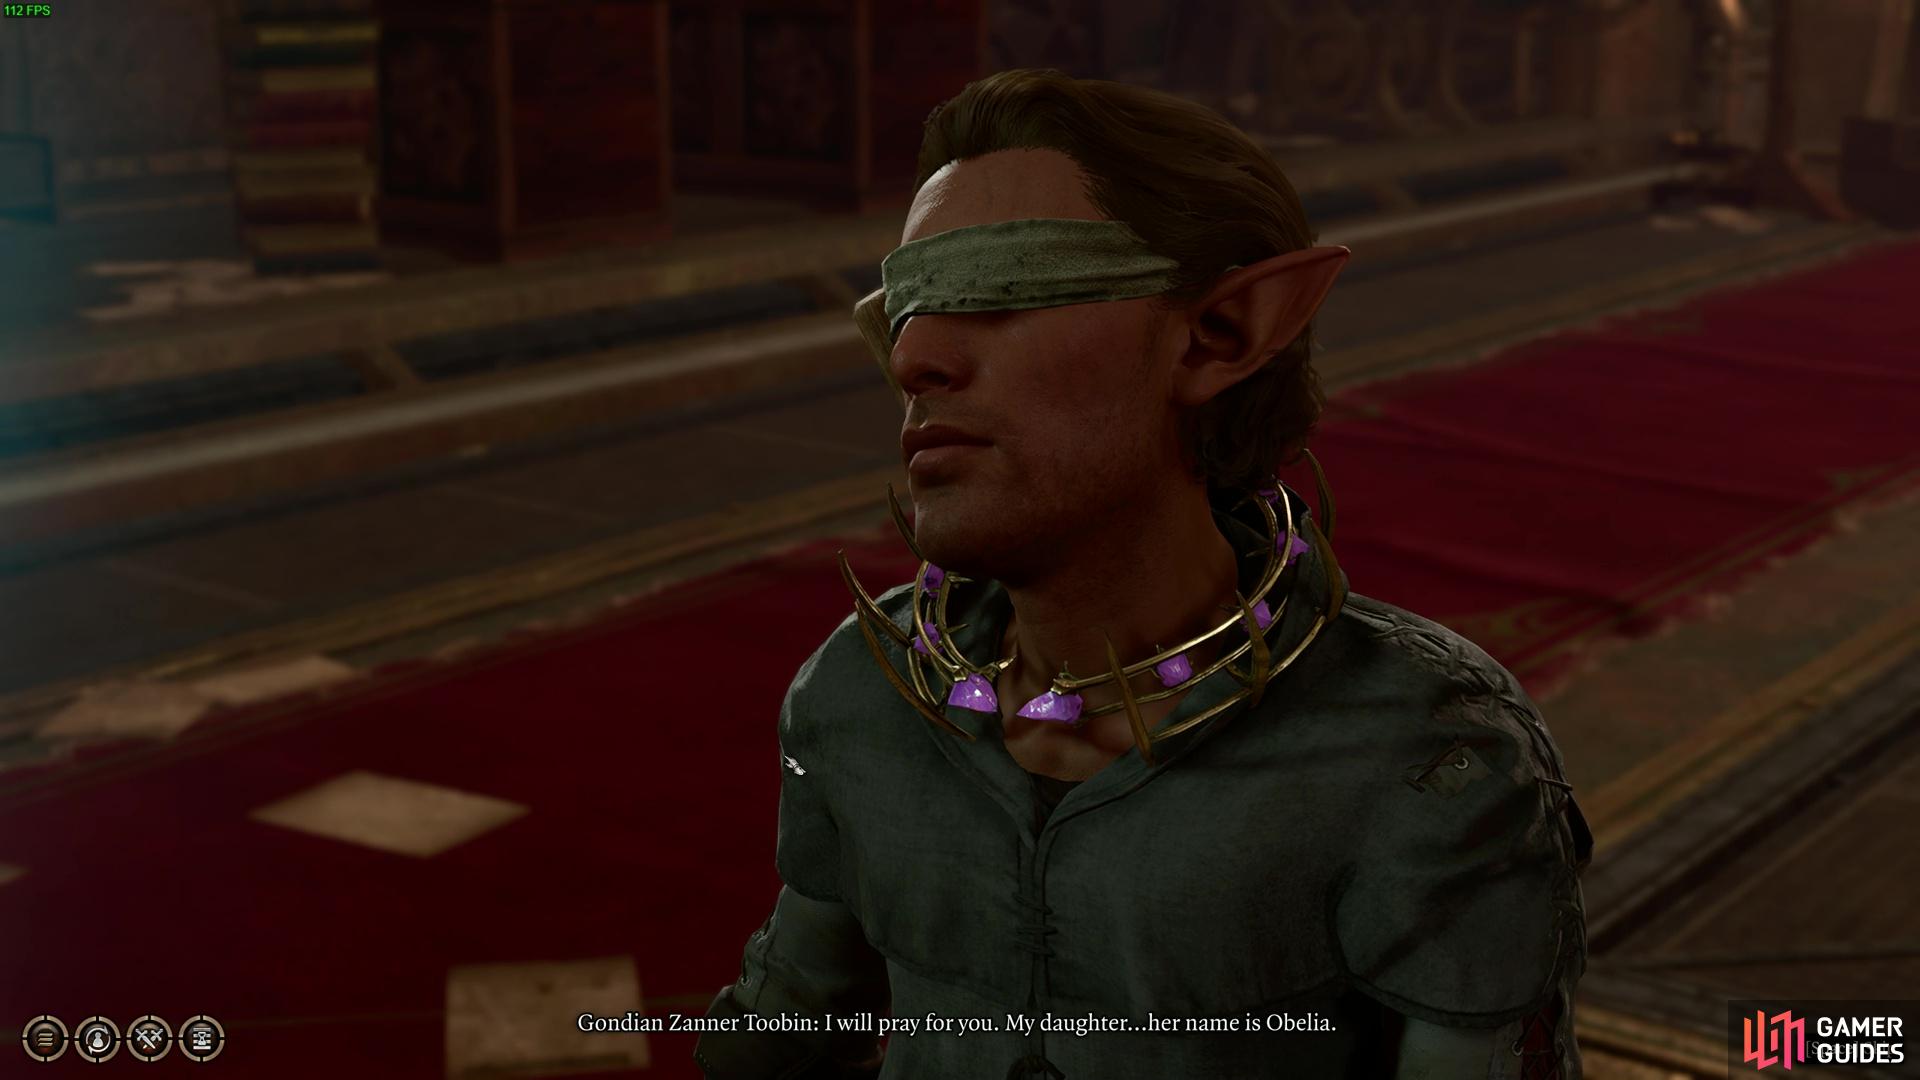
To solve the mystery behind the Steel Watch Foundry, you need to get this blind worker to cooperate.
To do this, you need to go to the Steel Watch Foundry and disable the factory and all the Steel Watch guards. It is also a part of the Gnomes questline, and Wyll’s storyline too. All of these features connect with each other, as they all take you to a place called the Iron Throne. The Iron Throne is an underwater prison that holds some members of the Society of Brilliance, the Grand Duke, and the Gnome families. You need to visit here, and rescue as many as possible, before fully taking down the Steel Forge Foundry. Once you do this, Gortash knows and makes the robots hostile to you, so, it’s why we recommended doing it last, as doing this while you still have the city to explore makes it very difficult to enjoy the remaining Act.
Plus, once the Steel Watch Foundry is disabled and you beat the boss below it, you can then make the Gortash fight much easier. However, the draw is bridged, and the Wyrm Fortress goes hostile, making traveling harder if you want to return. You’ll need to go here at some point to complete Wyll’s storyline with Ansur the Dragon and the Balduran legendaries if you want to get them too.
With Orin and Gortash defeated, the Nether brain will then be more or less free. NPCs with tadpoles in them will start turning into Mindflayers. So, it signifies there’s not much freedom left in the city, so you may as well go and start the final battle. If you have done most of the questlines, you’ll have plenty of allies to assist you in making this long battle sequence and events much easier to handle.
No Comments