

This page is a full guide on how to complete the ![]() Save the Refugees quest in Baldur’s Gate 3. You’ll find information on how to start the quest, as well as alternative routes and outcomes that you can encounter during this quest.
Save the Refugees quest in Baldur’s Gate 3. You’ll find information on how to start the quest, as well as alternative routes and outcomes that you can encounter during this quest.
It’s time to save the Tieflings from the Goblins and we’re going to show you the easiest way to do it!
How to Start Save the Refugees
This quest will no doubt be one of the first quests you accept when you begin playing this game. North of the beach you find yourself on, you’ll find the gate into Emerald Grove. To get into Emerald Grove, you’ll first need to help the guys outside fend off the Goblins. This should be a straightforward enough battle, with a few Goblins and a Bugbear to fight. If you want to help keep the NPCs alive, use your healing spells on them
Once that fight is done, you can head inside through the Gates and witness a conversation between Zevlor the Tiefling leader and Aradin, one of the guys who you helped against the Goblins. There’s a fight about to break out between them and the better solution would be to help them squash it by performing a Persuasion or Ability Check. You can also make a swing at either one of them to diffuse the situation, but is violence really the answer?
Afterwards, you’ll be able to speak with Zevlor and he’ll tell you that the Druids are kicking the Tieflings out of Emerald Grove and they’ll need to make their way to Baldur’s Gate but the road is perilous for them. He’ll ask you to speak with their Archdruid Kagha and persuade her to change their mind. This begins the quest Save the Refugees.
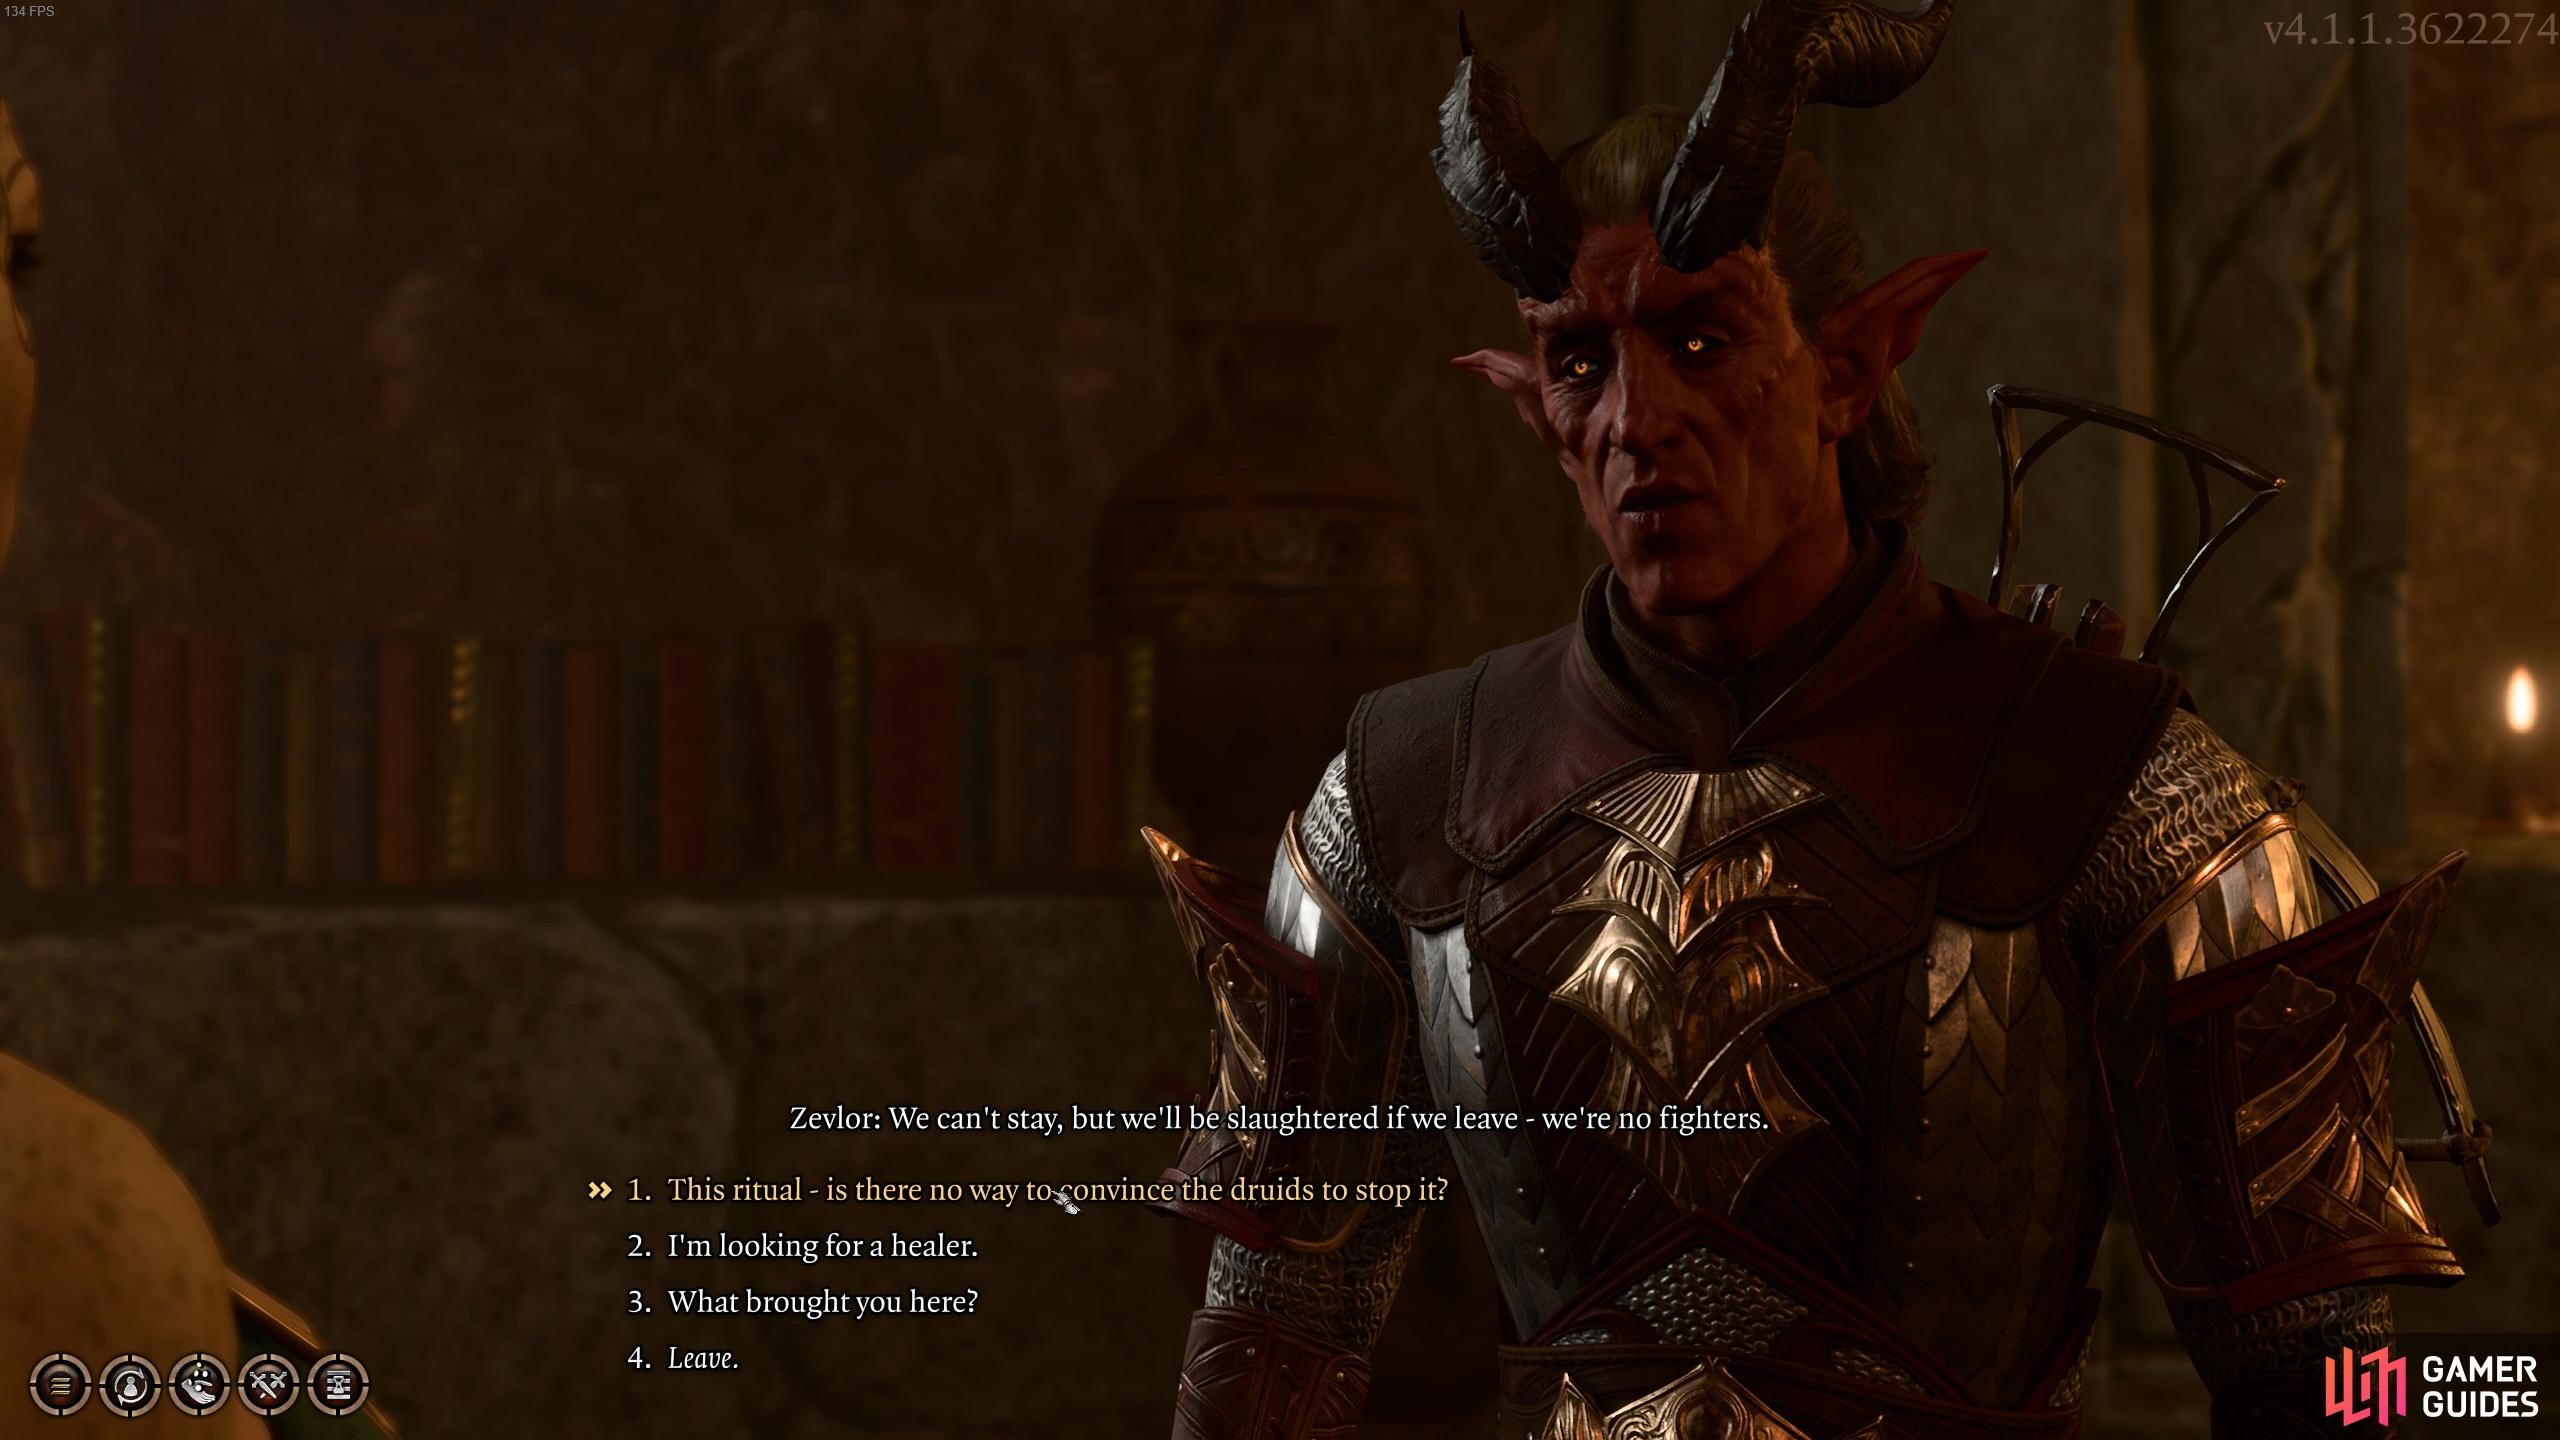
Help Zevlor by speaking with Kagha about stopping the ritual.
So, next on your agenda is to speak to Kagha who can be found at the center of the grove. First head down the steps past The Hollow towards the Sacred Pool. Then head through the stone door to meet with Kagha. When you first enter the area, you’ll find Kagha interrogating a young girl that’s stolen the sacred idol of Silvanus. Kagha is incredibly upset and wants to imprison the girl. You can choose to ignore her or you can attempt to persuade her to let the girl go using an Ability Check (!Barbarian, Persuasion, Nature).
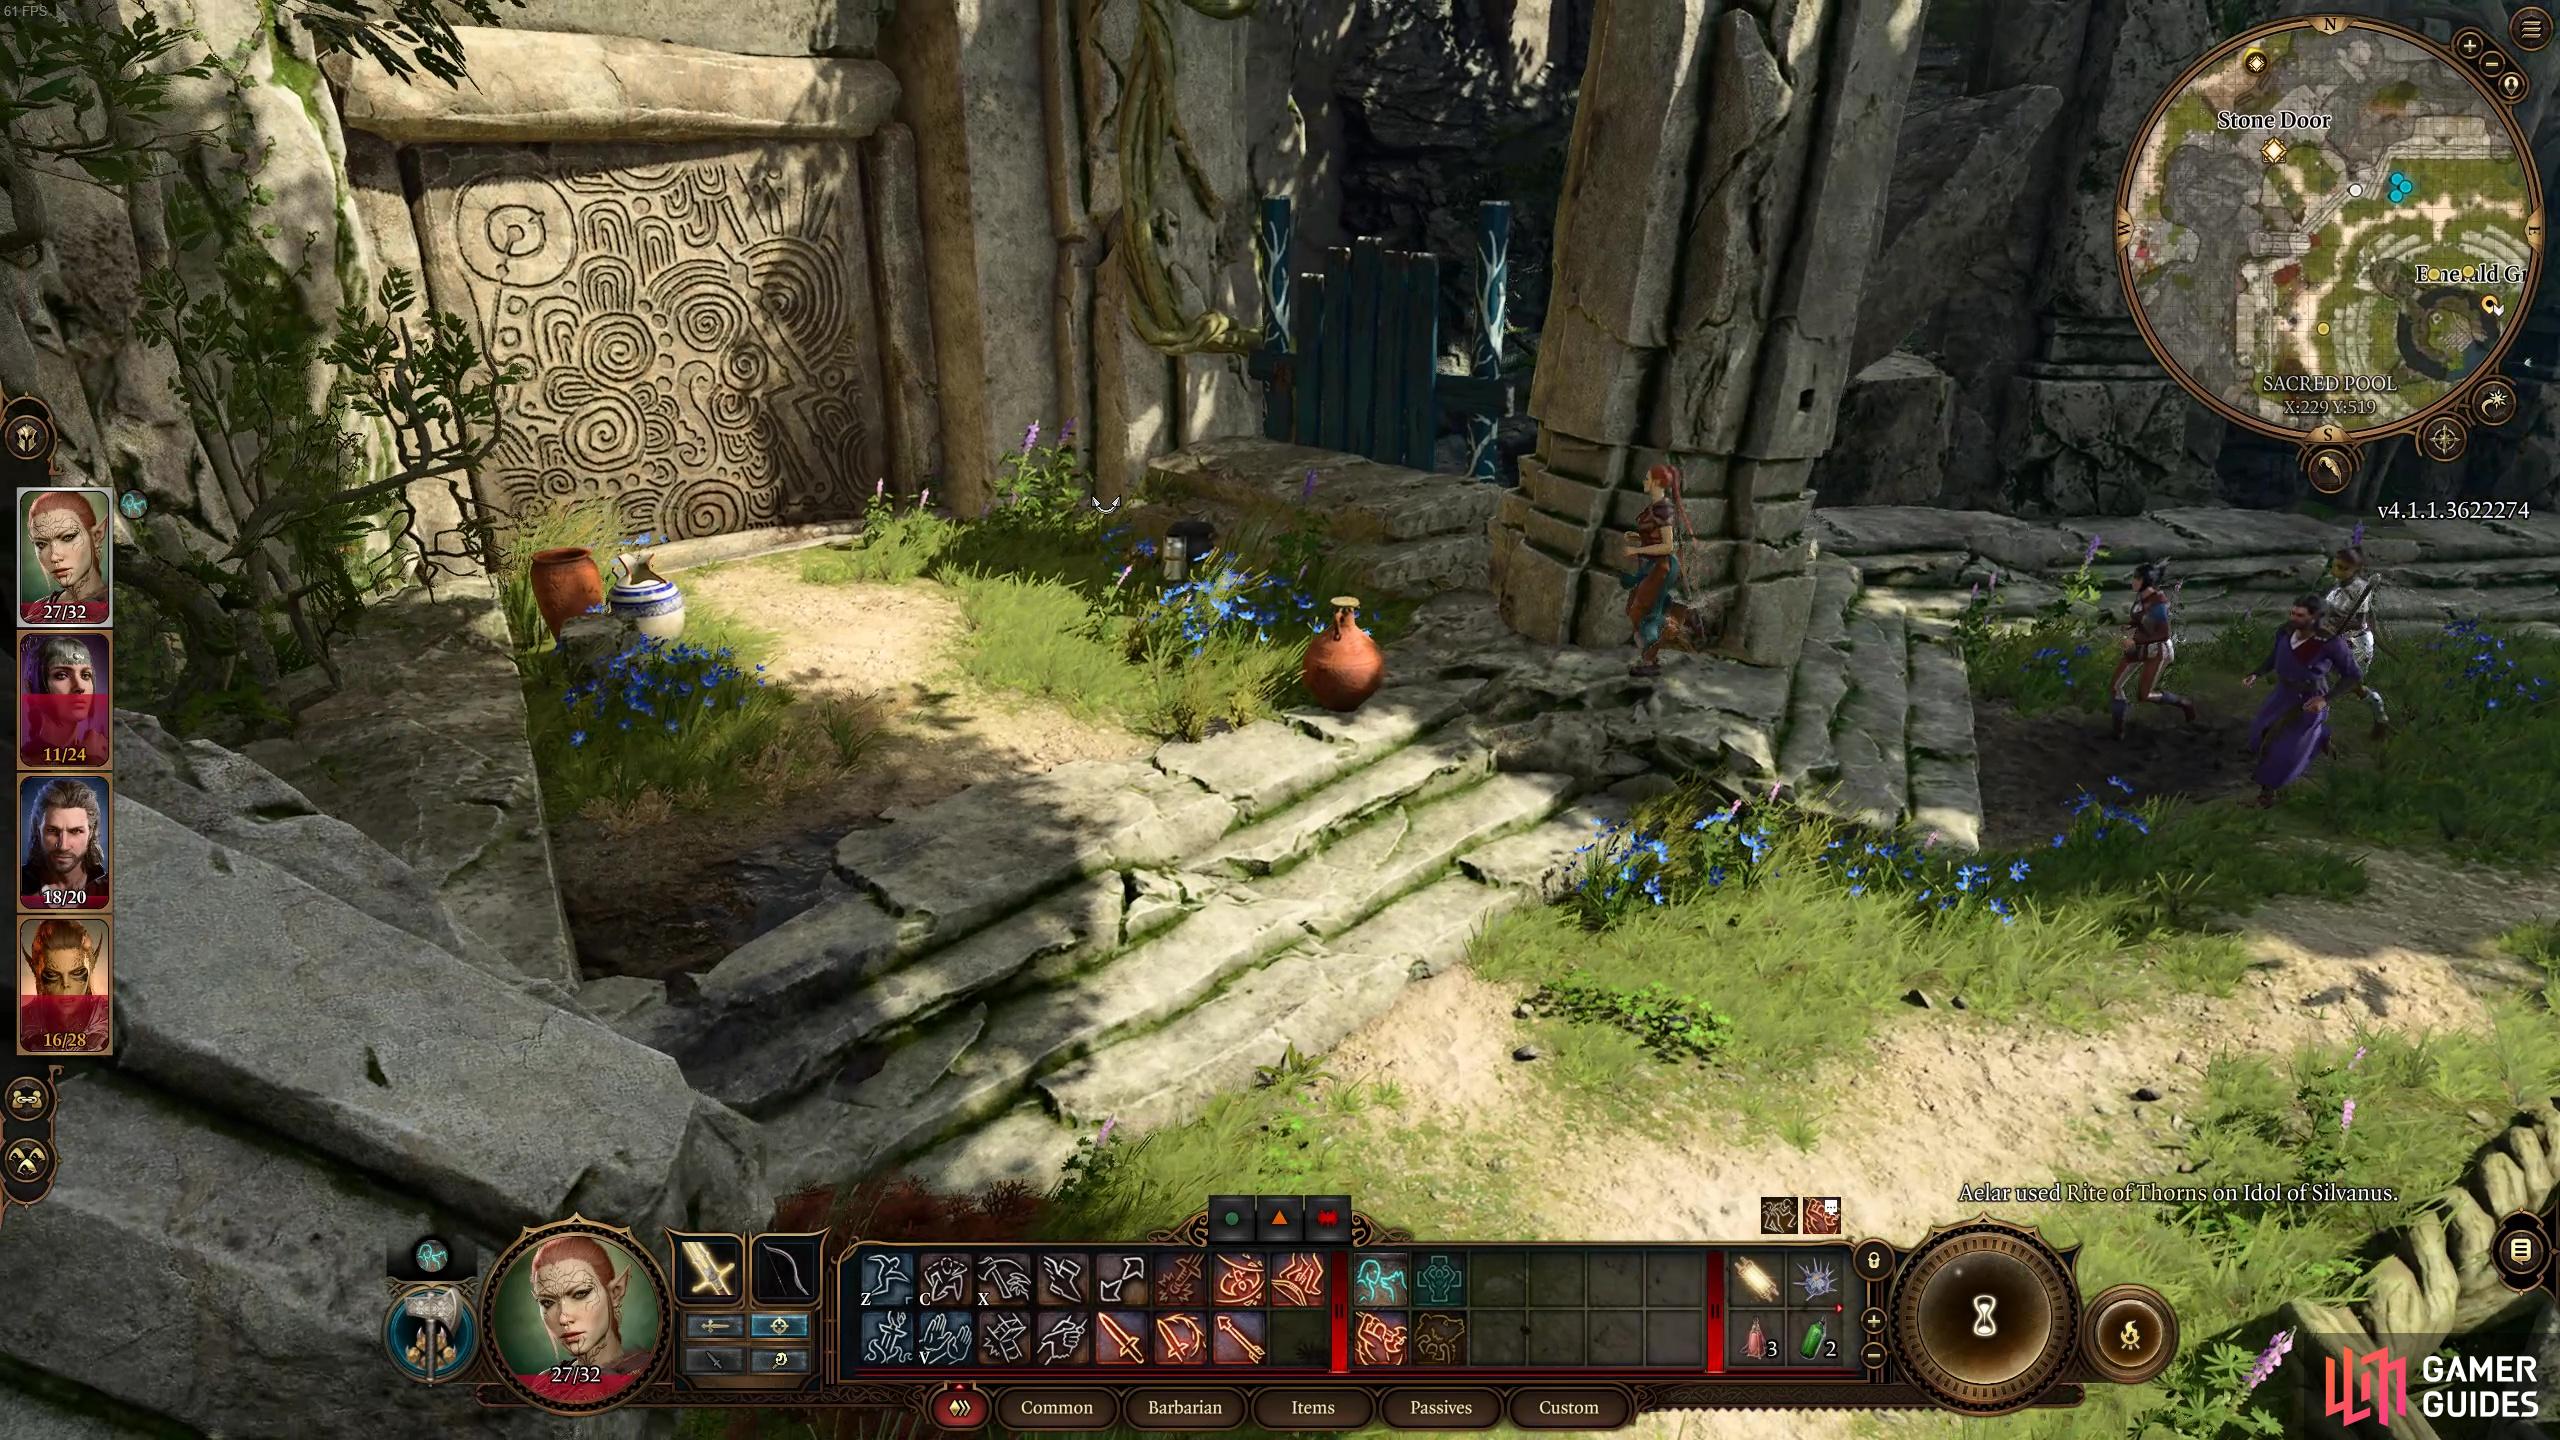
Head through the stone door near the Sacred Pool
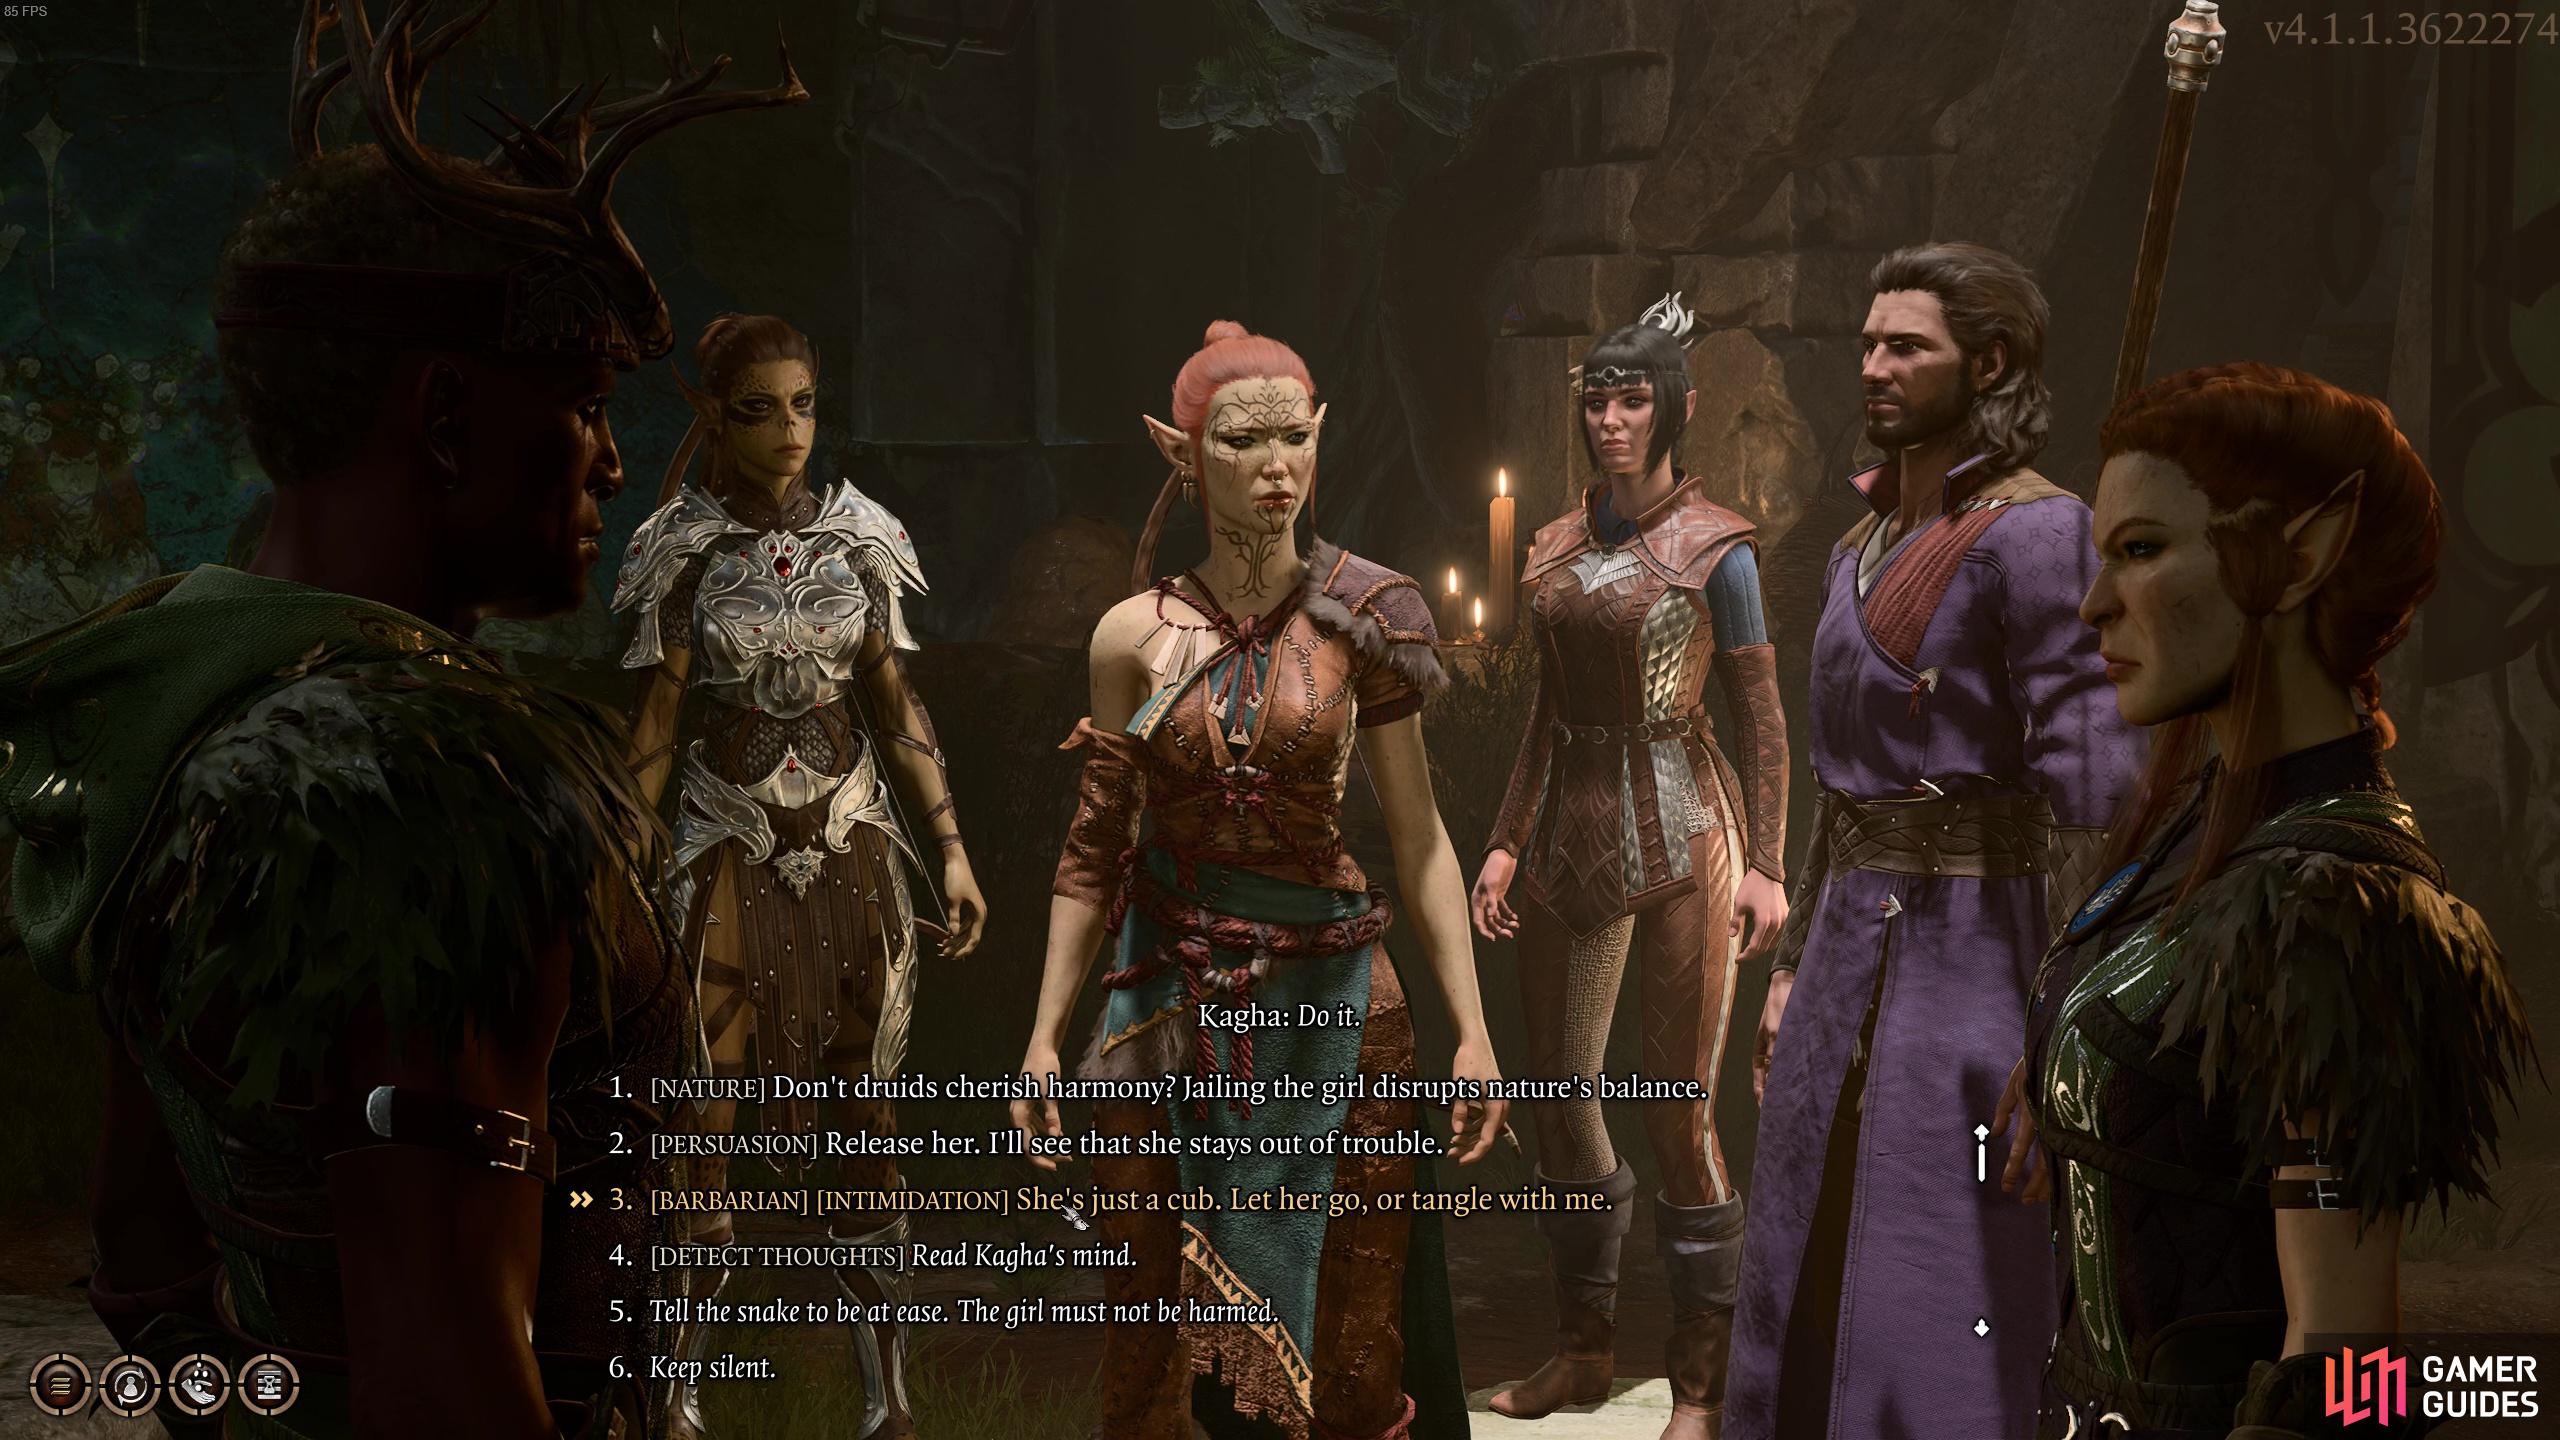
to meet with Kagha. You can try to convince her to have a more merciful approach.
After dealing with the matter of the child, you’ll be able to bring up Zevlor and the Tiefling situation. She tells you to go out and provide the Tieflings your combat services as a sort of mercenary and help them on the road to Baldur’s Gate.
Return to Zevlor, who can now be found in the Secluded Chamber in The Hollow and tell him the news. He won’t seem all that happy with the proposal, and instead suggests that you need to go to the belly of the beast itself and face the Goblins at their camp! You’ll be require to wipe out their three leaders in order to dismantle their organised attack strategies.
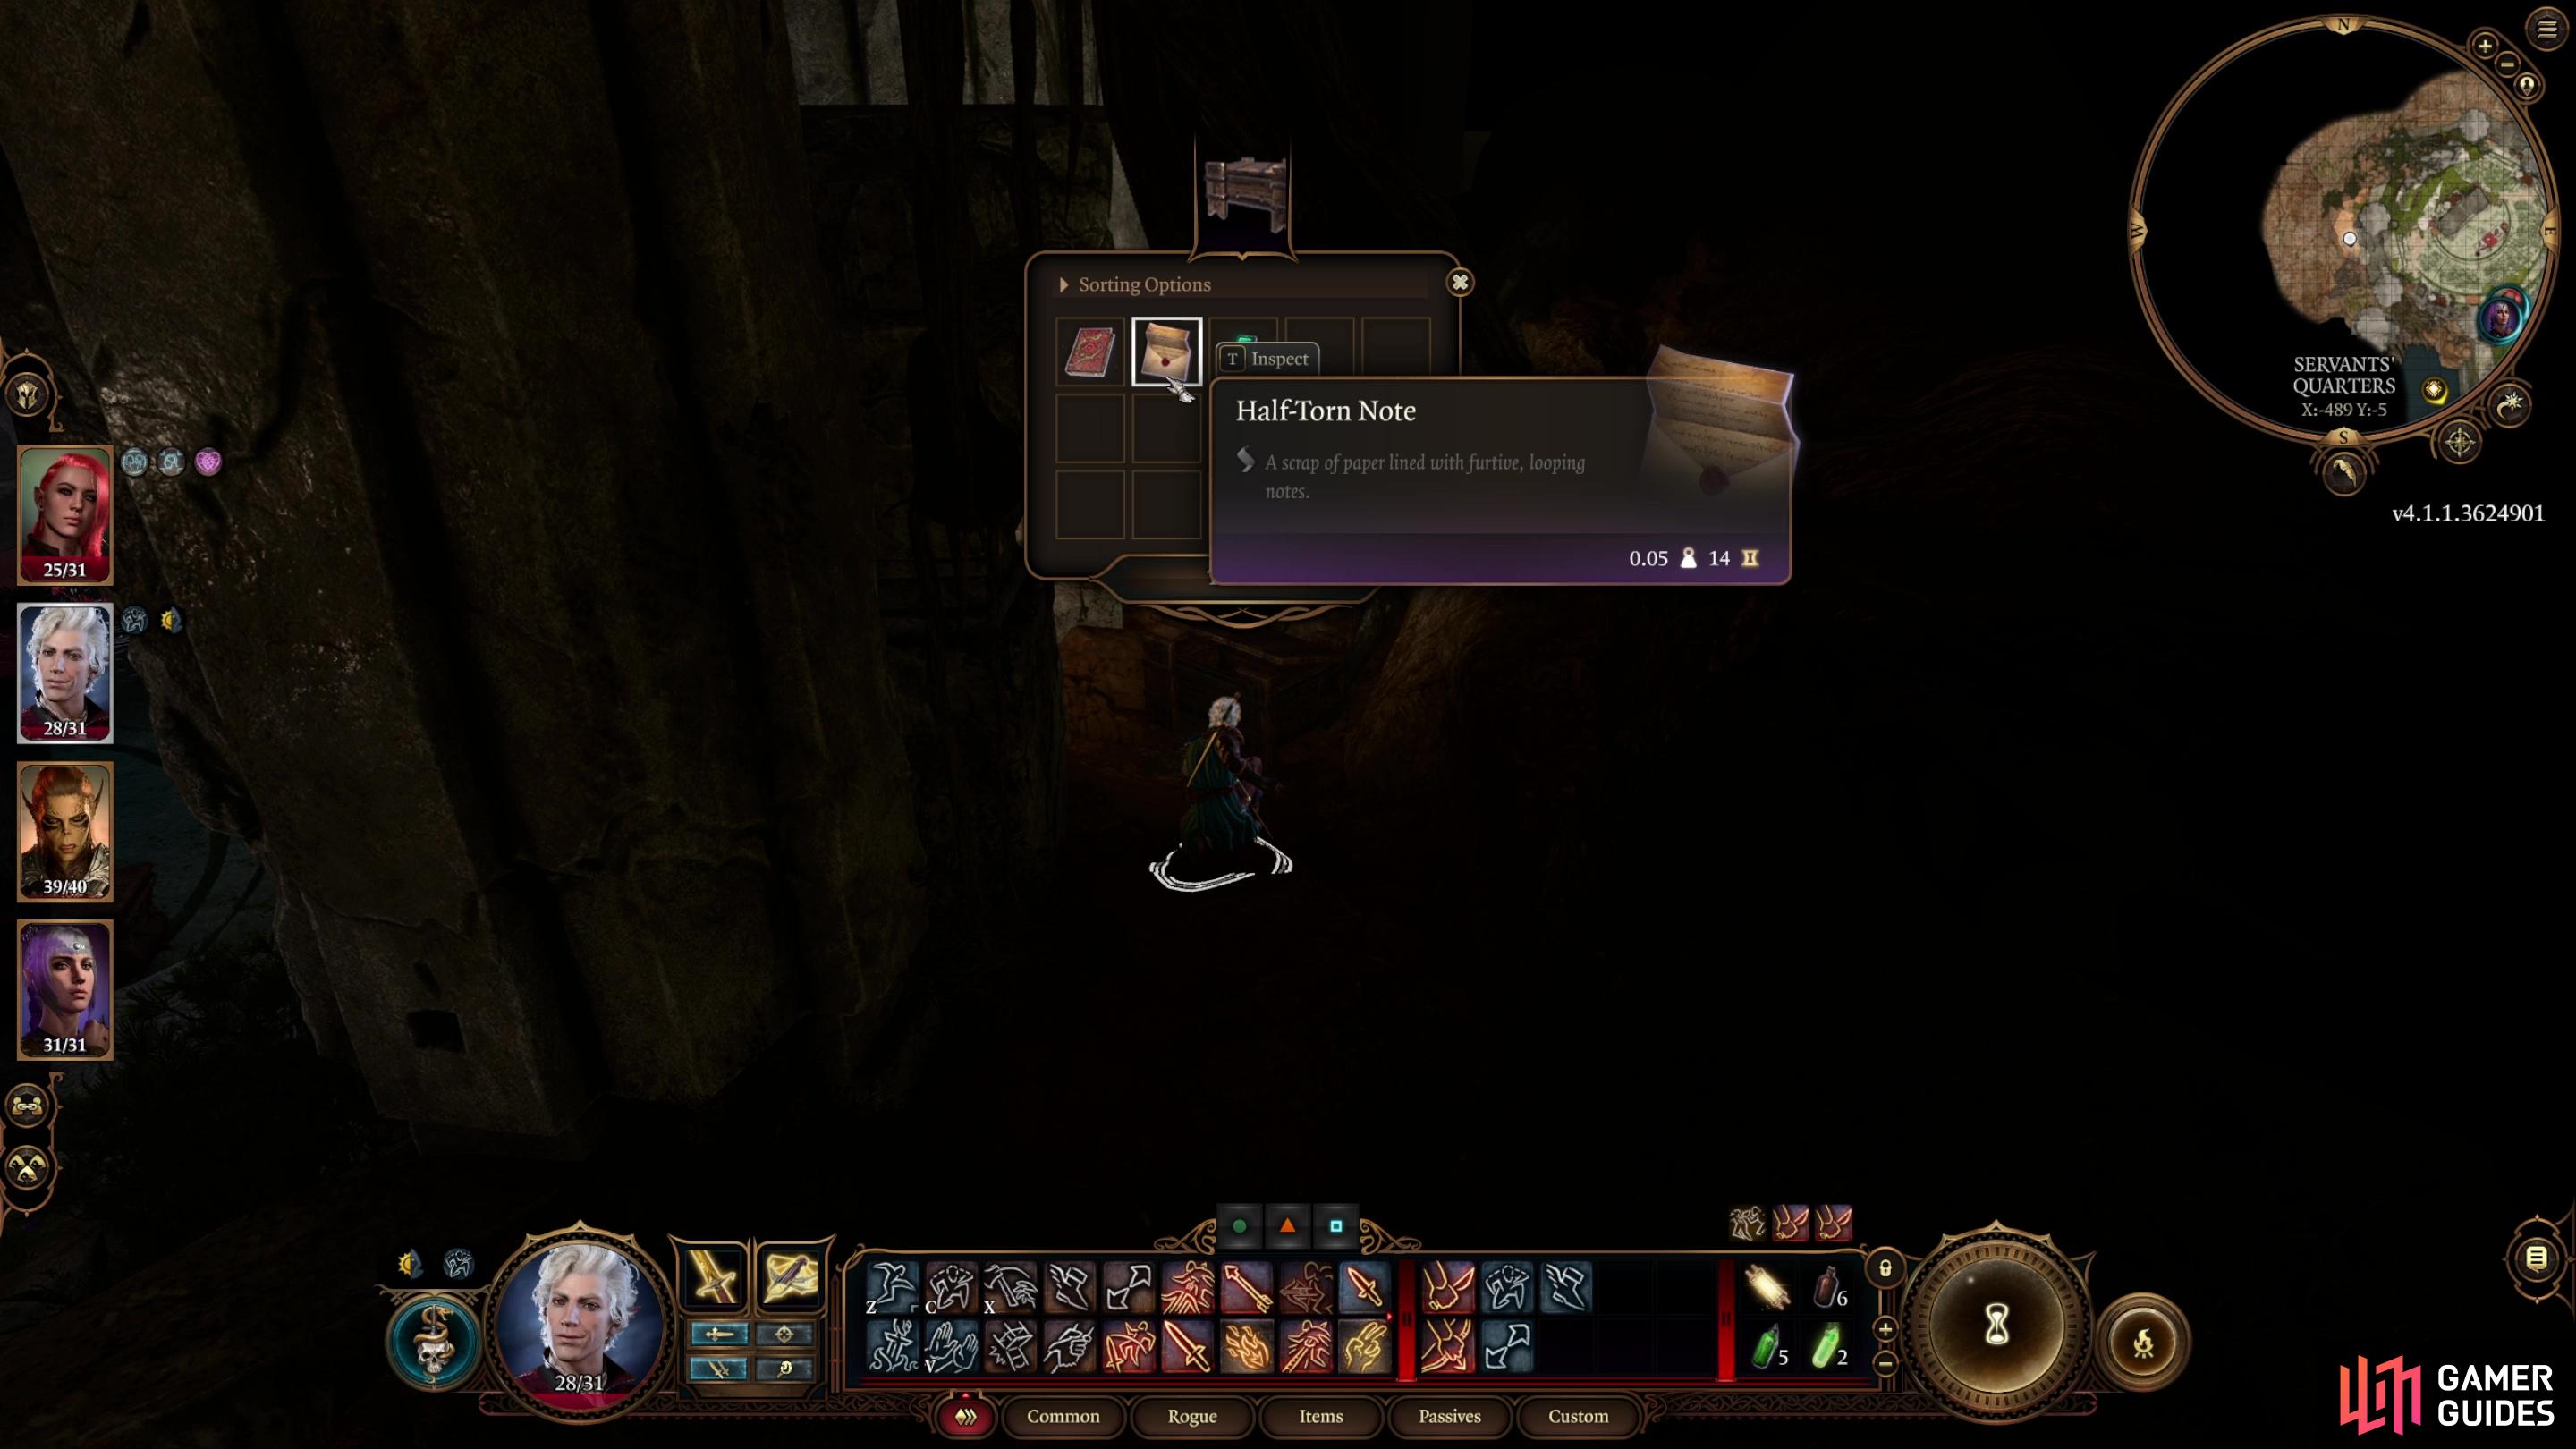
Kind Kagha’s chest hidden behind a bookshelf in the Emerald Grove,
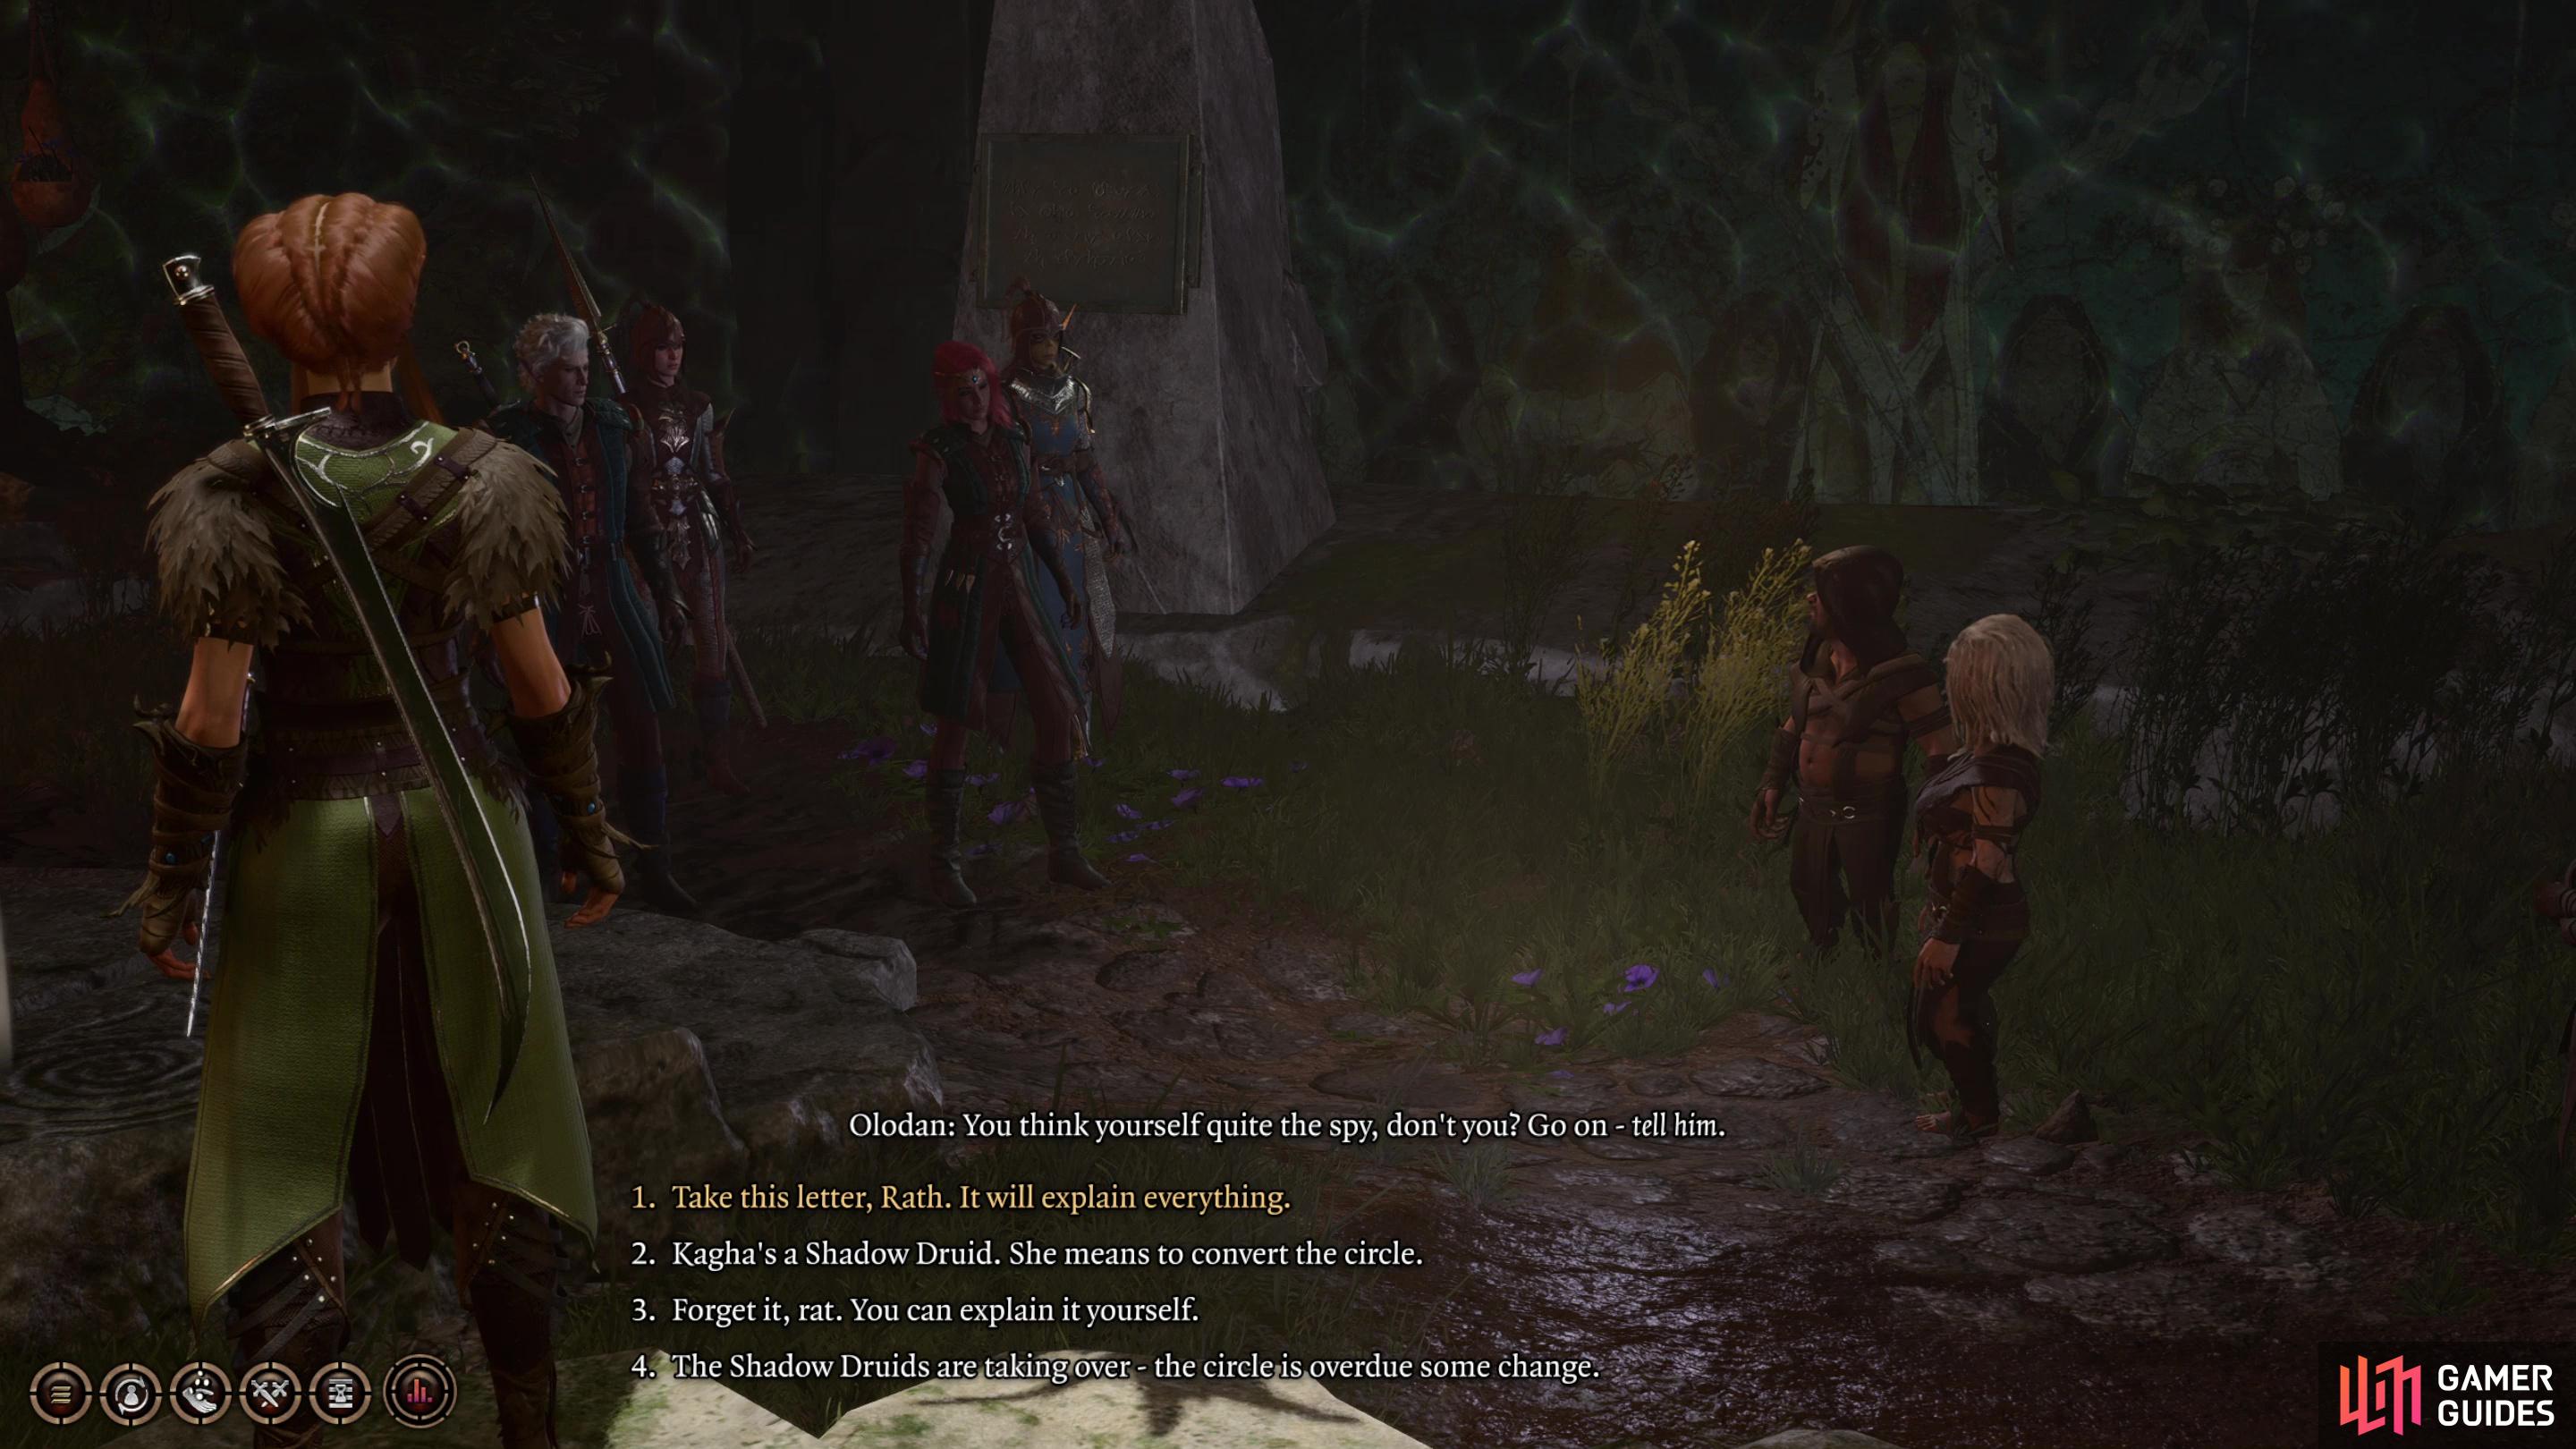
then seek out the lead in the letter to find incriminating evidence against Kagha.
A word of caution before you embark on this journey. Depending on how you do it, it can be quite a tough battle, but we’re going to outline the best way to complete Save the Refugees. If you’re looking to spice up your playthrough and do something quite drastic, jump to the Alternative Outcomes section for more information on the main ways you can diverge from this quest!
Before you head off speak with Rath in the Sacred Pool area, who will mention that the usual First !Druid, Halsin, is missing. He suggests that Halsin could also be of use to helping you remove the parasite. This begins the quests Rescue !Druid Halsin and Removing the Parasite.
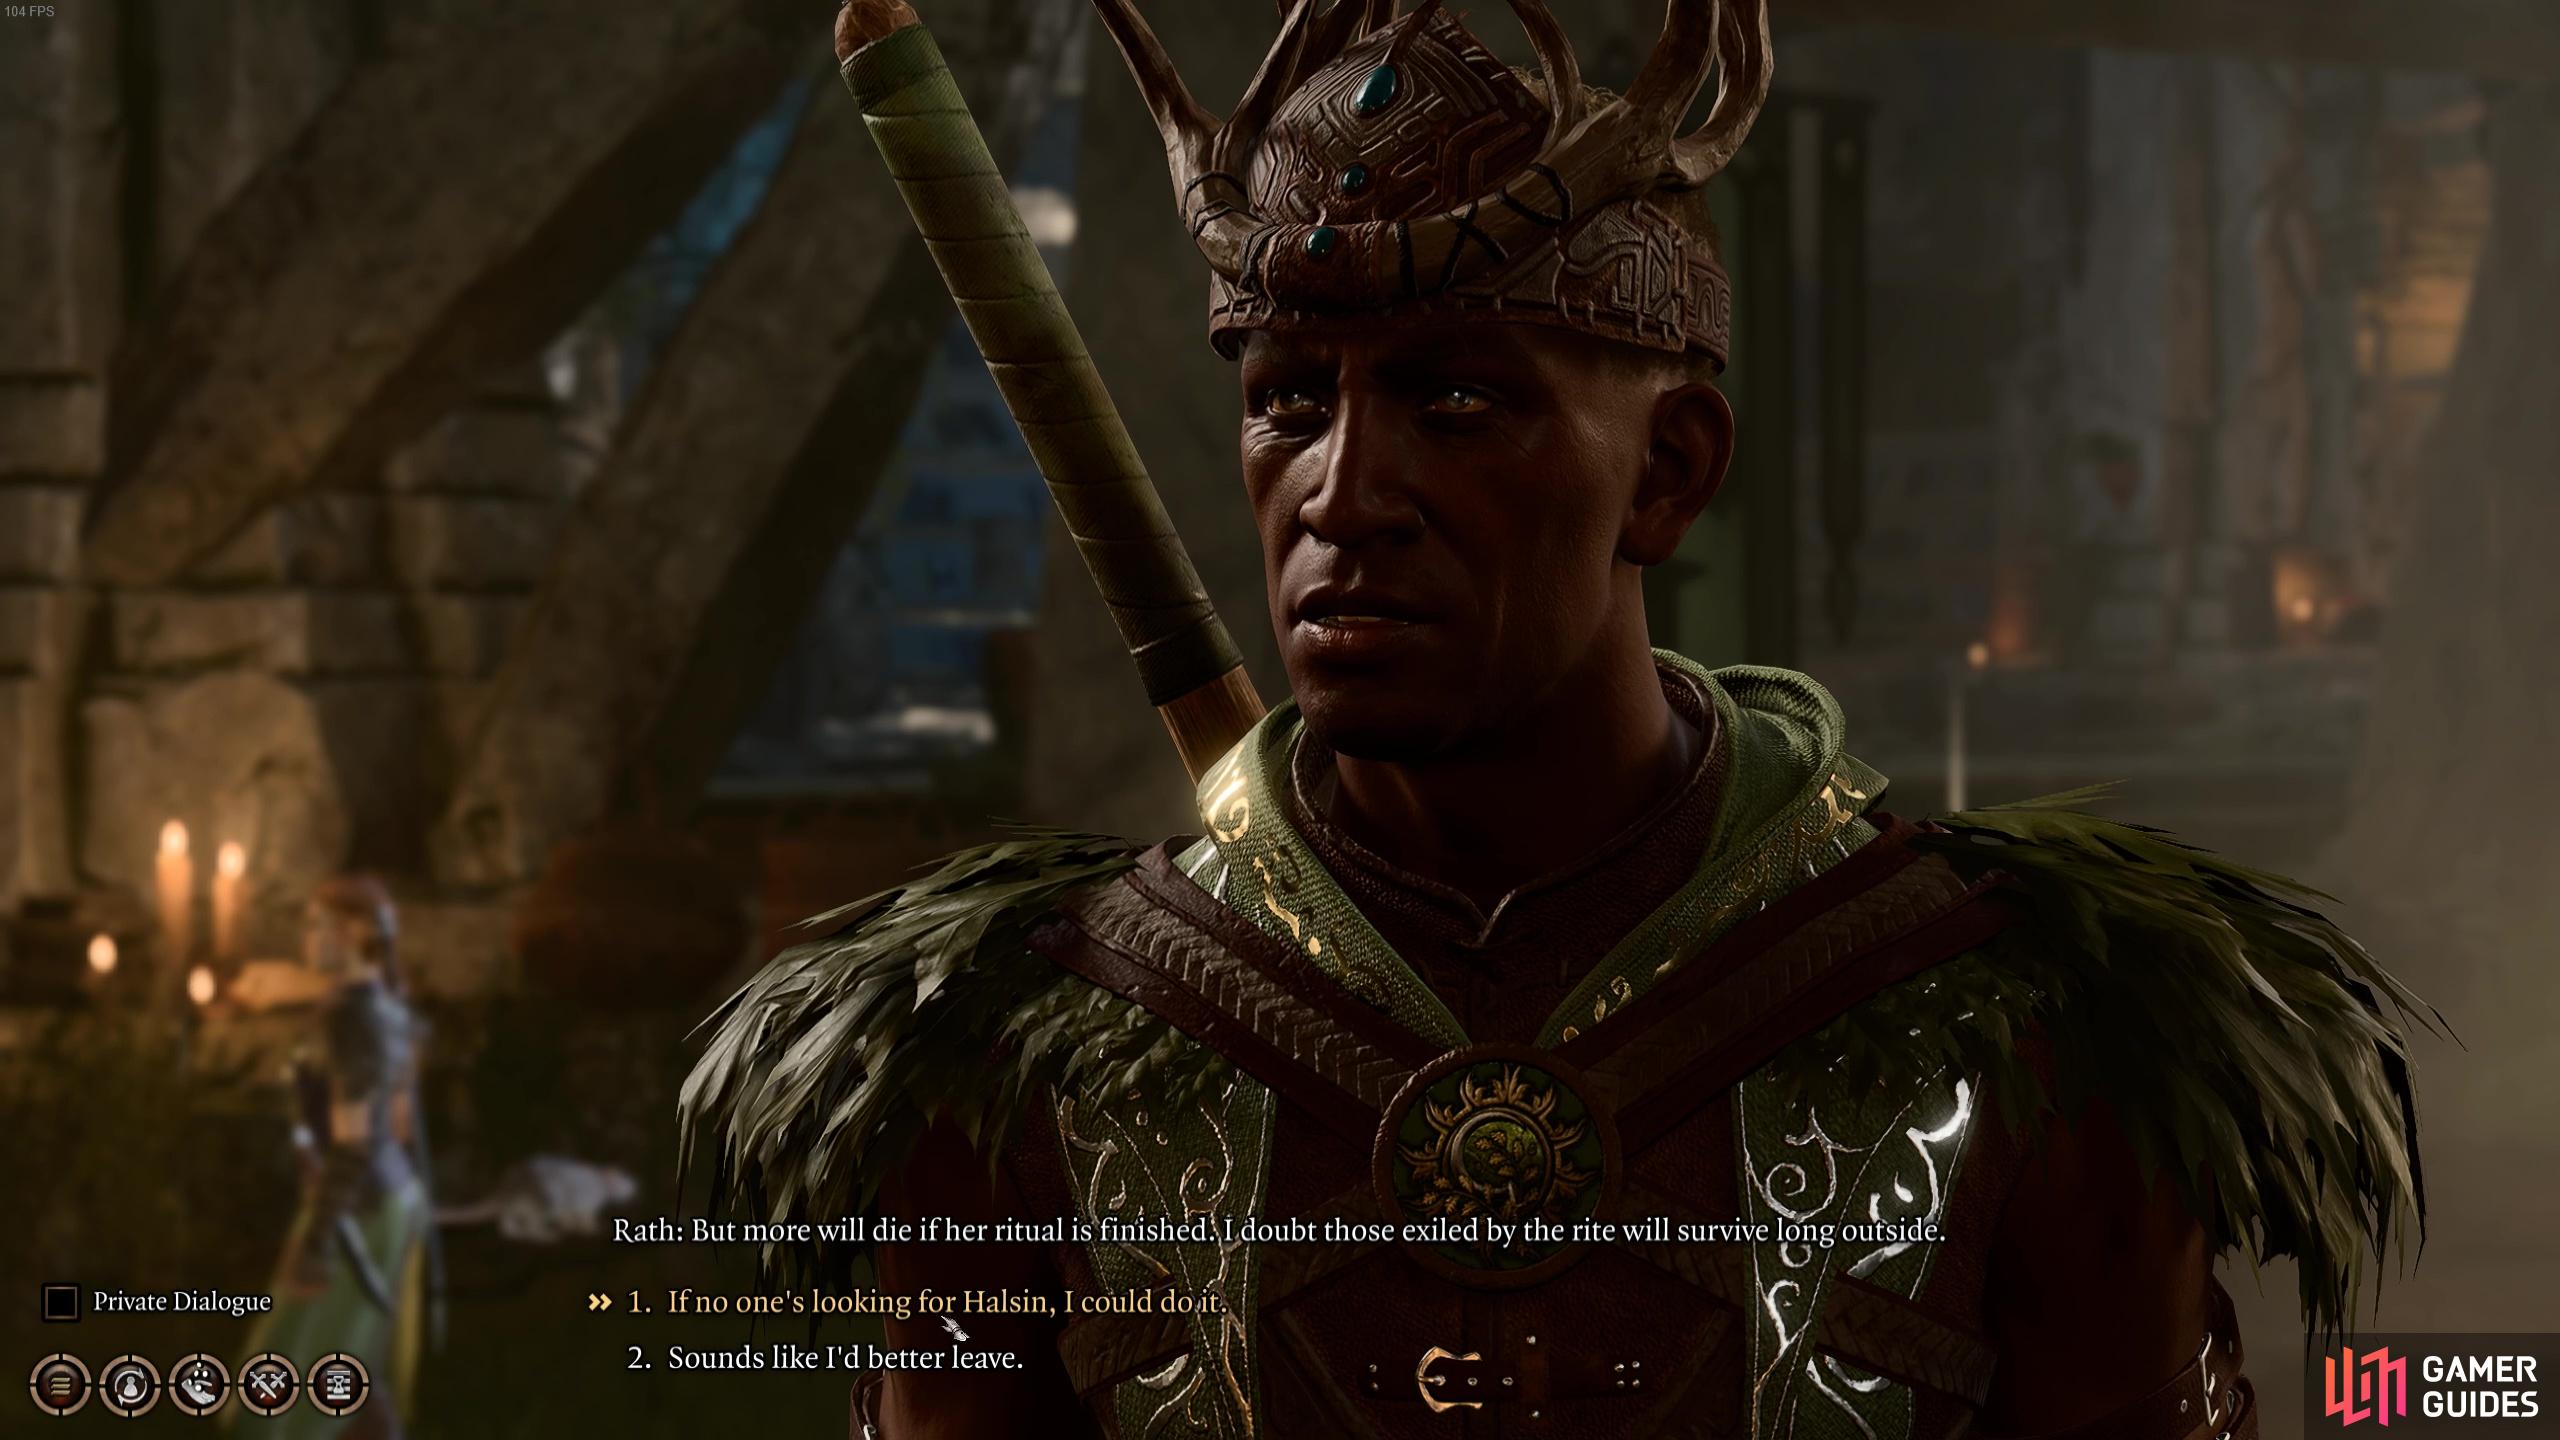
Rath has asked you to help find Halsin, the missing First Druid.
How to Defeat the Three Goblin Leaders - Best Strategy
There are multiple ways you can defeat the Goblin leaders and for the most part we’ll focus on the two most optimal ways: sneaking in unsuspected, finding Halsin and then fighting the three goblin leaders individually (with their allies of course) with Halsin at your side. Or you can leave Halsin till later on, sneak around and interact with the individual leaders to take them out in unique ways.
But before you can do all that, you’ll need to first head west towards the goblin camp. You’ll need to pass through ![]() Blighted Village too, which is infested with Goblins. We strongly recommend performing a successful ability check during the dialogue options that will allow you to pass through Blighted Village unharmed. This area is a bit a crossroads and you’ll have a hard time if you’ve made an enemy of the goblins. Plus, you’ll want to save your strength for the actual
Blighted Village too, which is infested with Goblins. We strongly recommend performing a successful ability check during the dialogue options that will allow you to pass through Blighted Village unharmed. This area is a bit a crossroads and you’ll have a hard time if you’ve made an enemy of the goblins. Plus, you’ll want to save your strength for the actual ![]() Goblin Camp Fight!
Goblin Camp Fight!
Continue west to find the bridge that heads into the camp. Here, you can either attack with full force or bluff your way in with a successful ability roll. For the sake of not being met with a wall of Goblins, the easiest way to do the whole Goblin camp fight is to bluff your way through until you reach the three leaders. So, speak with the gate guard, succeed on the appropriate ability check and head inside the gates unharmed.
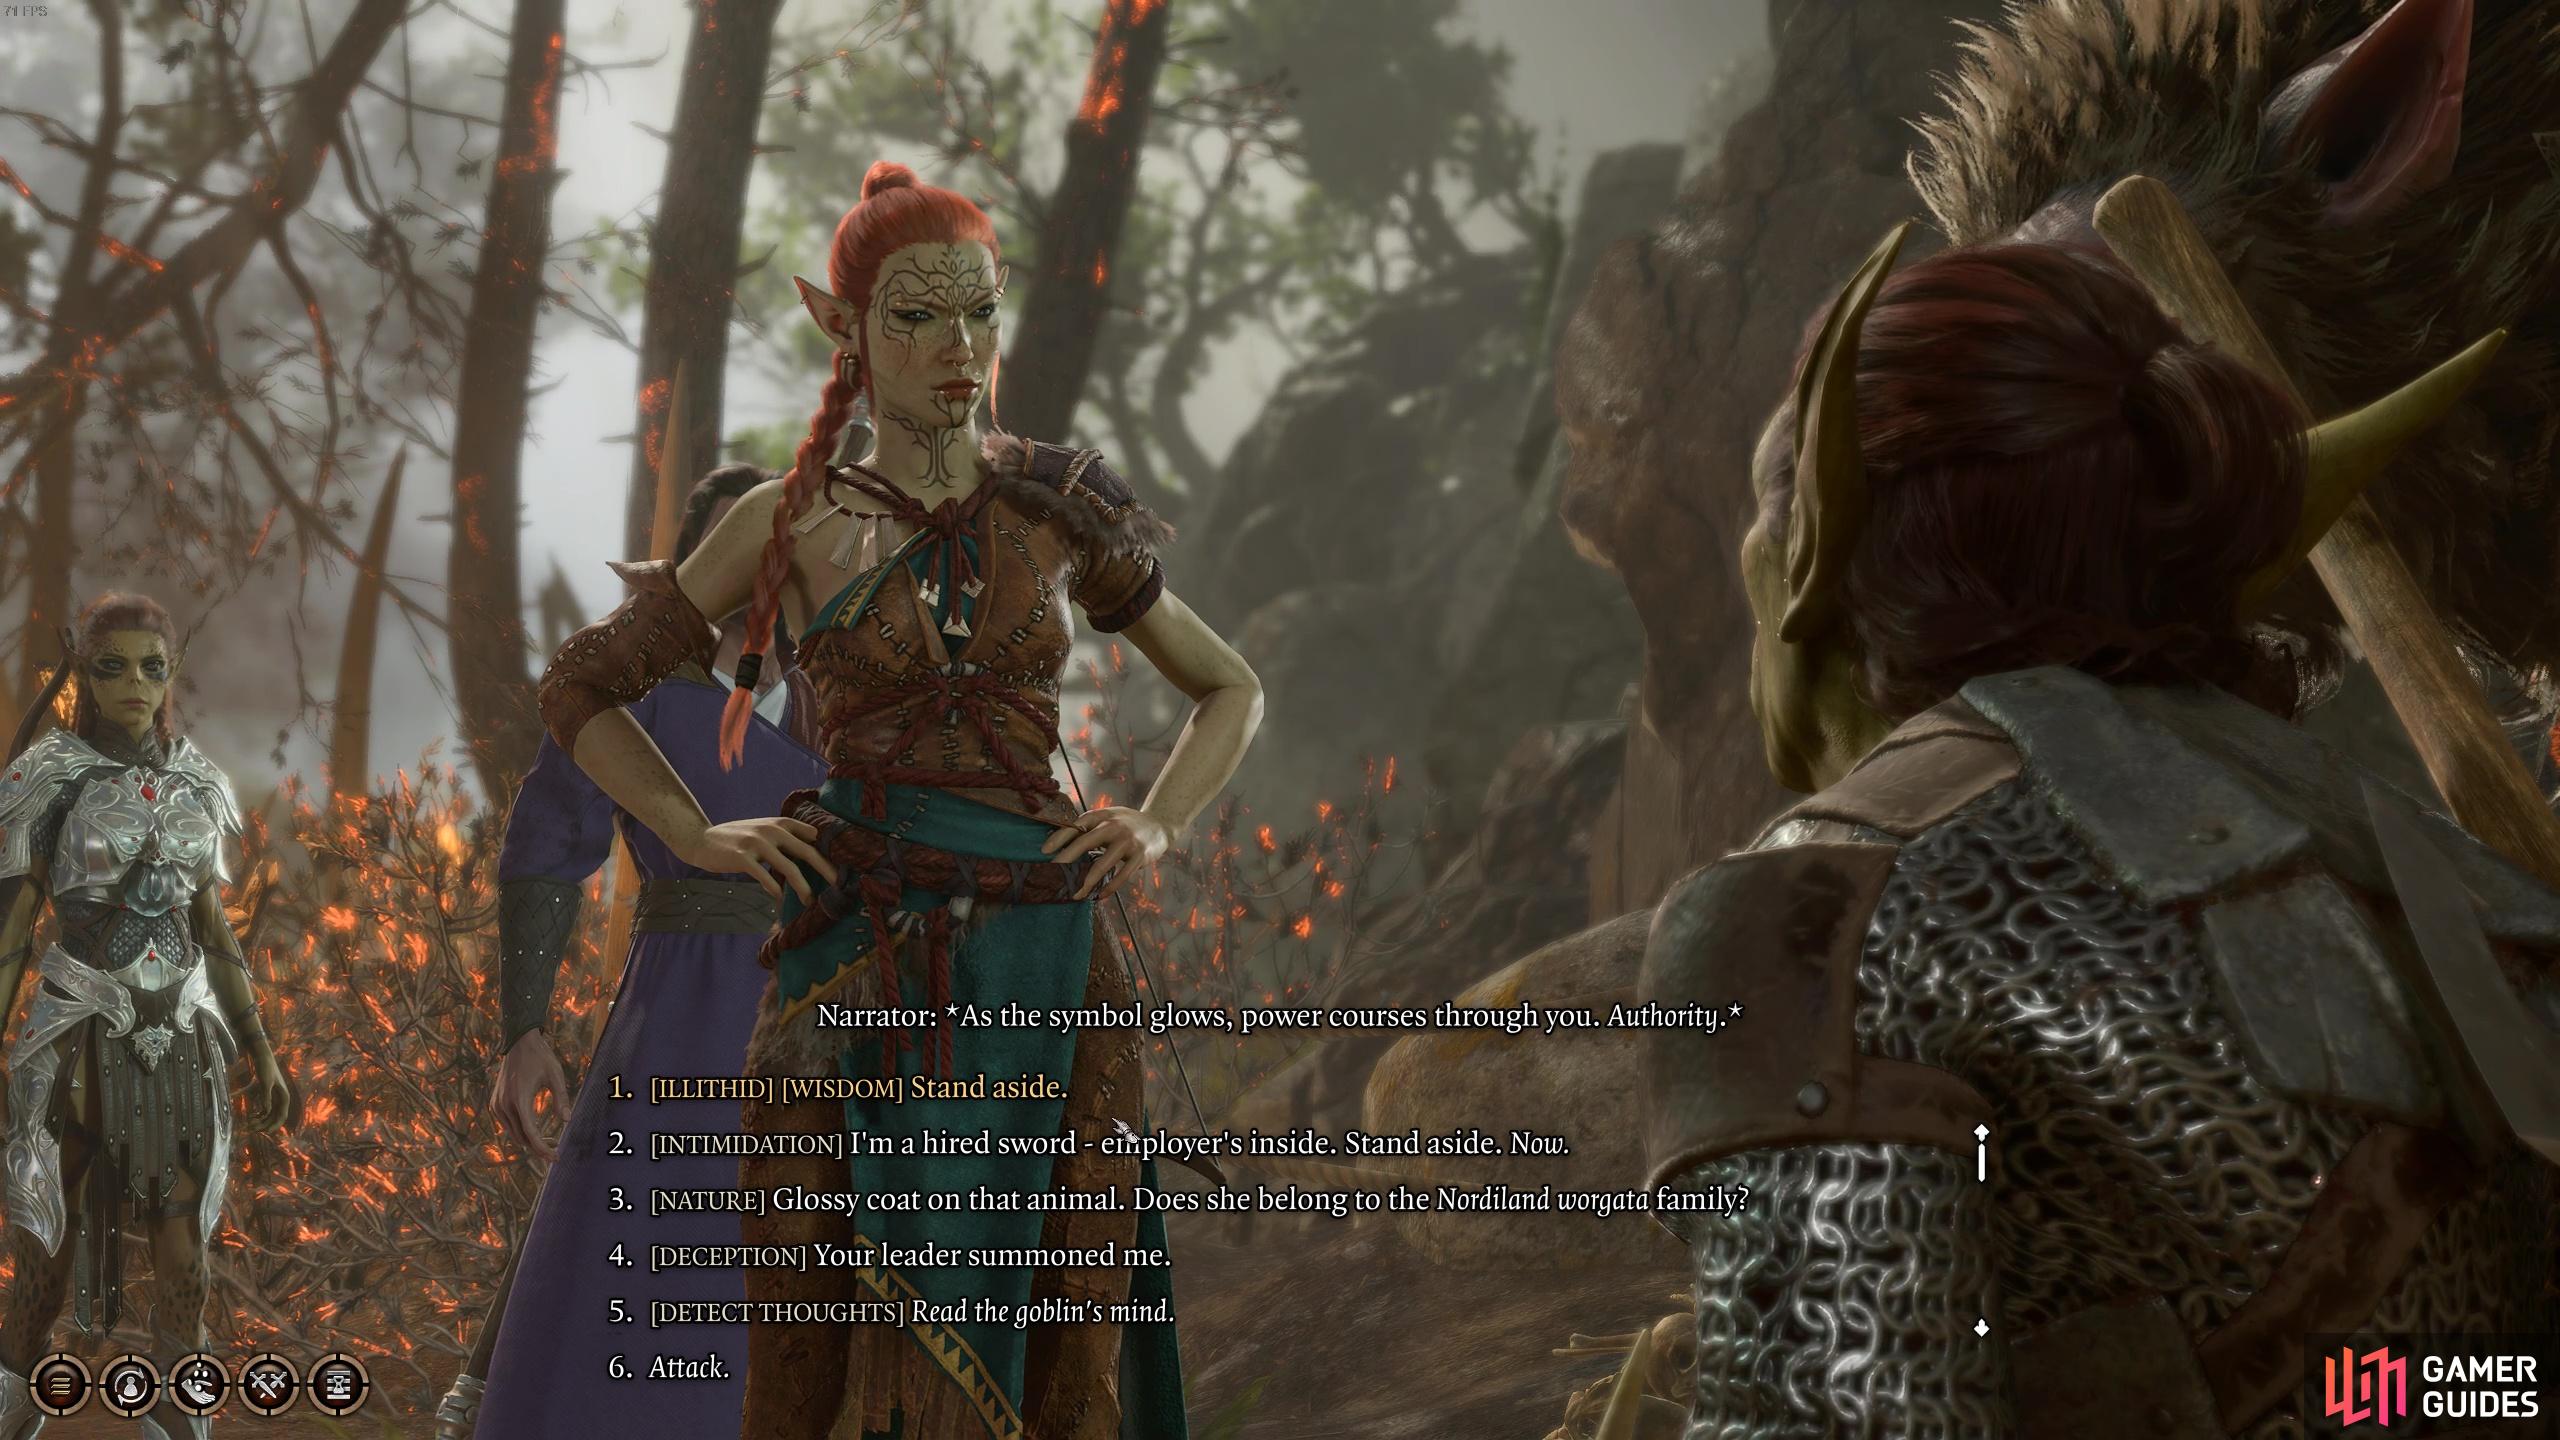
First land a successful roll on a check with the goblins at the entrance
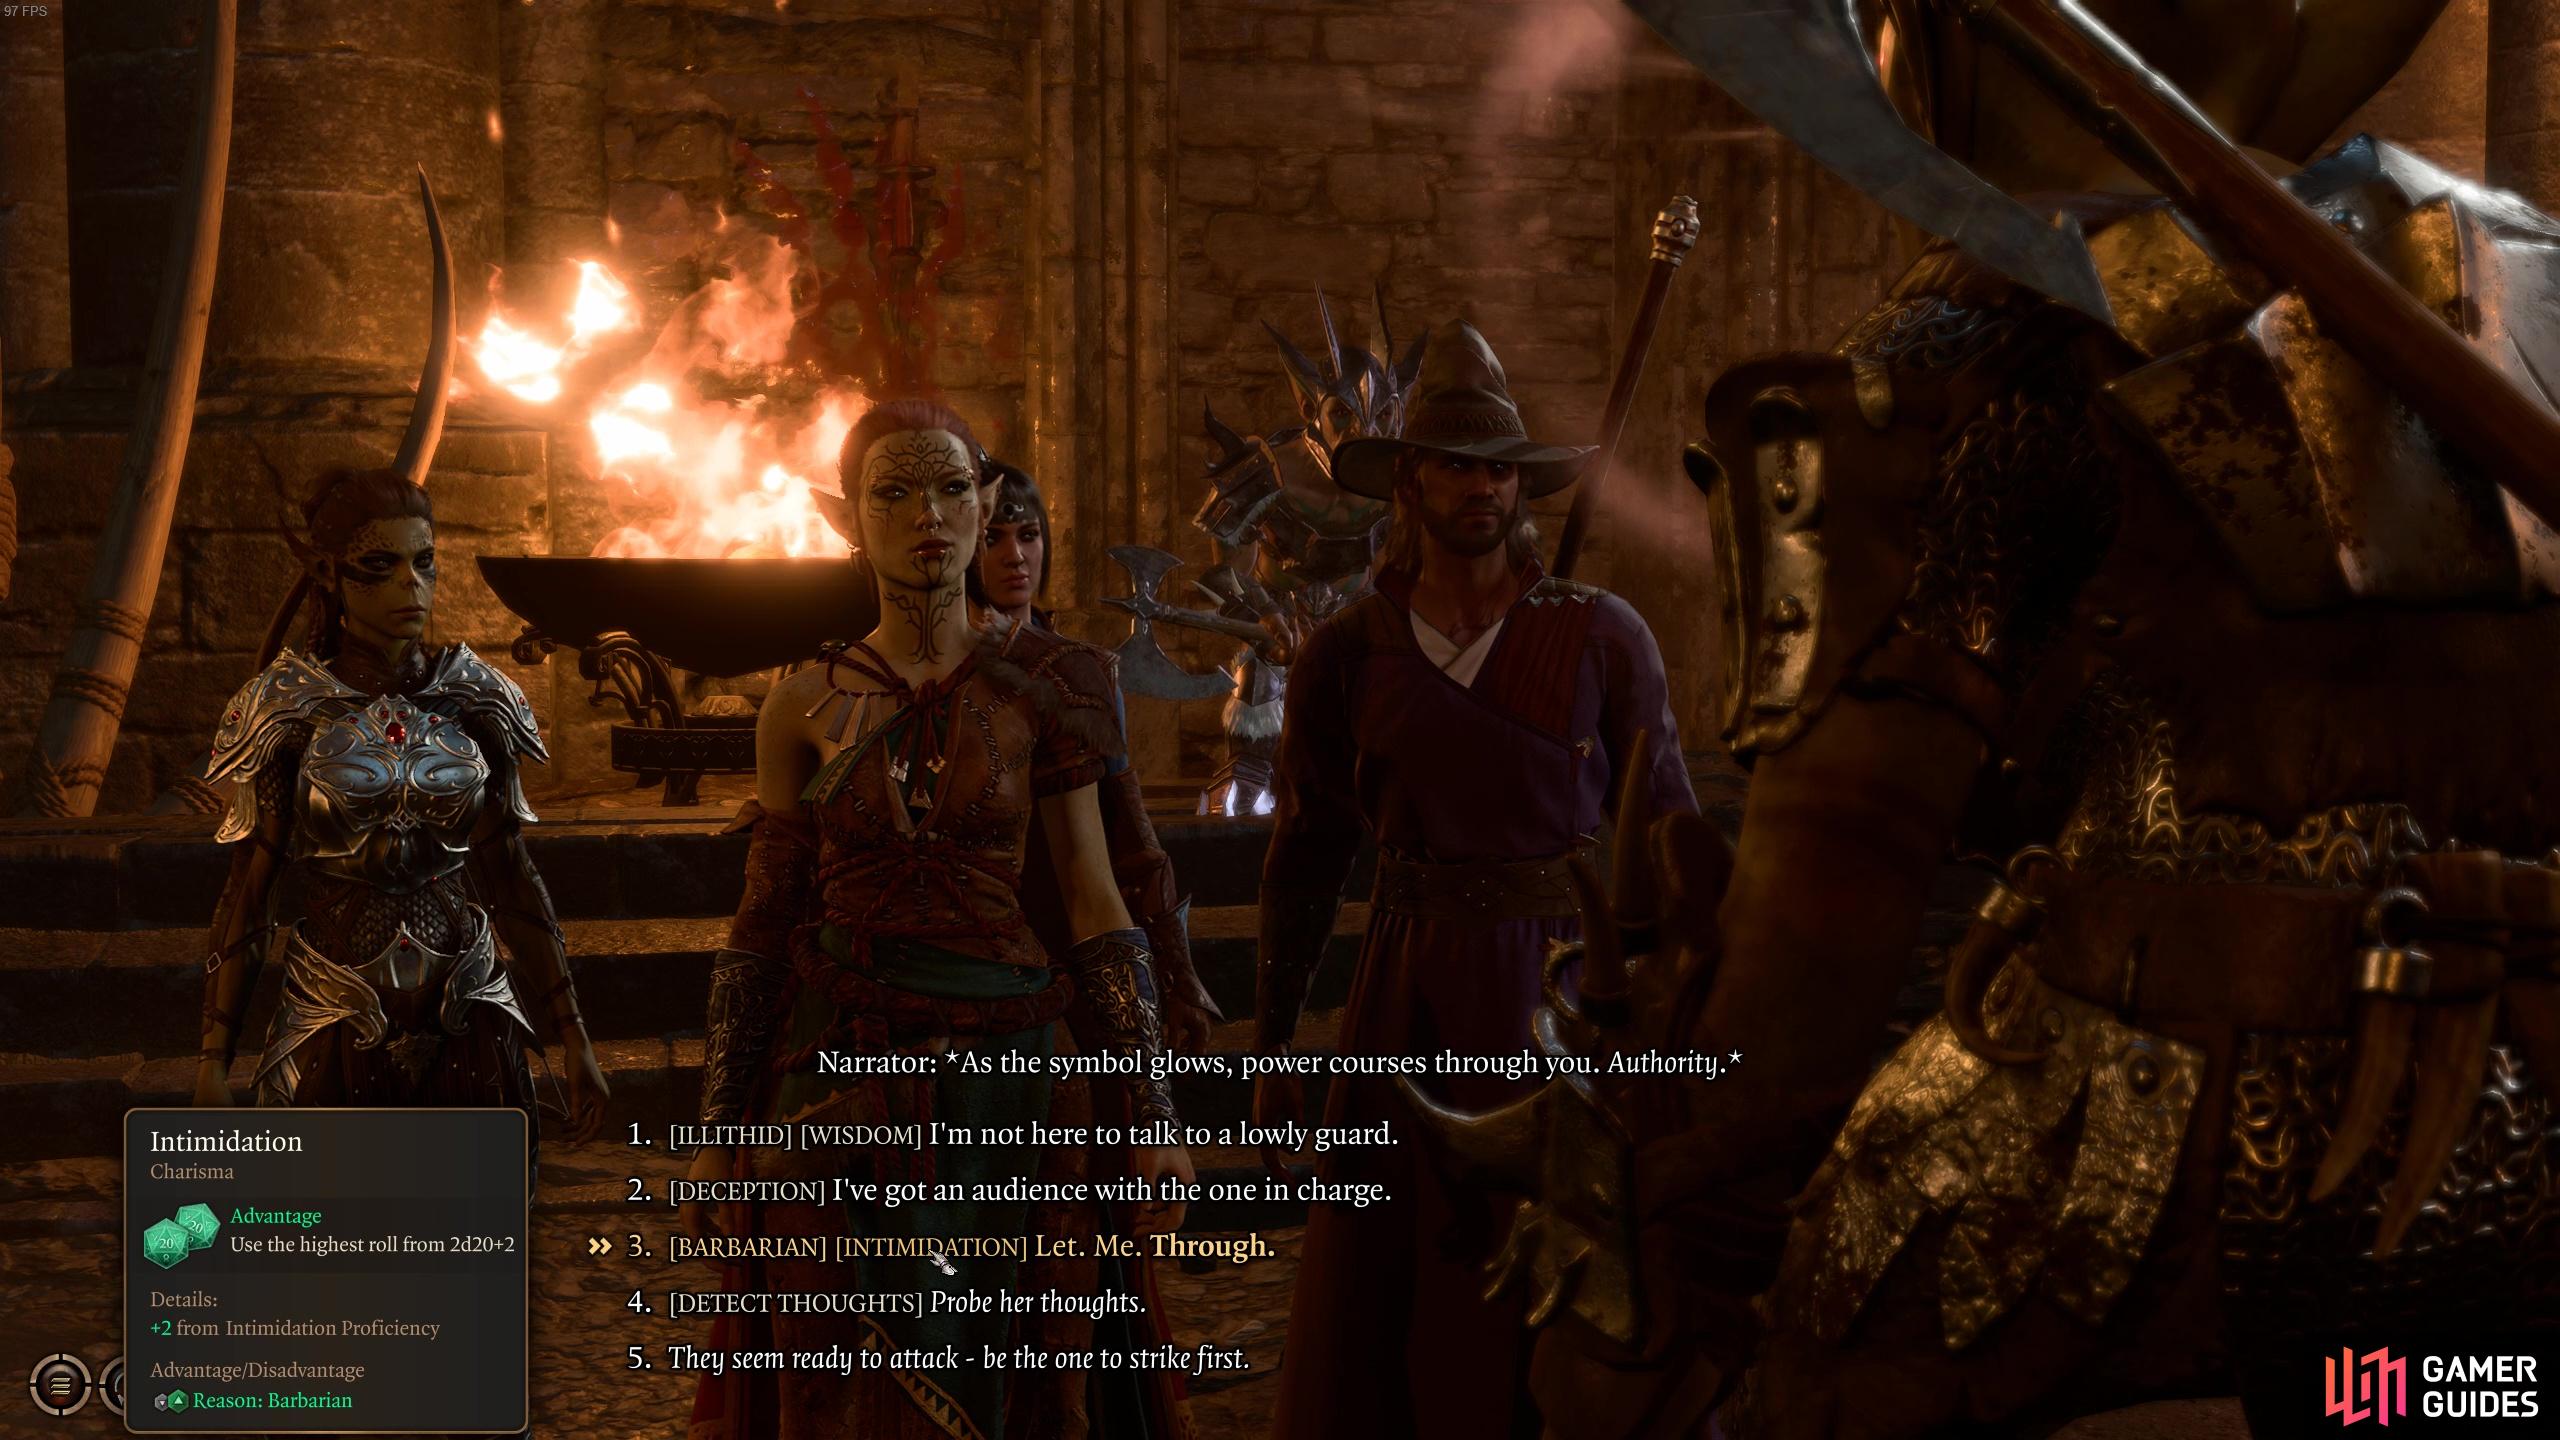
then do the same to enter into the Shattered Sanctum.
Make your way past all the goblins inside the main goblin keep and through into a passageway heading towards the ![]() Shattered Sanctum. A female goblin will stop you before letting you in and you’ll need to perform ability to roll to get in unscathed.
Shattered Sanctum. A female goblin will stop you before letting you in and you’ll need to perform ability to roll to get in unscathed.
The Shattered Sanctum is where you’ll find all three leaders and Halsin! Let’s grab Halsin first as if you want to fight the goblins, it’s definitely easier with the !Druid!
Halsin: Save and Recruit Halsin in the Goblin Camp (Optional)
In order to save Halsin, you’ll need to head to the western part of Shattered Sanctum to find a large Ornate Door. Pass through the door to find the ![]() Worg Pens. Inside the Worg Pens a bear is being pestered by some goblins. If you tell the goblins to stop throwing rocks the bear (Halsin in wild shape form) will barrel down the gate and start a battle. This fight is reasonably straight forward but you’ll need to be wary of goblins calling for back up. Use ranged attacks to take out any pesky goblins that try to slip out.
Worg Pens. Inside the Worg Pens a bear is being pestered by some goblins. If you tell the goblins to stop throwing rocks the bear (Halsin in wild shape form) will barrel down the gate and start a battle. This fight is reasonably straight forward but you’ll need to be wary of goblins calling for back up. Use ranged attacks to take out any pesky goblins that try to slip out.
Now that you’ve helped Halsin, he’ll ask you to help him kill the three Goblin leaders: Drog Ragzlin the Goblin King, Nightwarden Minthara and the Priestess Gut. If Halsin helps you, he’ll aggro any goblin that sees him, so do be careful when pathing around if you want to keep the fight contained.
Now that you have Halsin you won’t be able to sneak around but you will be able to fight the individual leaders if you plan your route tactically. If you are looking for the easiest (and sneakiest) ways to clear the goblin camp, we’ve dedicated a whole page on the easiest way to clear the goblin camp, including the best ways to deal with each leader!
However, if you’re still looking for a good ol’ fight, you can still make it manageable! We took the following order: Minthara > Dror Ragzlin > True Soul Gut. Our reasoning behind this is because you can first head to the east to pick up Halsin, then Minthara is found in a pretty secluded area in the northeast with only a handful of goblin back up. And if you don’t want to pick up Halsin because he causes all the goblins to be hostile, going to Minthara first is still a good choice. When attacking her, make sure to spend a few attacks destroying war drums and the Scrying Eye orb as they’ll call for reinforcements! If you fancy the look of Minthara, you can actually have her as a companion - though this comes with dire consequences and an alternative ending (we outline it below as well!). Take a look at our guide on how to recruit Minthara for more information!
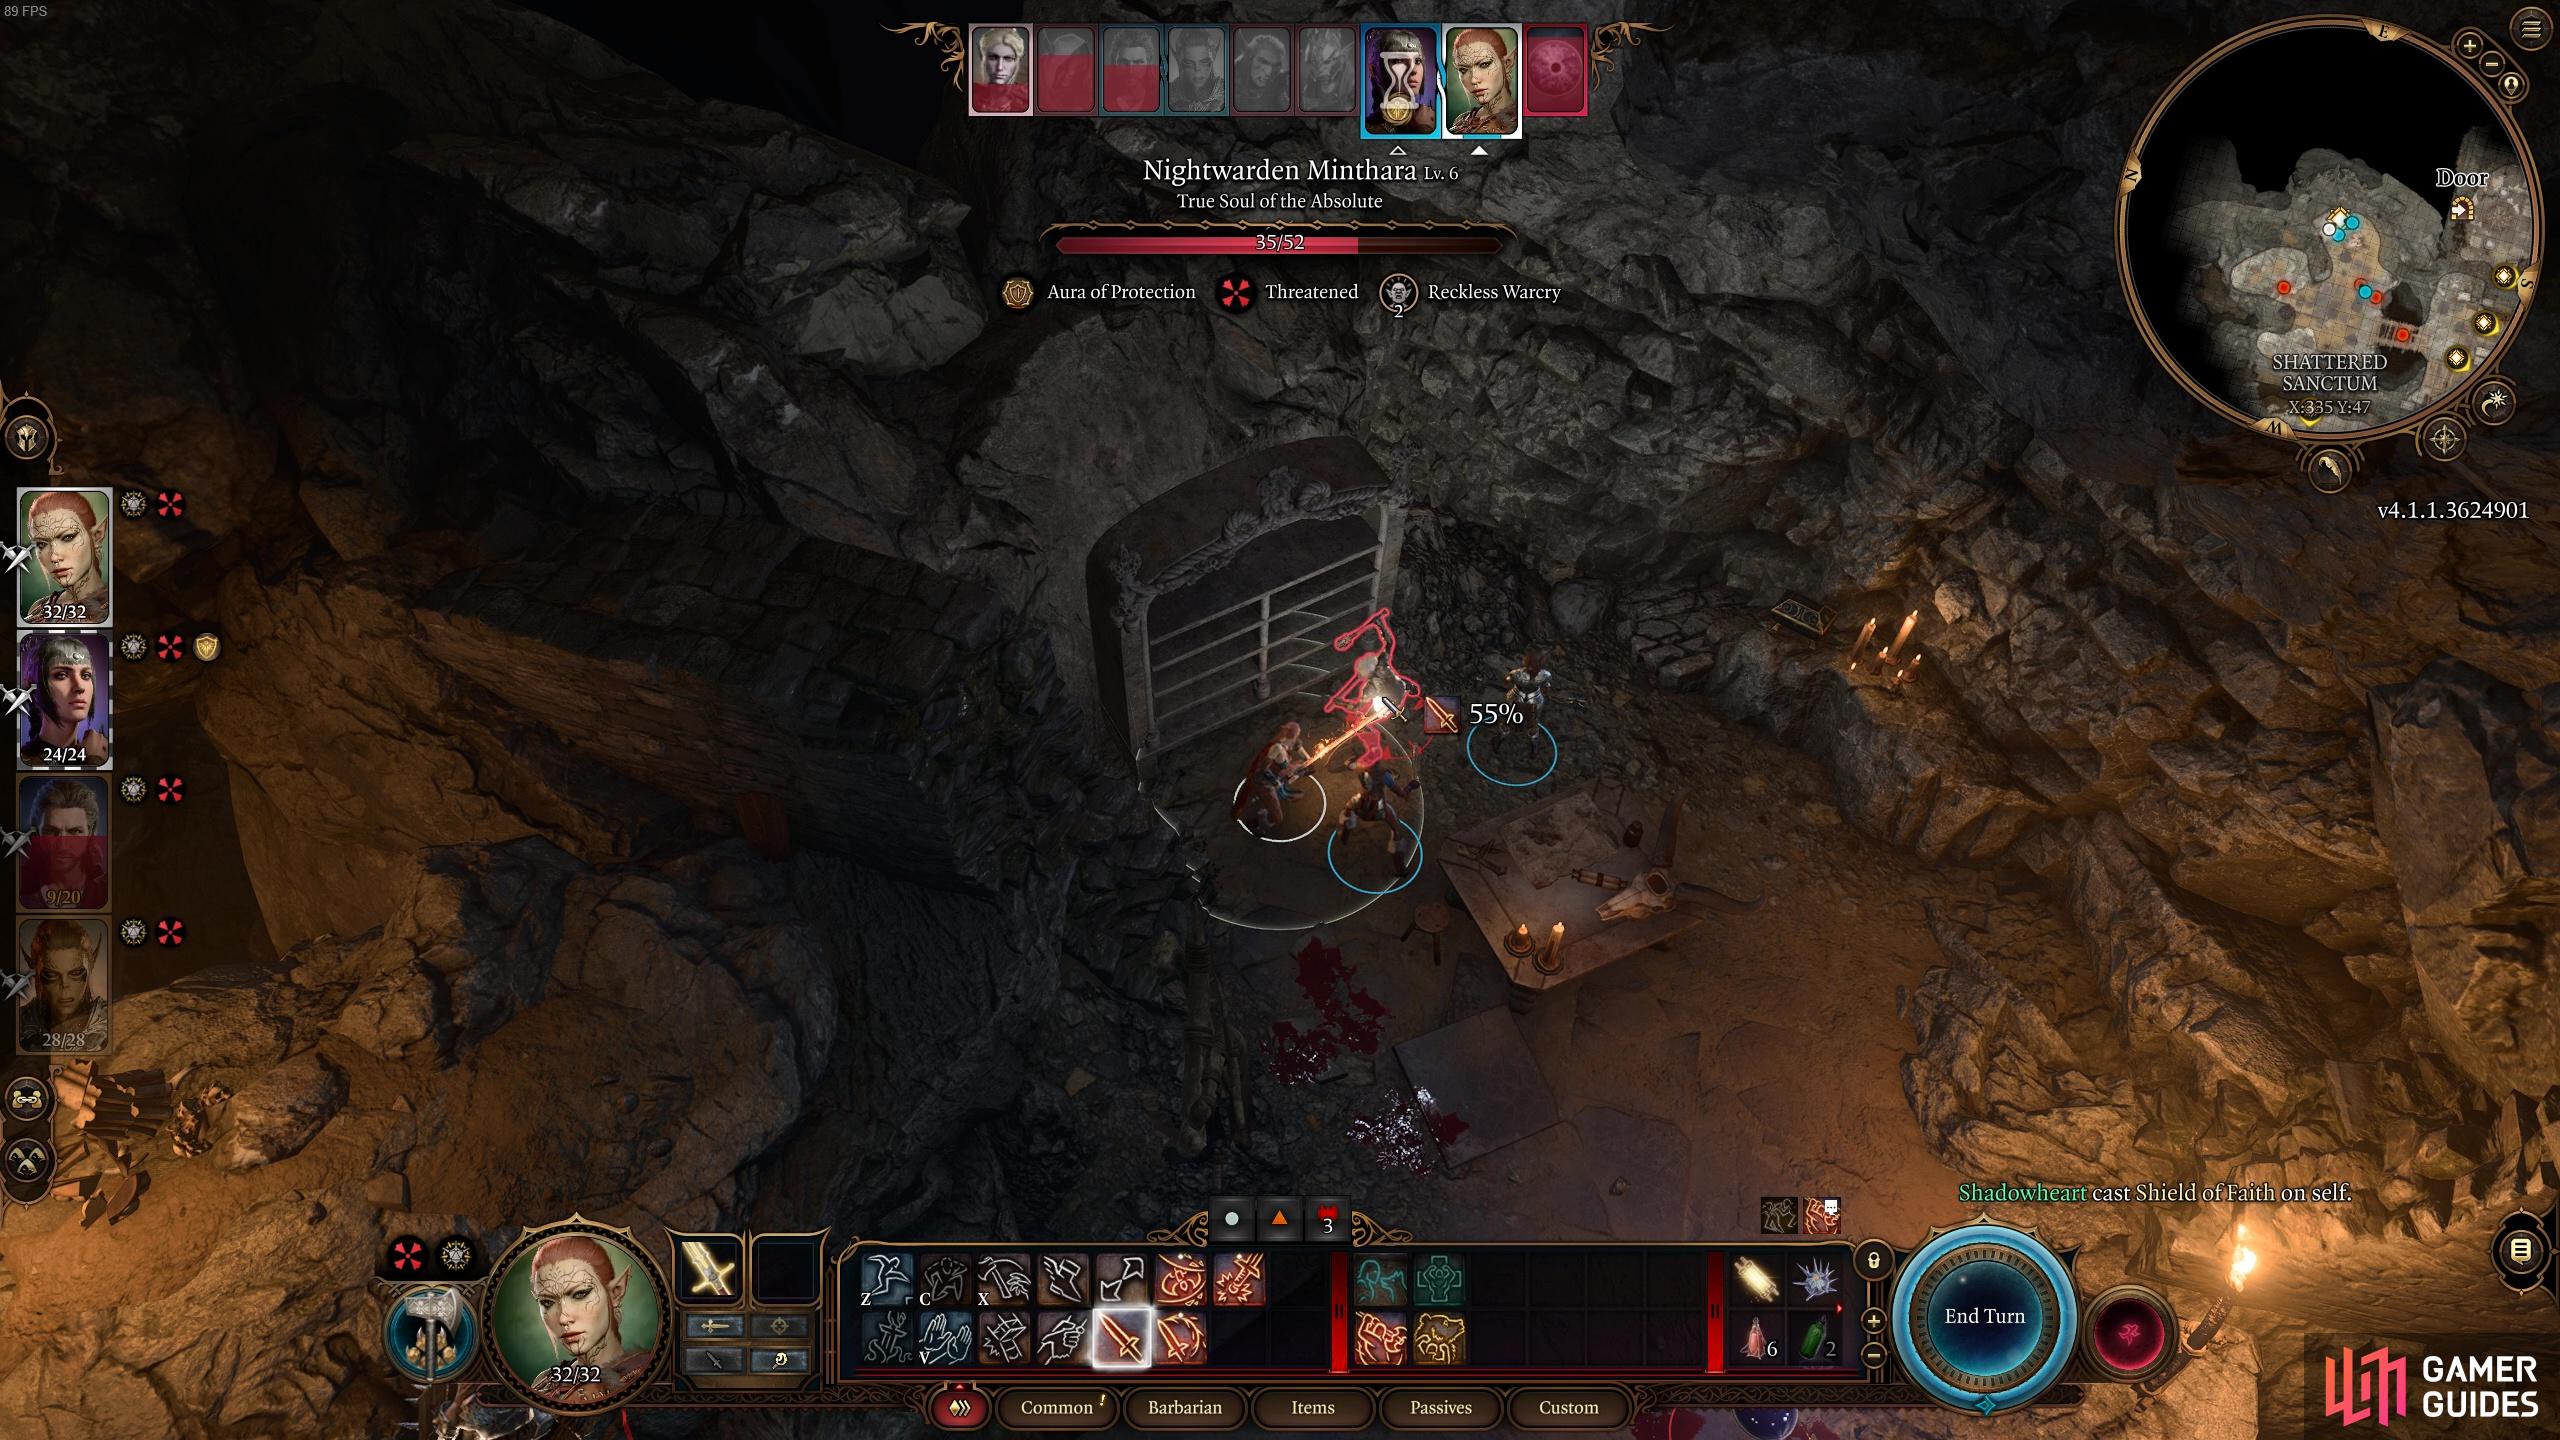
Minthara is a paladin so she’s quite tanky

and don’t forget to destroy the war drum and scrying eye to stop reinforcements being called!
After defeating Minthara and the goblins you could even have a short or long rest before heading into the biggest fight at the camp - Dror Ragzlin. We found it easiest to first fight Dror Ragzlin rather than Priestess Gut despite her being the weaker of the two, mainly because it was easier to contain the fight as he’s at the back of the fortress. In addition to destroying war drums, we recommend making full use of terrain in this fight. Get to high points by going up the stairs with your spellcasters, and use your melee fighters to take aggro. You can also try to shove the enemies (including Dror) off the ledge into the pit below. This stops them from being able to join in the fight, but it does introduce some spiders into the combat and they have some pretty annoying ranged attacks.

Time to face the King of the Goblins
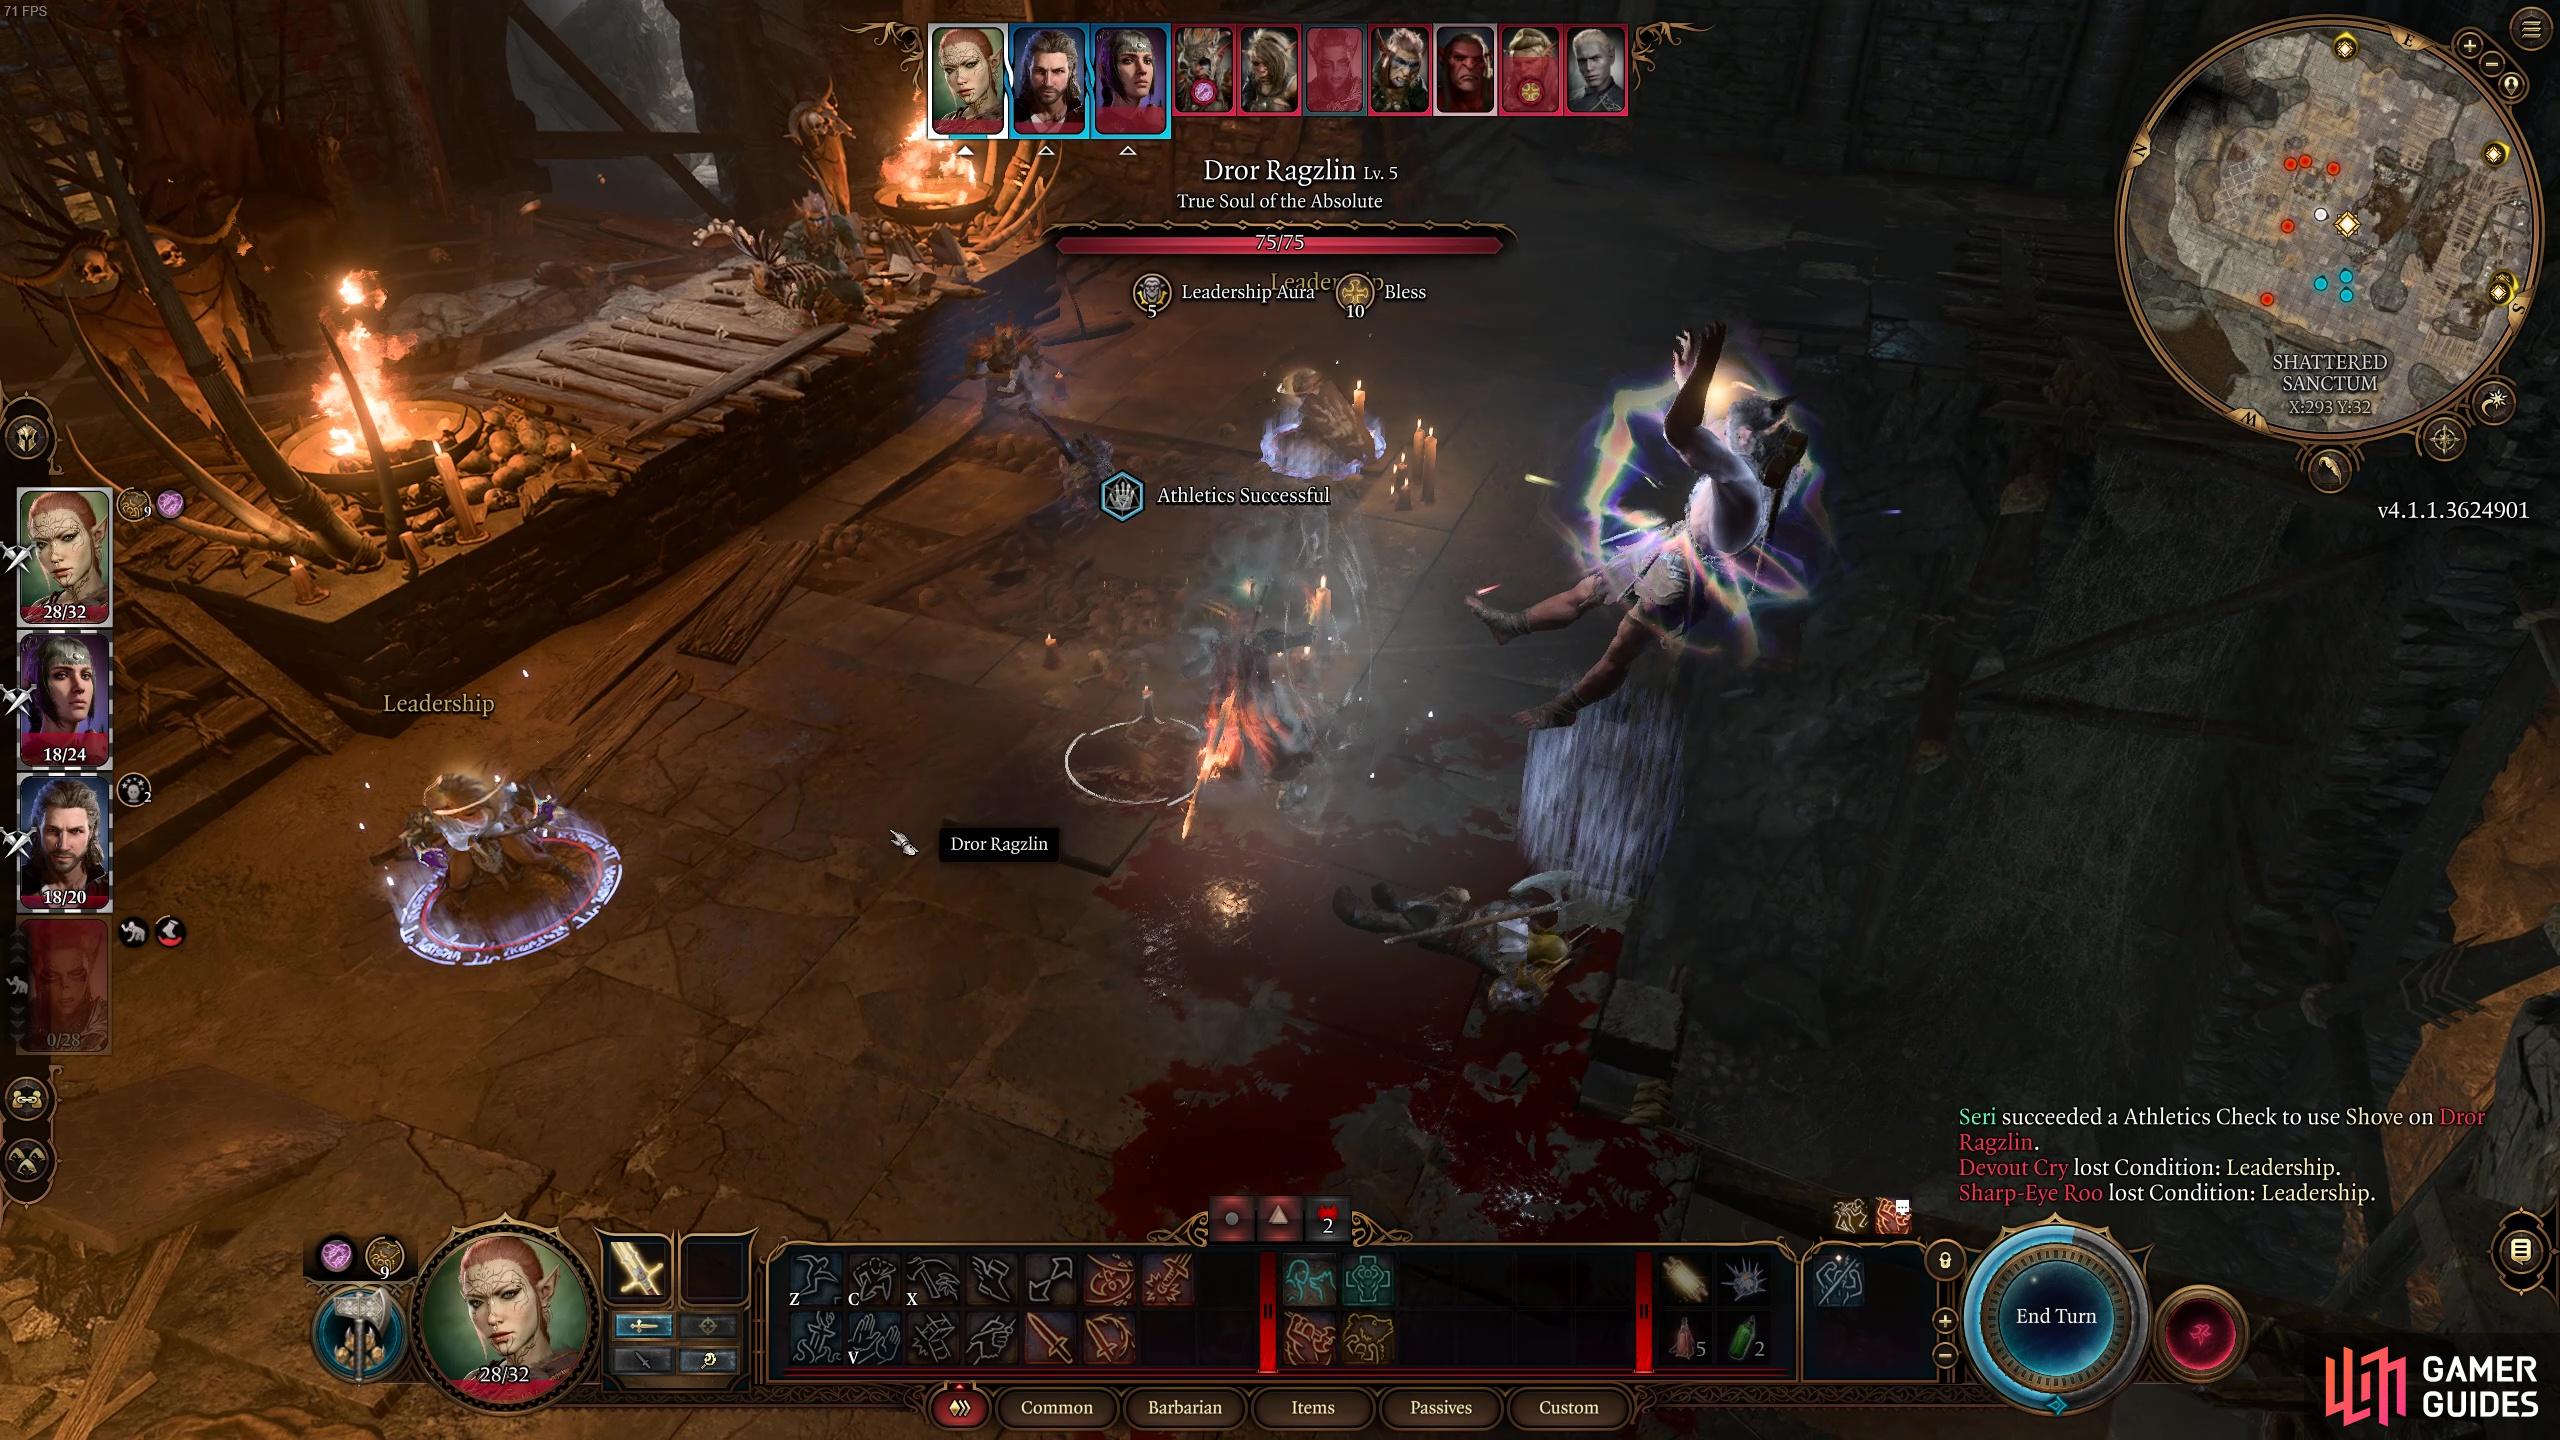
he may be fearsome but he can still get shoved off the edge!
Finally, after dealing with Dror, head towards the front room of the Shattered Sanctum to face True Soul Gut. After Dror, you’ll probably want a quite short rest or even a long one if you want to replenish some spell slots! She shouldn’t pose nearly as much of a threat as Dror though so that should come as some relief! We recommend dealing with the ads first in this instance, and then focus your efforts on True Soul Gut Gut. Her allies include rangers and other spellcasters that will buff her and the other allies.
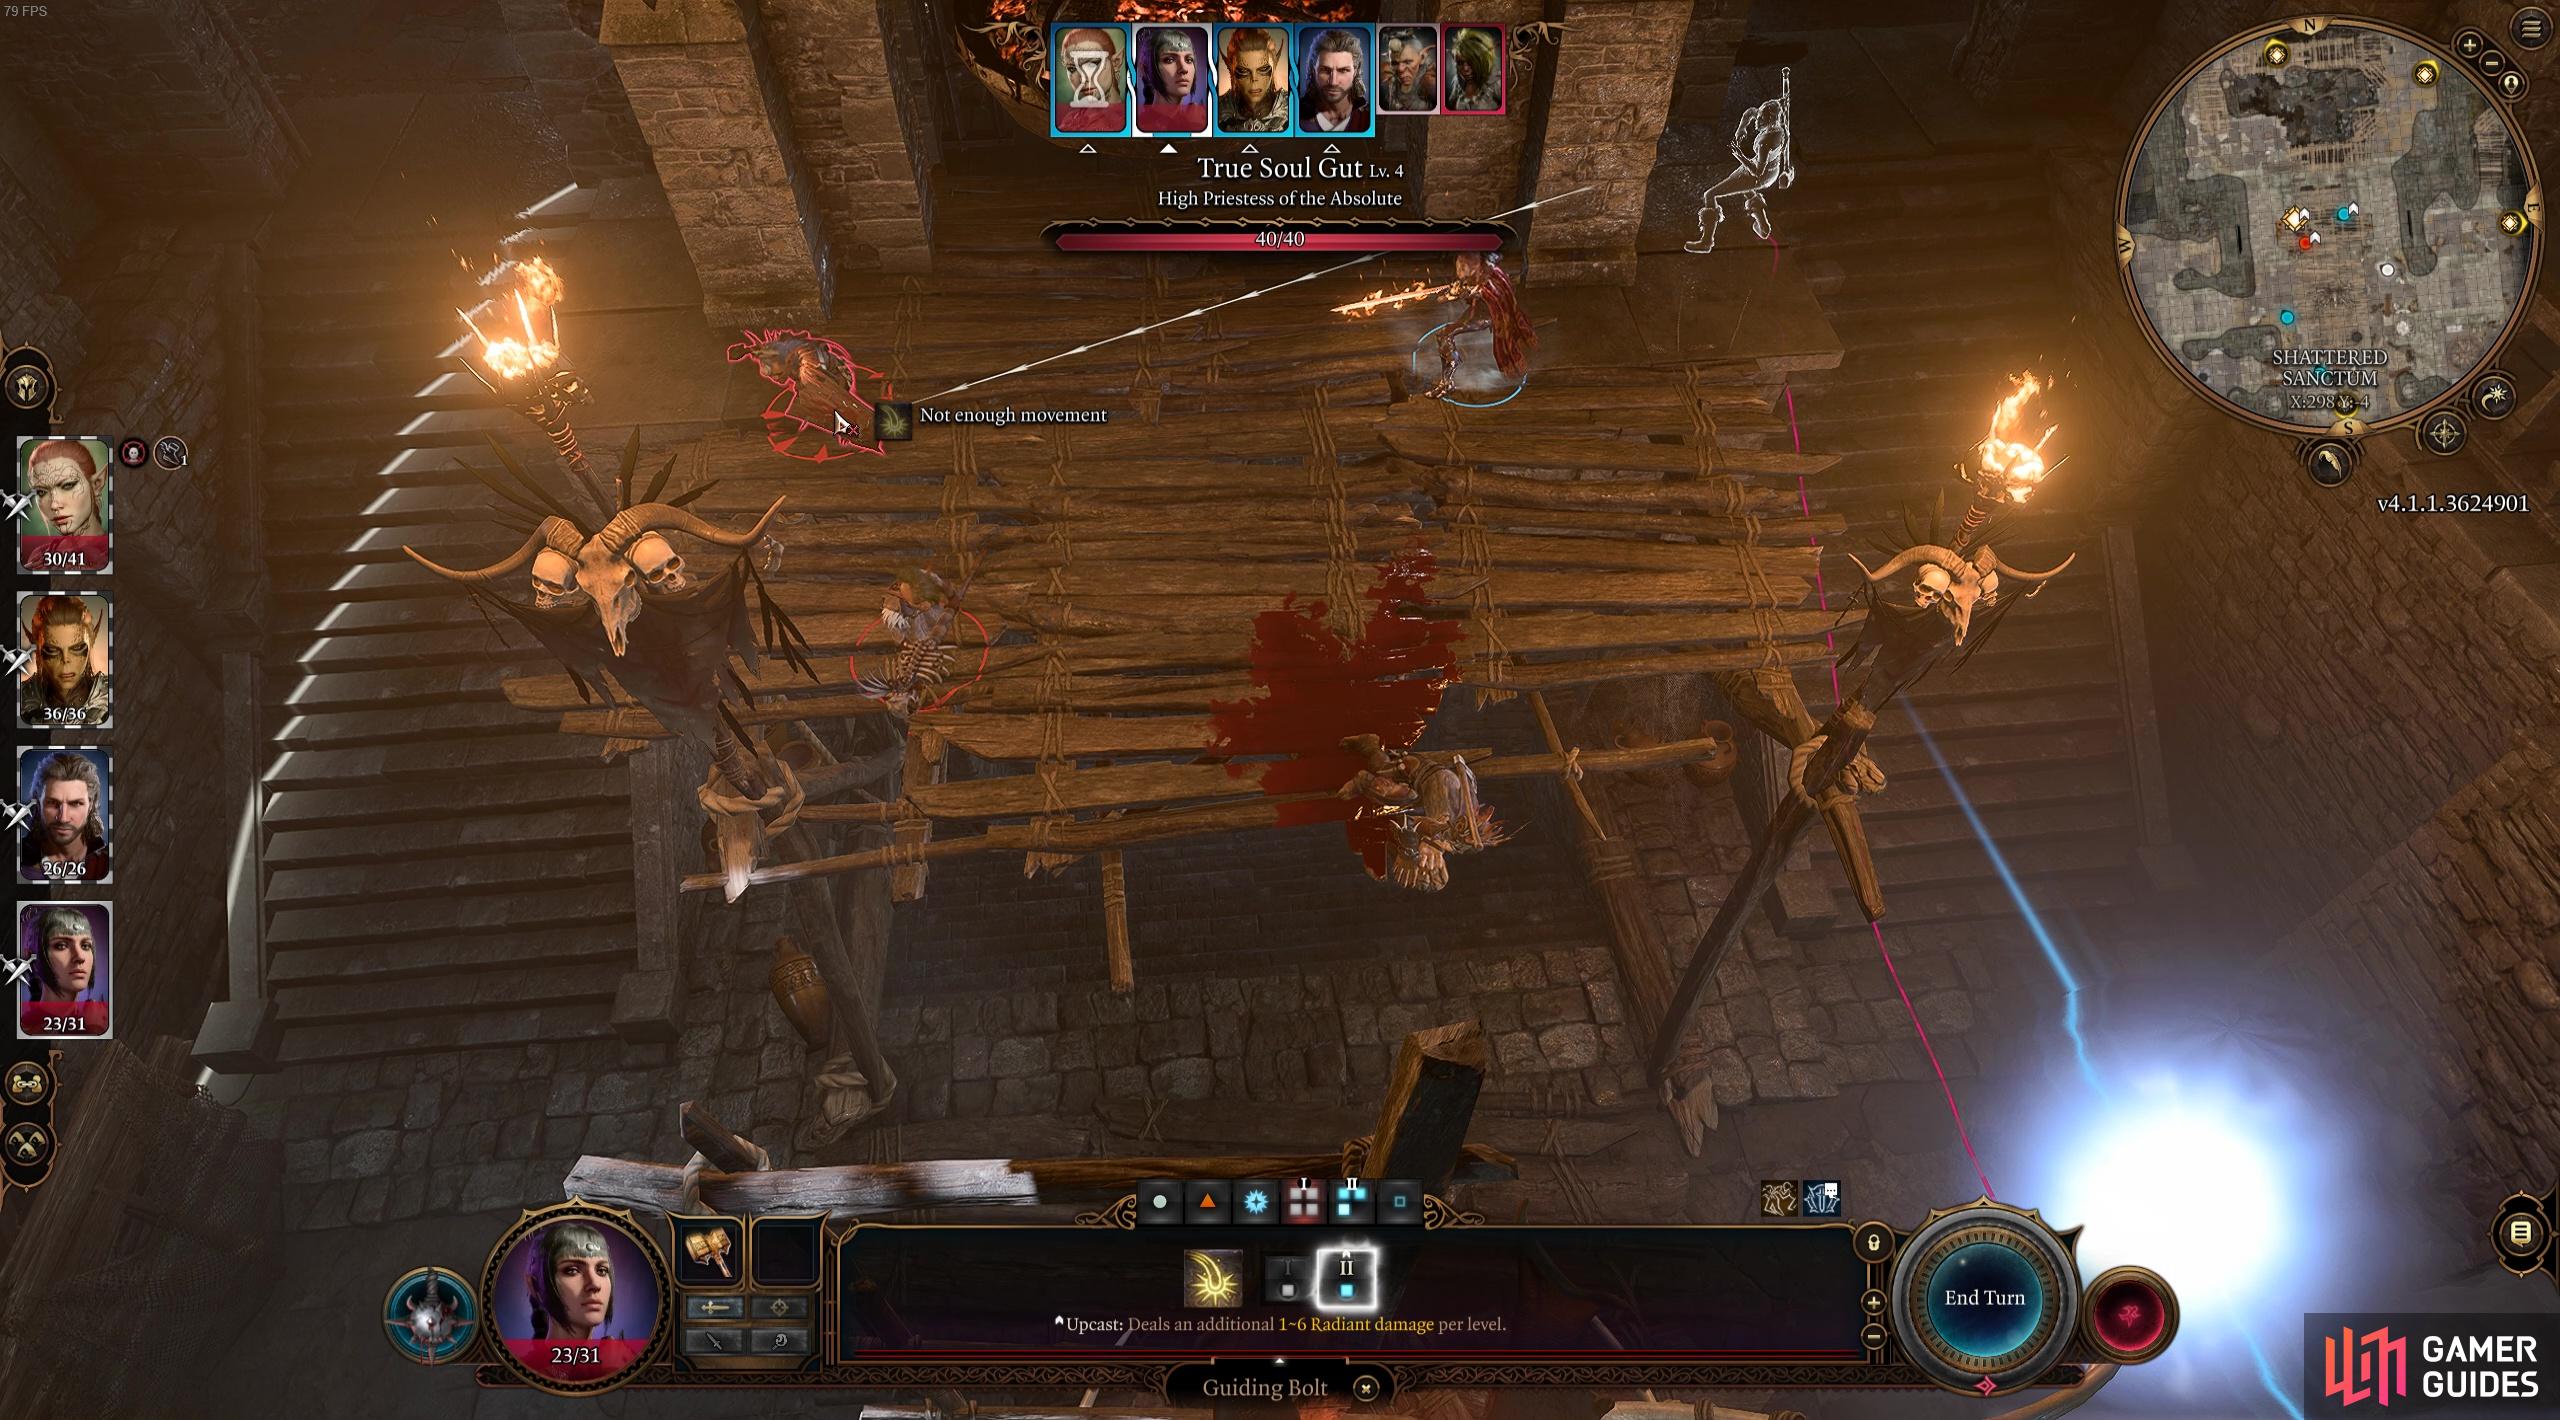
True Soul Gut is a spellcaster but she’s quite squishy compared to the other Goblin leaders.
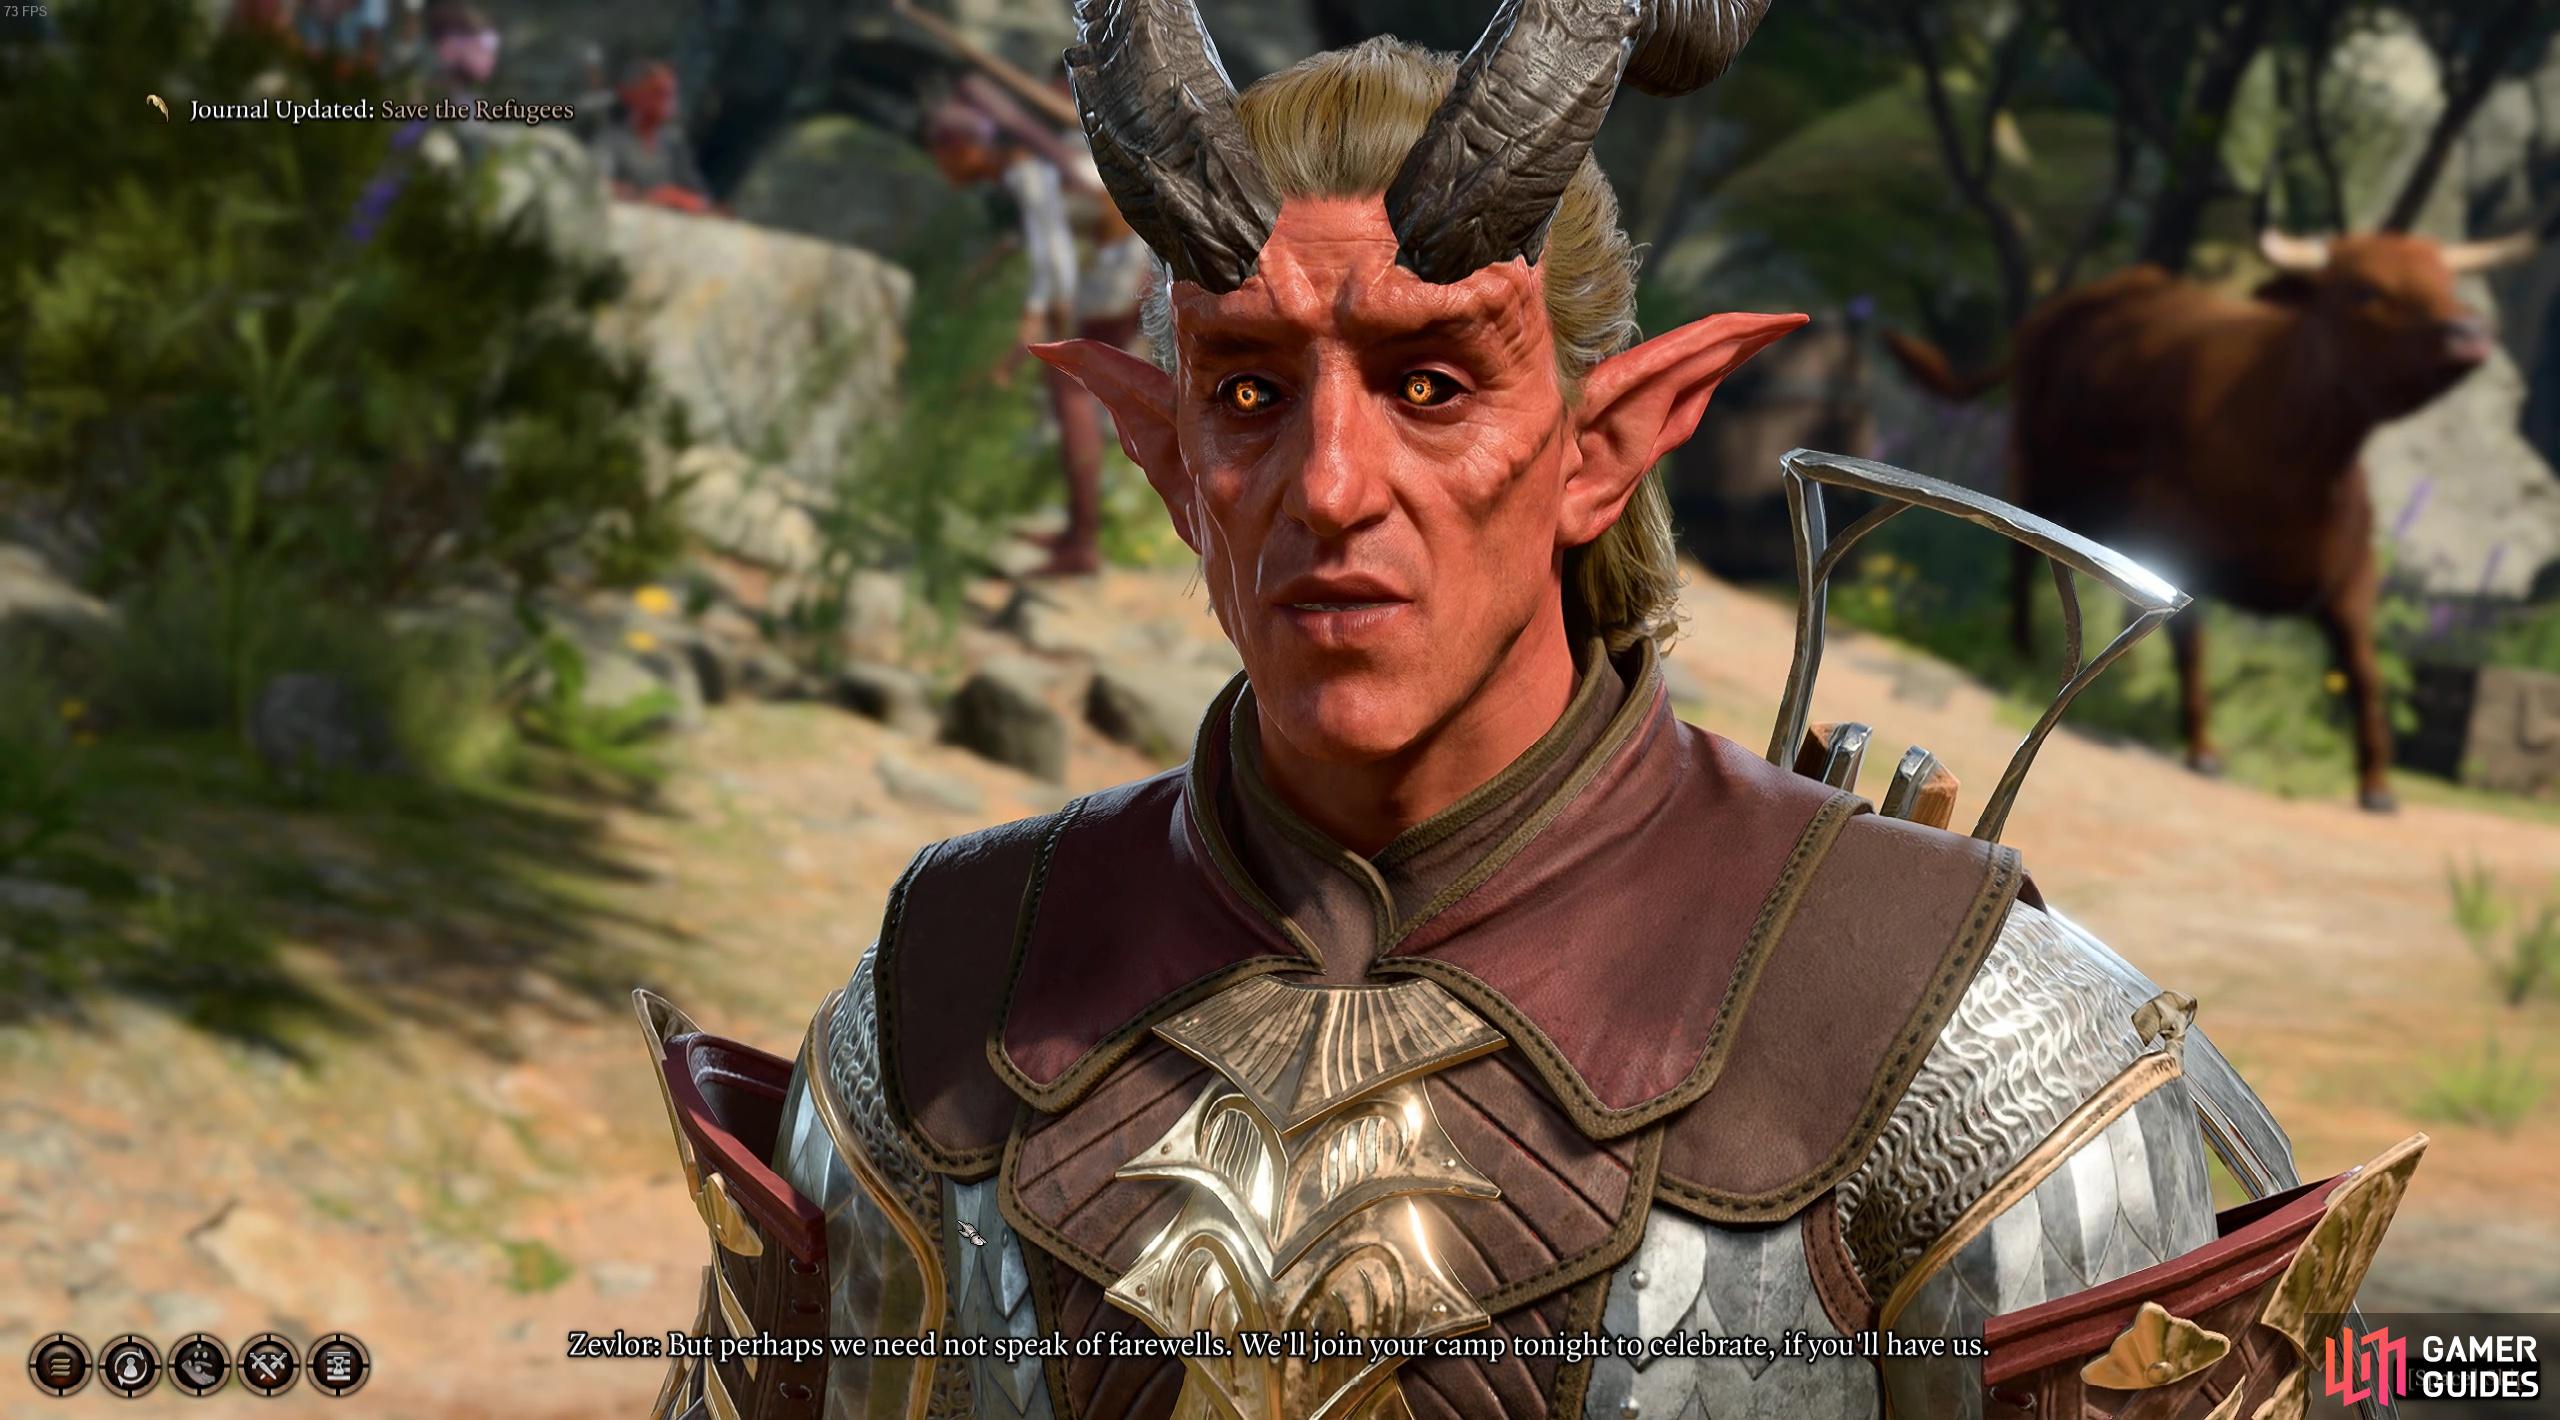
After defeating all three leaders, head back to Druid Grove and tell them of your success! Zevlor will thank you and then mention to head down to the !Druids near Sacred Pool. They’ll also offer to join you at a little celebration party when you next go to camp.
How to Get Rath’s Reward - Rune of the Wolf Slab Puzzle
First, head down to the Sacred Pool. Here, you’ll watch Kagha get chastised by Halsin and then he’ll tell you to speak with Rath about a reward. When you do talk to Rath, he’ll give you a Rune of the Wolf Slab and mention that a cache is in a vault below.
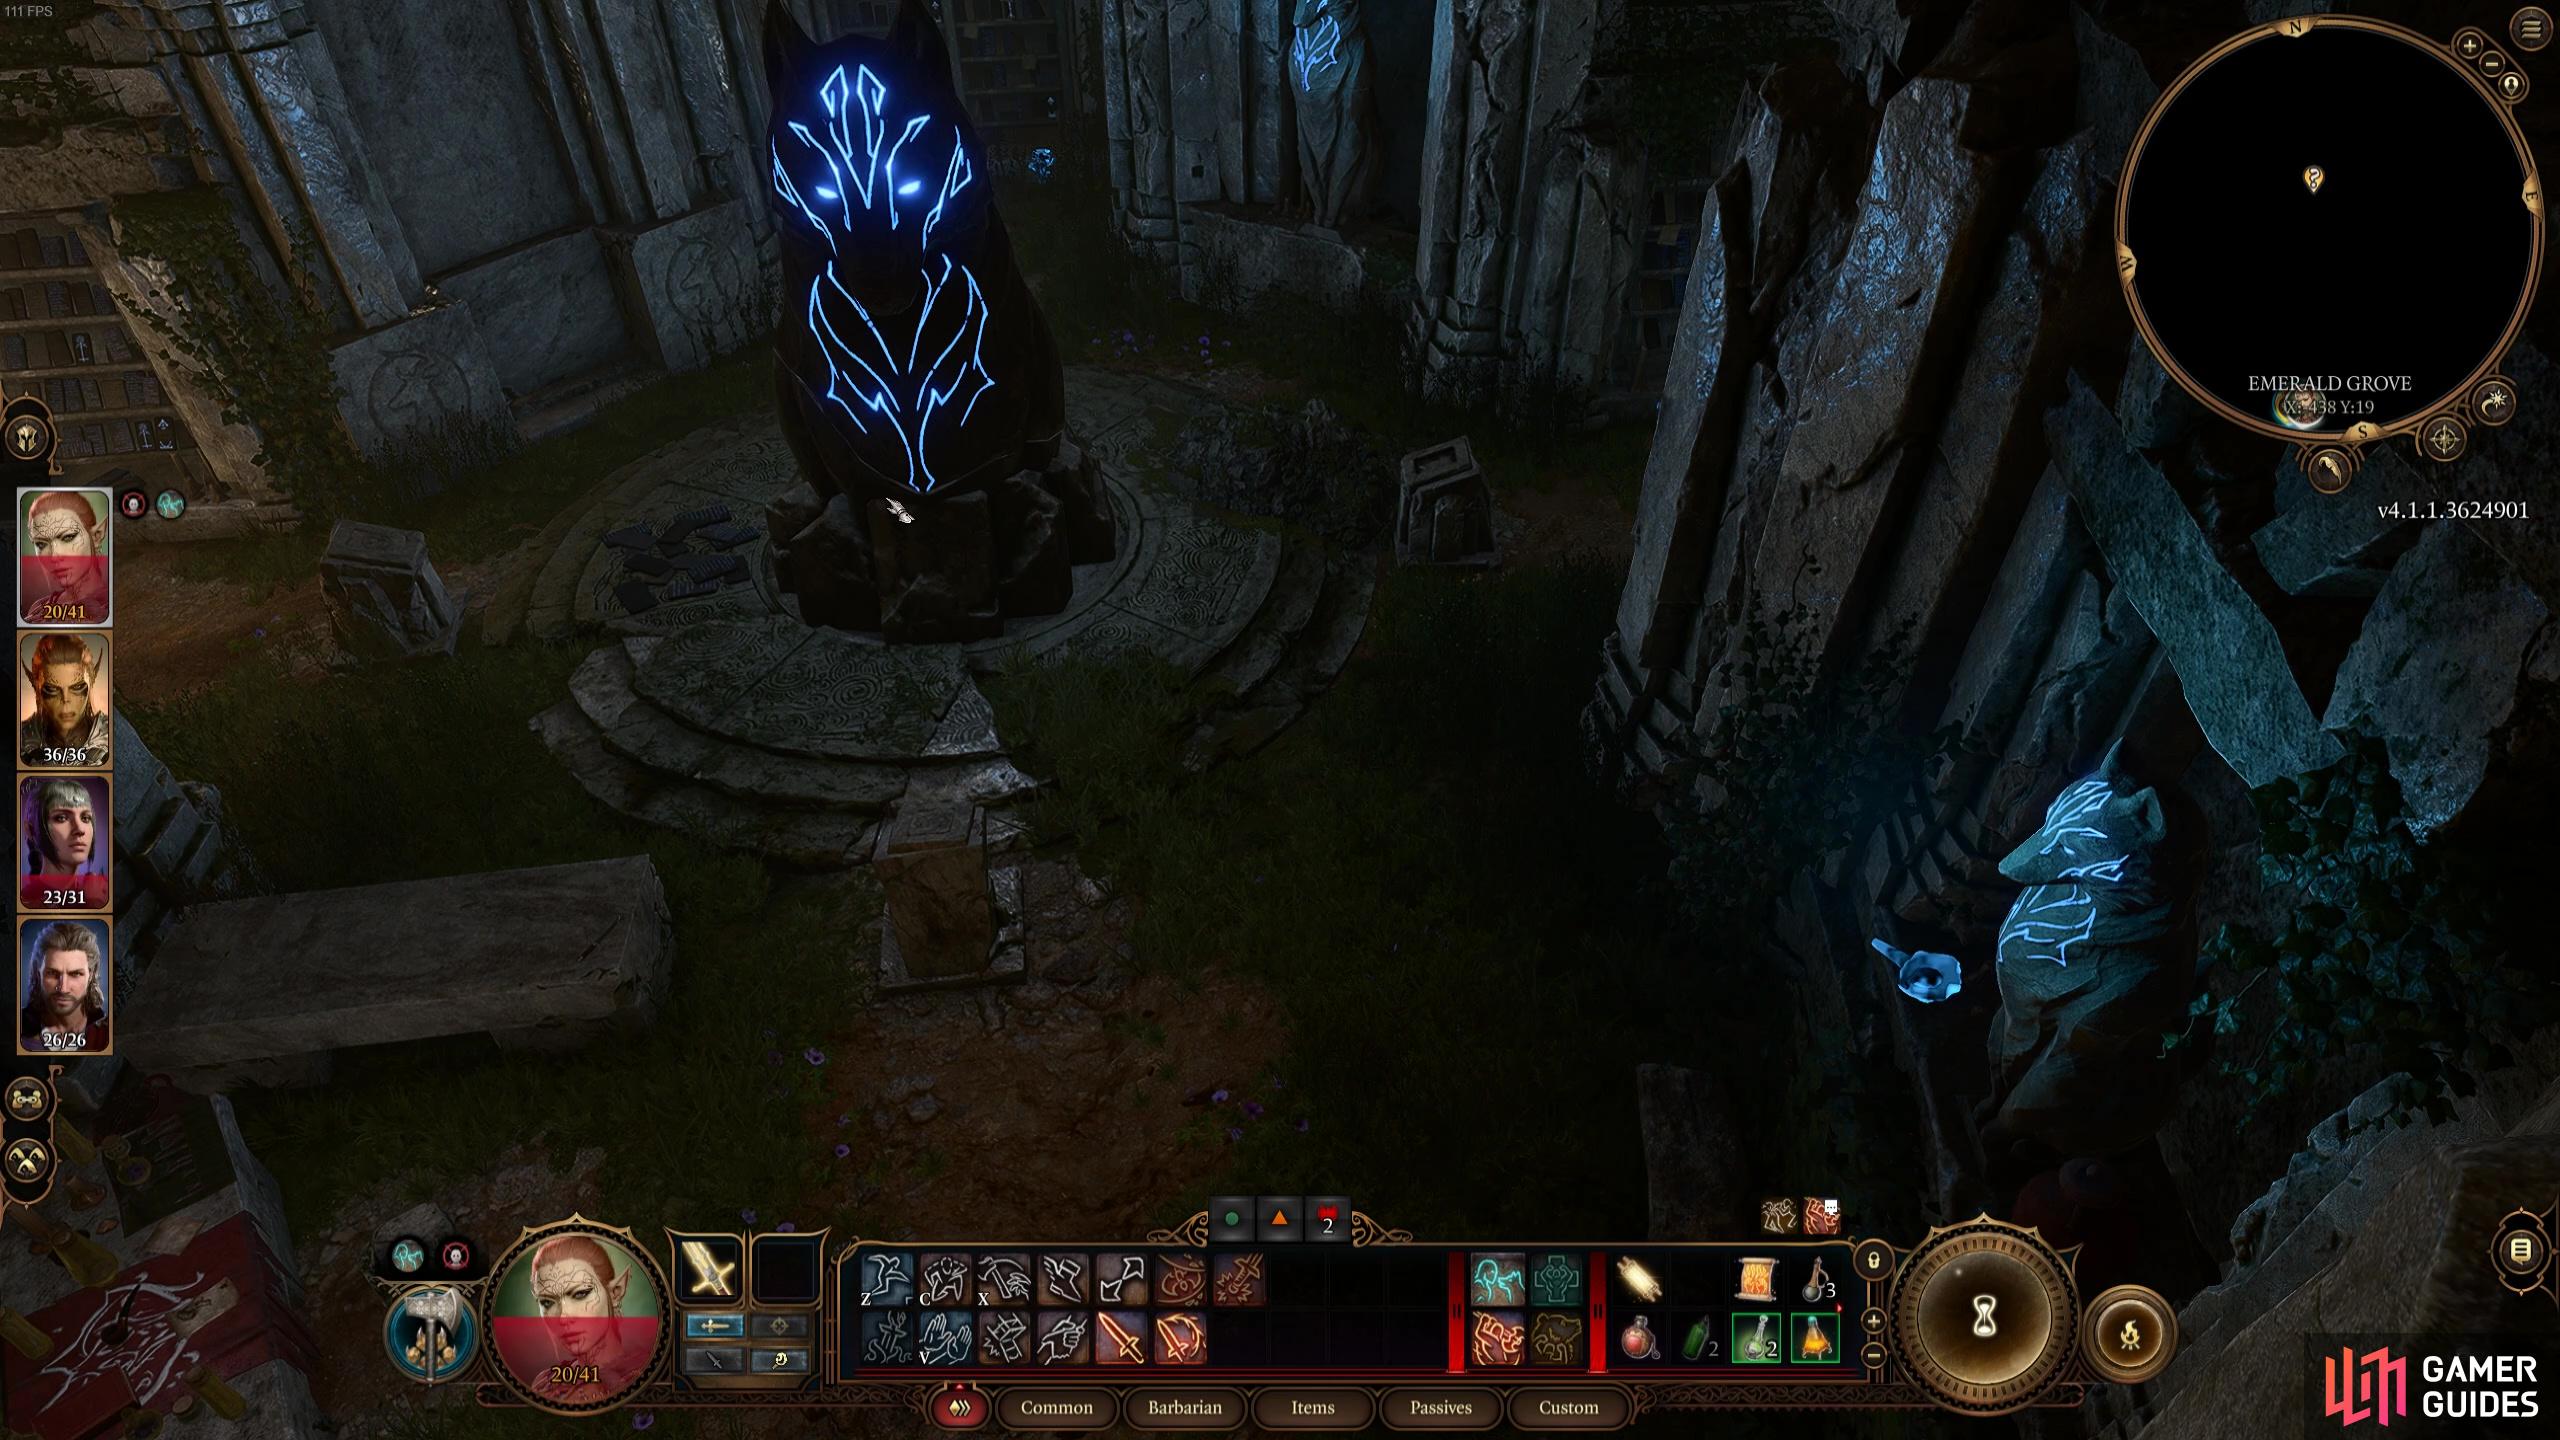
To get into the vault head into the back room with the large glowing statue. First find the pedestal with the missing slab and insert the Rune of the Wolf slab that Rath just gave you by dragging it out of your inventory and into the right square on the slab’s interface. This will cause the slab to glow. Next, just interact with each of the other pedestals around the wolf statue and a staircase will appear that takes you down into the vault.
In the hidden vault you’ll find some wooden crates to the left containing a ![]() Robe of Summer, which grants the wearer cold resist and is a nice bit of kit for non-armor wearers in your party. In another crate you’ll also find some powerful potions.
Robe of Summer, which grants the wearer cold resist and is a nice bit of kit for non-armor wearers in your party. In another crate you’ll also find some powerful potions.
And the grand finale of loot in this vault is the glaive named Sorrow on the table. The GLaive offers 1d10 slashing damage and gives the user the Sorrowful Lash cantrip. Now that you’ve gotten your rewards, head to your camp to celebrate with all your Emerald Grove friends…and if you’ve gotten the approval of your companions, some romancing might also occur!
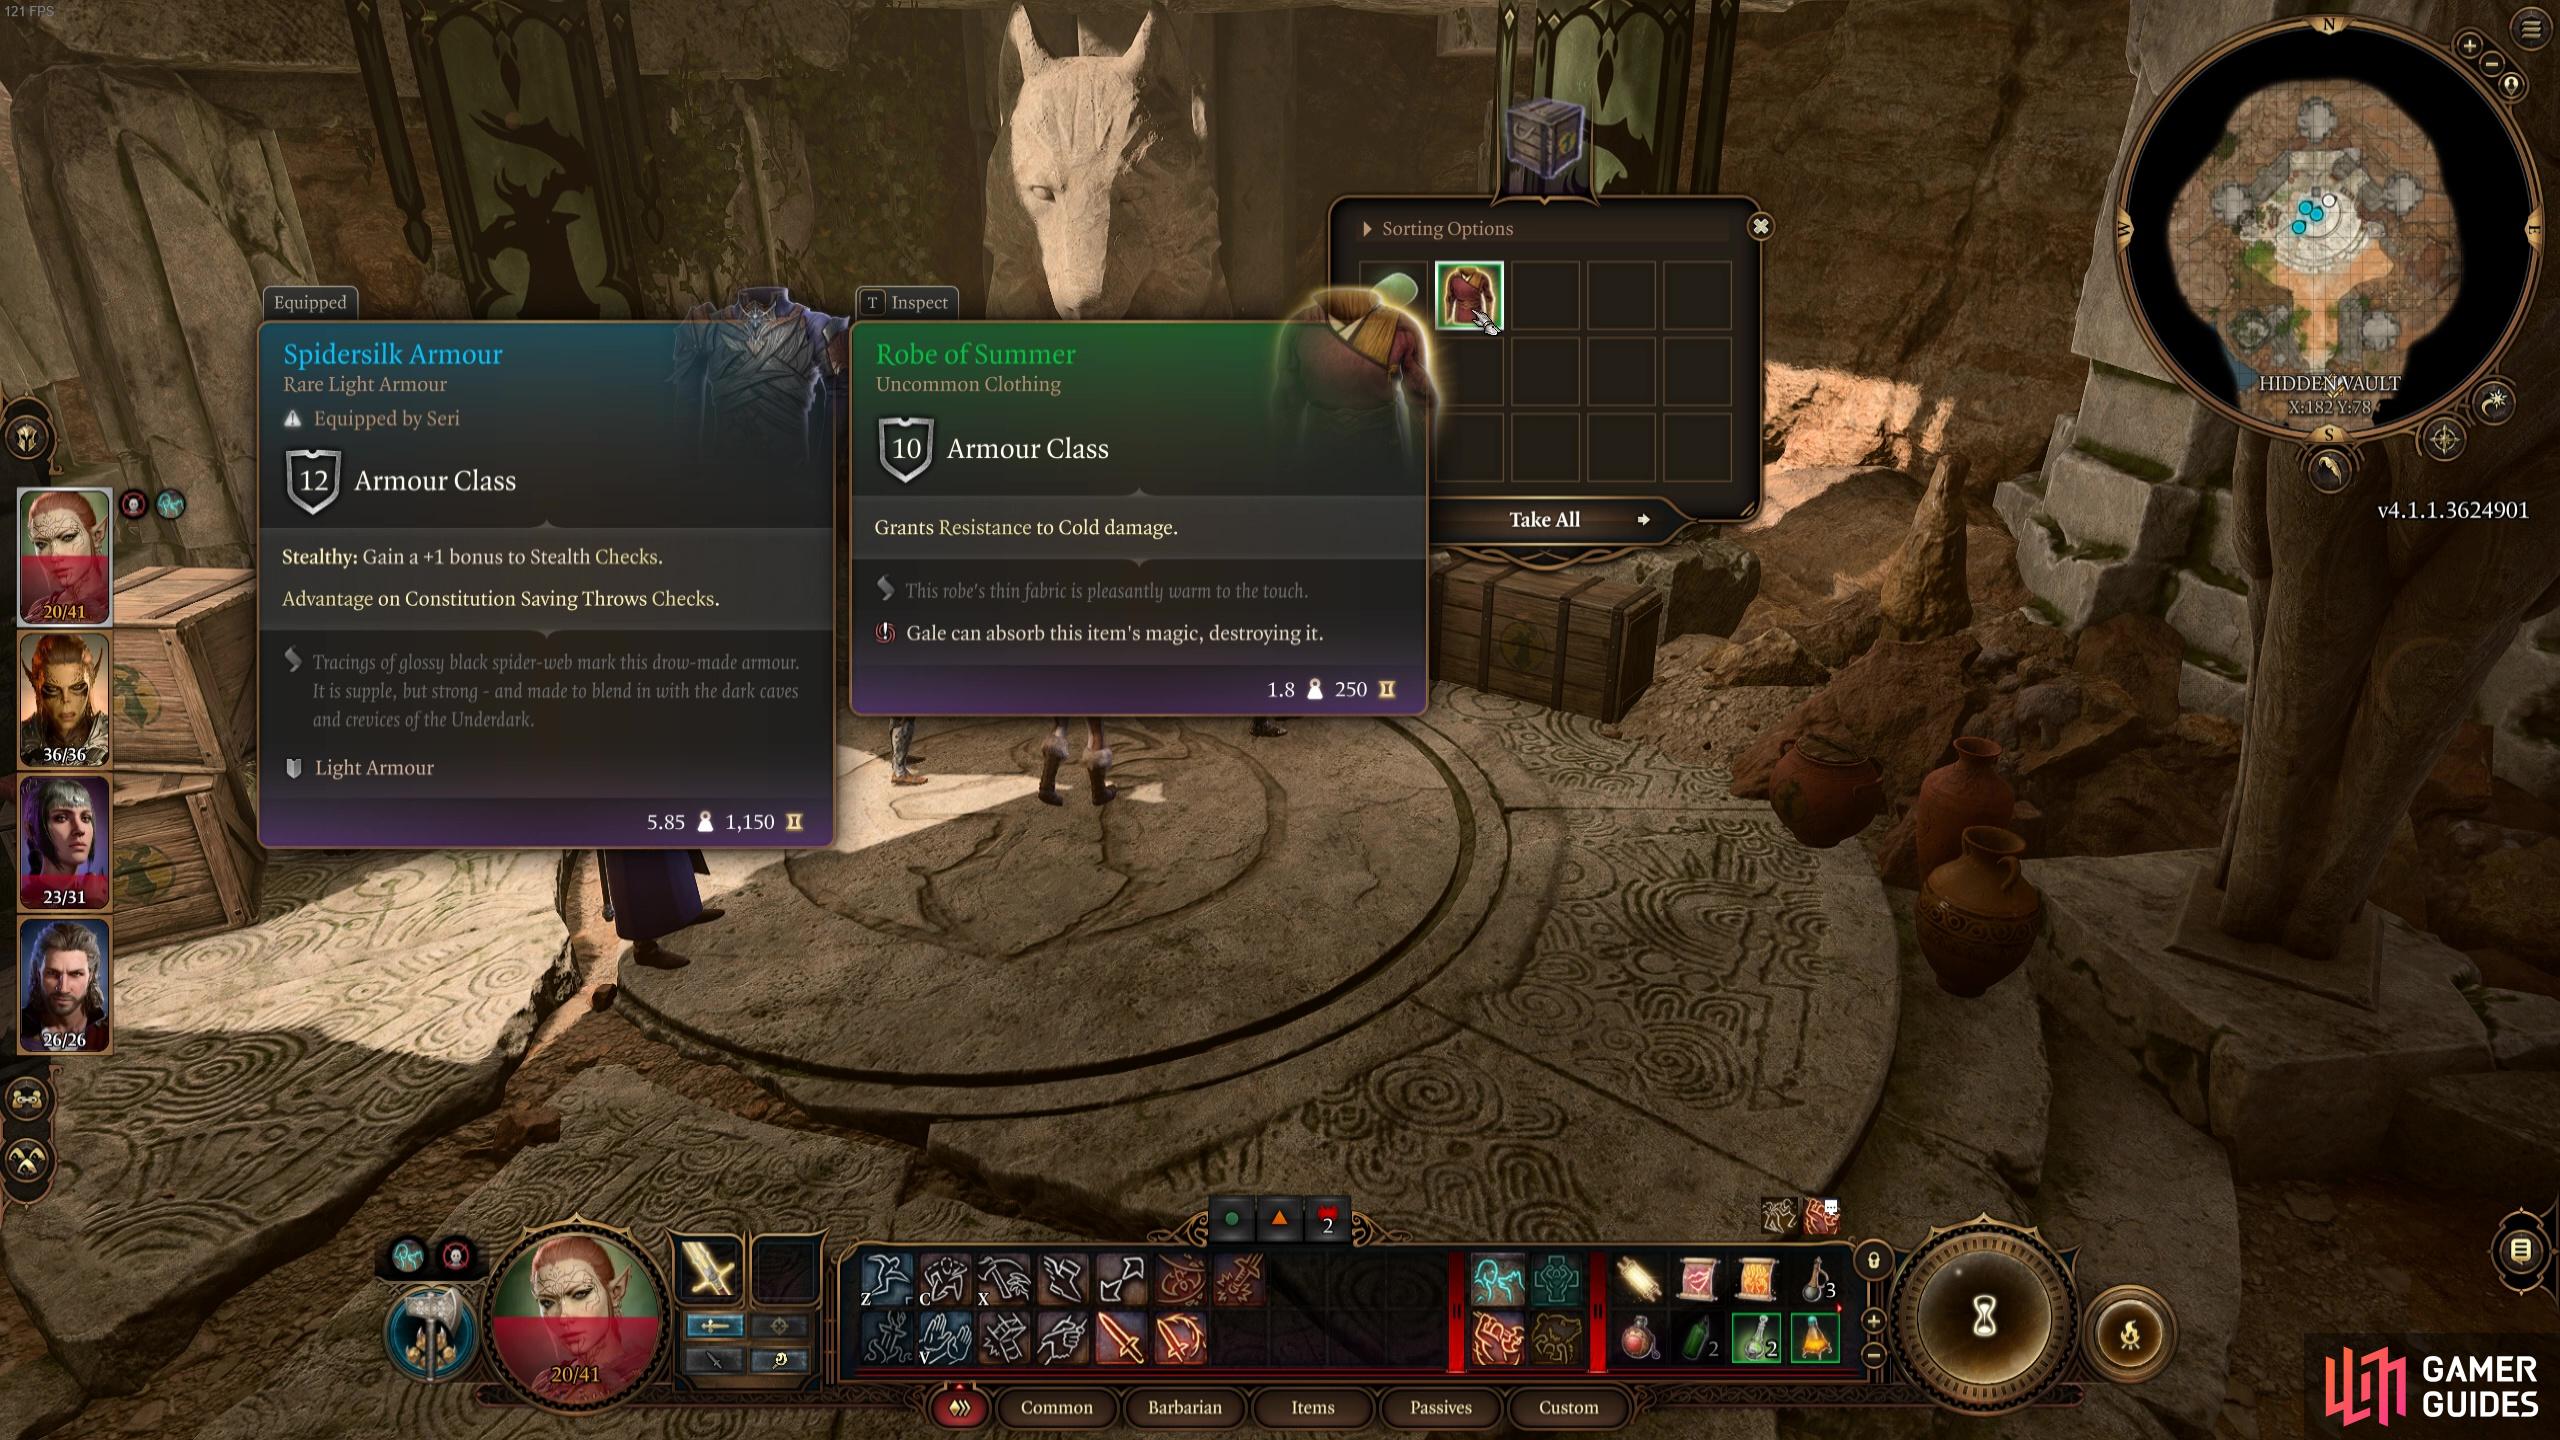
And don’t forget about some nice clothing for those spellcasters!
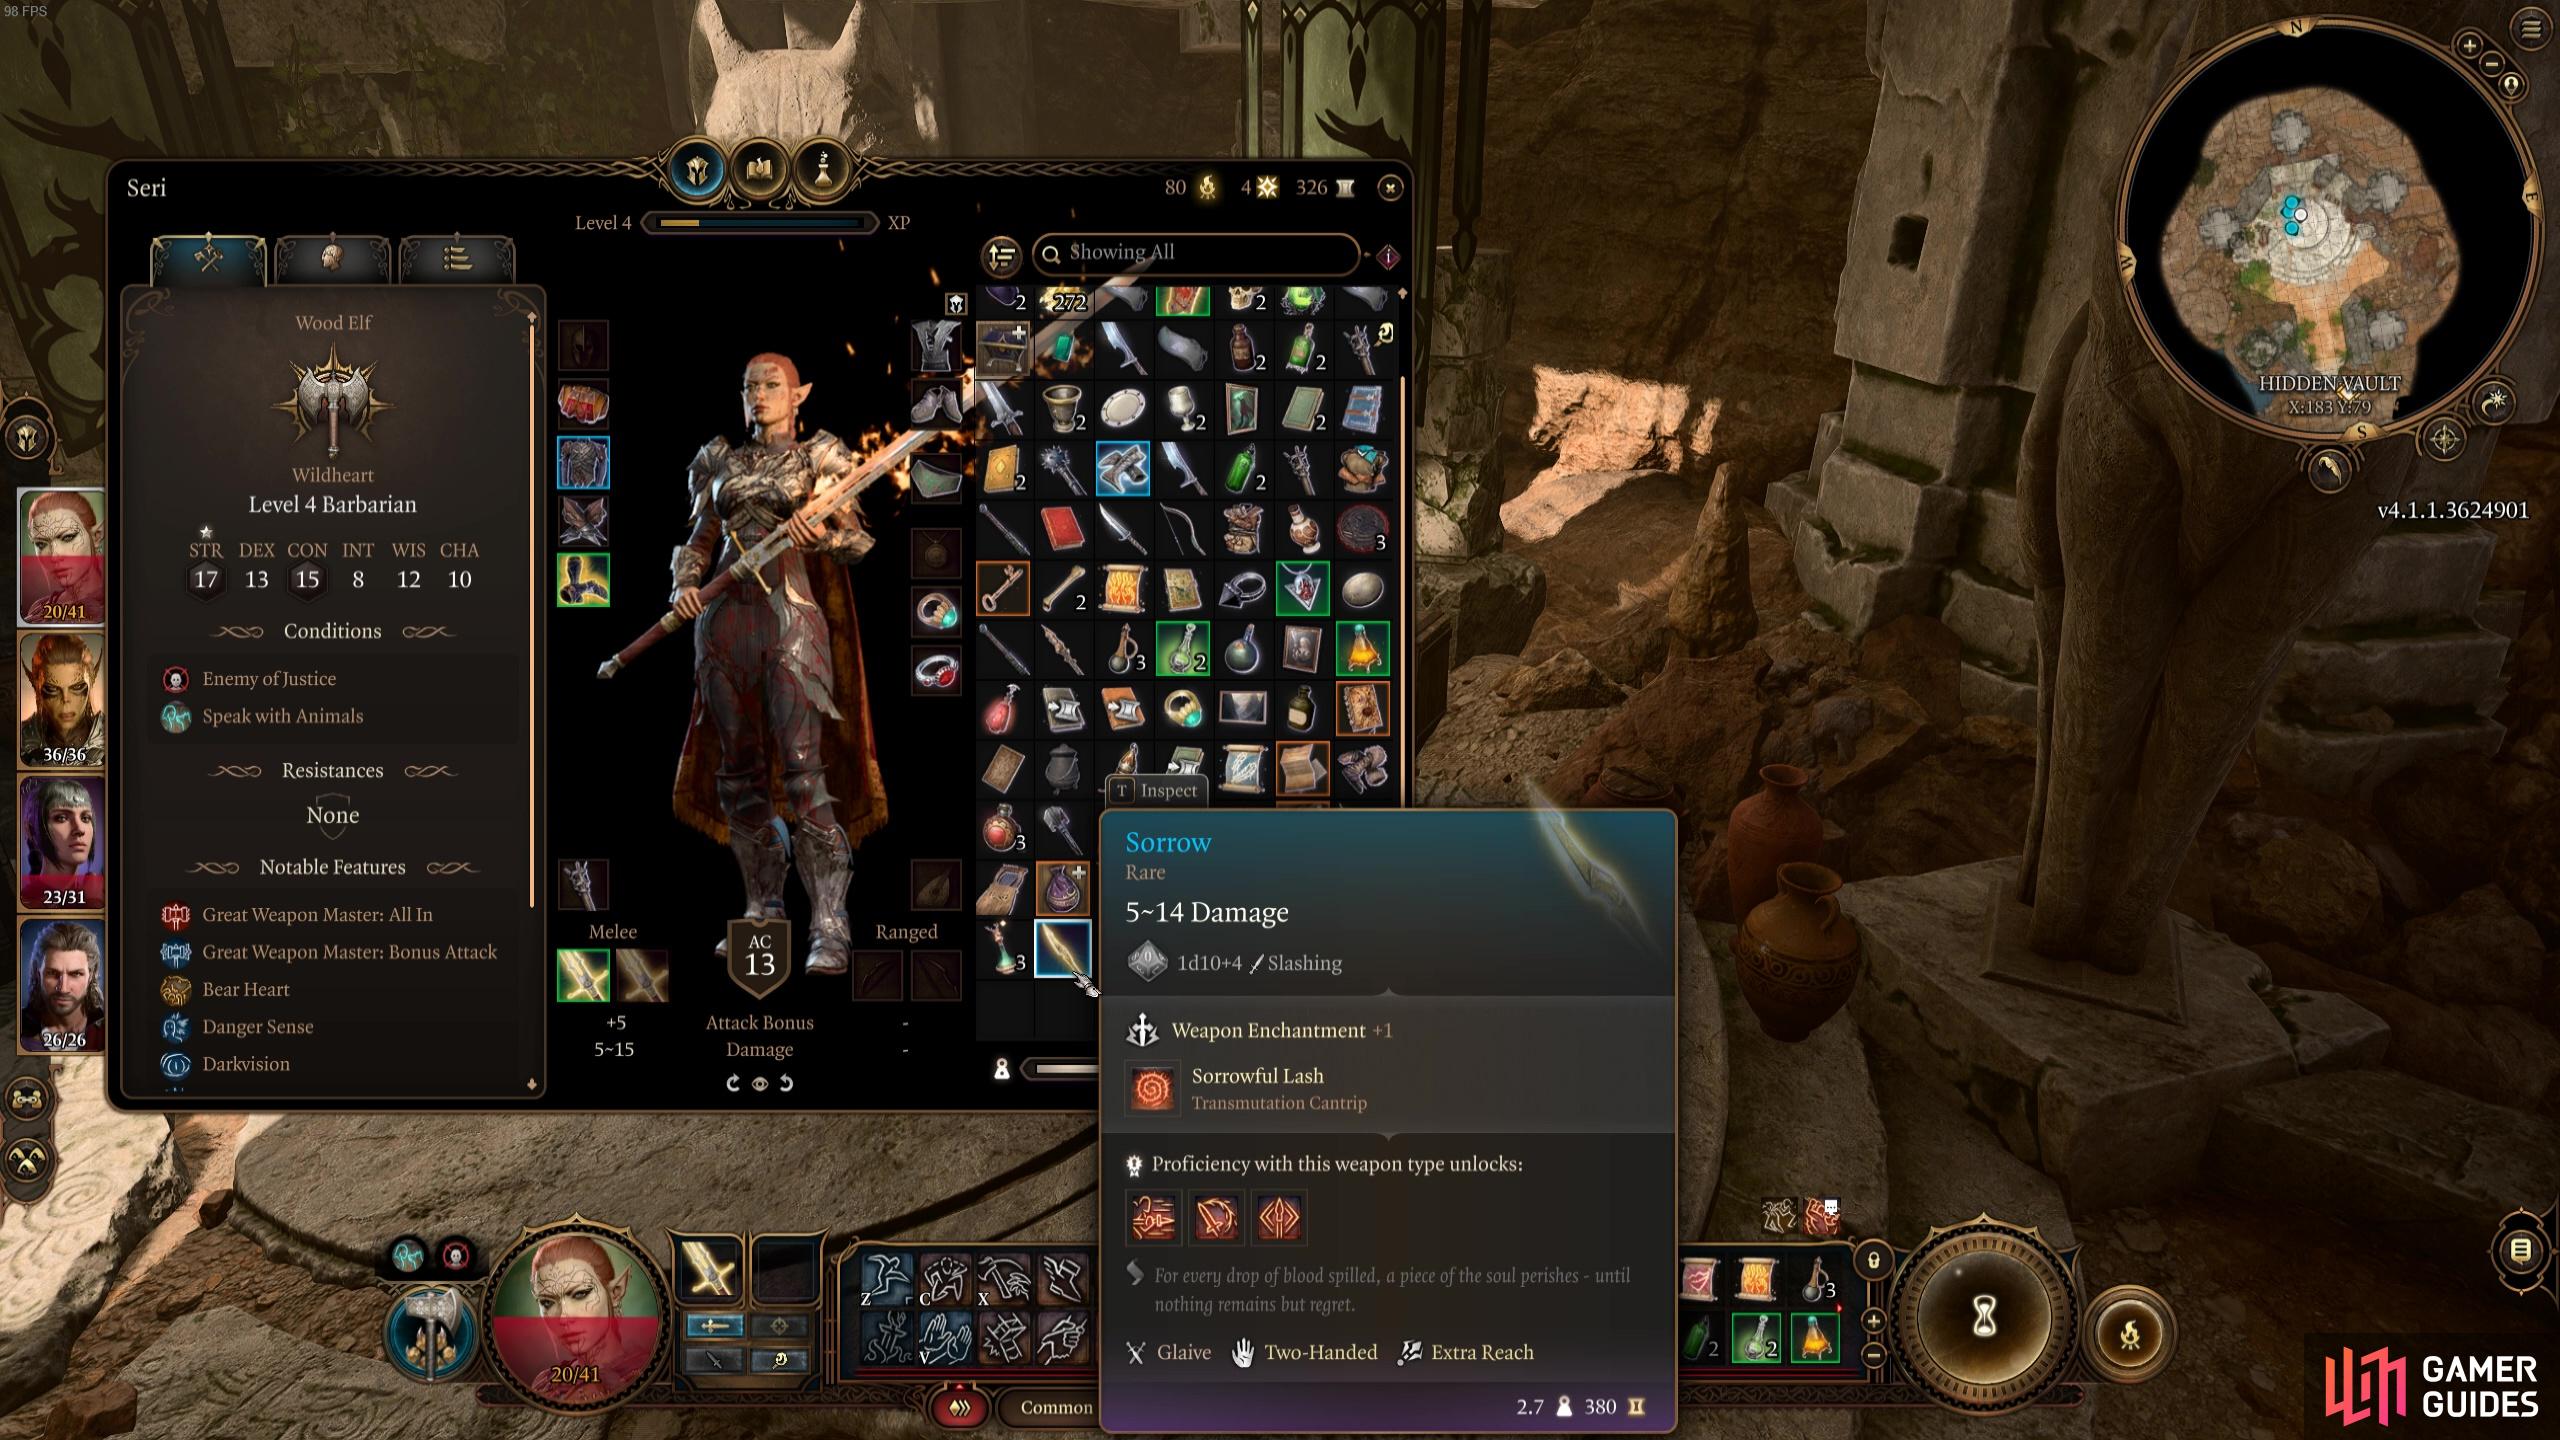
A shiny new glaive for one of your fighters perhaps?
Save the Refugees: Alternative Routes and Outcomes
As with a lot of the quests in Baldur’s Gate 3, there are tons of different outcomes depending on what you do. Sometimes they’re really minor and sometimes they’re consequential to the entirety of the game. Below, you’ll find some of the major alternative choices you could make during this quest!
Alternative Route #1: Steal the Sacred Idol and Kill the Druids
For this route, you’ll need to speak with Mol the Tiefling child. This will begin the ![]() Steal the Sacred Idol Quest in which you’ll be recruited to head to the Sacred Pool and steal the idol. The !Druids will immediately turn hostile and blame you and all the Tieflings, causing them to try to kill you and all the Tieflings! This is a very disastrous outcome as you’ll essentially kill off nearly the whole grove, but maybe one for the evil run?
Steal the Sacred Idol Quest in which you’ll be recruited to head to the Sacred Pool and steal the idol. The !Druids will immediately turn hostile and blame you and all the Tieflings, causing them to try to kill you and all the Tieflings! This is a very disastrous outcome as you’ll essentially kill off nearly the whole grove, but maybe one for the evil run?
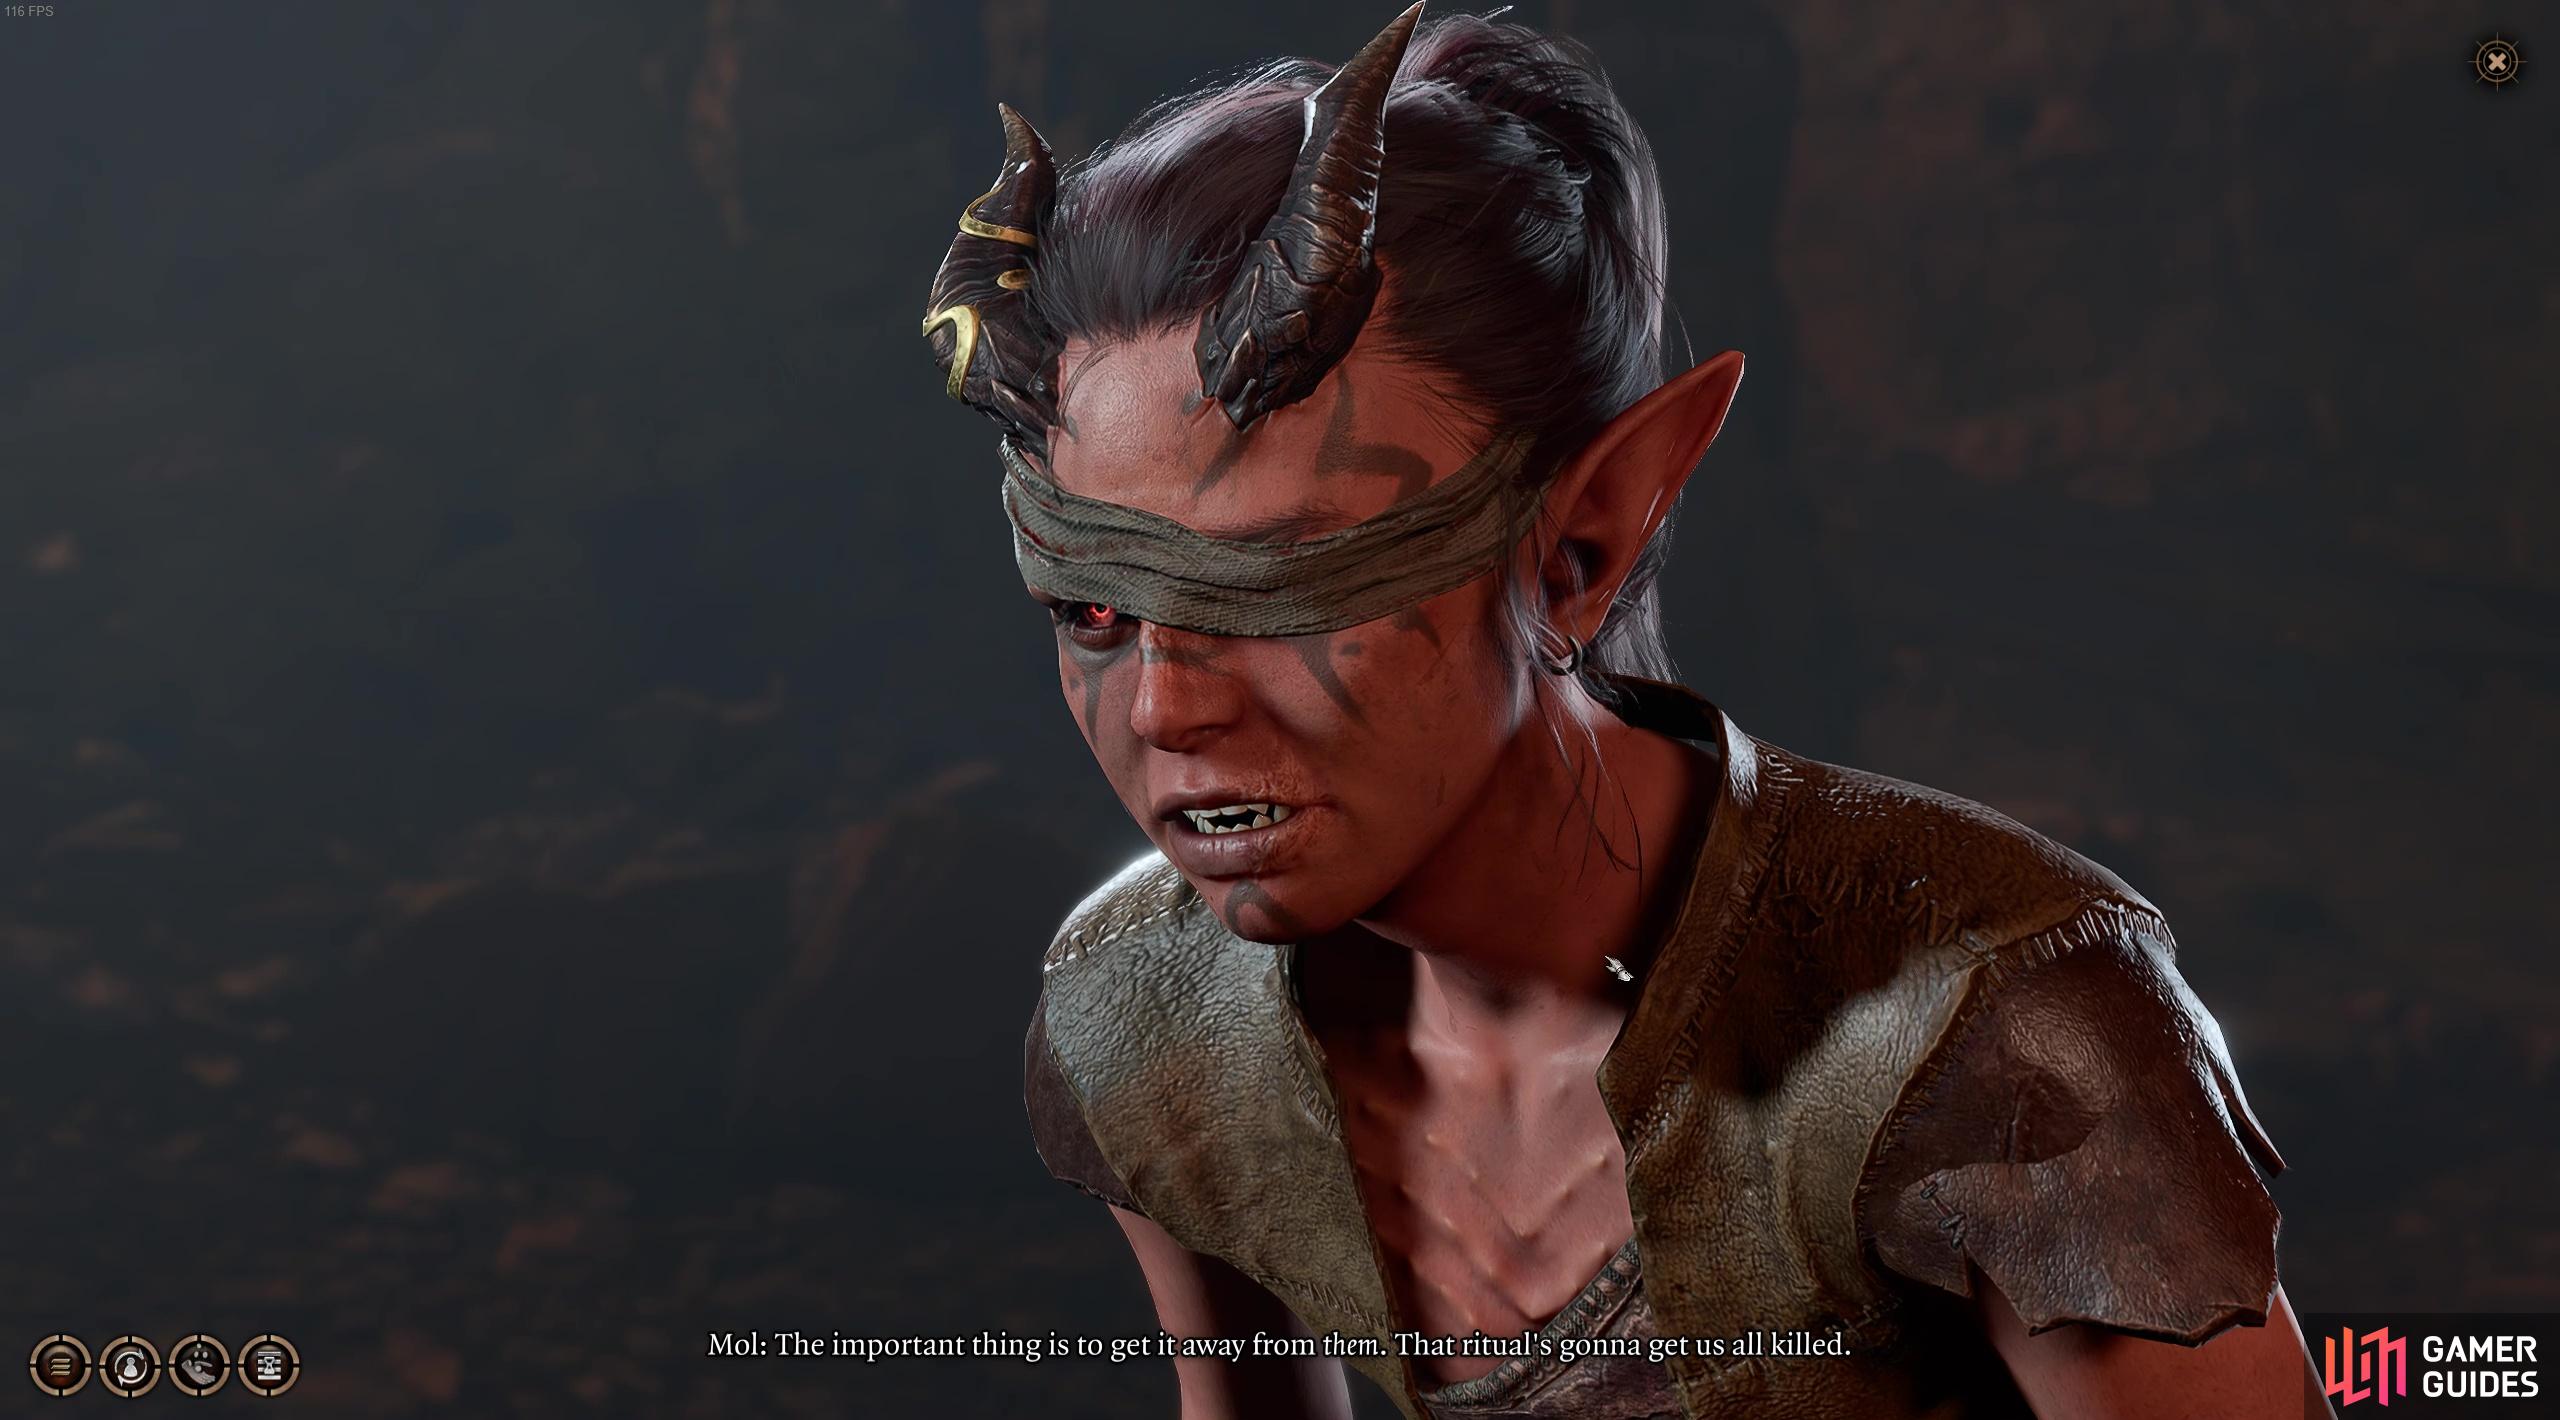
Mol will recruit you to steal the Idol…but is it worth the price?
Alternative Route #2: Side with the Goblins and Get Minthara as a Recruit
Similarly to the choice above, this route also requires massacring the whole of Druid Grove. Rather than kill Minthara, you could side with her and lay an assault on Druid Grove alongside the Goblins. This is an outcome riddled with consequences but the bonus is you get a bunch of great loot from the dead Grove dwellers and you can recruit and romance Minthara as a companion. Head to our full walkthrough on how to recruit Minthara for more information and a complete battle strategy for taking on Druid Grove!
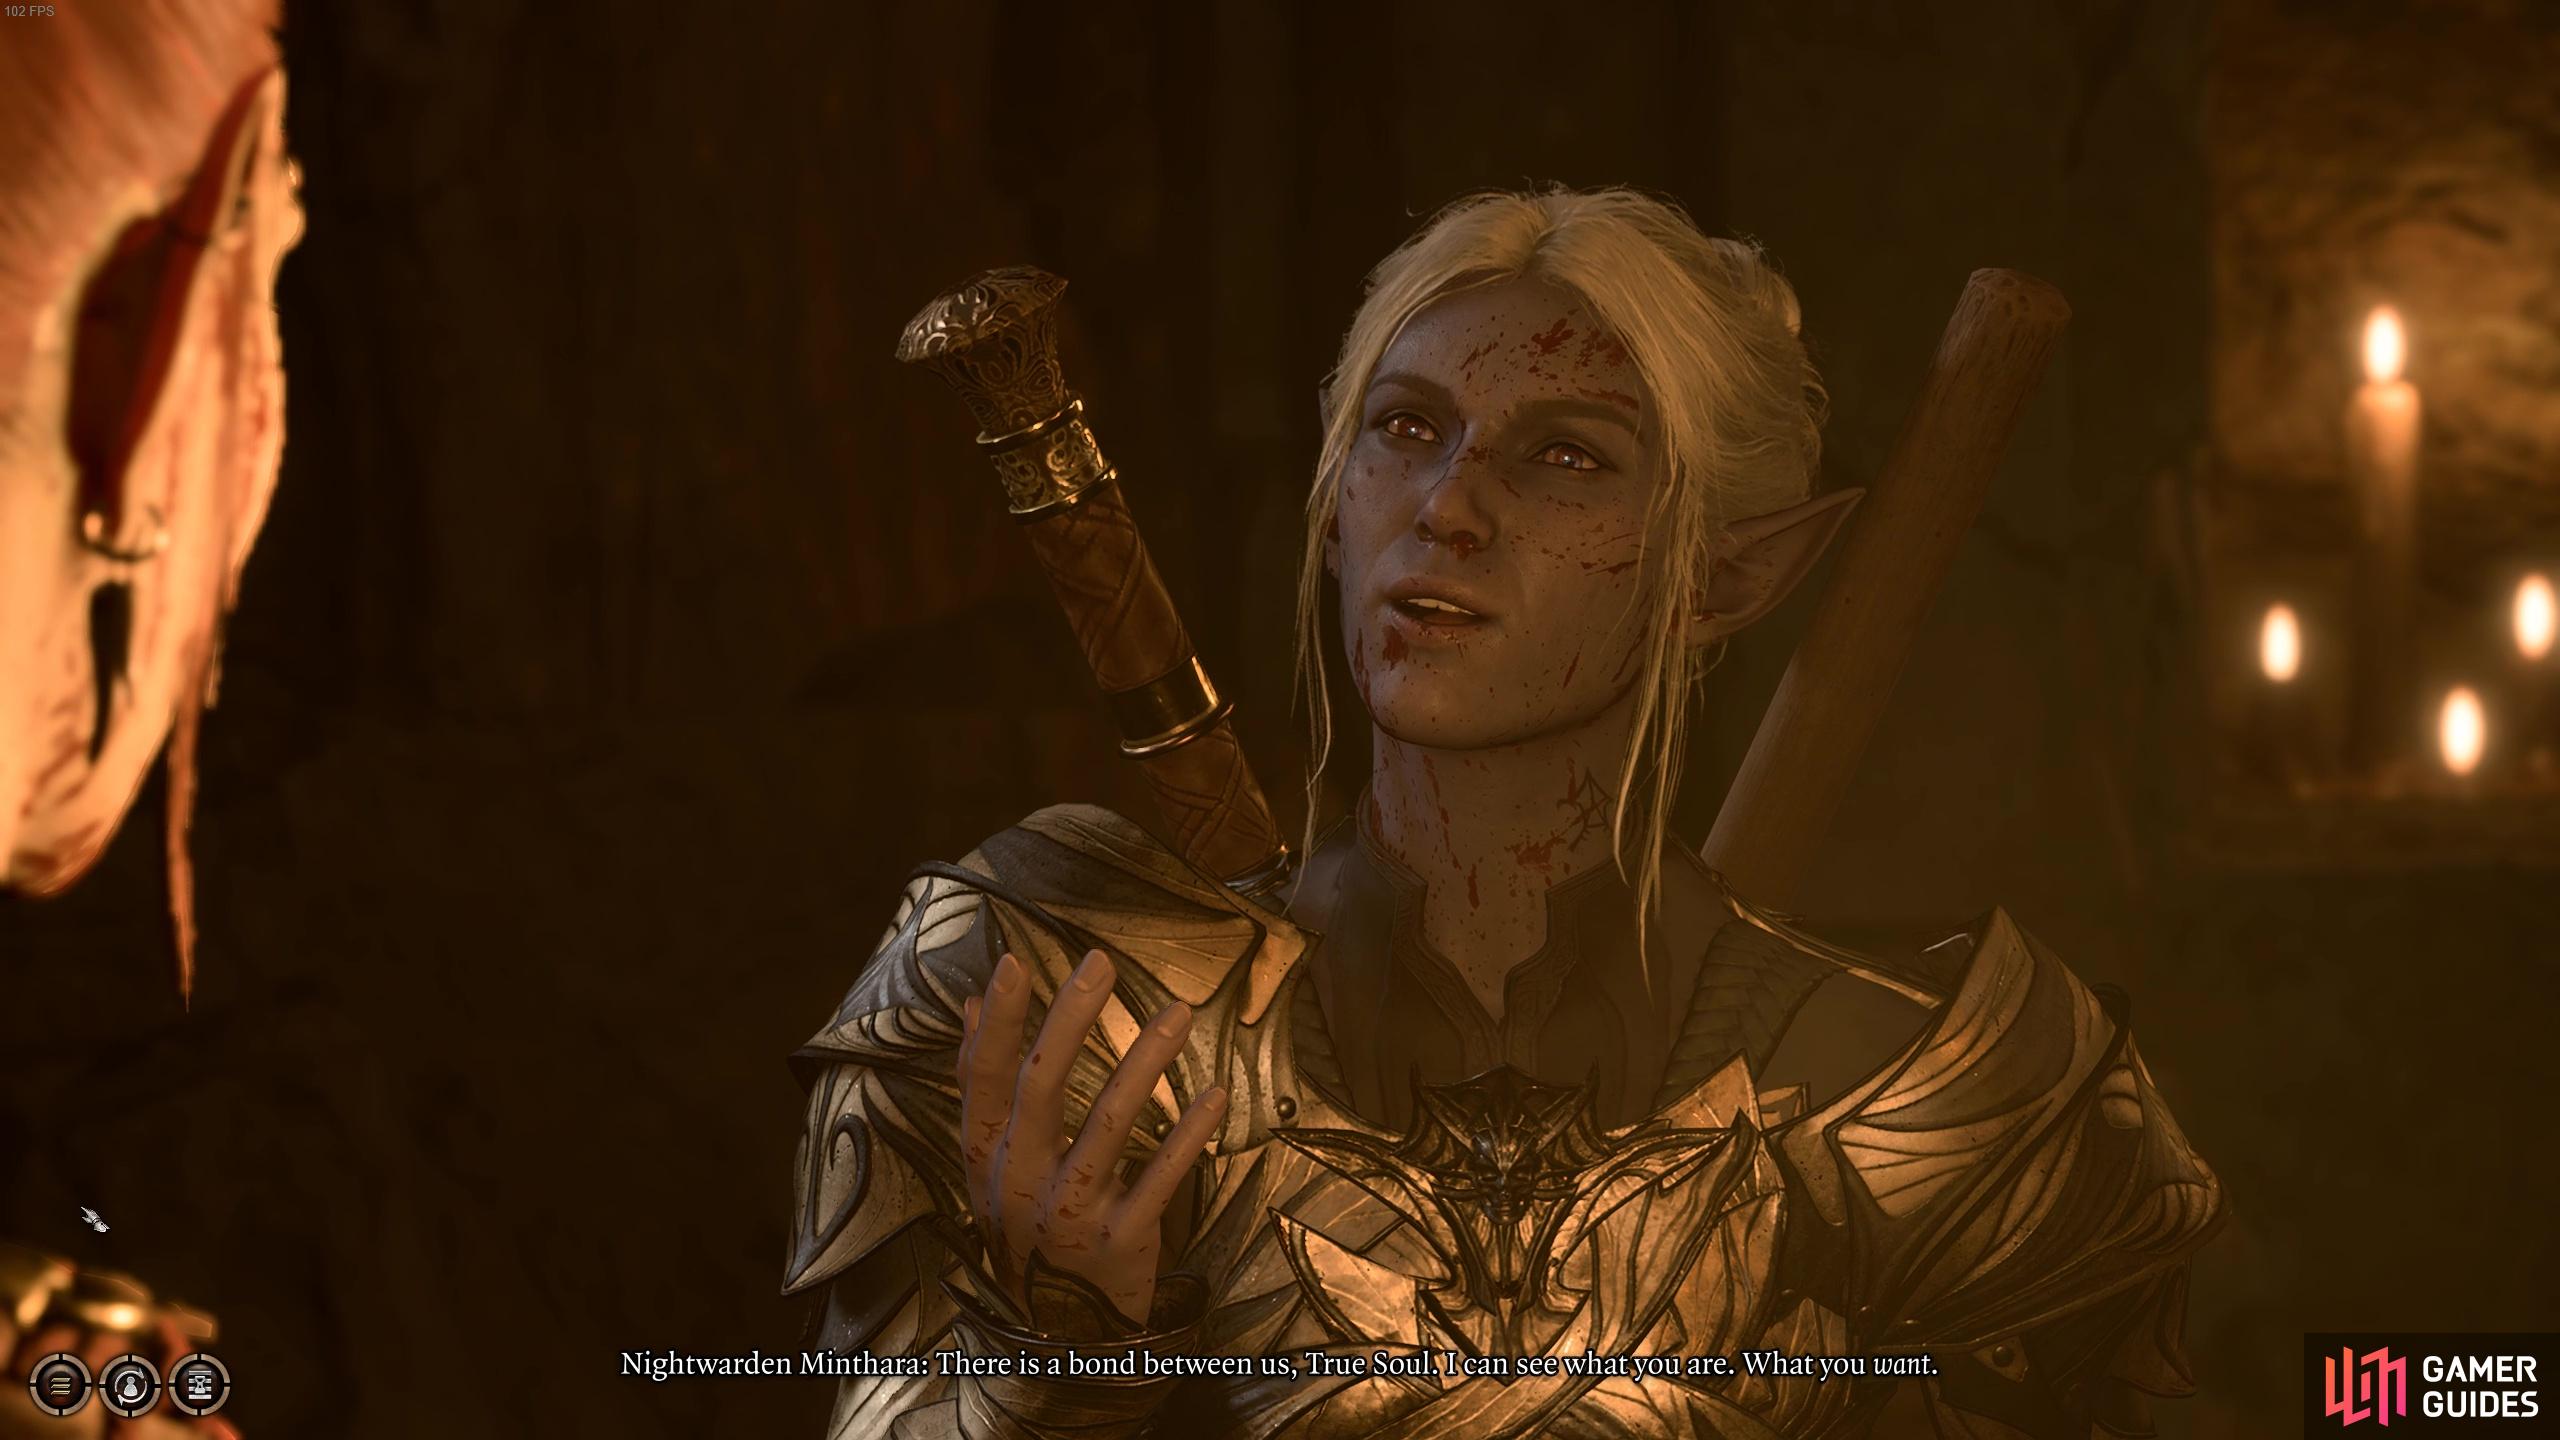
Minthara
Now that you have an overview for the Save the Refugees quest, here are some more in-depth walkthroughs relevant to what was covered here, as well as walkthroughs for the next steps in the main questline:
- Baldur’s Gate 3 - How to Find Kagha’s Chest and Expose Kagha
- Easiest Ways to Clear the Goblin Camp in BG3
- How to Rescue and Recruit Halsin in Baldur’s Gate 3
- How to Recruit Nightwarden Minthara in Baldur’s Gate 3
- Baldur’s Gate 3 - Whispering Depths Walkthrough: How to Defeat the Phase Spider Matriarch
- Mountain Pass or Underdark? Exploring Your Options in Baldur’s Gate 3
- Baldur’s Gate 3 Act 1 Underdark: Map, Entrances, POIs
No Comments