

This chapter will see Cloud reprising his role as our caster-blaster, and there’s little nuance in his loadout this time, as your foes are just less diverse than they’ve been in previous chapters. You can rather cleanly cut this chapter into two halves: the first half being populated by machines (weak to lightning) and the second half being weak to troopers (weak to fire). We lean into the role this time, having Cloud use two versions of Lightning/Fire, one linked to Magnify and another linked to MP Absorption. This will allow us to unleashing magical attacks without worrying too terribly much about our over MP.
| Cloud | . |
|---|---|
| Weapon: | Twin Stinger |
| Armor: | Chain Bangle |
| Accessory: | Circlet |
| Useful Materia: | Lightning/Fire + Magnify, Lightning/Fire + Absorb, Healing, Revive, First Strike, ATB Stagger, Magic Up, HP Up |
| Tifa | . |
|---|---|
| Weapon: | Purple Pain |
| Armor: | Cog Bangle |
| Accessory: | Champion Belt |
| Useful Materia: | Lightning/Fire + Elemental (weapon), Fire, Healing, Revive, First Strike, ATB Stagger, HP Up |
| Barret | . |
|---|---|
| Weapon: | Light Machine Gun* |
| Armor: | Cog Bangle |
| Accessory: | Champion Belt |
| Useful Materia: | Lightning/Fire + Elemental (weapon), Fire, Healing, Revive, ATB Stagger, Magic Up, HP Up |
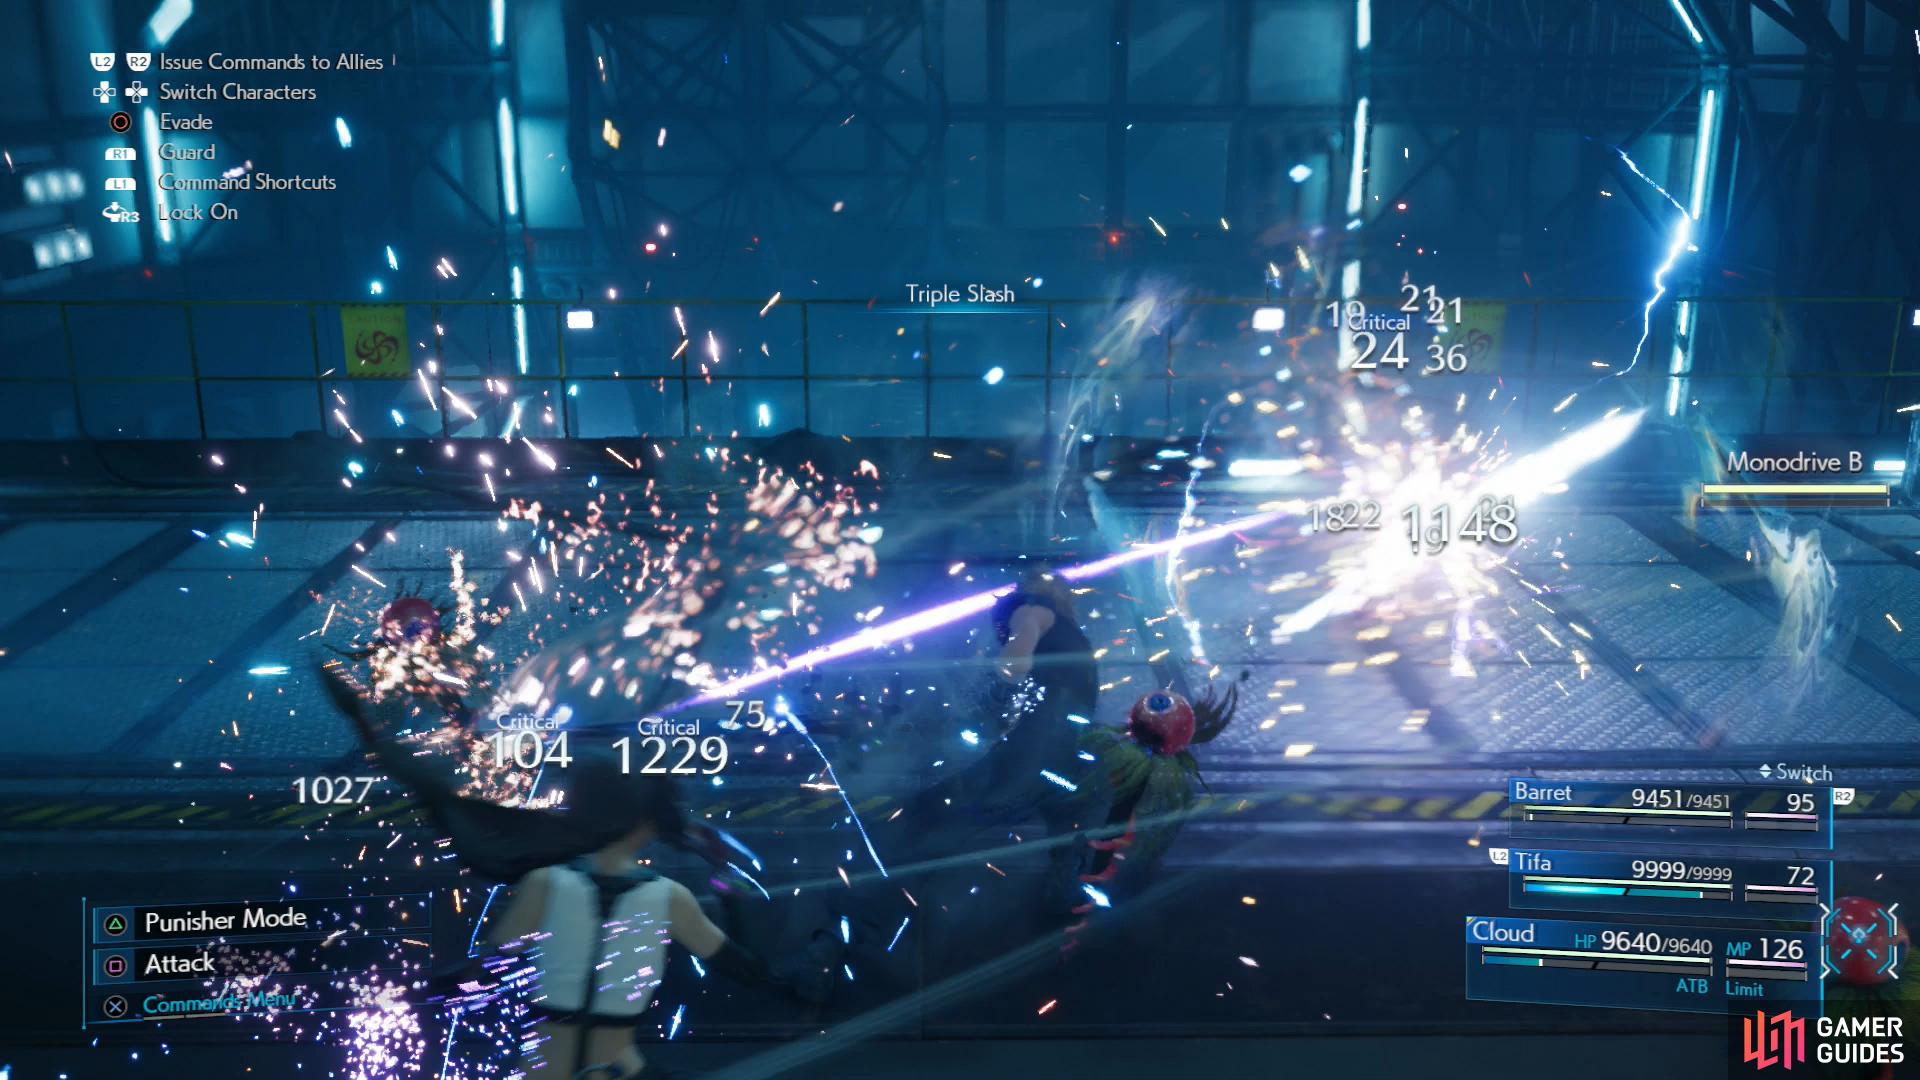
(1 of 3) “Triple Slash“ is always effective as a MP-free tool for dispatching trash mobs, like Monodrives.
-
Your first fight - after riding down some pipes and gawking at an inactive Airbuster - will be against several Monodrives. You can dispatch them with Thunder + Magnify, or by just using “Triple Slash”. The next battle, featuring more Monodrives and two Slug-Rays, isn’t any more difficult.
-
The next fight is arguably the most difficult non-boss battle in the chapter, as you’ll find yourself facing two Sweepers and two Laser Cannons in a relatively confined space. Use Barret to shoot down the Laser Cannons with “Overcharge” and “Maximum Fury” while Cloud and Tifa work on the Sweepers with Thunder and ki strikes, respectively. Try to focus on one at a time, as dealing with the other will be much simpler when you don’t have to worry about distance attacks.
After the fight with the two Sweepers, switch your Lightning Materia out for Fire Materia.
-
After setting the bomb and trying to escape you’ll have to fight an Elite Shock Trooper and two normal Shock Troopers. The latter can be easily dispatch with counterattacks, but the former has more ranged attacks up its sleeve, requiring a more versatile approach - even if it’s just waiting for the Elite Shock Trooper to commit to a physical attack before switching to Punisher mode. Fira + Magnify will also help speed things up.
-
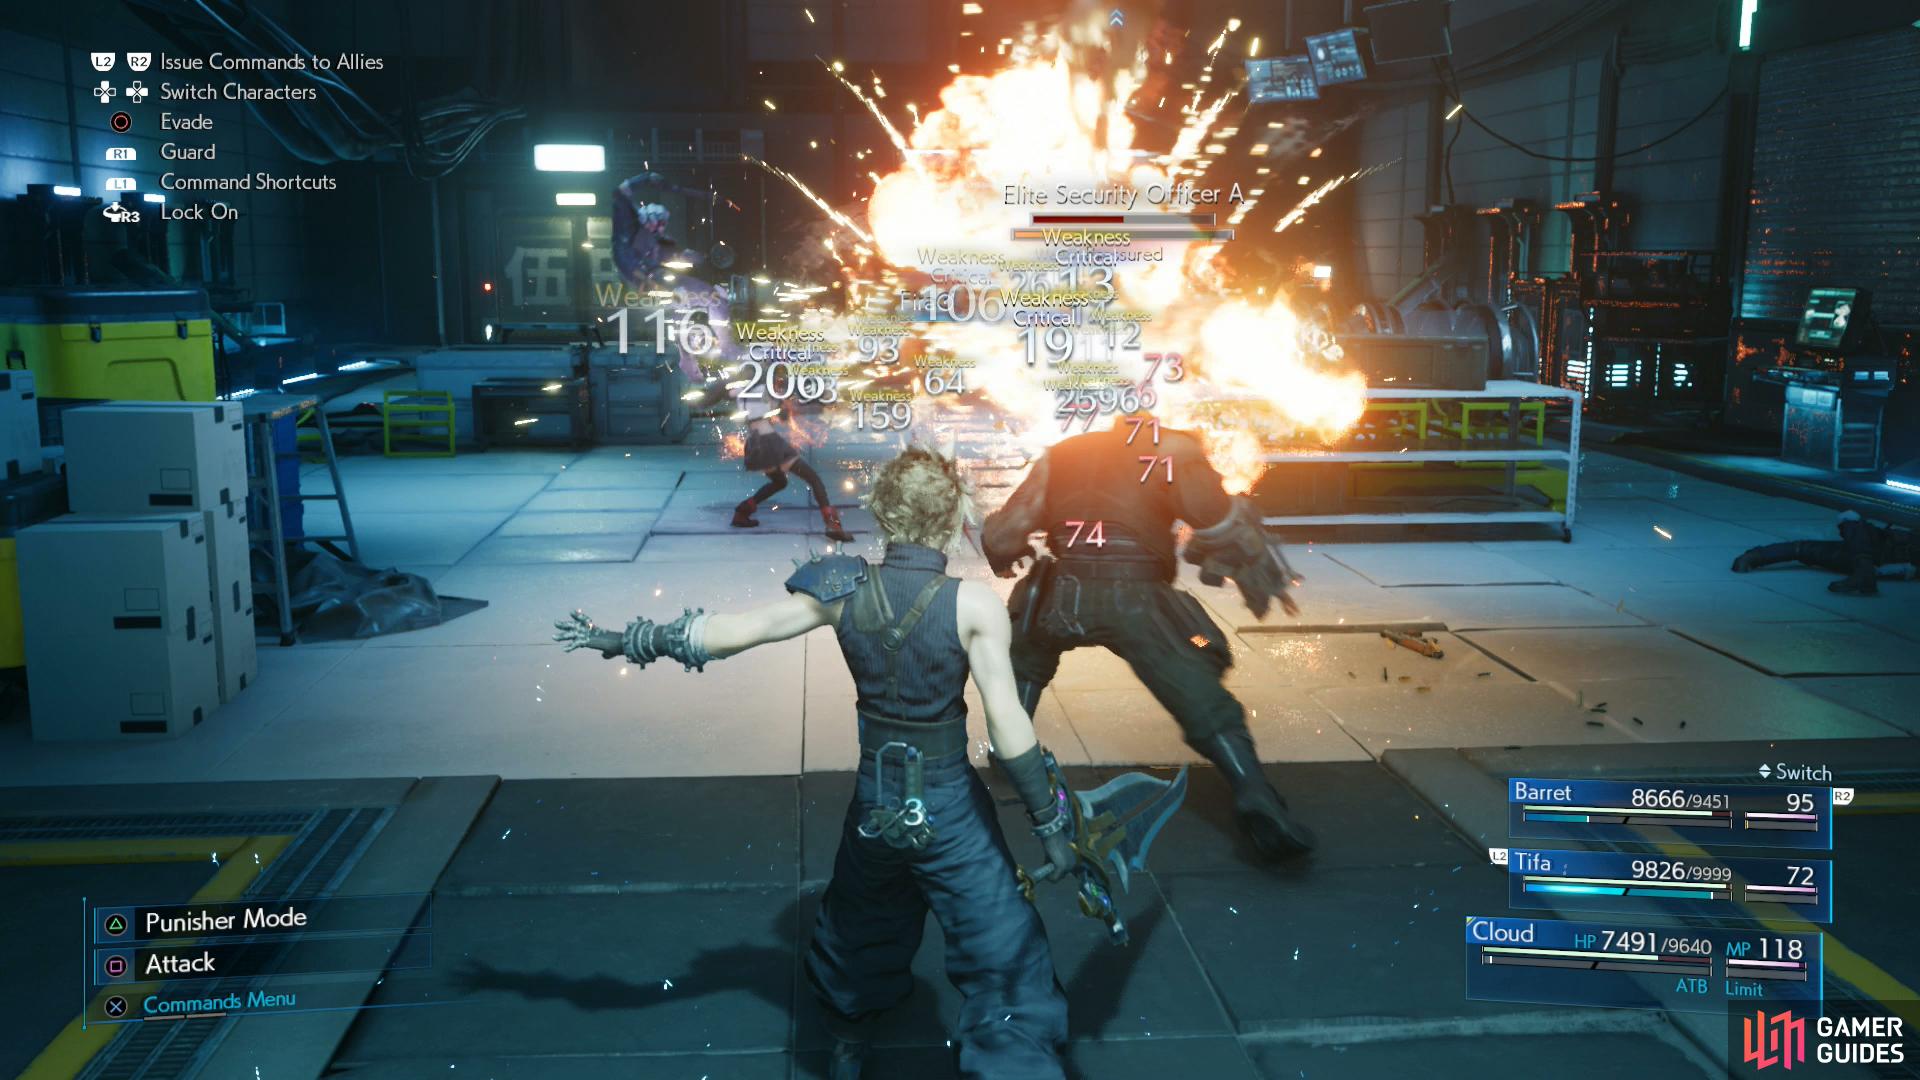
Now you’ll be heading through the various keycard and console-cluttered rooms (B8, B7, B6, B5, etc.) Instead of giving you a complete (and unnecessary) rundown, let’s paint with broad strokes. Your enemies will be fairly varied, including Security Officers, Elite Security Officers, Elite Grenadiers and at the end, two Elite Shock Troopers. In between rooms you’ll break this cycle to fight some more Monodrives and Laser Cannons. With the exception of the latter group of bots, every foes mentioned is weak to fire, and Fira + Magnify should outright end these fights or significantly hasten your victory.
-
As before, you can pick up keycards to “disable” various aspects of Airbuster’s offense. We highly suspect that in Hard difficulty your attempts at sabotage don’t matter at all. Airbuster will spam “Finger-Lasers” and “Big Bomber” attacks regardless - in fact, the former triggers the latter. These are scripted attack combos, so don’t feel compelled to bother with the keycards and consoles any more than the story forces you to.
-
After you’re past the point of no return regarding the ineffective keycards, you’ll fight several Elite Riot Troopers. Dispatch them with Fira + Magnify, then swap back to Lightning Materia. You can dispense with Magnify here (or rather, move it to Healing + Magnify) if you wish.
-
Next up is a Cutter, a melee-modified Sweeper. Use Thunder to take it down, or just rely on Cloud’s counterattacks.
-
The rest of the chapter up to the boss is fairly inconsequential. You’ll fight some more Monodrives, and if you bother with the synchronous button press minigame you’ll find that the Magic Up Materia has now been replaced by Healing Materia.
-
Airbuster is the boss of this chapter, naturally, and as with the other bosses its Hard difficulty strategies will be relegated to their own page. For defeating Airbuster you’ll earn the Sharpshooter’s Companion Vol. VI Manuscript.
No Comments