

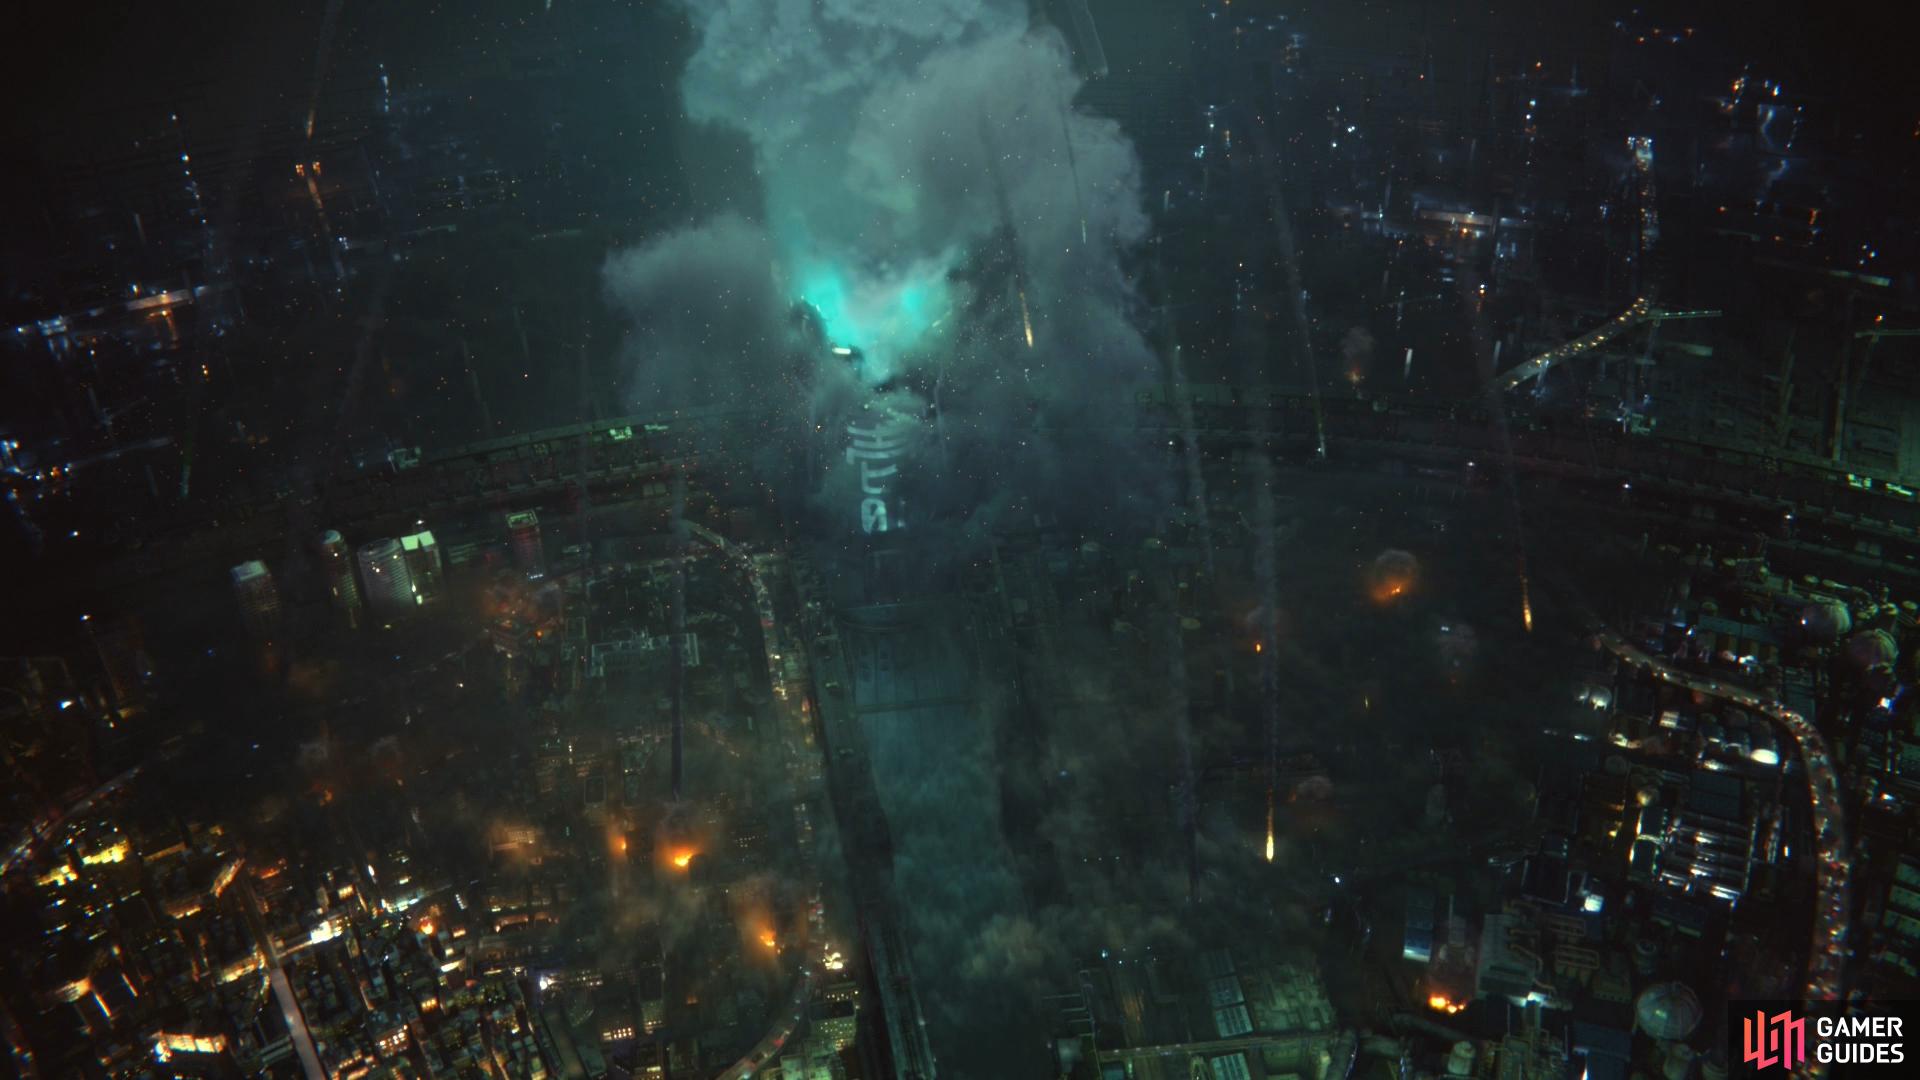
After being treated to a sweeping look over the colossal city that is Midgar, you’ll find yourself in control of Ex SOLDIER, Cloud Strife as he joins a group of other combatants at the sight of Mako Reactor 1. You’re thrown straight into the action as you’re left on your own to take out the two Security Officers. Your options are limited for now, however your opponents are a push over so get used to pressing the [SQUARE] button to swing your weapon or hold the [SQUARE] button down to vary the type of attack. Cloud will Level up following the battle though you’ll have to wait until later to see the full benefits of gaining a Level; for now you’ll have to make do with the increase in stats. Follow the path to the left and you’ll encounter another two Security Officers eager to put you down; this time you’ll be introduced to the ATB Gauge and how to use additional actions.

Enter the Reactor Grounds
| Enemy | Weaknesses | Notable Loot |
|---|---|---|
| Security Officer | Fire | -- |
| Guard Dog | Fire | -- |
![You can hold [SQUARE] to perform sweeping attacks that strike a wider area](/assets/guides/179/ff7r_c1_sweeping_attack.jpg)
Like the previous two Officers, these are a pushover but take the time to try out Cloud’s Weapon Abilities, Braver (which is a powerful attack) or Focused Thrust (fills the Stagger Bar). We’ll dive into Cloud’s strengths shortly (or you could check out the [Cloud Strife Character Page]) so for now just play around with the abilities available to you - we’ll try to let you know when using a specific mode, ability or spell is more advantageous. You’ll gain access to both the Map and Main Menu following this battle.
The Main Menu offers a wealth of information and will expand as the game progresses. Battle Settings will allow you to assign Shortcuts to the face buttons while holding down the [L1] button; consider assigning Fire to one of the buttons for quick access. Enemy Intel will give you all the information you’ll ever need on your adversaries however you’ll have to wait until later to gain the ability to uncover all of the information. Spells and Inventory will show you a breakdown of currently usable spells and Items in your possession. Finally, Party will give you a bit more information on Cloud and his stats.
The Map on the other hand will give you an overview of the area you’re currently in and later offer even more information. You can also access information on the current Chapter by pressing the [L2] button. Once you’ve had your fill of Menus, continue over the Ticket Gates to encounter a group of three more Security Officers. Here you’ll be taught the basics of Guarding and Evading; not only will Guarding reduce incoming damage but it will also charge the ATB gauge while you can evade incoming attacks with the [CIRCLE] button. It’s often better to use Evade to avoid attacks but some are unavoidable and should be guarded against. Get used to the defensive maneuvers and then take the stairs up.

Scattered around the game you’ll find chests, which typically contain static loot of variable quality.
Shrina boxes can also be smashed to obtain a variety of lesser treasures, like consumable items, Mako Shards or even the odd Moogle Medal.
You’ll encounter your first chest here and learn how to interact with the world; the [TRIANGLE] button is your friend here. Open this chest to obtain 2 Potions and then head around then head to the northwest corner to find another chest, this one housing 2 Grenades. Grenades can be used in battle to deal 200 damage to Enemies within range while you can use Potions to recover HP; consider using them to top your HP up before entering combat as you won’t need to worry about waiting for ATB Charges.
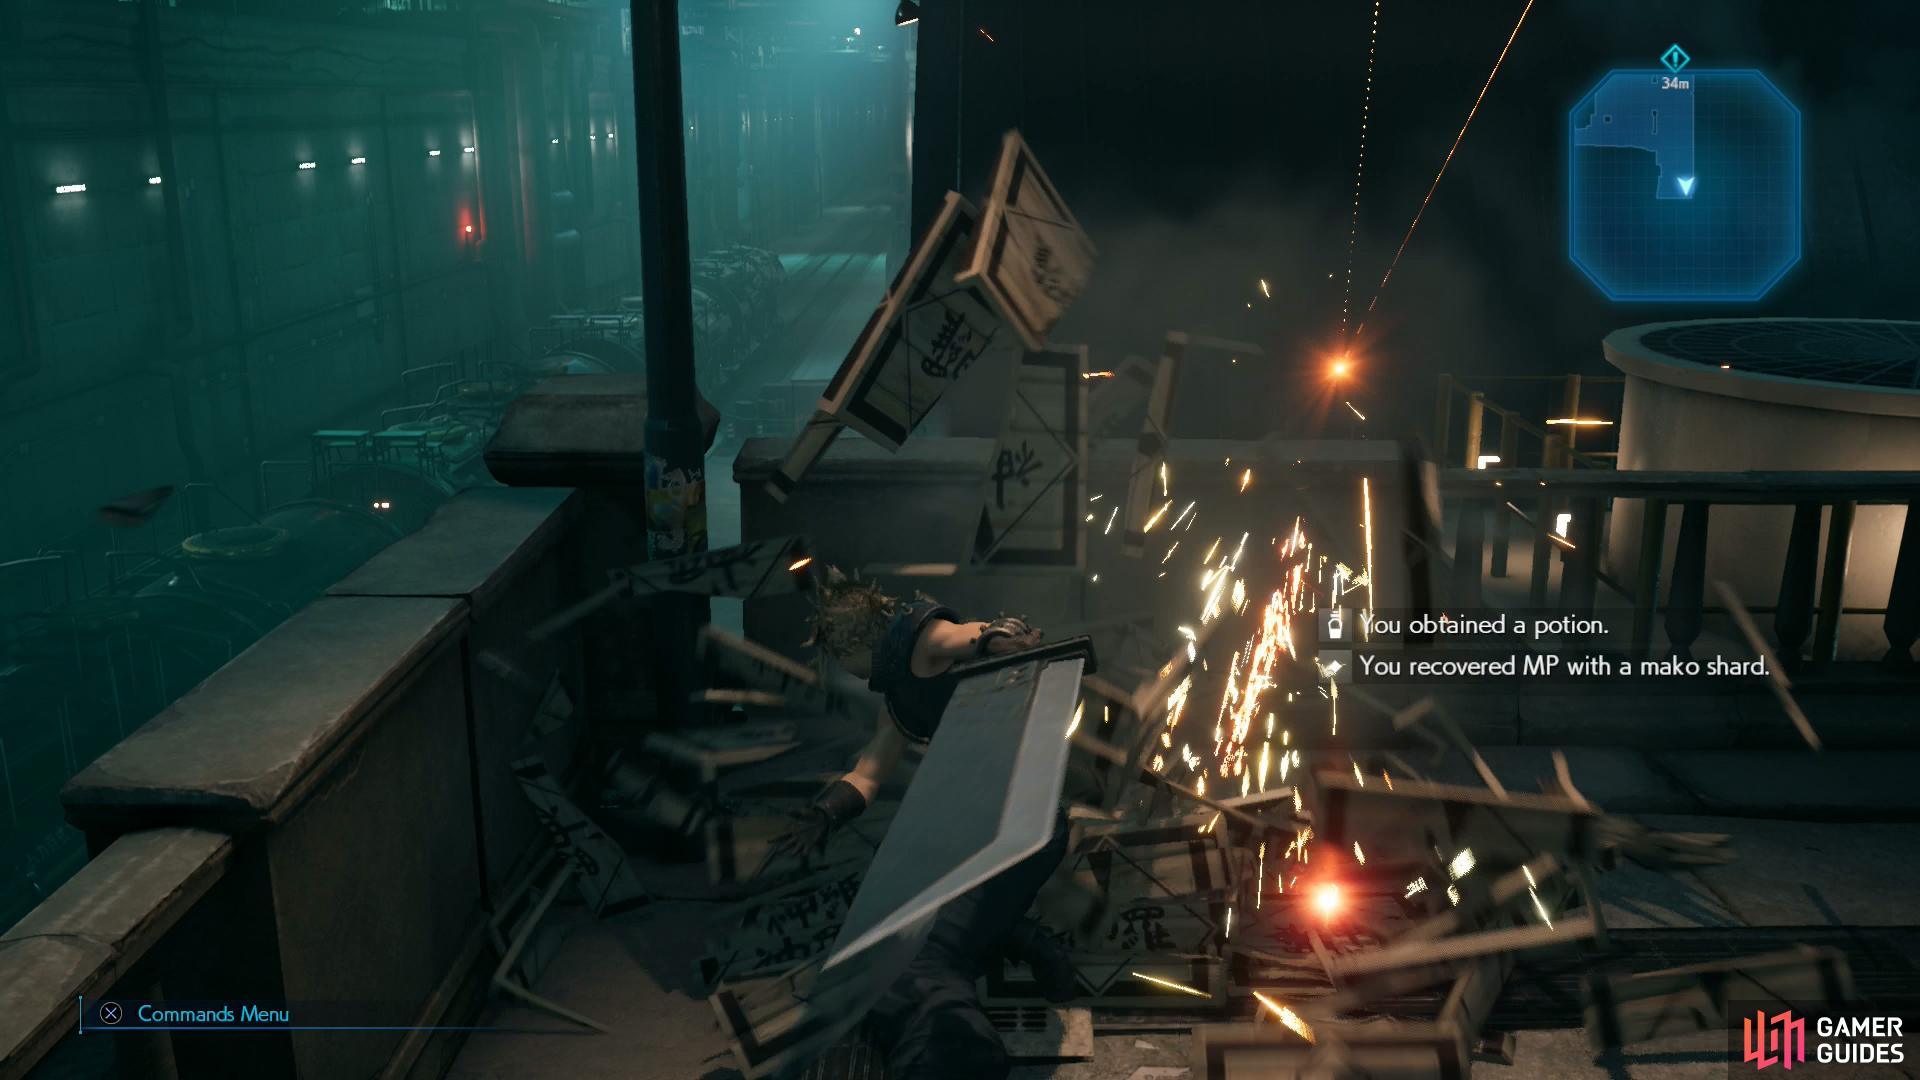
Continue east and once you head outside turn south to find a stack of Shinra Boxes. These boxes can be smashed by pressing the [SQUARE] button and can contain Items, Mako Shards (that restore MP) or in some cases, a Moogle Medal (a strange currency you’ll have need of much later in your adventure). The actual contents of these boxes are random. Next turn north and head towards your partners in crime, stopping to smash another pair of Shinra Boxes on the way. After some chatter with Jessie, Biggs and Wedge, turn east again to meet with Barret, after which Jessie and Biggs will get the door open, allowing you to press on.
Infiltrate the Reactor
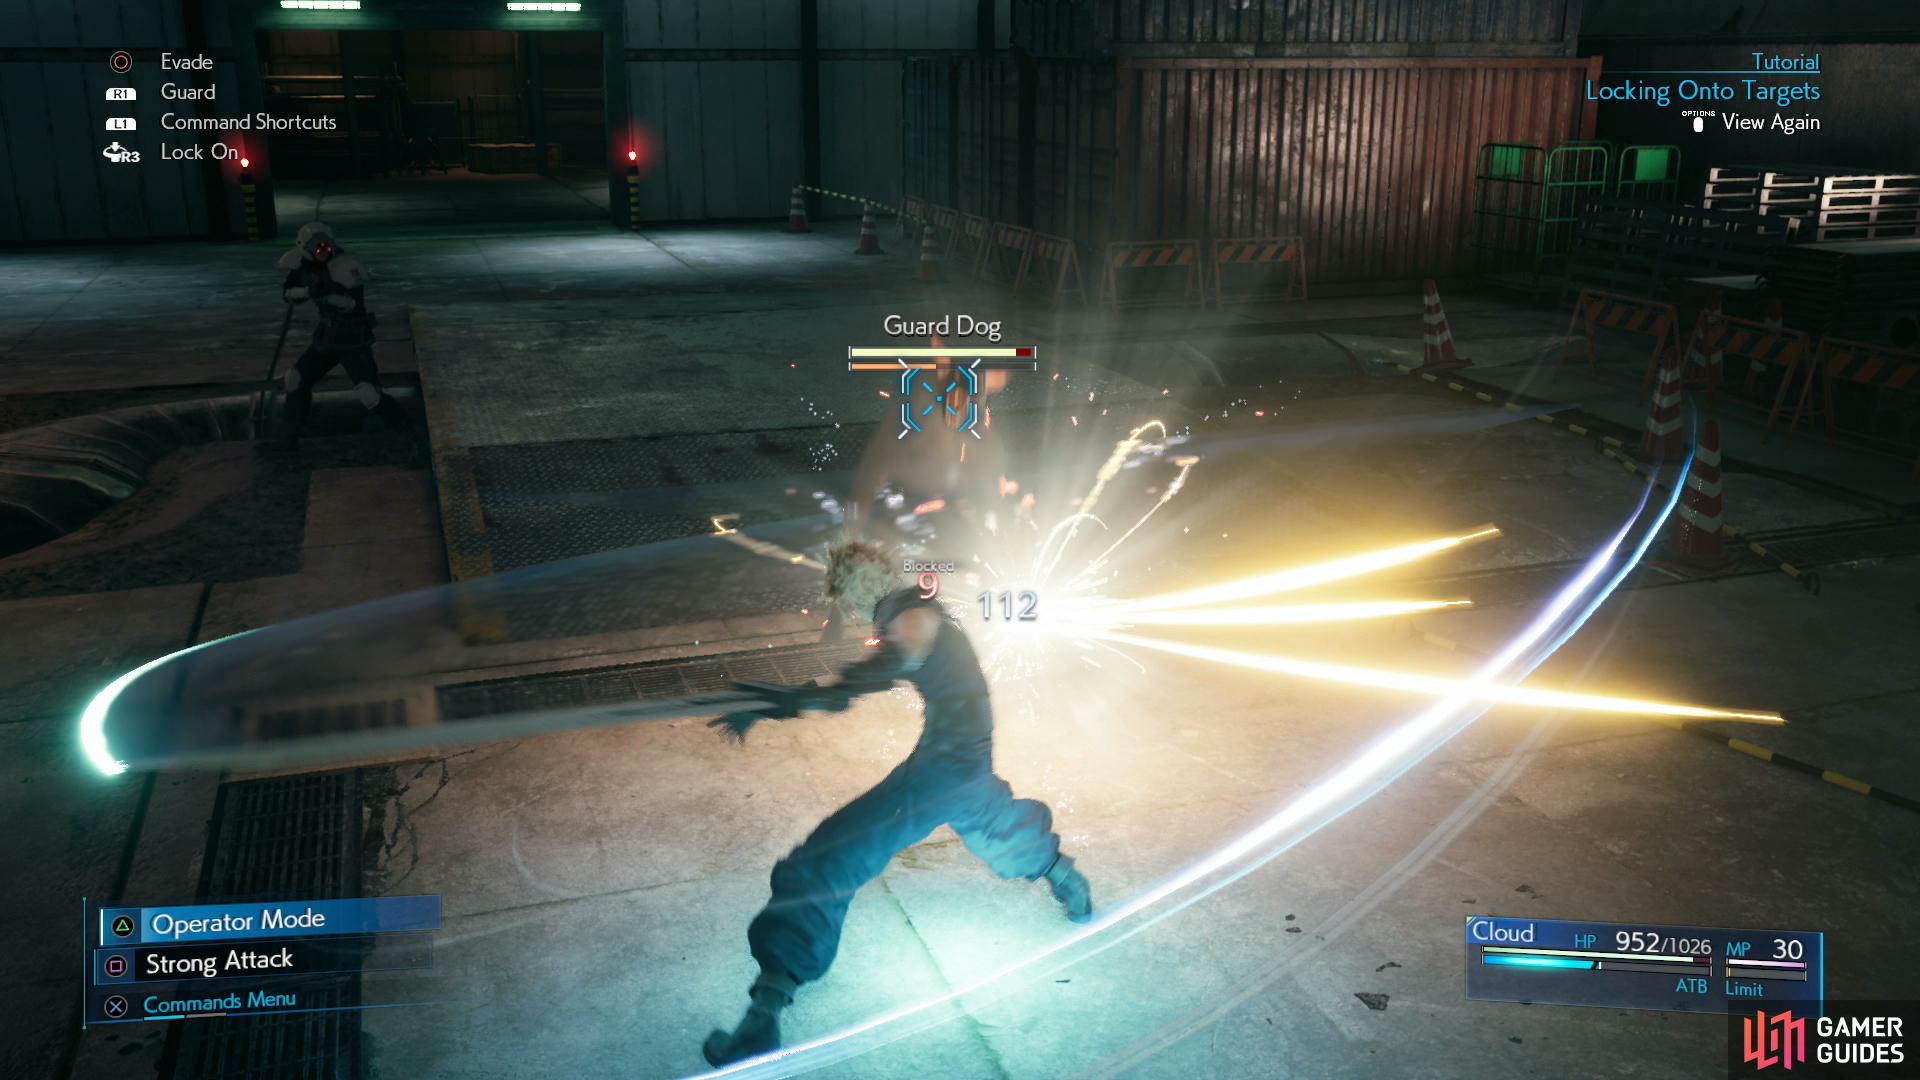
Make your way down the stairs and you’ll be taught how to Lock On to targets, this is all done by pressing the [R3] button and you can then use the Right stick or the Dpad to cycle between them. This can help keep track of your enemies and make it easier to ensure your abilities actually hit, something which is surprisingly not guaranteed. After the tutorial, you’ll encounter a Guard Dog here along with two regular Security Officers and this foe is a lot more durable. Take the time to try out your Fire spell to hit the Guard Dog’s weakness and follow up with Focused Thrust to bring it in to Stagger. When an enemy is Staggered, they’ll take a lot more damage while being unable to respond with attacks of their own, always aim to Stagger where possible. Alternatively, you can switch to Punisher Mode by pressing [TRIANGLE], which will slow Cloud’s movement, increase his damage output, and most importantly allow him to counterattack when blocking melee attacks. This allows you to simply block [R1] until the Guard Dog attacks, then lay into it with Strong Attacks after your counterattack. You’ll officially be introduced to these modes shortly, but there’s no harm in taking advantage of them a bit early.
Blocking melee attacks while Cloud is in Punisher Mode will unleash a potent counterattack.
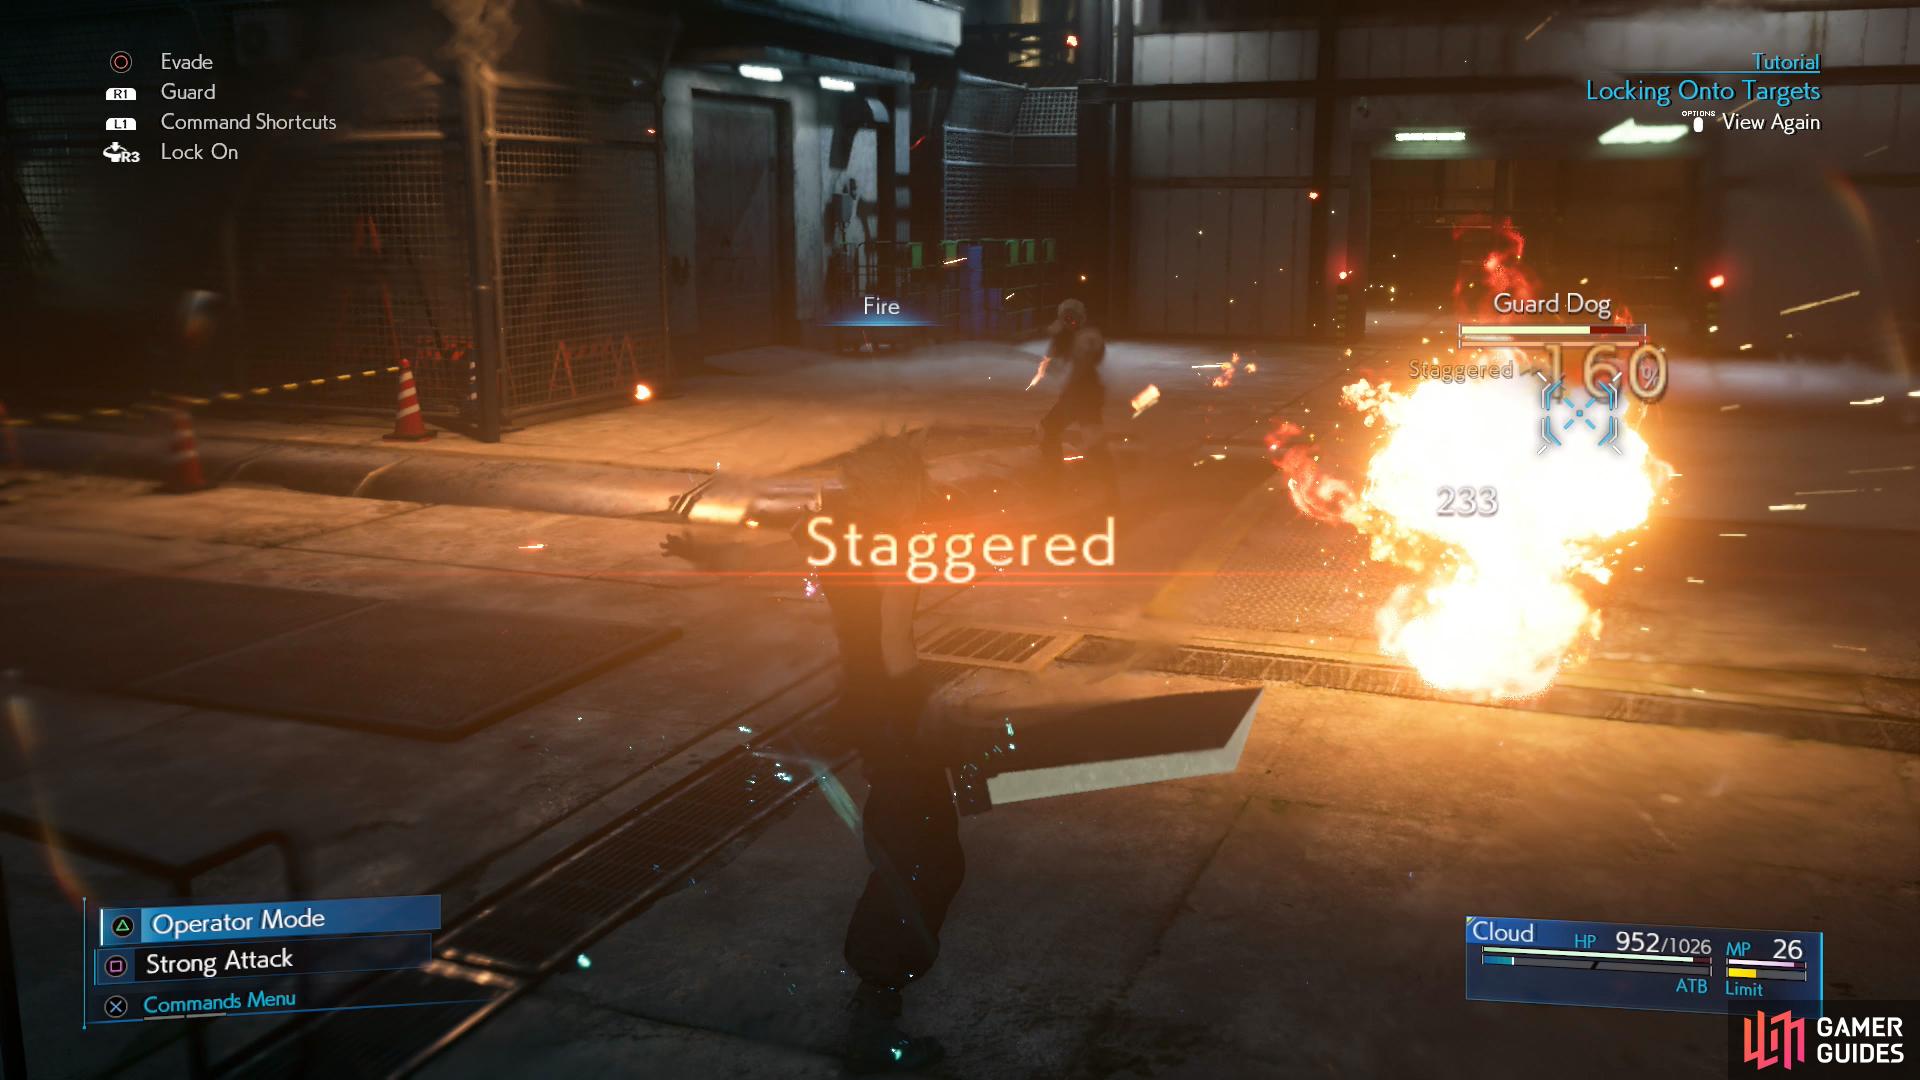
Attacking enemy elemental weaknesses will deal increased damage and significantly increase the stagger meter.
With the enemies taken care of, head to the north to find a chest tucked away containing an Ether and then dispatch the next group of enemies that come rushing in (another Security Officer and Guard Dog). Once defeated, proceed east into the building and break open the Shinra Boxes before taking the elevator up. Continue out and down the slope and look to the south to find two more sets of Shinra Boxes begging to be broken. Once the wire fence is open, approach it and Cloud will stay behind to take care of another group of Shinra personnel. Once again, make use of Fire to exploit the weakness of your foes and then dispatch them before heading through the wire fence yourself.
As you pass through this passage, look to the south to find some Shinra Boxes and then follow the path to find another two Security Officers. With them defeated, open the nearby chest for 2 Potions and then follow the path and open the gate to reach the Reactor.

Breach Security
Speak to Biggs to get the door open and then you’ll be introduced to Cloud’s Unique Ability, Mode-Shift. By pressing the [TRIANGLE] button, Cloud can switch between the more balanced Operator Mode that will allow him to move quicker or his slower, attack-oriented Punisher Mode that will allow you deal more damage and counter melee attacks by holding the Guard button [R1] down. Get a feel for each and dispatch the group of Security Officers and allow your comrades through the door.
Cloud’s Strengths
This is a good time now to take a look at Cloud as a character and his abilities. Cloud is the most balanced of the playable characters in Final Fantasy VII Remake. As such, when you gain the ability to build him, you’re free to take him in any way you want. Want him to be an Attack powerhouse, focus on Attack Power upgrades or should you want to focus him as more of a caster, look for the Magic Attack Power upgrades. Cloud being balanced however is one of his greater strengths and it’s not a bad idea to neglect either of the two options.
As mentioned above, Cloud has the unique Mode-Shift ability, allowing you to change the way he attacks on the fly and for the most part, you can get by with staying in Operator Mode. You can however, exploit several enemies weakness by using Punisher Modes Counter ability so be sure to switch into it whenever you come into contact with melee-focused enemies. Finally, Cloud learns Weapon Abilities that make full use of his ability to stagger the enemy easier; Braver is a fantastic ability to use against enemies once they’re in Stagger and this will outright kill some of the weaker enemies. Focused Strike is also a useful ability to drive the Stagger gauge up once you see an enemy being “Pressured”. All in all, you can’t go too wrong with how you build Cloud since he offers the best of both worlds.
With that snippet out of the way, speak to Jessie and head forward where you’ll find a stack of Shinra Boxes and a chest to the west, open it to obtain a Phoenix Down, an item that will allow you to revive any fallen allies in battle. Hit the elevator button on the side to trigger a cutscene as you head deeper into Mako Reactor 1.
Reach Mako Storage
| Enemy | Weaknesses | Notable Loot |
|---|---|---|
| Sentry Ray | Lightning | -- |
| Monodrive | Wind | -- |
| Sweeper | Lightning | -- |
After the scenes conclude, you’ll find yourself in control of Barret, handy due to your current enemies, Sentry Rays, being out of reach for Cloud. Hold down the [SQUARE] button to fire continuous volley of bullets at your target or press the [TRIANGLE] button to launch a large blast at an enemy that will significantly charge your ATB. You’ll also be taught how to switch your controlled character and how to issue commands out to the character you’re not in control of before another new enemy, Monodrives, ambush you. These are more ideal for Cloud so switch over to him and dispatch them. Just be wary - they’re fast, and if they get a Fire spell off, it’ll hurt.
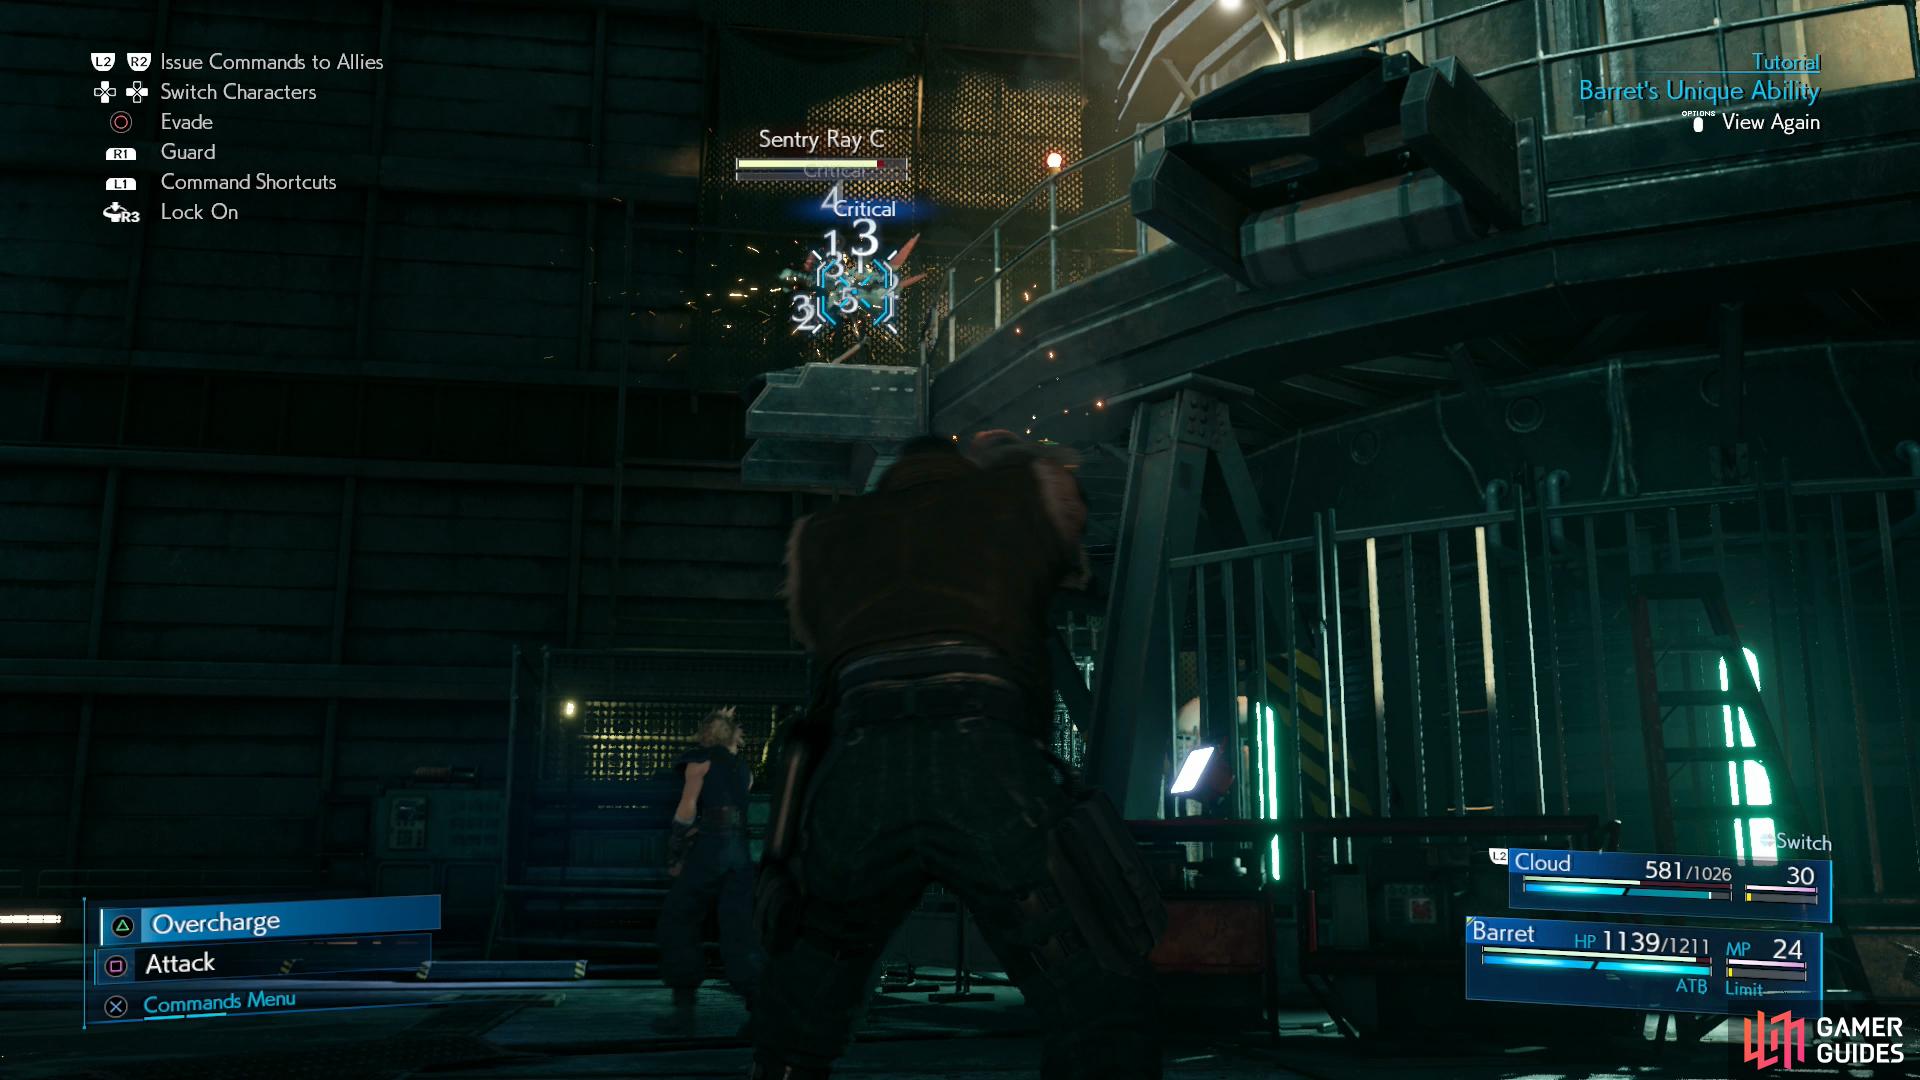
Barret’s normal attack will pelt an enemy with a volley of low-damage bullets.
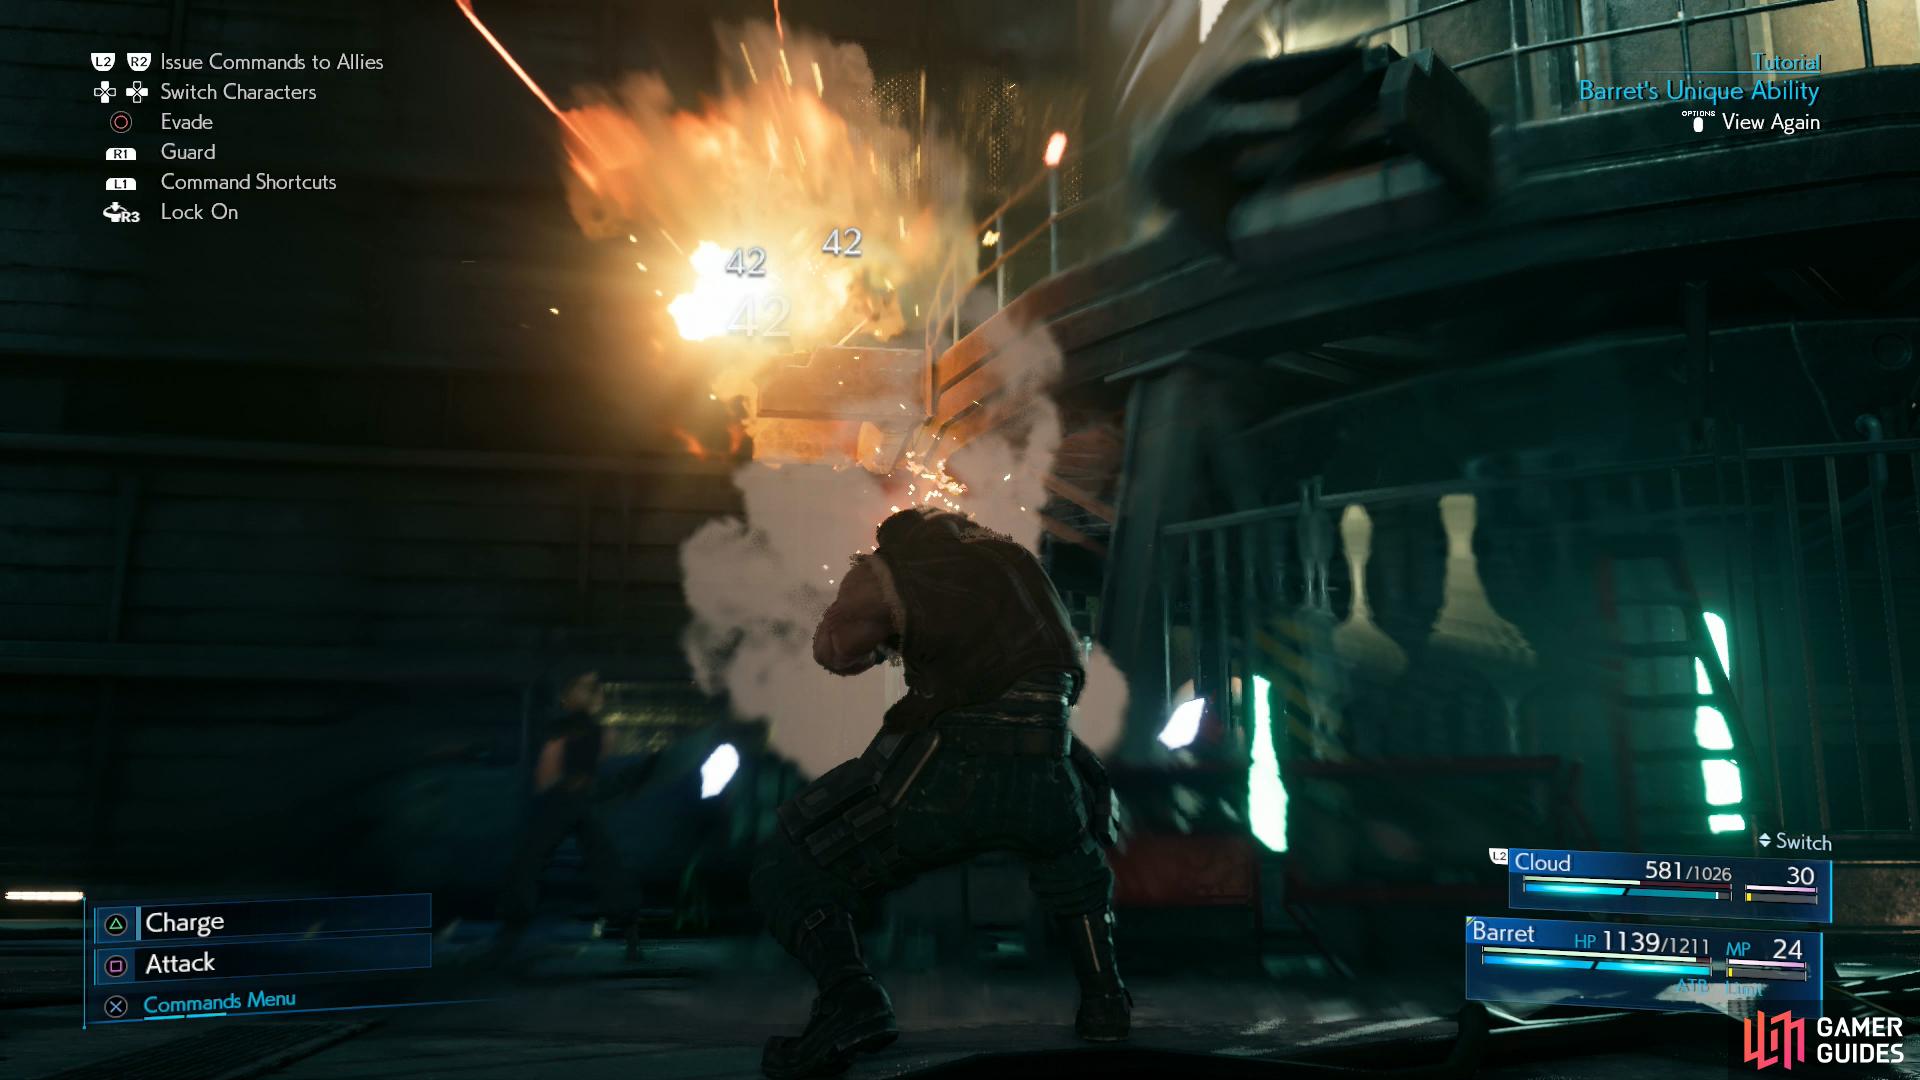
His Overpower attack unleashes a barrage of more potent blasts, although it does have a short cooldown.
Barret’s Strengths
Barret is all about fighting from range due to his Gun Arm; this makes him the ideal candidate for flying enemies or enemies out of reach in general. His regular attack isn’t overly powerful but his Unique Ability, Overpower, will pack a punch and raise the ATB gauge significantly at the same time, the catch being that you’ll need to wait for it to charge again after using it. You can manually recharge his Overpower attack by pressing [TRIANGLE] while it’s on cooldown, although it may take several boosts to achieve.
As a character, Barret leans more towards the defensive side, something his stocky frame hints towards. He’ll be able to learn many abilities that boost his Defence or HP however it doesn’t mean you should neglect magic altogether with him; indeed attack magic can benefit his long range fighting ability so it’s a good idea to persist with the useful Thunder Materia already equipped to him.
Finally, his Weapon Abilities are rather unique: his first one, Steelskin, will reduce incoming damage and stop interruptions further expanding his role as a tank of sorts. Meanwhile, Focused Shot will expand your ATB, deal a powerful burst and significantly raise the Stagger gauge; aim to have two Charges of ATB before using this. He’ll also gain other utility-like abilities along the course of the adventure such as the ability to take damage in place of others.
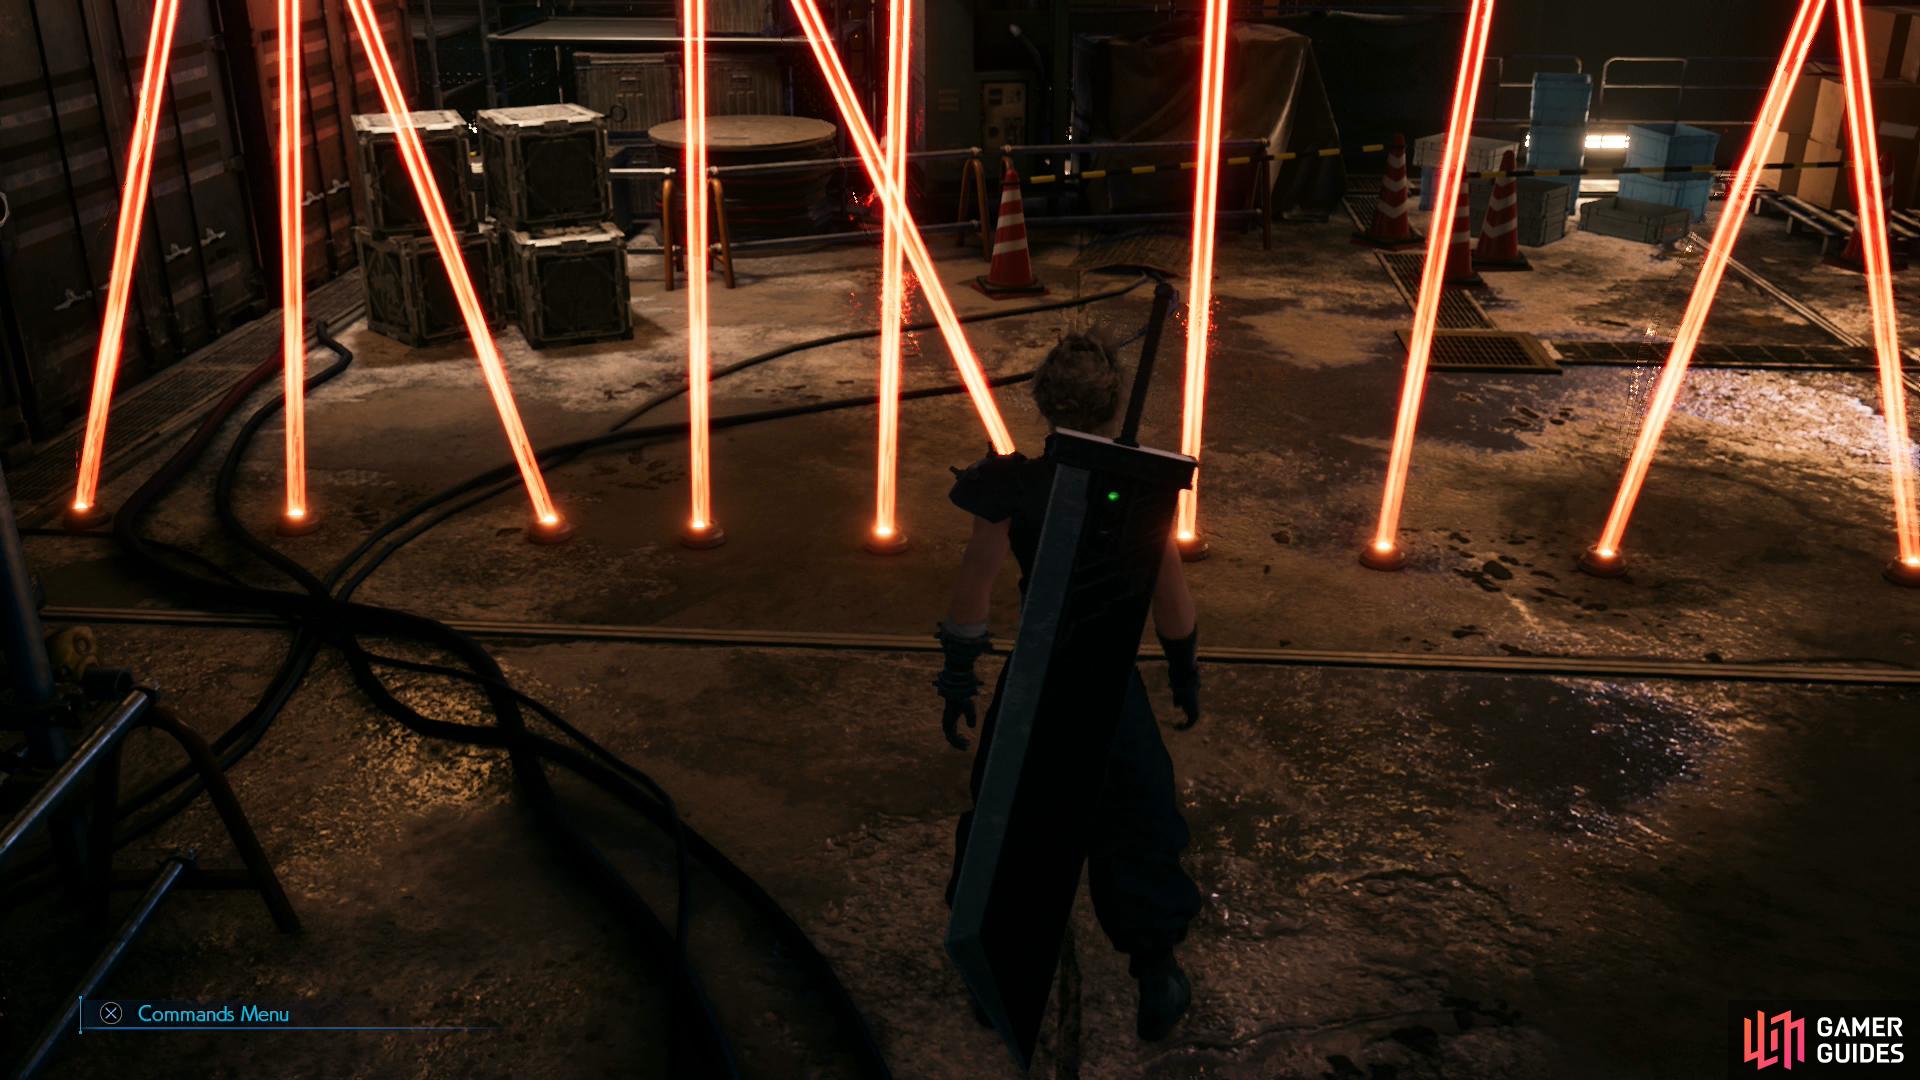
Now you know all about Barret, take the stairs down to come face to face with the laser security system. As Cloud suggests, wait for the lasers to cycle off and pass through after, using the Run buttons ([R1/R2] or [L3]) for extra safety. After passing through the third set of lasers, you’ll find some Shinra Boxes and the stairs leading down to the next laser security system. The first set of Lasers here will pulse three times before allowing you to pass through while the second set will pulse four times and the final set, seven times. Break the Shinra Boxes once you reach the end and open the chest containing 2 Potions before taking the stairs down.
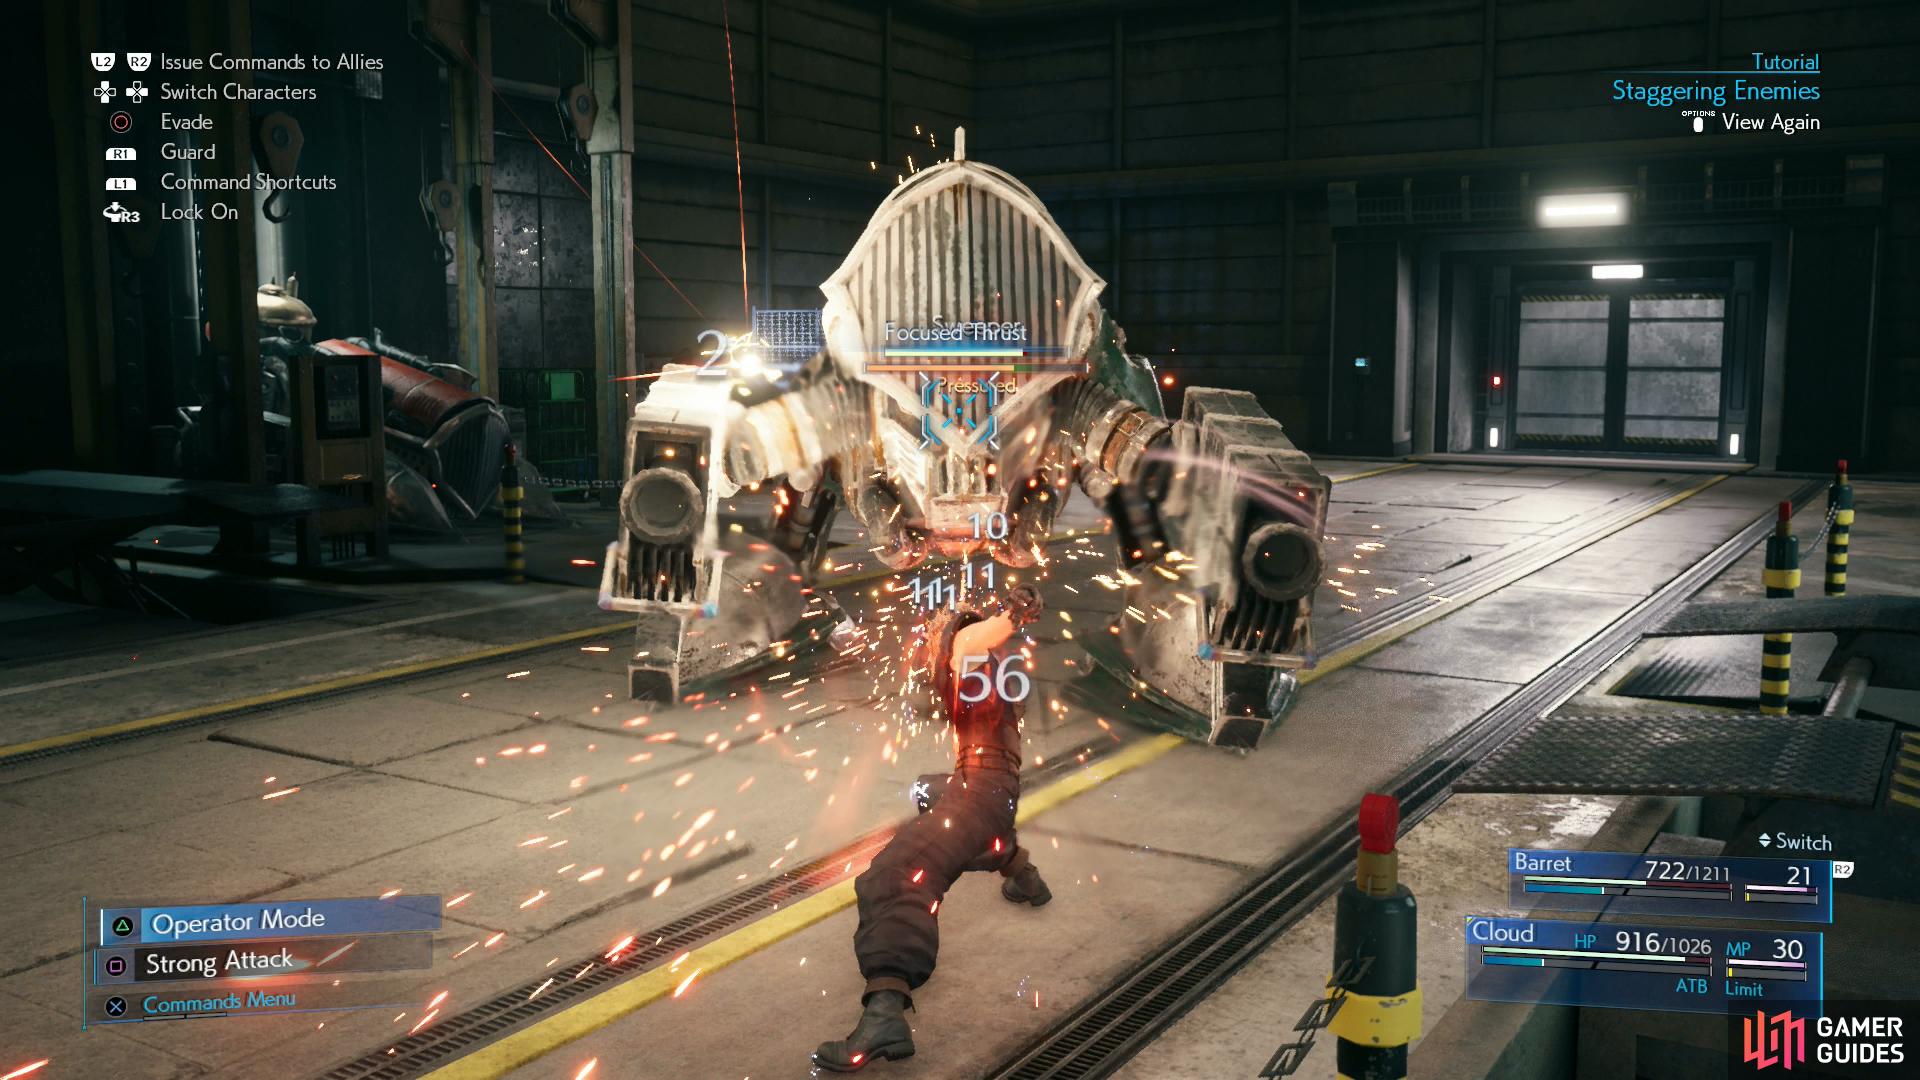
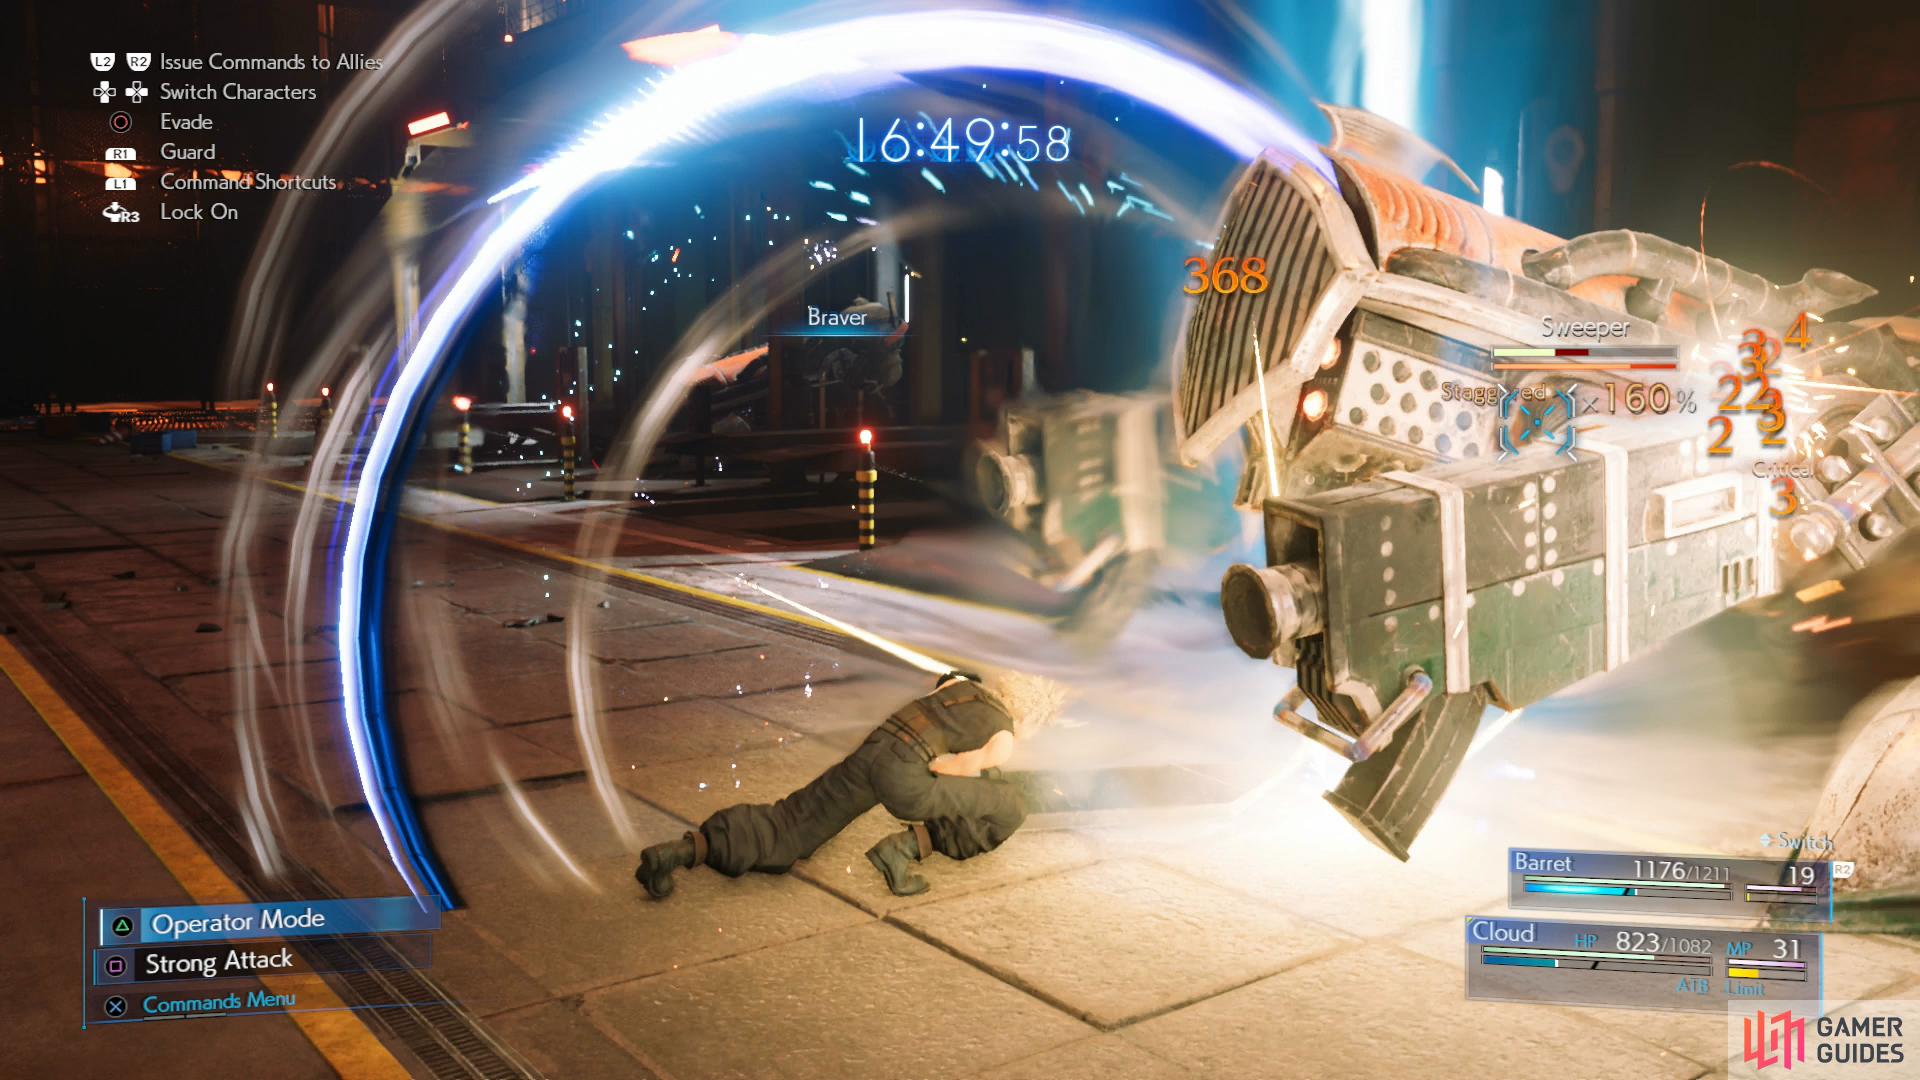
As you reach the bottom, Jessie will mention the rather ominous looking machine up ahead: a Sweeper. Before picking a fight with it, however, head back to the stairs, more specifically run west along the stairs to find a chest containing an Ether. The Sweeper itself is a lot more durable than anything you’ve fought yet and you’ll want to make use of Stagger to defeat it. The game will properly introduce you to the Stagger mechanic here: attacking enemies not only deals damage, but boosts their Stagger gauge. Once Staggered, an enemy may be stunned for a few moments and will take increased damage. Certain spells (like an enemy’s elemental weakness - in this case lightning) and abilities (like Cloud’s Focused Thrust) will increase an enemy’s Stagger gauge faster.
Since the Sweeper doesn’t move very fast, Cloud’s Punisher mode will work wonders here - just get up close to the Sweeper and lay into it, and when it seems to be targeting Cloud, don’t be afraid to dodge. This will switch Cloud out of Punisher mode and back to Operator mode, but it’s better than taking the hit, and getting back in range and switching back to Punisher is quick enough. While attacking in Punisher mode, keep an eye on your ATB Gauge and use Focused Thrust every time you have a segment. When the Sweeper is Staggered (likely after two or three Focused Thrust attacks) have Barret cast Thunder and switch to Braver with Cloud. Hopefully you’ll put the Sweeper down before it recovers, but if not, just repeat the process above until it falls.
Of all the Sweeper’s attacks, be especially wary of its Hard Charger and Stomp attacks. Hard Charger will cause the Sweeper to charge at a target dealing damage to anything in it’s path, while Stomp will… well, it’s really all in the name - the Sweeper will leap into the air and stomp on a character, dealing heavy damage and pinning them down. This also inflicts the “Bound” status on a character, preventing them from acting until they’re freed. If this happens, switch to another character and when they have an ATB segement, use it to deliver a powerful strike like Thunder or Braver to dislodge the Sweeper.
Reduce the Sweeper to scrap metal, then continue north to reach the core of the reactor.
Set the Charge
Take the ladder down and break the nearby Shinra Boxes before following the path to a chest containing a Phoenix Down. Another stack of crates await you near Jessie and then take the ladder down to reach a group of Sentry Rays and Monodrives. Dispatch them and follow the path to the end to find one more group of Monodrives followed by some Shinra Boxes and a chest containing an Ether. All that’s left to do is head down the only other path to reach the bottom; before you head forward however, consider using Potions to top your HP up and use some Ethers for your MP as you’ll need it.
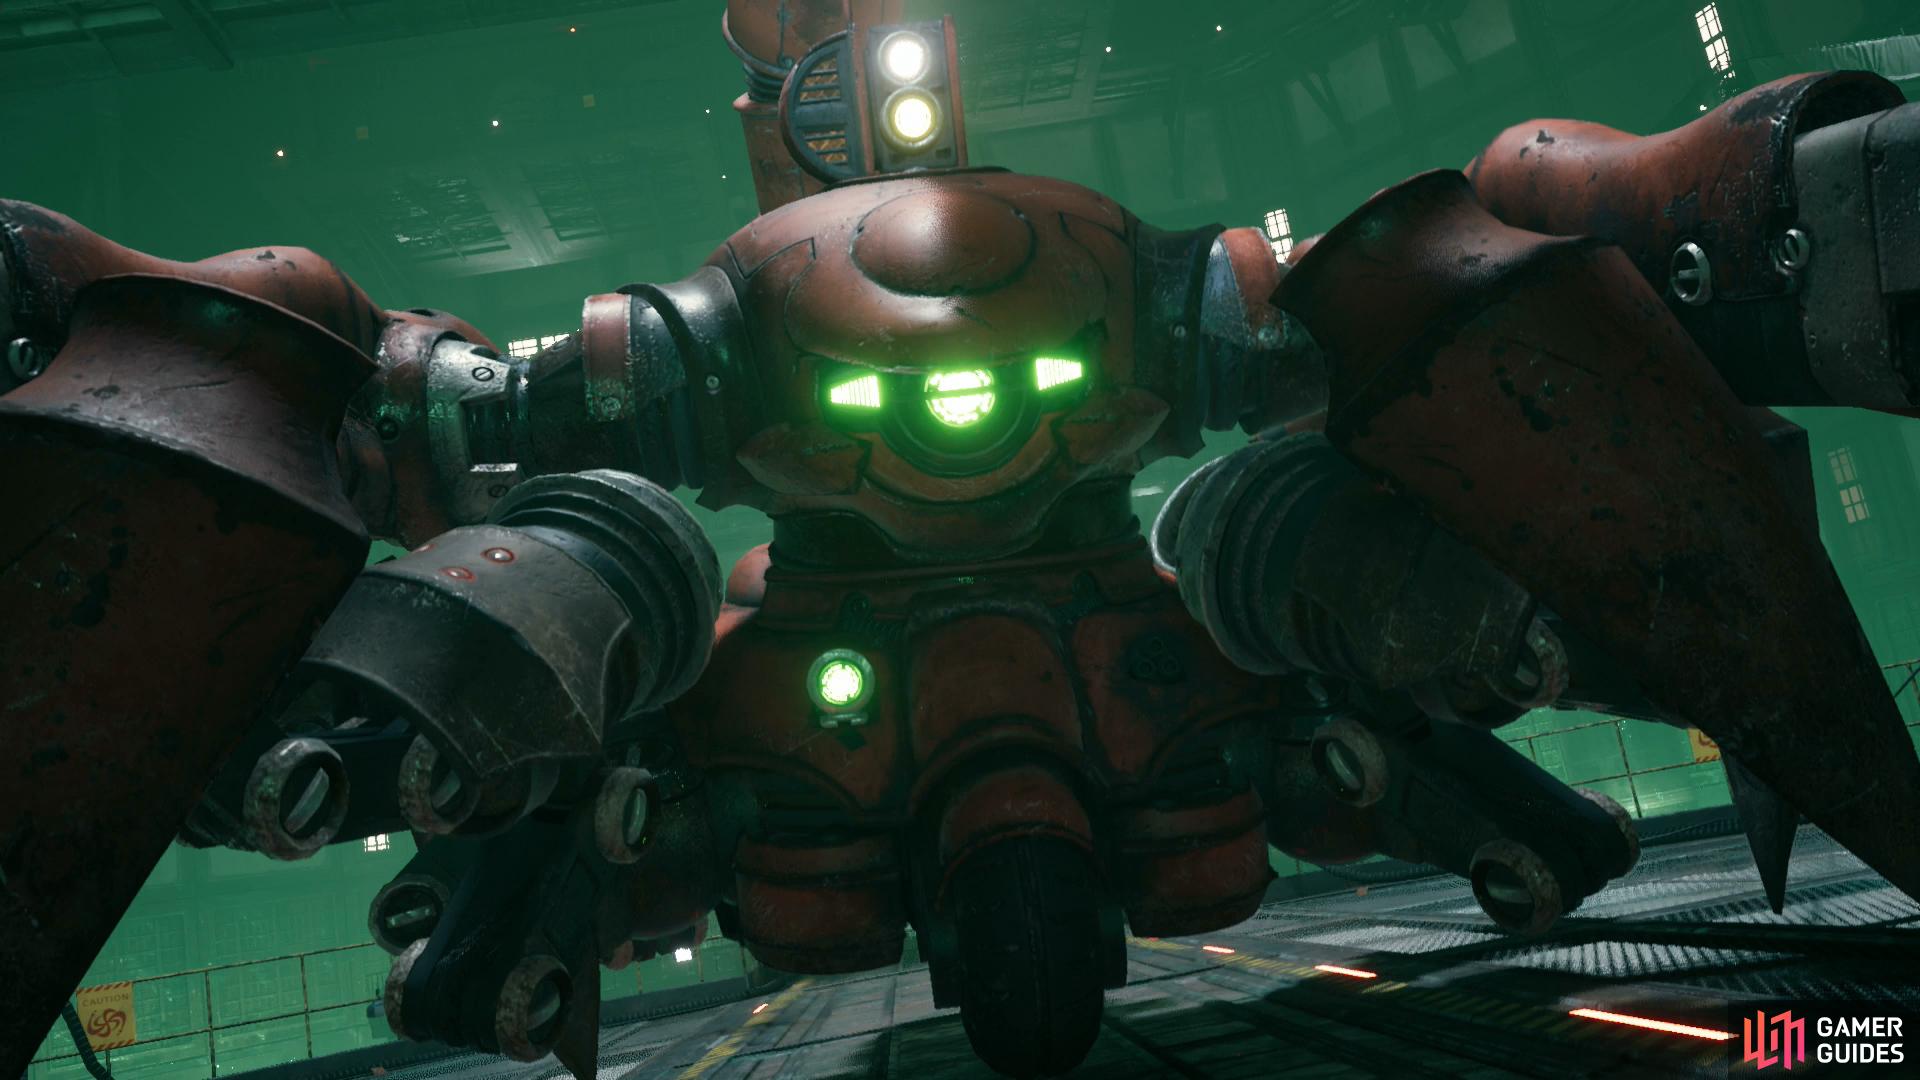
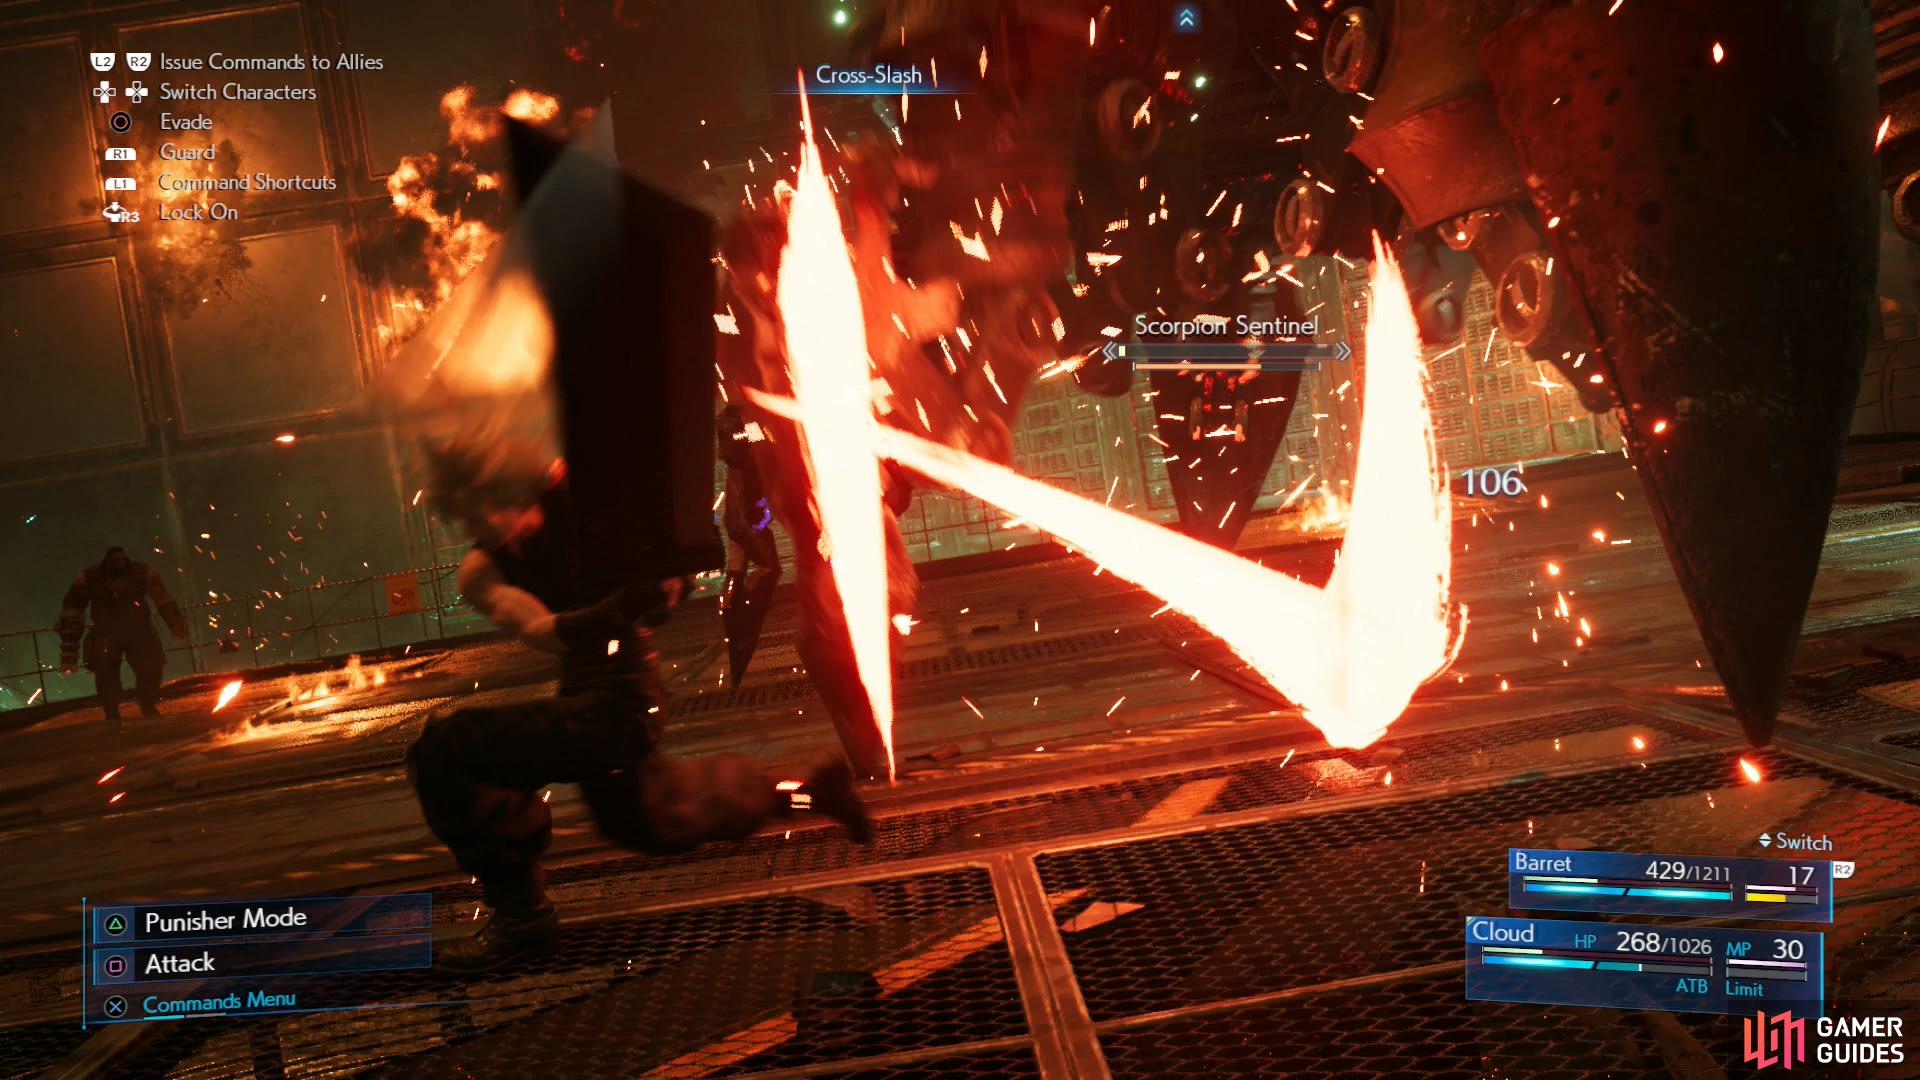
Boss: Scorpion Sentinel
| Enemy | Weaknesses | Notable Loot |
|---|---|---|
| Scorpion Sentinel | Lightning | -- |
(1 of 5) When the Scorpion Sentinel selects a target, continue switching to the other character, as your offense will be less impeded.
Phase One
This is your first real test and what a test it is: the Scorpion Sentinel is a formidable opponent that will kill you easily if you’re not careful. To begin with, as Cloud helpfully points out, the Scorpion Sentinel (and all manner of mechanical enemies at that) is weak to Thunder; this means Barret is key for this battle. Cloud’s Fire will be useful to drive up the Stagger gauge too and considering he has nothing else to spend his MP on, there’s little consequence.
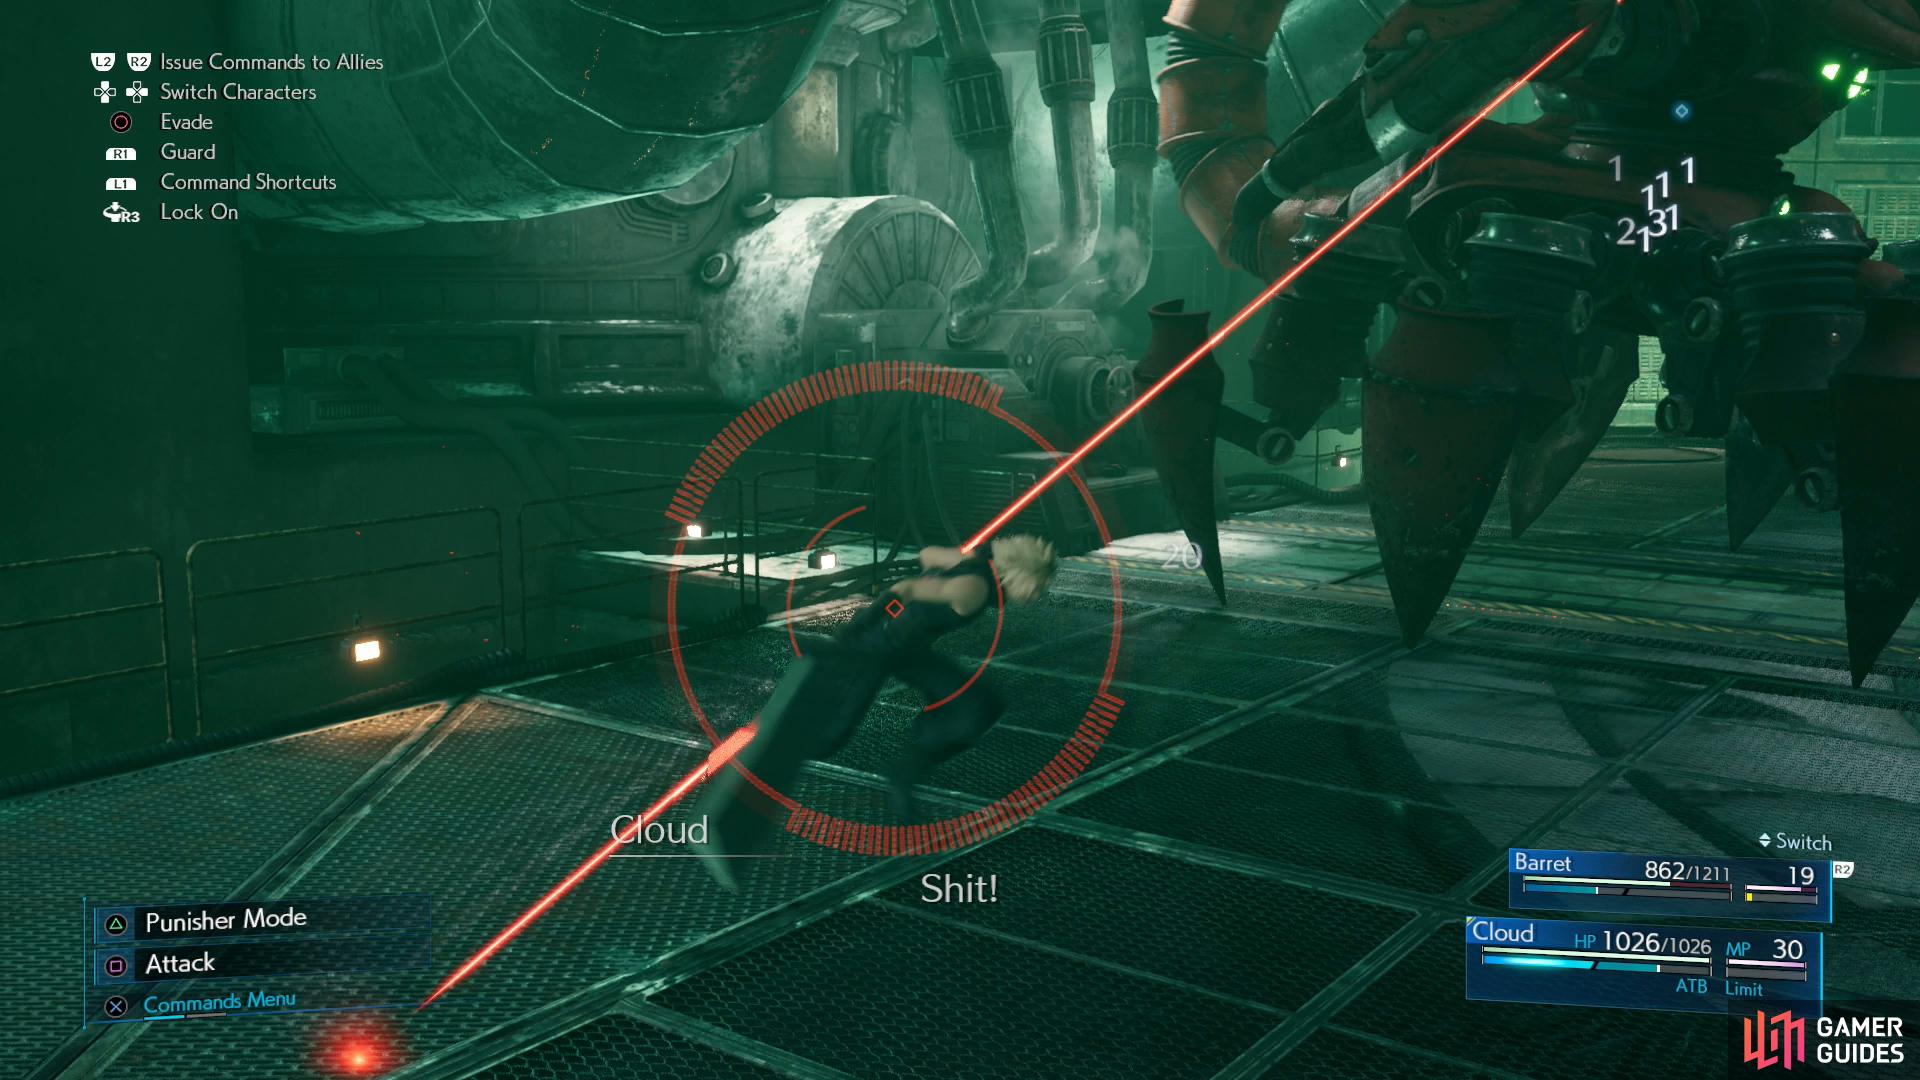
During this initial phase, the Scorpion Sentinel will use Electrostomp to stamp the ground below it and cause the ground to emit a shock which will deal heavy damage to anyone close to it so be sure to back away when you see it raise one of it’s legs. It will also use Target Scanner on one of the characters and then unlease a barrage of missiles which you won’t be able to dodge so prepare Guard to lessen some of the damage you’ll suffer. Finally, it will retreat to the edges of the arena where you’ll only be able to strike it with Barret. This is also a good time to use any Potions to top up HP or Ethers to restore Barret’s MP for Thunder casting.
(1 of 3) When the Scorpion Sentinel starts vaulting away, switch to Barret so you can keep attacking and fill your ATB Gauge.
Phase Two
Once you put a significant dent into it’s HP, it will retreat to the back of the arena and you’ll need to make your way over to it. At this point, the Scorpion Sentinel will gain a barrier that will deflect all attacks however, you’ll find a Field Generator on the back; switch to Cloud and use Focused Strike or Barret’s Focused Shot to deal damage to it. This time, when the Scorpion Sentinel retreats to the walls, it will unleash Mark 99 Launchers, a heavy barrage of missiles that will deal large damage to the area - this is best dealt by once again guarding through and then healing up with Potions if need be. It will also start using Scorpion Strikes on an character, which deals around 140 HP and can be avoided by evading away from the tail so be sure to heal up if you’re struck by it.
Phase Three
Take the Scorpion Sentinel under half HP and it will once again retreat, this time shedding more of it’s armor and gaining access to more deadly attacks. Right from the get go, it will begin readying Tail Laser so quickly rush forward and take cover behind the debris until the attack has finished; failure to do so will see you take significant damage so avoid it at all costs. This is also a good time to recover HP/MP and note that Barret can still shoot from behind the debris.
It will also gain access to the lethal EM Field at this point: this is a more potent version of Electrostomp so be sure to retreat away from Scorpion Sentinel as soon as you see it readying the ability. Stinger Salvo is another new ability that focuses a laser beam on one character so be sure to Guard through this to limit the damage it can deal. What’s more, it will cycle through its cannons and missiles a lot quicker here so the onus is really on you to deal damange as quickly as possible.
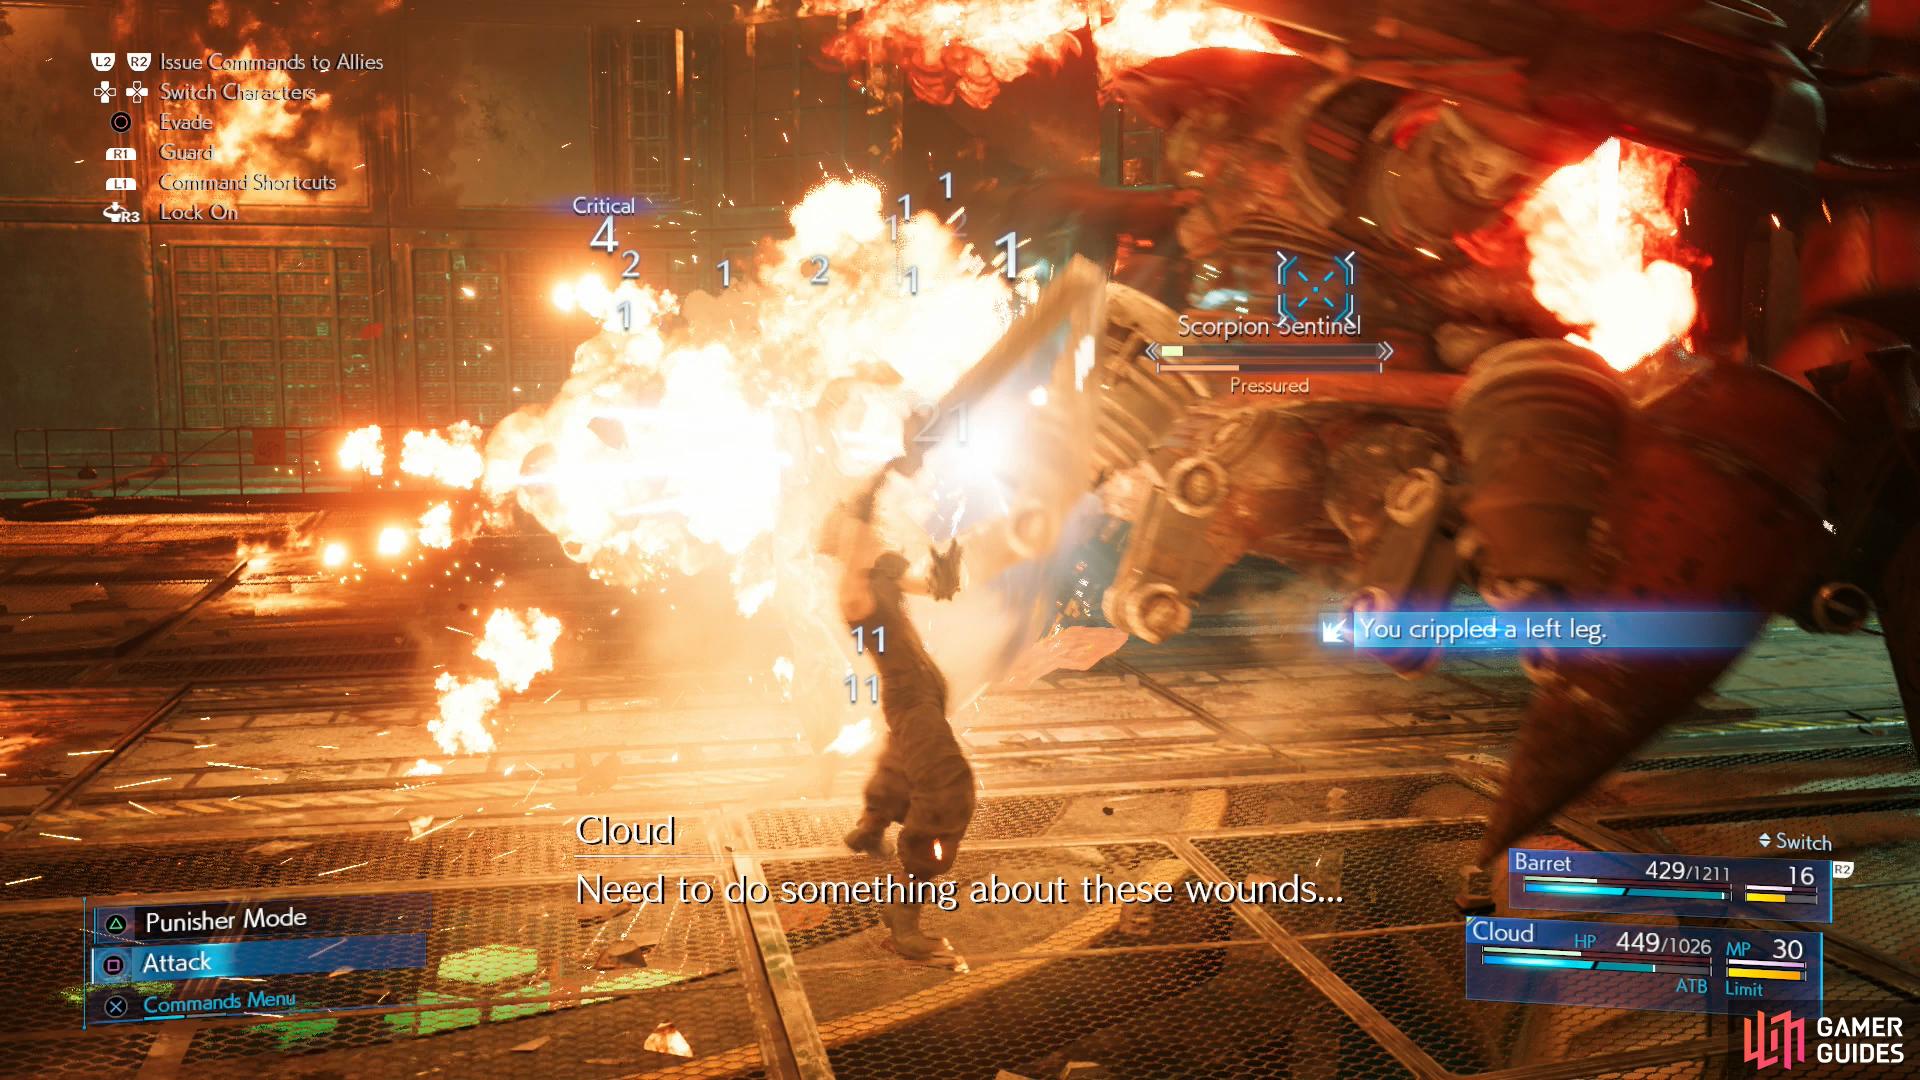
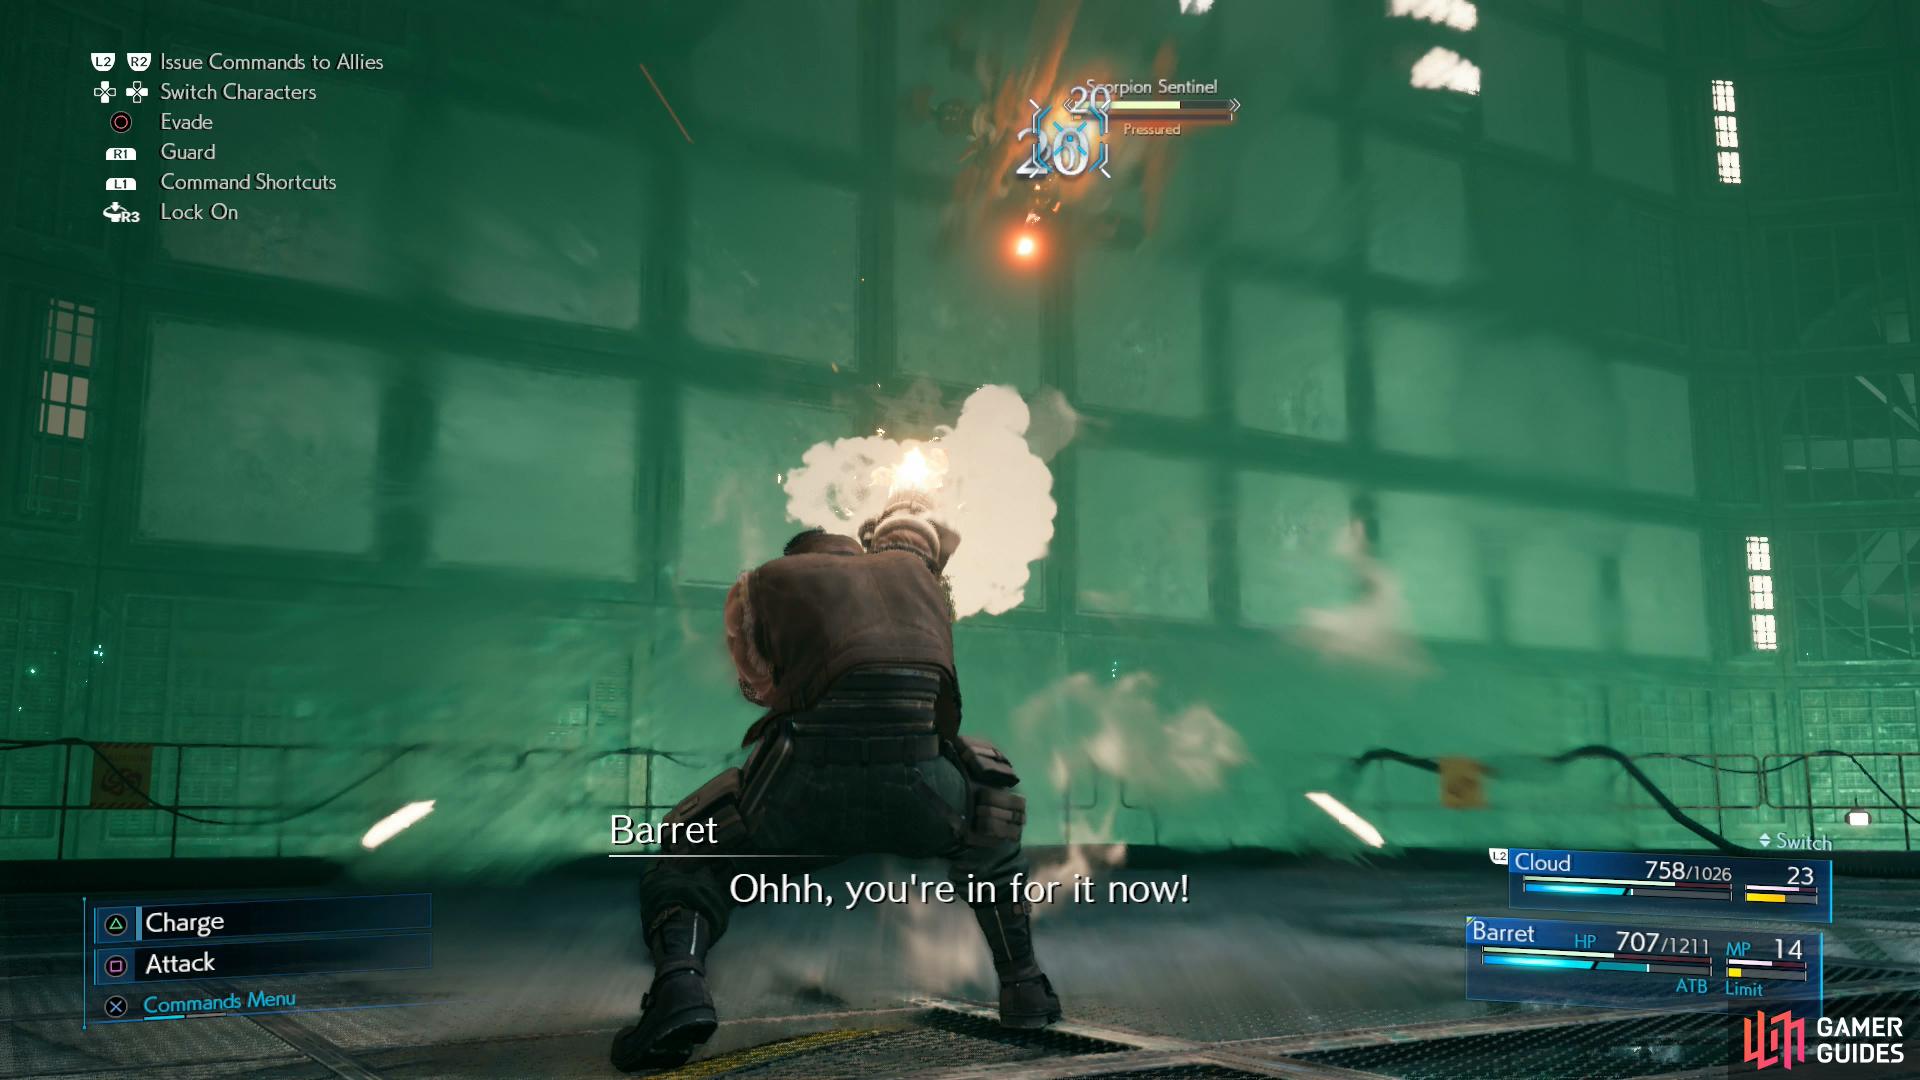
Target the legs to stagger the boss.
When your Limit meter fills, unleash these powerful attacks to hopefully finish the fight.
Phase Four
The Fourth and final Phase is a rush to the finish line as the Scorpion Sentinel begins malfunctioning. At this point, it gains access to its final trick, Auto-Repair, which will start regaining its HP so keep up the assault. You’ll be able to attack the Left and Right Legs at this point and knocking one out will cause it to fall to the ground and allow you to really drive up the Stagger gauge - a cast of Thunder is enough to take them out and you can follow up with Focused Strike from Cloud to bring it into Stagger and finish it off once and for all.
Escape from the Reactor
| Enemy | Weaknesses | Notable Loot |
|---|---|---|
| Sentry Ray | Lightning | -- |
| Monodrive | Wind | -- |
| Security Officer | Fire | -- |
| Sweeper | Lightning | -- |
| Shock Trooper | Fire | -- |
Following the Scorpion Sentinel’s demise, the bomb you planted will be triggered and you’ll have twenty or thirty minutes (depending on which you picked earlier) to escape the Reactor before being caught in the ensuing explosion. Dash back to the ladder and climb up (note that pressing the “run” buttons will make you climb faster, too) and when you reach the top turn east and follow the linear walkway, stopping to kill two Monodrives along the way before taking the next ladder up. Once the walkway gives in, shimmy across the pipe to give Jessie a helping hand before following her down the nearby ladder. You’ll find some more Shinra Boxes here and just before the next ladder, a chest containing 2 Potions. Climb the next ladder and jump over the gap to be reunited with Barret at the top.
Remember the lessons you learned from fighting the first Sweeper to quickly dismantle the second.

When you come across Shock Troopers, switch to Punisher mode and counter their attacks , leaving them vulnerable to your attacks.
As the door opens, you’ll need to deal with a group of two Security Officers and two Monodrives. Dispatch them and follow the path to encounter another Sweeper. You should remember how to deal with these - pelt it with Thunder and follow up with abilities such as Focused Strike to Stagger it. Continue south, then west towards the stairs leading back up (you can smash some Shinra boxes opposite the stairs - they’re mingled with other debris). Once atop the stairs you’ll be happy to know the lasers have been deactivated, but a swarm of Monodrives are now prowling about.
Quickly dispatch them and follow the path back up and you’ll find a stack of Shinra Boxes (who keeps restocking these?!) before encountering a Shock Trooper for the first time. These nimble soldiers will dodge your melee attacks easily so now is a good time to make use of Cloud’s counter ability through the Punisher Mode. Switch over to it and keep your Guard up, waiting for the enemy to attack you; once he does, Cloud will counter and drive up the stagger gauge. Keep this up and take him out before following the stairs up to encounter a group of two Shock Troopers and Sentry Rays - let Barret deal with the Sentry Rays while Cloud counters the Shock Troopers. With the last of the enemies dealt with, quickly head to the elevator to get out of the Reactor. From here it’s just a short sprint forward to get out of the blast radius and bring the Chapter to a close and earn Onetime Gig.
No Comments