
This page is for tips regarding Hard Mode on Chapter 1: Wutai’s Finest of INTERmission, including tips for Materia and Equipment setups.
Preparations
For those of you that played through Hard Mode on the original release of Final Fantasy VII Remake, you’ll know what to expect as the same rules are in place here. These are:
- Unable to use Items.
- MP doesn’t restore from benches.
- Can earn Manuscrips (grant SP) from some encounters/activities.
- Some bosses gain new attacks.
With that said, you’ll want to take the time to fully prepare before diving in by ensuring that you have useful Materia at MAX and have hit the Level cap of 50. This is best done by accessing the Shinra Dark Secrets match at the Shinra Combat Simulator in Chapter 2. Using this on Easy Mode, you can hit Level 50 in no time at all and use the AP boosted by AP Ups and equipment to level useful Materia such as Elemental, HP Ups and more.
| Yuffie | Item |
|---|---|
| Weapon | Boomerang |
| Armor | Chthonian Armlet |
| Accessory | Ribbon or Götterdämmerung |
| Materia | Healing (+ Magnify when Sonon joins), Revival (once Sonon joins), Chakra, HP Up x2 (~8000+ HP), MP Up x2 (~120 MP+), Steadfast Block, First Strike |
| Sonon | Item |
|---|---|
| Weapon | Marshalist’s Staff |
| Armor | Firebird Armlet |
| Accessory | Kindred Cord or Götterdämmerung |
| Materia | Healing + Magnify, Steadfast Block, HP Up x2 (~9000+ HP), MP Up (~100 MP+), Prayer, Elemental Materia + Fire (and change to meet enemy weaknesses) |
Outskirts
-
Make sure that you’ve followed the setup above before continuing.
-
With First Strike, you should be able to take out all of the enemies quickly with a toss of the Shuriken and changing to the correct Elemental Ninjutsu, using Windstorm as ATB charges become available.
-
The Wayward Wolves offer the greatest threat here. If you don’t have the Götterdämmerung, then focus on evading their counters with Brumal Form to Pressure them before following up with Ice Ninjutsu and Windstorm to Stagger them. You may find yourself having to use some MP to Cure as you won’t have time for Chakra while they’re both alive still.
-
Don’t waste MP on healing following this battle, there are no more monsters between here and the first Rest Bench (Avalanche HQ in the Sector 7 Slums).
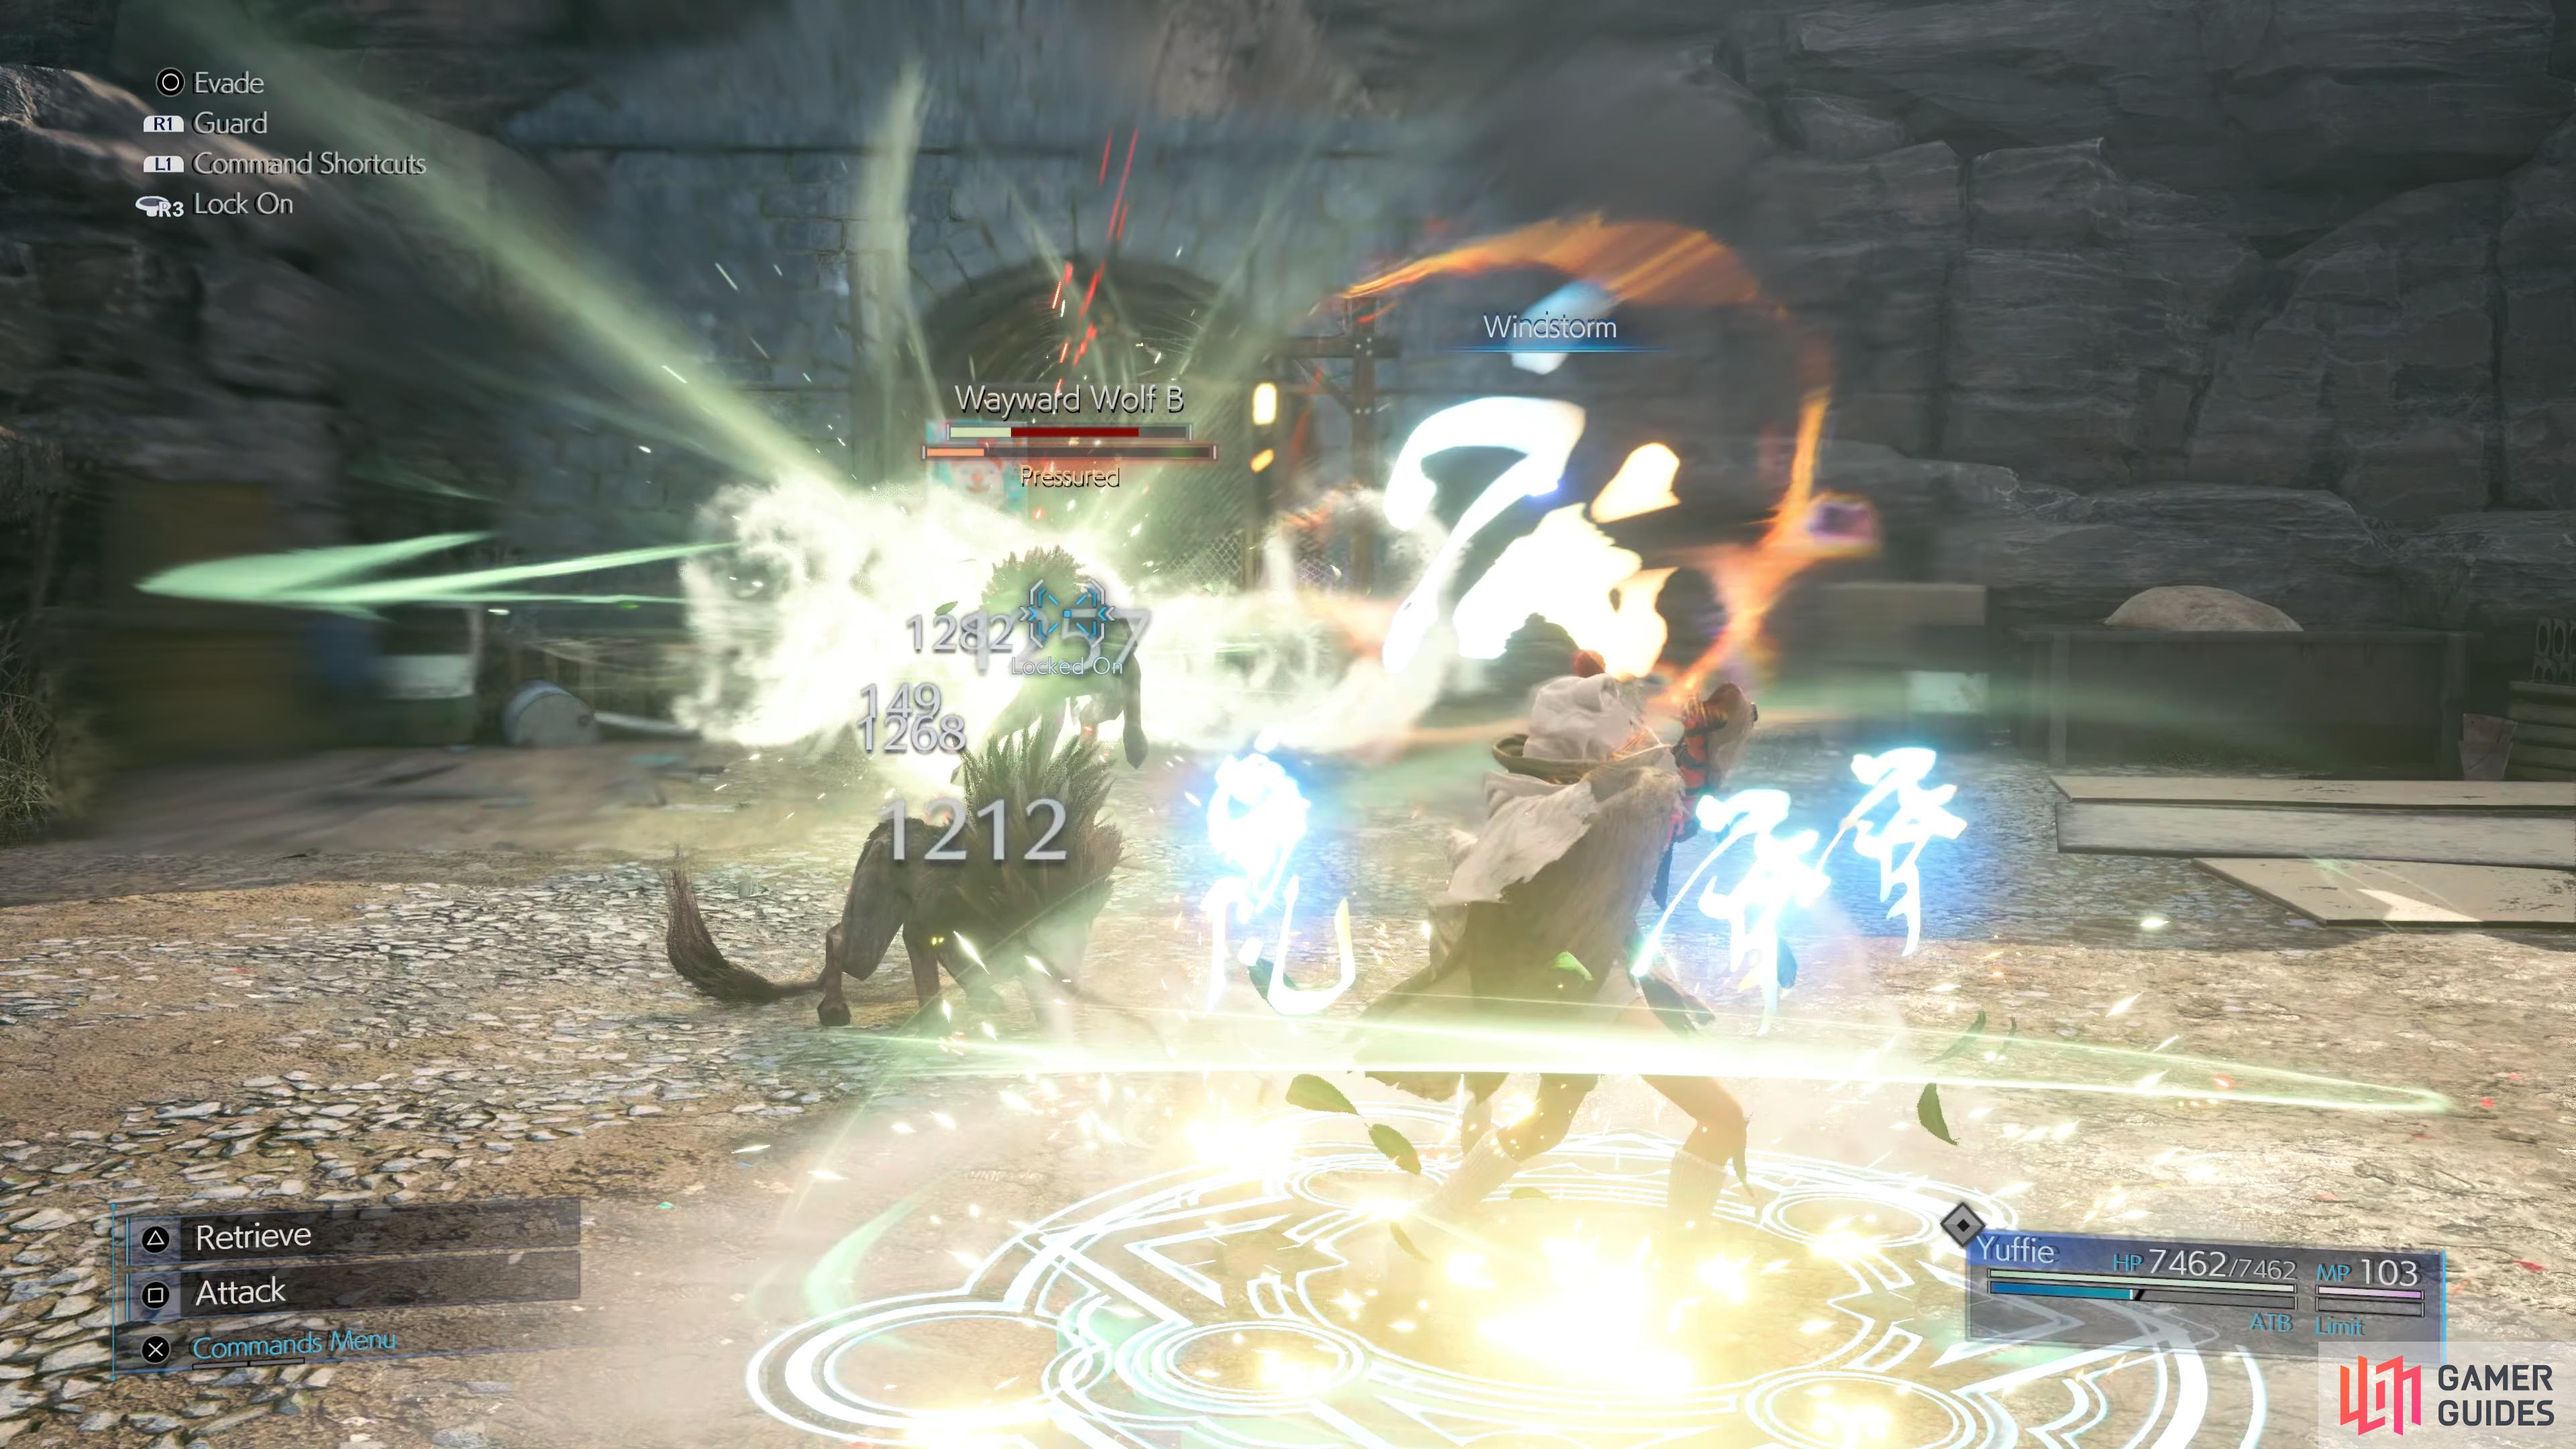
Windstorm will deal heavy damage to both of the Wayward Wolves
take the time to win all of the Hard Mode matches of Fort Condor to win Manuscripts.
Sector 7 Slums/Fort Condor
-
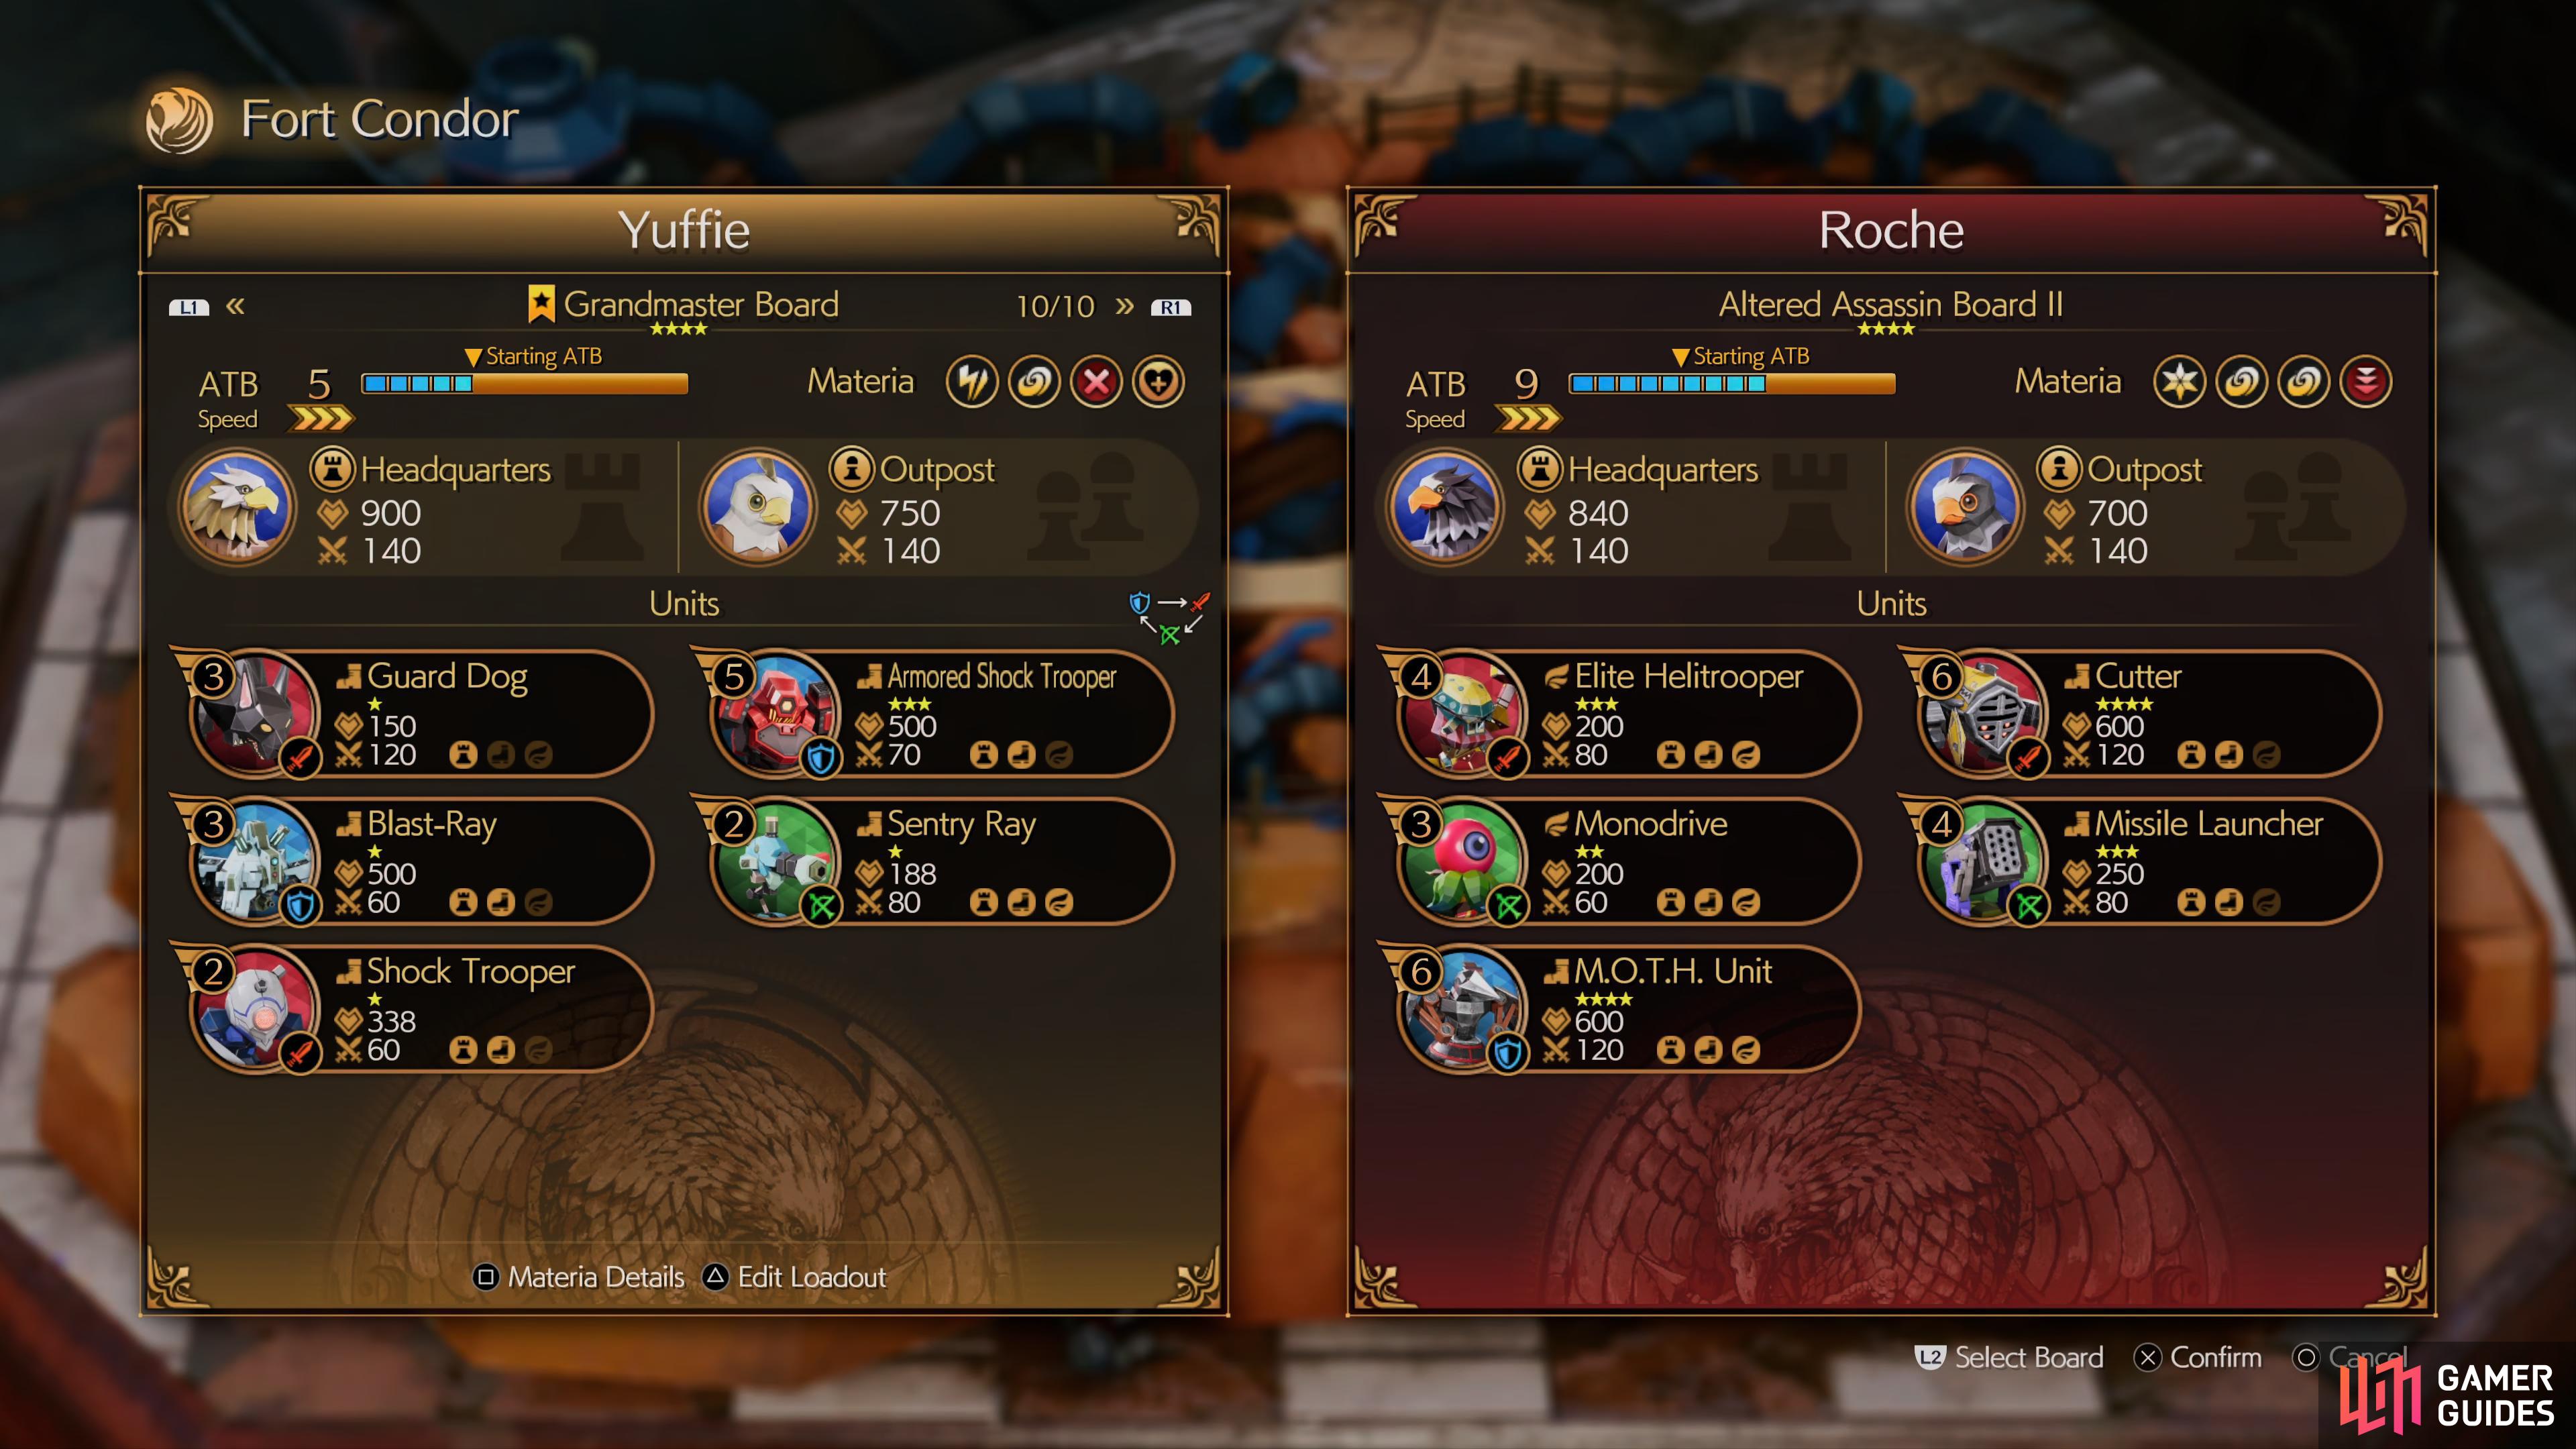
Once you reach the Sector 7 Slums, you’ll want to win all of the Fort Condor matches. All of your opponents should be tougher by this point and you’ll have to rely on taking out the Headquarters itself to win. It’s especially important to win all of the matches here as each one will reward you with a Manuscript for Yuffie and Sonon, with four of them unlocking the final Weapon Level.
-
You should have the Grandmaster Board by now. If you don’t, use Chapter Select and return to this point on Easy Mode to win all of the matches and purchase it.
-
Always choose the Grandmaster Board for it’s excellent range of Materia and quick speed. For your units, you want Guard Dog as a mainstay and then low cost Units (between 2 and 3 ATB) to counter the particular opponent. The goal here is to overwhelm them and destroy the Headquarters as soon as possible, for setups for each opponent, head to the Rank 5 page.
-
Be sure to check the Junk Shop for some useful Materia you may have missed or didn’t have the Gil for such as MP Absorption.
-
Once Sonon joins, don’t forget to configure his setup as above. If you have the Götterdämmerungs then two of them will allow you to use Limit Synch at will.
-
You don’t need to complete the Happy Turtle Campaign, Ramuh (Hard) or head to the Abandoned Talagger Factory on Hard.
-
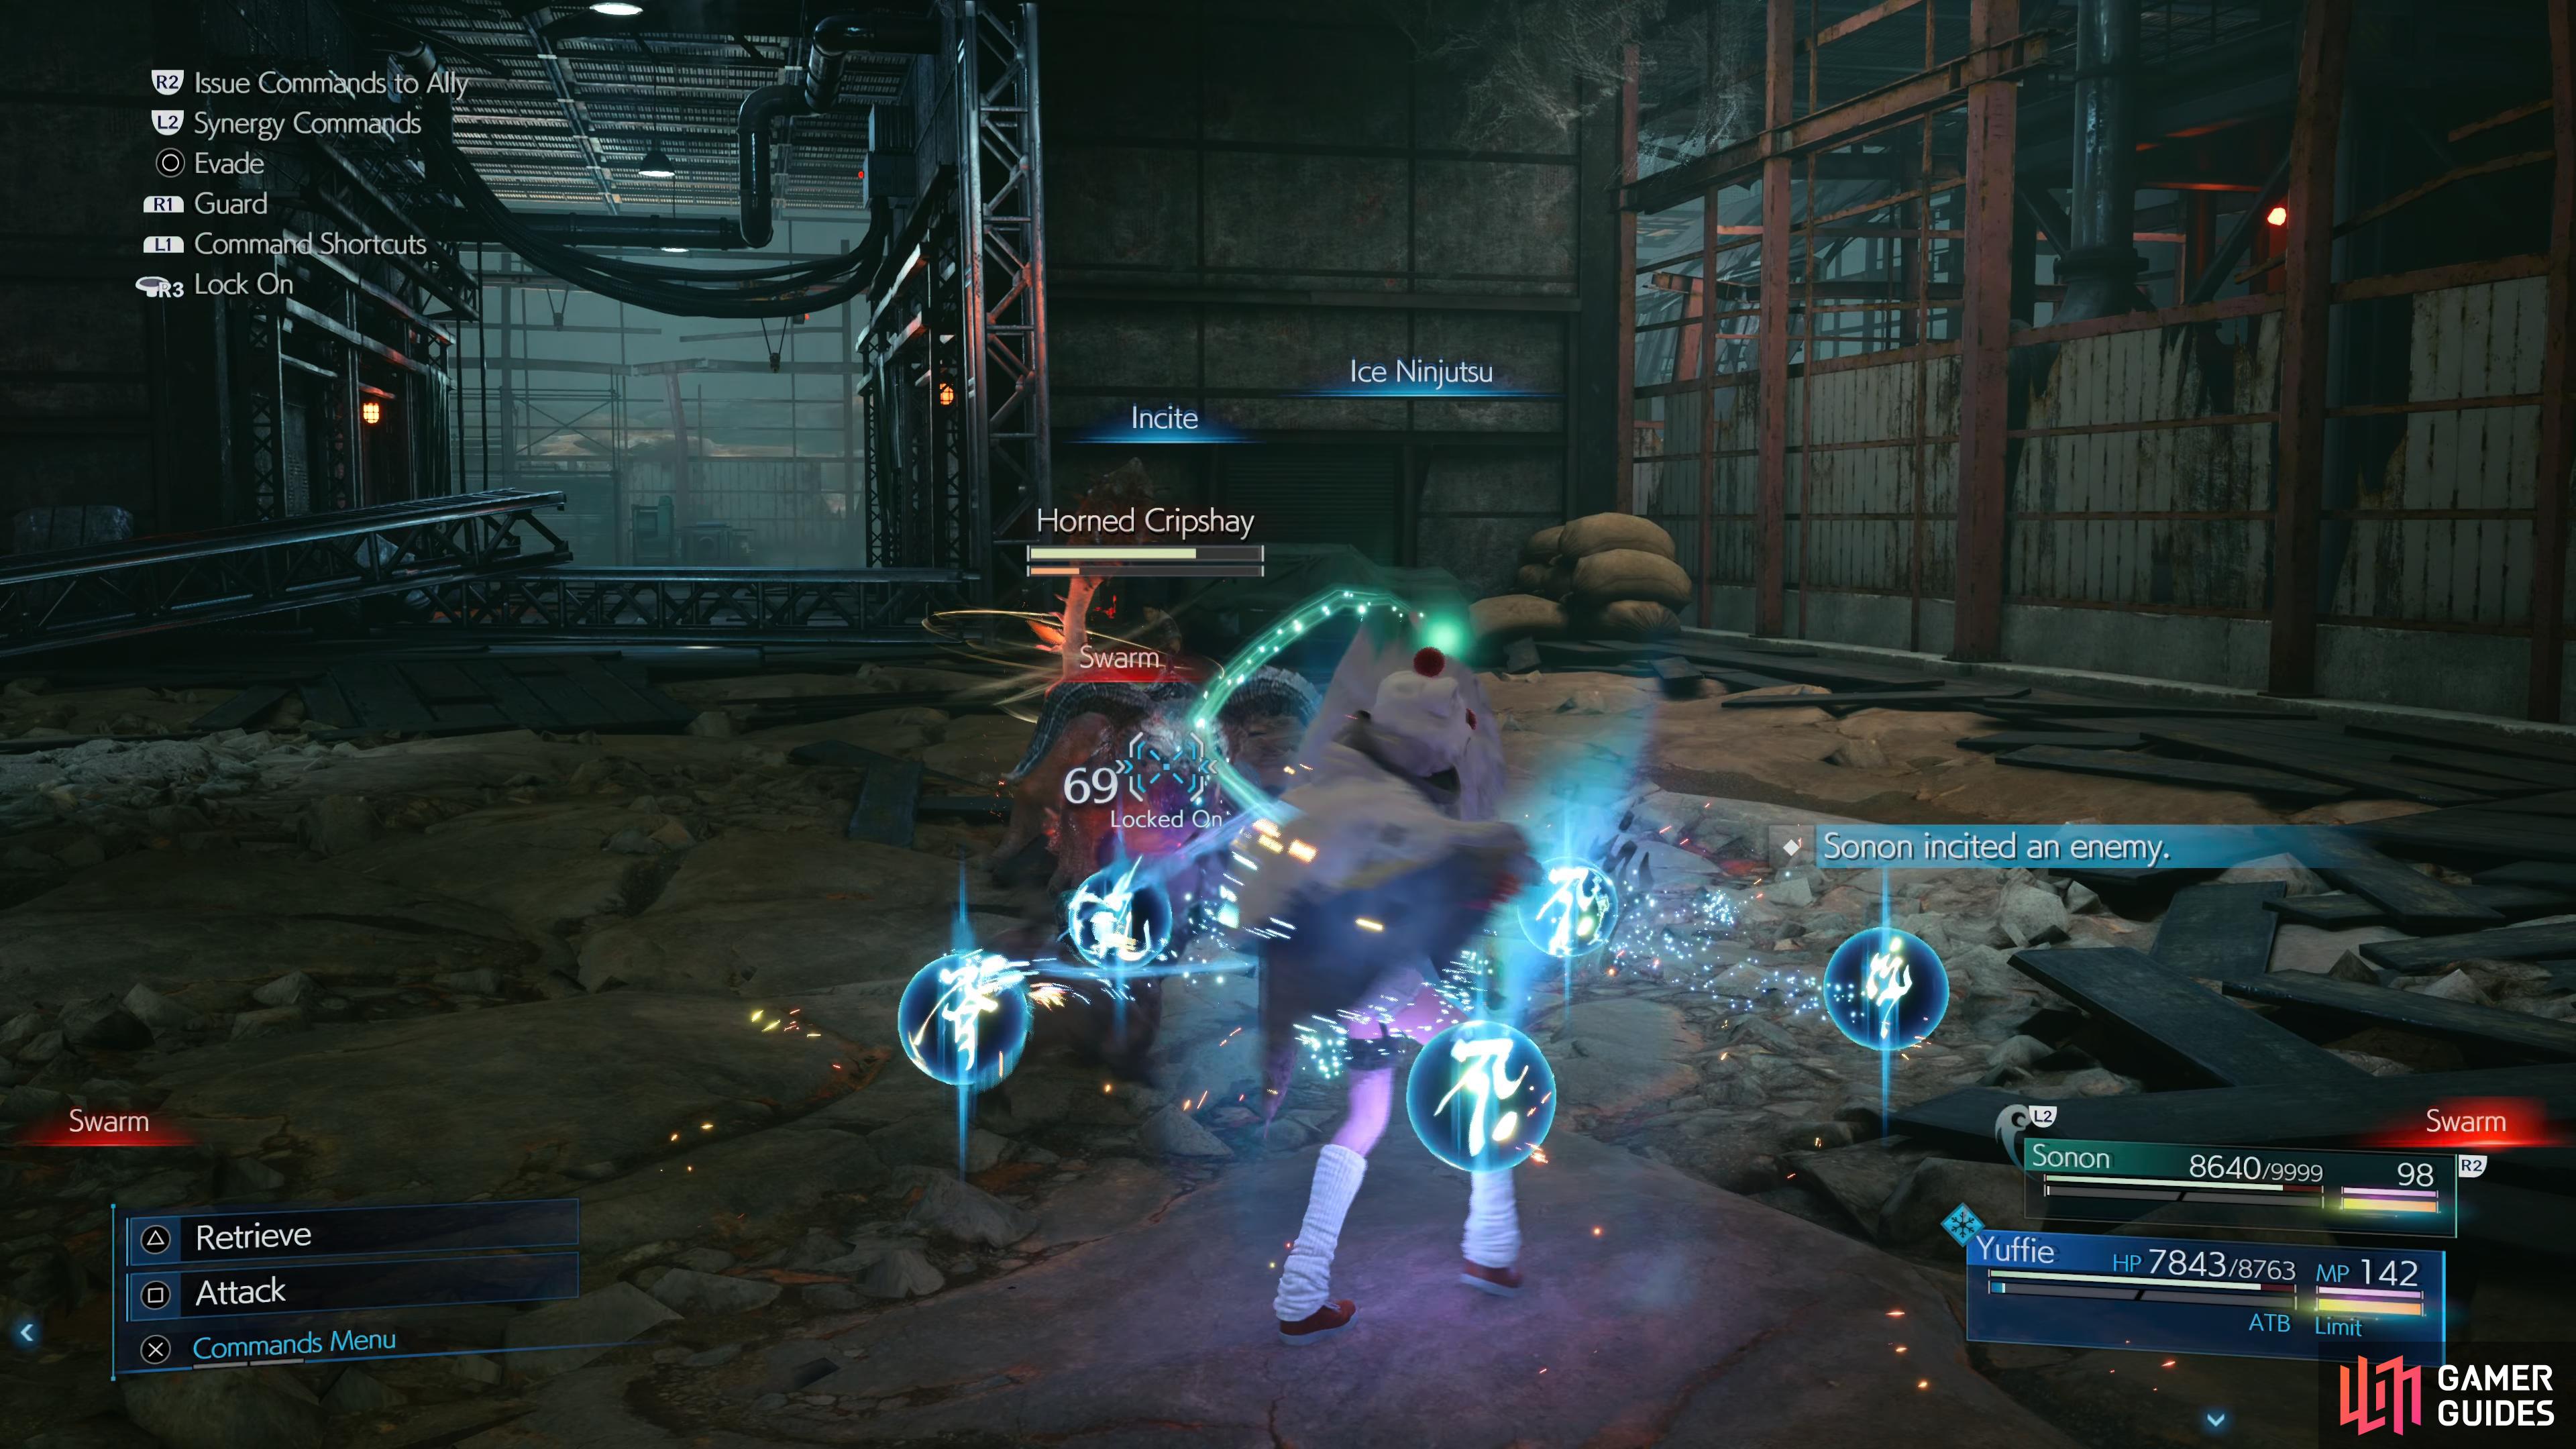
The Corneo Lackeys at the end of this section should be easy to deal with now that you have Sonon in the party. Have him Incite one of them while you pelt the others with Fire Ninjutsu, opting to use a Windstorm should the three of them ever bunch up.
Tracking Zhijie
-
There’s plenty of boxes throughout this section that can restore your MP, be on the lookout for them.
-
The Horned Cripshay is the first main obstacle here, especially when it uses Rallying Cry to summon reinforcements. Ignore the alpha at this point and go for the lesser Cripshays to pressure it and then use Ice Banishment once charged to deal with it. A Magnify + Regen should be more than enough to deal with any damage you take here and for victory, you’ll receive another Manuscript for the pair.
-
You’ll encounter Wrath Hounds and more Wayward Wolves as you venture deeper, apply the same tactics as above and consider setting Elemental + Ice to Sonon’s weapon to aid with striking their weaknesses.
-
Levrikon is another major threat on Hard Mode, be sure to keep your distance at all times. It’s weak to both Fire and Ice so have one of those elemental materias set to Elemental for Sonon and have him Incite at will. Once it’s holding a rock, stop attacking it from the front and only when you get a clear chance from behind to Stagger it with Ninjutsu. Once again, for beating Levrikon, you’ll obtain another Manuscript for Yuffie and Sonon.
-
No other enemies await you between here and the boss at the end of the chapter, Gigantipede.
No Comments