
This takes place in Chapter 1: Wutai’s Finest as part of the INTERmission DLC, once you return to the Sector 7 Slums after obtain the IDs with Nayo.
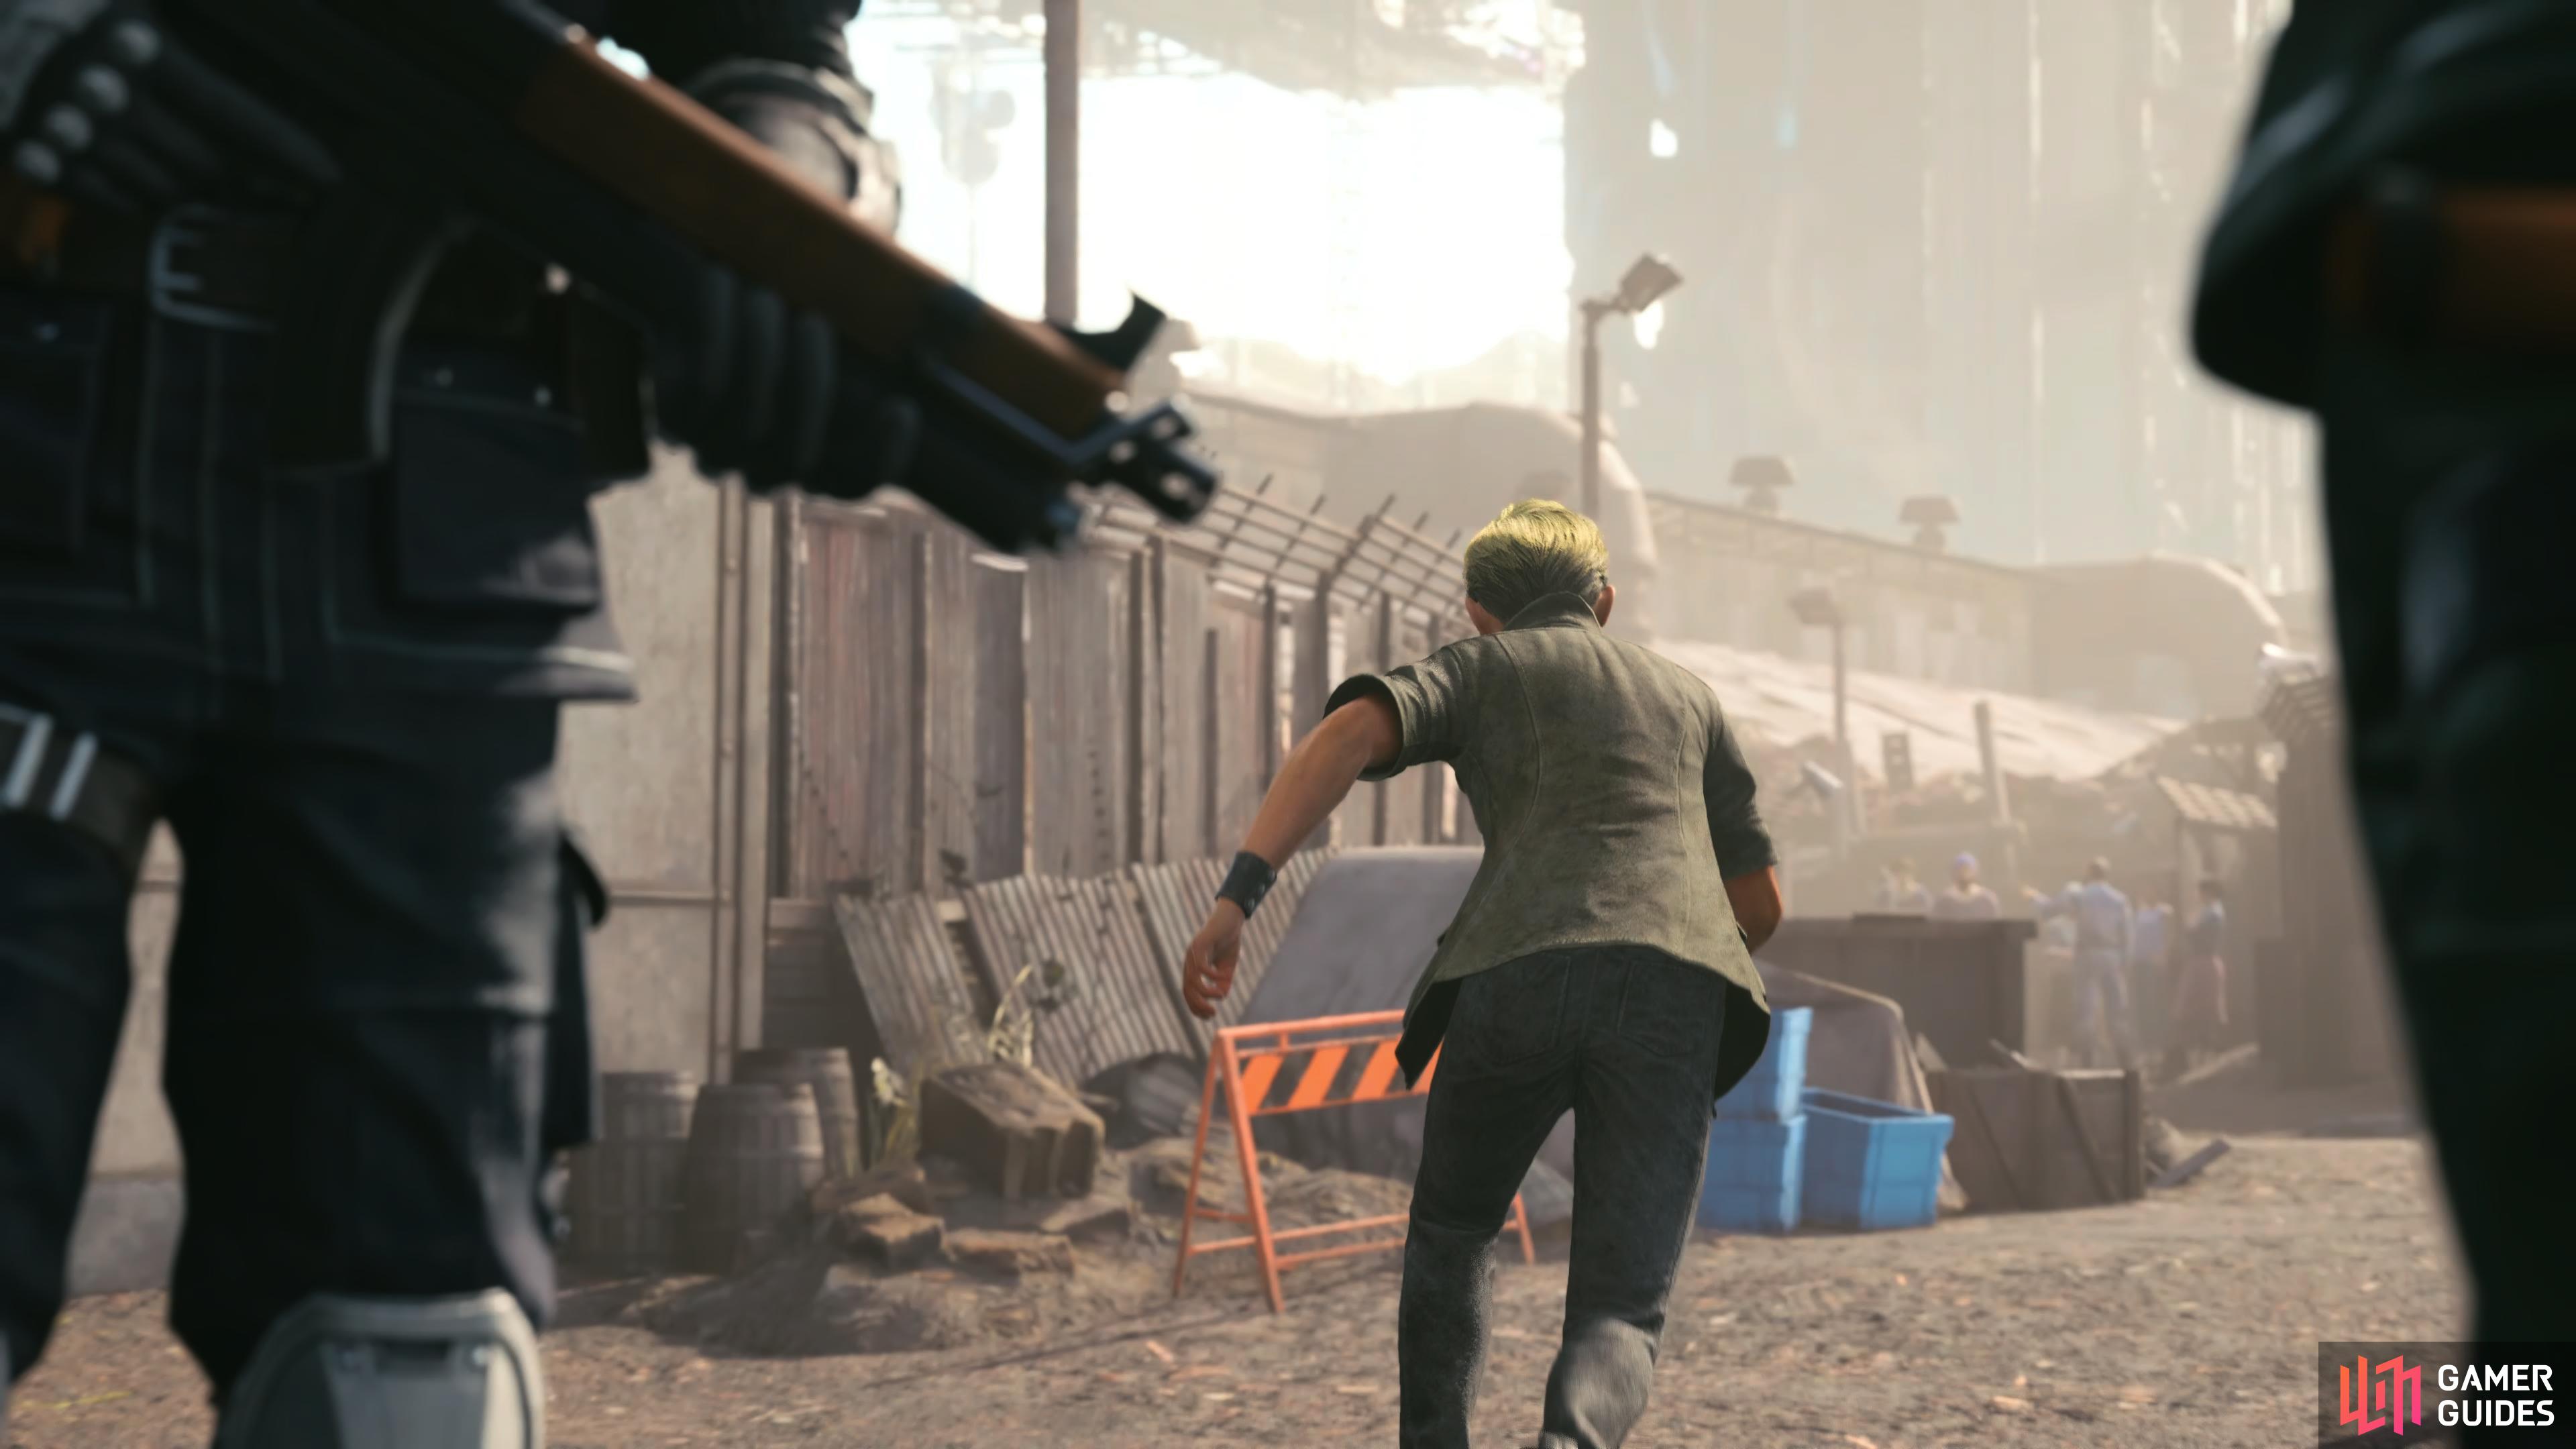
Zhijie fleeing from the Shinra Soldiers.
After Him
With the ID in hand, return to the Slums with Nayo and you’ll receive a visit from a carrier pigeon. The message seems to point out that there’s been a change of plans and to meet Zhijie at the pillar. Follow Nayo through the Slums and you’ll run into him and some Shinra Soldiers. It’s clear that something is amiss and it’s not long before Zhijie is on the run and Nayo urges you to take off after him.
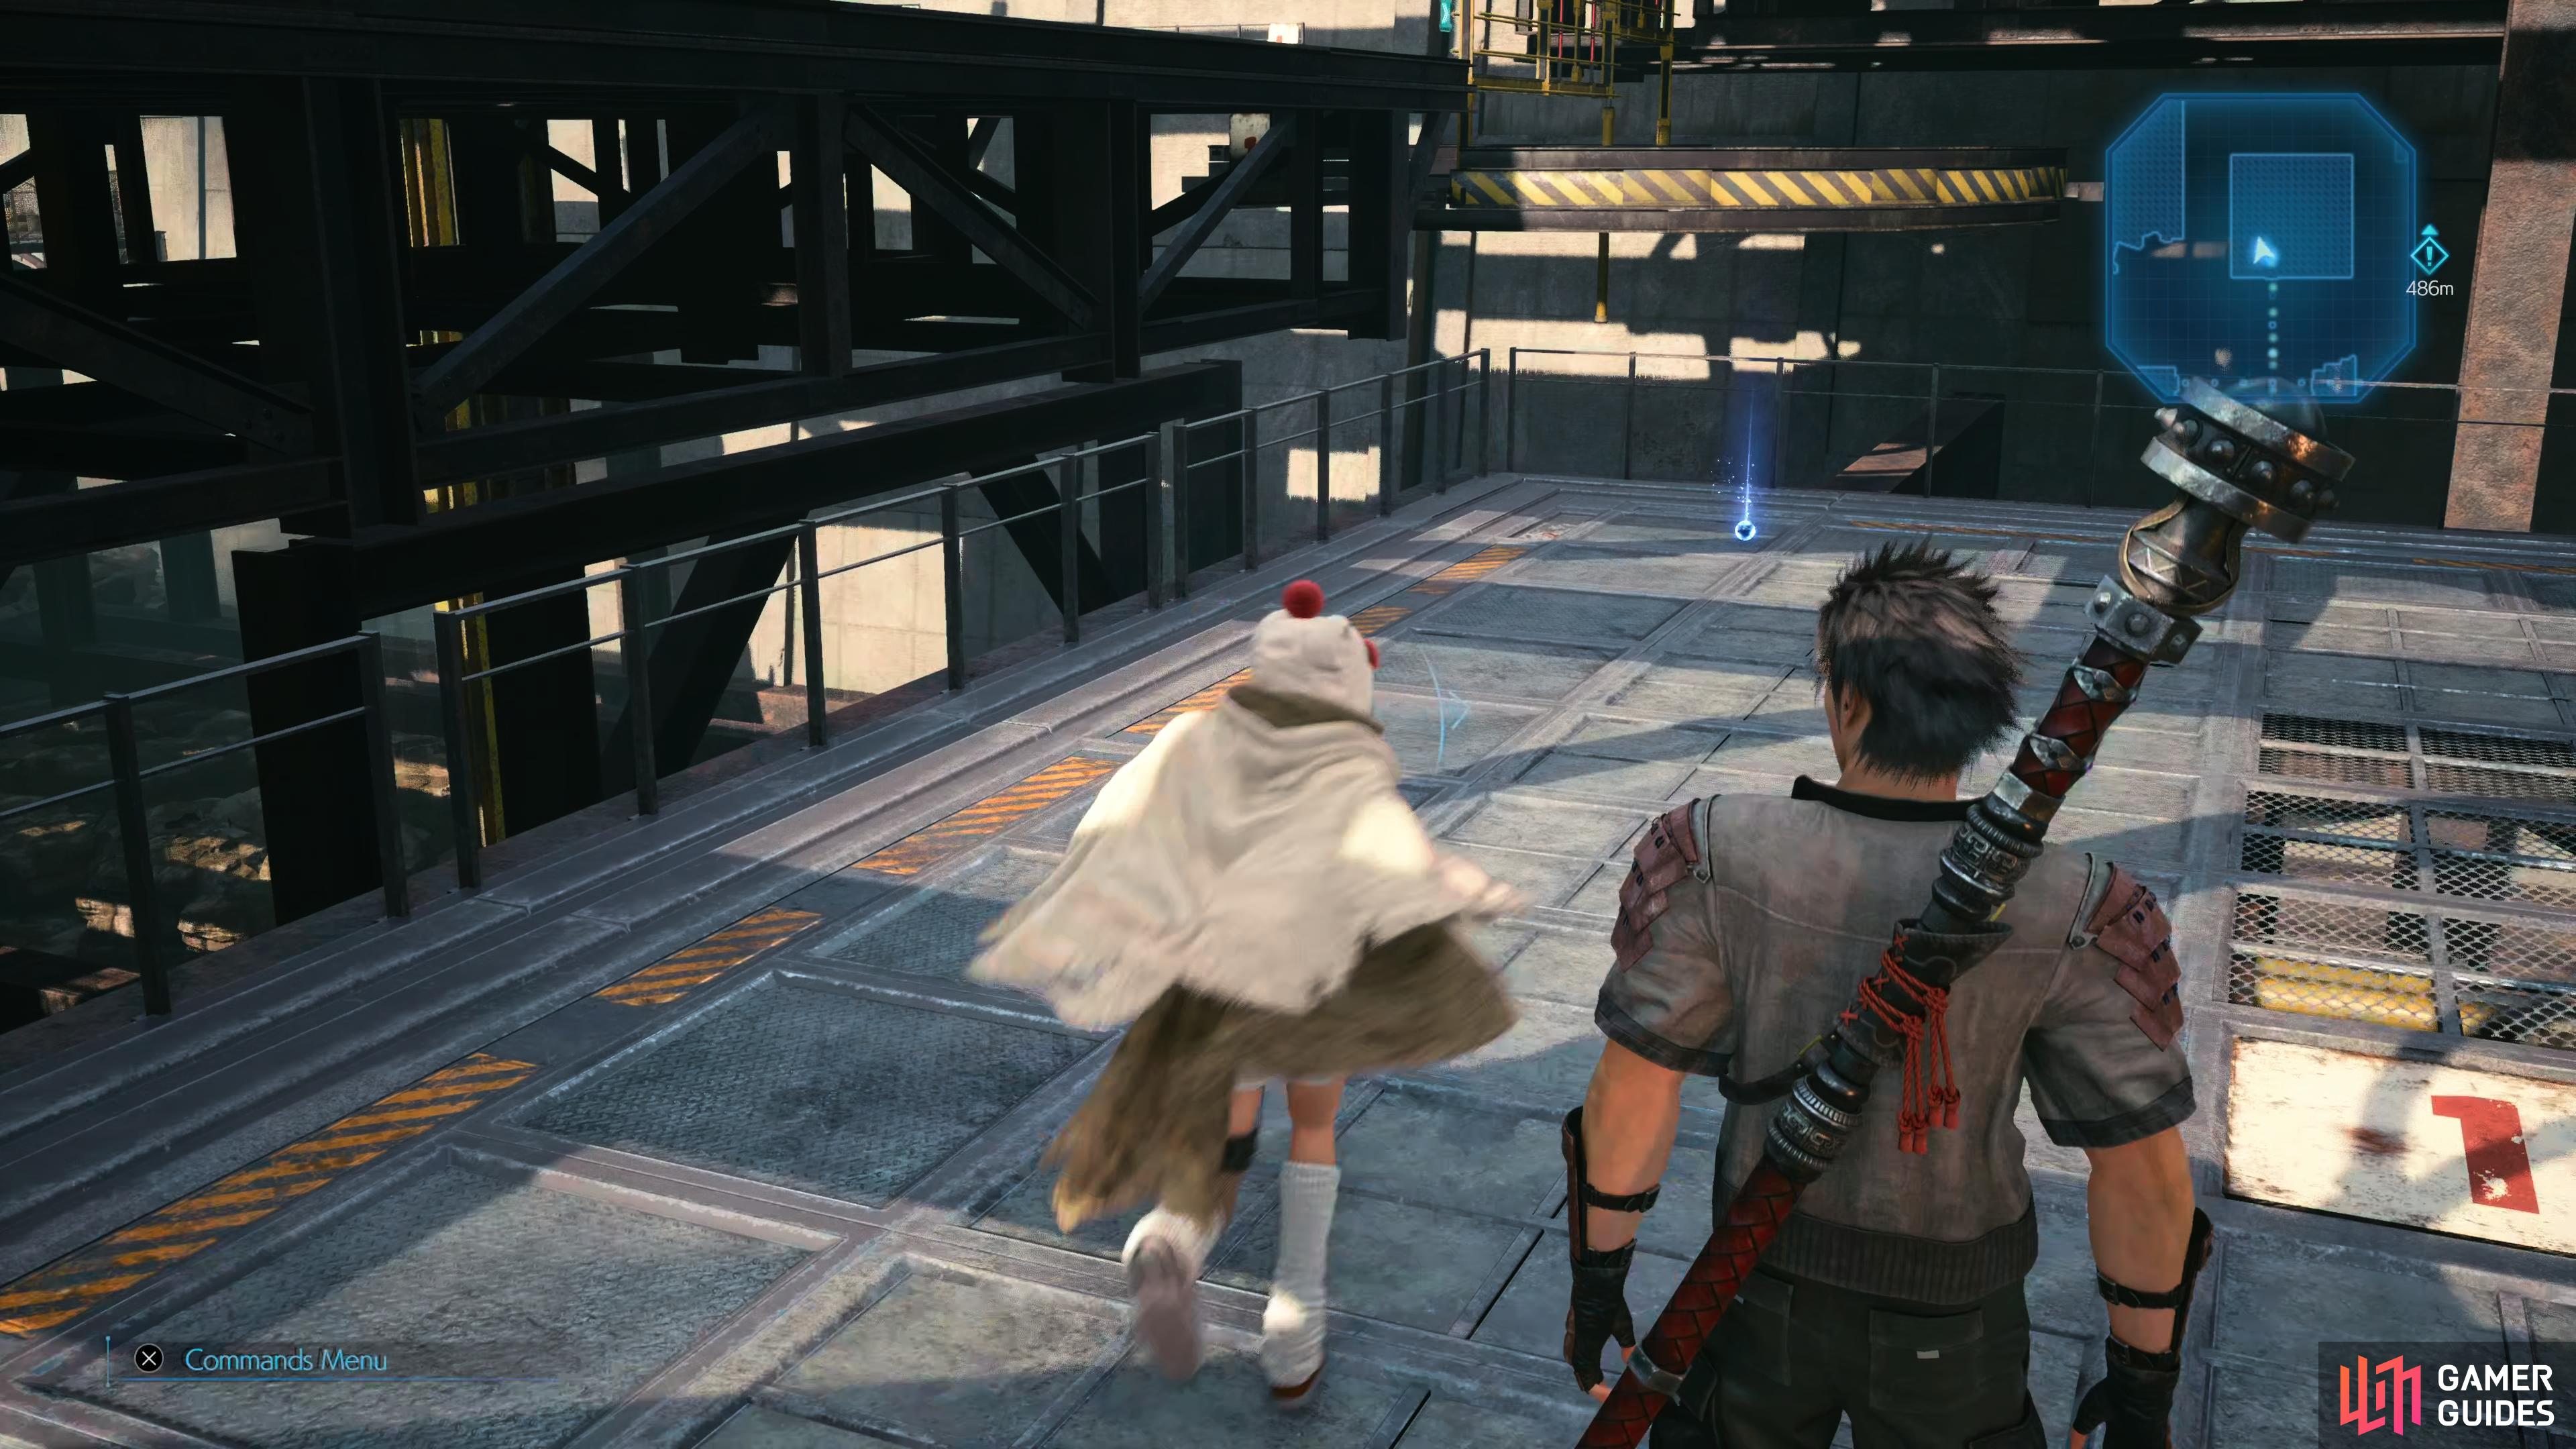
Head through the train station and you’ll eventually be able to hang a right to enter the Train Graveyard where you’ll immediately spot a chest on the right containing the Indurate Staff, a new weapon for Sonon that focuses on raw attack power. Continue along the linear path and you’ll catch up to them as Zhijie tricks the Soldiers and continues further into the Shipping Facility.
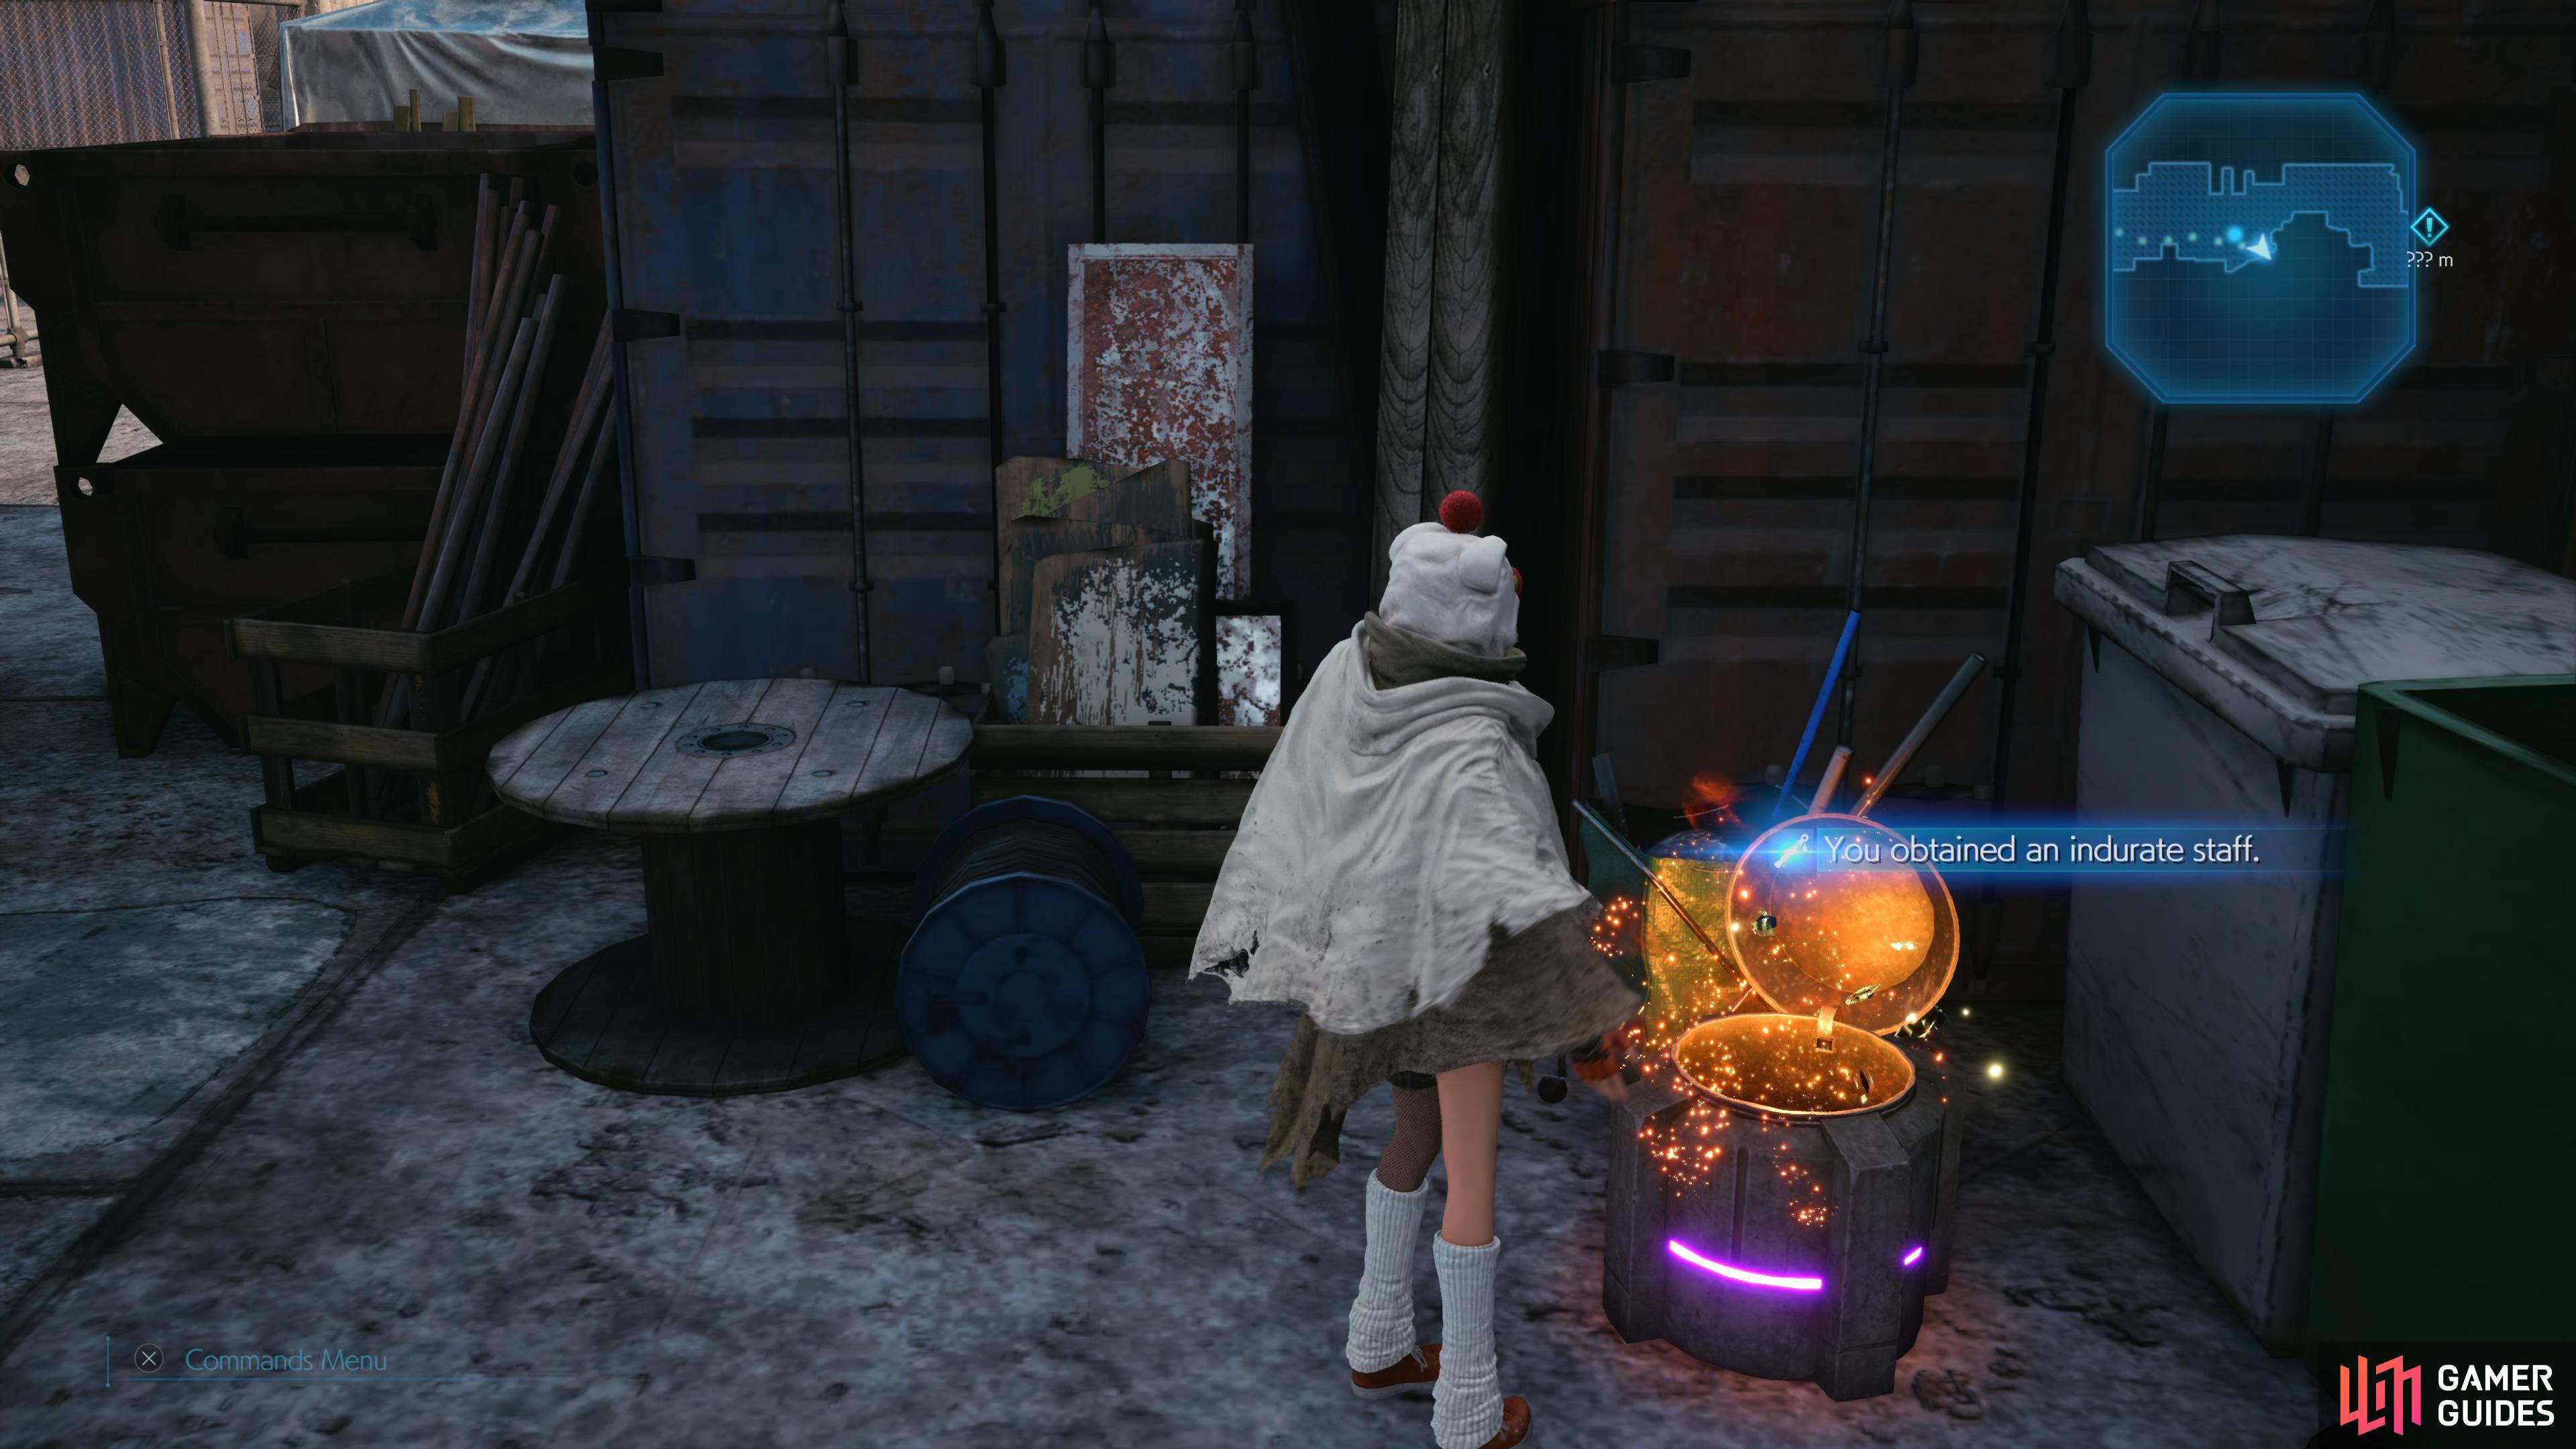
Don’t forget the Indurate Staff as you dash after Zhijie.
Shipping Facility
| Enemy | Weaknesses | Notable Loot |
|---|---|---|
| Cripshay | Ice | – |
| Security Officer | Fire | – |
| Elite Security Officer | Fire | – |
| Horned Cripshay | Ice | Elixir |
| Elite Grenadier | Fire | – |
Zhijie has gained some distance on you and his pursuers and you’ll need to fight your way through the Shipping Facility to catch up to him. Head down the stairs to the east and you’ll run into the first group of monsters here, a pair of Cripshays that are weak to Ice and should pose little threat. Once the area is clear, toss the Shuriken at the nearby switch and head across the carts to the other side. Ignore the pole leading up for now and take the stairs down to the south to encounter another group of Cripshays, any Ninjutsu will make short work of them. Be sure to claim the chest here once they’re defeated, you’ll obtain a Sweeper (Ranged) Unit for use in Fort Condor.
Return up the stairs now and use the pole here to reach the Upper Level. Smash the group of Shinra Boxes and then head towards the Shinra Soldiers to take care of them. You’ll be up against a Security Officer and an Elite Security Officer, both of which are weak to Fire. Target the Security Officer first, a few strikes of your Shuriken should down him and then gang up on the Elite after.
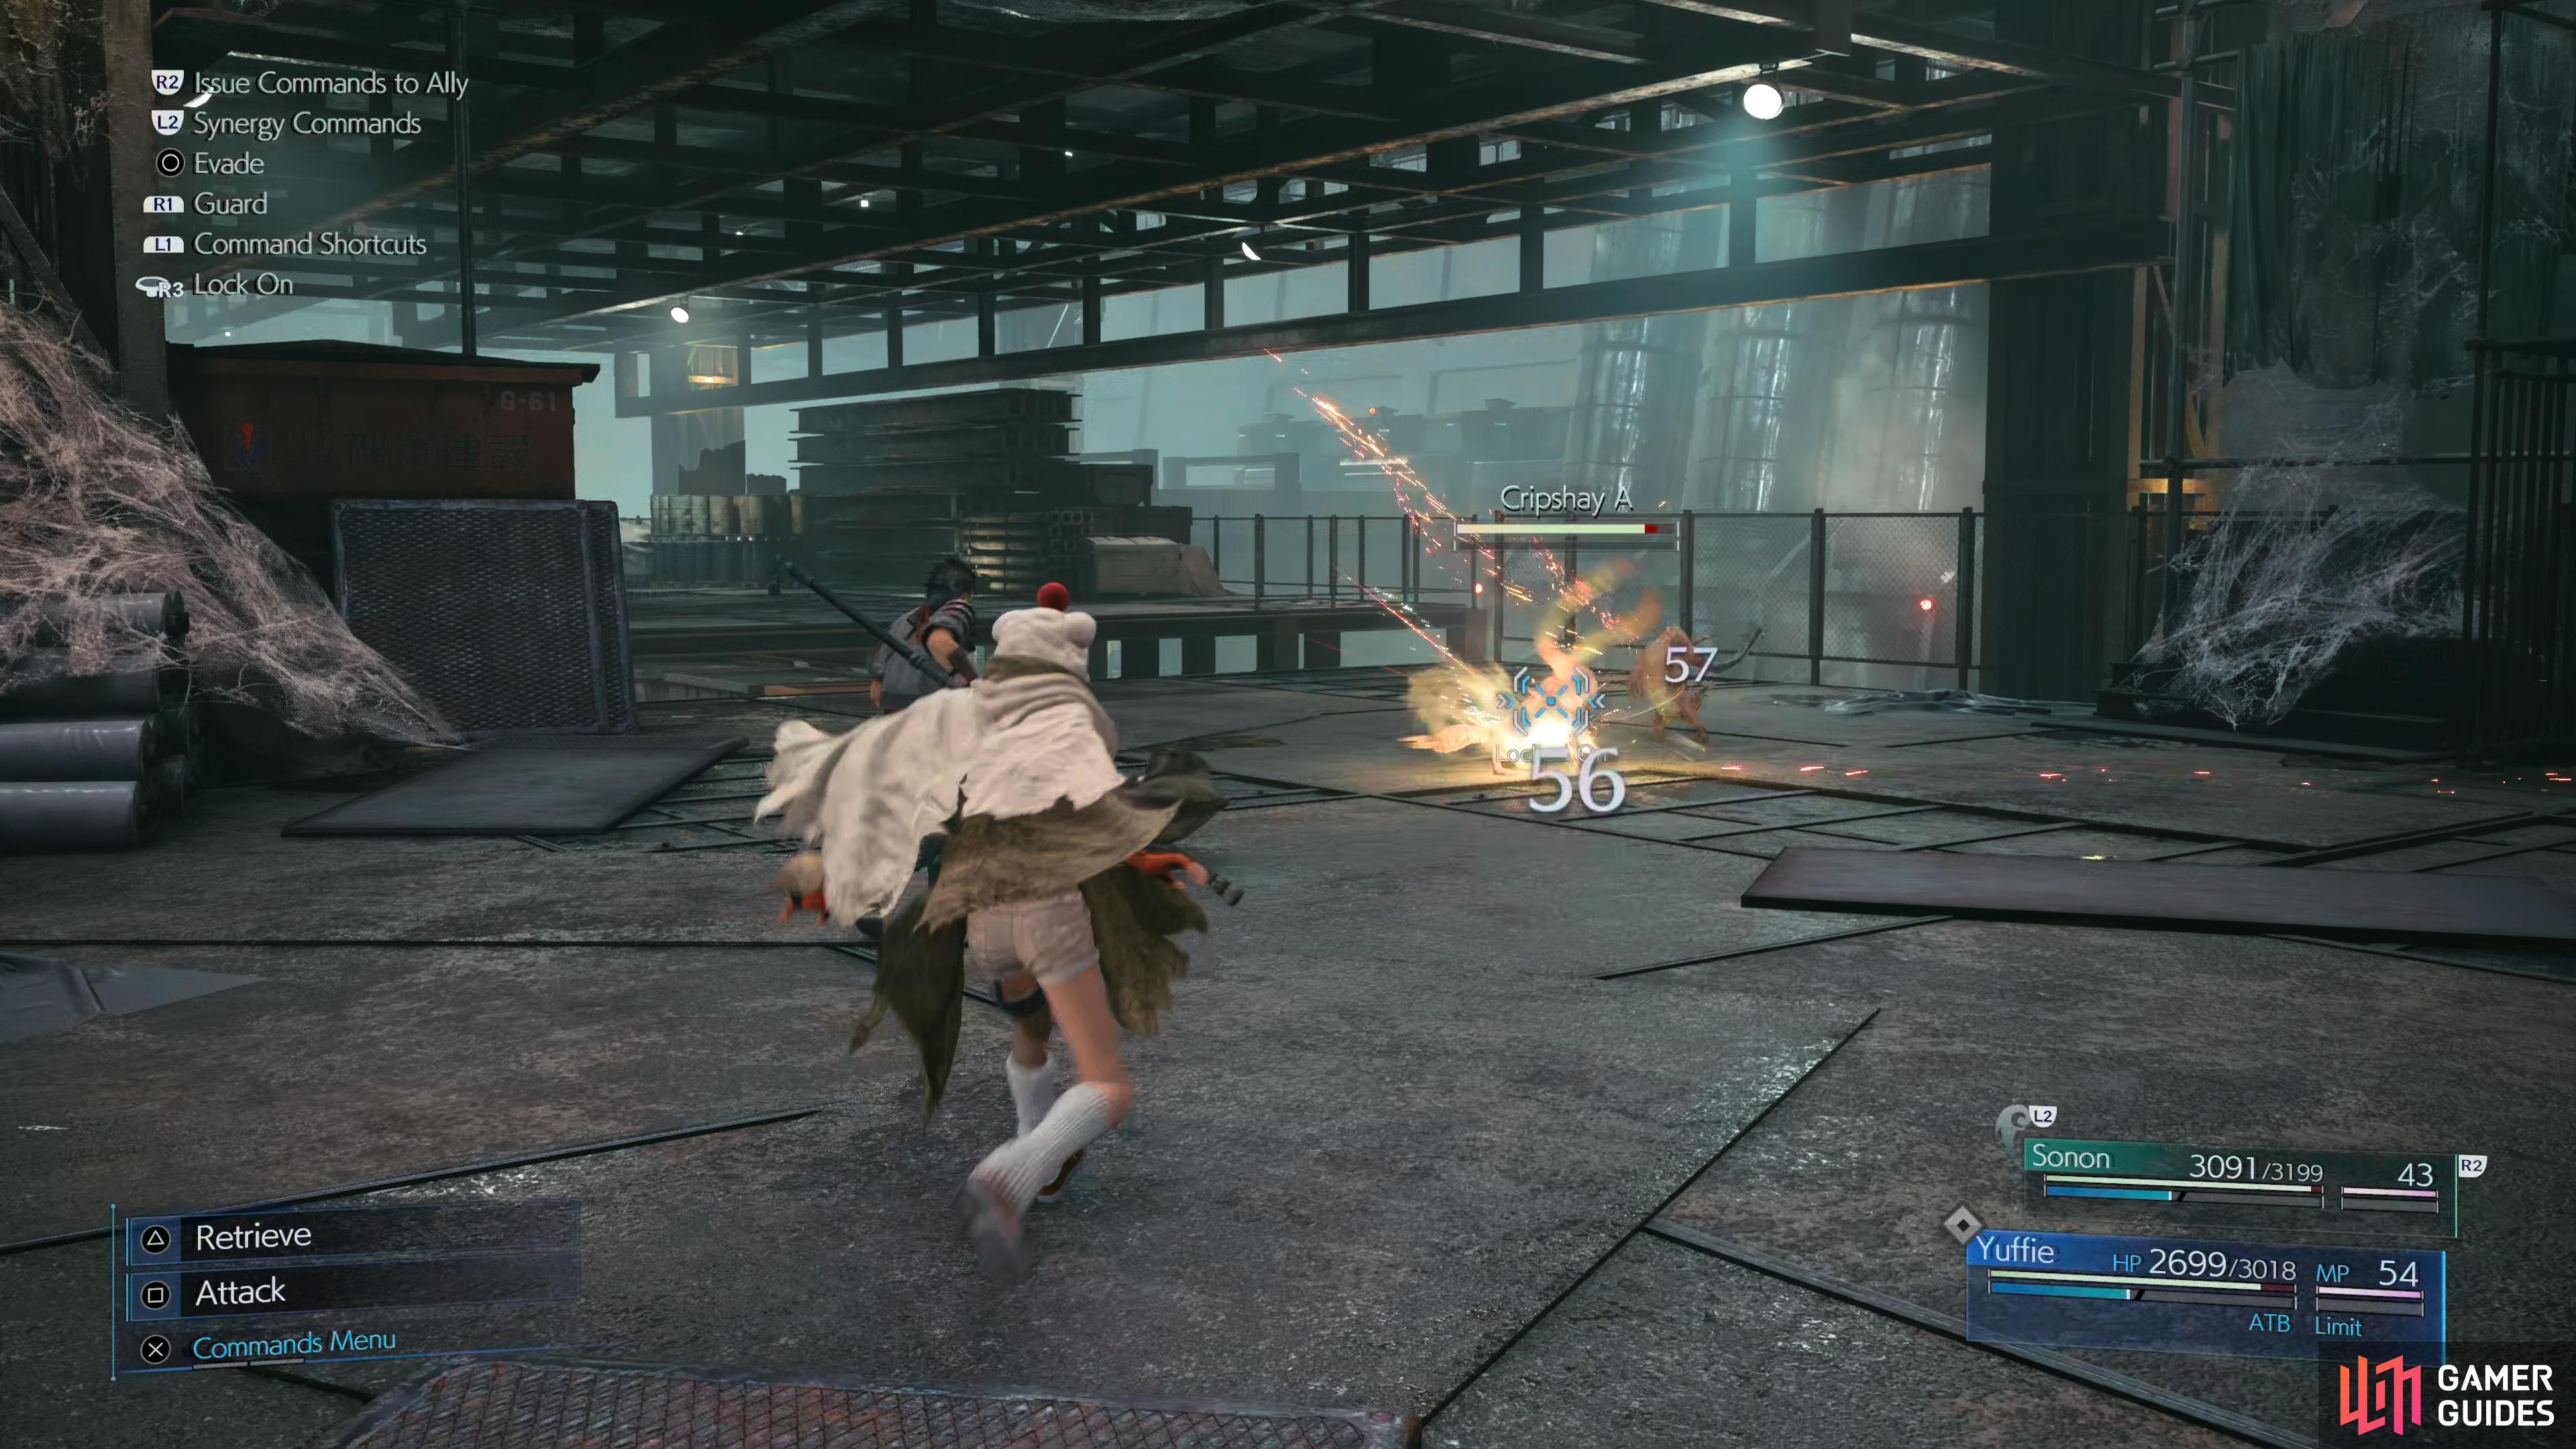
The majority of the enemies in this area should be a pushover
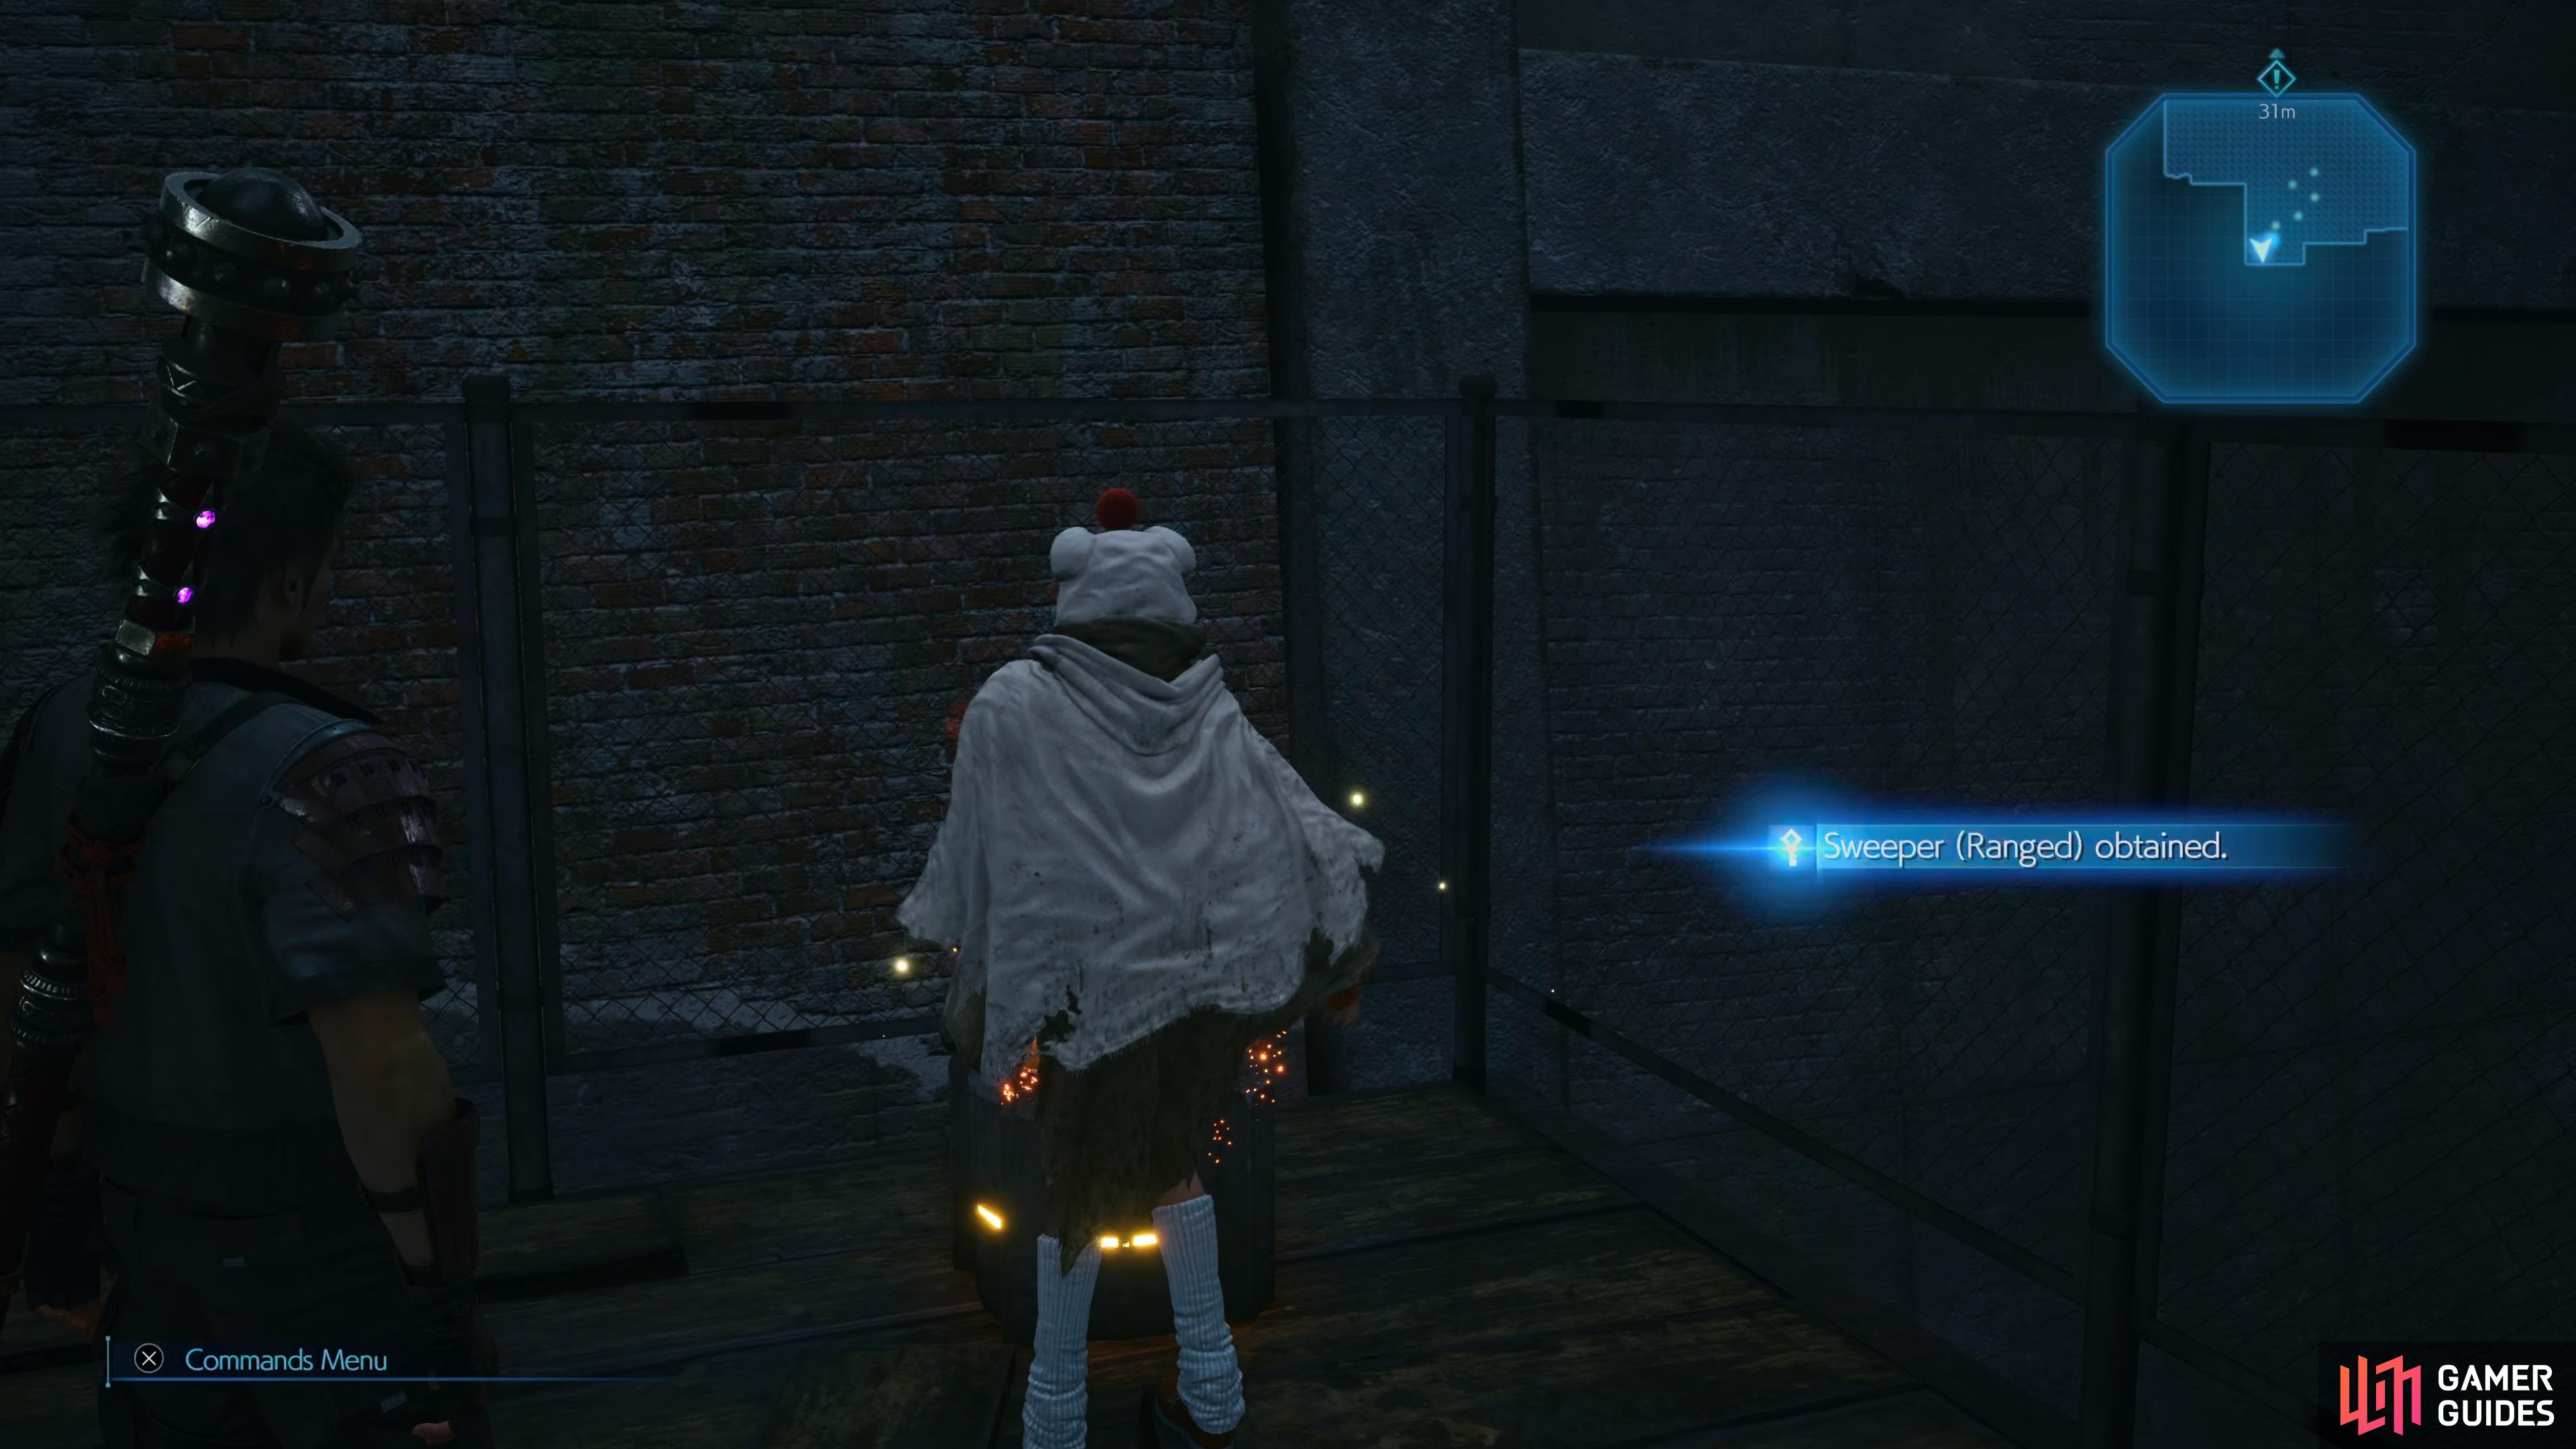
loot this chest to obtain the Sweeper for Fort Condor.
After the battle’s over, you’ll notice that you won’t be able to follow Zhijie as you’ll need to find a way to shut down the conveyor belt first. Head to the north and you’ll spot a broken fence to the west, wait for a gap in the carts and then toss the Shuriken at the switch to stop the belt. Zhijie can wait for now however, there’s more loot to the north so take the nearby ladder down and smash the Shinra Boxes to the right. Up ahead, you’ll spot two Lesser Drakes that you encountered earlier, these are weak to Wind so change to Wind Ninjutsu and use it to take care of them. Once the area is clear, go ahead and nab the Prayer Materia in the corner.
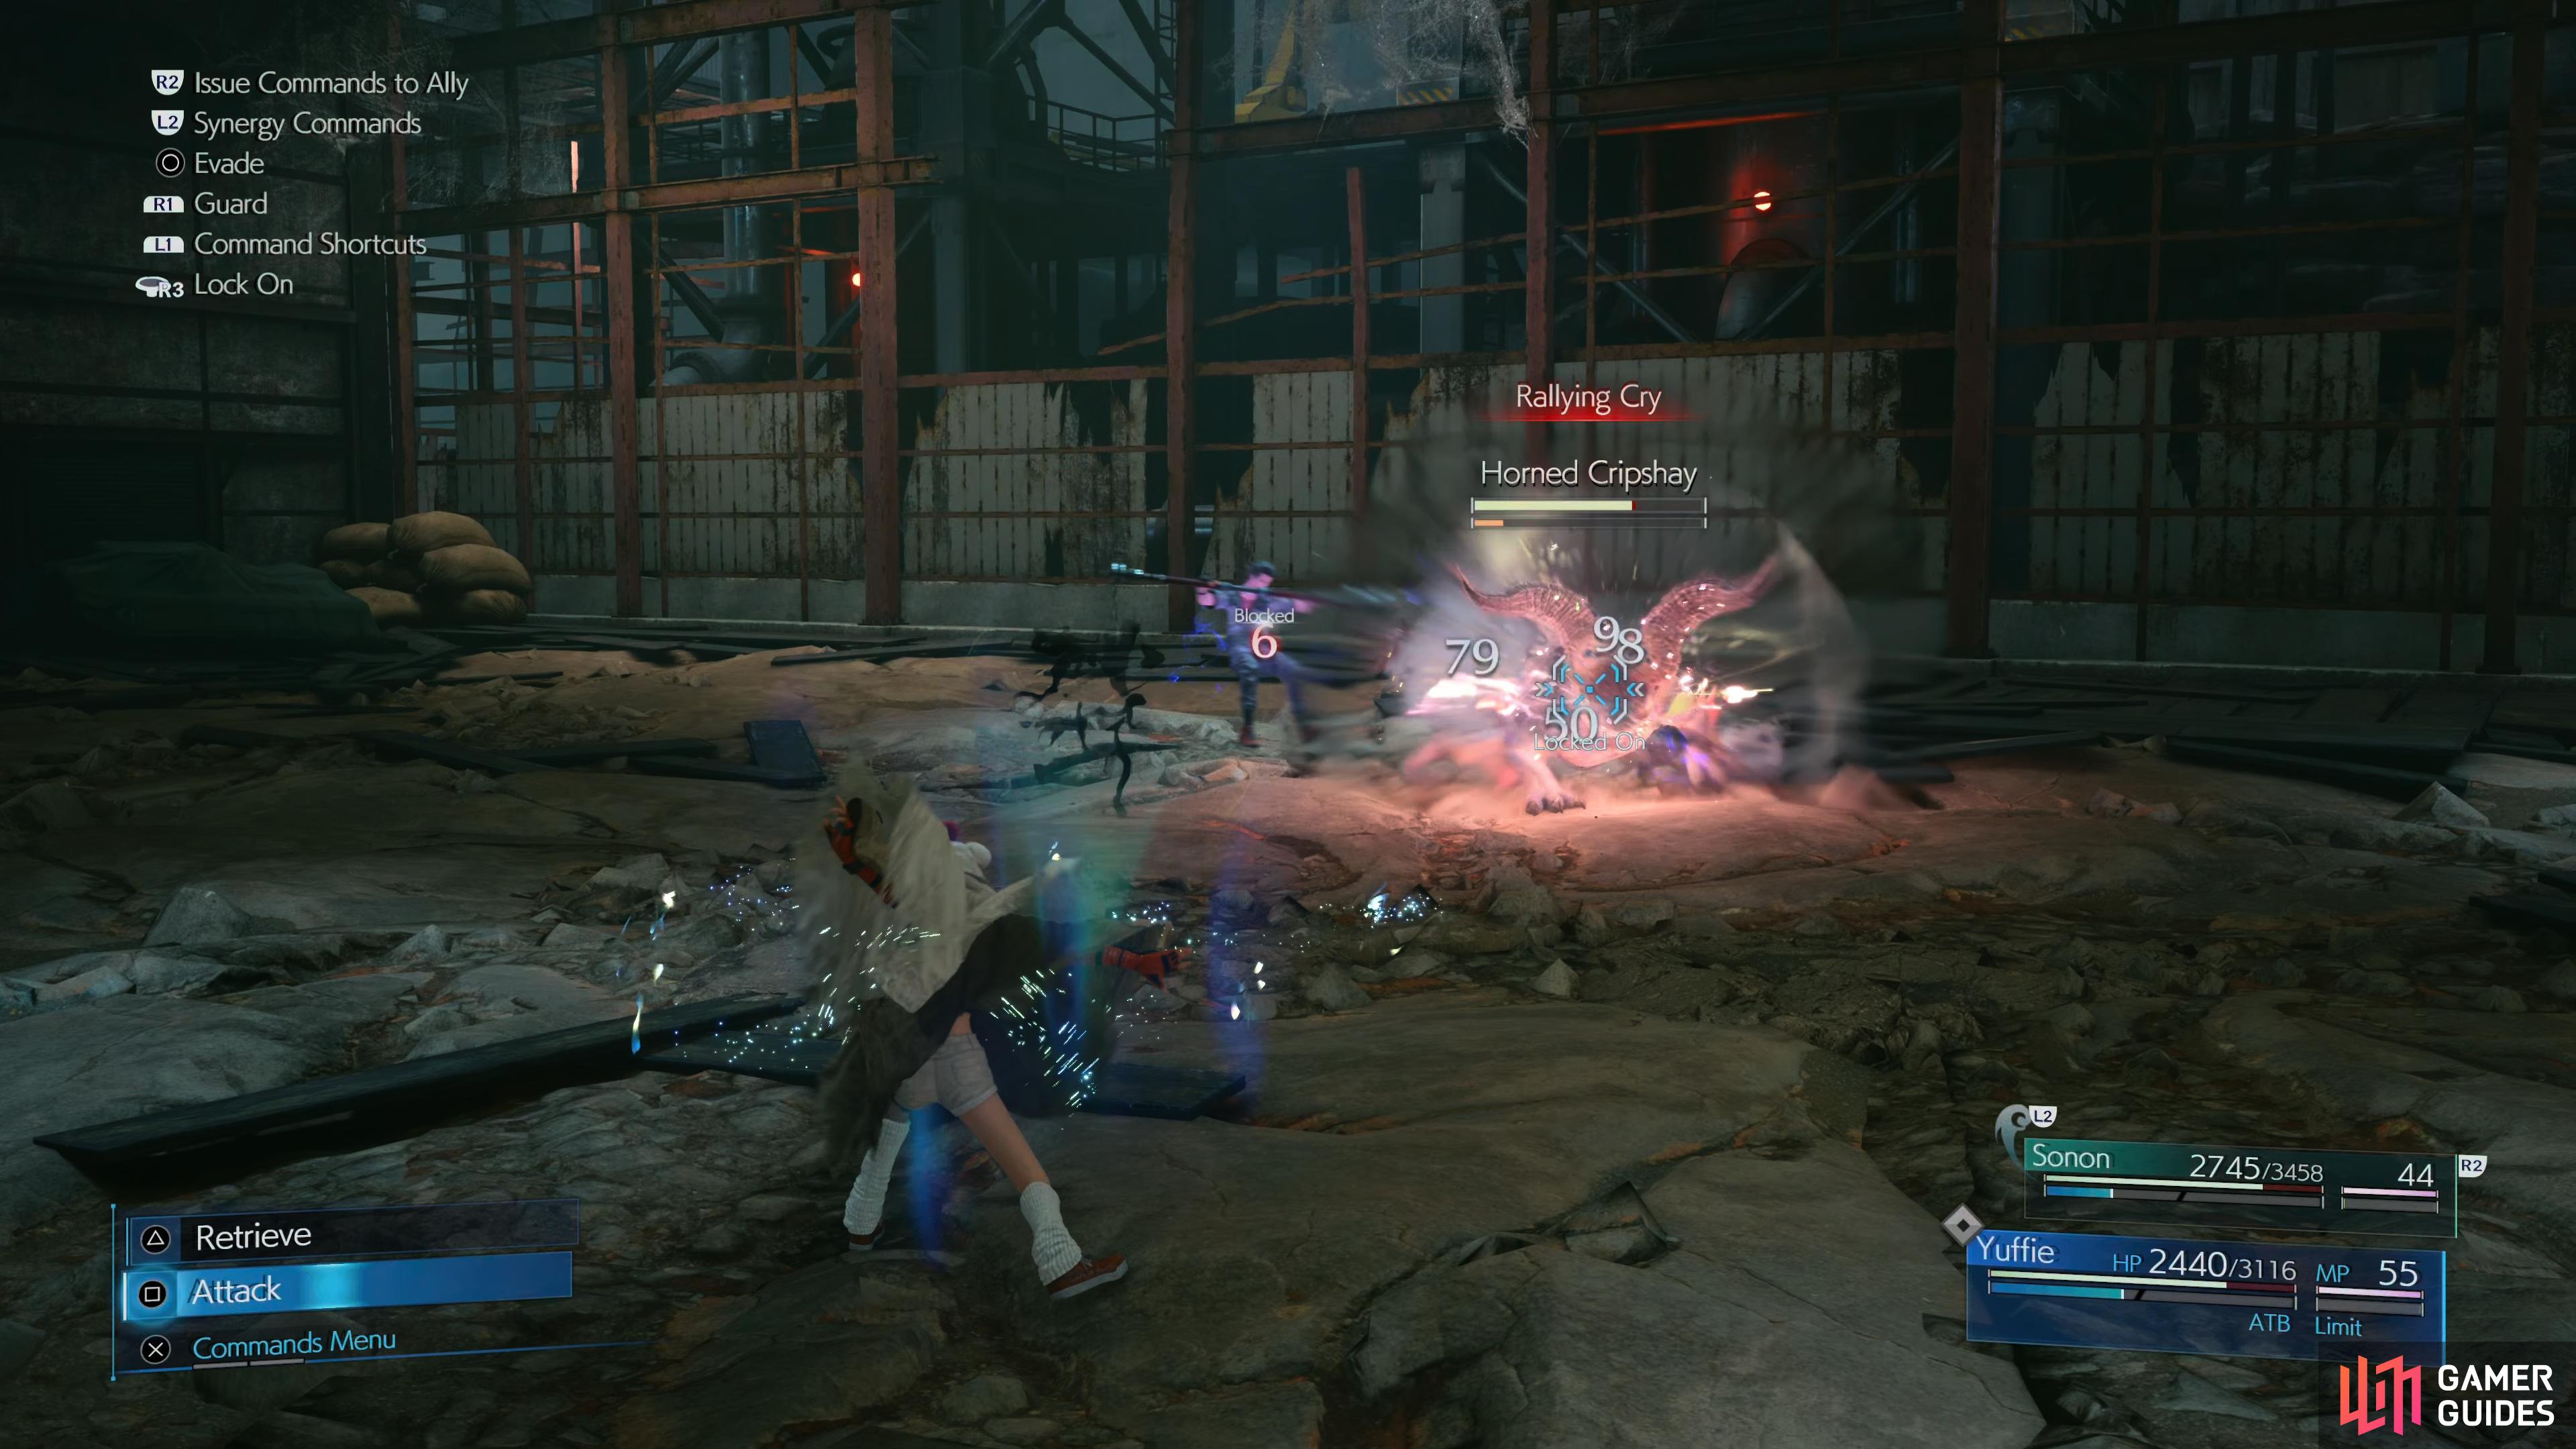
Make your way back to the conveyor belt now and cross over to the other side to reach Ward 2. Break the nearby Shinra Boxes and then take the pole down to keep on the trail of Zhijie. Stand on the cart and pull the switch to get things moving, keeping an eye out for opportunities to toss the Shuriken at boxes as you go along. Get off at the other side and you’ll trigger a scene as Zhijie’s attempts to escape his pursuers sends Yuffie and Sonon tumbling to the ground.
Now on the Lower Level, climb over the fallen girder and you’ll encounter a Horned Cripshay, a deadlier variant of the lesser one’s you’ve been defeating. More importantly, this beast has a valuable Elixir available to Steal, try and spend some time to steal it before defeating it. You’ll receive the powerful Gozu Drive Accessory which, when paired with the Chthonian Armlet from earlier, will increase the user’s damage in proportion to your current HP. Consider equipping this combo to Yuffie to make use of it.
The Horned Cripshay is the first difficult enemy in this area

you’ll need to defeat the lesser Cripshays to pressure it.
Once the area is clear, take the pole up to the Mid-Level and follow the path to the south to find a chest containing Yuffie’s final weapon, the Steel Reaper, a weapon that favors attack power. Consider upgrading this weapon and adding some Materia Slots, the Banishment Ability especially is a very powerful one. Make your way across the railings to the other side and you’ll catch up to the next group of Shinra Soldiers. These are as much as pushover as the previous two so put them down and move on to using the switch nearby to stop the conveyor belt and head across.
Storage Depot
| Enemy | Weaknesses | Notable Loot |
|---|---|---|
| Toxirat | Ice | – |
| Wrath Hound | Ice | – |
| Wayward Wolf | Ice | Mega-Potion |
| Elite Grenadier | Fire | – |
| Gorger | Ice | – |
You’ll find yourself in the Storage Depot as you close in you Zhijie’s location. Head north and take the railings across to the right, up and then finally left to reach the higher platform. You’ll spot switch #3 here, toss the Shuriken at it and then once more at the lower switch to create a path down. Head up the stairs here and deal with the group of Toxirats and then take the northern of path to the east to locate a chest containing an Assassin Board III for use in Fort Condor.
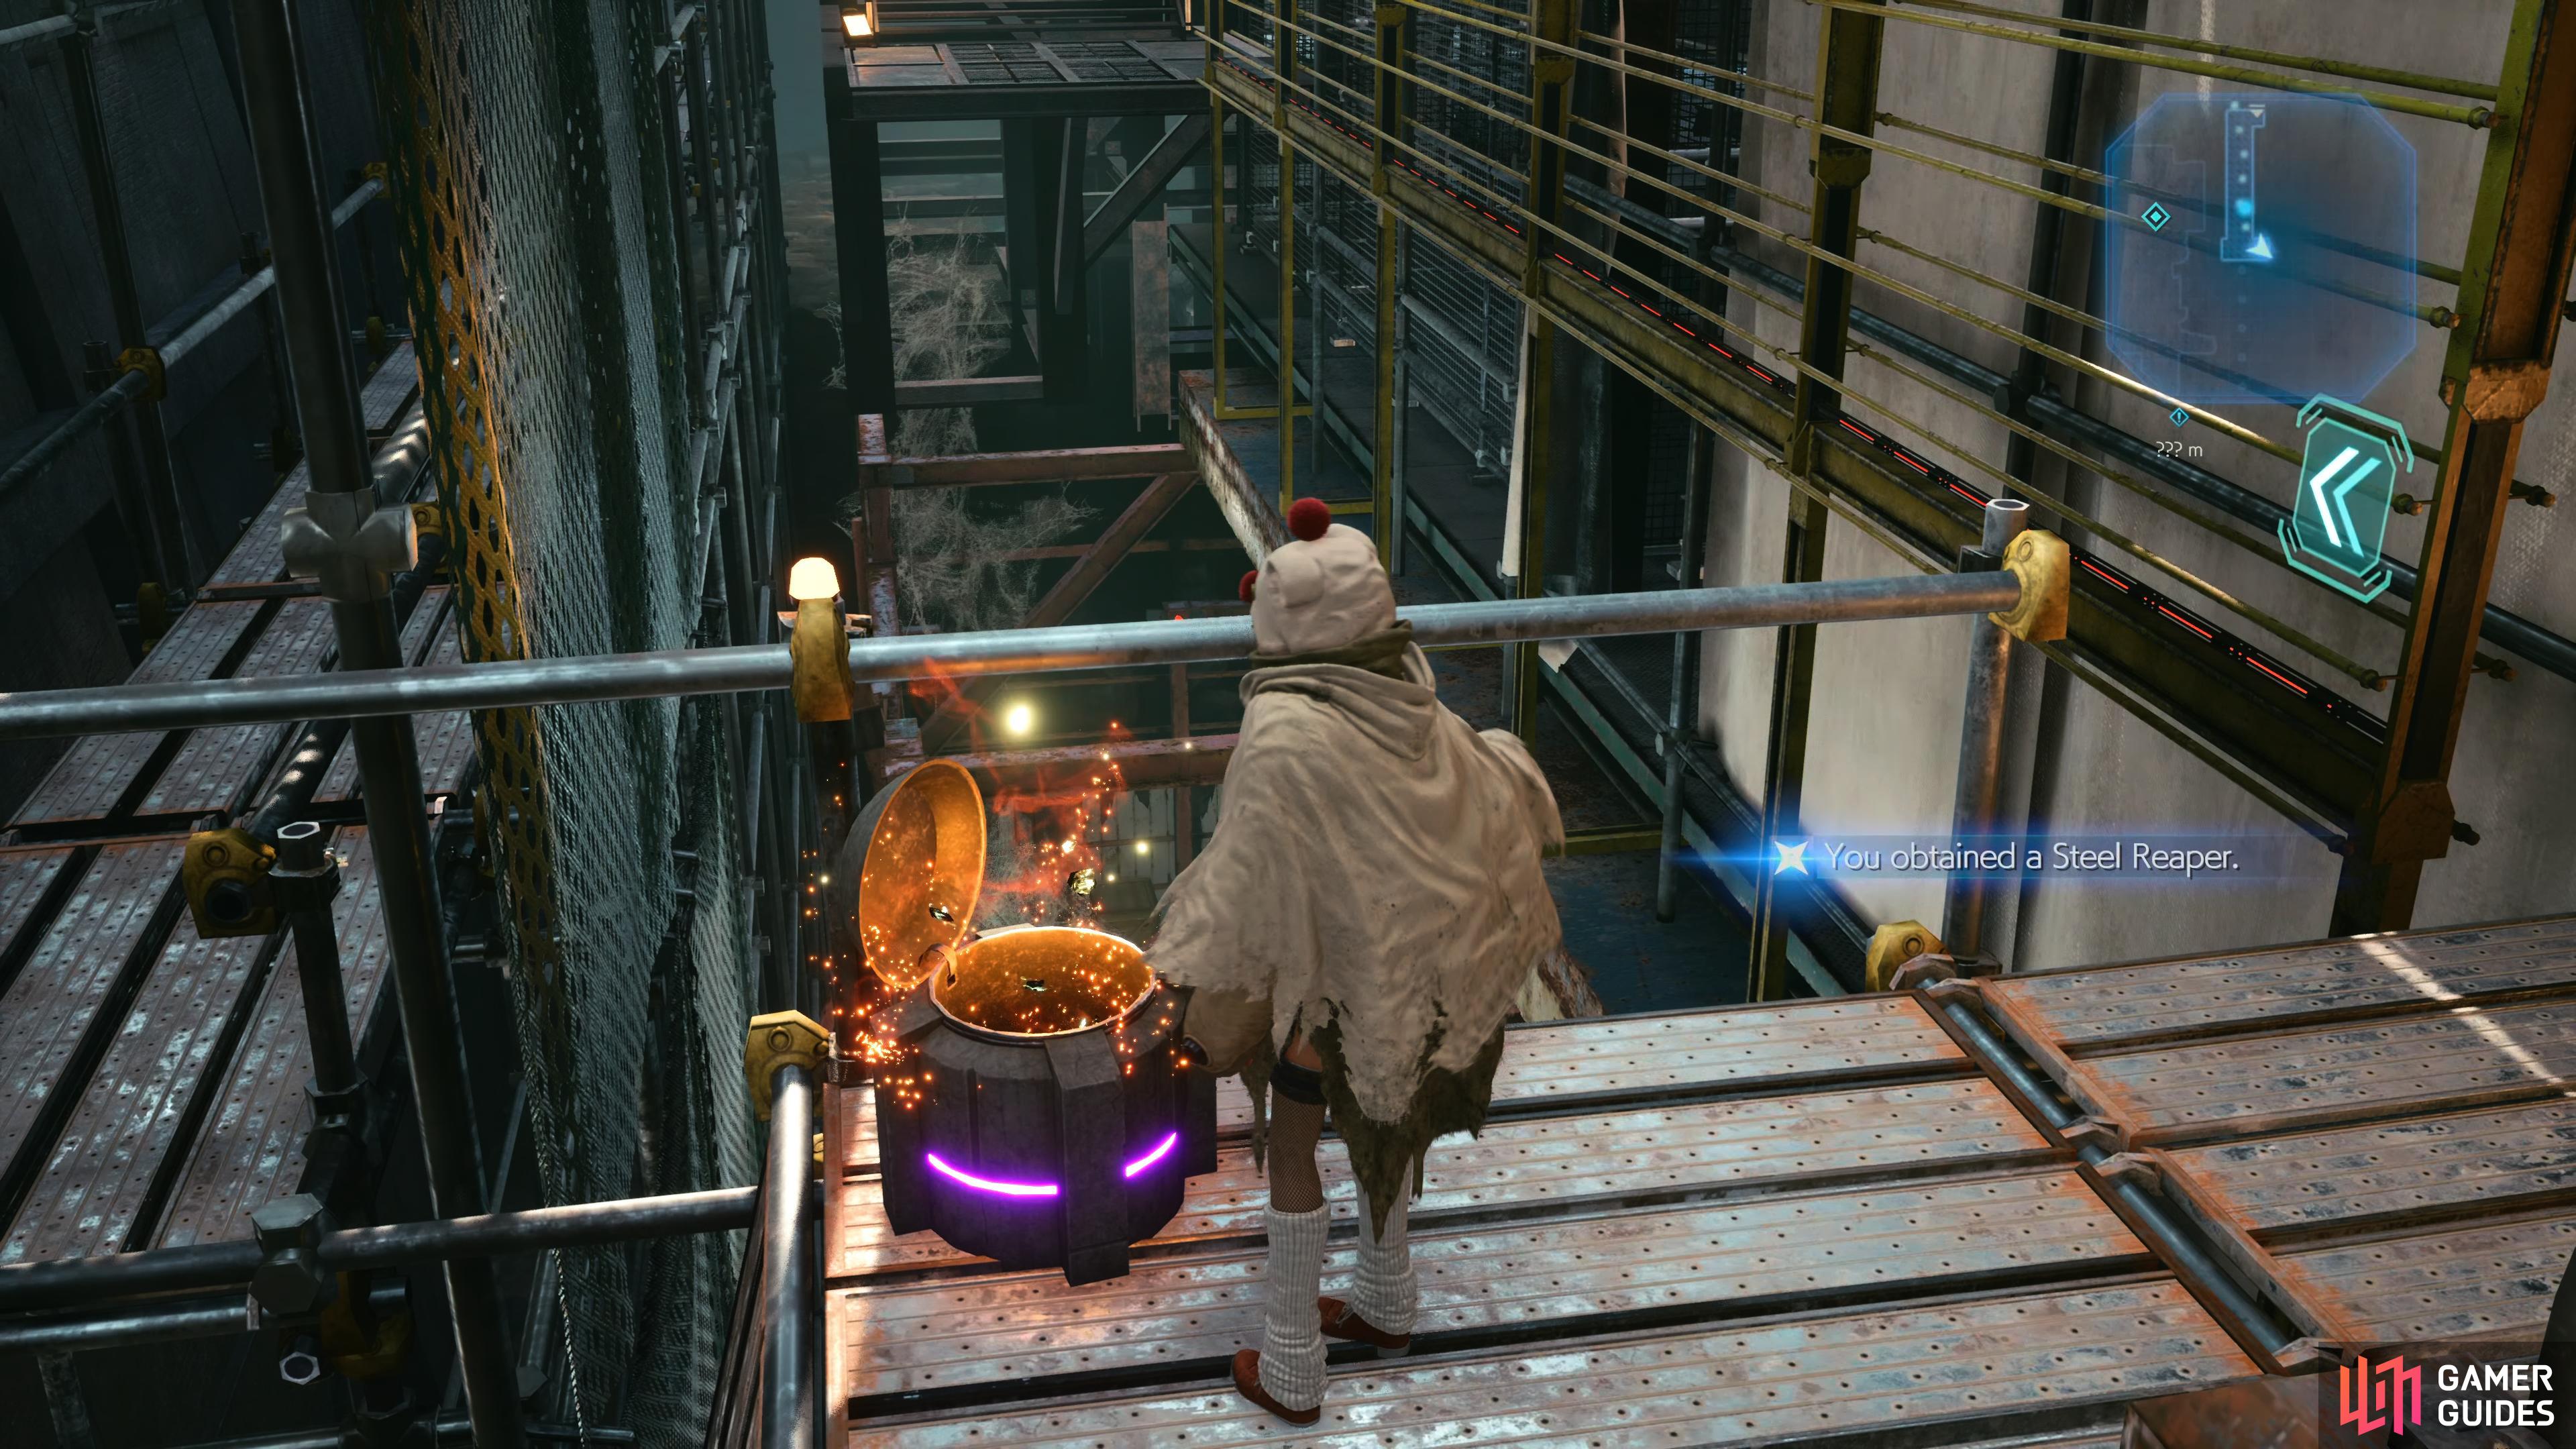
Steel Reaper is one of Yuffie’s better weapons
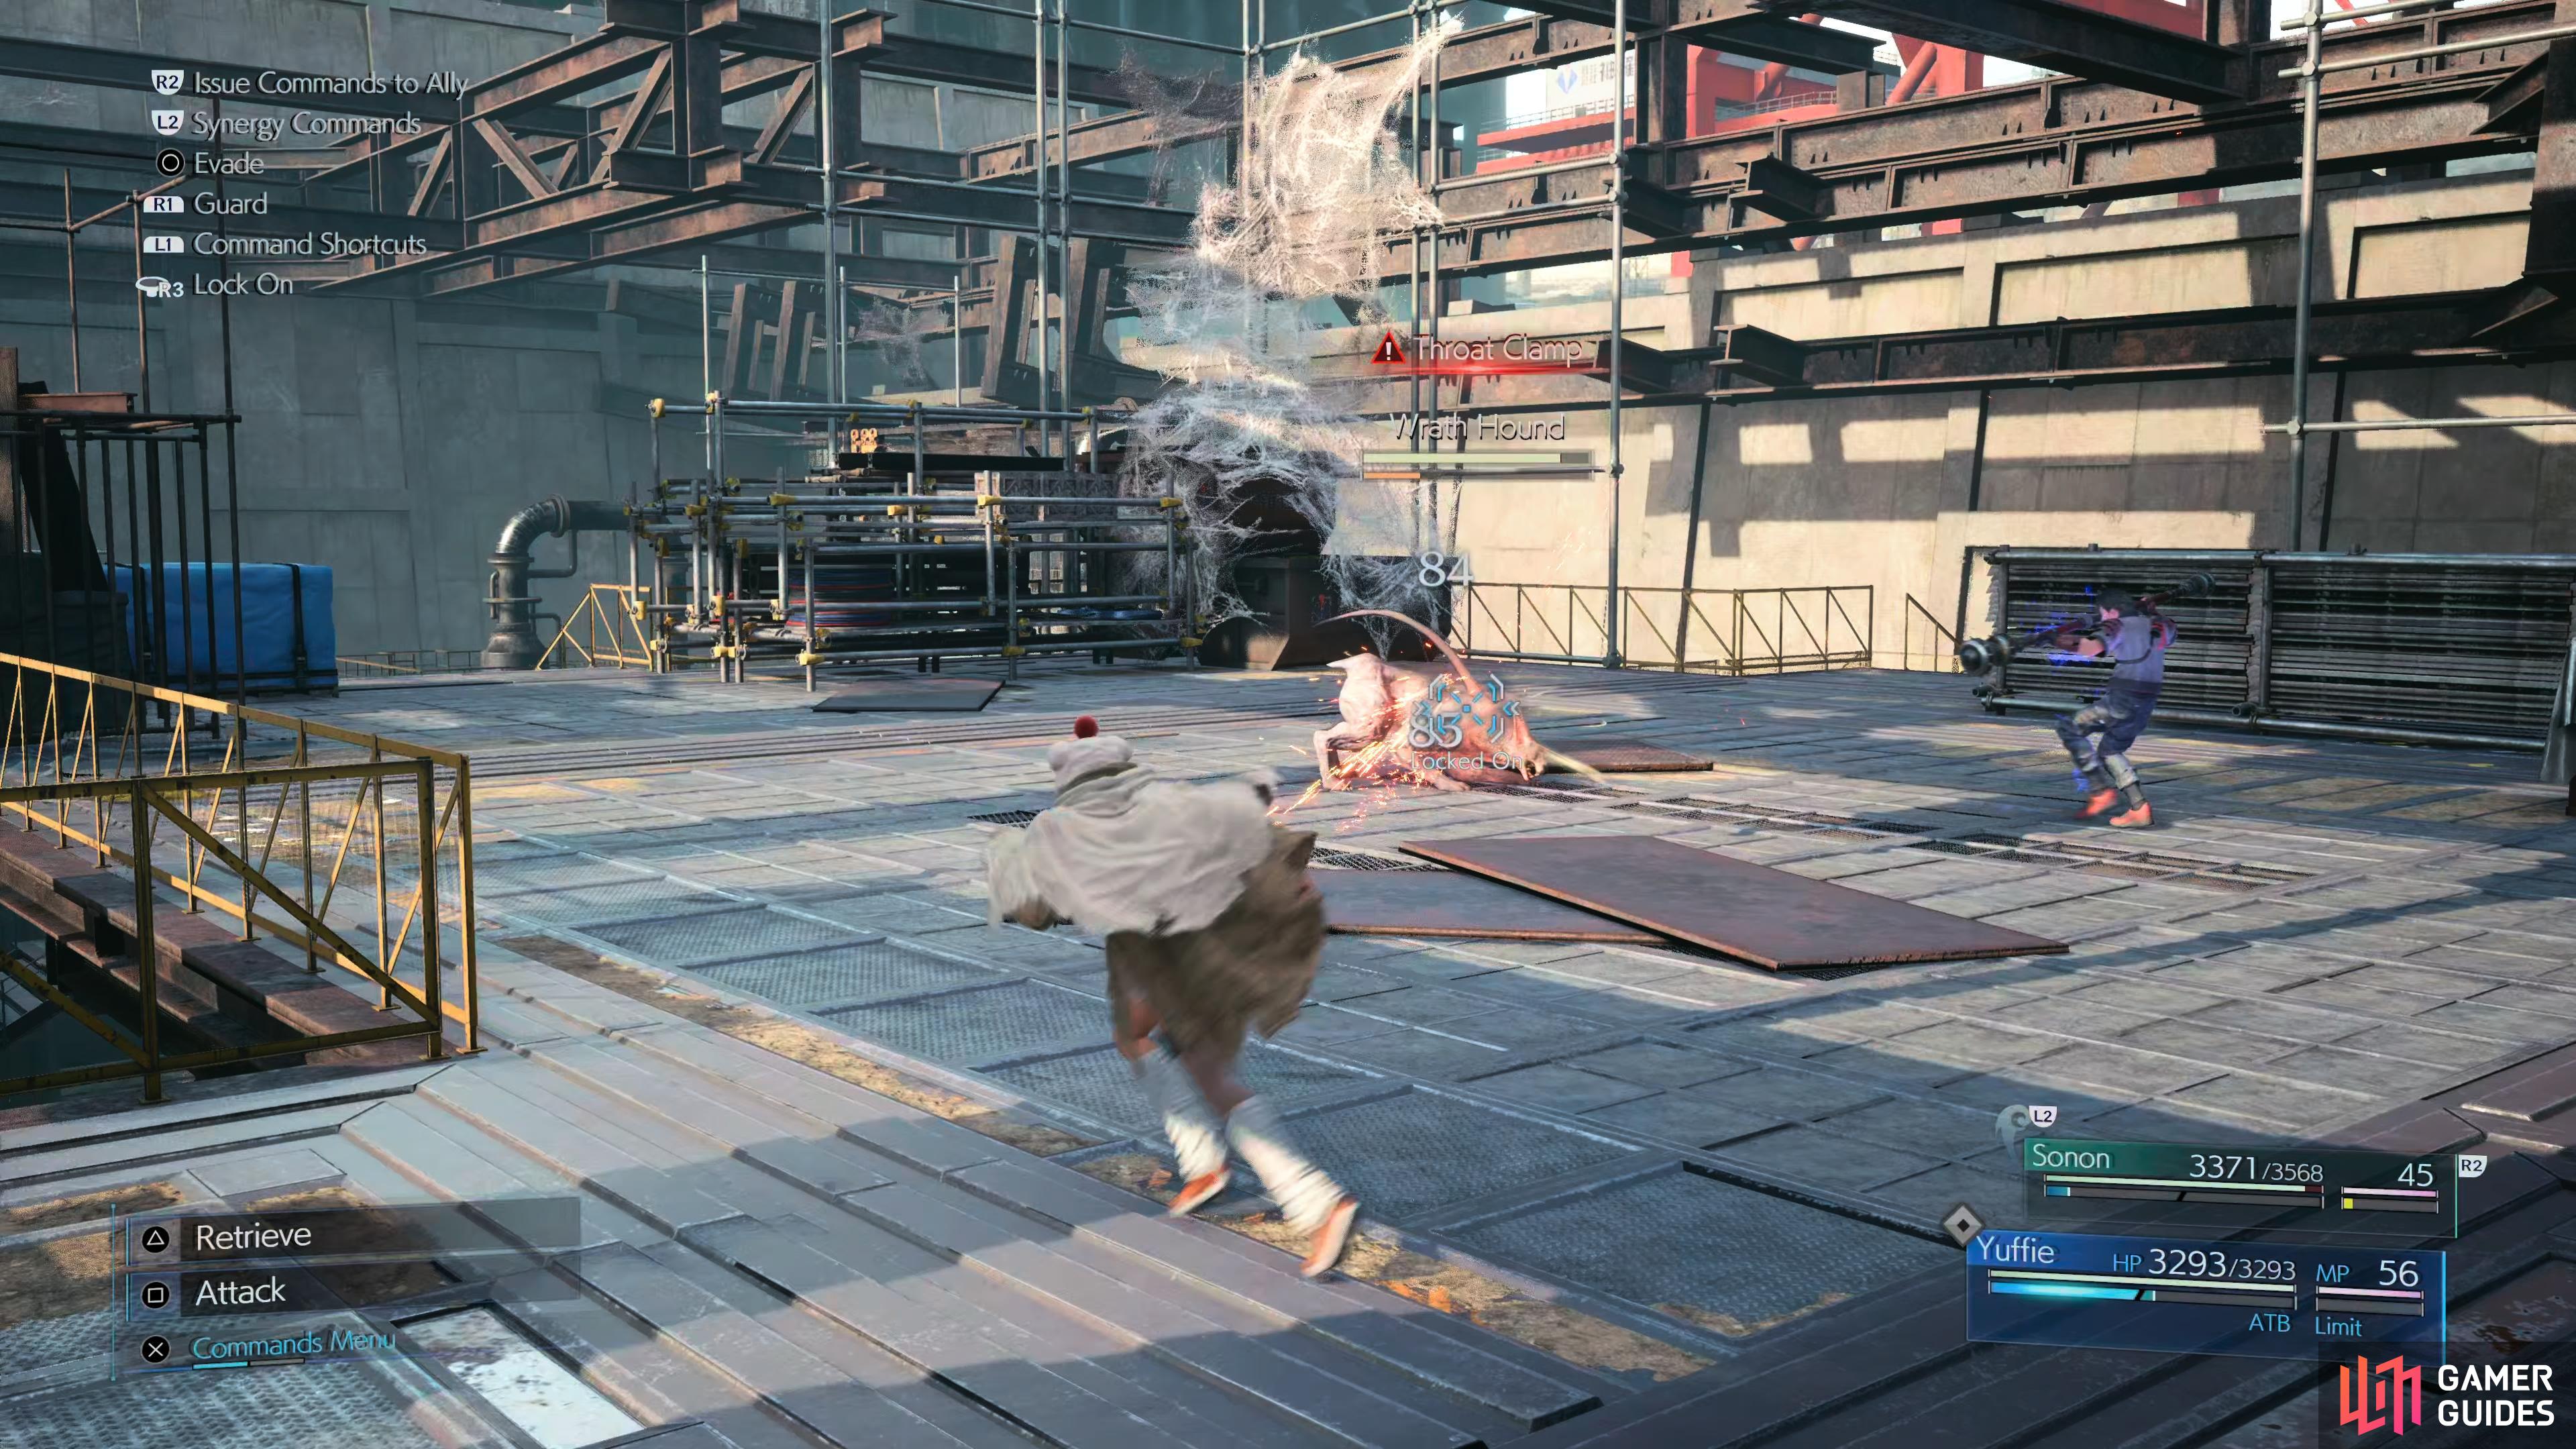
watch out for the Wrath Hound’s counters.
Continue up the steps to the south and you’ll encounter a Wrath Hound, a dangerous beast that will attempt to bind you with Throat Clamp. These beasts are weak to Ice however, let Sonon gain it’s attention and then follow-up with casts of Ice Ninjutsu to deal with it. Once the area is clear, head over to switch #2 and toss the Shuriken at it to bring the railings over and use it to cross to the other side.
More Shinra Boxes await their destruction here and then head up the stairs and toss the Shuriken at switch #2 once more to bring the railings over to your new position. Head over to the other side and head up the stairs to encounter two Wayward Wolves, it helps to focus on one at a time here and consider using Synergized casts of Ice Ninjutsu to pressure and thus, Stagger them, quicker. Be wary of their counters however, be ready for Precision Defense if they come hurtling towards you with Headbutt.
You’ll notice switch #1 on the ground below you, this is used to move all of the railings in this area, many of which lead to additional items. Begin by tossing the Shuriken at it and then take the railings to the north and dispatch the group of Gorgers awaiting you here before ransacking the nearby chest for a Turbo Ether. Return to the previous platform and take the railings over to the south and then toss the Shuriken at switch #1 once more.
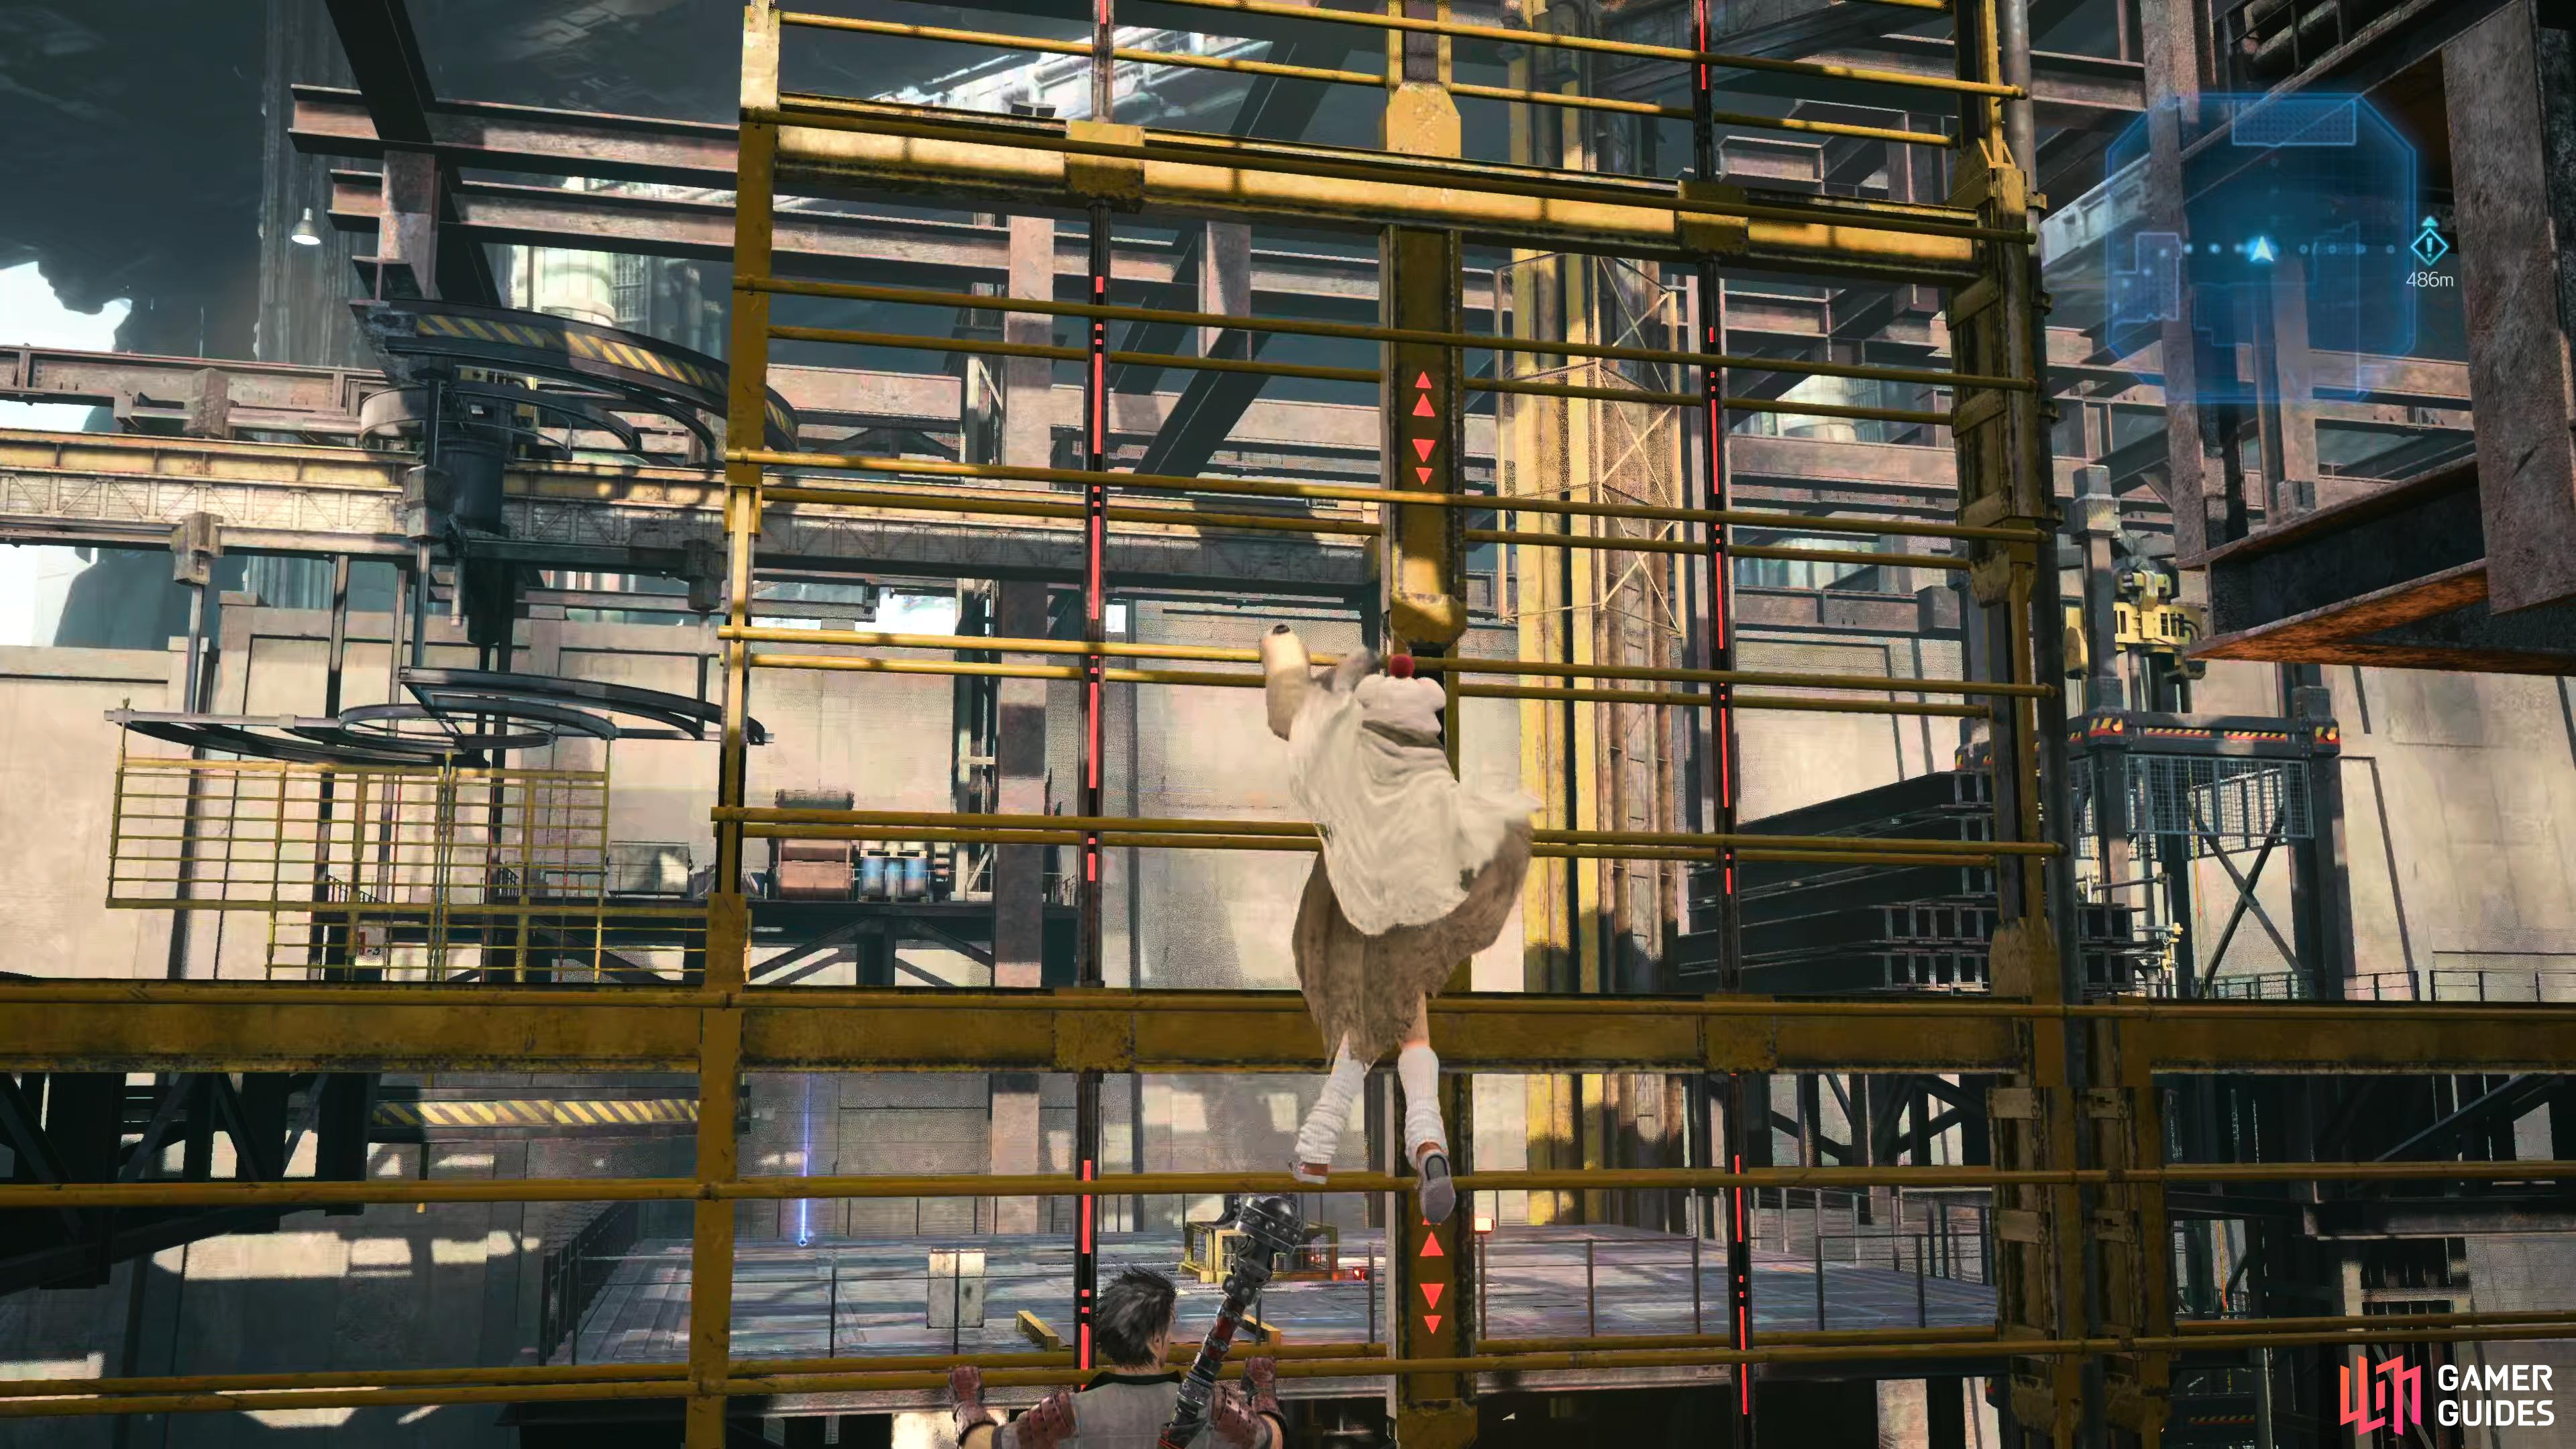
Climb up the railings here instead of to the right
this will eventually lead you to the Elemental Materia on the switch platform.
Head across the railings but stop at the center of it, opting to climb up and reach the higher platform instead. Head west up here and over to the broken fence to toss the Shuriken at the switch again to move the railings once more. You can now use the railings to head across to the platform that houses the switch and pocket the Elemental Materia, one of the more useful Materia’s that you should consider working on levelling right away. Scale the railings again and then head to the southeast to find a pole you can slide down to reach the platform below. From here, you can then take the final railings over and use the pole to the north to slide down.
Waste Disposal Plant
| Enemy | Weaknesses | Notable Loot |
|---|---|---|
| Levrikon | Fire/Ice | Elixir |
You’ll find yourself at the very bottom of this area now so take the linear path forward and you’ll trigger a scene. Once you regain control, you’ll be facing a deadly Levrikon, a large bird that is weak to both Fire and Ice. The largest danger with Levrikon is it’s ability to counter any frontal attacks once it finds itself holding a rock and to make matters worse, he can then use Stone’s Throw to deal a significant chunk of damage to you. Keep an eye out for Acid Shower too, this has the possibility to Poison you so be ready to cure it should you get inflicted. Outside of this, Levrikon is easy to deal damage to, especially if you’ve got used to using Ninjutsu as either Fire or Ice will stagger it quickly.
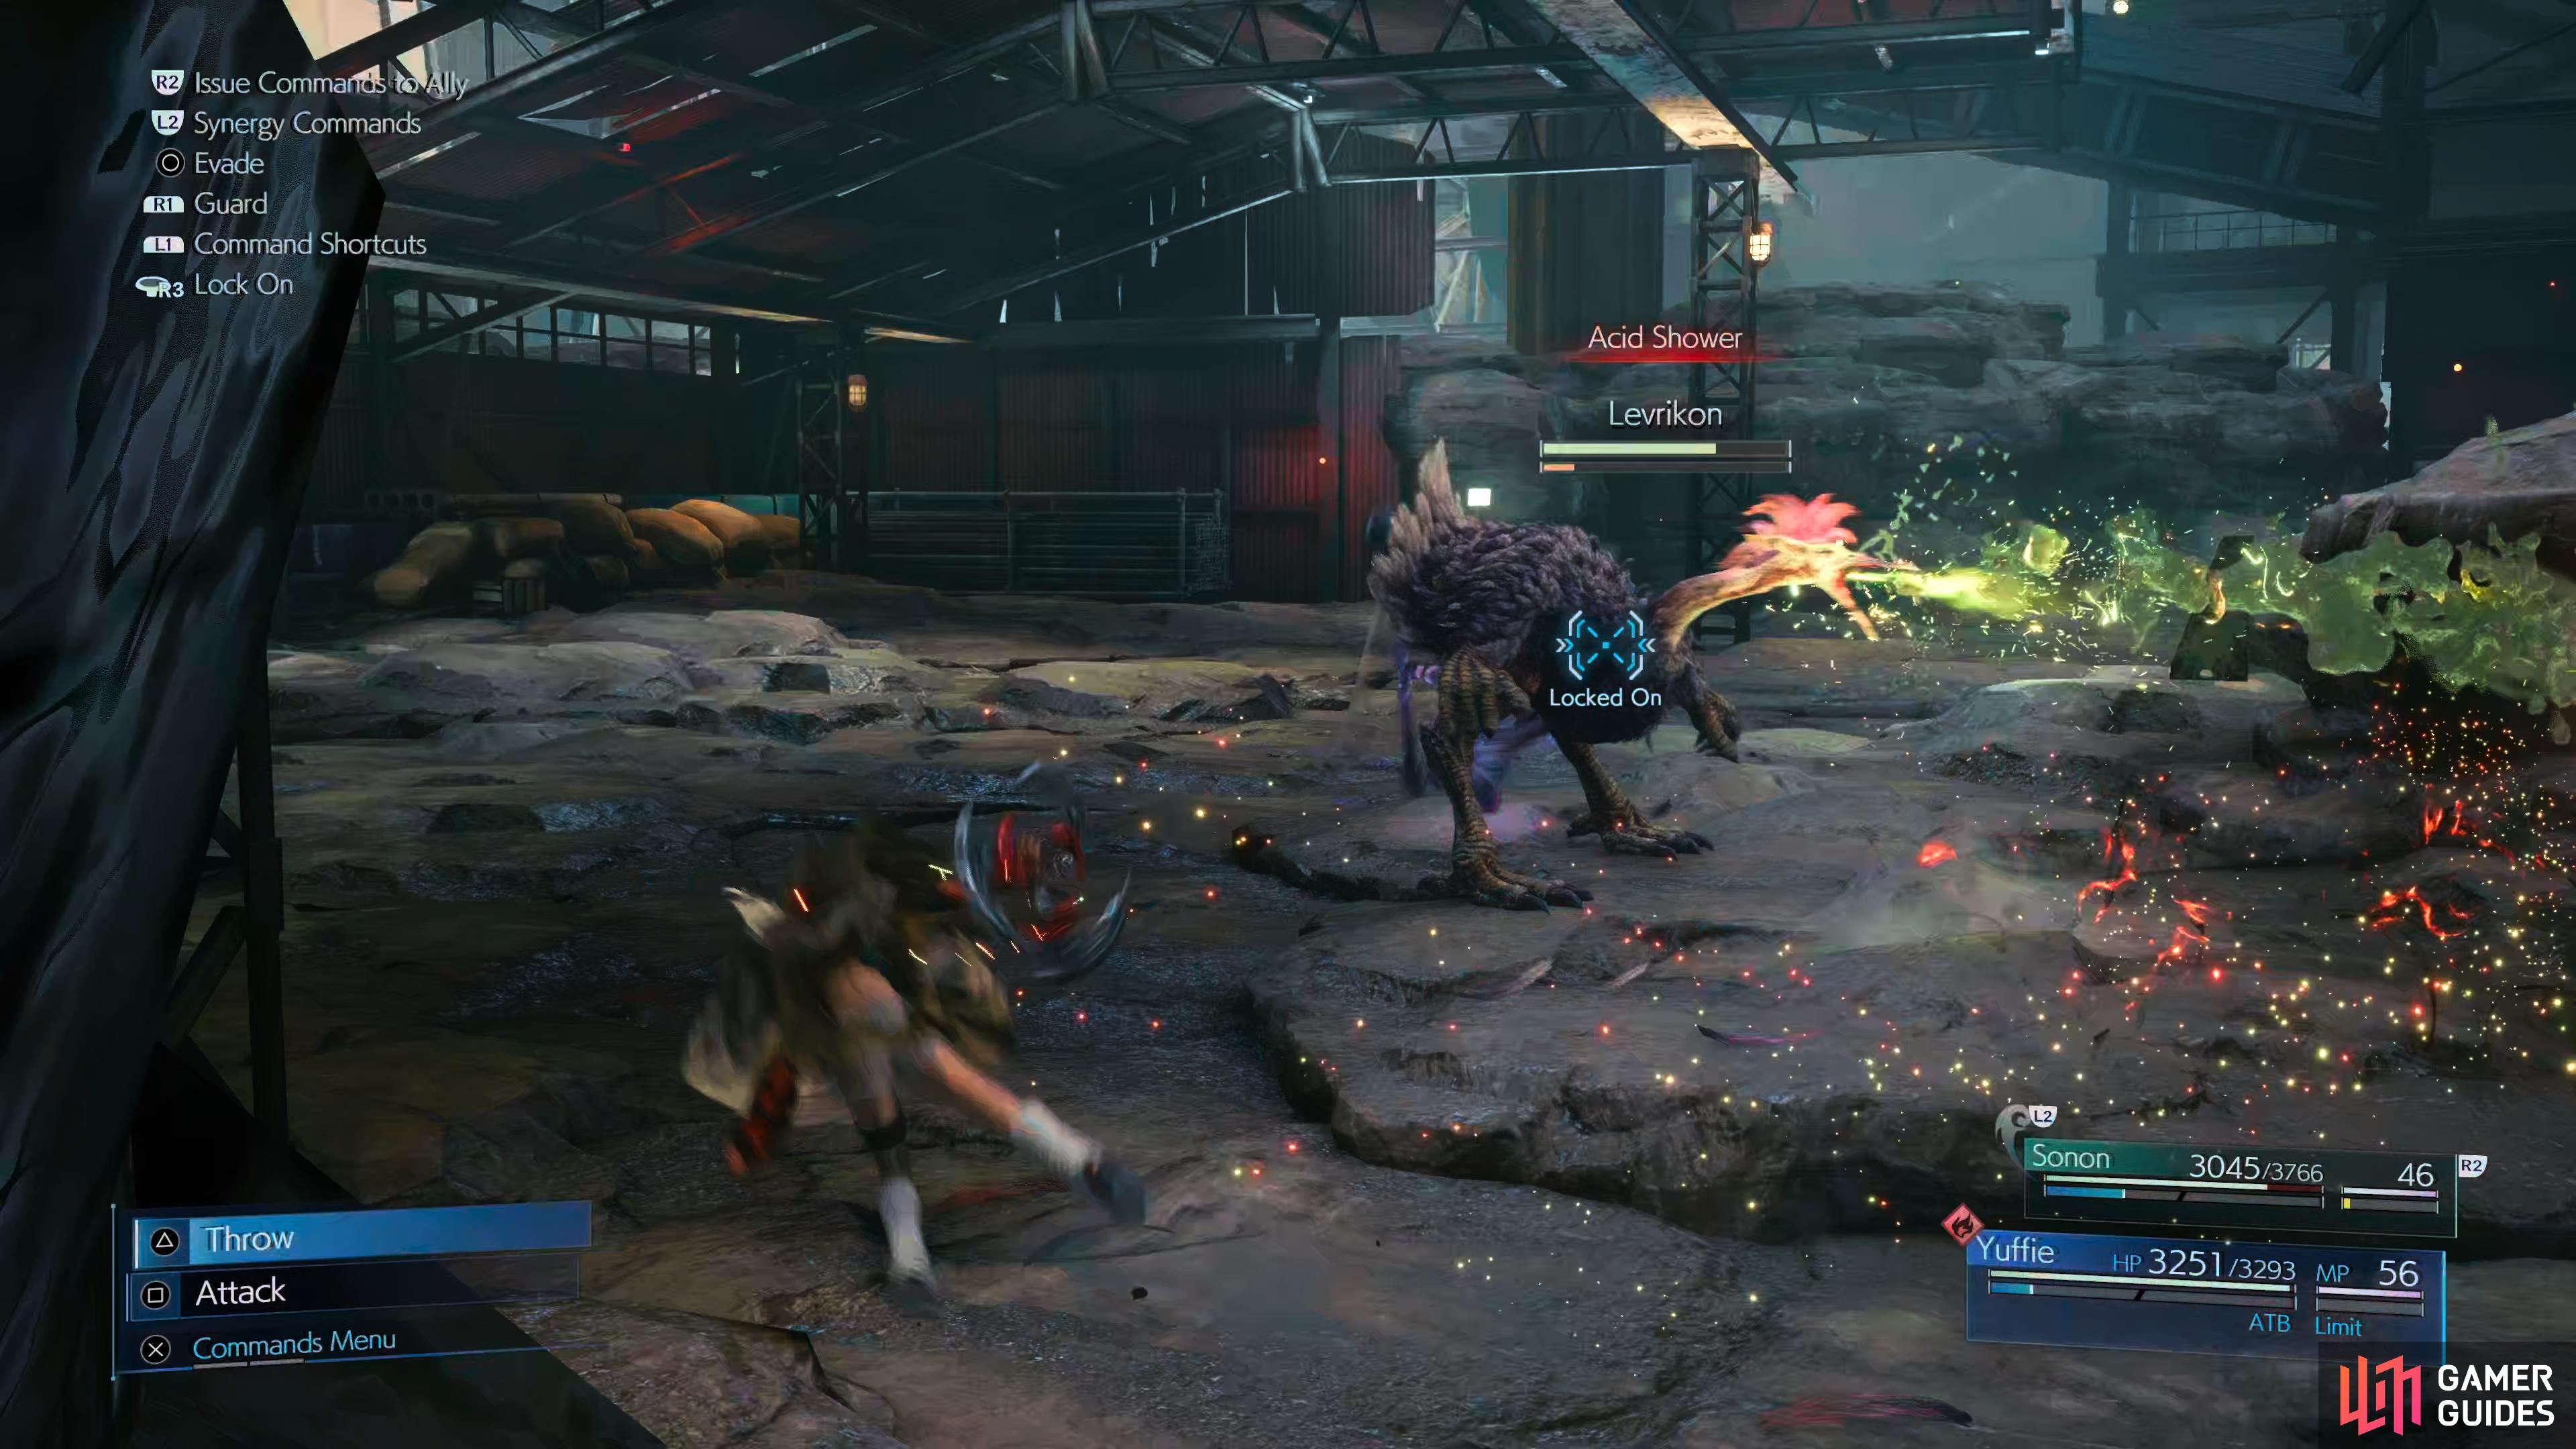
Levrikon’s Acid Shower will inflict Poison if it strikes you
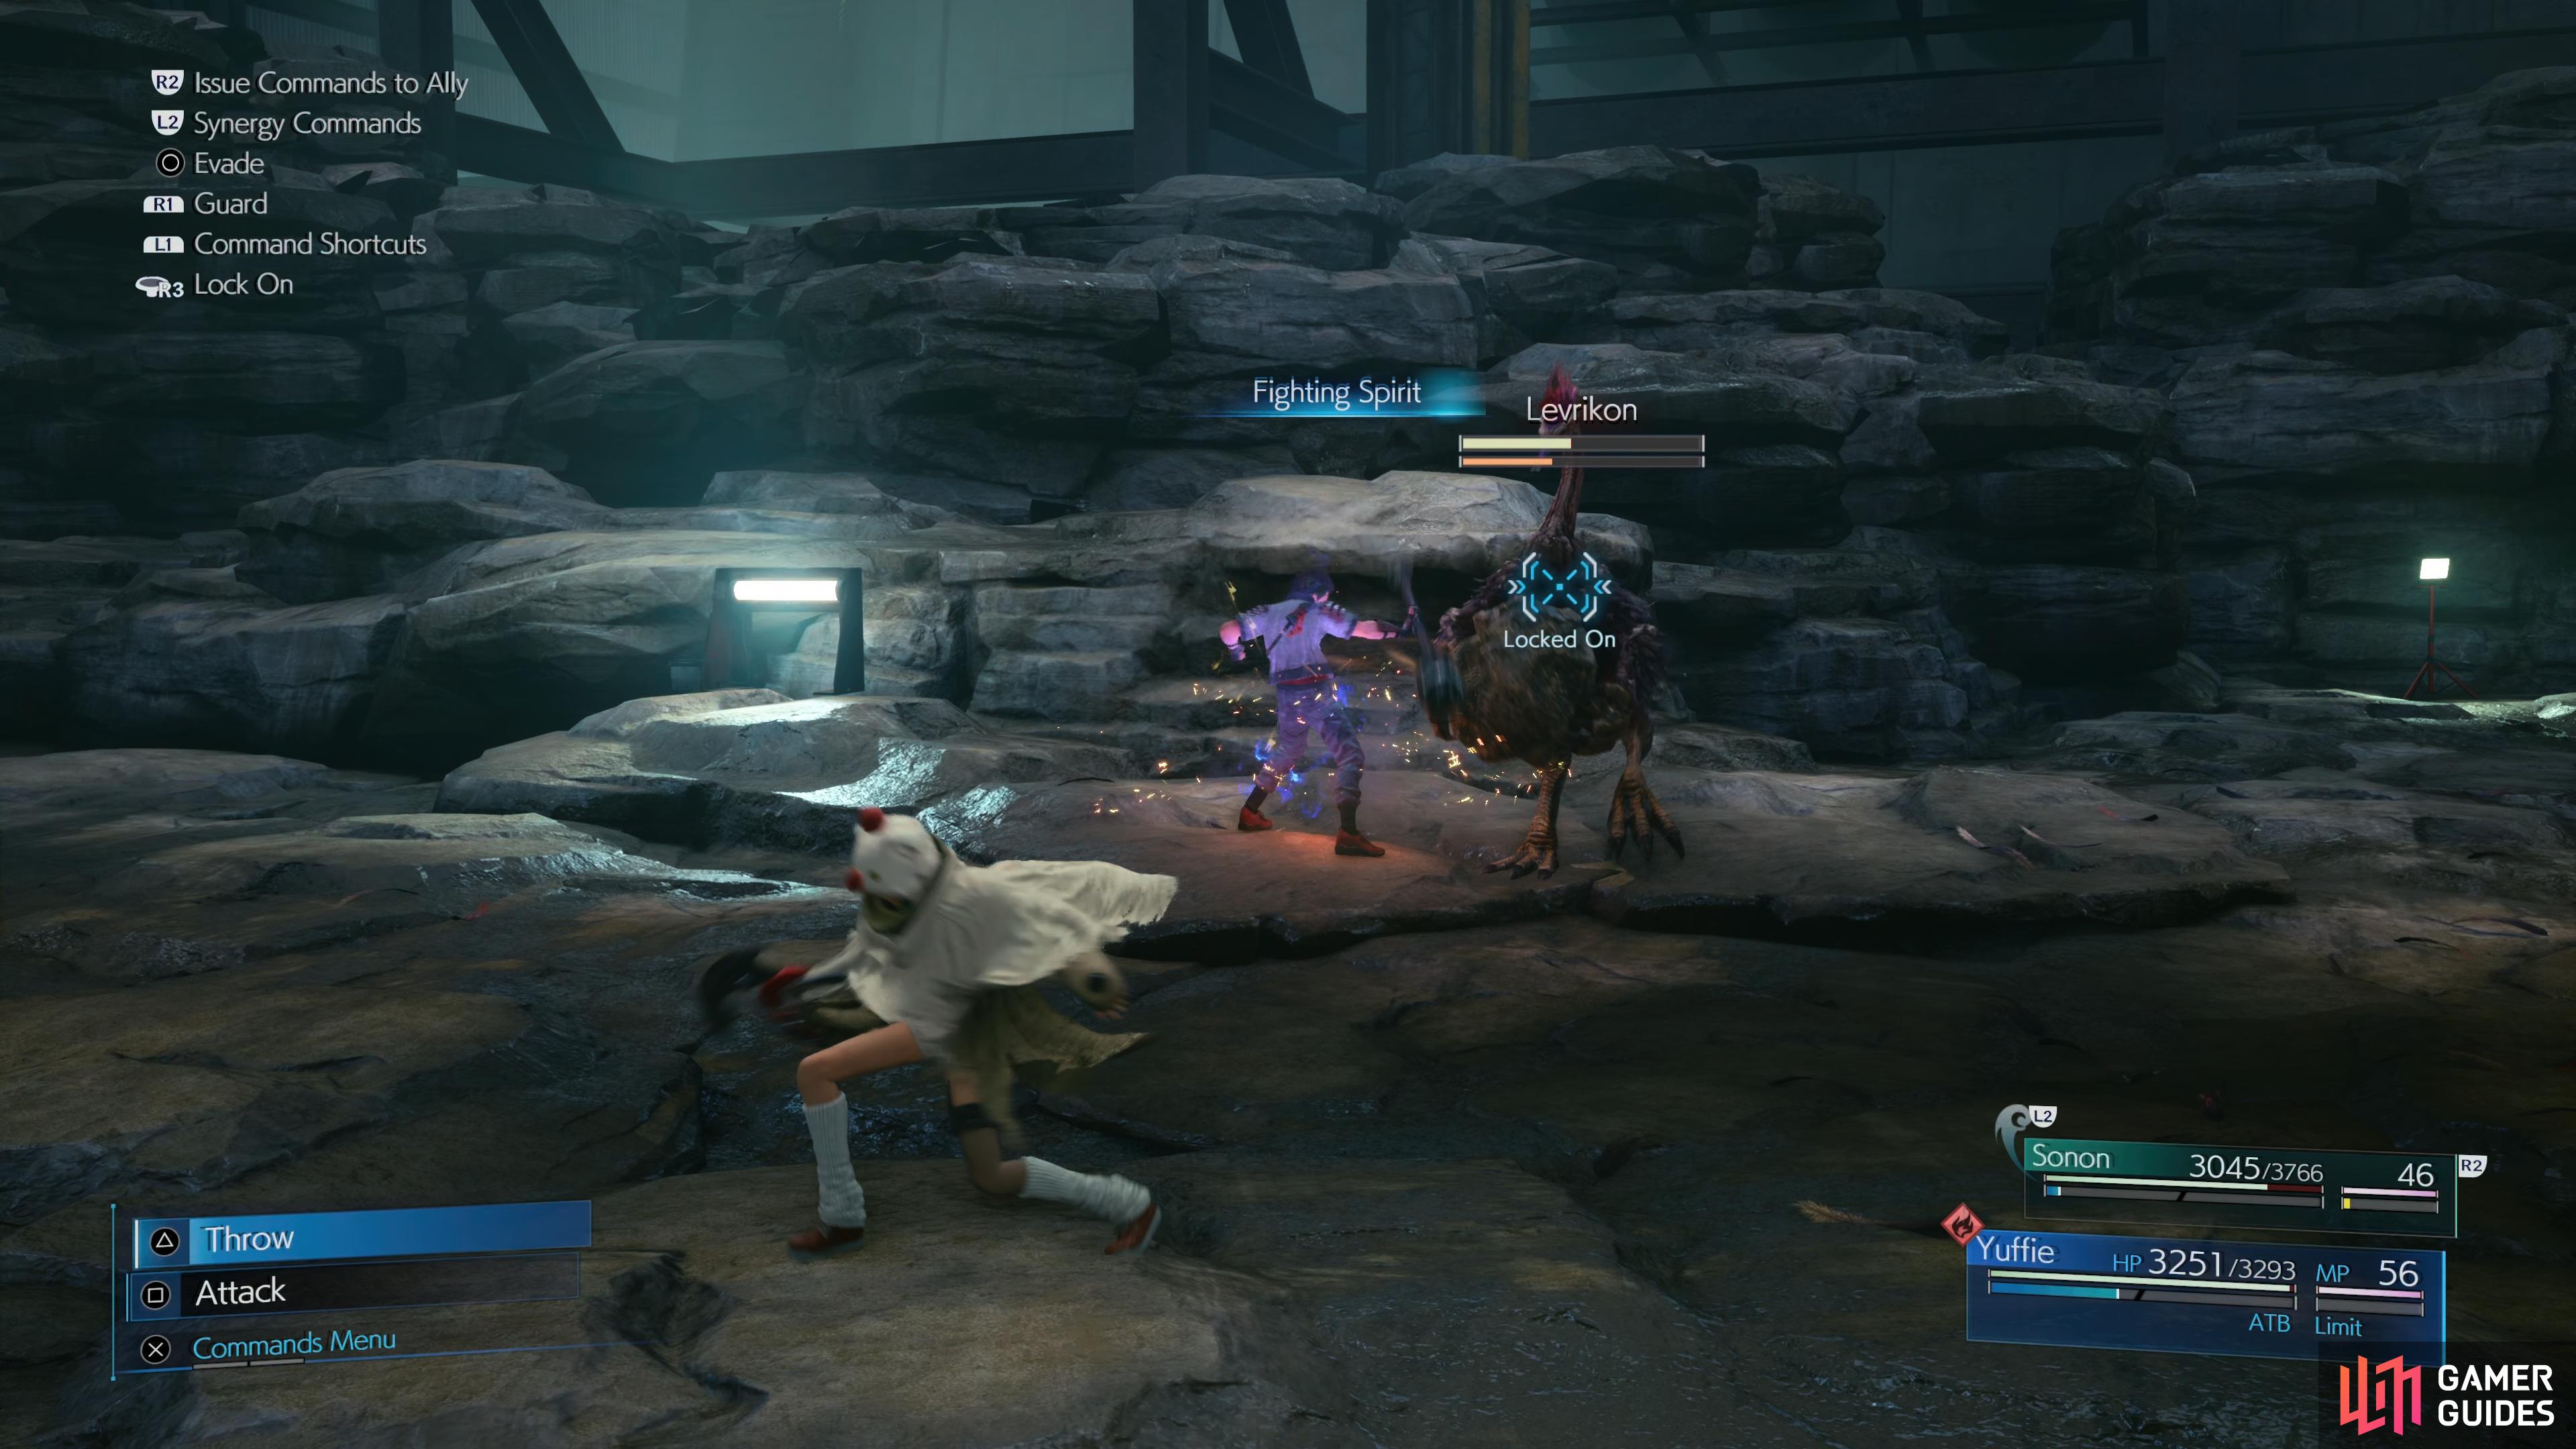
it gains the ability to counter frontal attacks while holding a rock.
You’ll obtain the Mezu Drive for defeating Levrikon, this is the counterpart to the Gozu Drive which will increase damage in proportion to MP if equipped alongside the Chthonian Armlet. Heal up and then continue following the path to reach a ladder. Before stepping on the cart, smash the large Shinra Box and you’ll obtain a Note from Zhijie detailing you about the upcoming conveyor belt.
Once you stand on the cart and activate it, you’ll pass through a large storage area littered with boxes of all sizes, your objective here is to smash as many as possible to score as many items as possible. Focus on the large boxes, these contain the highest value items such as Elixirs, Turbo Ethers and Mega Potions and you only get one shot at this. Once you reach the end, you’ll get a score on how many boxes you smashed but this is only for your information, there’s no reward associated to this.
Once you’ve had your fill on pillaging Shinra, follow the path and you’ll reach an intersection. Take the northern path first to locate some Magic Up Materia before heading back and following the southern path to reach the Main Piller Maintenance Facility. Continue south at the intersection and you’ll find some Lightning Materia waiting to be collected along with a bench and a vending machine. Consider saving your game here and then press on, taking the western path forward until you trigger a scene and the first major boss.
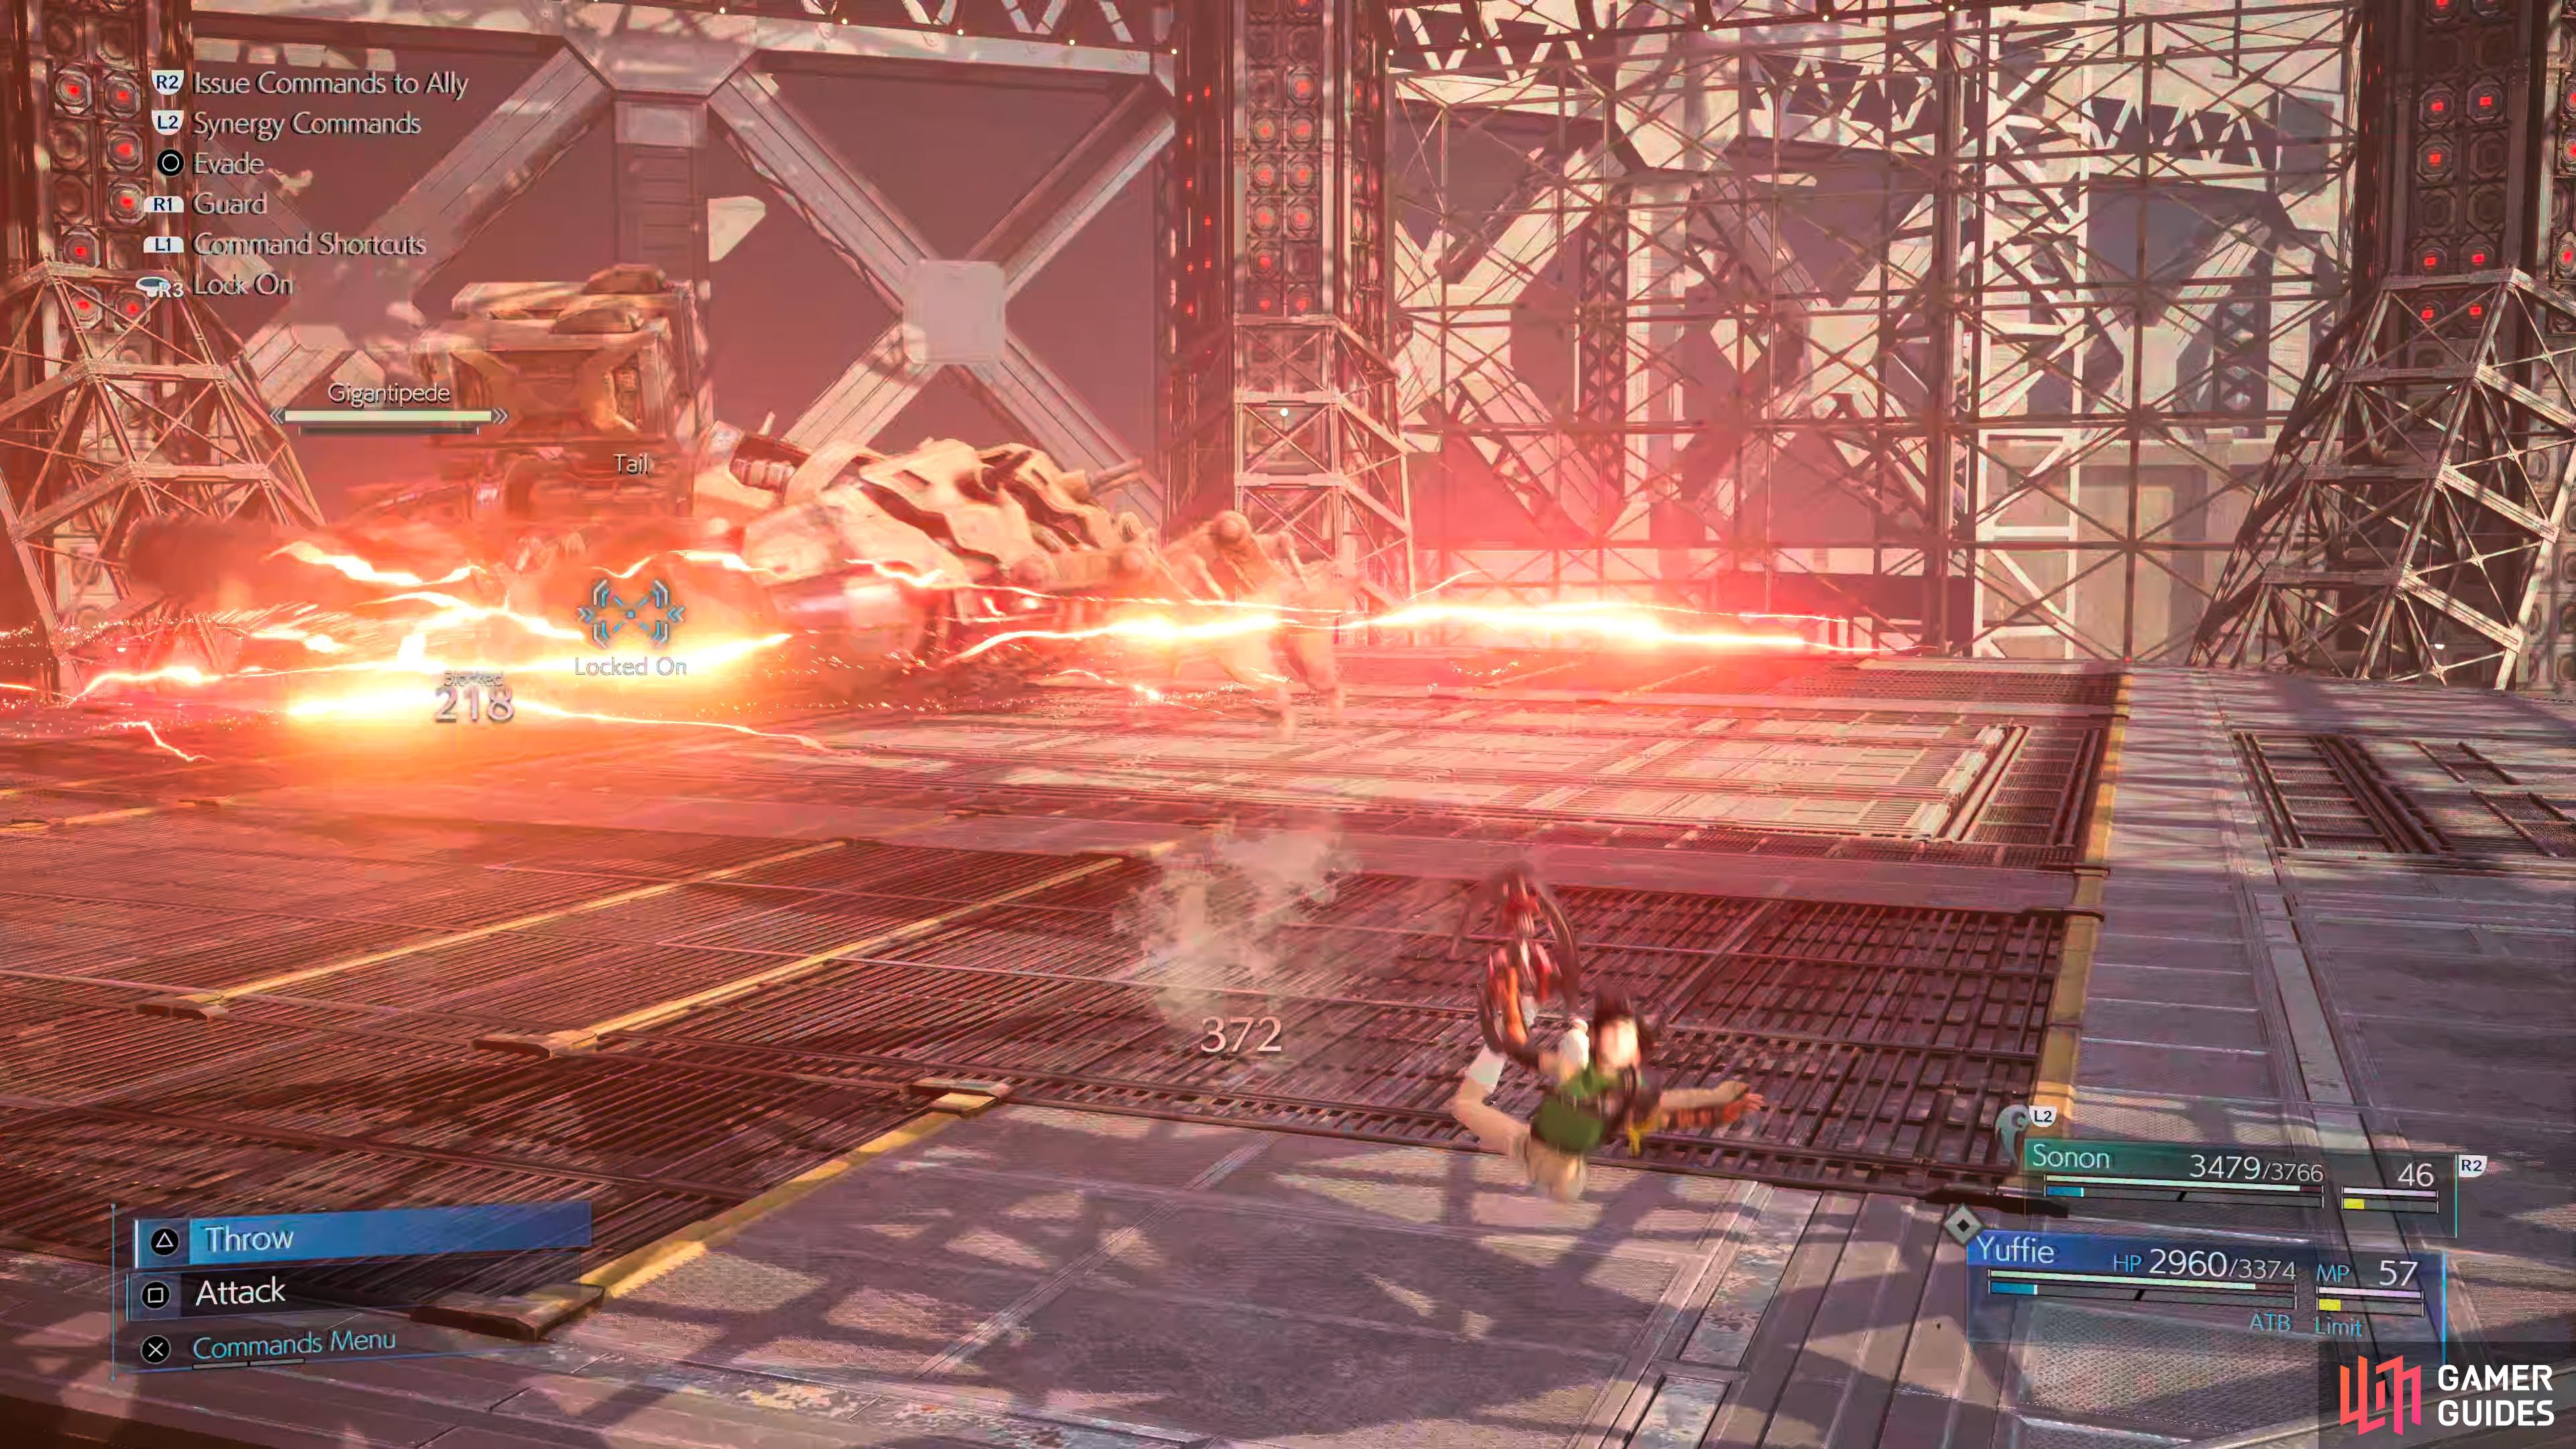
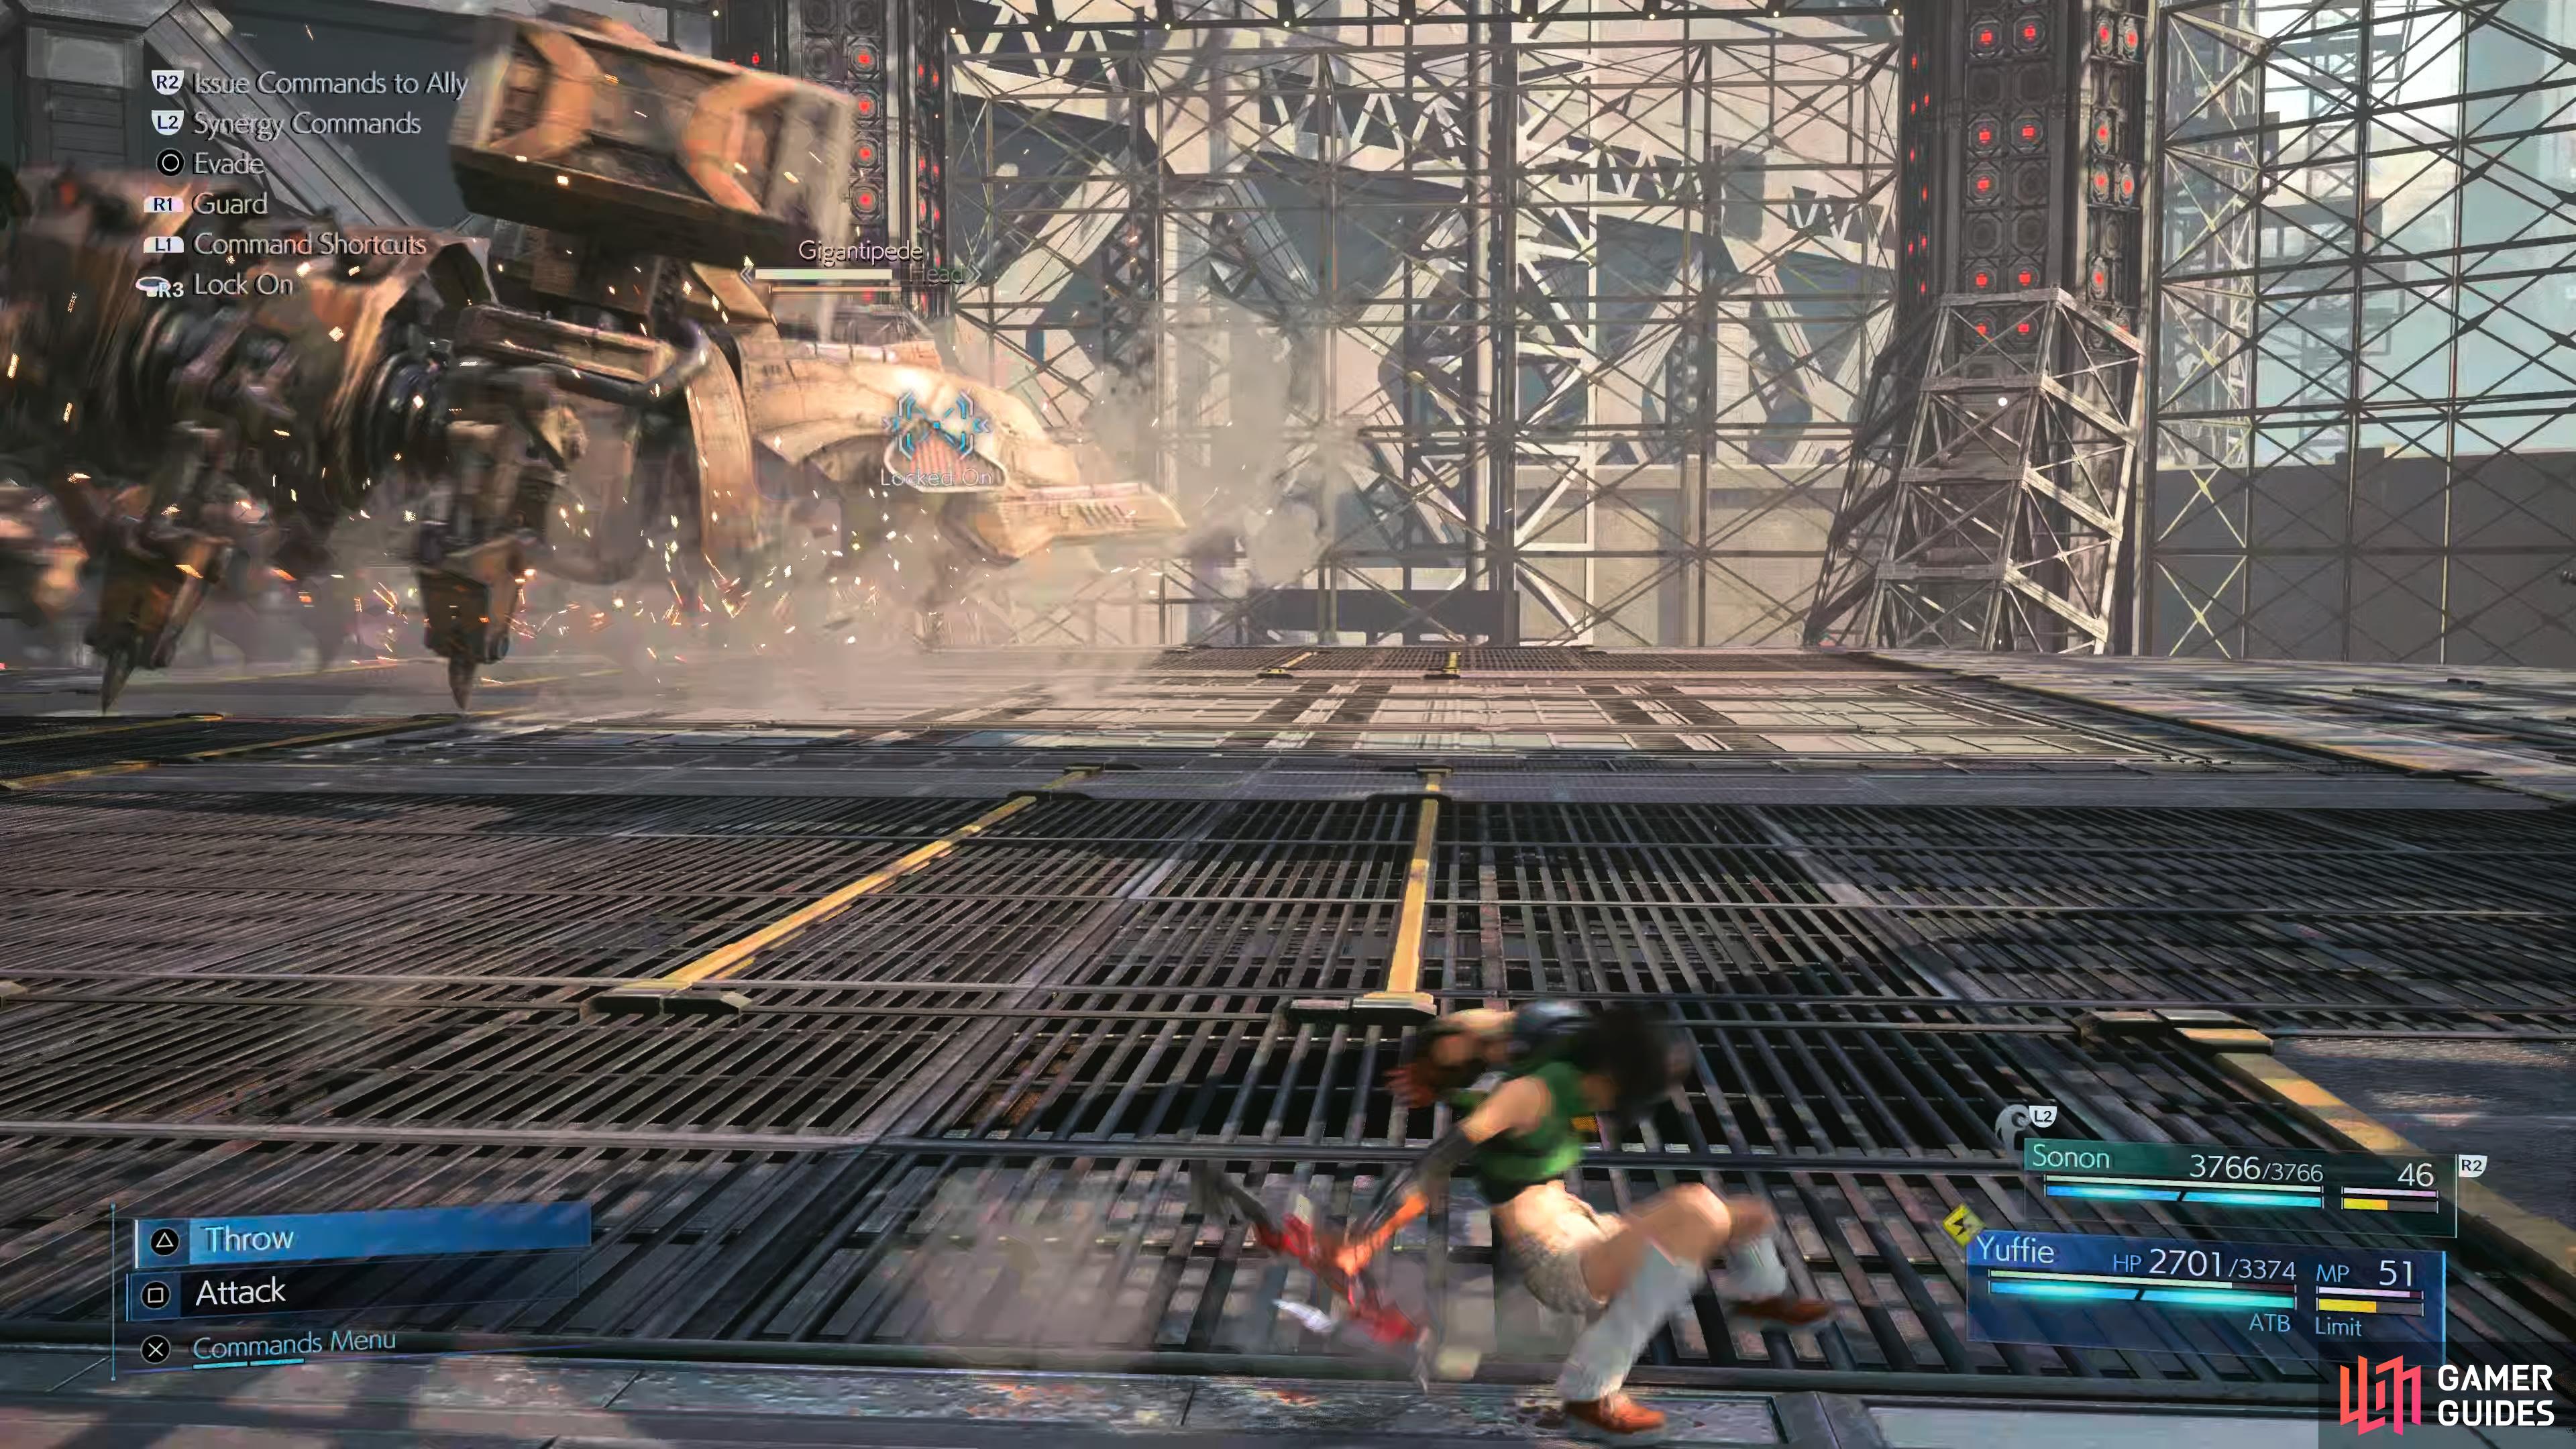
Boss: Gigantipede
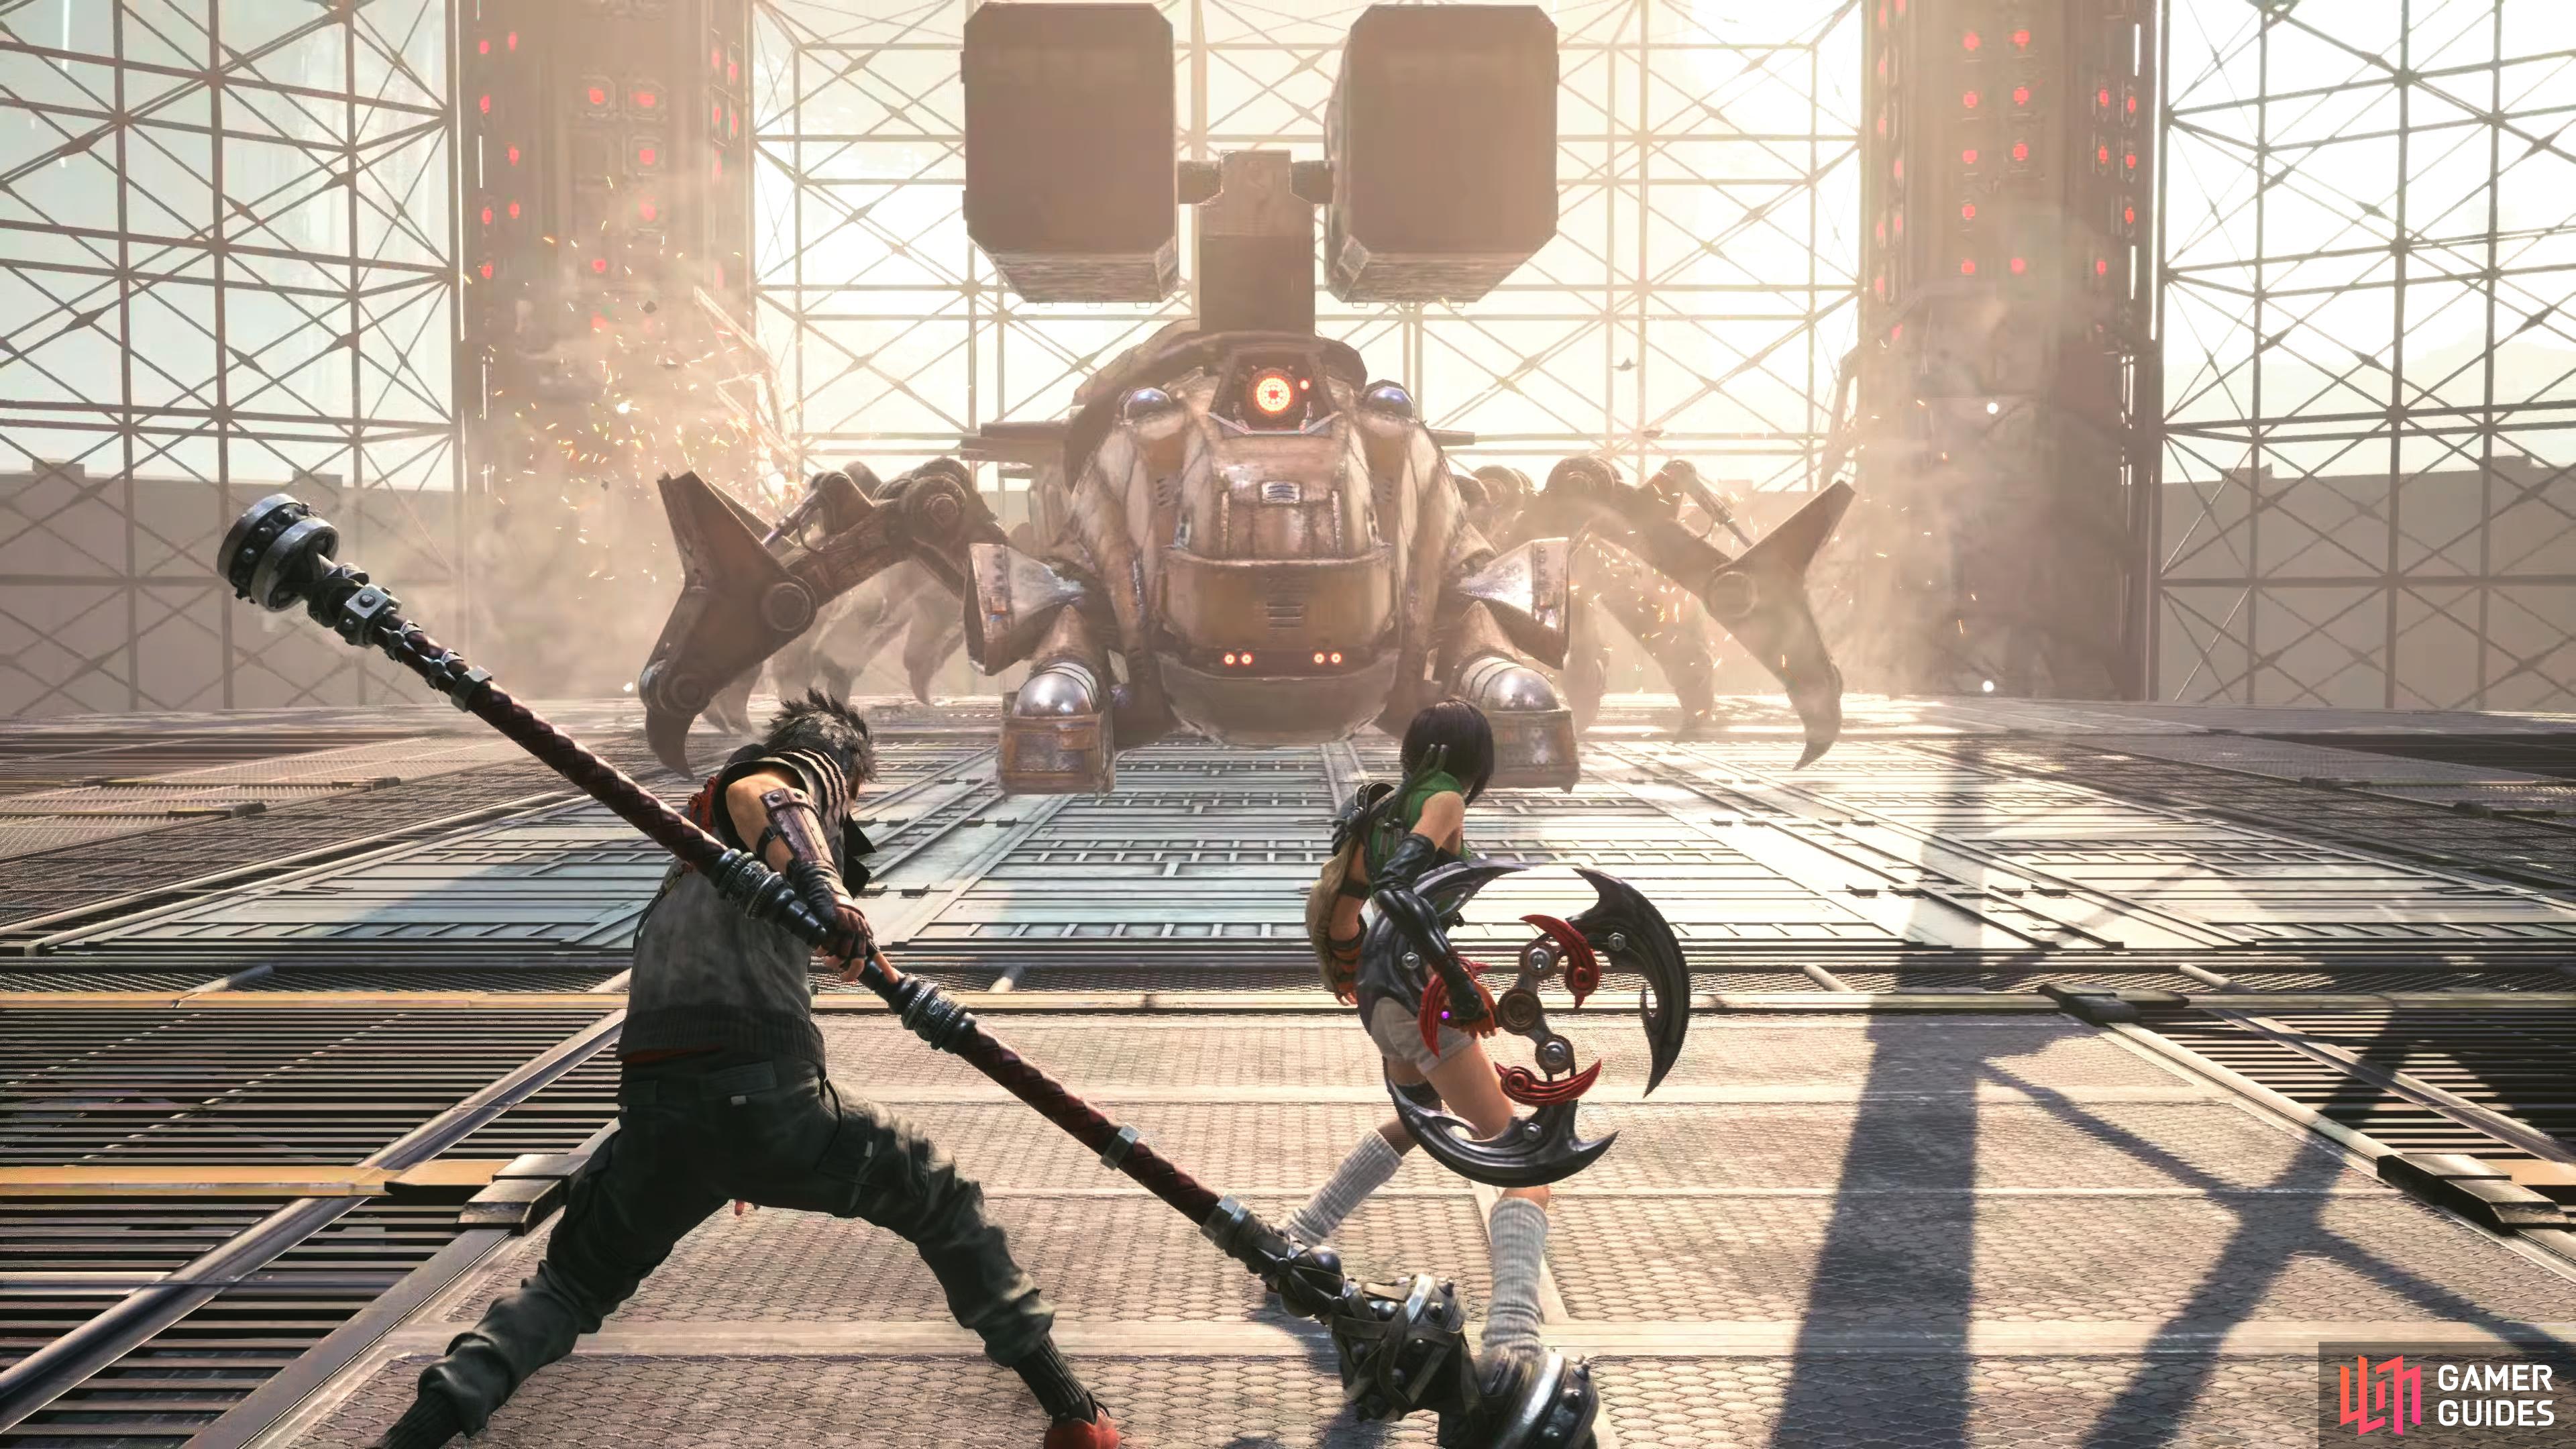
The Gigantipede is the first boss in INTERmission.
| Enemy | Weaknesses | Notable Loot |
|---|---|---|
| Gigantipede | Lightning (Tail) | – |
Phase One
This is by far the toughest test you’ve had yet with Yuffie’s gameplay and you’ll need to be comfortable with how she plays to take down this gargantuan foe. As you may expect from Gigantipede being a mech, it’s weakness is Lightning and this plays out by the two targets you have in this battle, its head and its tail. The head is weak to physical attacks while the tail is weak to Lightning and will drive up the Stagger gauge, this should be your main priority for Yuffie while you direct Sonon to focus on the head.
During phase one, Gigantipede will use a mix of Body Blow, a physical attack that will deal medium damage when you’re attacking the head or Tail Swat for anyone focusing on the tail. Both of these attacks can be guarded against and if you’ve unlocked Precision Defense: Regen, you can use this to activate it on Yuffie to give you a boost. After dealing around quarter of its HP, it will retreat and reappear, clung to the outer railings.
Phase Two
After crawling around a little, it’ll begin using Drone Deployment, this will unleash a large group of small Containment Drones on the platform that Yuffie and Sonon are standing on. These won’t attack you however after a short amount of time, they will use Containment Laser which will lock-on and then fire homing missiles at you. For this reason, you should focus your attention on these Drones and dispatch them as quickly as possible.
Following this action, the Gigantipede will use Death Dive, take this opportunity to dash to the side of the platform closest to it as it will slam itself down on the other side of the platform dealing major damage to anyone it strikes. It will then continue repeating the same attacks from phase one, so long as you’re focusing Lightning attacks on its tail, you should be able to Stagger it here and force it into its final phase.
Phase Three
The Gigantipede will activate a drill on its head, causing major damage to anyone that comes into contact with it while gaining the new Drill Surge ability, this can be guarded and if struck by it, will knock you back for moderate damage. It will also use Drone Deployment at will here, leaving you to deal with Containment Drones, the Drill and its homing lasers all at once. On top of this, if you take too long dealing with Gigantipede here, it will retreat to the outer railings again and use Drone Deployment and Death Dive again.
You should have your summon gauge activating at this point and it’s a great opportunity to summon Ramuh if you obtained it earlier, this will allow you to deal with multiple enemies at will and should the Gigantipede still be standing by the end of his gauge, Judgement Bolt will most assuredly finish the job.
Multiple scenes will follow your victory and you’ll find yourself back in the Slums. There’s not much left to do if you took the time to do all the side activities earlier but do note that this is your last chance in this DLC to finish of the Fort Condor, Happy Turtle Flyer and Ramuh activities on this playthrough. Once you’re satisfied with everything, head east to reach the train station and trigger a scene, bringing Chapter 1 to a close and unlocking Takes Two IDs to Tango.
No Comments