
This page is for tips regarding Hard Mode on Chapter 2: Covert Ops of INTERmission, including tips for Materia and Equipment setups.
| Yuffie | Item |
|---|---|
| Weapon | Boomerang |
| Armor | Chthonian Armlet |
| Accessory | Ribbon or Götterdämmerung |
| Materia | Healing + Magnify, Revival, Chakra, HP Up x2 (~8000+ HP), MP Up x2 (~120 MP+), Steadfast Block, First Strike |
| Sonon | Item |
|---|---|
| Weapon | Marshalist’s Staff |
| Armor | Firebird Armlet |
| Accessory | Kindred Cord or Götterdämmerung |
| Materia | Healing + Magnify, Steadfast Block, HP Up x2 (~9000+ HP), MP Up (~100 MP+), Prayer, Elemental Materia + Lightning (and change to meet enemy weaknesses) |
Advanced Weaponry
-
Chapter 2 is very long with multiple boss fights, the main challenge on Hard Mode is reaching the final battle with enough MP to make use of.
-
If you intend to try and defeat Pride & Joy Mk 0.5 at the nearby Simulator for the Götterdämmerungs then reload the start of the Chapter after to get all of your resources back.
-
Make sure Sonon has Elemental + Lightning set to his weapon when entering the Testing Facility. You’ll be fighting lots of mechs with weakness to lightning and pairing that, with Yuffie’s Lightning Ninjutsu should make short work of anything you encounter here.
-
The first battle against the Shock Troopers can be dangerous, have Sonon Incite one and then back away with Yuffie so you’re not caught up in their deadly melee attacks. Windstorm, as always, works wonders here.
-
This is a good time to switch Fire back to Sonon’s weapon, the 3-C SOLDIER Operators are deadly if you get struck with Vaccum Wave so focus on trying to take them down as quickly as possible to avoid losing precious MP.
-
You should have Mug available on your Boomerang by the time you start encountering the Armored Magitroopers so use it against the Core to steal it and weaken them. Once defeated, destroy the Shinra Boxes for a MP Mako Shard.
-
The battle with the Armored Magitrooper and the Armored Shocktrooper is a tough one due to not having much room to move about. Focus on using Mug on the Magitrooper first to force it out of the suit and then you’ll be left with just the Shocktrooper. Lightning Ninjutsu works well while Sonon Incites it.
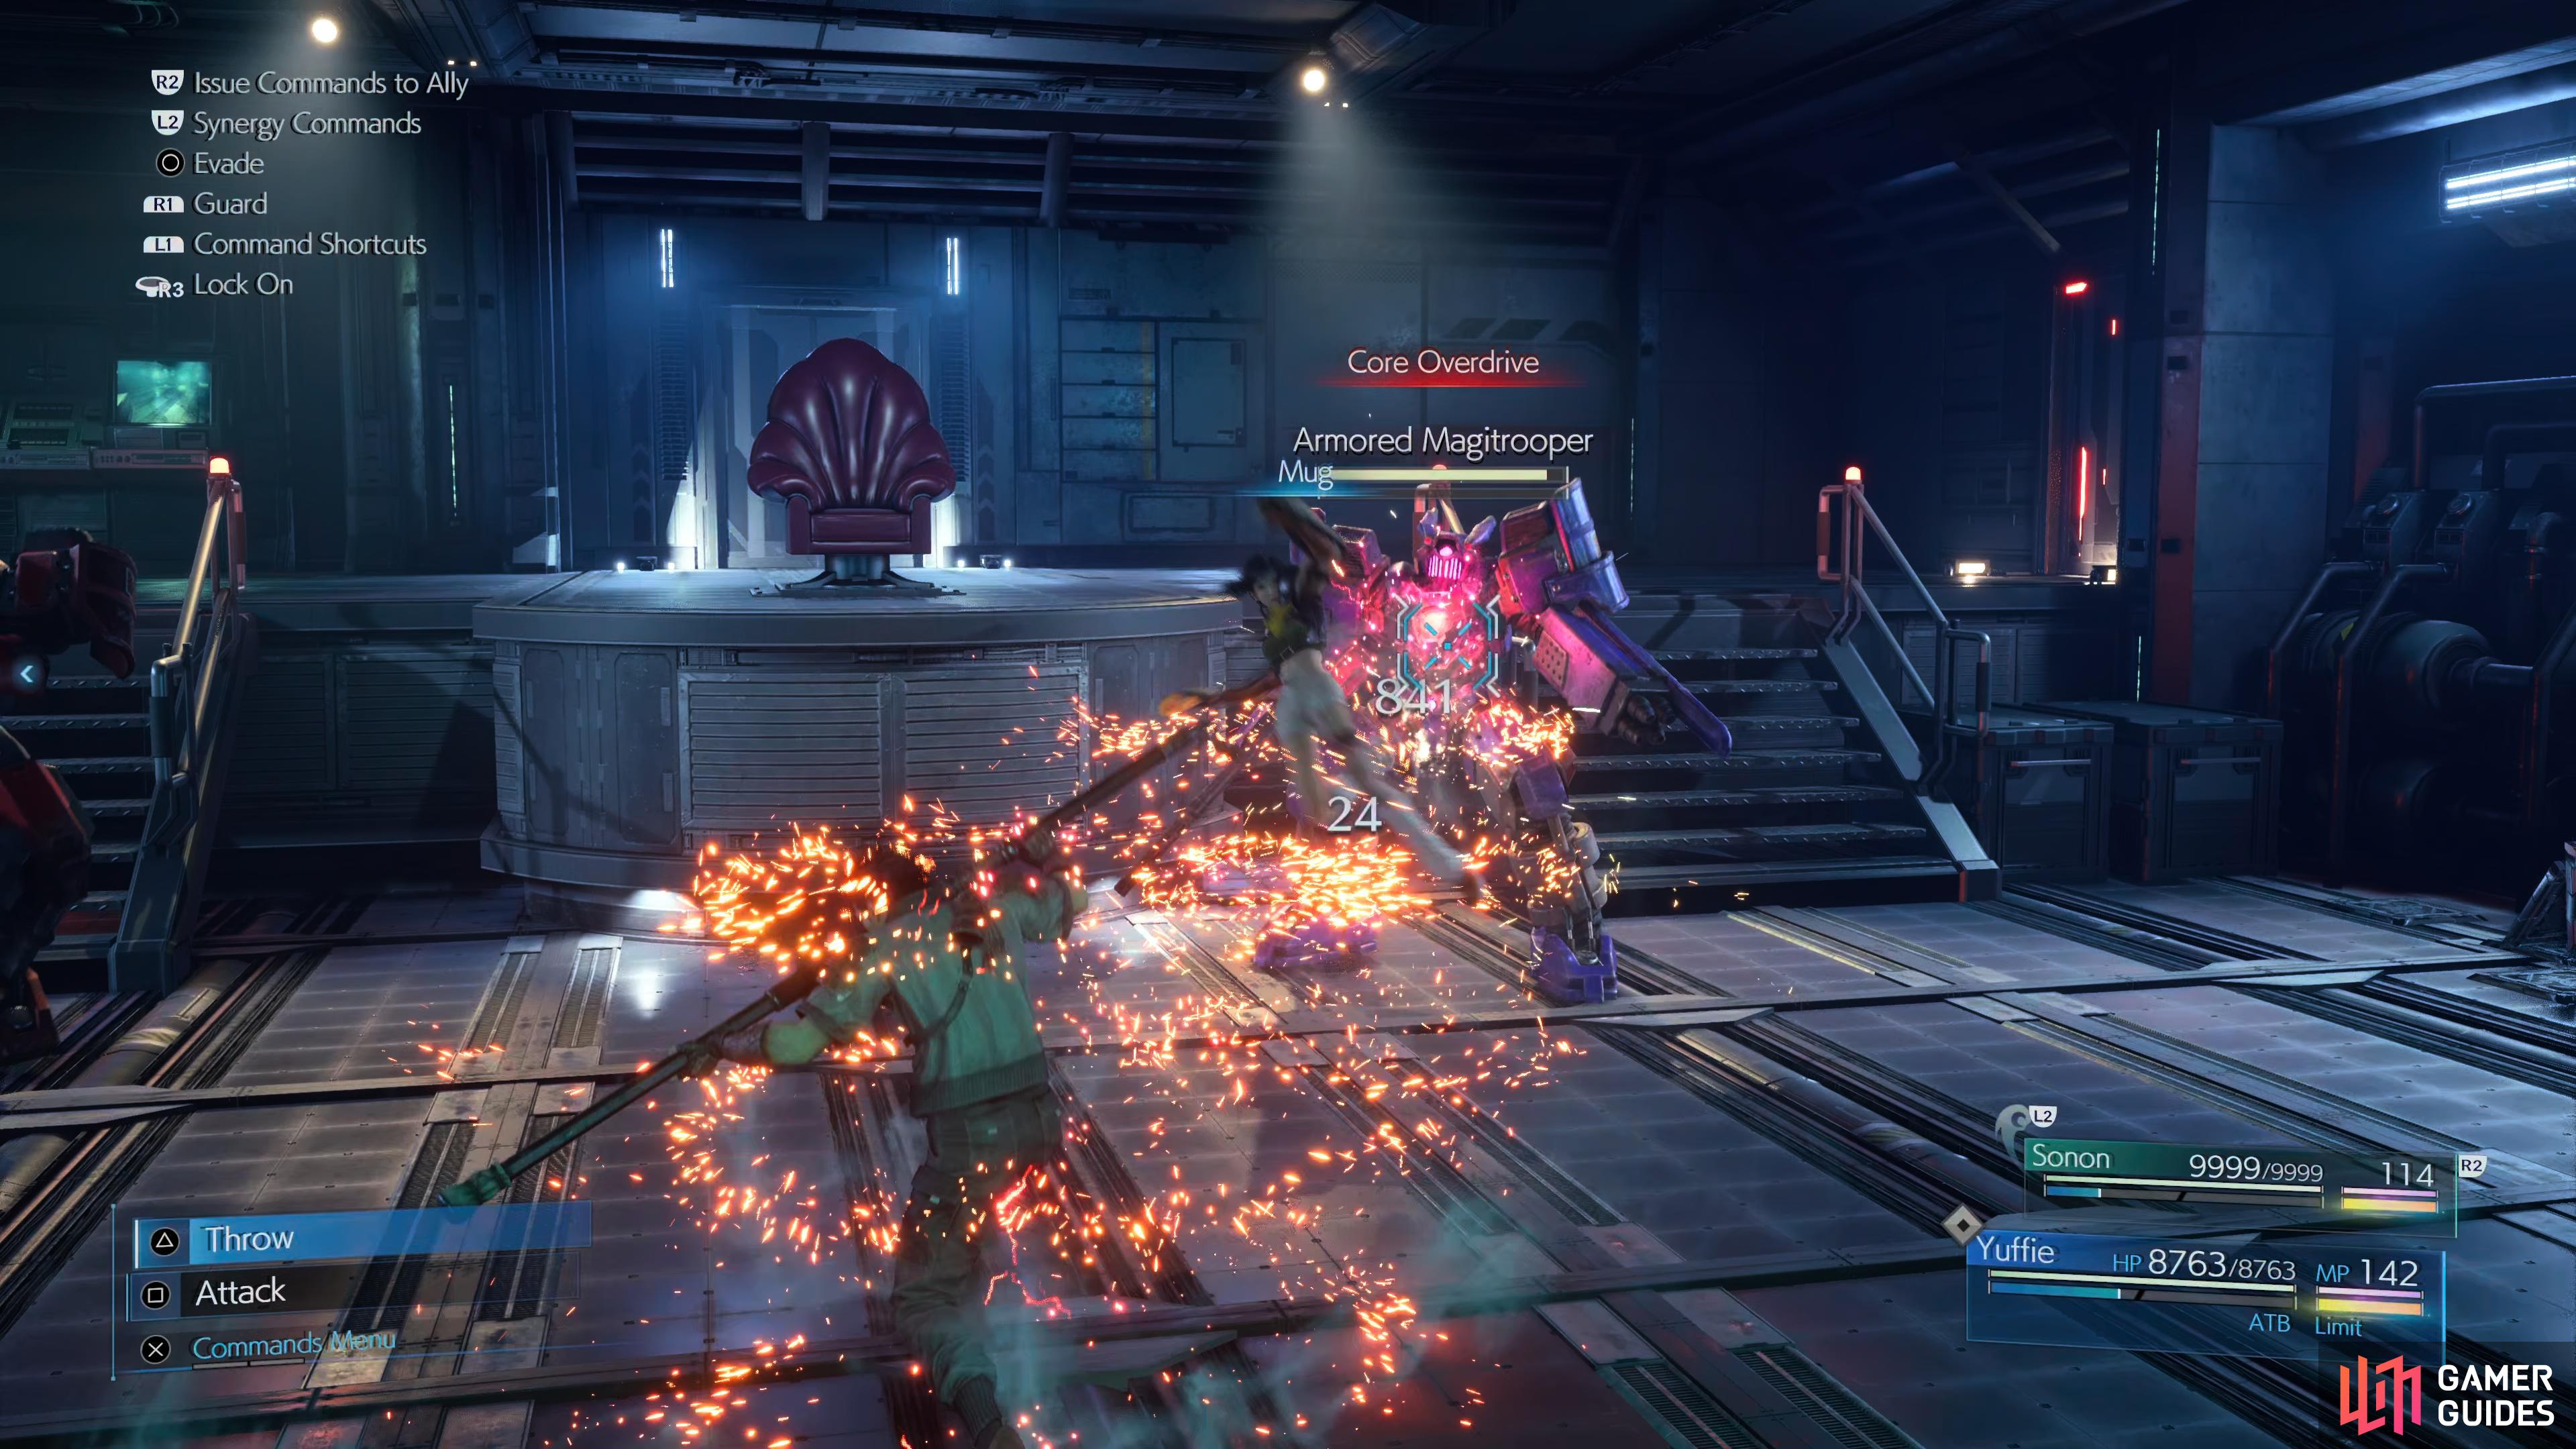
Use Mug or Steal on the Armored Magitrooper to force it to eject
remember to attack the Deathwheel from behind.
Testing Grounds
-
Unless you’re aiming to fight the enemies you didn’t on your first time around (for filling out the Enemy Intel) list, then follow this order for the easiest battles: Sweepers - Cutter - Slug-Rays - M.O.T.H. Unit.
-
Keept Lightning Materia set to Sonon’s Elemental Materia, all of the enemies in this section are mechs.
-
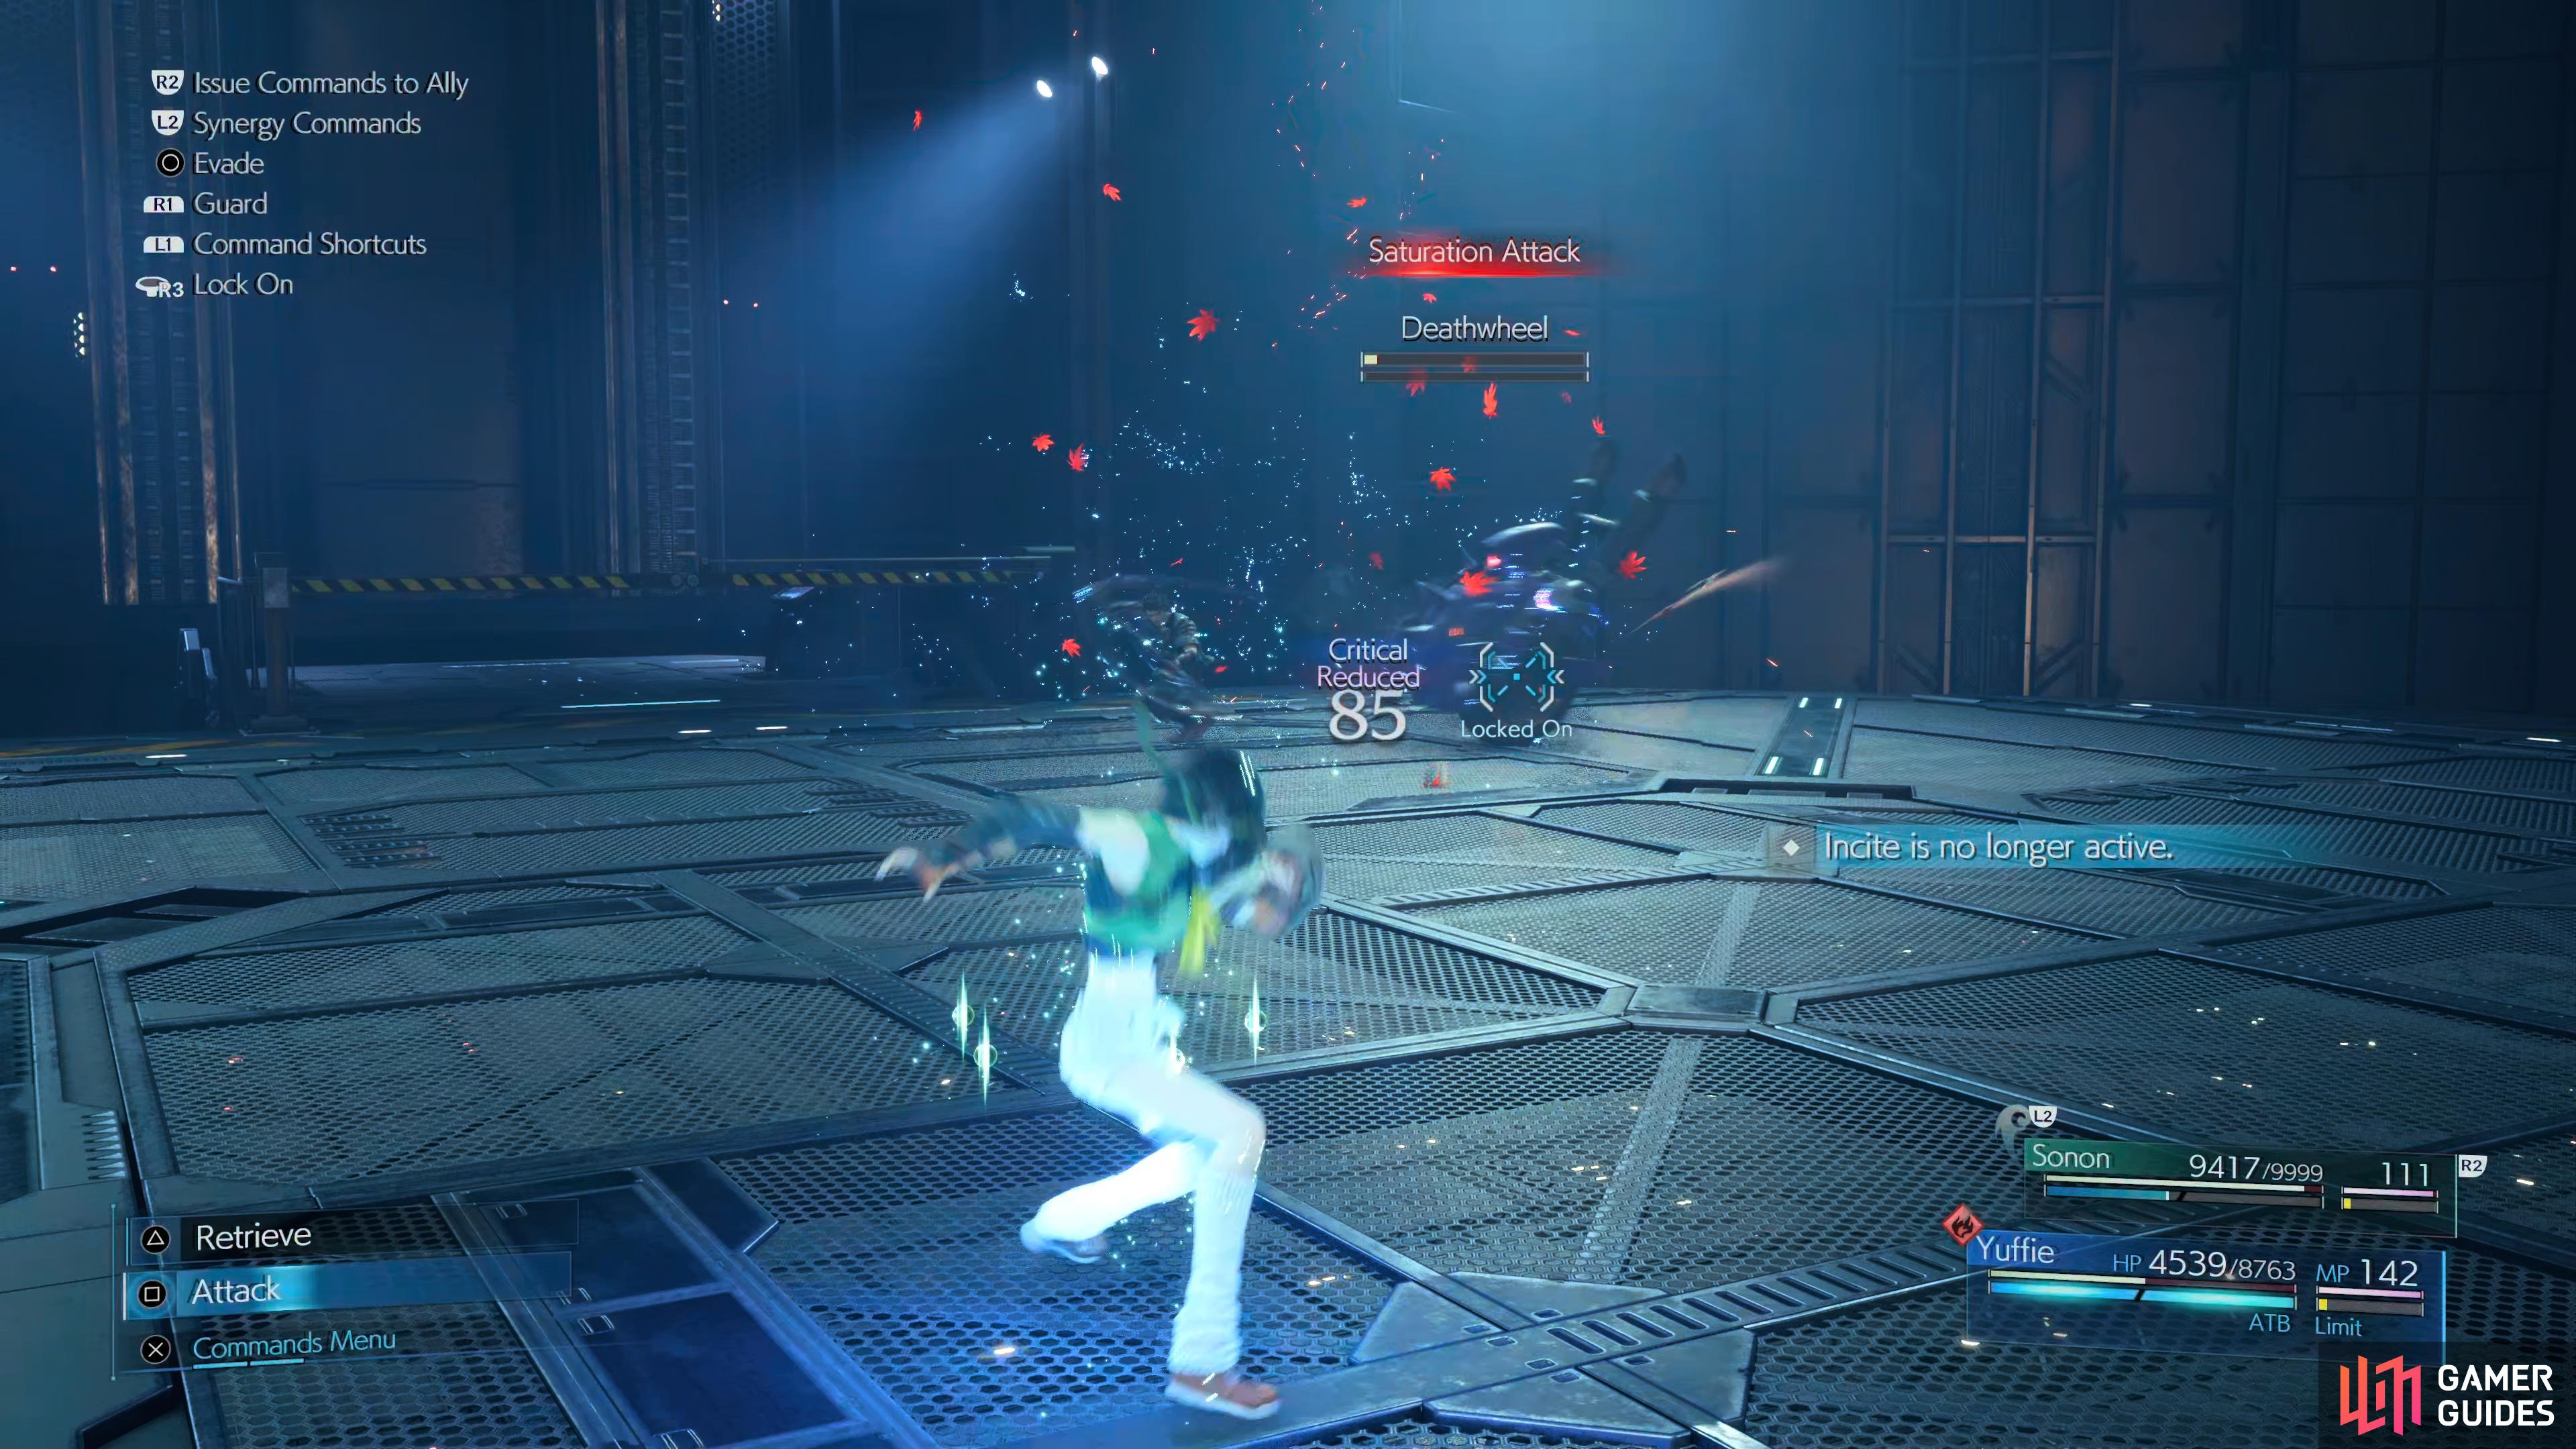
Deathwheel has a lot of HP for the final battle but is actually a lot easier than you may expect due to it being weak to every element. Treat this similar to the Levrikon battle where you’ll want to strike it with elemental Ninjutsu from behind. Upon winning this battle, you’ll obtain Secrets of the Ninja & Secrets of the Staff Vol. XI.
-
Don’t waste MP to heal following this battle, there’s a bench just before you go to fight the Scarlet and The Crimson Mare. Be sure to Save your game just before beginning the fight. For defeating Scarlet and The Crimson Mare, you’ll obtain the Secrets of the Ninja & Secrets of the Staff Vol. XII
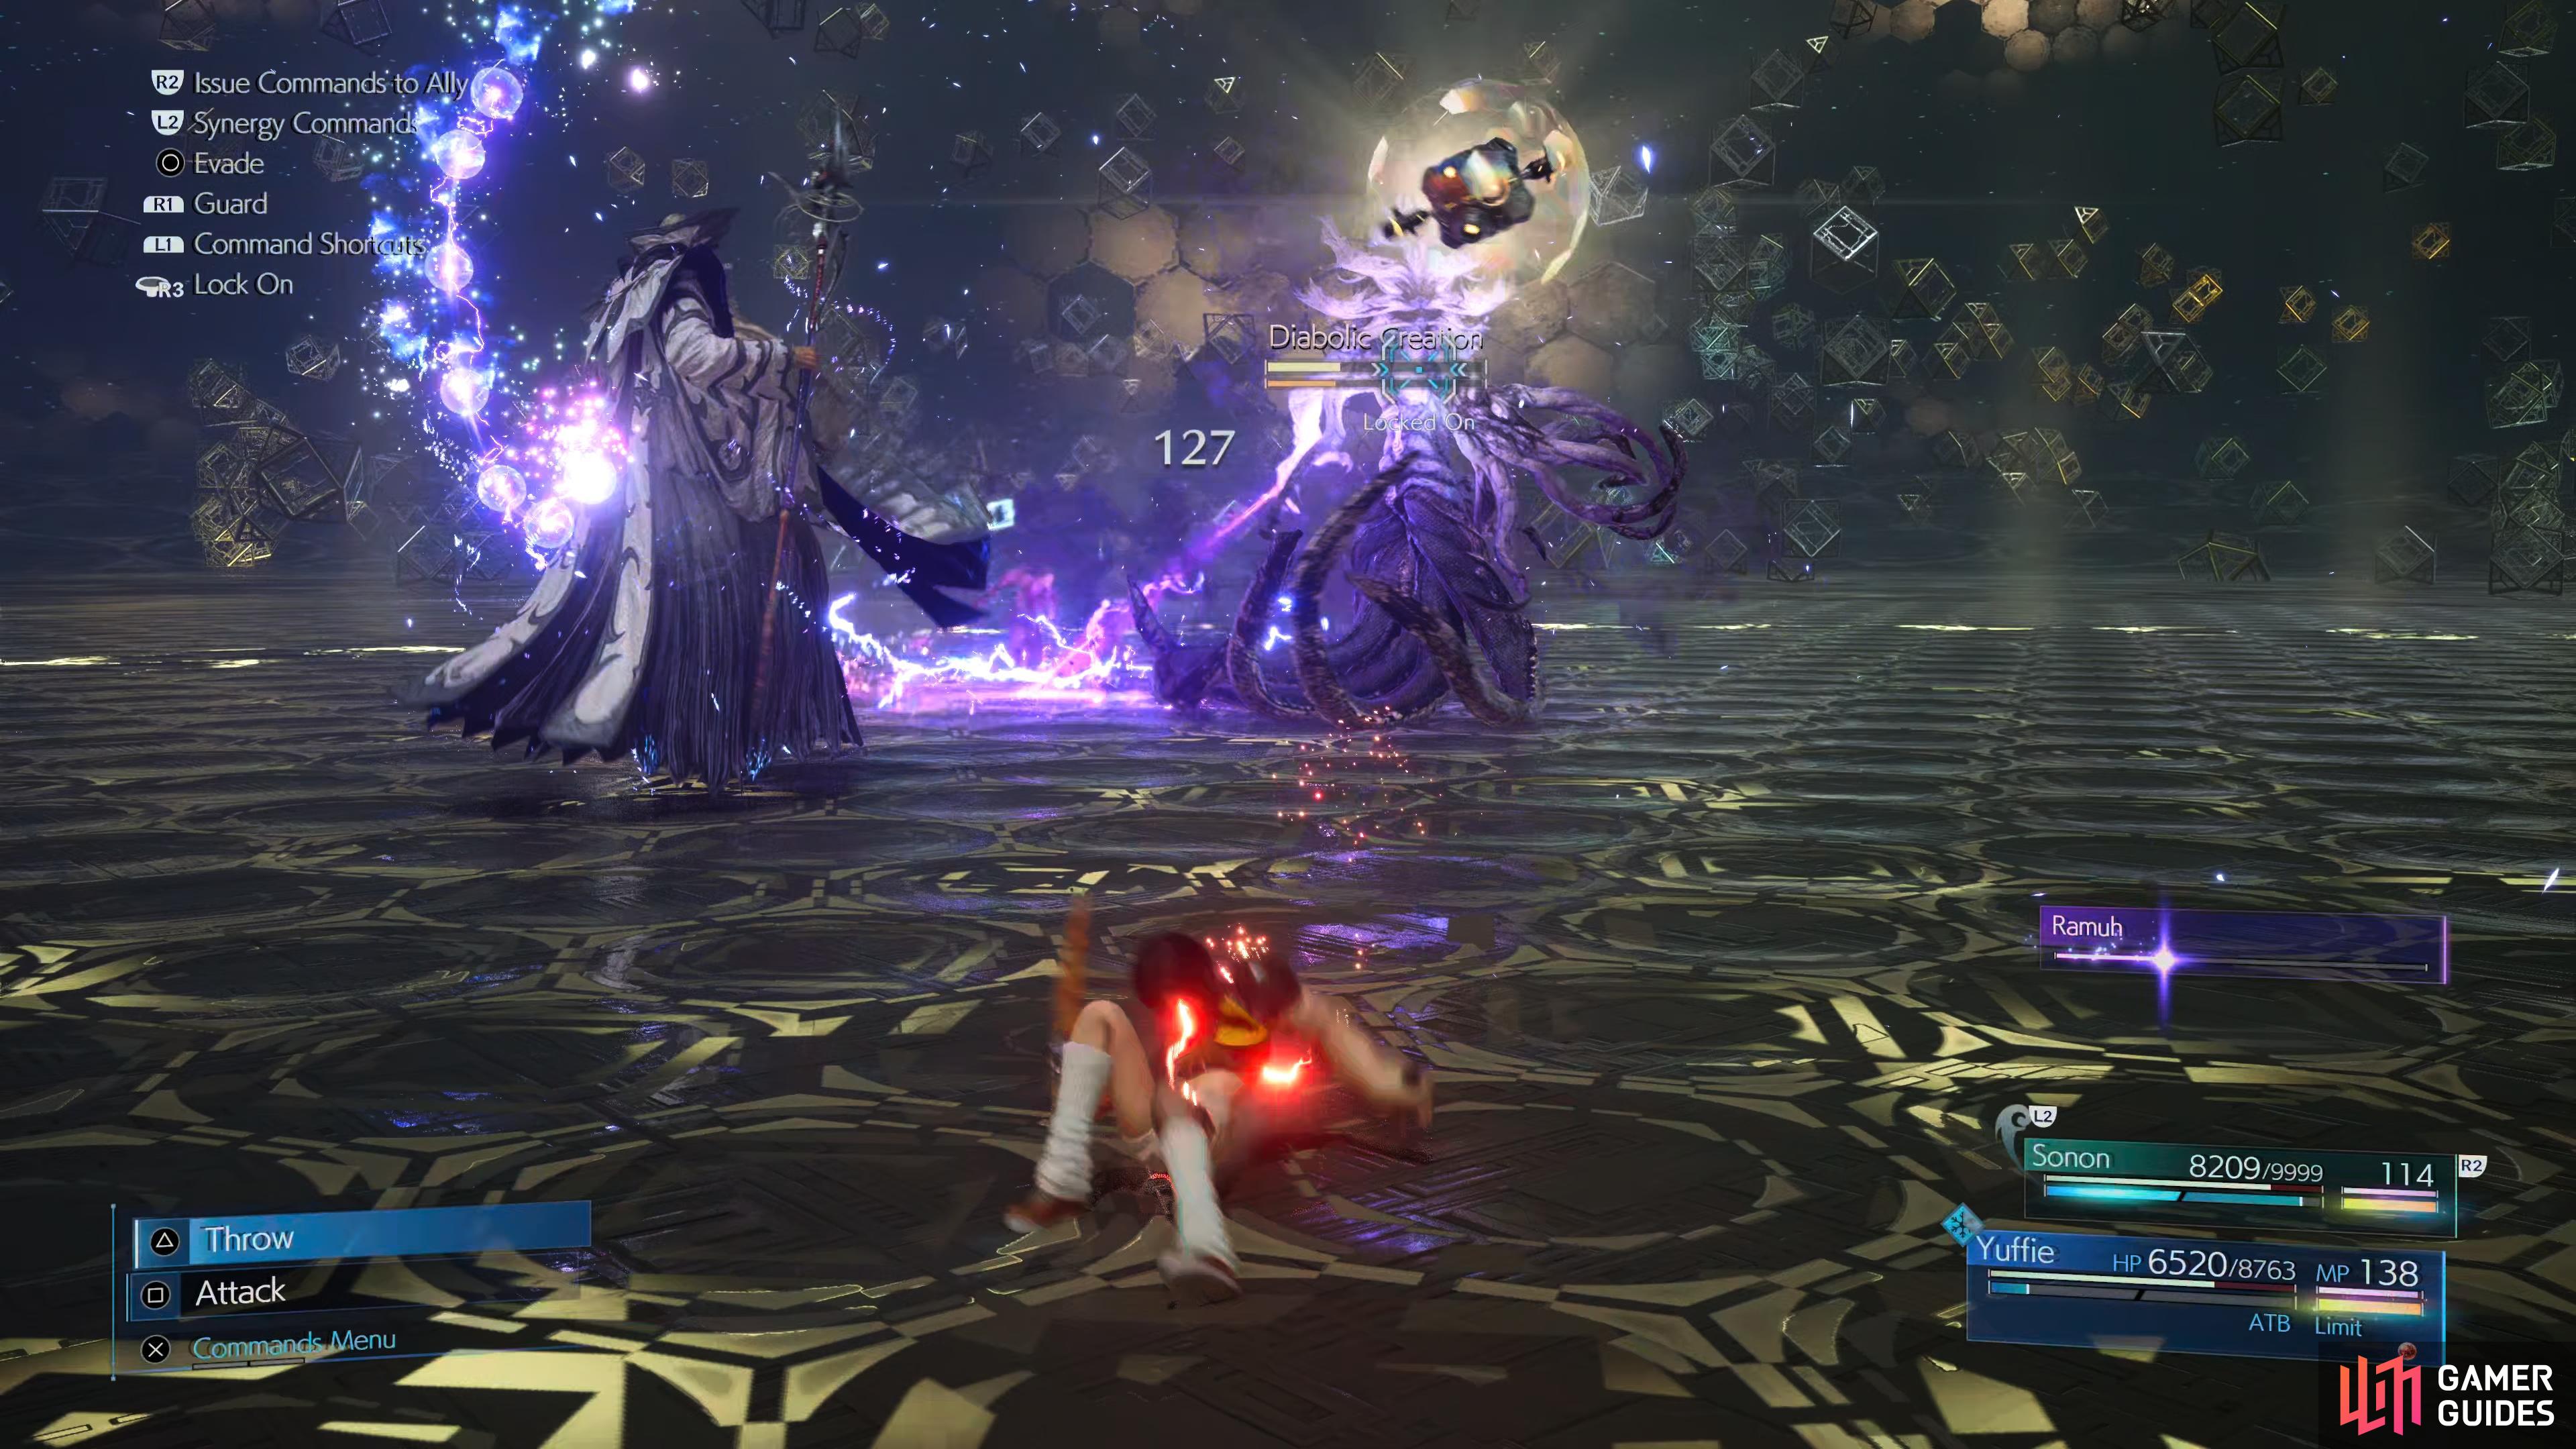
Make use of Ramuh in the final battle against the Projector
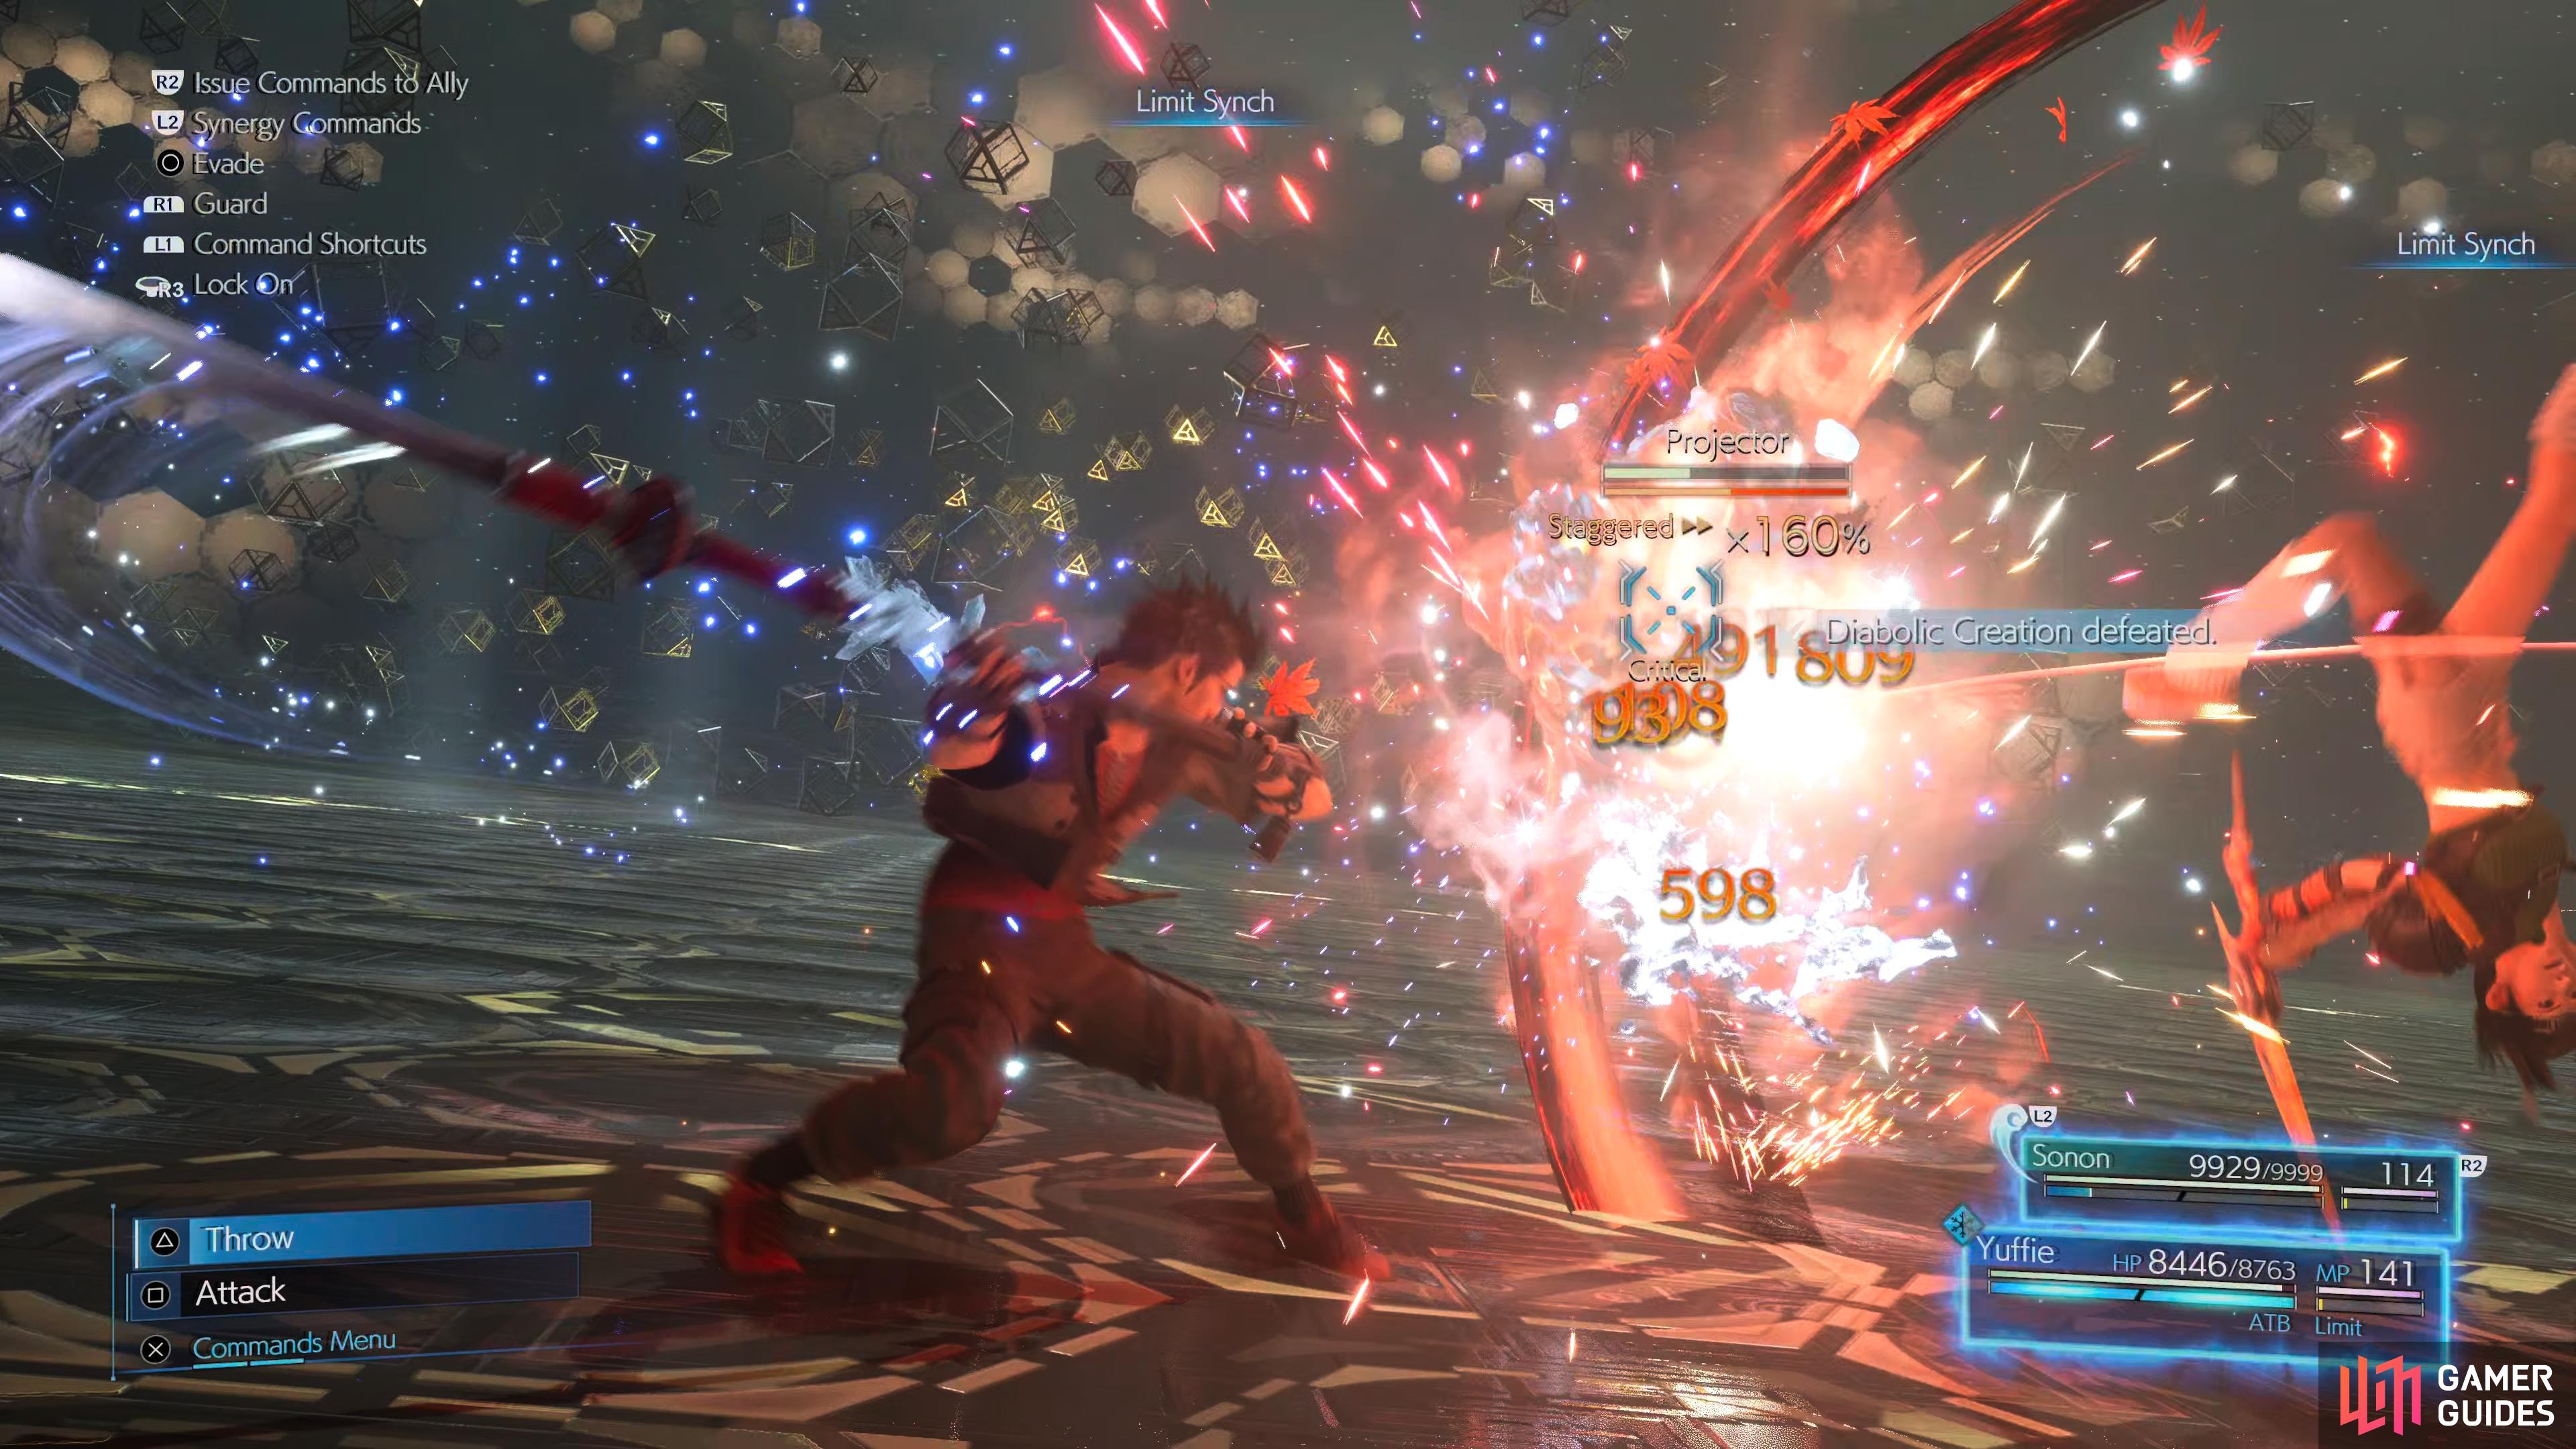
a single Limit Synch is enough to defeat the Projector.
Deepground
-
At this point, MP conservation becomes the most important factor in your future battles. Rely on Precision Defense: Regen, Chakra or Prayer to recover HP as you’ll need as much as possible for the final boss. If you spent too much MP on the previous boss, you may wish to consider reloading and trying again.
-
Save in the room just before the Projector in case you spend too much MP on the battle. Be sure to change Sonon’s Elemental Materia combo to include the Ice Materia on his weapon.
-
Once you reach the Projector in the Combat Simulator, you’ll notice that there’s no new attacks to worry about. Instead, it has far more HP alongside the Diabolic Creation so you’ll need to take it down several times before you can fully deplete the Projector’s HP. It can help to store charges of Banishment so you can unleash Banishment III as the Projector’s shield falls. This is the last major battle before the final boss so keep an eye on your MP spenditure here. For defeating the Projector, you’ll obtain the Secrets of the Ninja & Secrets of the Staff Vol. XIII.
-
Make use of the bench and then prepare for the final battle against Nero.
No Comments