

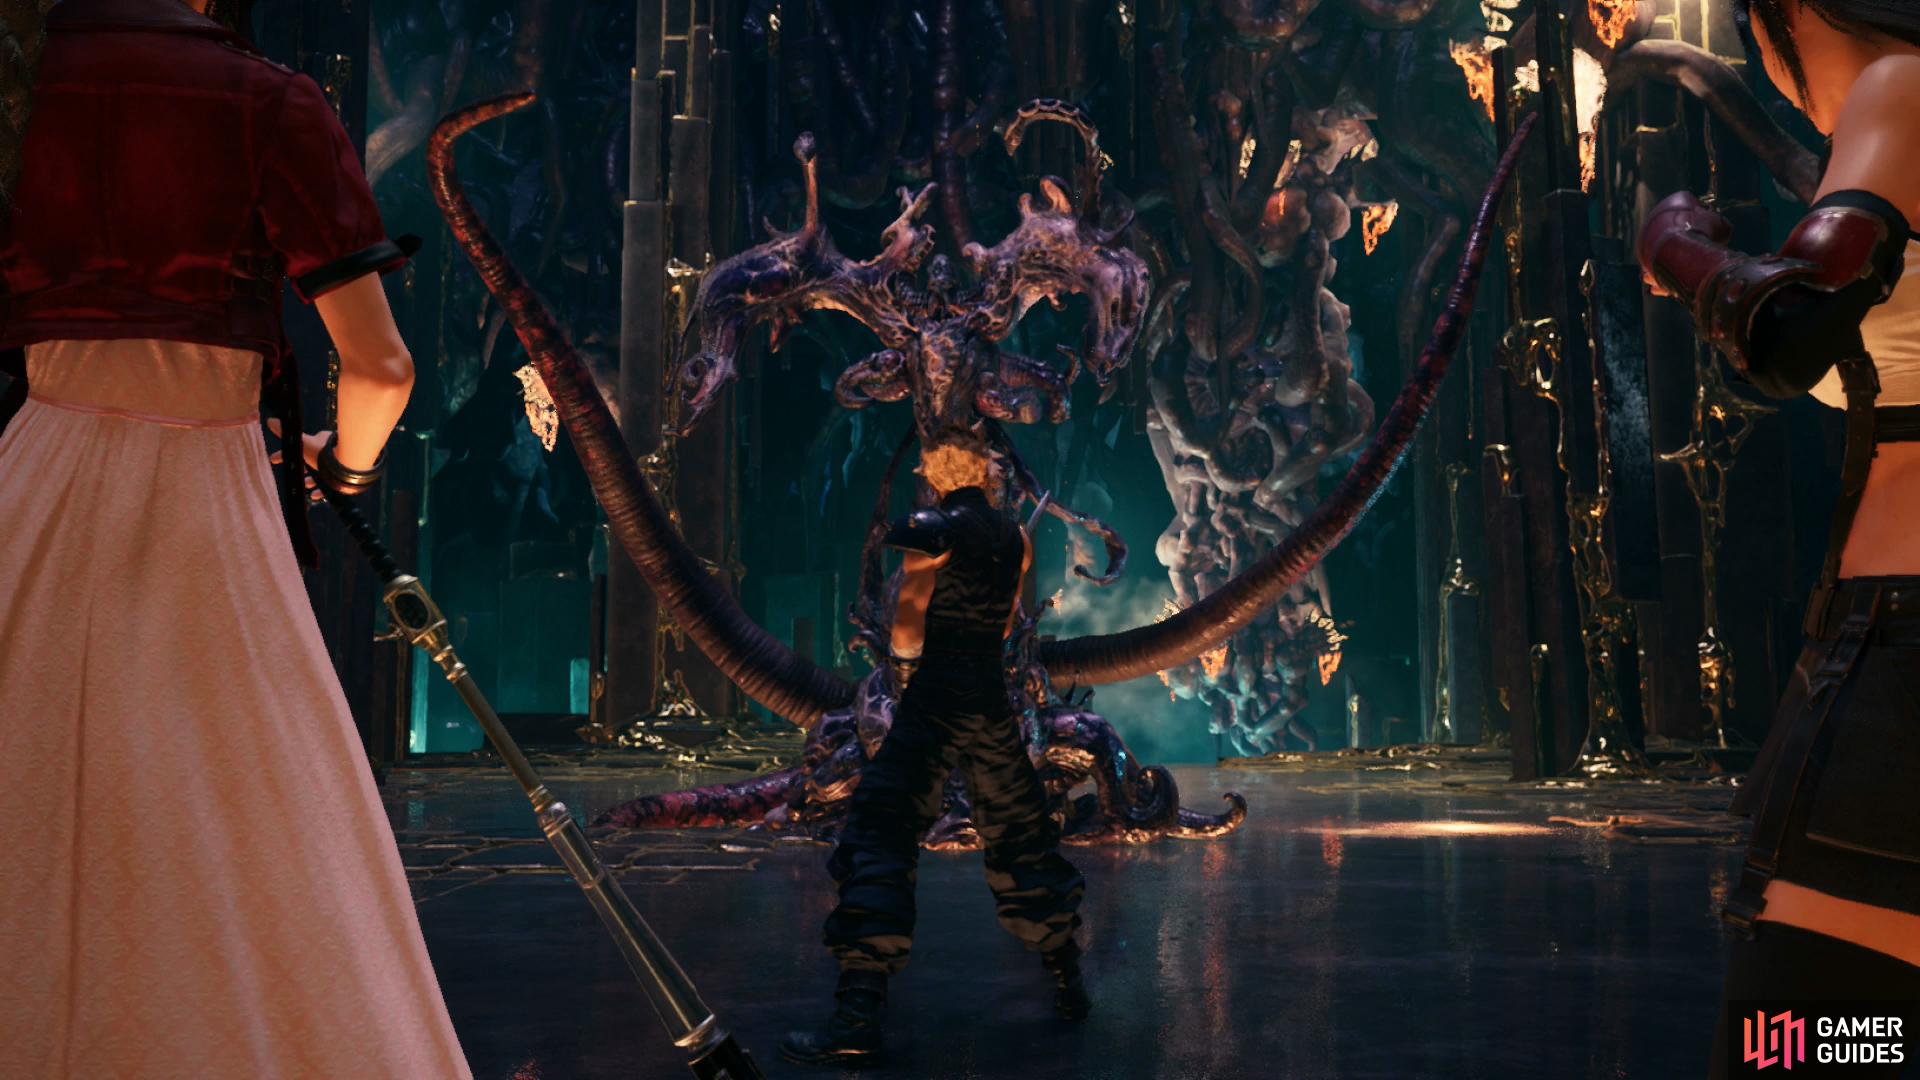
Boss: Jenova Dreamweaver
| Enemy | Weaknesses | Notable Loot |
|---|---|---|
| Jenova Dreamweaver | -- | Way of the Fist Vol. XIV |
| Cloud | . |
|---|---|
| Weapon: | Twin Stinger |
| Armor: | Cog Bangle |
| Accessory: | Protective Boots |
| Useful Materia: | Fire + Elemental (armor), Healing, Revive, Steadfast Block, ATB Stagger, HP Up |
| Aerith | . |
|---|---|
| Weapon: | Silver Staff |
| Armor: | Chain Bangle |
| Accessory: | Protective Boots |
| Useful Materia: | Healing + Magnify, Binding + Warding, Barrier, Revive, Magic Up, HP Up |
| Tifa | . |
|---|---|
| Weapon: | Purple Pain |
| Armor: | Cog Bangle |
| Accessory: | Protective Boots |
| Useful Materia: | Fire + Elemental (armor), Poison, Healing, Revive, Steadfast Block, ATB Stagger, HP Up |
The fight with Jenova Dreamweaver is one of those Hard difficulty fights that hasn’t changed all that much, and since you can bring more/better resources to bear this time around, it may actually be easier. Given Jenova Dreamweaver’s relatively poor offensive output (with a few notable exceptions), Gotterdammerung is a game-changer here, but it’s absolutely not necessary.
To make your life easier, equip all characters with Protective Boots to protect them from “Stop”, which will allow you to outright ignore all of Jenova’s miasmas. She can inflict “Poison” with Bio, but this is rare enough that you don’t need to bother defending against it. Aerith should equip Binding + Warding to fend off “Silence”, but Cloud and Tifa won’t be essential spellcasters anyways. They, on the other hand, should equip Fire + Elemental on their armor, as it’ll turn Jenova’s Fira, Firaga and “Dream of Fire” attacks into a source of healing, which will simplify matters greatly. Otherwise, bring along an orb of Poison Materia and equip Aerith with Healing + Magnify.
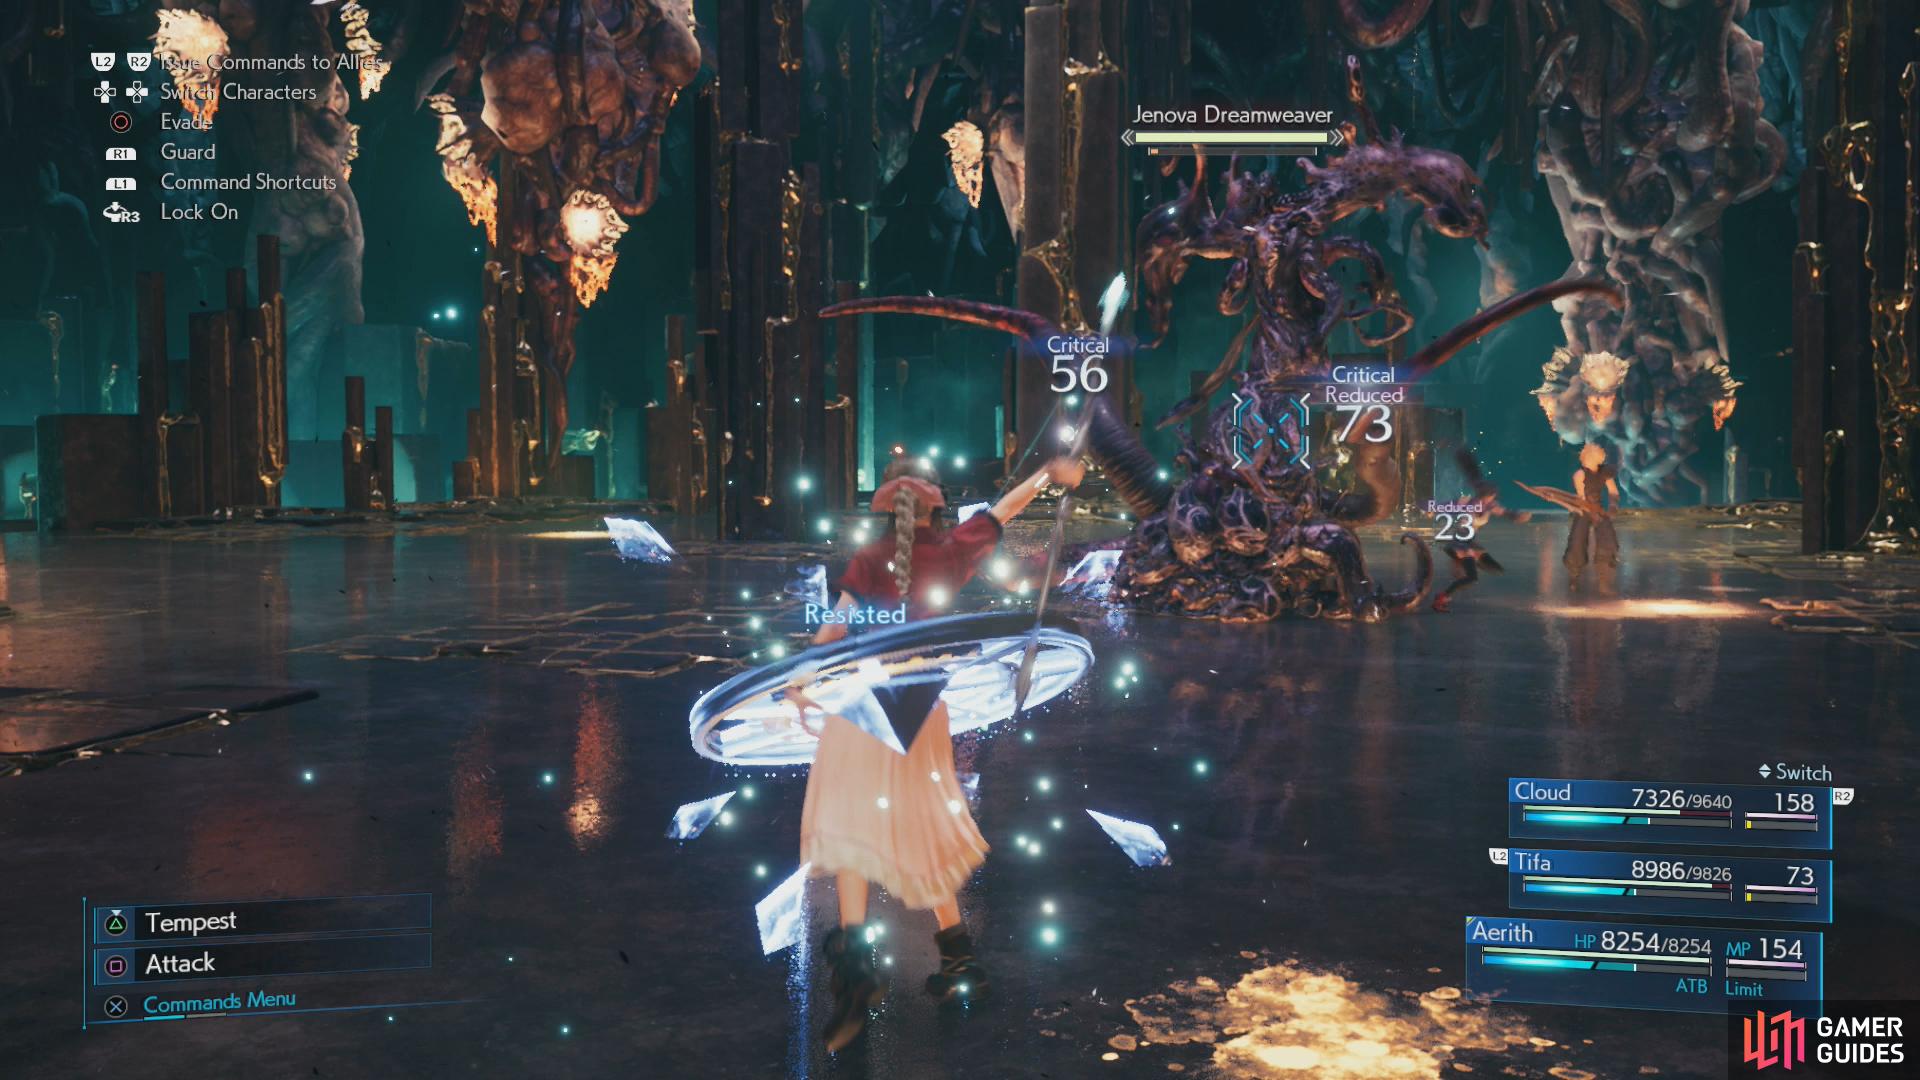
(1 of 3) Wearing Protective Boots will protect you from “Stop”, making this fight much easier.
Thus prepared you should have little trouble with Jenova Dreamweaver, especially the downright tame first phase. Her early attacks are as follows:
-
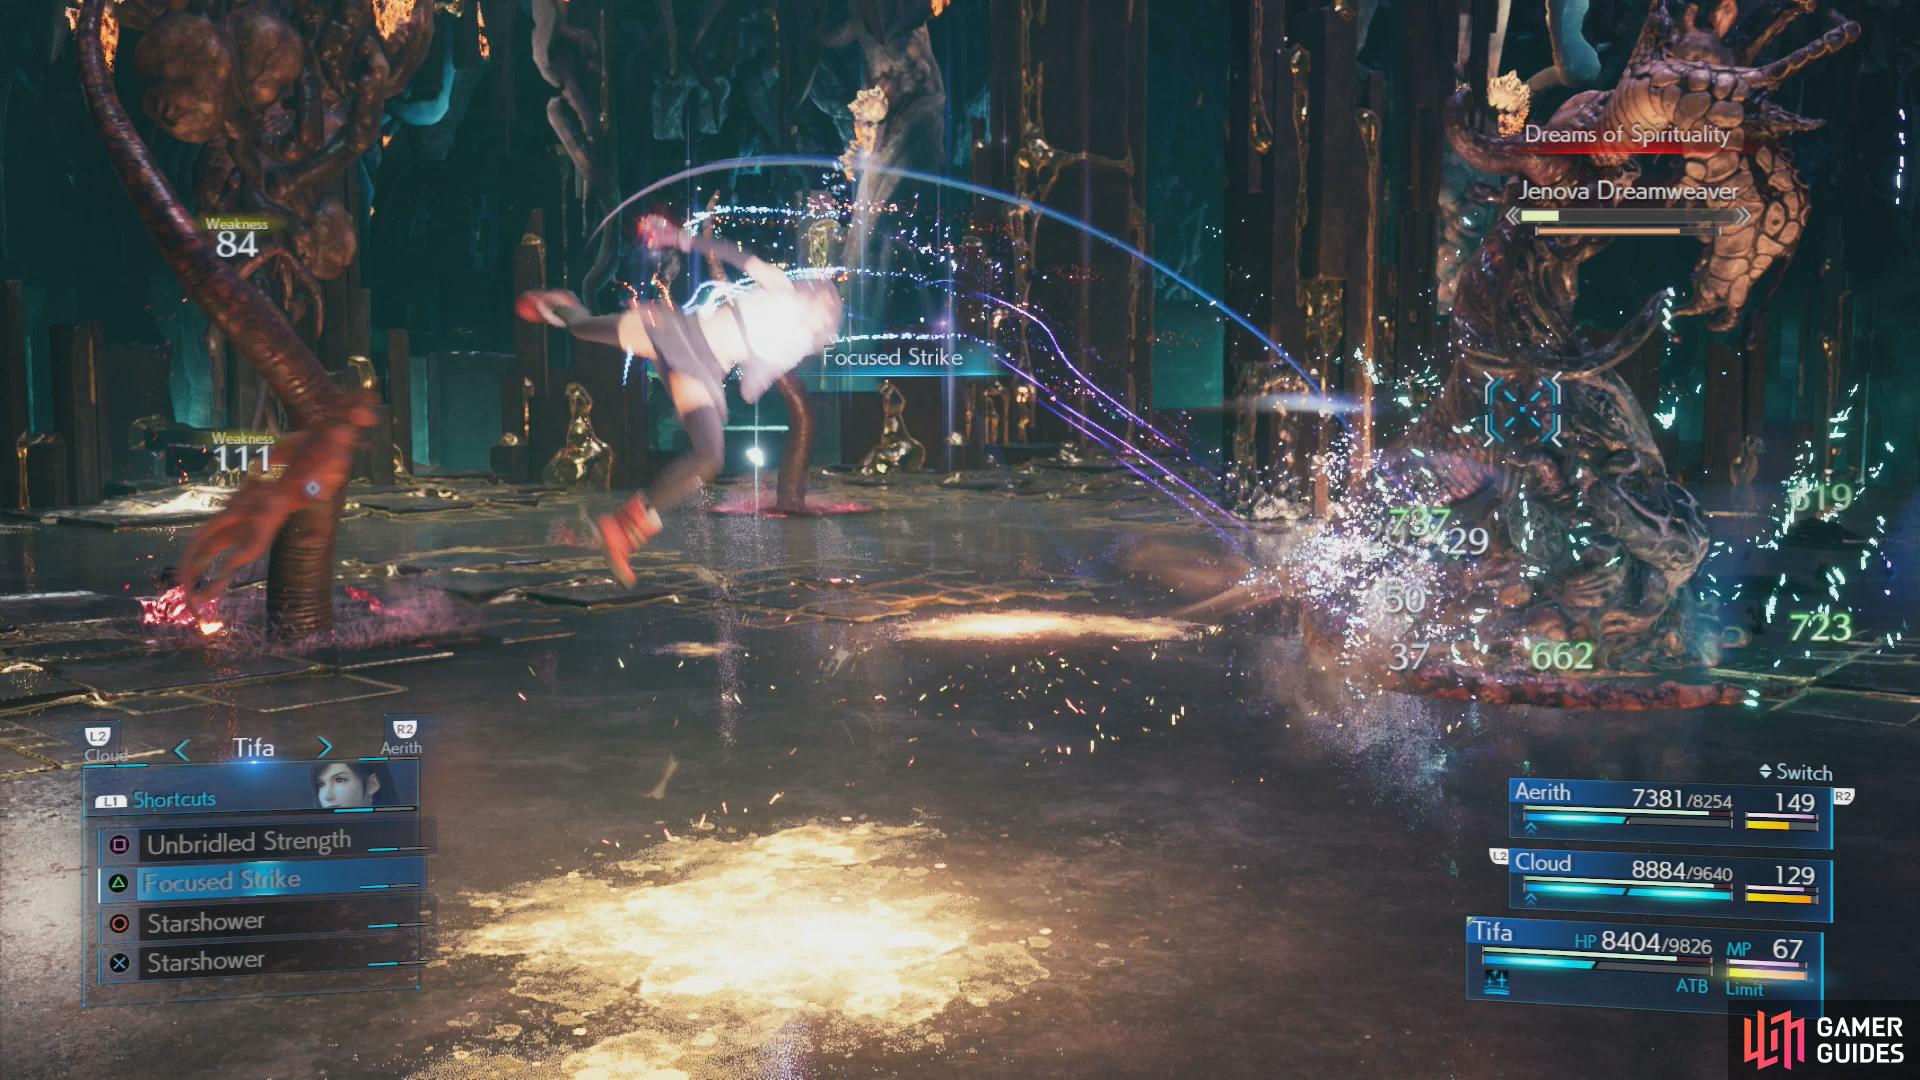
Cast Aside: An area-of-effect attack centered on Jenova, deals heavy (2,000)+ damage and repels attackers.
-
Quietude: Shoots out bolts of energy that deal moderate damage. Can inflict “Silence”.
-
Vengeance: Shoot a beam of black energy at a target. Deals massive (3,000+) damage, but can be blocked.
In addition to the above attacks, Jenova Dreamweaver can use Fira, Aerora and Bio, although these are fairly rare. Jenova Dreamweaver will counter rear attacks with her tail-tentacle vigorously enough to deter attack from that side, as well as using a variety of tentacle whips, assuming they’re intact. Most dangerous are the miasmas that travel across the ground and inflict “Stop”, but you should be immune to those.
Attacking and destroying Jenova’s tentacles will inflict Stagger damage (and perhaps regular damage if you can also hit Jenova - “Braver” is fairly good at this), but you should just focus on Jenova Dreamweaver’s main body for now, as she’ll transition to phase two at around 75% of her HP, shedding any Stagger buildup in the process. Bio will deal decent damage over time, while spamming “Omnistrike” is a good way to shave off chunks of HP. Just be sure to block “Vengeance” when she uses it, as it’s really the only attack she’ll use that’ll deal more damage than Regen can reliably deal with.
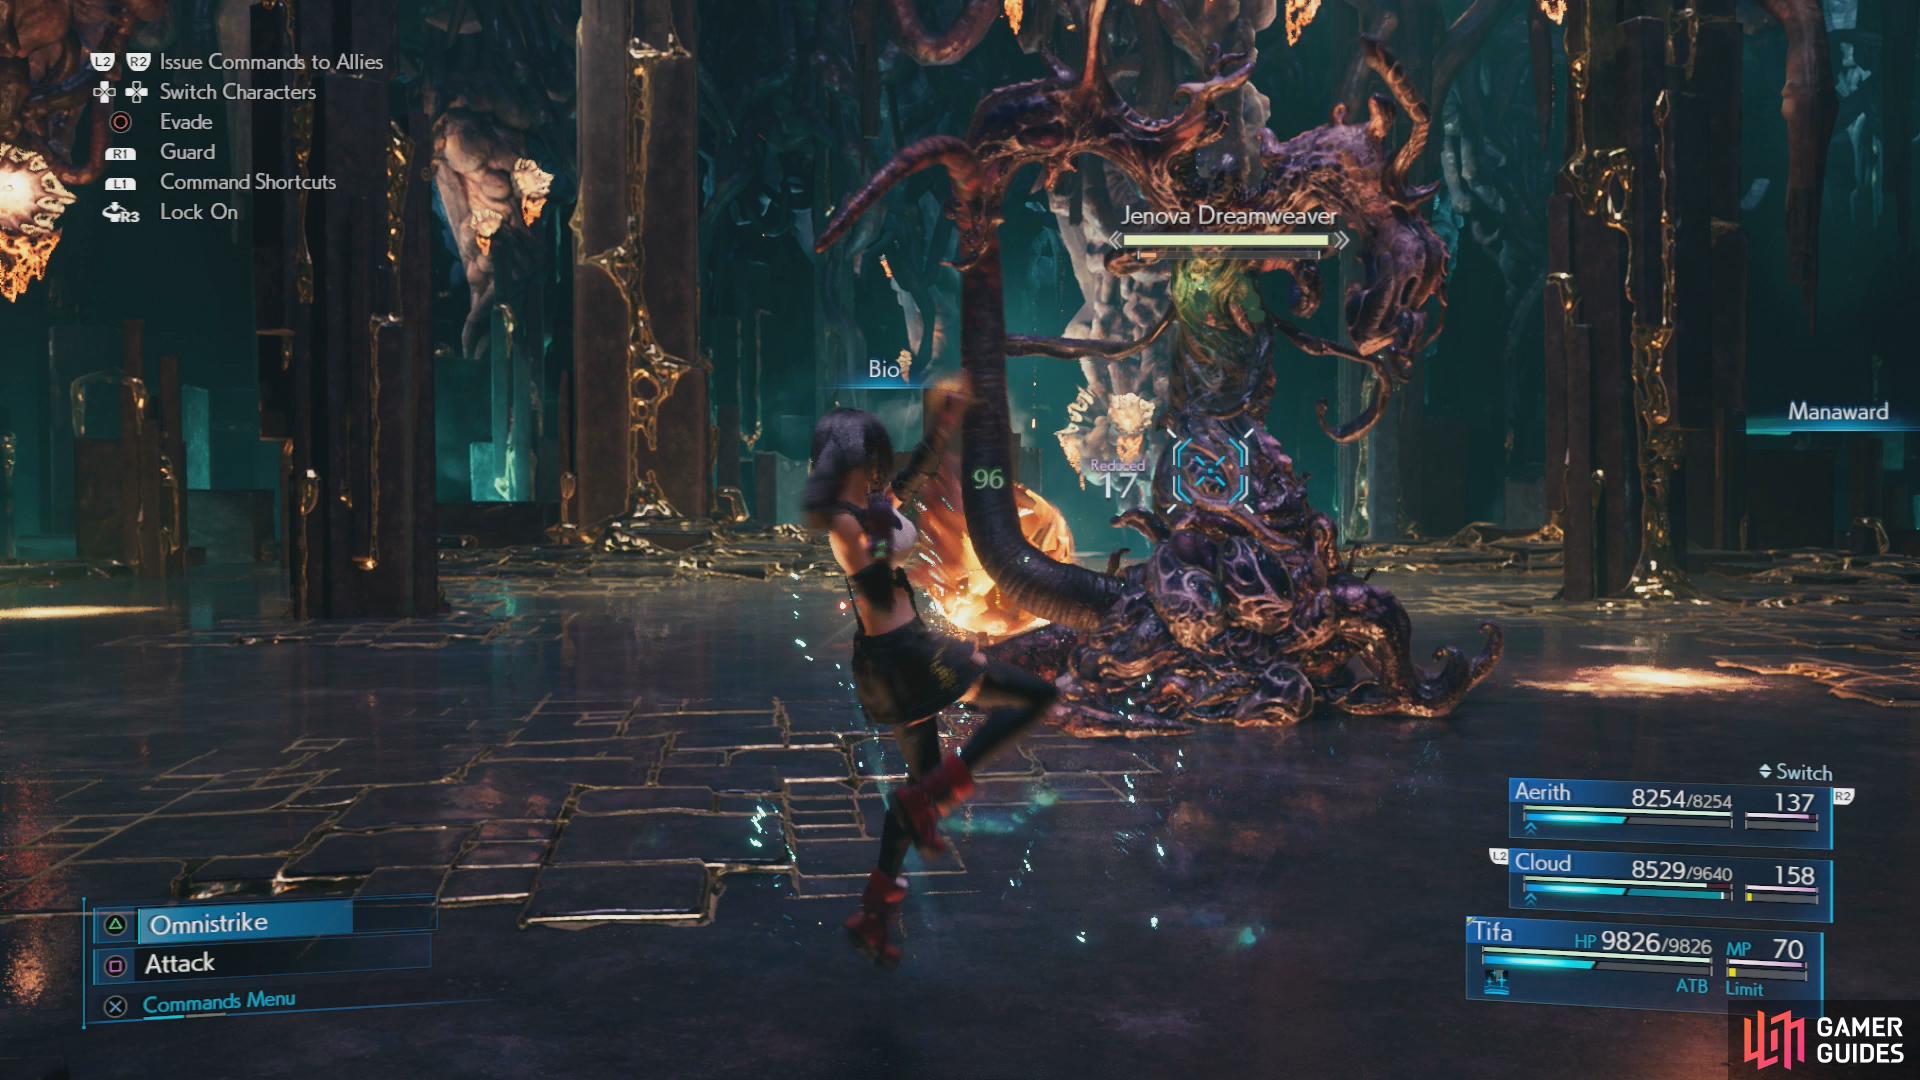
(1 of 3) Bio will deal significant damage over time, making it well worth the MP cost.
Once damaged enough she’ll transition to phase two, which is very similar to the last phase, save she’ll use several new attacks:
-
Mourning Wail: Similar to “Cast Aside”, it’s an area-of-effect attack centered on Jenova. Its area is much larger, however, and it lasts for a good while, dealing damage as long as a character remains in its effect. Retreat, switch to Aerith, and keep attacking.
-
Rejection: Used when Jenova enters a “Pressured” status, she becomes immune to magic attacks and will respond to any physical attacks with a counterattack that deals massive (5,000+) damage.
-
Resolution: Used when Jenova enters a “Pressured” status, she becomes immune to physical attacks and will respond to any magical attacks with a counterattack that deals massive (5,000+) damage.
The only real innovations in Hard difficulty here are Jenova’s tendency to start teleporting, which she’ll do earlier in this fight than in Normal difficulty. When she teleports she’ll also leave behind a storm of black rain that drains MP - an attack formerly reserved for later phases. Just keep on her, and if she uses “Rejection”, respond with Tifa’s “Focused Strike” attack and dodge shortly afterwards to evade the counterattack. If you manage to Stagger Jenova here, pile on damage with Tifa’s “Starshower”, “Rise and Fall” and “Omnistrike” combo. When reduced to around 50% of her HP Jenova will begin phase three.
The third phase is largely a lesson in the importance of destroying Jenova’s disembodied tentacles, which will now sprout up around the battlefield. Jenova, for her part, will become immune to damage with “Thanatos Denied”, after which her tentacles will perform the following attacks, in order:
-
Dream of Quietude: Shortly after this, Jenova’s tentacles will all use “Quietude”, sending out a bolt of energy that deals light damage and inflicts “Silence”.
-
Dream of Fire: Shortly after this, Jenova’s tentacles will all cast Fire.
-
Dream of Vengeance: This attack takes a while to charge up, after which all of Jenova’s tentacles will use a full-strength “Vengeance” attack.
The first two “Dreams” aren’t too bad, especially if you have Fire + Elemental equipped, but you absolutely must thin the herd before “Dream of Vengeance”, lest you be pelted with numerous full-strength vengeance attacks. Cloud’s “Triple Slash” works well for this, so just run around and cut the tentacles down and if you can’t prevent “Dream of Vengeance”, you can at least reduce the number of tentacles around to use it, and of course, be sure to block to greatly reduce the damage you take.
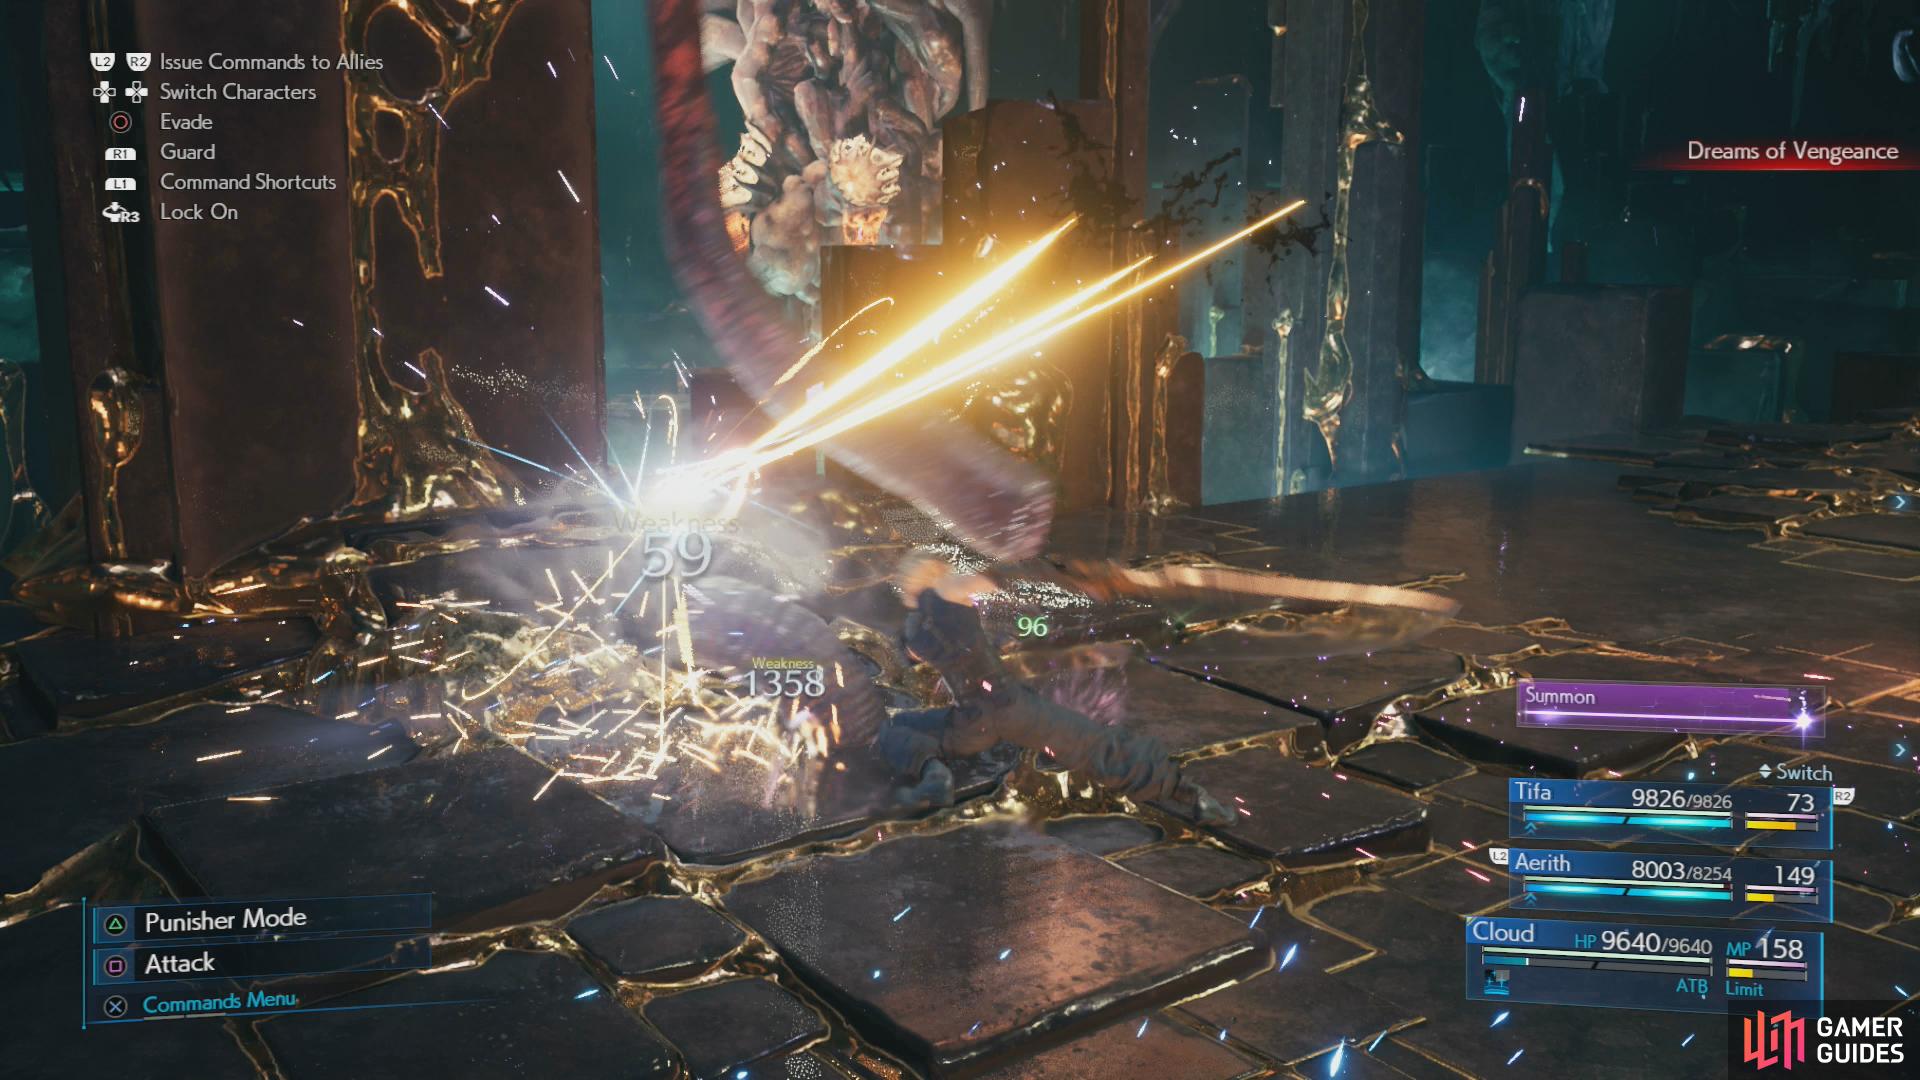
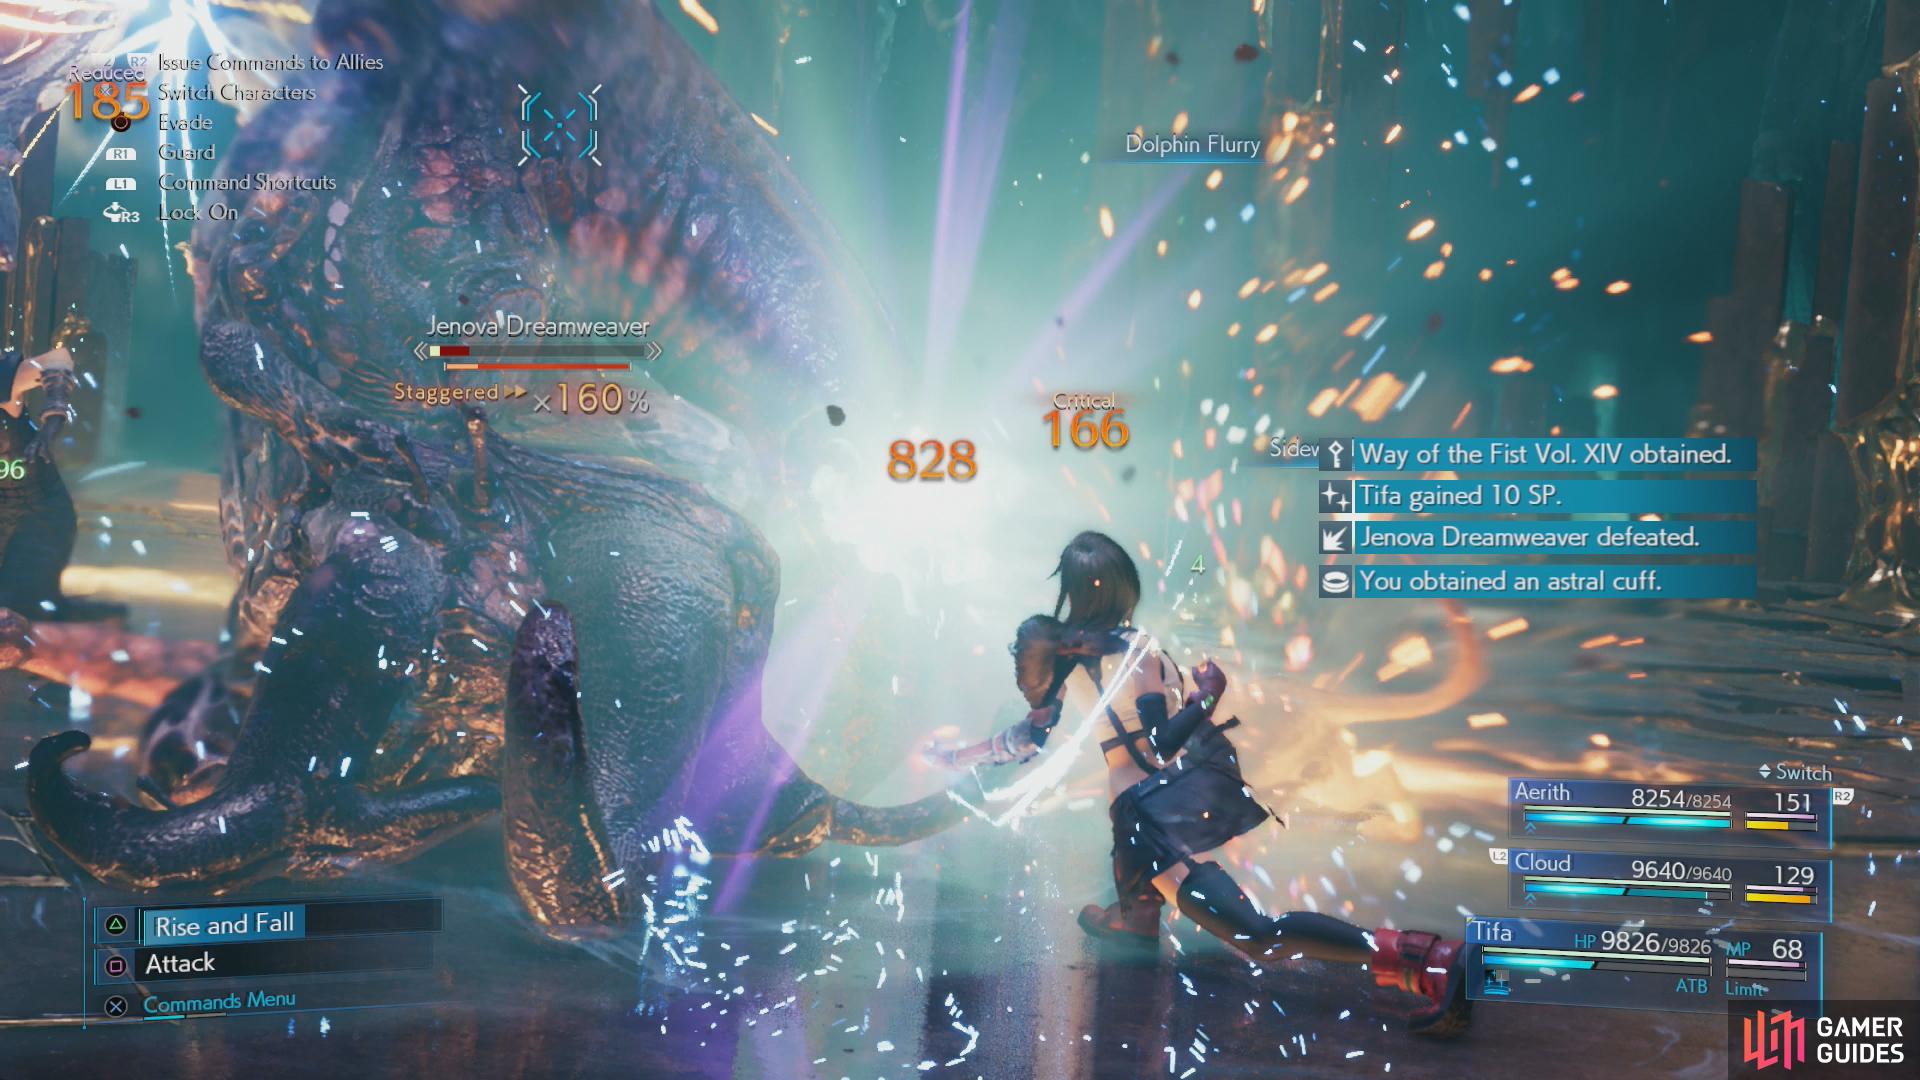
Destroying the tentacles will also inflict Stagger damage on Jenova, but you’ll have to fill up the last bit of the Stagger gauge by attacking Jenova directly, who will become “Pressured” when all the tentacles are destroyed. If you delay, she’ll stop being “Pressured” and will begin using her tentacles again… but she’ll protect herself with “Rejection” or “Resolution”, so be ready to dodge her counterattack after using “Focused Strike”, and if you have to take the hit, ensure you Stagger Jenova so you won’t have to go through it again. Punish Jenova when she’s Staggered and reduce her down to 25% or so of her HP to start the final phase.
When the tentacles are temporarily under control, Stagger Jenova,
and finish her off by whatever means you have at your disposal.
Phase four is something of a combination of phases two and three: You can attack Jenova directly again, but she’ll also make use of her own personal attacks - tentacle swipes, “Cast Aside”, “Vengeance”, “Quietude”, “Mourning Wail”, MP-draining rain, Aeroga and Firaga - as well as using the disembodied tentacles to use her rotation of “Dream” attacks. Continue using Cloud to cut down the tentacles with “Triple Slash” and when they’re reduced in number, focus on Jenova and build up her Stagger gauge. You’ll doubtlessly have a charged summon gauge by now, and perhaps the odd limit break to use - we were able to Stagger Jenova and finish her off with a limit each time, but adding a summon to the mix can’t hurt, especially if Jenova starts regenerating.
Defeating Jenova Dreamweaver in Hard difficulty will earn you the Way of the Fist Vol. XIV Manuscript.
No Comments