

A Broken City
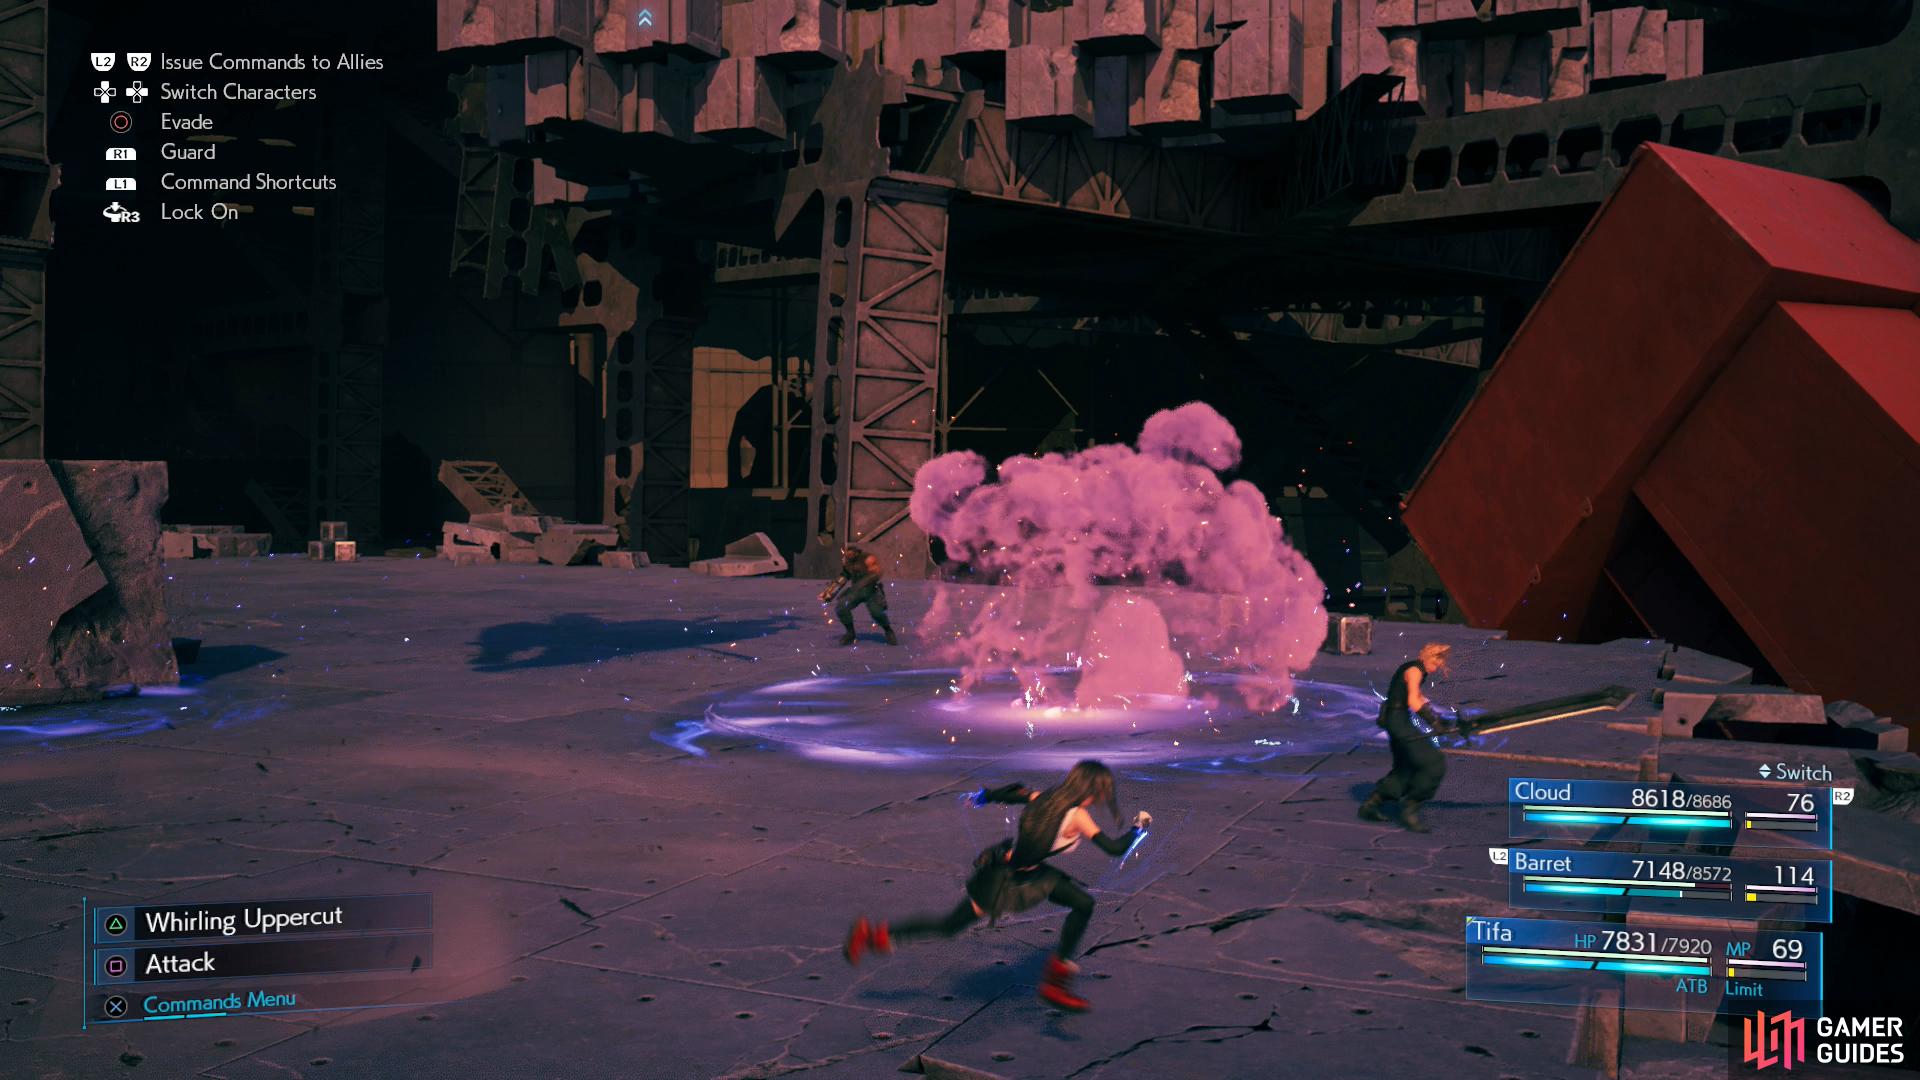
This chapter is a nice change of pace from Chapter 14 - essentially almost a pure dungeon run. Plenty of enemies to fight while making forward progress, and nary a minigame or side quest to distract you. To prepare for the fights ahead, we equipped Cloud with Fire + Magnify and Tifa and Barret with Fire + Elemental on their weapons. We also give Barret Lightning + Synergy, although this won’t become terribly useful until later. There are plenty of rest benches scattered throughout this level, so having Barret respond with the odd Bolt spell won’t hurt anything. Finally, First Strike Materia will make things go faster, since most of the foes you’re fighting are, frankly, trash mobs. The above setup isn’t ideal for everything you’ll encounter, but it’ll suffice for most fights.
When you’re ready, continue forward, following the linear path ahead and witnessing the signs of collapse all around. Considering what the upper sector has been through, it’s amazing anything is still standing. Anywho, leap over a metal support and a Neighborhood Watch Member will try to talk some sense into you. Continue past him crouch under a collapsed building to find your first rest bench and vending machine. Probably not an ideal place to take a breather, but… Anyways, the only thing noteworthy here is that you can now freely buy Time Materia, should you see fit.
| Enemy | Weaknesses | Notable Loot |
|---|---|---|
| Byobapolis | Ice/Wind | -- |
| Cerulean Drake | Wind | Orb of Gravity |
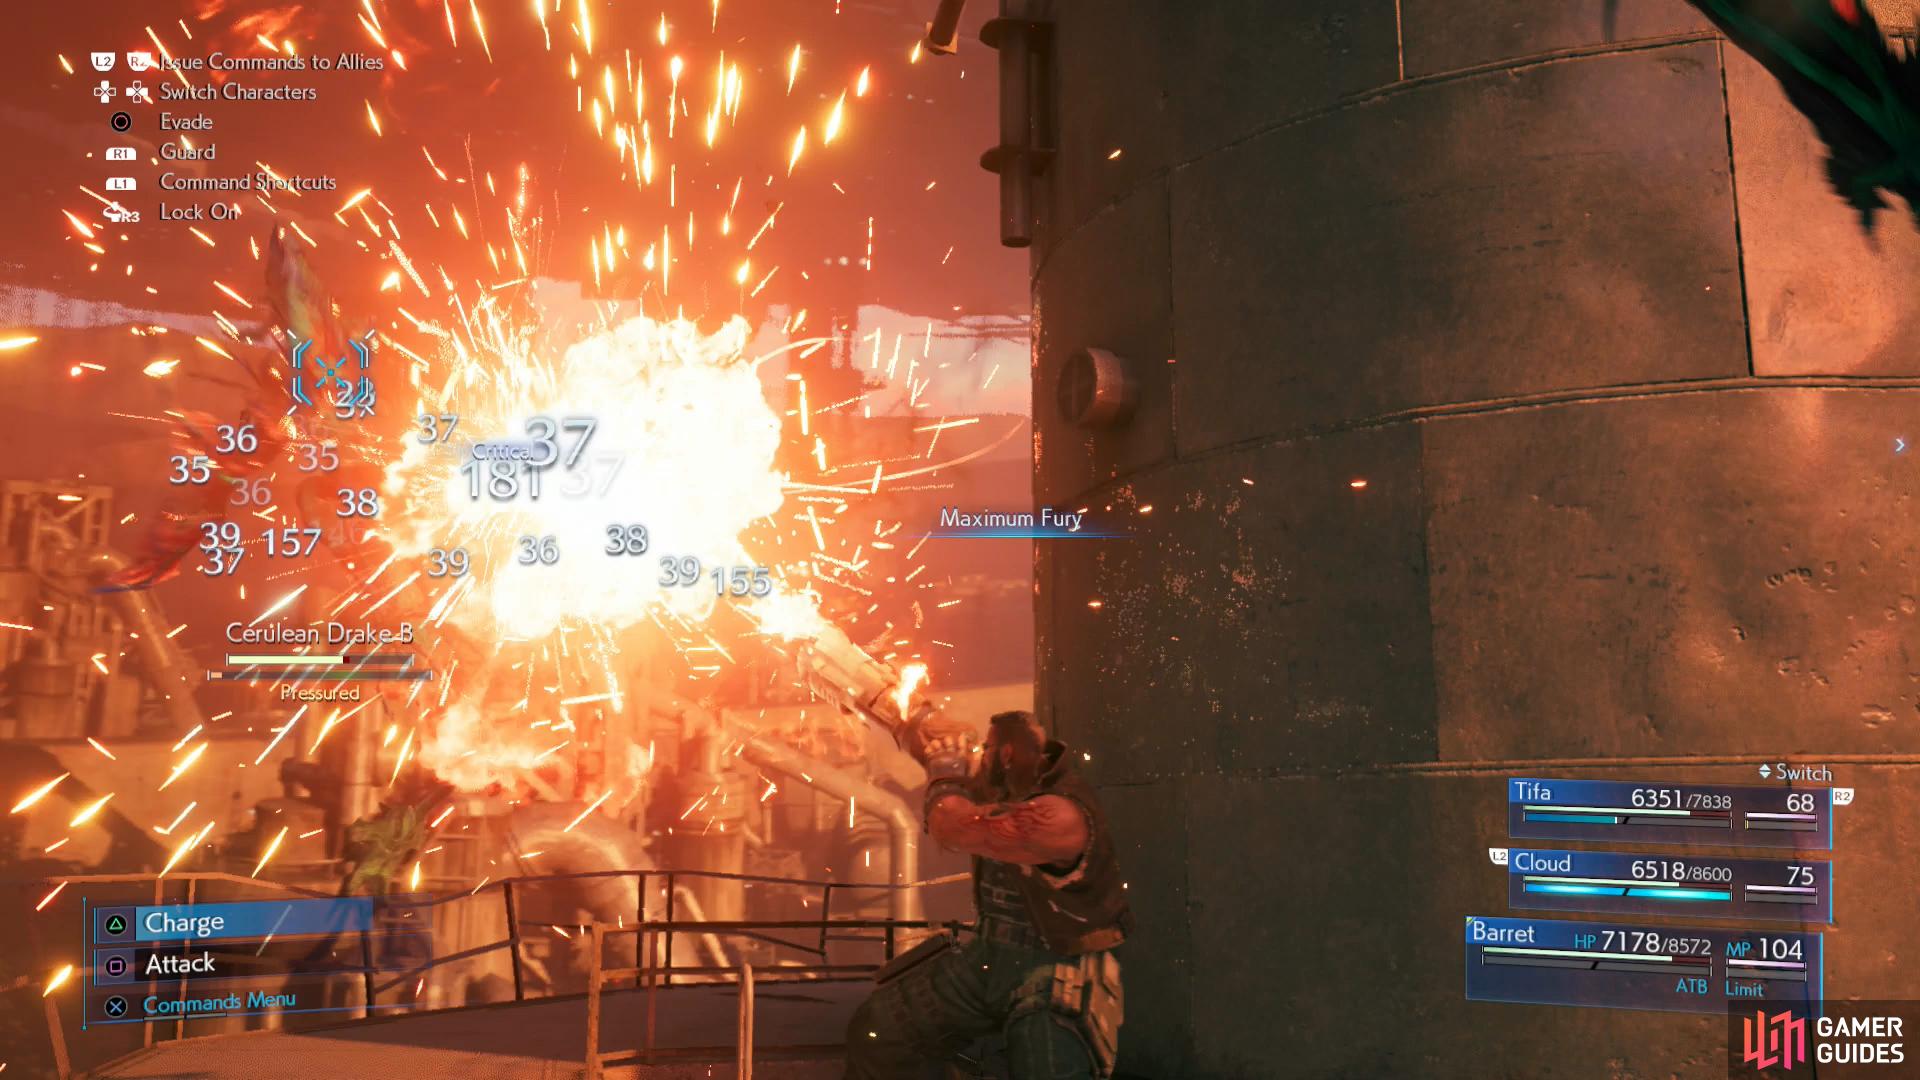
Use “Maximum Fury” to quickly take down flying foes.
Shortly into the chapter you’ll be introduced to the grapple gun.
The Climb
Climb a ladder and make your way south over some rubble to encounter your first foe of the chapter - the Byobapolis. Flying variants of Varghidpolis enemies, they’re weak to both ice and wind, and can use Thundara and “Psychokinesis” (pelts target with debris, dealing heavy damage), although they don’t attack very often. We were fine just using Barret to shoot them out of the sky with “Maximum Fury”, which is our new go-to response to almost every flier we’ll come across going forward.
Ascend another ladder and head northeast to find some Shinra Boxes for your smashing pleasure, then continue northeast to encounter another pair of Byobapolis enemies who guard a treasure chest containing a Mega-Potion. Put them down, grab the treasure, then backtrack southwest and climb another ladder to find a new-old foe, the Cerulean Drake.
Smash some Shinra Boxes to the southwest, then head northeast up some rubble, climb another ladder and when you reach the top you’ll get to see your destination… along with some morbid commentary from Barret. Thanks, pal.
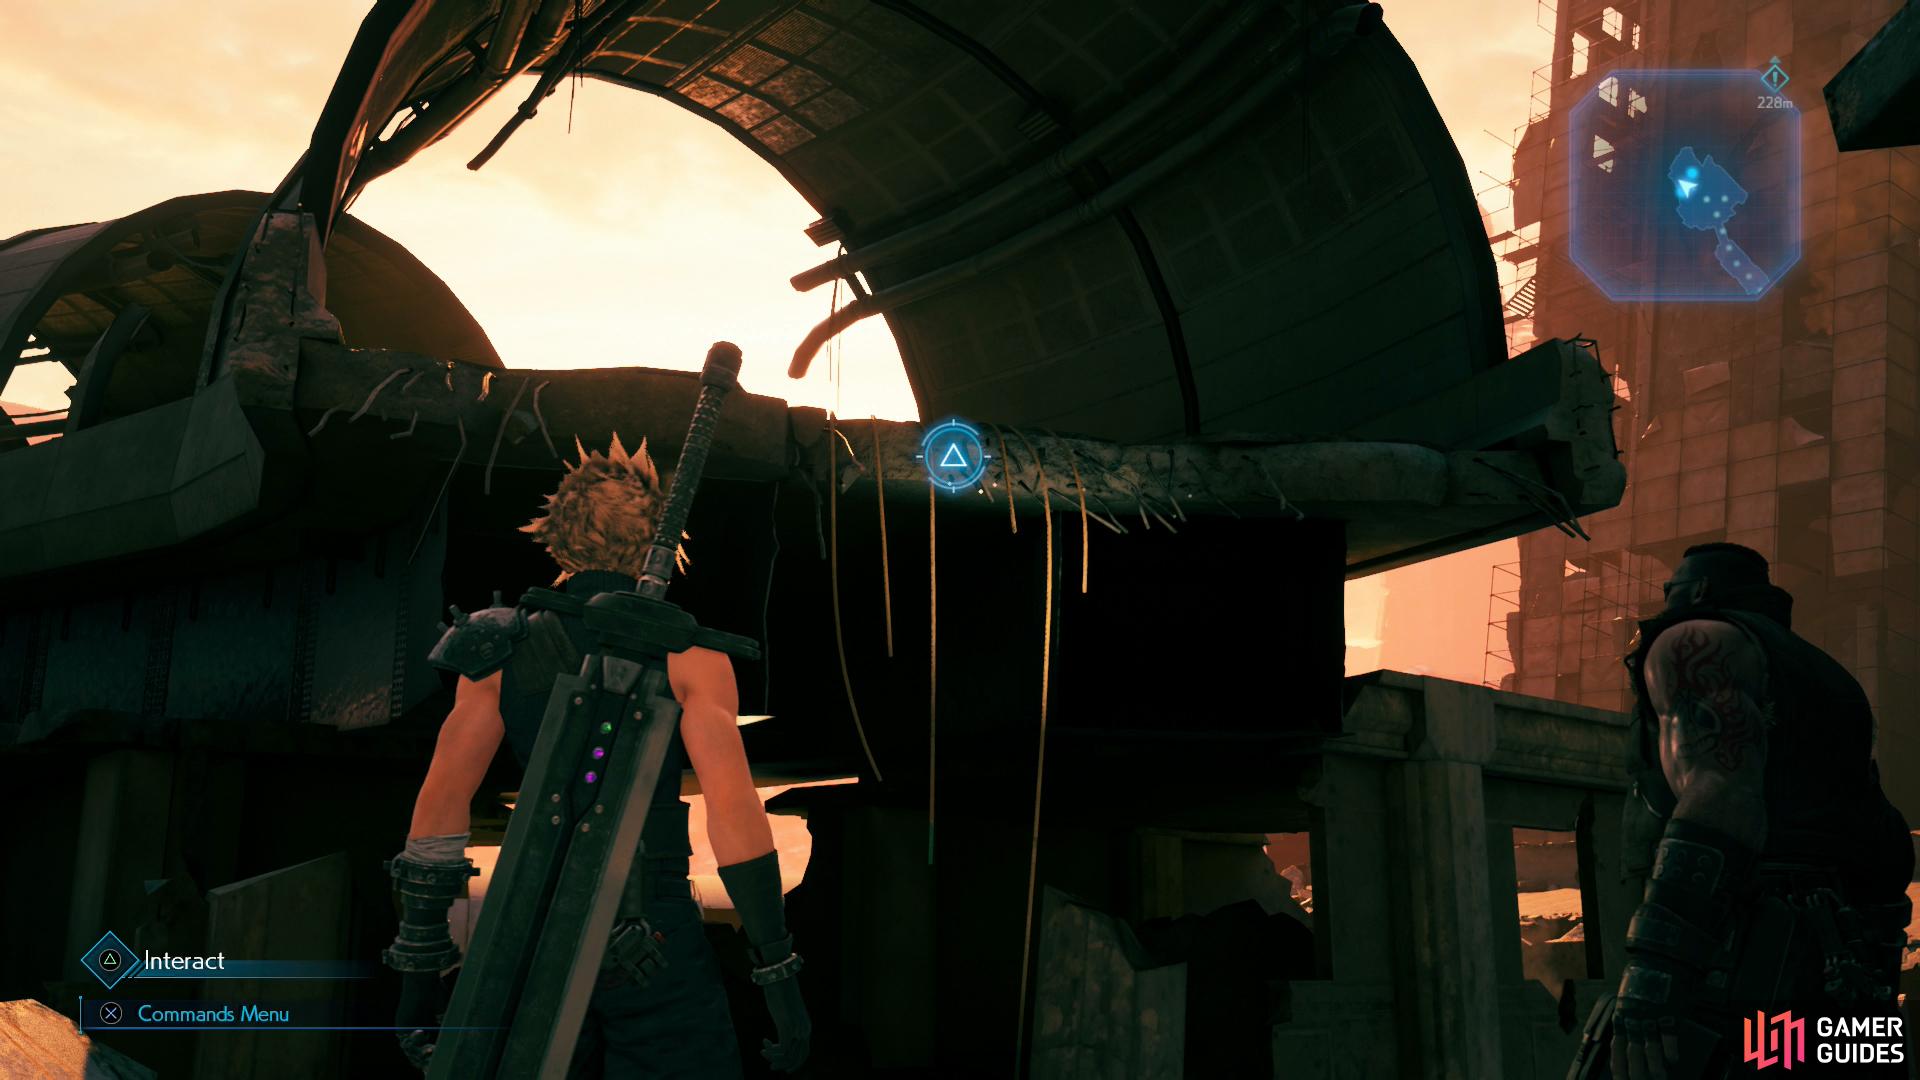
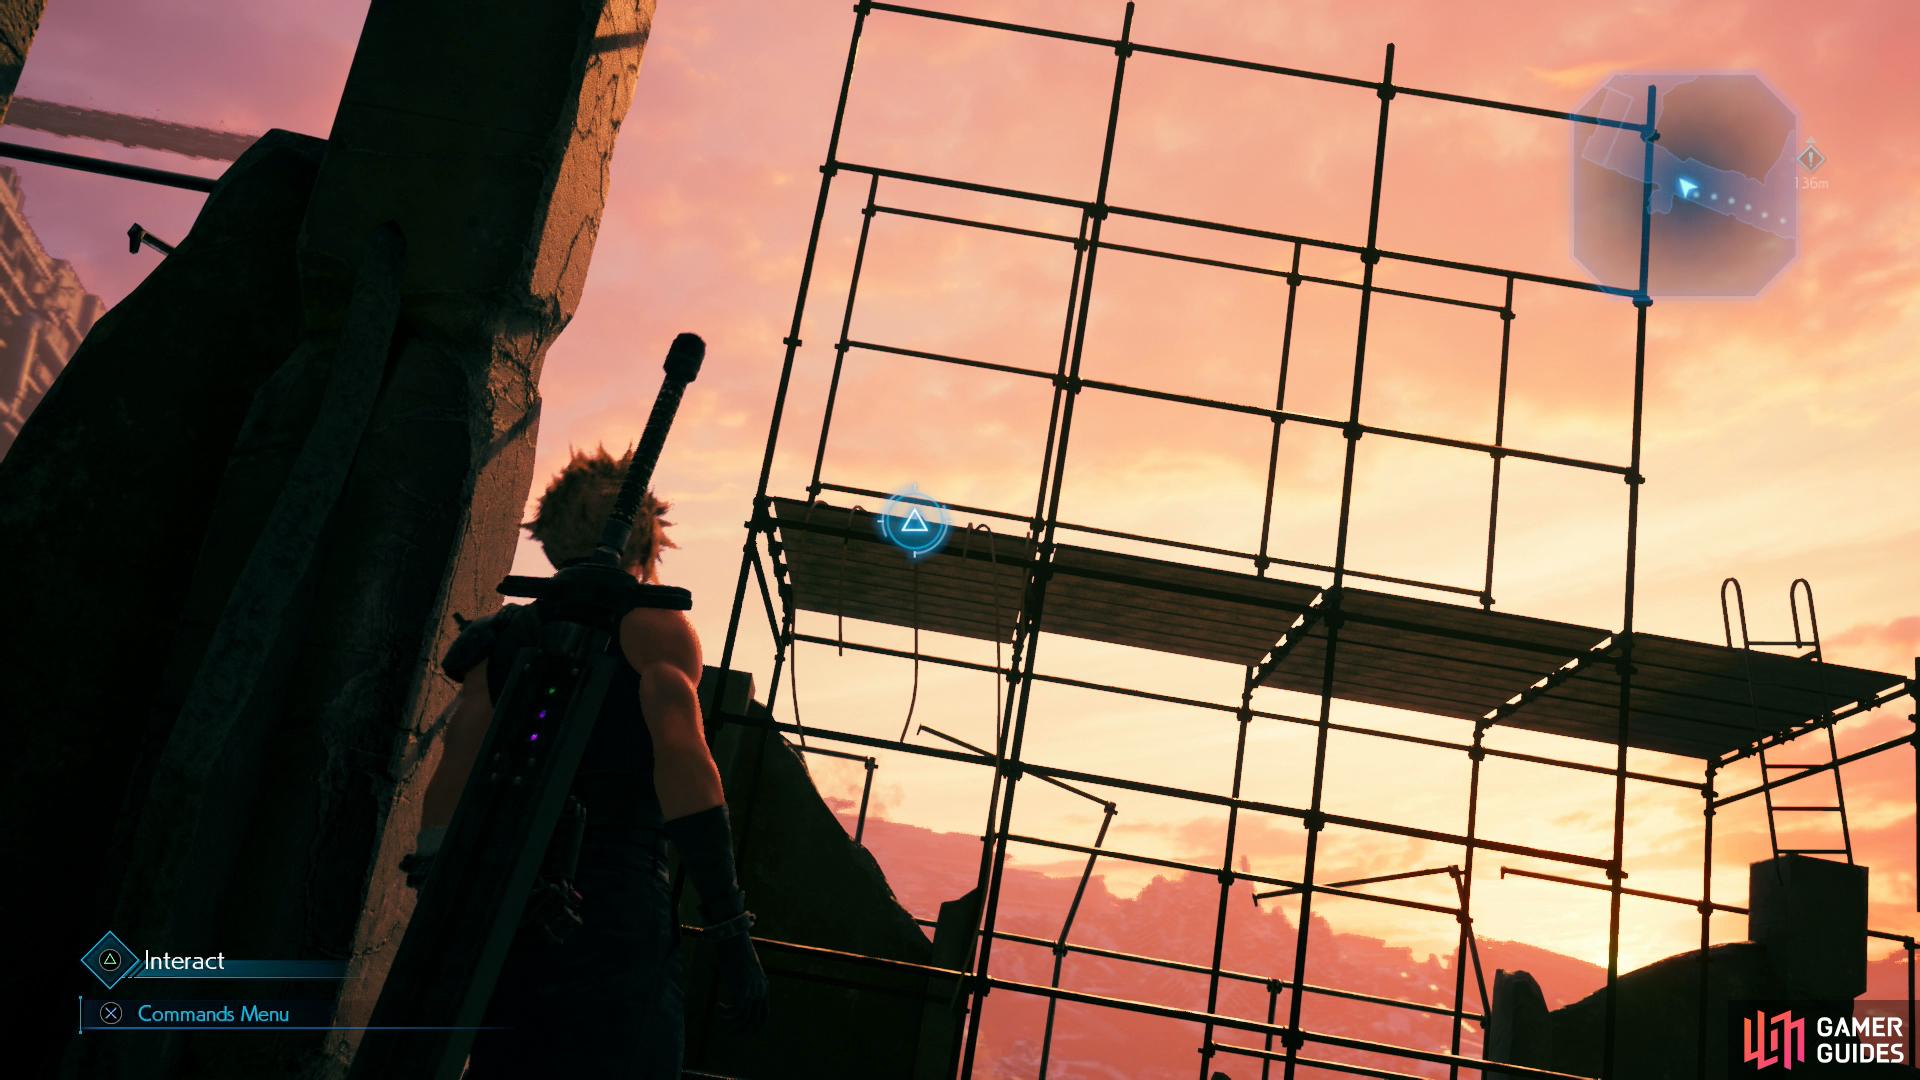
Continue northwest and Tifa and Barret will discuss a new traversal feature for this chapter. Whenever you see a coil of rope on the ground, look around for a distant rope-clad ledge, which you’ll be able to reach with your grappling guns. The game makes a big deal about this, like there’s some minigame involved, or at least like you can fail somehow. You can’t: see ropes on floor, find ropes on ledge, press button, success. Give it a try here and watch some scenes when you reach the far ledge - looks like the odd flying monster is going to be the least of your problems as you make your ascent.
| Enemy | Weaknesses | Notable Loot |
|---|---|---|
| 3-C SOLDIER Operator | Fire | -- |
| Elite Security Officer | Fire | -- |
| Guard Dog | Fire | -- |
| Helitrooper | Fire/Wind | Orb of Gravity |
| Elite Grenadier | Fire | -- |
| Elite Helitrooper | Fire/Wind | Orb of Gravity |
| Slug-Ray | Lighting, Wind | Orb of Gravity |
| Shock-Ray | Lighting | Orb of Gravity |
| Blast-Ray | Lighting | -- |

Enemy SOLDIERs are weak to fire,
and susceptible to Staggering via Cloud’s Punisher mode Counterattacks.
Hiding in Plain Sight
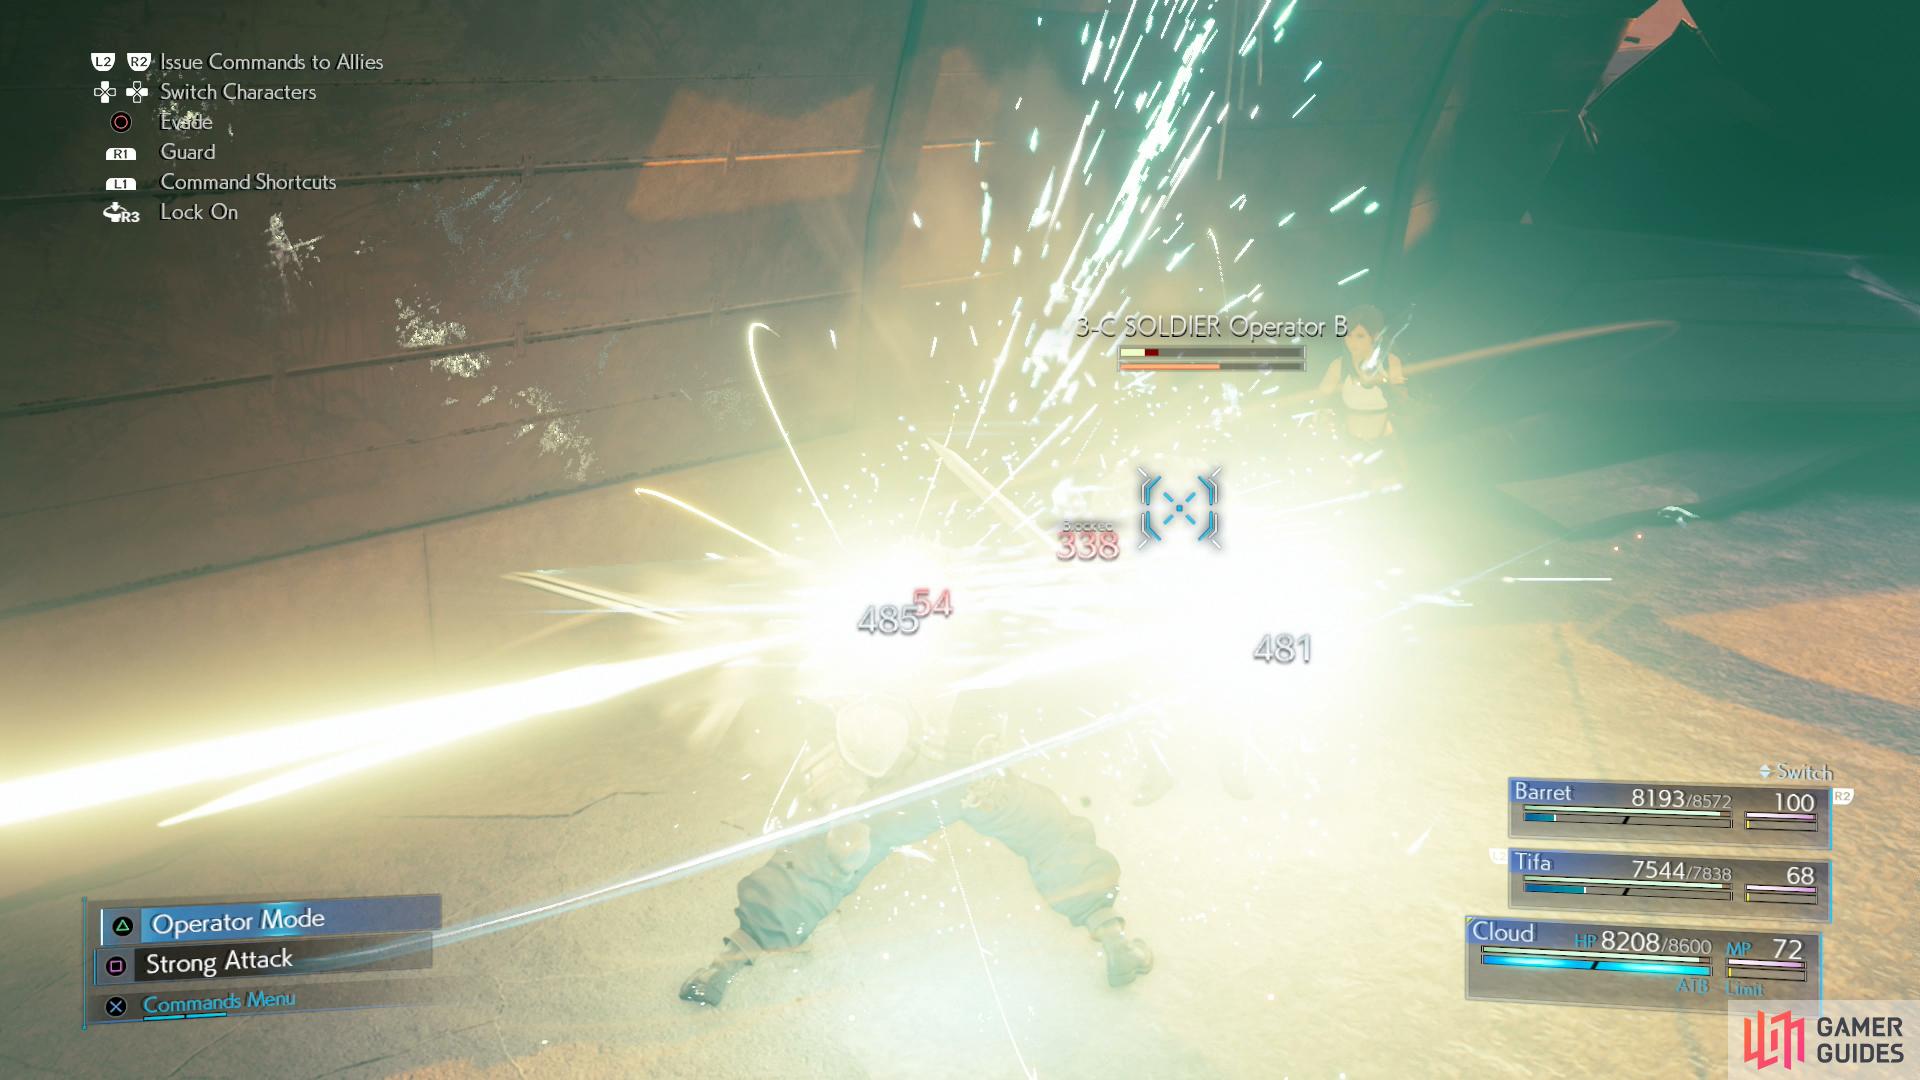
Follow the road west and your cover will be immediately blown by two 3-C SOLDIER Operators. These guys have a ton of attacks, most of them magic, including “Wish Slash” and “Vacuum Slash” - two wind elemental attacks - Thundara, Blizzara and Sleep. Awful lot of attacks for a normal enemy, but hey, they’re SOLDIERs. They’re weak to fire, but if you want to Stagger them you’ll need to rely on Cloud’s Punisher mode counterattacks (and follow-up strikes) to “Pressure” them. After the fight, investigate a radio and Cloud will cover for the group, despite Barret’s best attempts to bungle the infiltration. How has he survived this long?
Continue following the road and when it ends use your grappling gun to avoid the Shinra troopers below you. Gravity has another plan, however, and you’ll soon find yourself facing off against numerous foes in a running battle - you defeat foes and advance to fight more foes without a break in the action. The first enemies you’ll face are two Elite Security Officers and a Guard Dog. Fire + Magnify should sort this out quickly, after which advance to confront two more Elite Security Officers and a Helitrooper, after which you’ll need to advance and fight two Elite Grenadiers and yet another pair of Elite Security Officers. Finally, continue up a ramp to the north and put down a large mixed group including two more Elite Security Officers, two Elite Grenadiers and an Helitrooper. Fire + Magnify… it’s just so good!
Keep making your way up, climb a ladder, then turn southeast to find a building with a vending machine and rest bench out front. Ignore the building for now and continue southeast to find more foes - two 3-C SOLDIER Operators and an Elite Helitrooper. Like the normal Helitroopers, these foes are weak to fire and wind, but unlike their lesser counterparts they’re far more keen to remain in the air, using fire attacks and “Tear Gas” (inflicts “Berserk”)… so generally they’re just far more annoying. Use fire or wind magic, or better yet shoot them down with Barret. Your reward for winning this fight? You get to destroy some Shinra Boxes and loot a chest to score 2,000 Gil.
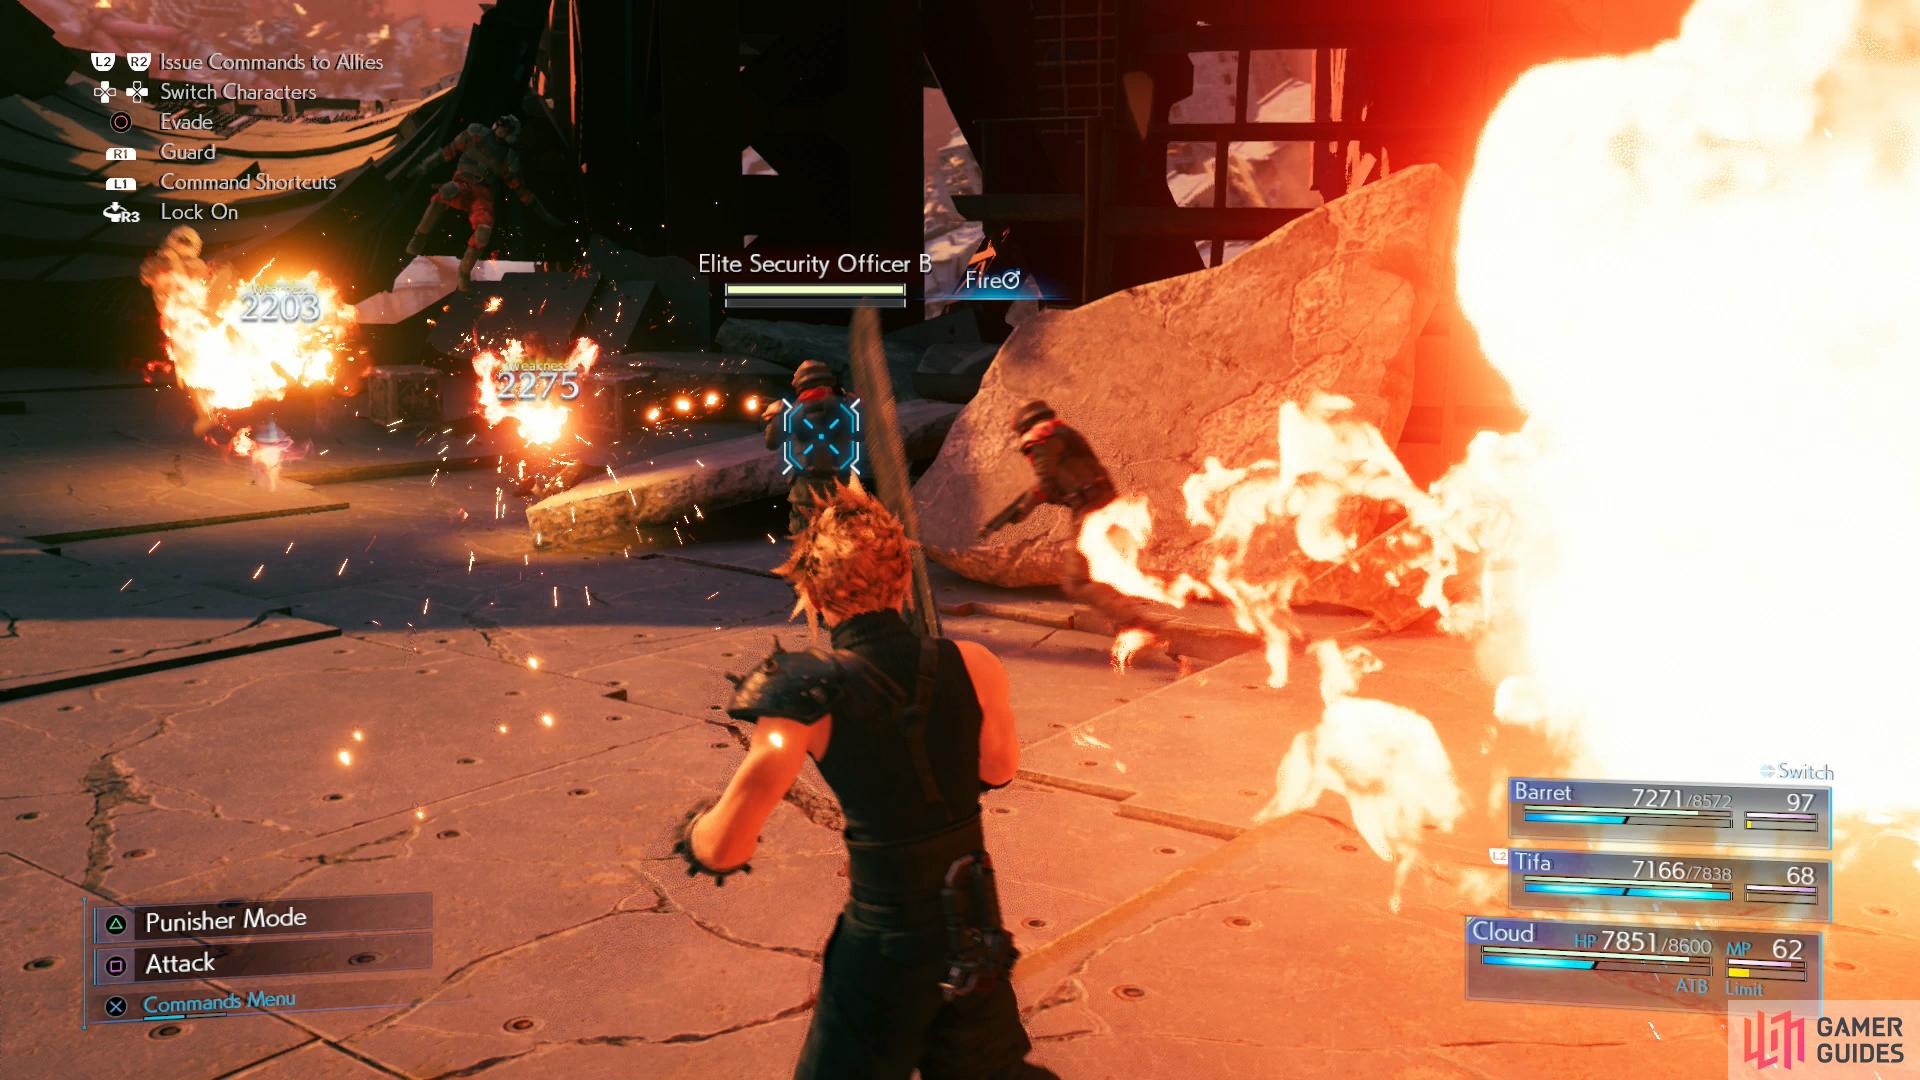
Fire + Magnify should almost single-handedly get you through the Shinra troopers.
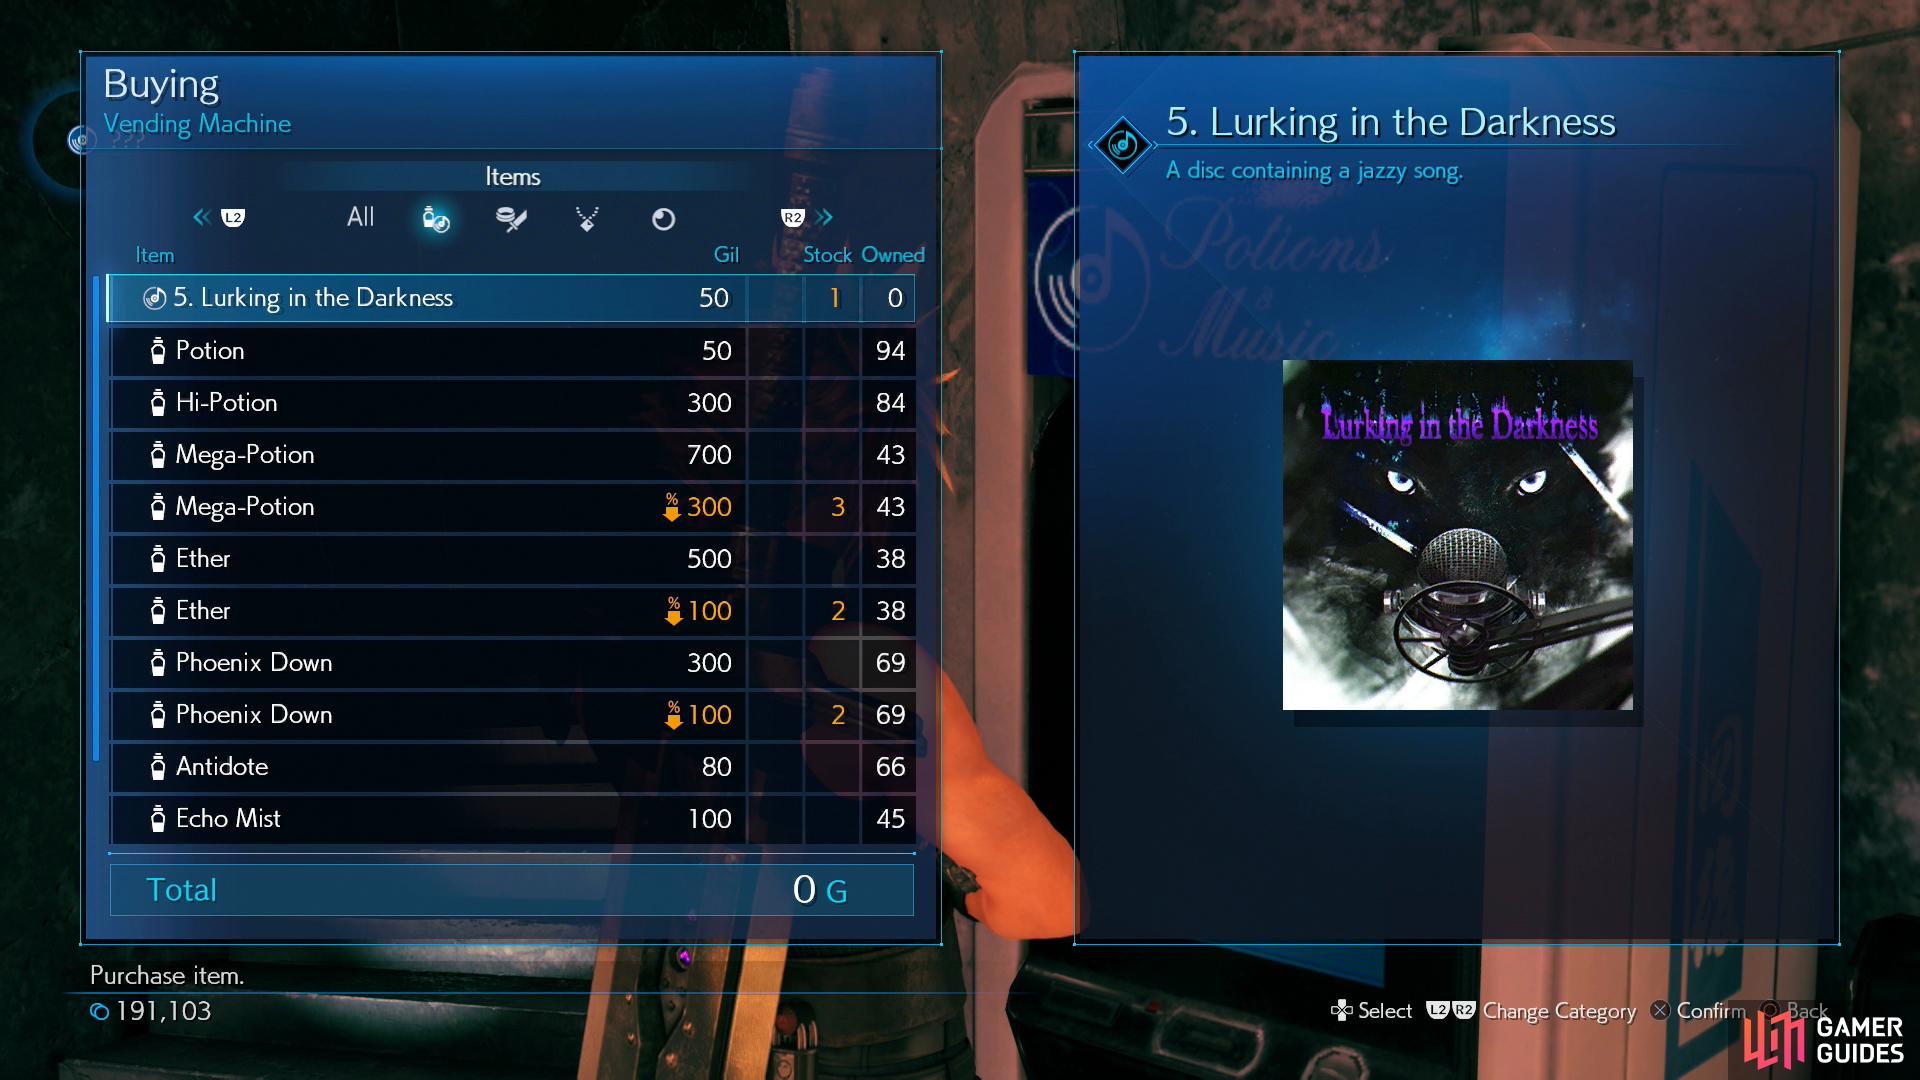
When you reach a vending machine, purchase the “5. Lurking in the Darkness” Music Disc.
The Path to Greater Heights
Head over to the front of the building, rest up, then buy the 5. Lurking in the Darkness Music Disc and a variety of discounted restoratives - 3x Mega-Potions (300G), 2x Ethers (100G) and 2x Phoenix Downs (100G) - from the vending machine before entering the building. Go up some flights of stairs until rubble forces you to abandon the stairs, at which point head to the northern corner of the floor to find a grapple point you can use. Switch Cloud’s Fire + Magnify for Lightning + Magnify, then dispatch some bots - three Slug-Rays and two Shock-Rays. Mostly support bots, they can stun opponents as well as protect other units from spells with their “Manaward” ability, although it takes so long to use that you’ll almost certainly get your spells off first. They’re weak to lightning and physical attacks will Stagger them quickly, making them easy prey.
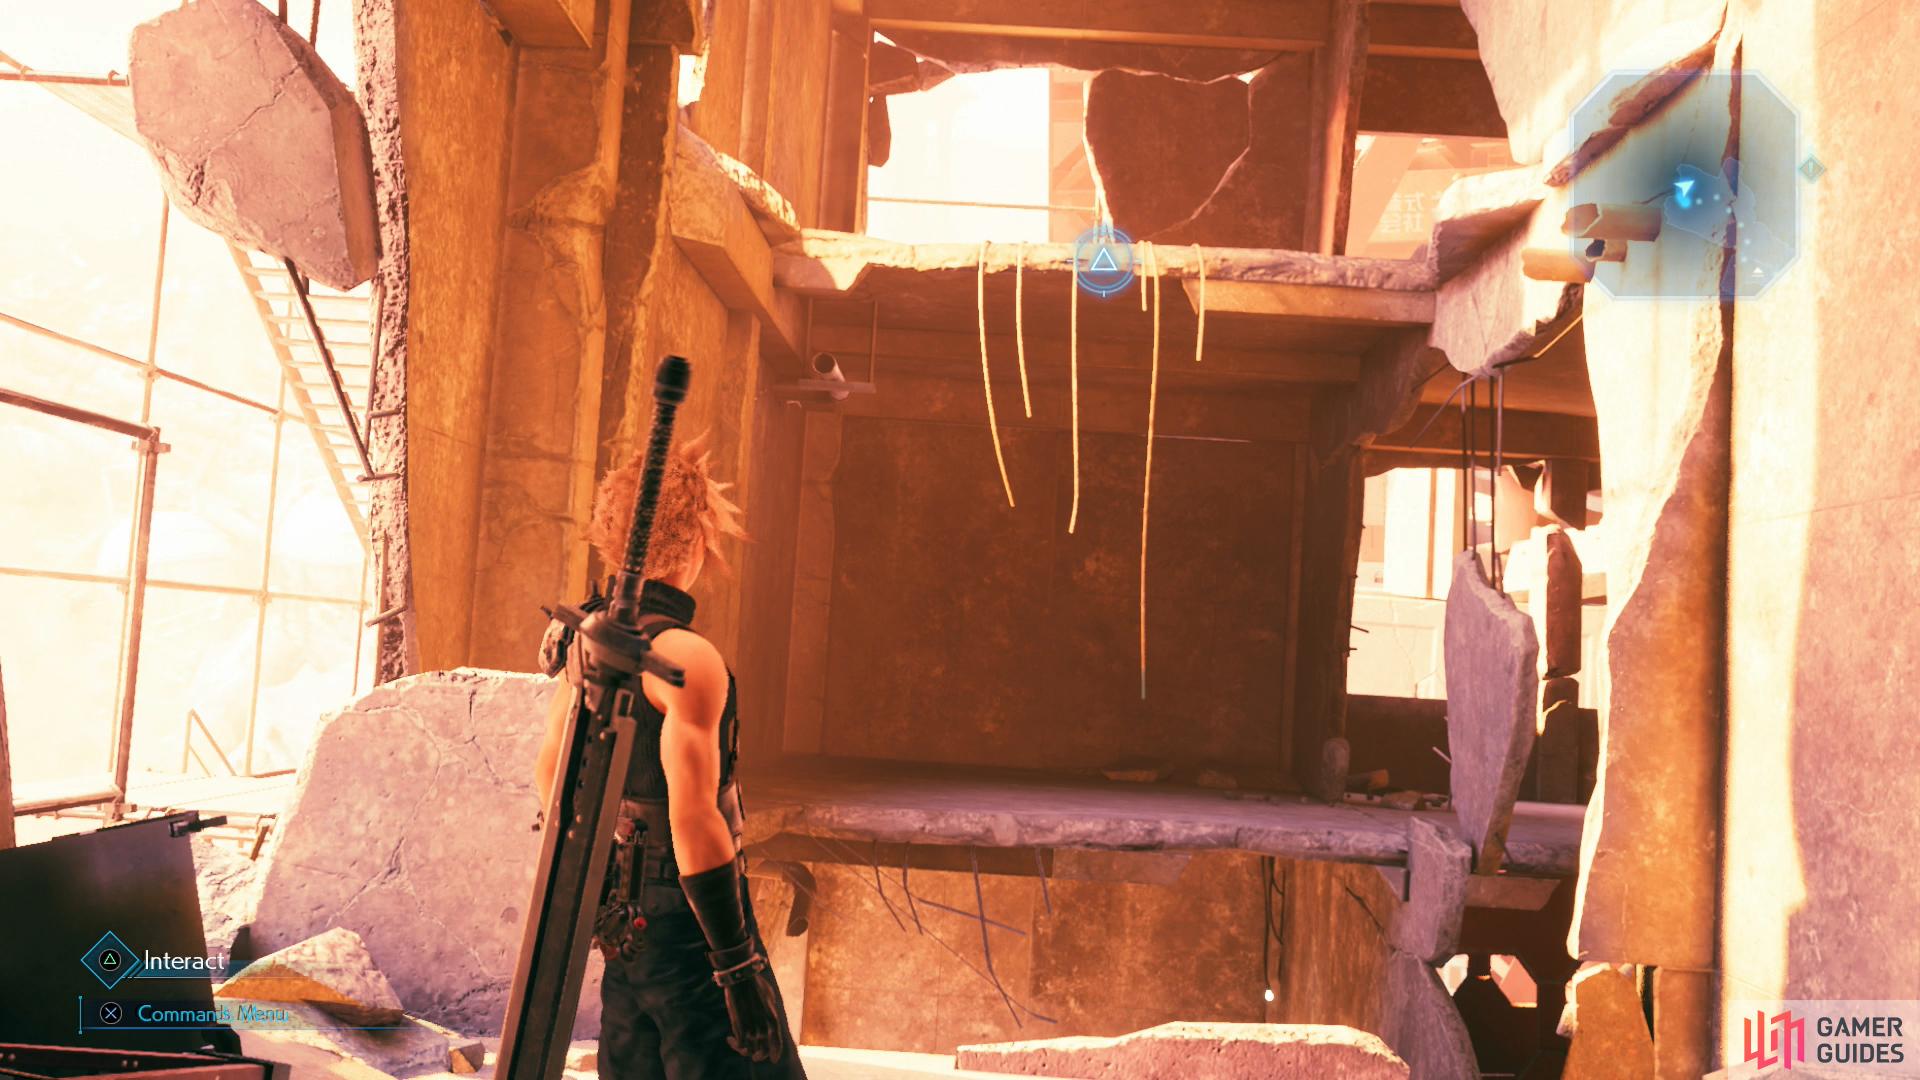
Use an optional grapple point
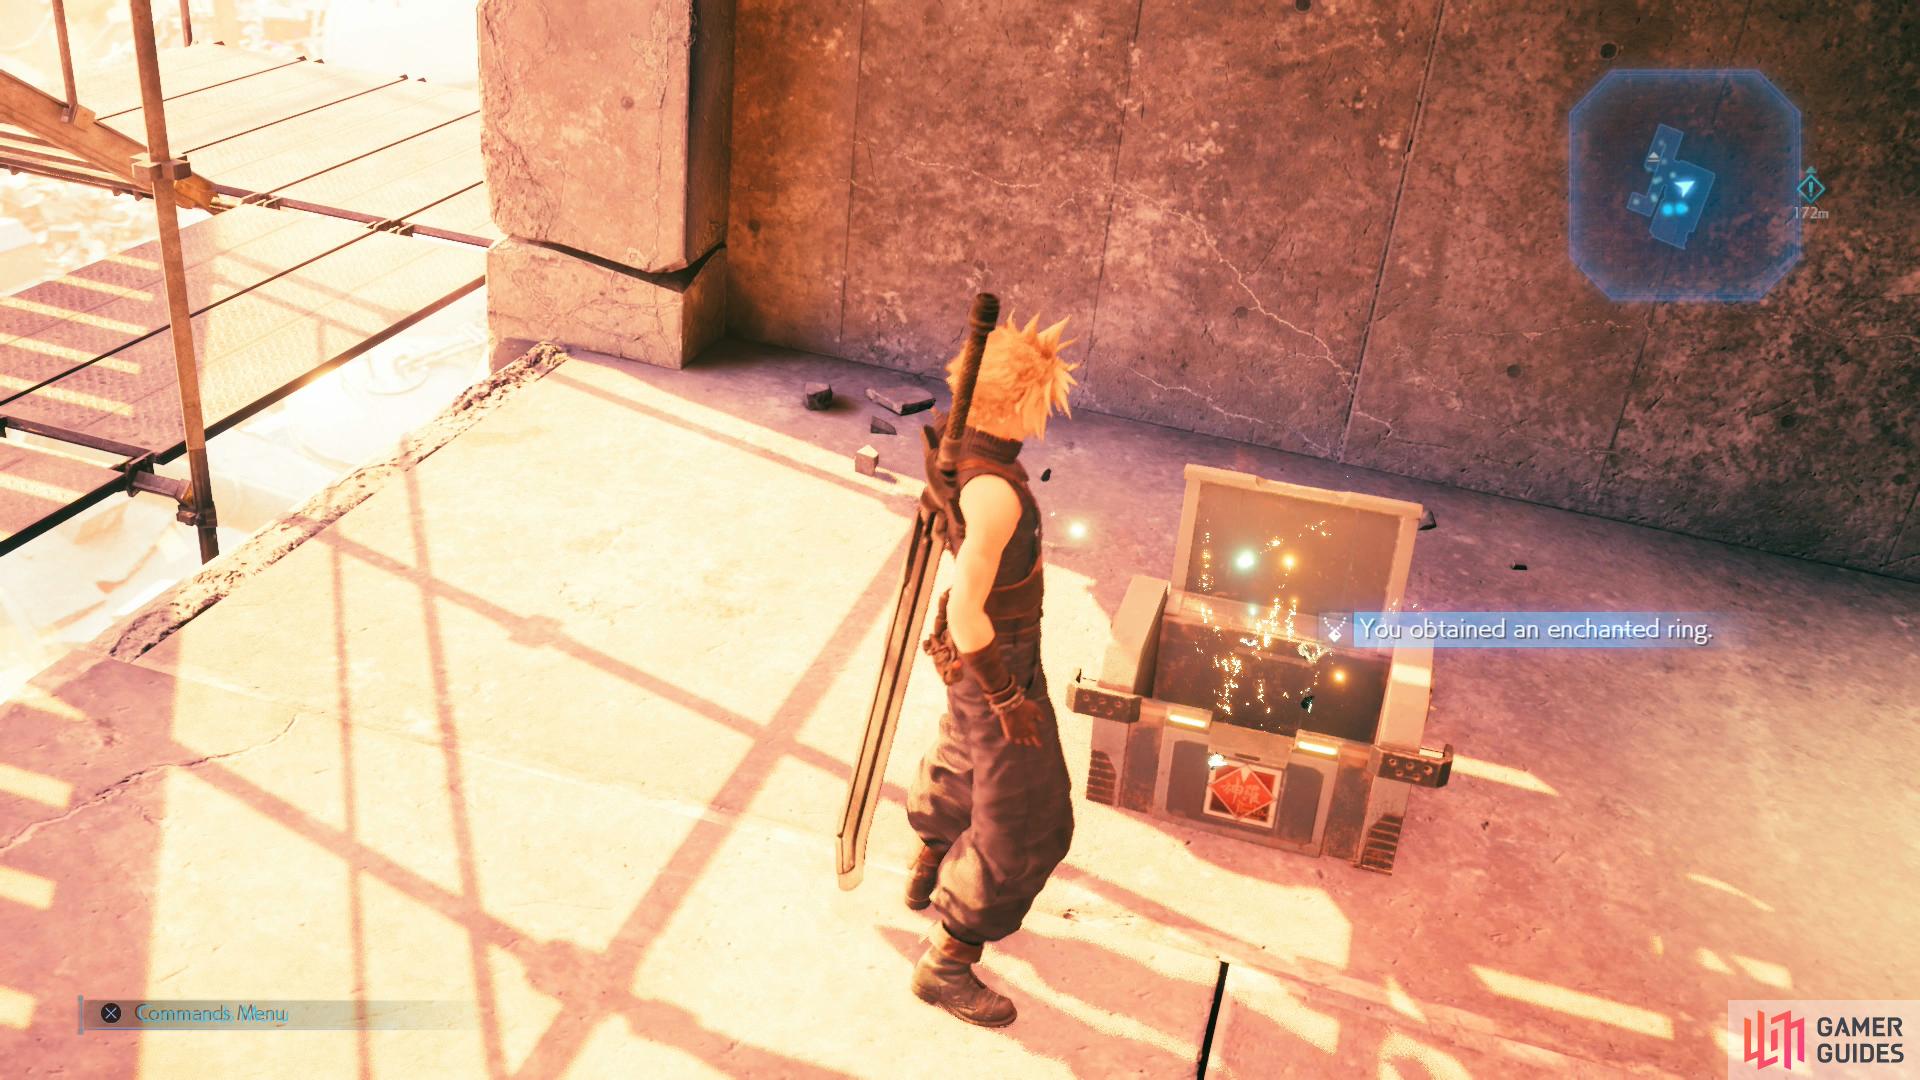
to reach a chest containing an Enchanted Ring.
Bash the bots, then search for another grapple point to the north and use it to ascend. On the upper floor (115M Above Ground Level), dispatch another group of Slug-Rays and Shock-Rays, loot a chest to the west to find a Hi-Potion, then head to the western end of the floor to find another grapple point. Use it, head out a doorway to the west, descend several flights of stairs, then turn east to enter the building and score a chest containing an Enchanted Ring - a little bonus loot for those who remembered to keep an eye out for grapple points. Speaking of which, use a grapple point to the south to return back to the previous floor (115M Above Ground Level), go up some stairs to the south to reach the next floor (120M Above Ground Level). Work your way southeast, northwest, then down a slope to the west before turning right (north) and heading outside.
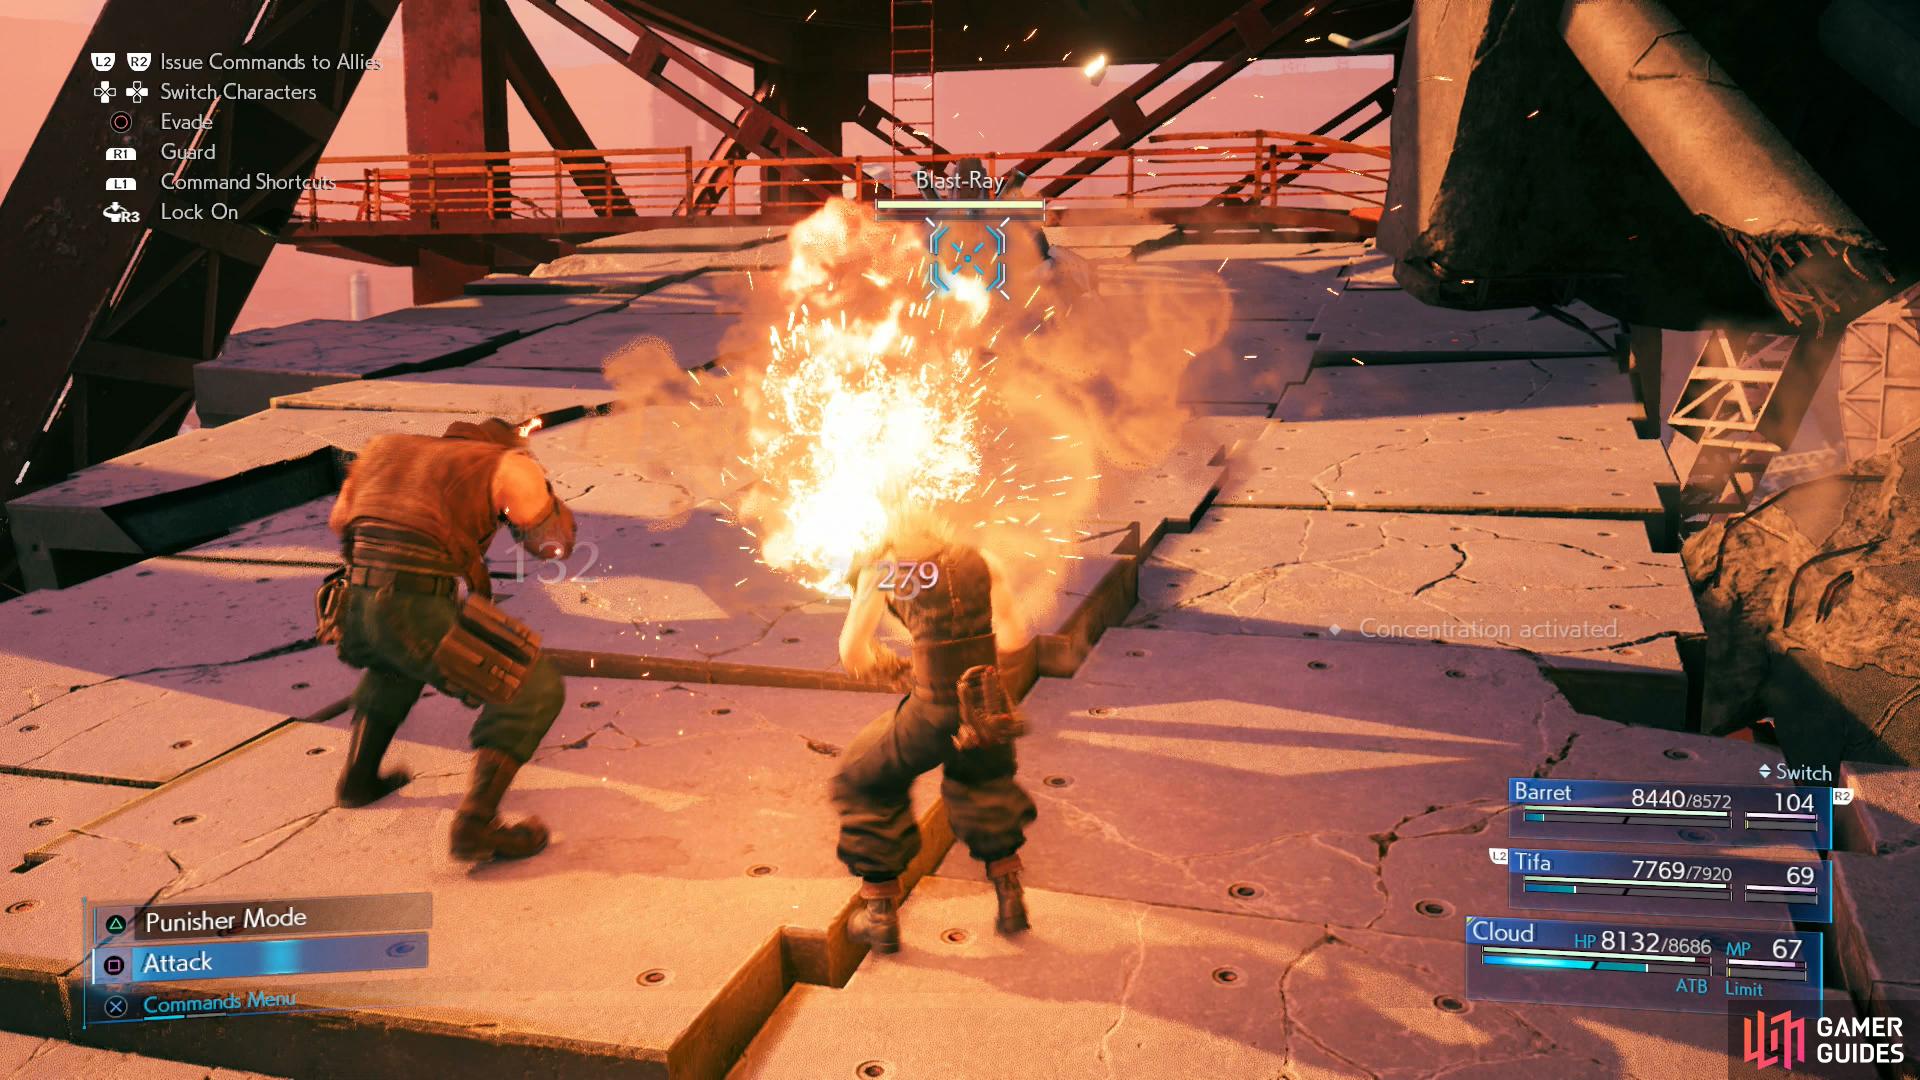
Continue north to find another new foe, the Blast-Rays. While part of the “-Ray” family of enemies, this one is quite a bit bulkier than its flighty counterparts, the Blast-Ray hits harder and attacks more often than its lesser brethren, using “Concentrated Fire” to launch a volley of staggering explosives at a foe. To Stagger it, you need merely deal damage to it - its Stagger gauge will increase at a consistent rate as its HP decline. Once Staggered, however, the Blast-Ray will deploy a repulsion field, making it hard to continue attacking in melee. Strike with with lighting magic to drop the field, or just to safely deal bonus damage from a distance, or failing that have Barret’s “Maximum Fury” ready to go for when it’s staggered.
Climb a ladder behind where the Blast-Ray was, run around the circular walkway you find yourself on and smash some Shinra Boxes and loot a chest containing a Turbo Ether, then climb another ladder. Head northwest and climb a ladder to find a chest containing some Smelling Salts, then climb back down and follow the walkway southeast, northeast, then northwest to find another ladder. Climb it, bash some Shinra Boxes to the southeast, then head northwest across some walkways to get a haunting view of the devastation Shinra caused. Your companions comment on it, but you’re not forced to look - get a glimpse, some poor artist spent time on what is truly a haunting - if under-emphasized - vista.
Use your grapple gun to reach an elevated ledge,
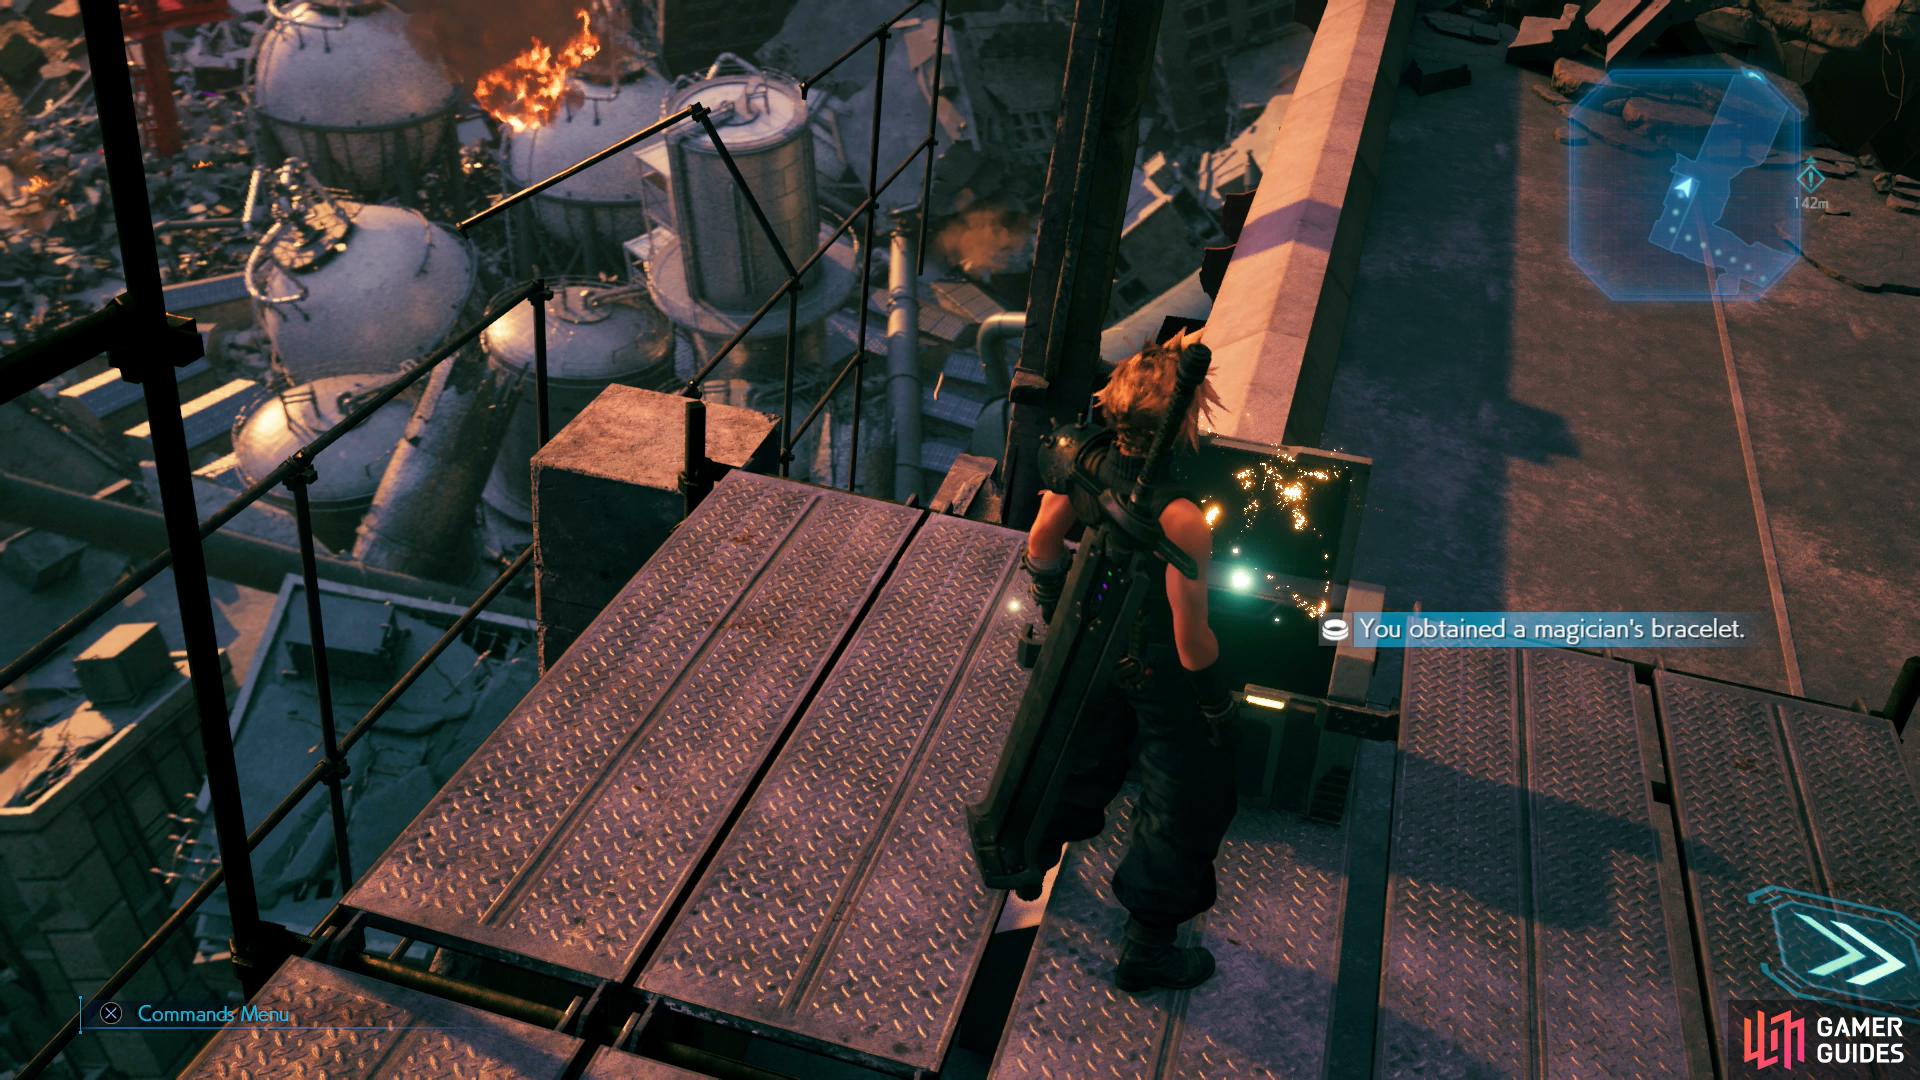
loot a chest to score a Magician’s Bracelet.
Climb a ladder to reach a stretch of highway, turn southwest and crouch under/squeeze between some rubble, then balance across a beam. Poor Barret. Continue southwest and turn southeast and fight through two Byobapolis and a Cerulean Drake before using the grapple point they guarded, which will lead you to a chest containing a Magician’s Bracelet. Another reward for keeping an eye out for grapple points.
Flight of the Valkyrie
Drop down a short ladder and continue southeast, using a narrow walkway to ascend around the exterior of a domed structure, stopping to kill a lone Byobapolis before smashing some Shinra Boxes at the end of the walking. Use an improvised bridge to the east to reach an adjacent rooftop and you’ll draw the attention of the flying robotic menace you’ve seen throughout the level. Move from cover to cover between bursts of gunfire - the bullets deal much more damage than the Turks’ helicopter did, and will stagger/knock you back before heading down some stairs where your only protection is speed. On the floor below you’ll be challenged by two Burst-Rays.
Put them down, climb a ladder to the northwest, then kill two Elite Helitroopers on the roof before heading southwest and vaulting over a metal support. Here you’ll find a vending machine and a rest bench. Buy the discounted restoratives 3x Mega-Potions (300G), 2x Ethers (100G) and 2x Phoenix Downs (100G) - head up some stairs to loot a chest containing an Antidote, use the rest bench. Make sure your materia is in order - Lightning + Elemental on weapons (we went with Barret and Tifa here) is a good call, as is Lightning + Synergy - then head southwest onto a walkway and work your way around the dome it encircles. When you reach some stairs, go behind them and loot a chest to score a Remedy, then head upstairs.
Now you’ll be directed to take in the view of Shinra’s atrocities, Cloud will make a funny, after which you’ll need to find and use two grapple points to ascend. Watch a scene, then run from The Valkyrie, whose superior speed and mobility finally forces a fight.
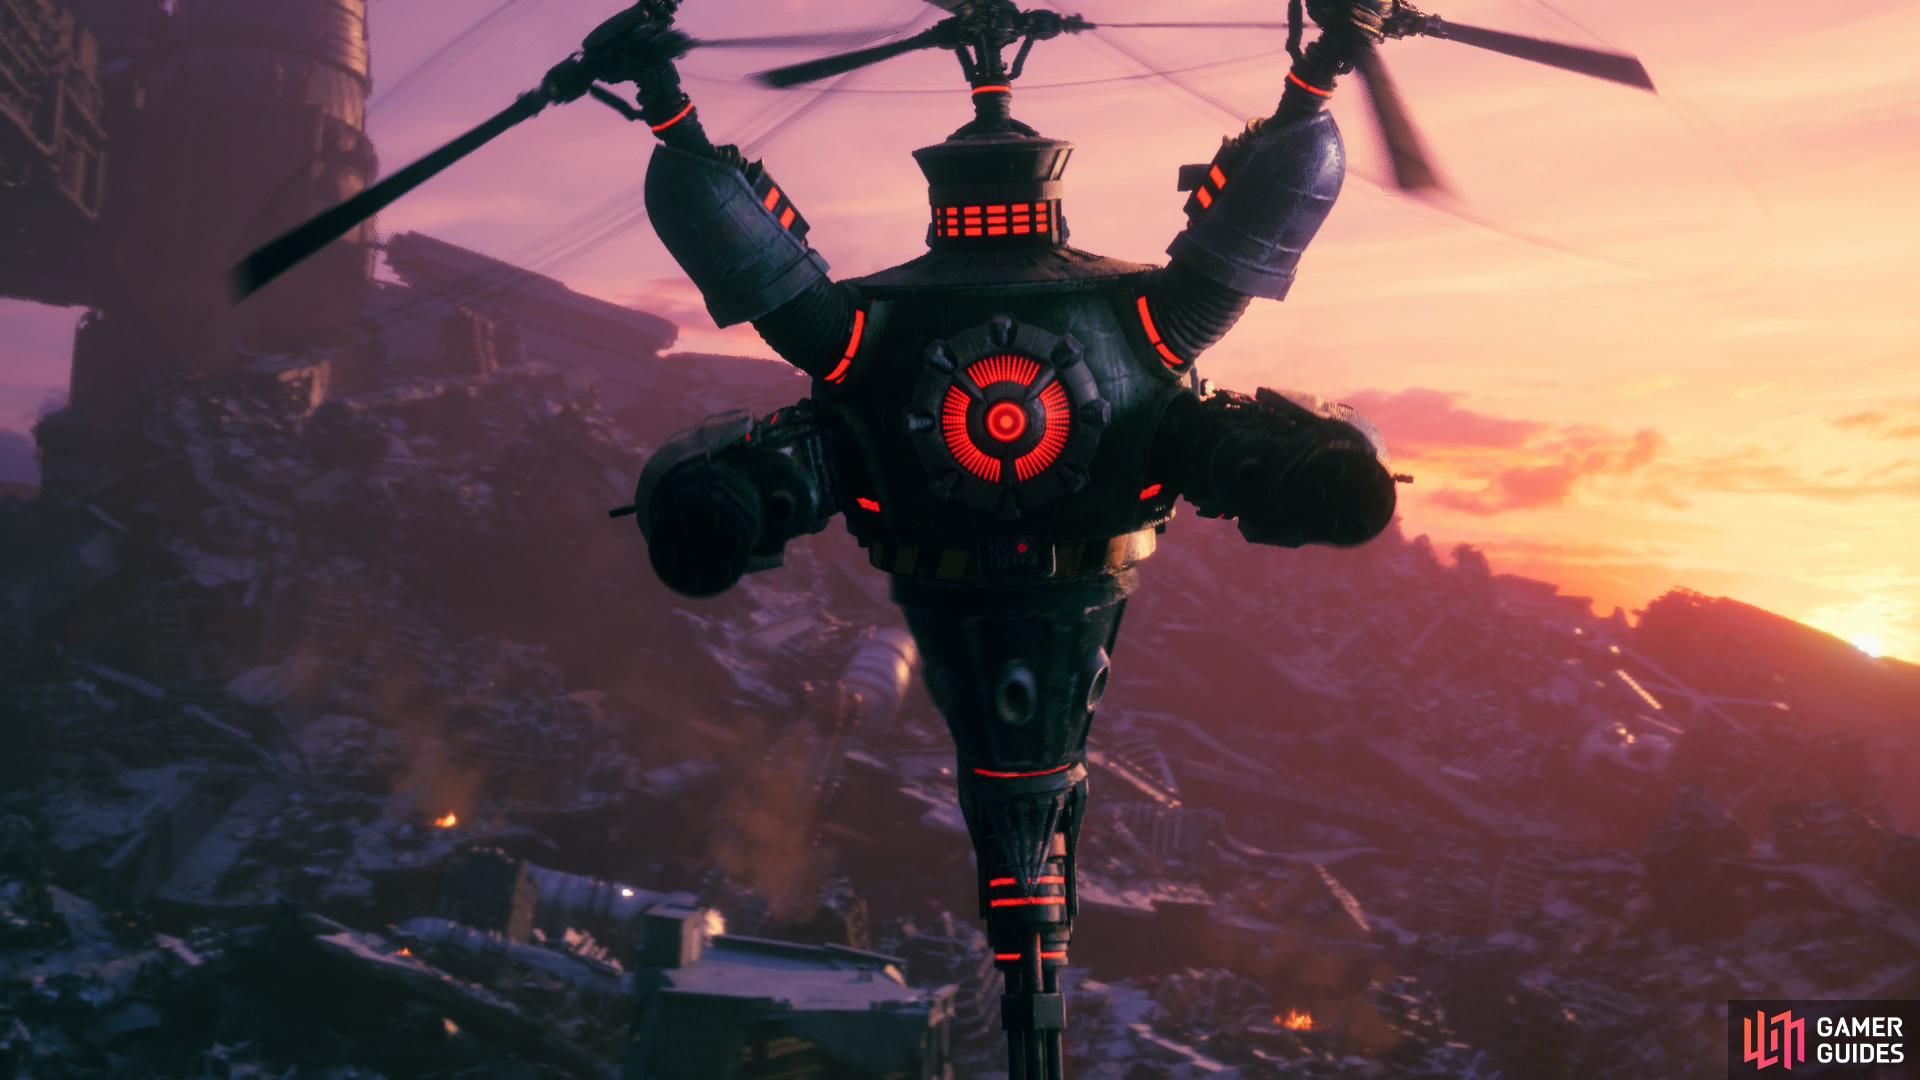
Boss: The Valkyrie
| Enemy | Weaknesses | Notable Loot |
|---|---|---|
| The Valkyrie | Lightning, Wind | Cog Bangle |
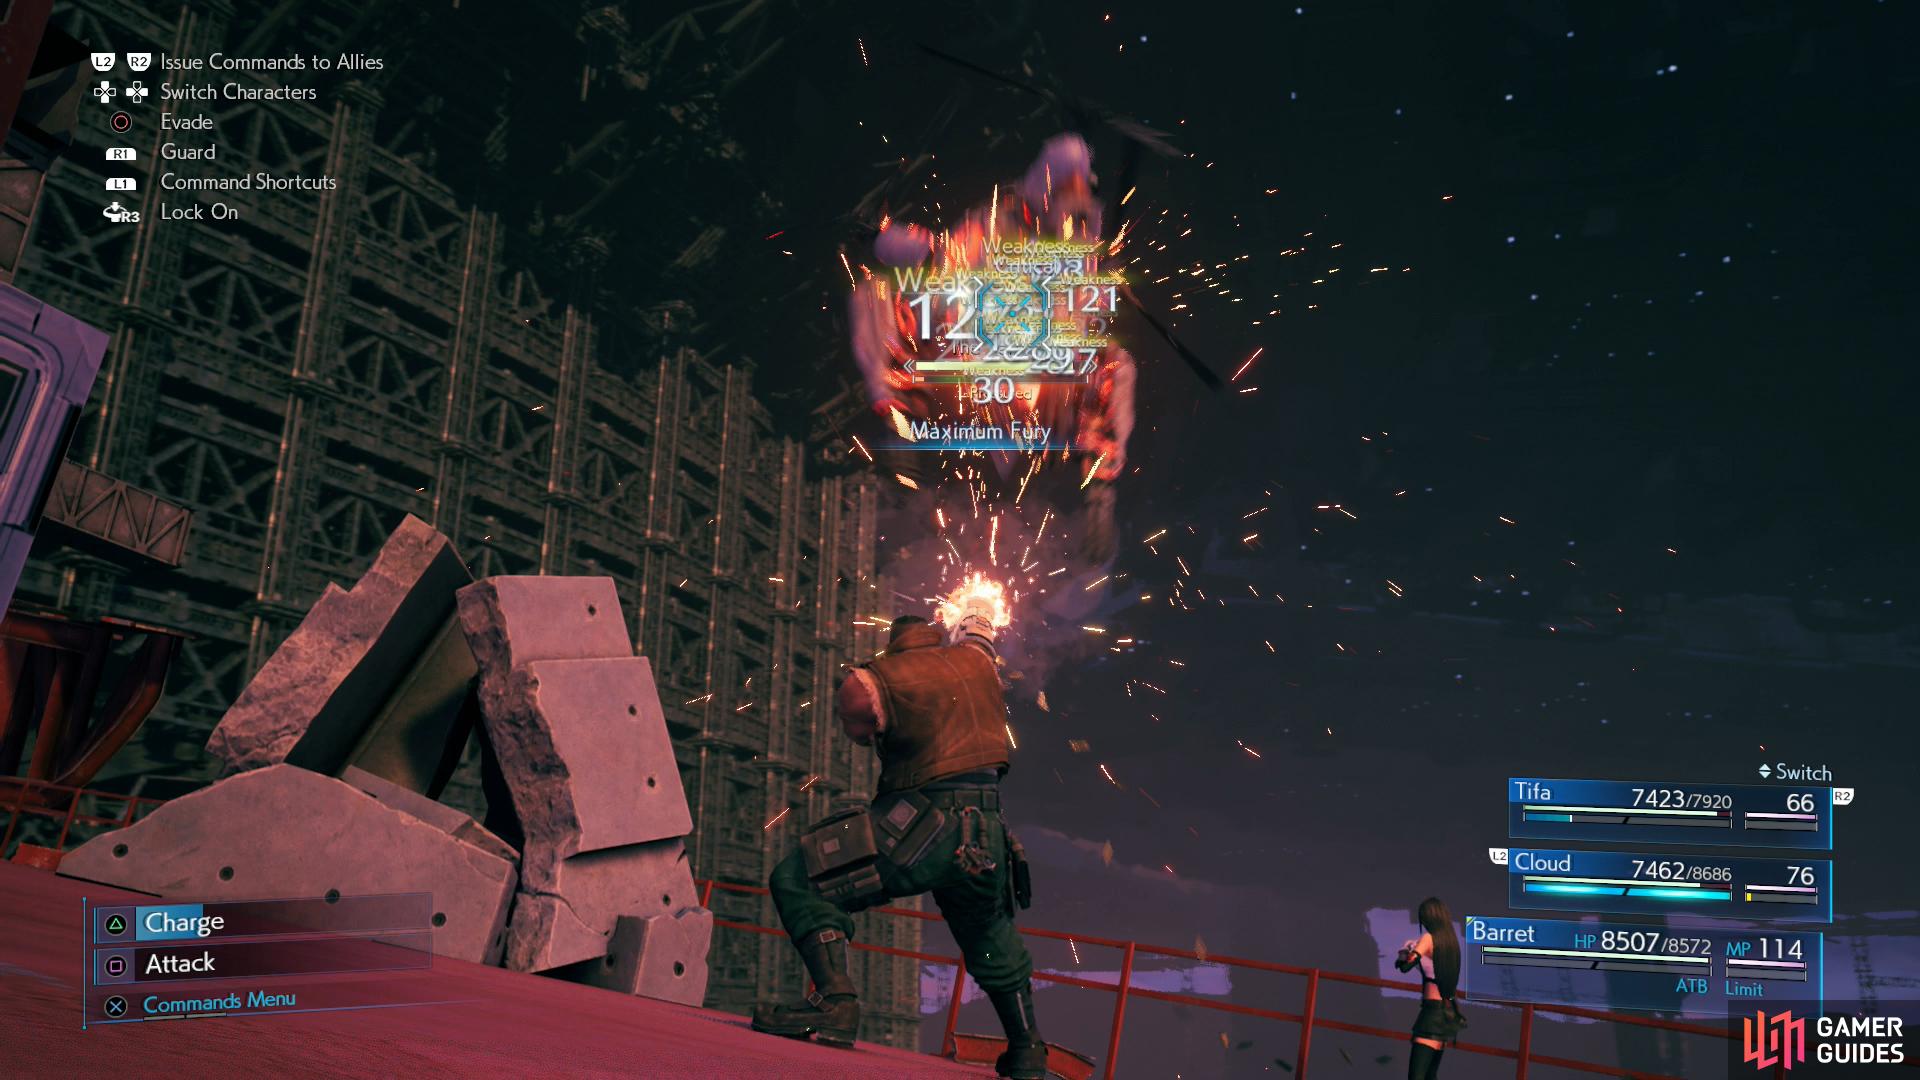
(1 of 3) Since The Valkyrie tends to be out of range, use Barret to whittle down The Valkyrie’s HP.
Phase 1
As a mechanical foe, The Valkyrie is weak to lightning, and as a flier, it’ll often be out of reach. Barret with Lightning + Elemental on his weapon is a good substitute for when your other companions can’t do much, but when The Valkyrie is over soild ground you should switch to a melee combatant to strike it, as melee attacks will quickly fill the Valkyrie’s Stagger gauge. Hitting with Thunder (preferably with a Thunder + Synergy followup) will also damage it well, but for this phase there’s little you can do except attack with what characters you can and whittle down its HP. Barret’s “Maximum Fury” will do admirably at this, if you can’t be bothered to spend MP on lightning magic.
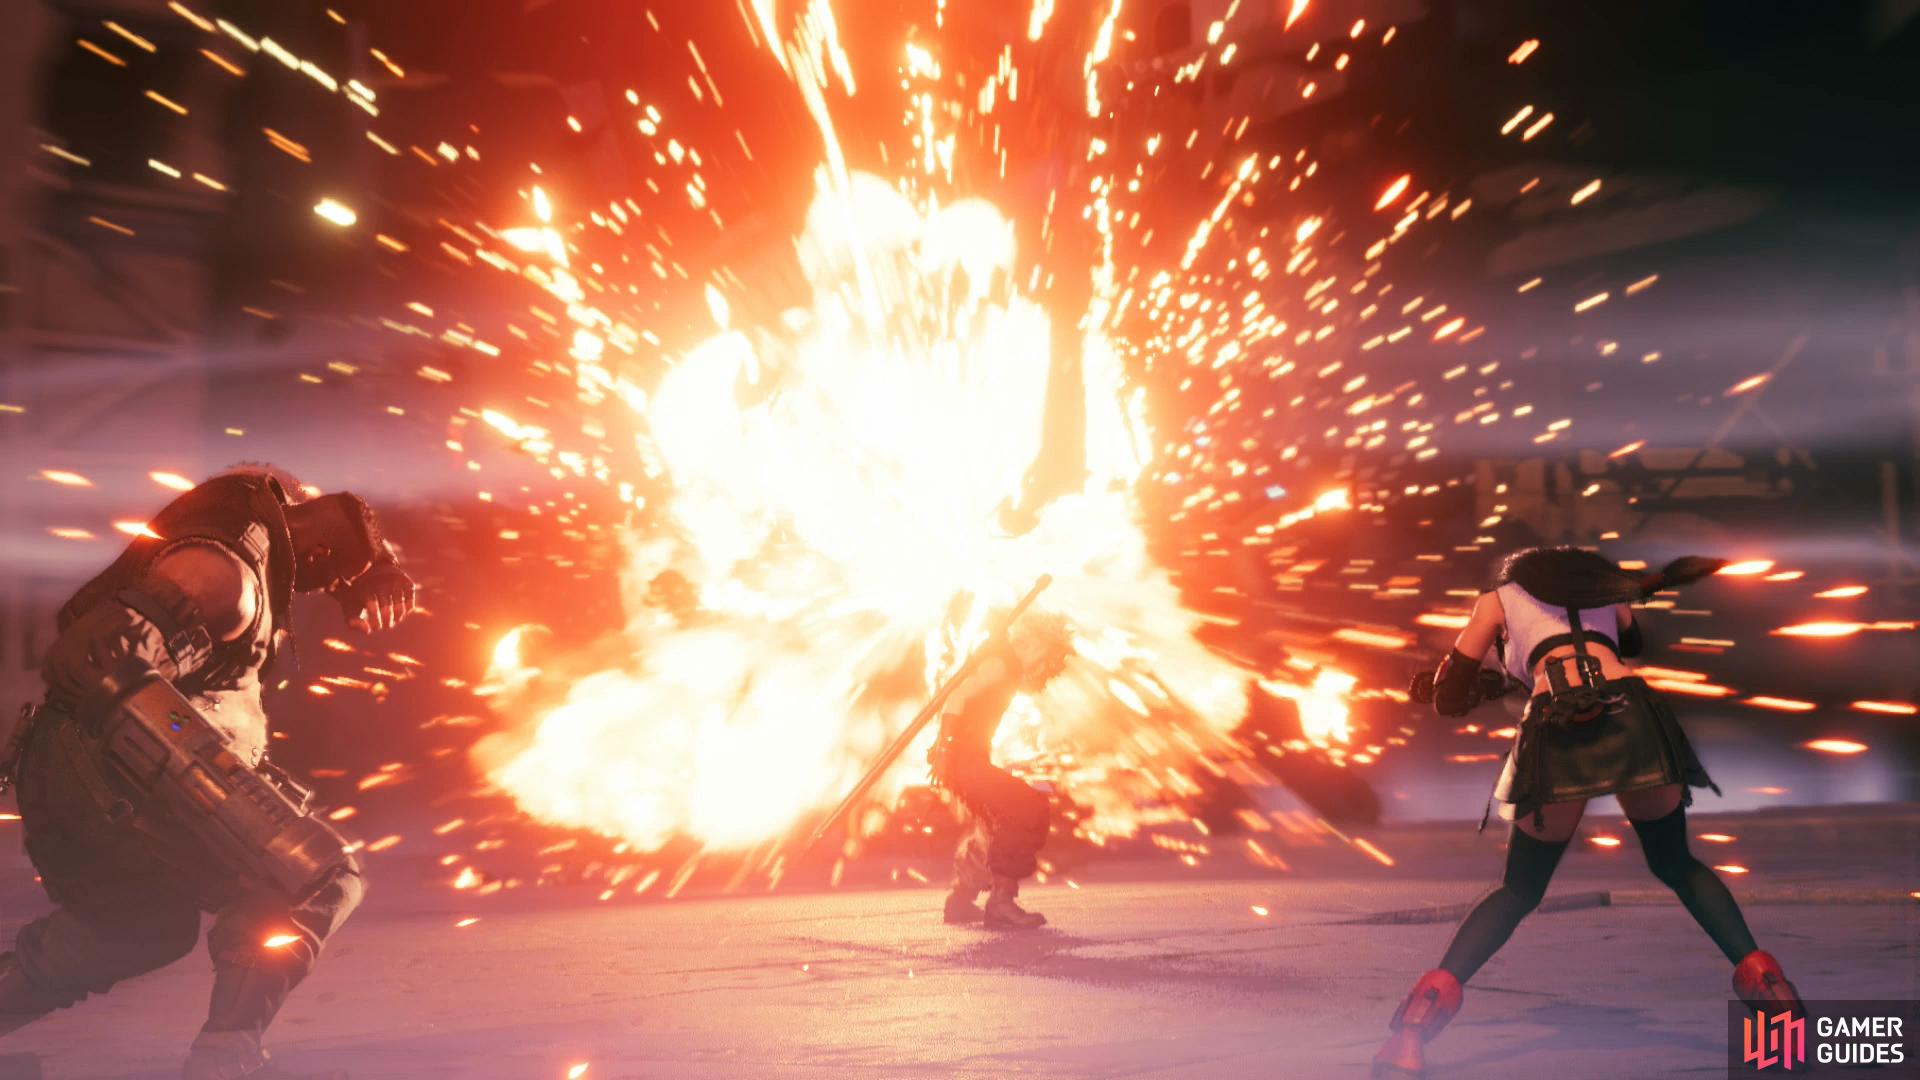
As lackluster as your own offense is here, The Valkyrie is even more limited, sticking mainly to its “Mark 99 Anti-Fiend Artillery” and “Mark 98 Rotary Cannons” attacks, the former sending a barrage of moderate-damage missiles at you and the latter pelting you with machinegun fire. It can, however, also use “Napalm Drop” which drops fiery canisters onto the battlefield. The deal little damage, but create burning patches that’ll keep damaging you if you stand in them.
Phase 2
When reduced to around 80% of its HP, watch some scenes and you’ll end up resuming the fight from a new location. The Valkyrie is now much more inclined to fight within reach of your melee combatants (although it’ll likely have shed any accumulated Stagger), so take advantage of this by obligingly attacking with Cloud or Tifa.
For its part, The Valkyrie also has some new attacks, including “Antipersonnel Gas” and “Firewheel”. The former will shoot down canisters of gas that explode on impact and leave a debilitation cloud where they landed (inflict “Poison” and “Sleep”) while the latter causes the Valkyrie to descend to the ground and spin about, forcing you to flee from it. Frequently The Valkyrie will use the two in tandem, forcing you to run across the roof, avoiding both it and the debilitating clouds it left behind. “Antipersonnel Gas” is also a nuisance if you’re attacking in mid-air, as The Valkyrie can deploy the gas under your character, leaving you with little chance of avoiding its effects when you drop down. If you are debilitated by the “Antipersonnel Gas”, you’ll almost certainly struck (repeatedly) by the followup “Firewheel”, and if so The Valkyrie will continue by comboing into “Bombardment”, so while none of the attacks are overwhelmingly powerful it can add up.
Pummel it with melee attacks until it’s Staggered, then use Tifa’s ki abilities to quickly inflict damage. Once reduced to around 50% of its HP the next phase will begin.
Phase 3
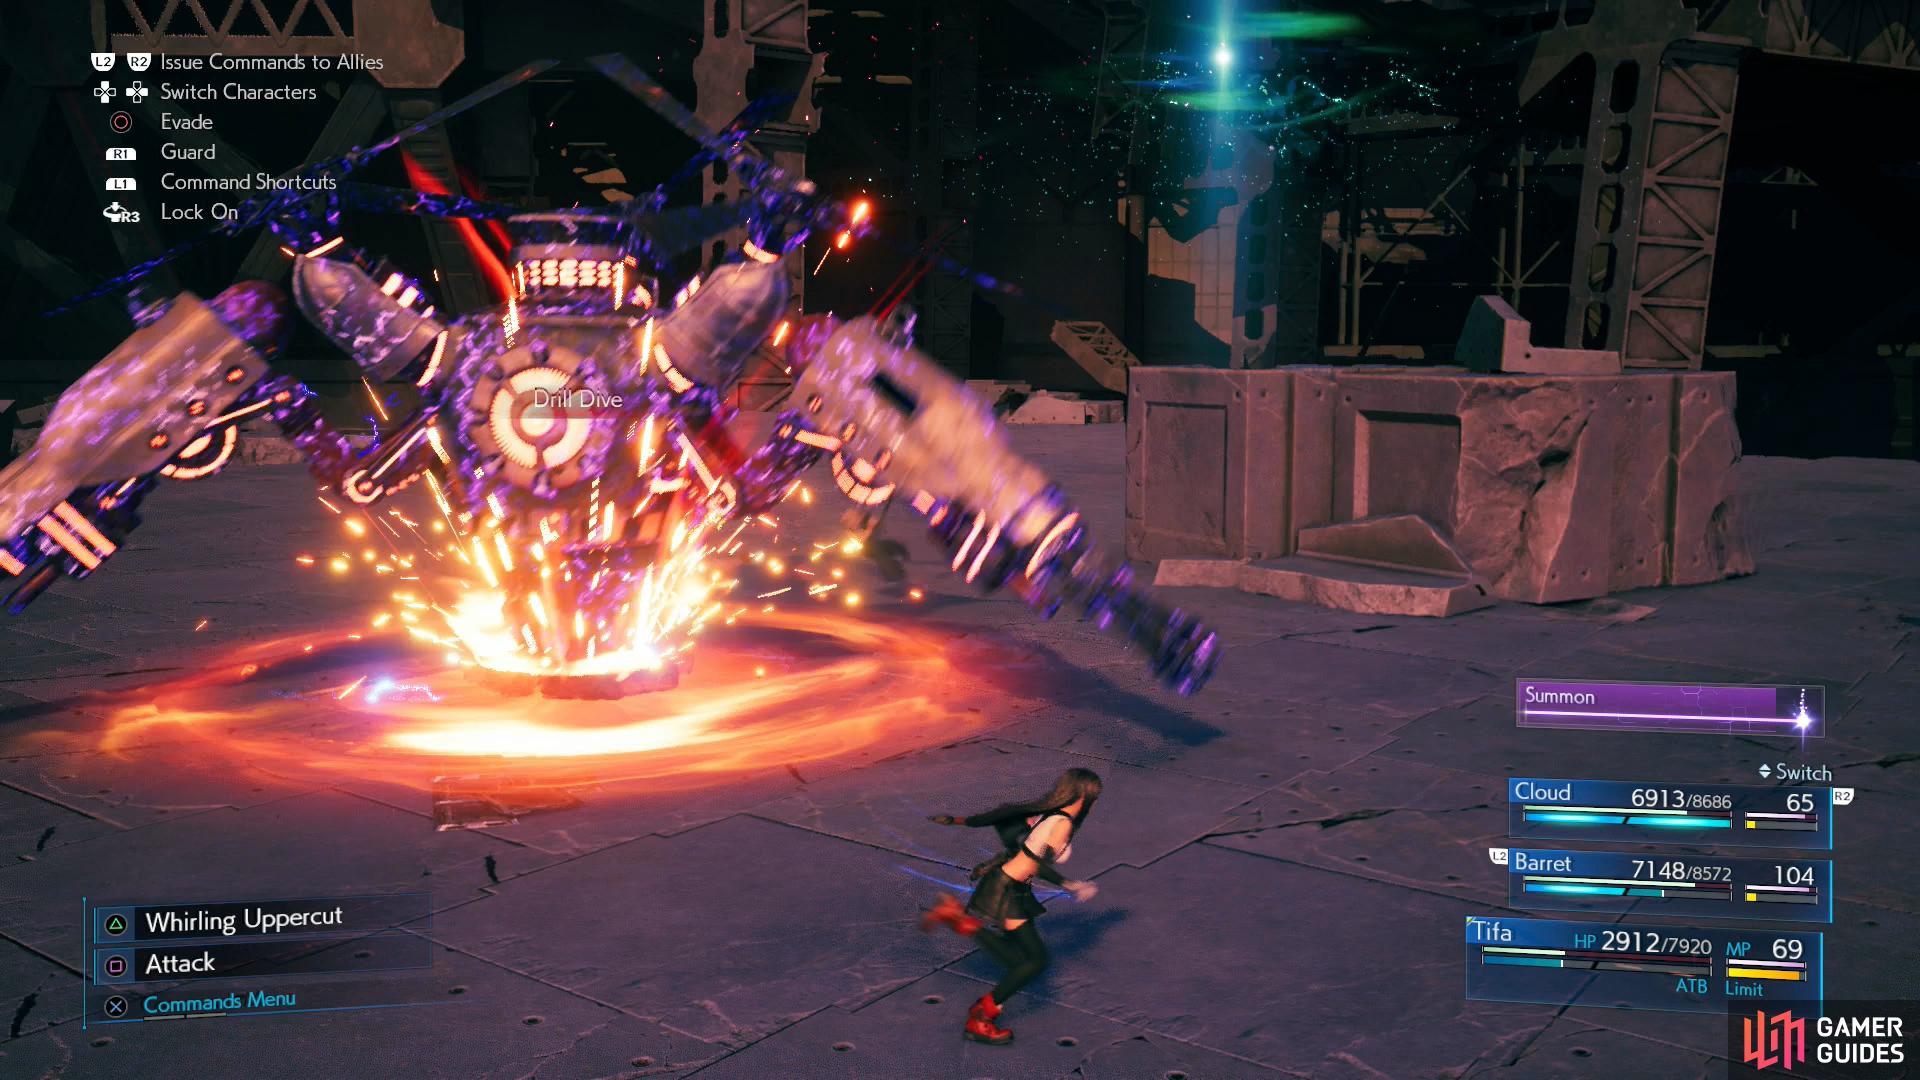
At the start of this phase, The Valkyrie will deploy a probe whose sole purpose is to call down a laser strike. While intended to be an offensive weapon, the laser, once called down, doesn’t discriminate, so try to lure the targeting beam near The Valkyrie, wait until it locks on (you’ll see a target radius appear on the ground) and get out of the way - it’ll deal heavy damage to you if it hits, but it’ll also remove The Valkyrie’s barrier and leave it grounded and Pressured - ripe for Staggering. Once it falls, hit it with Tifa’s ki abilities (and perhaps Thundara/Thundaga) to end the fight.
The Valkyrie can also use the “Drill Dive” and “Limiter Override” attacks this round, the former of which causes it to plunk into the ground business-end first, dealing heavy damage if it strikes, while the latter just allows its “Mark 99 Anti-Fiend Artillery” and “Mark 98 Rotary Cannons” to be used much more quickly - not something to be under-estimated, in practice. You can seek shelter from some of its attacks by hiding behind cover, but this can obscure the laser reticle, so be wary.
Watch some scenes following the battle and Chapter 15 will end and you’ll obtain the The Pizza in the Sky Trophy.
No Comments