

Chapter 18 is, aside from the (thankfully) skippable motorcycle segment, just two boss battles: the first with Whisper Harbinger and its minions, Whisper Rubrum, Whisper Viridi, Whisper Croceo and their combined Whisper Bahamut form, and the second with Sephiroth. You won’t get a chance to change gear once these boss battles begin, however, so you’ll need to make sure you’re kitted out appropriately ahead of time.
Your companions may vary for these upcoming fights, so you really need to have workable materia on all four characters. We equip Cloud with Elemental + Fire on his armor and Tifa with Elemental + Lightning on her armor, both of which will come in handy in the fight with the Whispers and with Sephiroth. Otherwise, ensure everybody has staples like Healing, Revive, HP Up, MP Up, ATB Stagger and Steadfast Block, with variations by role (Aerith probably won’t make good use of Steadfast Block, for example). Being able to deal elemental magic damage isn’t essential at any phase of this chapter, nor are the bosses susceptible to many status effects, to feel free to substitute those materia with buffs like Time and Barrier, or just more Independent Materia.
Finally, while it’s not essential, Gotterdammerung will help tremendously during these lengthy fights. At the very least they’ll speed things up. Since you can’t rely on who will be in your party at some phases, we suggest playing it safe and giving Cloud Healing + Magnify and/or Gotterdammerung. He’s the one character you’re guaranteed to have control of at any given time.
| Enemy | Weaknesses | Notable Loot |
|---|---|---|
| Whisper Harbinger | -- | Sharpshooter’s Companion Vol. XIV |
| Whisper Rubrum | -- | -- |
| Whisper Viridi | -- | -- |
| Whisper Croceo | -- | -- |
| Whisper Bahamut | -- | -- |
| Cloud | . |
|---|---|
| Weapon: | Twin Stinger |
| Armor: | Chain Bangle |
| Accessory: | Champion Belt/Gotterdammerung |
| Useful Materia: | Healing + Magnify, Fire + Elemental (armor) Revive, Magic Up, Steadfast Block, ATB Stagger, HP Up |
| Barret | . |
|---|---|
| Weapon: | Light Machine Gun |
| Armor: | Cog Bangle |
| Accessory: | Champion Belt |
| Useful Materia: | Healing, Revive, First Strike, Steadfast Block, ATB Stagger, MP Up, HP Up |
| Tifa | . |
|---|---|
| Weapon: | Purple Pain |
| Armor: | Cog Bangle |
| Accessory: | Champion Belt |
| Useful Materia: | Lightning + Elemental (armor), Healing, Revive, Steadfast Block, ATB Stagger, Mp Up, HP Up |
| Aerith | . |
|---|---|
| Weapon: | Silver Staff |
| Armor: | Cog Bangle |
| Accessory: | Circlet |
| Useful Materia: | Healing, Revive, Barrier, ATB Stagger, Magic Up, Mp Up, HP Up |
“Counterstance“ is as effective in Hard difficulty as it was in Normal, dealing damage without dropping your guard.
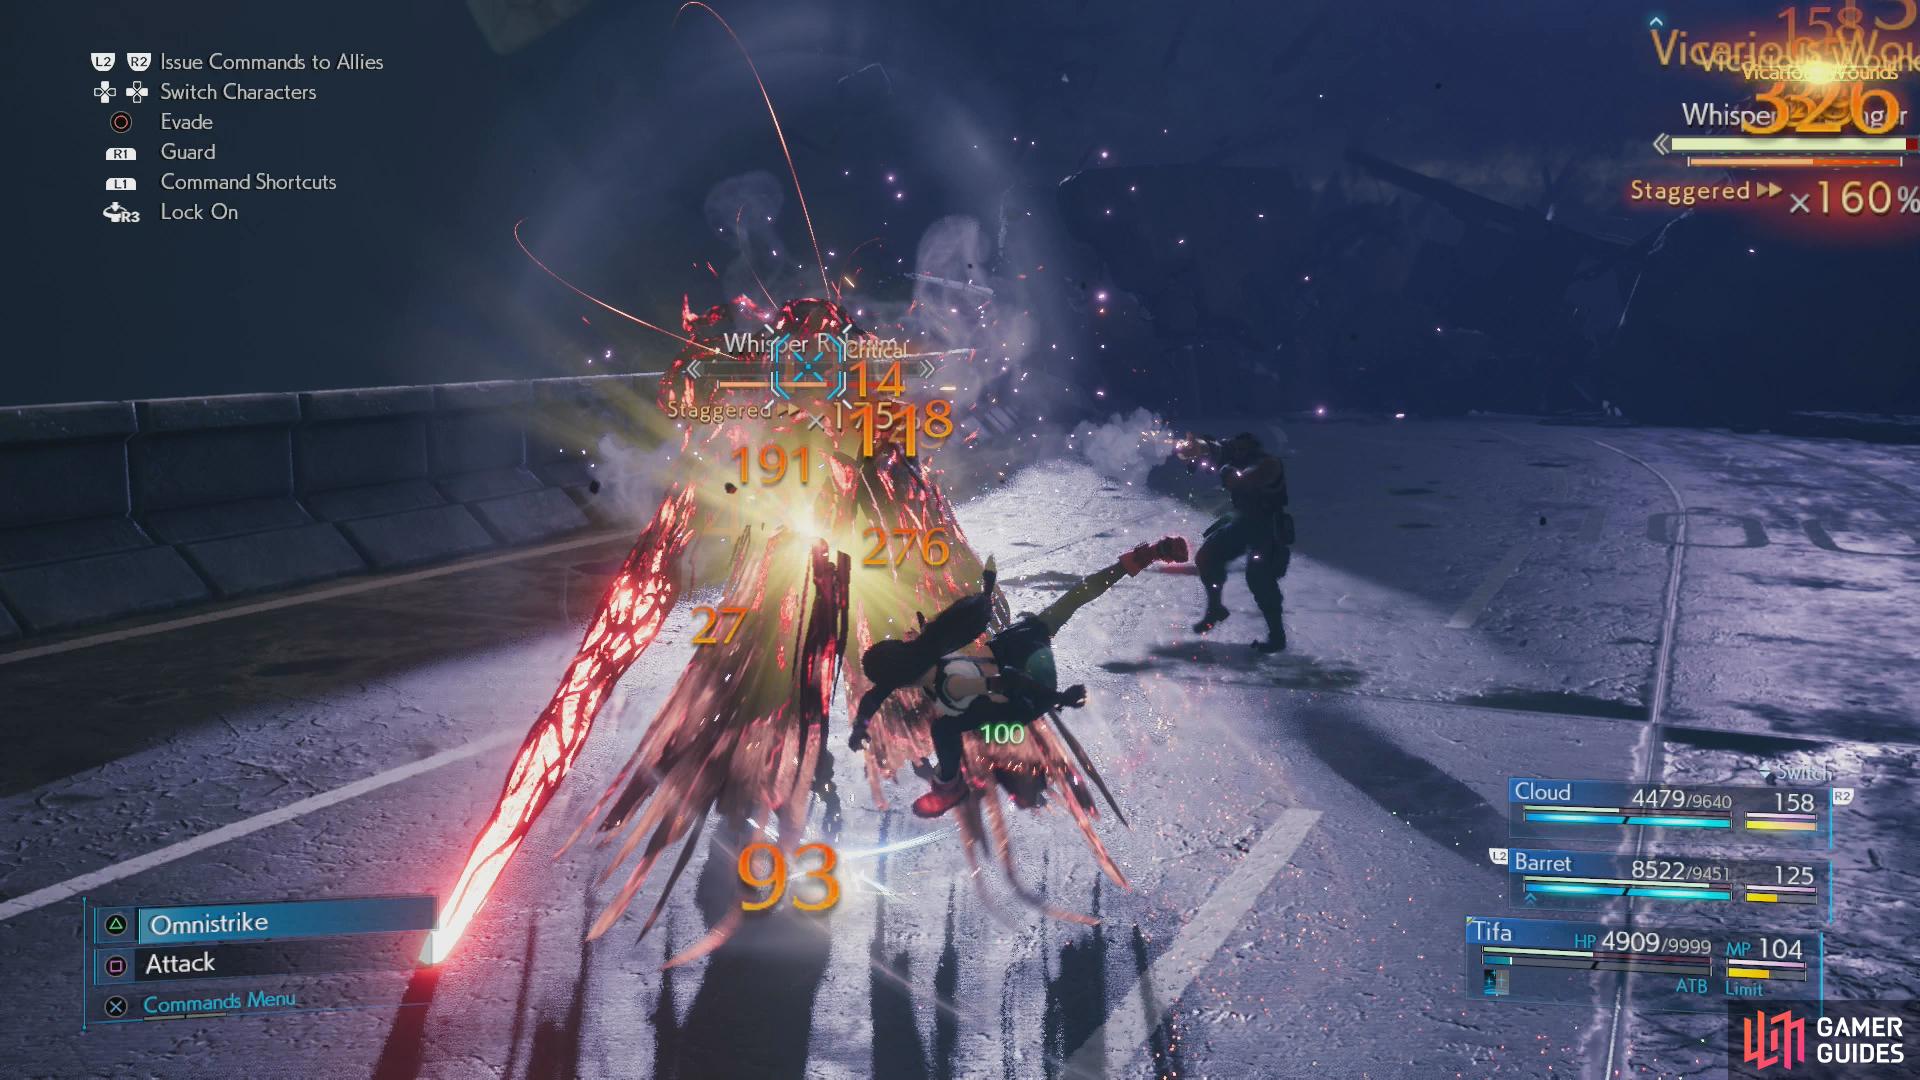
Once a Whisper’s HP bar is depleted, punish it with your most powerful attacks to damage Whisper Harbinger.
Whisper Rubrum, Whisper Viridi and Whisper Croceo
The first three phases of this battle are fights with Whisper Rubrum, Whisper Viridi and Whisper Croceo in various configurations - usually all three, but at some point you’ll fight Whisper Rubrum on its own, and the tandem of Whisper Viridi and Whisper Croceo. That being the case, we’ll discuss the three entities individually, which should suffice for getting you through much of this fight (something reinforced by the fact that they tend to focus on their counterparts - Rubrum/Cloud, Viridi/Tifa and Croceo/Barret).
-
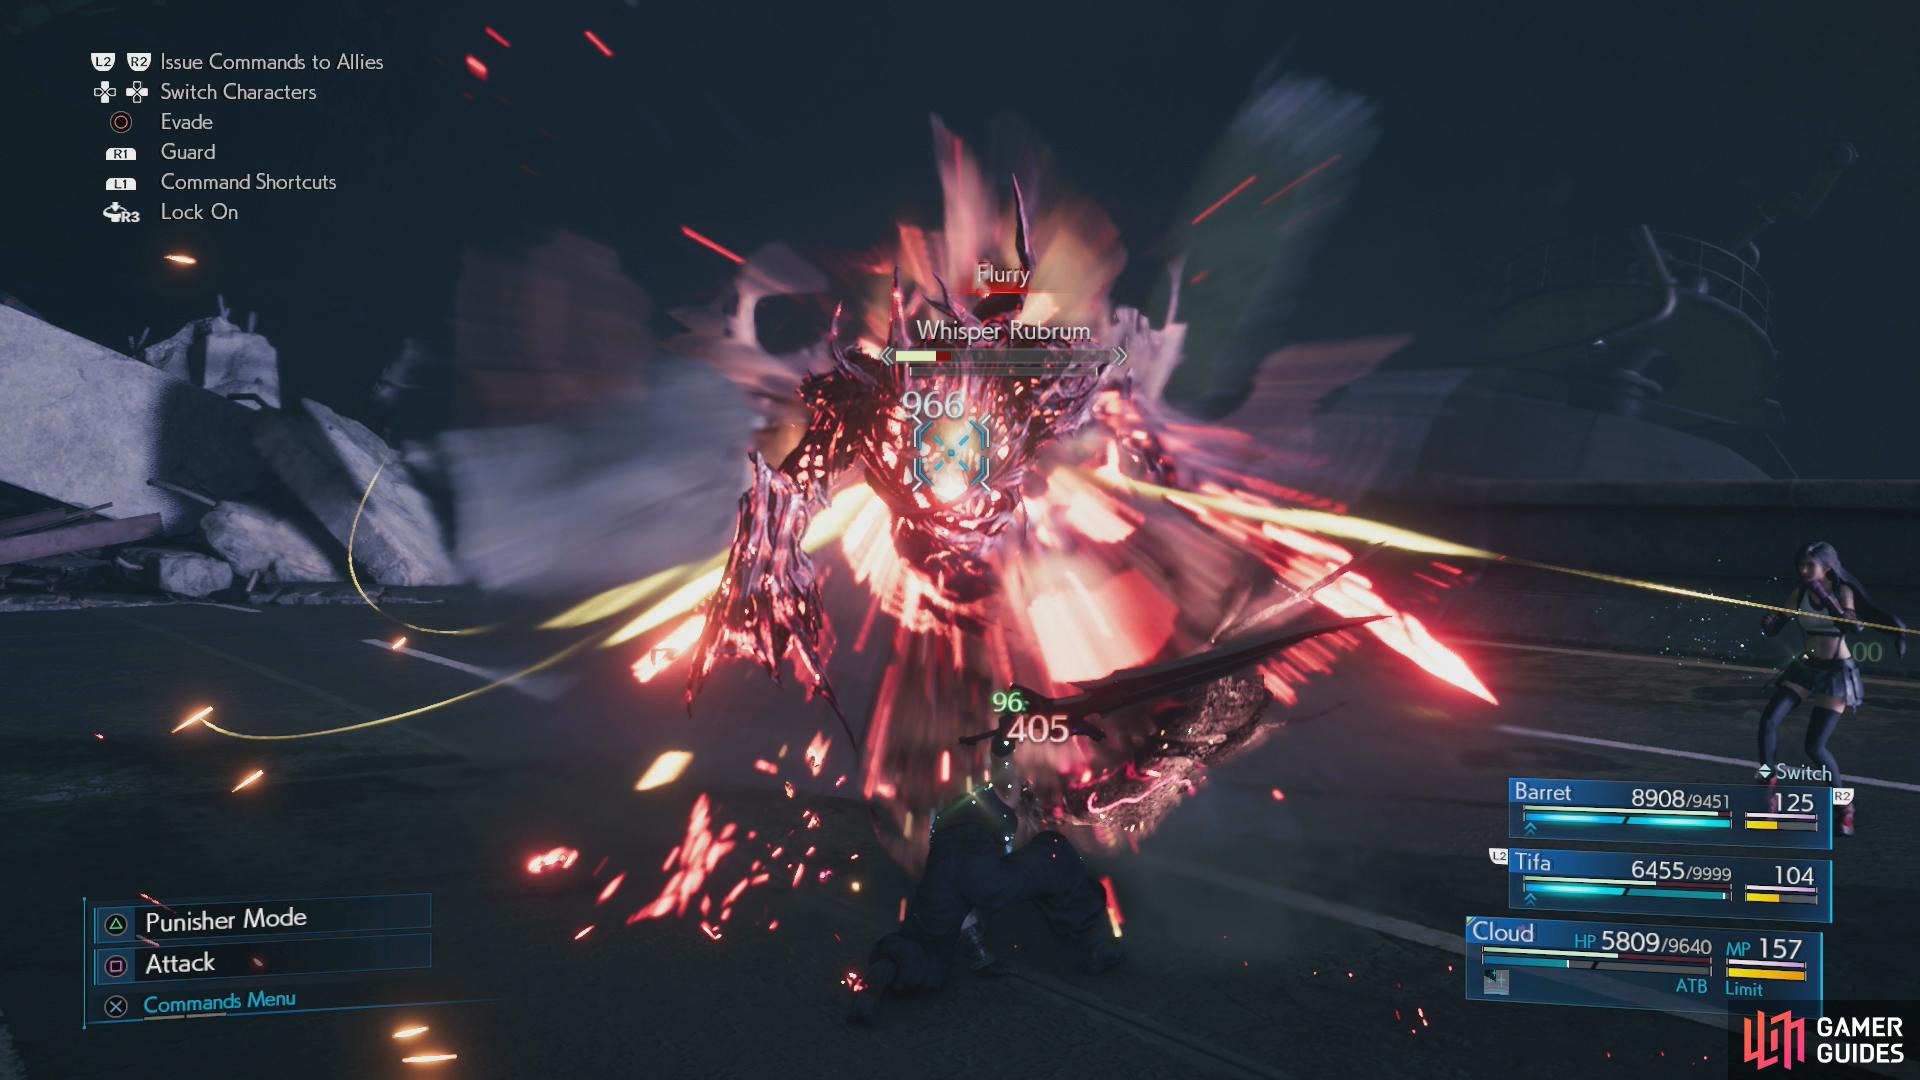
Whisper Rubrum: The red whisper, armed with a sword it can perform a variety of sword attacks including “Crimson Arc” (shoots a red blade beam), “Flurry” (a flurry of sword slashes“ and “Sweep” (a rushing, sweeping attack). It absorbs fire damage and can cast Firaga.
-
Whisper Viridi: The blue whisper, it fights barehanded, using its “Azure Wave” (creates a line of explosions that travels forward), “Azure Plume” (generates numerous glowing spots on the ground, which shortly explode and knock nearby characters into the air) and “Azure Burst” (charge up melee attack, usually used at the end of a combo) abilities. It absorbs lightning damage and can cast Thundaga.
-
Whisper Croceo: The yellow whisper, it fights with guns, with which it’ll perform attacks like “Erode” (a series of low-damage gun blasts), “Scatter” (fires a blast from both gun-arms simultaneously, hits multiple times) and “Ambient Whirl” (shoots two beams of energy, then spreads them outwards or upwards). It absorbs wind damage and can cast Aeroga.
Fighting defensively works fine in this battle, just block with Cloud and switch to Punisher mode when you see Rubrum use an attack that can be blocked (basically anything save “Crimson Arc”). Using “Counterstance” when you have the ATB required will deal solid damage to your foes while keeping you safe, but buffing with Regen and the odd Curaga may be necessary. As your allies gain ATB, have Barret use “Maximum Fury” and command Tifa to use “Unbridled Strength” so you can switch to her and sneak in the odd “Omnistrike”. Try to concentrate your fire, as eliminating the lesser Whispers will make the battle easier, and your main goal is to deplete each Whisper’s HP, which will Stagger it, during which time you can continue attacking the Staggered Whisper to damage Whisper Harbinger.
As you damage Whisper Harbinger you’ll need to move from location to location to start different phases of the battle. During your fights with the lesser Whispers and during these transitions between phases Whisper Harbinger may also unleash some attacks… often interrupting the flow of combat as it does so. There’s not much you can do about these attacks, and often your best bet is to keep blocking and heal up afterwards.
Other than increased damage, there’s not much new in Hard difficulty, save that the lesser Whispers aren’t less aggressive in earlier phases. They’ll use all their abilities at the outset, even entering their buffed states (like Rubrum using “Fever”) at the beginning of battle. While none of them deal tremendous damage, their numbers and aggression mean they can hit several time in succession, cumulatively dealing impressive damage. Nothing Steadfast Block can’t mitigate, but still nothing to underestimate.
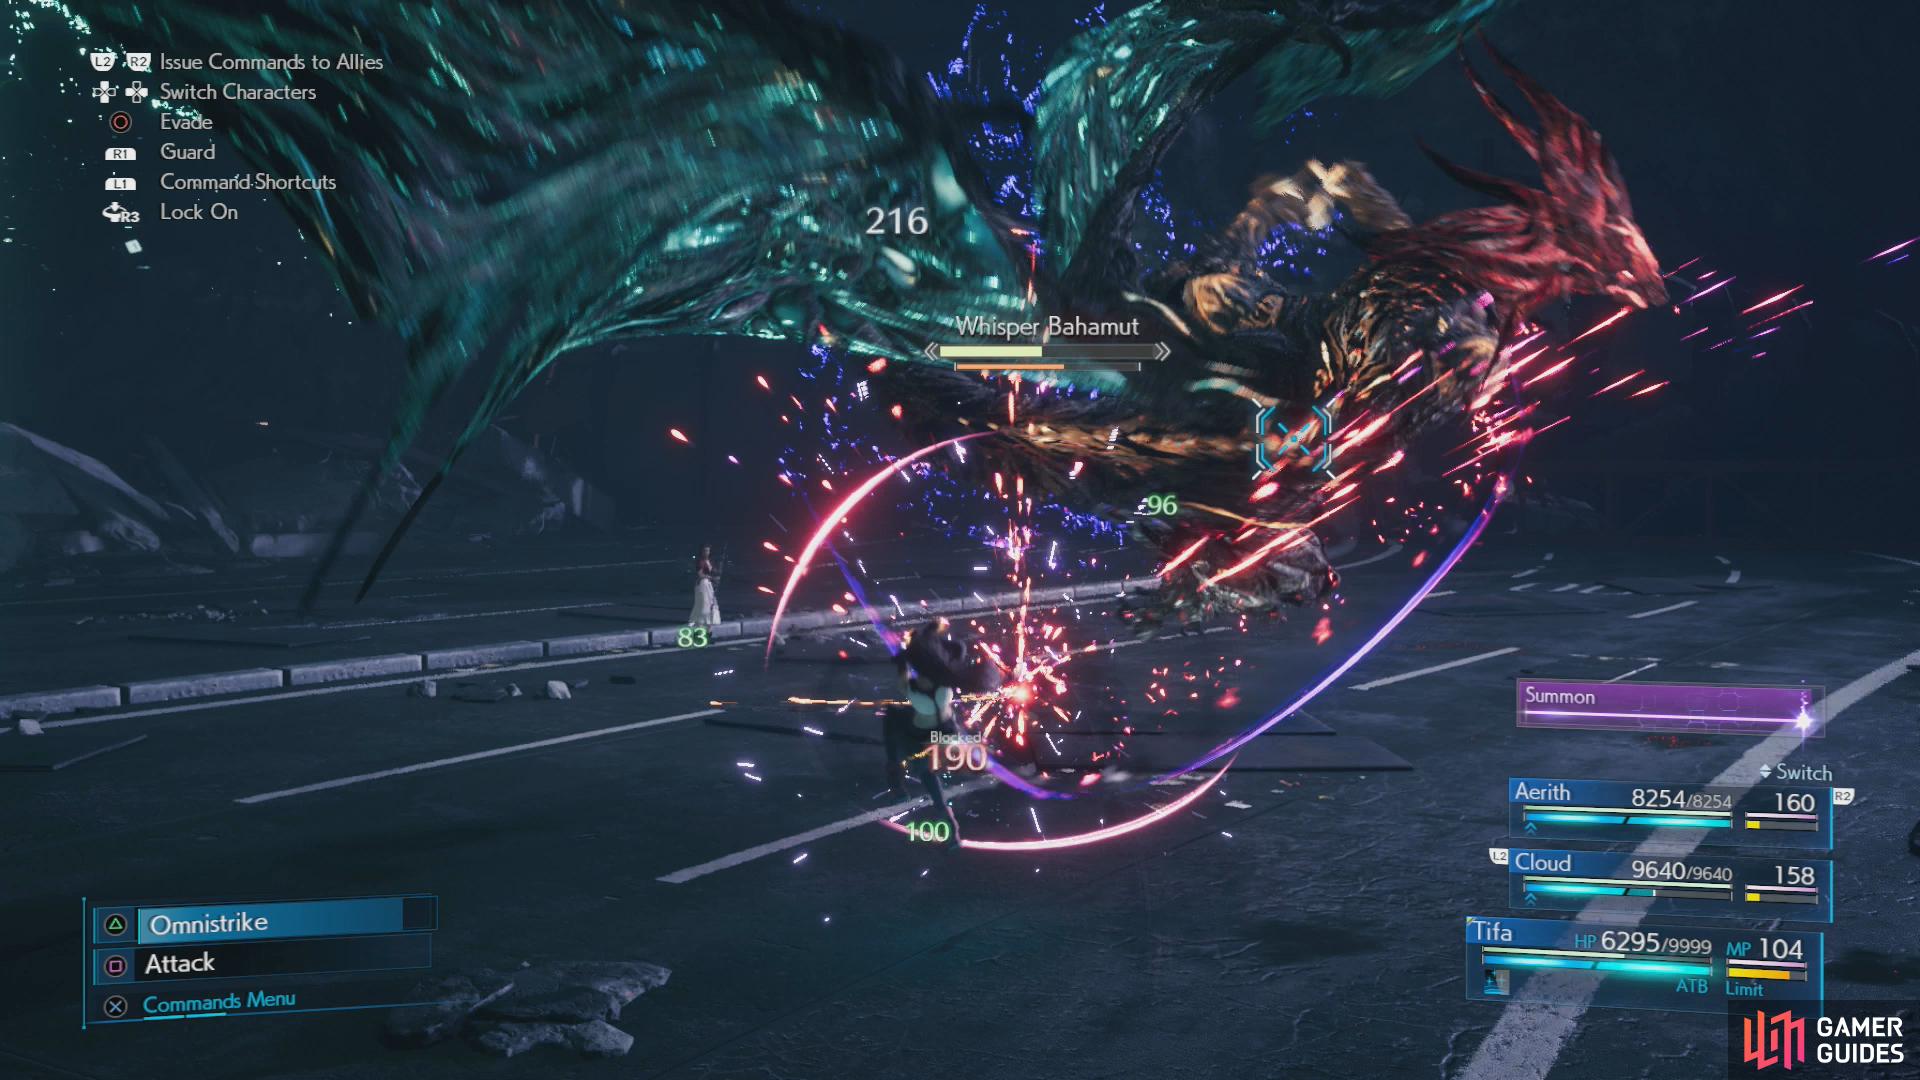
(1 of 3) Block Whisper Bahamut’s attacks to build up ATB, switching to quickly unleash attacks when charged.
Whisper Bahamut
After defeating Rubrum, Viridi and Croceo the three will appear again and Aerith will replace Barret. Deal with the initial onslaught of the three Whispers, but it won’t be long before they merge into Whisper Bahamut. If you already fought Hard difficulty Bahamut in the Shinra Combat Simulator, you may be relieved to know that this knock-off isn’t anywhere near as strong. It’s regular attacks will deal comparable damage, but it’s much easier to Stagger, has far fewer HP, and its “Mega Flare” attack is merely painful instead of a potential party-wipe. It’s attacks are as follows:
-
Claw Flurry: Two lunging claw attacks. Deals heavy damage.
-
Claw Swipe: After a brief charge, Whisper Bahamut will lunge forward, swiping with its claw and shooting out several beams of energy along the ground. Deals heavy damage.
-
Corkscrew Dive: A spinning dive attack, deals moderate damage.
-
Face-to-Face: Grabs a character and shoots a blast of energy into their face. Deals massive damage. Also quite rude.
-
Flare Breath: Moderate magic damage in an arc, can inflict “Silence” and “Slow”.
-
Mega Flare: Whisper Bahamut’s ultimate attack, it can’t be blocked or really dodged, although a character may just be lucky enough to be outside its range when it attacks. Deals massive magic damage to the entire party.
-
Umbral Inferno: Shoots a several volleys of low-damage, homing energy darts at a target. Each hit deals little damage, but you’ll likely be hit by multiple bolts in succession.
-
Umbral Strikes: Throws two orbs of energy, each dealing heavy damage. Cannot be blocked, and if you get hit by one you’ll be hit by the other. Can be dodged with well-timed rolls.
If Whisper Bahamut grabs a character via “Face-to-Face”, try to hit it with a power attack like “Braver” or “Omnistrike” to interrupt it. “Umbral Strikes” requires timing, and each energy orb now deals around 2,000 damage - if you get hit by the first, you’ll automatically get hit by the second, making this quite painful. “Megaflare” now deals around 4,000 damage to the entire party, but there’s a pause afterwards that allows you to heal up if you’re quick. Use limit breaks if you have them to shorten this phase, otherwise fight defensively, build up ATB, and switch between Cloud and Tifa as the other gains enough ATB to attack, using “Triple Slash” and “Omnistrike” to dish out damage.
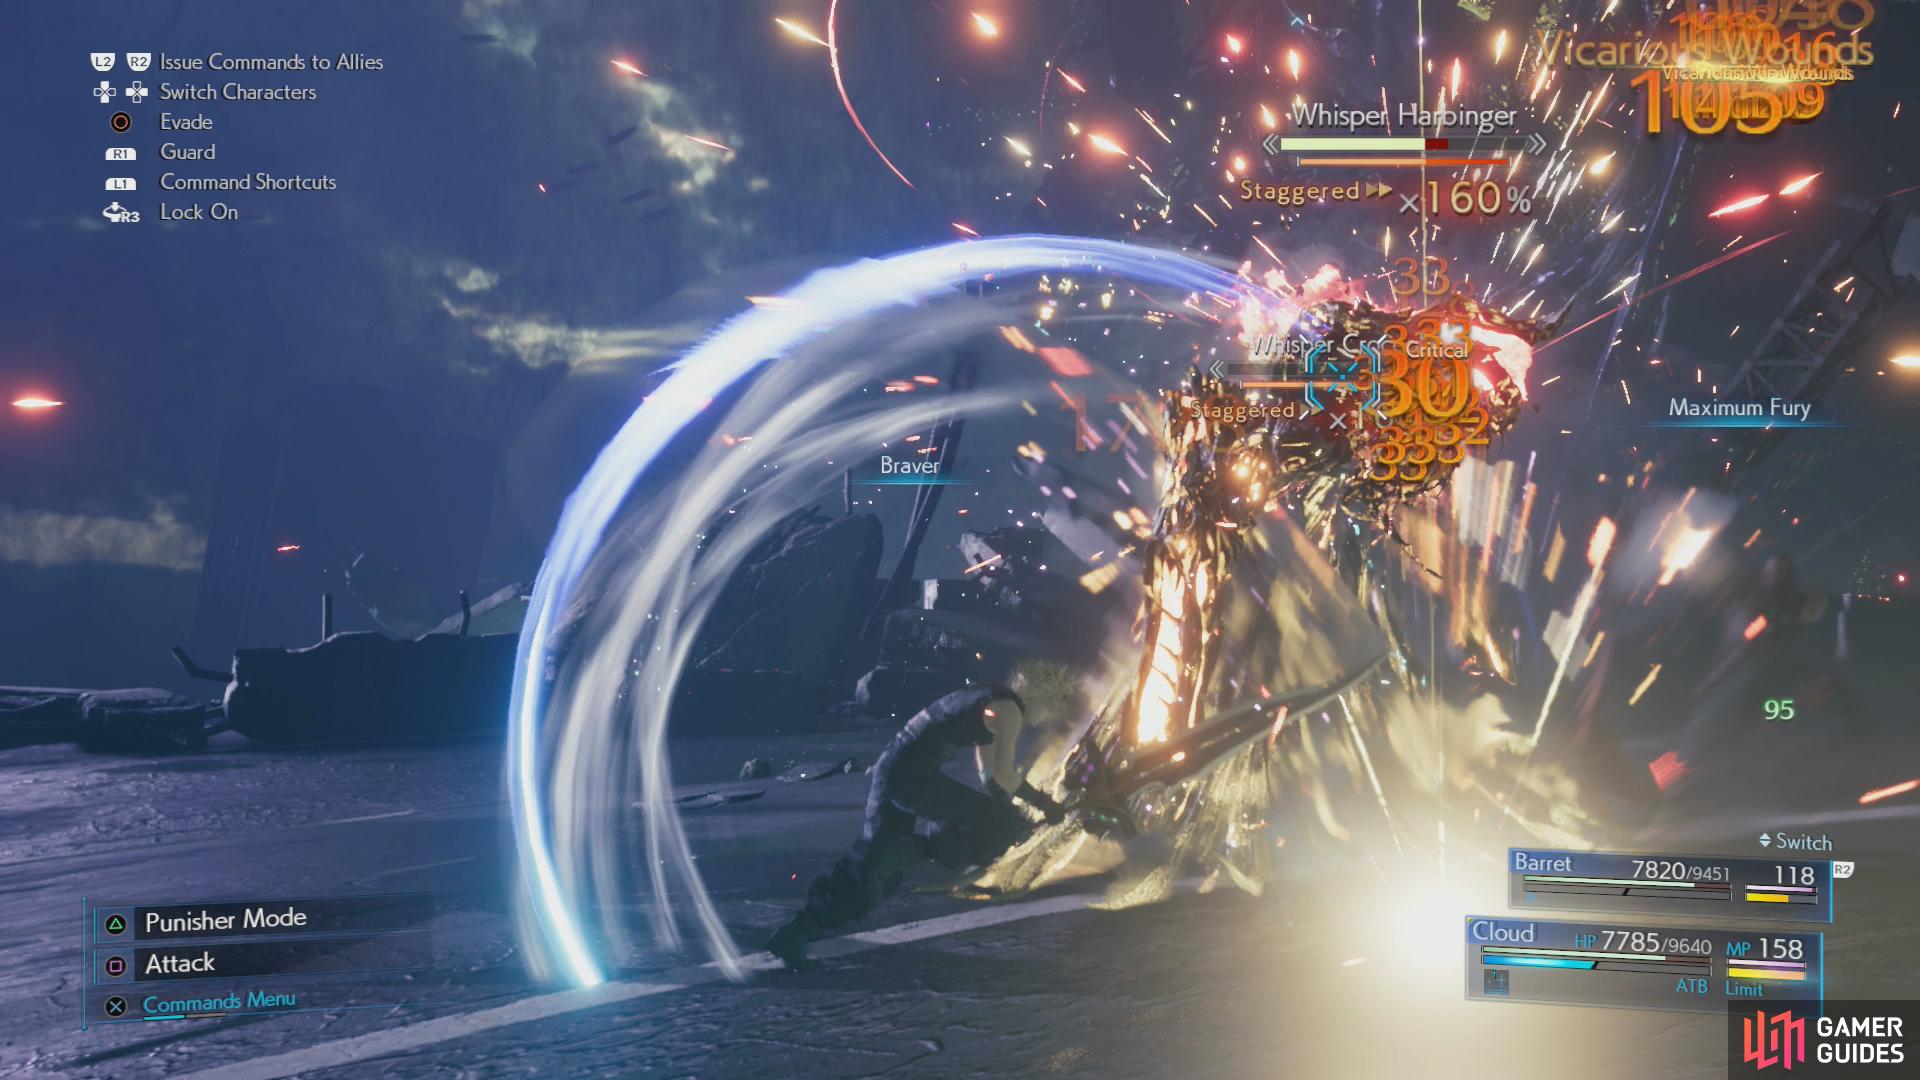
Dispatch the three lesser Whispers,
then deliver the final blows to Whisper Harbinger.
The Whispers, Finale
After defeating Bahamut you’ll again have to defeat the three lesser Whispers - attack a Whisper until its HP bar is empty, then keep attacking the same Whisper to damage the now-Staggered Whisper Harbinger. At regular damage intervals Barret and Red XIII will see an opening and launch a massive attack on Harbinger, eliminating the downed Whisper entirely. None of the lesser Whispers have any new attacks, although Whisper Harbinger will intervene periodically with attacks of its own. Not much you can do about that, so just keep healed and use Cloud’s “Counterstance” to down Whispers before focusing your fire on said downed Whisper. The fight will only get easier as time goes on and more Whispers are eliminated, and after Barret and Red XIII strike three times you need only take the final hits on Harbinger to end the fight.
For defeating Whisper Harbinger you’ll obtain the Sharpshooter’s Companion Vol. XIV Manuscript.
No Comments