

After you beat the main story, you’ll gain access to Chapter Select, which allows you to replay the game chapter-by-chapter. Not only can you complete side quests you missed previously, ignore previously completed side quests and generally make different story/quest decisions (useful for getting the different pair of quests or alternate dresses for Cloud, Tifa and Aerith in Chapter 9) but you can also opt to try completing these chapters in Hard difficulty. This section is dedicated to cover changes in and providing strategies for completing hard difficulty.
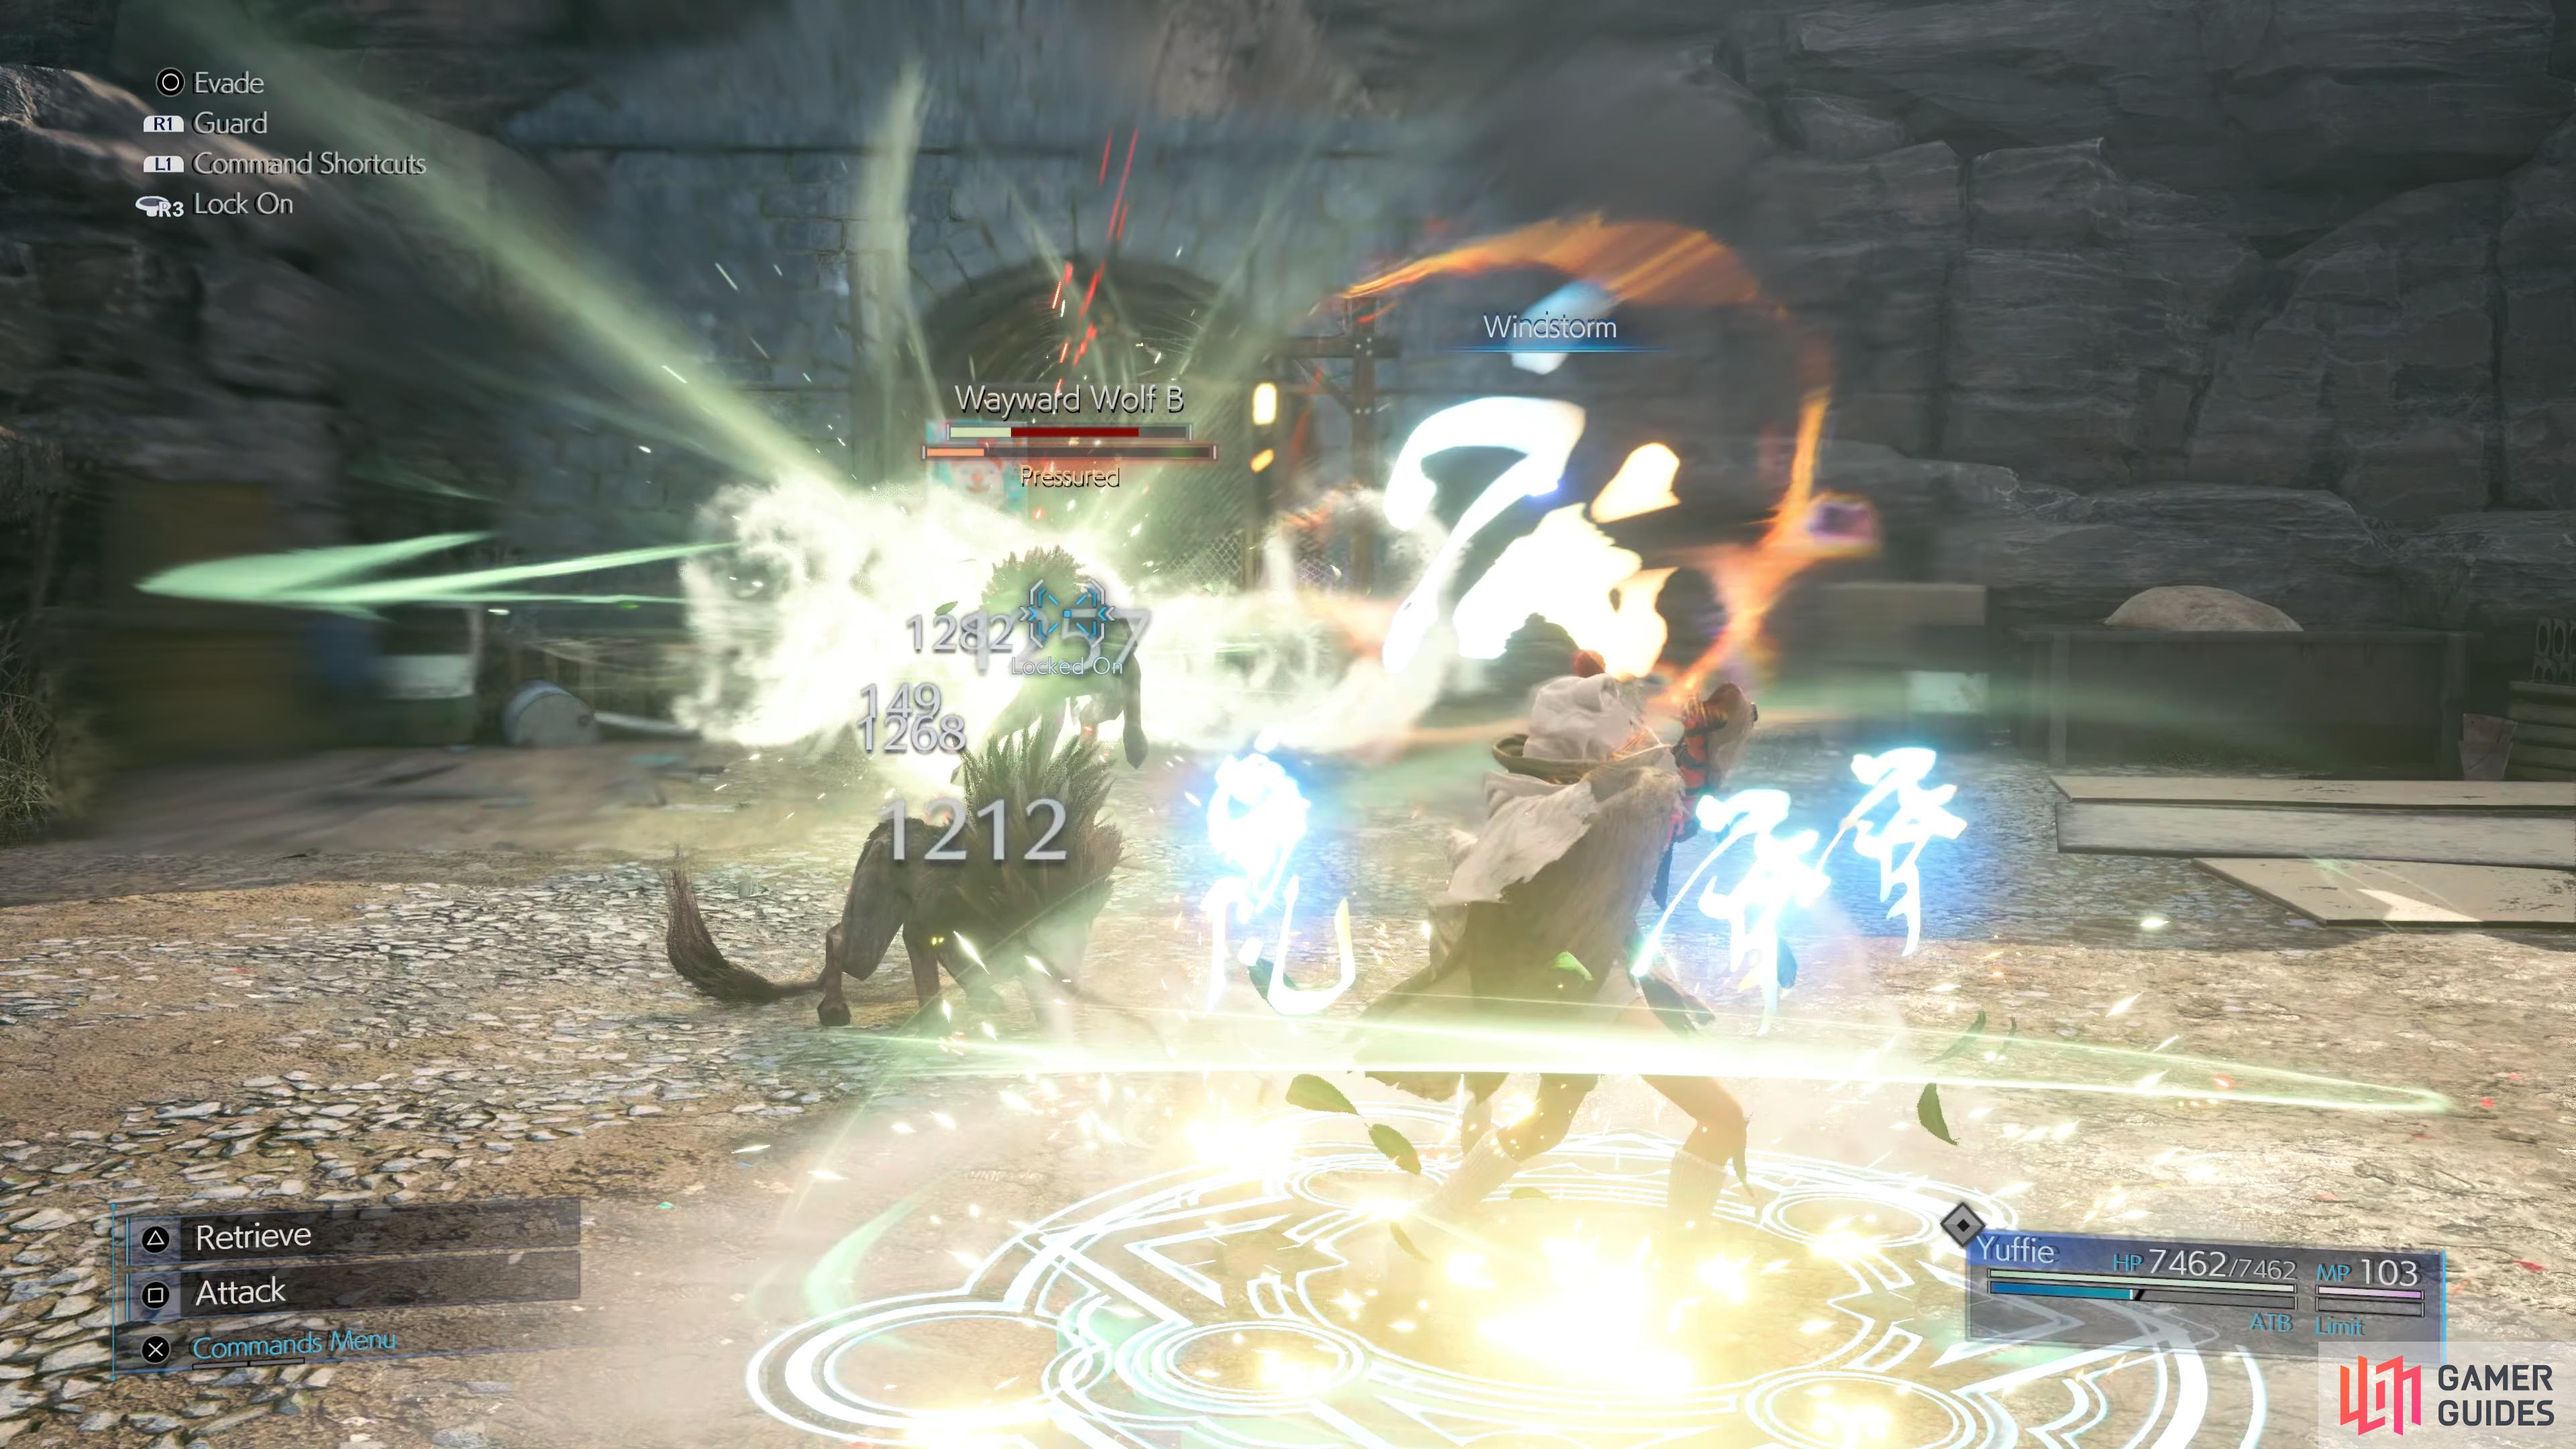
Windstorm will deal heavy damage to both of the Wayward Wolves
General Tips and Strategies for Hard Mode
Some of you may see the words “Hard Mode” and get scared away. In essence, the entirety of Hard difficulty is more akin to “Chapter 19” instead of an escalating challenge far beyond what you faced in Normal difficulty. Yes, things will get more difficult as you progress through Hard difficulty, but nowhere near as much as they did in Normal difficulty, and since you have superior weapons, armor, accessories and materia, you may even find the majority of Hard difficulty easier than your initial Normal difficulty run was!
There are some things to keep in mind for Hard difficulty, and while the individual chapter/boss pages will contain more in-depth strategy, some general pointers and preparations will be discussed here so you can go into Hard difficulty with more confidence… and hopefully better prospects of success.
-
Know your enemy. Many fights are very similar to their Normal difficulty counterparts, save that the enemy will deal more damage. Effective ways of handling enemies - particularly bosses - are still valid, and this is truer the further you progress through Hard difficulty. If you know the enemy attack routines, how to dodge/block/mitigate said attacks, and how to successfully strike at the boss in Normal difficulty, you’ll find these fights much easier in Hard difficulty.
-
Prepare for the unexpected. Perhaps a bit antithetical to the point above, some enemies will use new attacks, or use old attacks more aggressively in Hard difficulty. Check out the aforementioned “Tips” pages so you’re ready for when these curve balls get thrown your way. Generally, however, a foundational knowledge of your foes will suffice.
-
Use your toys! Your enemies aren’t the only ones with new tricks - you undoubtedly have new weapons, armor, accessories and materia to use against your foes. While this will be more pronounced in earlier chapters, you’ll benefit from superior gear even in later chapters, as you’ll have access to more powerful weapons and materia. Properly applied Elemental materia in particular can trivialize some fights.
-
The Grind is good. Once you’re done with normal difficulty, any chapters you replay will earn you 3x the normal XP and AP, which will make boosting up to level fifty and maxing out materia a rather quick and useful preparation to make for Hard difficulty. It’s not necessary, but being level fifty (with the superior HP, MP and SP that entails) and maxed-out Elemental, Steadfast Block, Warding, Magnify, HP Up, MP Up, Magic Up, ATB Stagger and basically every magic materia will certainly help. It’ll be assumed you have weapon level six weapons and all the normal difficulty materia (at max level), armor and accessories as far as strategies for Hard difficulty go.
-
No Items. You cannot use any items in Hard difficulty. Not in battle or out of battle. It might seem to be a somewhat arbitrary handicap (we almost never used items in Normal difficulty, after all), but it has some important strategic ramifications. No items means no status-restoring items, no Phoenix Downs and of course several limited access to ways to recover HP/MP in combat. You’ll need to prepare for debilitations ahead of time, ideally by bringing along preventative accessories or by using Warding Materia. You’ll also need Healing Materia and Revive Materia (and perhaps Chakra Materia) on every character.
-
MP are precious. While not having access to items is a hindrance, it can largely be mitigated by bringing the correct accessories and/or materia along for the task at hand. More serious of an impediment is the fact that your options for recovering MP are severely limited in Hard difficulty. You cannot use items, of course, and rest benches will no longer restore MP, only HP. MP still regenerates naturally in combat and you can use MP Absorb and Soul Drain to mitigate MP costs or recover MP, respectively. Your most important source of MP in Hard difficulty will therefore be Mako Shards found in Shinra Boxes. You can save them when you know a fight is coming up, then return to smash them. You can even save/load them, so any location that has Shinra Boxes shouldn’t become an MP desert, but this does mean that the multiple, consecutive boss fights in Chapters 17 and 18 can become something of an endurance trial, and MP attrition can become the deciding factor in fights. Hey, it wouldn’t be very difficult if you could spell-spam your way out of trouble then pop a Turbo Ether, right?
-
Preparation is prevention. The difference between an impossible fight and a moderate challenge in Hard difficulty is often a matter of preparation… although admittedly fighting each boss several times in normal difficulty and getting used to their attacks also helps. But we digress - be ready to change your loadout before every boss fight, at least. In Normal difficulty, having ideal materia for a fight ranged from helpful to necessary, in Hard difficulty it’s definitely more on the necessary side of the scale. If you’re not swapping out your materia at least once or twice a chapter, you’re probably not preparing adequately.
-
Gotterdammerung. While it may seem counter-productive, putting in the work to obtain the Gotterdammerung will make the rest of your Hard difficulty run much, much easier. You can skip ahead to Chapter 17 (in Hard difficulty) and attempt this at any time - you don’t have to complete Hard difficulty in any particular order, after all. That said, you will need to complete all the Battle Intel Reports, all the Colosseum Battles and all the Shinra Combat Simulator Battles to take a shot at this, and you’ll probably want to hit level fifty, max our your Materia and grab a few Hard difficulty Manuscripts before you attempt this. Speaking of which…
Manuscripts
Aside from chasing trophies and challenging yourself, one of the few progression reasons to play Hard difficulty is for the new Manuscripts you’ll get. During the course of the normal game you were able to get a handful of Manuscripts, which, of course, will boost a character’s SP by ten each. This is just the tip of the iceberg when it comes to Manuscripts, however, as each character has fourteen such tomes they can acquire, the vast majority of which can be found in Hard difficulty. The draw of collecting these Manuscripts as obvious, as even if you hit level fifty and collect all the normal difficulty Manuscripts you’ll still be a few SP shy of reaching the next weapon level. Collecting at least one Hard difficulty Manuscript will be necessary to hit weapon level six, and some of the new upgrade tiers can substantially improve the utility of your weapons.
The locations of all these Manuscripts can be found on the linked page, and generally they’re not hard to obtain - defeating a boss or a sidequest specific monster is usually the key, so you can expect to unlock them as you advance through Hard mode. Still, they’ll be pointed out in each chapter’s “Tips” page.
Materia
In each section we’ll try to list what materia we found useful, but it’s worth going over why, exactly this materia is useful, at least in general, even if it doesn’t bear repeating every page. That being the case, it’ll be discussed briefly here.
-
Healing Materia: A no-brainer, enemies hit hard in Hard difficulty, and you’ll need to repair that damage. Healing Materia is the best way to do that. Cure is good for patch work, and really the quality of your healer is better reflected by how much HP they restore with Cure than Curaga - everybody will restore boatloads of HP with Curaga, but healing for 3,000~ damage with Cura? That’s just economic, there. Healing + Magnify is a good default assumption for battles… at least ones where you have a party and the enemy is a single entity, as is the norm for boss battles. While Cure and Curaga have obvious utility, Regen is also surprisingly handy at preserving your MP. It won’t help much if you’re taking heavy hits all the time, but with a basic level of caution and competence it can mitigate MP costs significantly - you likely won’t have the MP to spam Curaga all the time, after all.
-
Revival Materia: Enemies hit hard. You’re more likely to lose characters in Hard difficulty. No need to fuss about it, it’s likely inevitable. It’s not ideal, and it’ll set you back a bit of MP to revive a character, but it’s not the end of the world. Without access to Phoenix Downs, you’ll want every character carrying Revive Materia any time you have a party.
-
Fire/Ice/Lightning/Wind Materia: Targeting enemies weaknesses is just as important in Hard difficulty as in normal. Rarely will you need - nor is it economical - to use the higher-tier variants of these spells (Fira/Firaga, etc.), as with a good Magic Attack score (300+) the base spells will do just fine. In certain scenarios where you’re not in much danger, an elemental magic materia and Magnify will get you through fights in quick fashion. Other times, elemental magic materia can be paired with MP Absorb to mitigate MP costs and allow said caster to just blast foes with magic any time they have an ATB segment. Perhaps most importantly however, is the use of such magic paired with Elemental materia. Rarely will you do this on your weapon, as the returns are rarely worth it… especially not compared to the defenses it can get you.
-
Barrier Materia: Rare are the fights where you’ll need this, but when you do, you’ll be glad to have it. Barrier halves physical damage, Manaward halves magical damage, and Manawall halves both. Against foes with limited offensive versatility, this can be a significant boon to your survivability, and there are few other options for surviving attacks like Mega Flare. The only downsides are the rather hefty MP costs of these spells, and the fact that to employ them adequately you’ll often want to use Magnify, which is so useful in other combinations.
-
Elemental Materia: You’ll be wishing for three of these throughout Hard difficulty. When paired on your armor with elemental magic materia, Elemental Materia can halve, negate or absorb elemental damage. Against elementally-focused bosses this can trivialize fights, and even against a foe with a relatively versatile offense, having one or two of their attacks heal your characters instead of harm them will make the fight much easier.
-
Magnify: Hardly needs a description, right? It’ll cause otherwise single-target spells to affect a group of up to three. The applications are obvious and wonderful - allows you to heal your entire party at once, to give everybody buffs, or to inflict debuffs or elemental damage on numerous foes at once. Aerith with Healing Materia + Magnify Materia can keep the entire party healed for relatively little MP, and this (substitute Aerith with Cloud when necessary) is a good default use of Magnify throughout Hard difficulty. It’s also nice to wipe out trash mobs with a single low-level elemental spell, and sometimes you’ll just need to buff everybody with Manawall to survive a devastating attack. You’ll really wish you had more than one before long.
-
Warding Materia: Often you’ll want to just use an accessory to block debilitations, but Warding can be paired with Binding Materia to protect against Sleep/Silence/Berserk, with Poison Materia to protect against… Poison, Subversion Materia to protect against Instant Death (the latter is a must against Tonberrys) and Time to protect against Slow/Stop. When an enemy uses two debilitations, Warding will be your only option to negate it.
-
Chakra Materia: Not a substitute for Healing Materia by any means, but it costs no MP, so against weaker foes that can wear you down via attrition, it’s an inexpensive alternative. Best used when your HP are critical, as its healing is proportional to the amount of damage sustained, it also means it shouldn’t be used when fighting enemies that can quickly deal a lot of damage.
-
HP Up Materia: At the end of the game, your characters will have between 4,000 - 7,000 HP, depending on the character and what weapon upgrades they have. This is… not bad, but you’ll ideally want every character to have between 7,000 - 9,999 HP, and you’ll need one or two orbs of HP Up Materia to achieve this.
-
MP Up Materia: Just like with HP Up Materia, you’ll often want more MP than your characters have by default, which ranges from 60-110, depending on the character and what weapon upgrades they have. Not as crucial as HP in general, you’ll really only need to be overly concerned with your MP stores for longer/tougher fights.
-
First Strike Materia: Depending on its level, it’ll cause you to enter combat with at least one full ATB bar. When dealing with trash mobs, this will allow you to quickly blast them with elemental magic + Magnify, “Triple Slash” or other abilities that’ll help you put an end to things. You don’t want this against tougher foes, as the benefits are greater the shorter the fight is, but used ideally it can mitigate damage sustained and generally just speed up the inevitable.
-
ATB Stagger Materia: In Hard difficulty you’re really going to want to capitalize on enemies when they’re Staggered - much effort tends to go into Staggering bosses, and going through all that trouble only to waste it can be a devastating resource drain. ATB Stagger Materia helps ensure that doesn’t happen by boosting your ATB whenever you Stagger a foe. Depending on the battle, this character may vary, with Cloud and Tifa being the usual suspects, but some foes have parts that are more easily targeted by Barret’s ranged attacks, and some foes that are more susceptible to magic damage may make this a worthwhile equip for Aerith. Definitely worth considering and keeping in the rotation for stronger foes.
-
Steadfast Block Materia: Perhaps neglected in Normal difficulty, it shines in Hard difficulty. Enemies hit much harder, and some foes are so aggressive that you’re better tanking their attacks and attacking sparingly. Might not be very heroic-sounding, but blocking with Barret until his ATB is filled, then switching to Cloud/Tifa to do the same (while remotely commanding Barret to use “Maximum Fury” when the enemy shifts aggro) works surprisingly well to mitigate damage, control the battle and attack with characters while you draw aggro.
Weapons
In Normal difficulty your choice of weapon is probably going to be determined largely by whatever has the most materia slots, but in Hard difficulty you’ll have a lot more flexibility with your weapons, as every weapon will gain the full six materia slots once you gain enough SP to unlock weapon level six. That being the case, every weapon will need to be reassessed on the overall merits of its abilities, something that will be found in greater detail in the Weapons section of the guide.
One of the things we’re looking in a weapon generally includes the “Reprieve” skill, which will save a character from death once per battle (a useful safety net for Hard difficulty). Not essential, but definitely nice to have. Other skills are more character specific: Aerith will benefit from MP reduction and MP regeneration, any Tank will be well-served by taking less damage while blocking, Tifa’s role as a damage-dealer is enhanced by “Unbridled Strength” damage boosts, Concentration Activation and ATB Charge Rate, and so on.
-
Cloud - Twin Singer: Cloud’s role in combat revolves around his Punisher mode counterattacks and “Counterstance” abilities. “Focused Thrust” makes him good at inflicting Stagger, “Triple Slash” is a fine damage dealer, and his Magic Attack is high enough to be a good secondary caster (or a primary caster, when Aerith’s not around). Still, he’s something of a jack-of-all trades that can do everything well, but his counters are by far his most unique combat trait. His final weapon, Twin Stinger, helps him with a variety of roles: “Healing Spells MP Cost Reduction 20%” will make his off-healing cheaper, “Physical/Magic Damage Reduction 10% when Guarding” allows him to tank better, and the weapon gets “Reprieve”. While being the second weakest weapon in combined Attack/Magic Attack, its aforementioned abilities more than compensate and will serve Cloud well as the best all-round weapon for a character who fills many diverse roles..
-
Barret - Light Machine Gun: This one was a tough call, as the EKG Cannon is also an excellent weapon. Ultimately, however, we appreciate the economy provided by the “Healing Spells MP Cost Reduction 20%” skill, the survivability that comes with “Physical Damage Reduction 10% when Guarding” and “Buff Duration 10% Boost”, and of course “Reprieve”. While minor, “Buff Duration 10% Boost” allows you to buff him with effects like Regen and Barrier and let him tank a little longer.
-
Tifa - Purple Pain: Tifa’s major combat role is to inflict a lot of damage on Staggered enemies quickly with her ki abilities, although she’s not bad at inflicting Stagger with “Focused Strike”, and her HP actually allow her to tank, provided she’s got HP UP Materia and Steadfast Block Materia. Purple Pain might be lacking in base Attack being the second weakest gloves, but they more than make up for it with “Critical Hit Rate 10% boost”, “Critical Hit Damage 10% Boost”, “Unbridled Strength Damage 10% Boost”, “Concentration Activation 70%” and, of course, “Reprieve”.
-
Aerith - Silver Staff: Aerith is your caster, by default. Whenever she’s in your party, materia should be shifted around to facilitate her in this role, and otherwise primary casters switch to off-casters (sorry, Cloud). Her strengths as a magic user are reflected by her weaknesses defensively, and her HP make her unsuitable as a tank. Not a bum deal, as long as you don’t actively control her, she’s unlikely to draw aggro, leaving her free to accumulate ATB for when your tanks need healing or buffing. Given this, you may be tempted by the superior Magic Attack scores of the Mythril Rod or Reinforced Staff, but the skills offered by the Silver Staff more than make up for its relatively middling Magic Attack. These include “Attack/Healing Spells MP Cost Reduction 20%”, “Trade-Off” and “MP Regeneration 50% Boost”, all of which will help her retain MP, and “Reprieve”.
Armor
Pretty simple here, you get several types of late-game armor; Iron Maiden and Astral Cuff both sacrifice materia slots for Defense and Magic Defense (respectively), and you’ll want your materia more than defenses. Likewise, Force Bracelets sacrifice defenses for materia slots, but in this case one extra materia slot probably isn’t worth voiding all your defense. This really just leaves your Chain Bangle and Cog Bangles, the later of which can be substituted for Supreme Bracers or Rune Armlets as the enemy at hand demands. Move your Chain Bangle around so that it’s always in use, otherwise, there’s not much strategy here.
Accessories
You’ll typically want to default to a Circlet for Aerith, and Champion Belts for everybody else. That said, while the boosts these accessories provides are nice, we’re all too willing to swap them out for debilitation-proof accessories when the need arises. Being immune to a specific debilitation often makes for an easier fight than curing said debilitations with spells in the heat of battle, and more useful than the bonuses provided by the Circlet and Champion Belt. Naturally you should make room for Gotterdammerung, if you have it. Like the Chain Bangle, make sure somebody has it at any given time, favoring Aerith (Planet’s Protection) and Barret (Catastrophe) when possible.
No Comments