

Boss: Failed Experiment
| Enemy | Weaknesses | Notable Loot |
|---|---|---|
| Failed Experiment | Ice | Sharpshooter’s Companion Vol. VIII |
| Barret | . |
|---|---|
| Weapon: | Light Machine Gun |
| Armor: | Chain Bangle |
| Accessory: | Headband |
| Useful Materia: | Ice + Elemental (weapon), Healing + Magnify, Revive, Steadfast Block, ATB Stagger, HP Up |
| Tifa | . |
|---|---|
| Weapon: | Purple Pain |
| Armor: | Cog Bangle |
| Accessory: | Headband |
| Useful Materia: | Ice + Elemental (weapon), Healing, Revive, Steadfast Block, ATB Assist, ATB Stagger, HP Up |
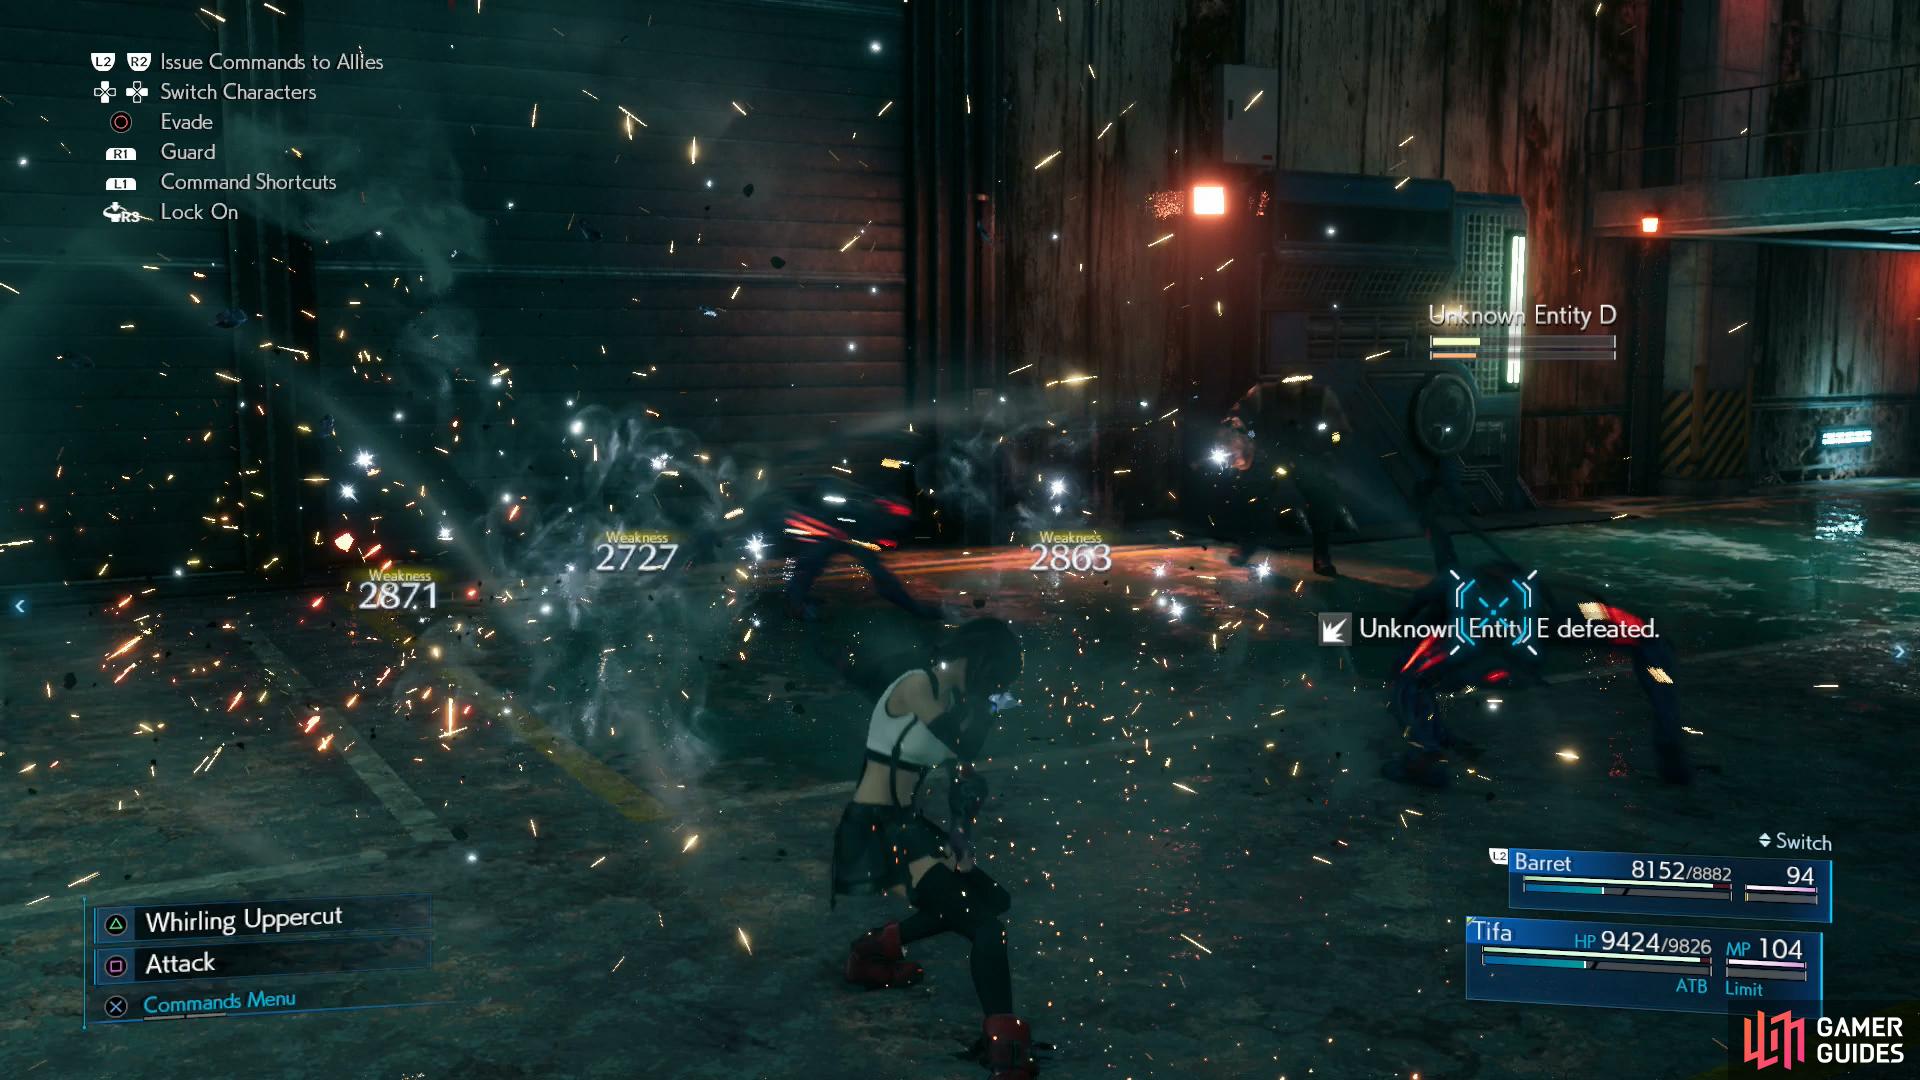
Use Tifa’s ki abilities to defeat Unknown Entities,
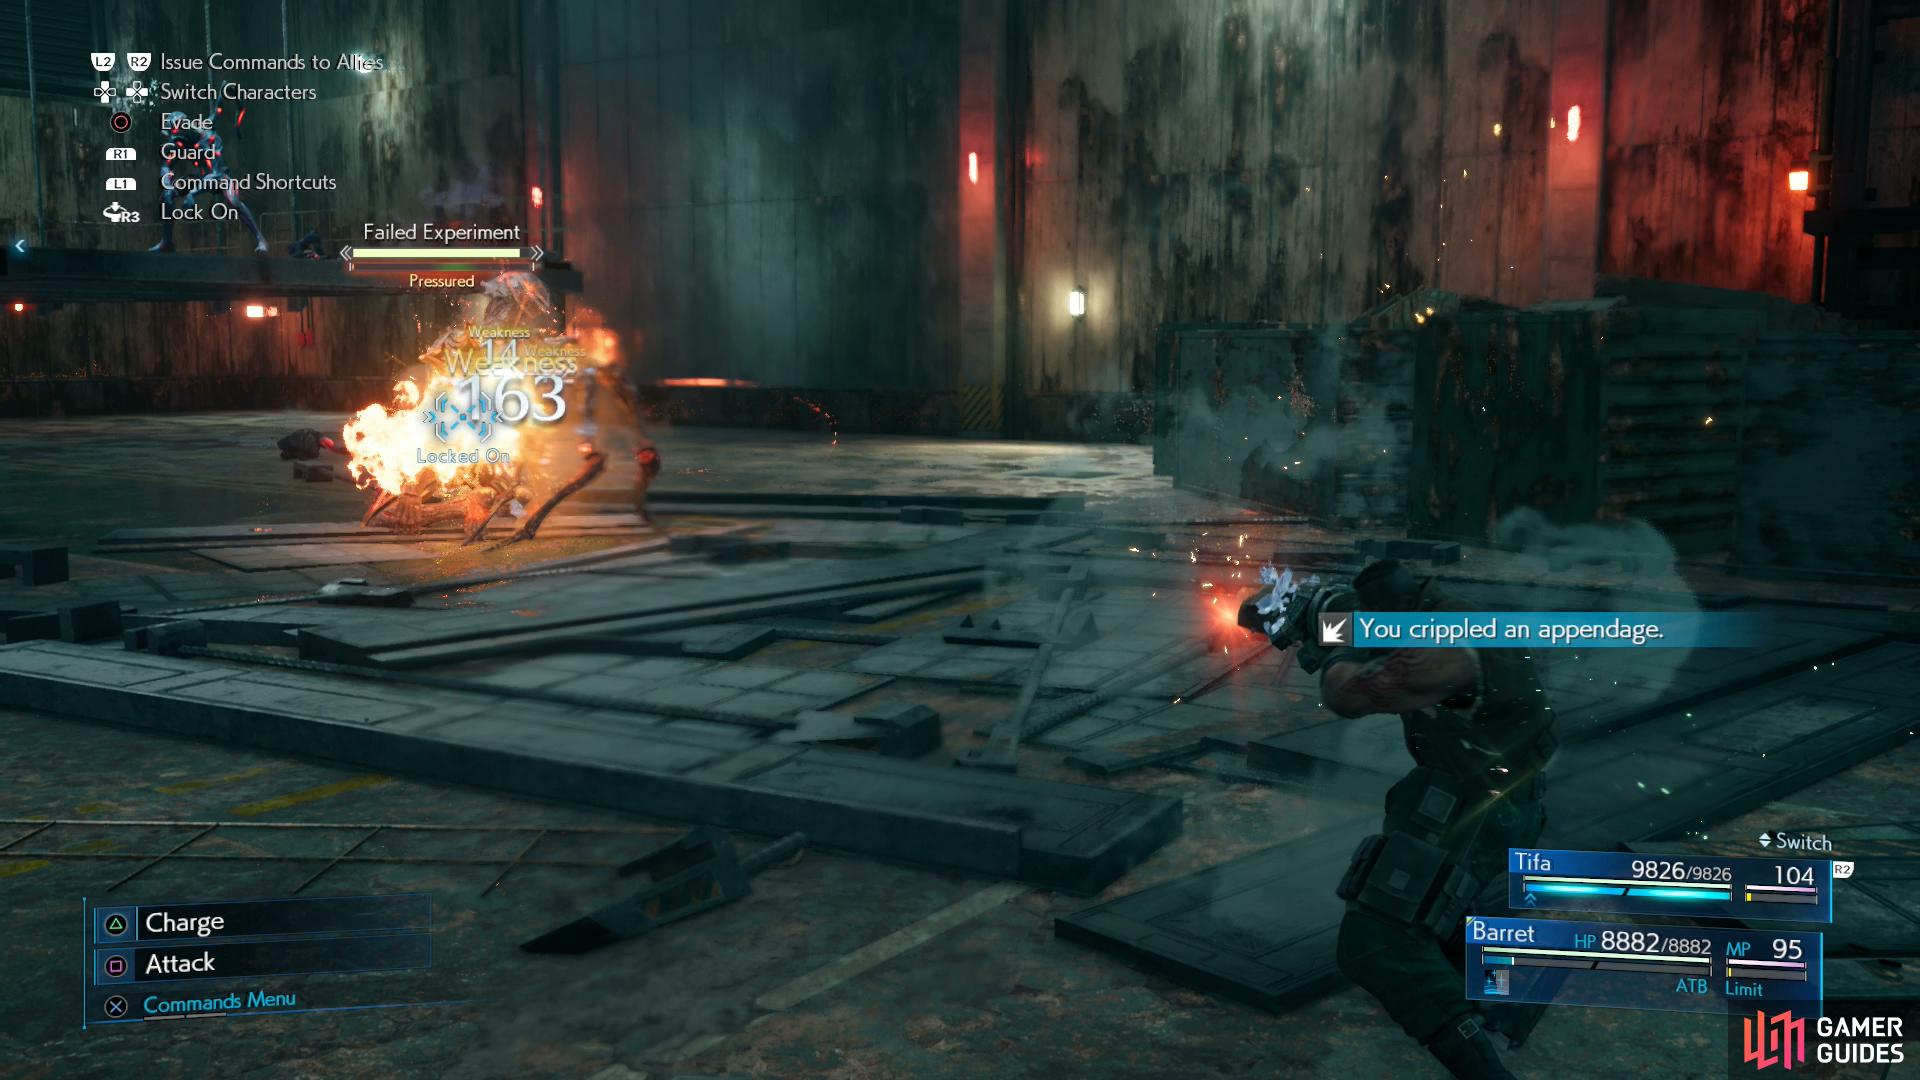
and when the Failed Experiment shows up, destroy its “Appendage” to advance to phase three.
Aside from increased damage (sometimes drastically) the only innovation for the Hard difficulty version of this battle is that the Unknown Entities that accompany the Failed Experiment can now cast “Sleep”. To counter this we equip Headbands, which is a simple enough way to mitigate this threat. This still leaves you vulnerable to “Poison”, but the attack that inflicts it isn’t terribly dangerous, and you can always remove it with Regen. These enemies are also fond of lightning element attacks, but they’re neither common nor powerful enough to really justify Lightning + Elemental (armor), so we go with Ice + Elemental (weapon) instead.
The first phase of the fight involves killing Unknown Entities. They’re a bit stronger in Hard difficulty, but nothing Tifa can’t take care of with “Omnistrike”. These early fights with Unknown Entities are a good opportunity to apply buffs like Regen and charge Tifa’s ki. Defeat the foes until they stop spawning (at least on the ground), then when prompted run Tifa to the stairs.
After some in-battle scenes Tifa will be on an elevated walkway and will have the full attention of the Failed Experiment. Switch to Barret and attack the Failed Experiment’s “Appendage”. If you destroy it, it’ll Stagger the Failed Experiment, although in Hard difficulty you won’t likely get the opportunity to deal much damage. Still, it’ll progress the fight to the third and final phase, which is where the battle really begins:
-
Fury: The Failed Experiment will crouch down and flail its tentacles about, hitting all foes nearby.
-
Ground Slam: The Failed Experiment smashes the ground, dealing heavy (1,500~) damage in an area - sometimes it’ll perform a leap before using this attack.
-
Intimidate: An area-of-effect attack that stuns characters. Not harmful in itself, but it lasts more than long enough for a follow-up attack.
-
Livewire: Only when charged up, the Failed Experiment will create an electrical area-of-effect burst centered on itself.
-
Plasma Discharge: This well-advertised attack will cause the Failed Experiment to shoot orbs of plasma in multiple directions. When you see it coming, just hide behind some shipping containers.
-
Toxic Volley: The Failed Experiment will spew toxic globs that form a persistent mist where they land. If you’re poisoned, cure it with a Regen.
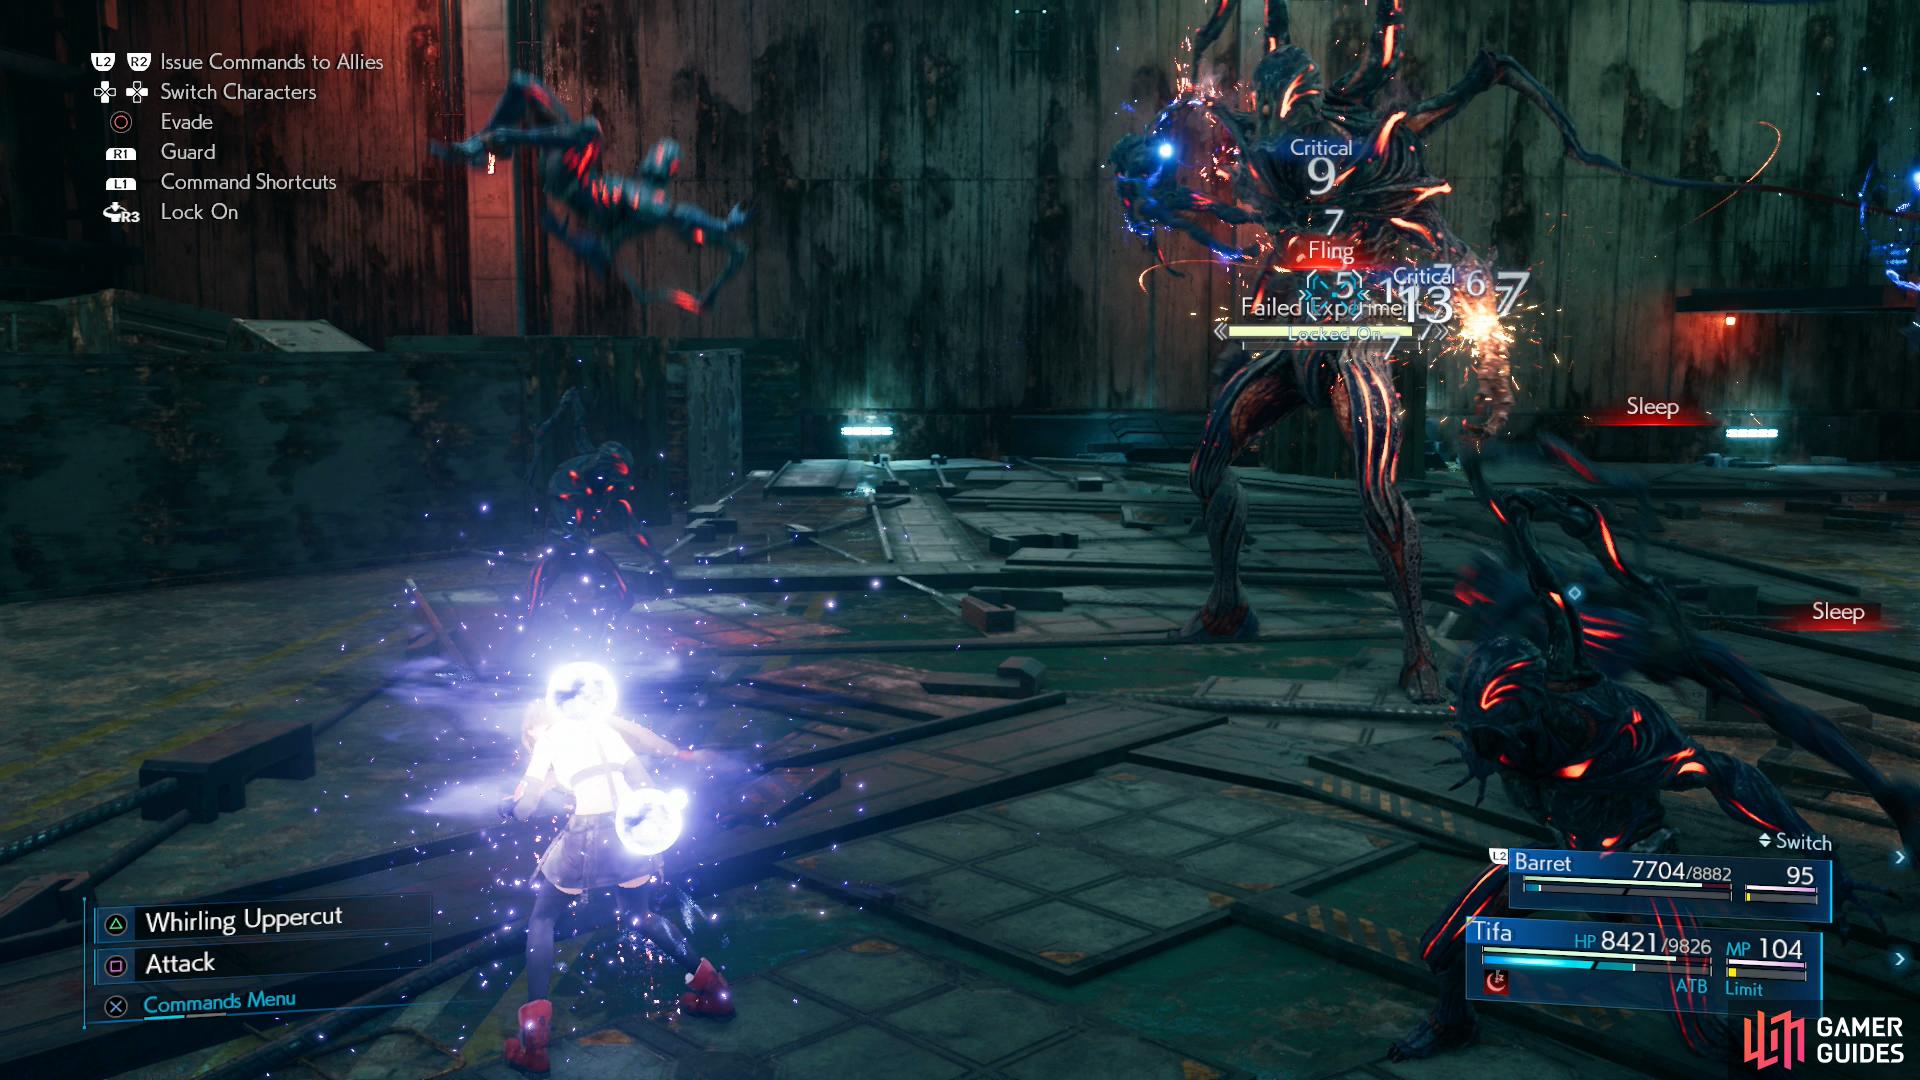
As mentioned earlier, the Failed Experiment’s attacks haven’t changed terribly much since Normal difficulty. It’ll still have Unknown Entities swarming around it, charging up the Failed Experiment with Thundaga and being used as living projectiles. They can also cast “Sleep”, although if you’ve taken measures to protect yourself this shouldn’t be an issue.
Once charged with energy, the Failed Experiment seems unusually keen to discharge said energy by using its “Plasma Discharge” attack - you doubtlessly saw this in Normal difficulty, but the Failed Experiment will make a regular habit of it in Hard difficulty. Hiding behind shipping containers will avoid damage, but some careful dodging may suffice. Its most dangerous attack is still its “Ground Slam”, which will deal over 4,000 damage if it hits. It’s fairly hard to dodge, but it can surprisingly be blocked, and with Steadfast Block Materia this will reduce the damage to a painful - but more manageable - 1,500~.
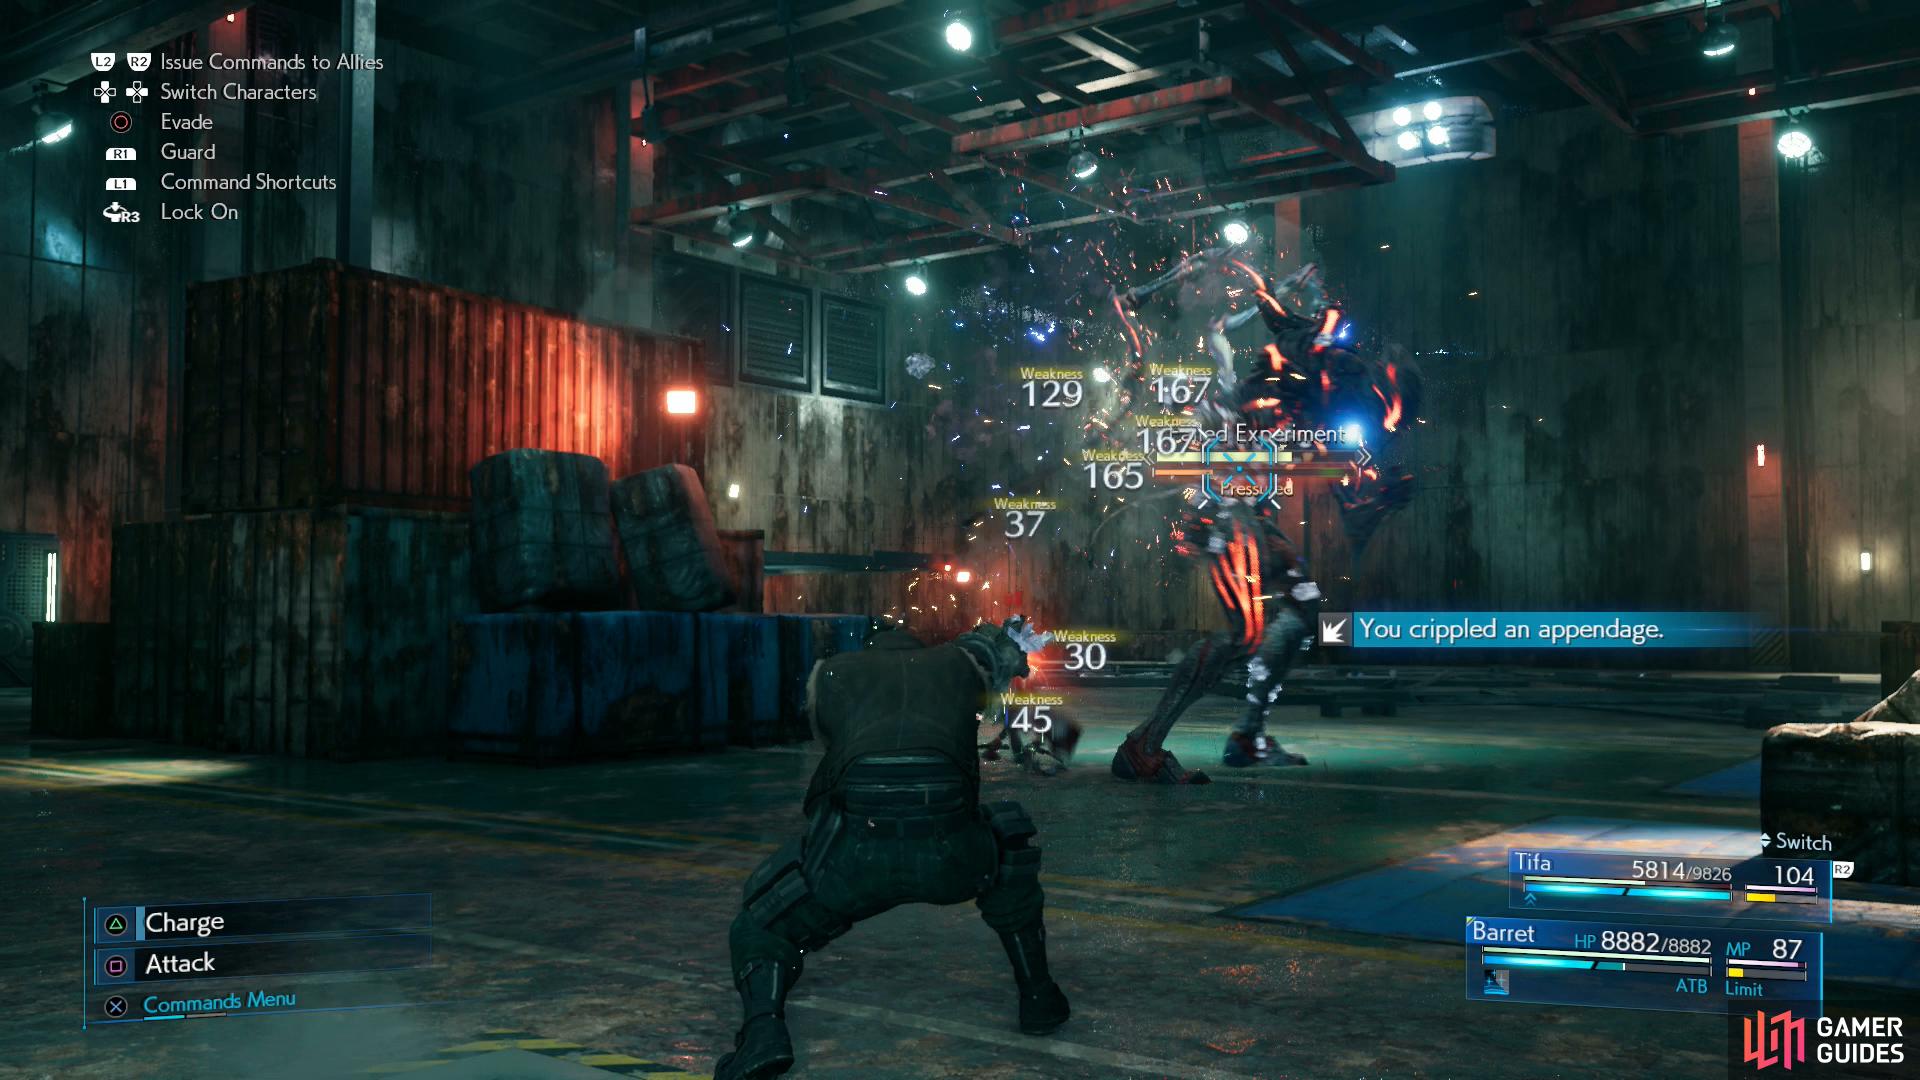
Victory can still be achieved the same way: Distract it with Tifa, and when Barret has the ATB and a clear shot, use “Maximum Fury” on its “Appendage”. Destroying this body part will Stagger it for an incredibly length of time, during which Tifa can whittle down its HP bar by up to 50% with a combination of “Starshower”, “Rise and Fall” and “Omnistrike”. If it survives the Stagger, finish it off by summoning Shiva.
For defeating the Failed Experiment you’ll obtain the Sharpshooter’s Companion Vol. VIII.
No Comments