
This is the opening to the INTERmission DLC where you play as Yuffie Kisaragi in the Midgar Outskirts.
Yuffie in INTERmission Chapter 1: Wutai’s Finest.
First Challenge
| Enemy | Weaknesses | Notable Loot |
|---|---|---|
| Toxirat | Ice | – |
| Gorger | Ice | – |
| Lesser Drake | Wind | Phoenix Down |
| Wayward Wolf | Ice | Mega-Potion |
The chapter opens with a girl looking upon Midgar and with one fell swoop, you’ll be introduced to the extravagent Wutai Ninja, Yuffie Kisaragi. If this is your first time playing Final Fantasy VII Remake, it’s strongly advised to instead play through the base game first, INTERmission assumes you understand the underlying mechanics of the game such as staggering, evading and using commands. If it’s been some time since you last played Final Fantasy VII Remake, it may take a few battles before you get your bearings again so don’t be surprised to see a death or two in the early stages.
Once you gain control, you’ll have full access to the Main Menu where you can take a gander at what Yuffie has at her disposal. Head into the DLC menu and claim any goodies you may have such as a new weapon, Cacstar along with all of the DLC from the original version of Final Fantasy VII Remake. Yuffie will have two weapons available to her as such, and the Cacstar comes with slightly higher attack and an extra Materia Slot but consider learning the Weapon Ability from 4-Point Shuriken before switching over.
Yuffie’s equipped Armor is actually very useful, even after you start earning some with higher Defense later in the DLC. The reason for this is because it will double the amount of AP gained for any Materia attached to it, make use of it when deciding to level some of her Materia. You’ll also have 16 SP for each of your weapons at this point, take the time to unlock some abilities such as the ever useful AP Up and Thievery, which will allow you to use Mug when the weapon is equipped, allowing you to remove the Steal Materia. Once you’re finished pouring over the Main Menu, it’s time to get a move on and follow those Moogle posters to meet up with your contact from Avalanche. Follow the path east and you’ll encounter your first enemies in INTERmission, there’s a lot to learn about Yuffie here.
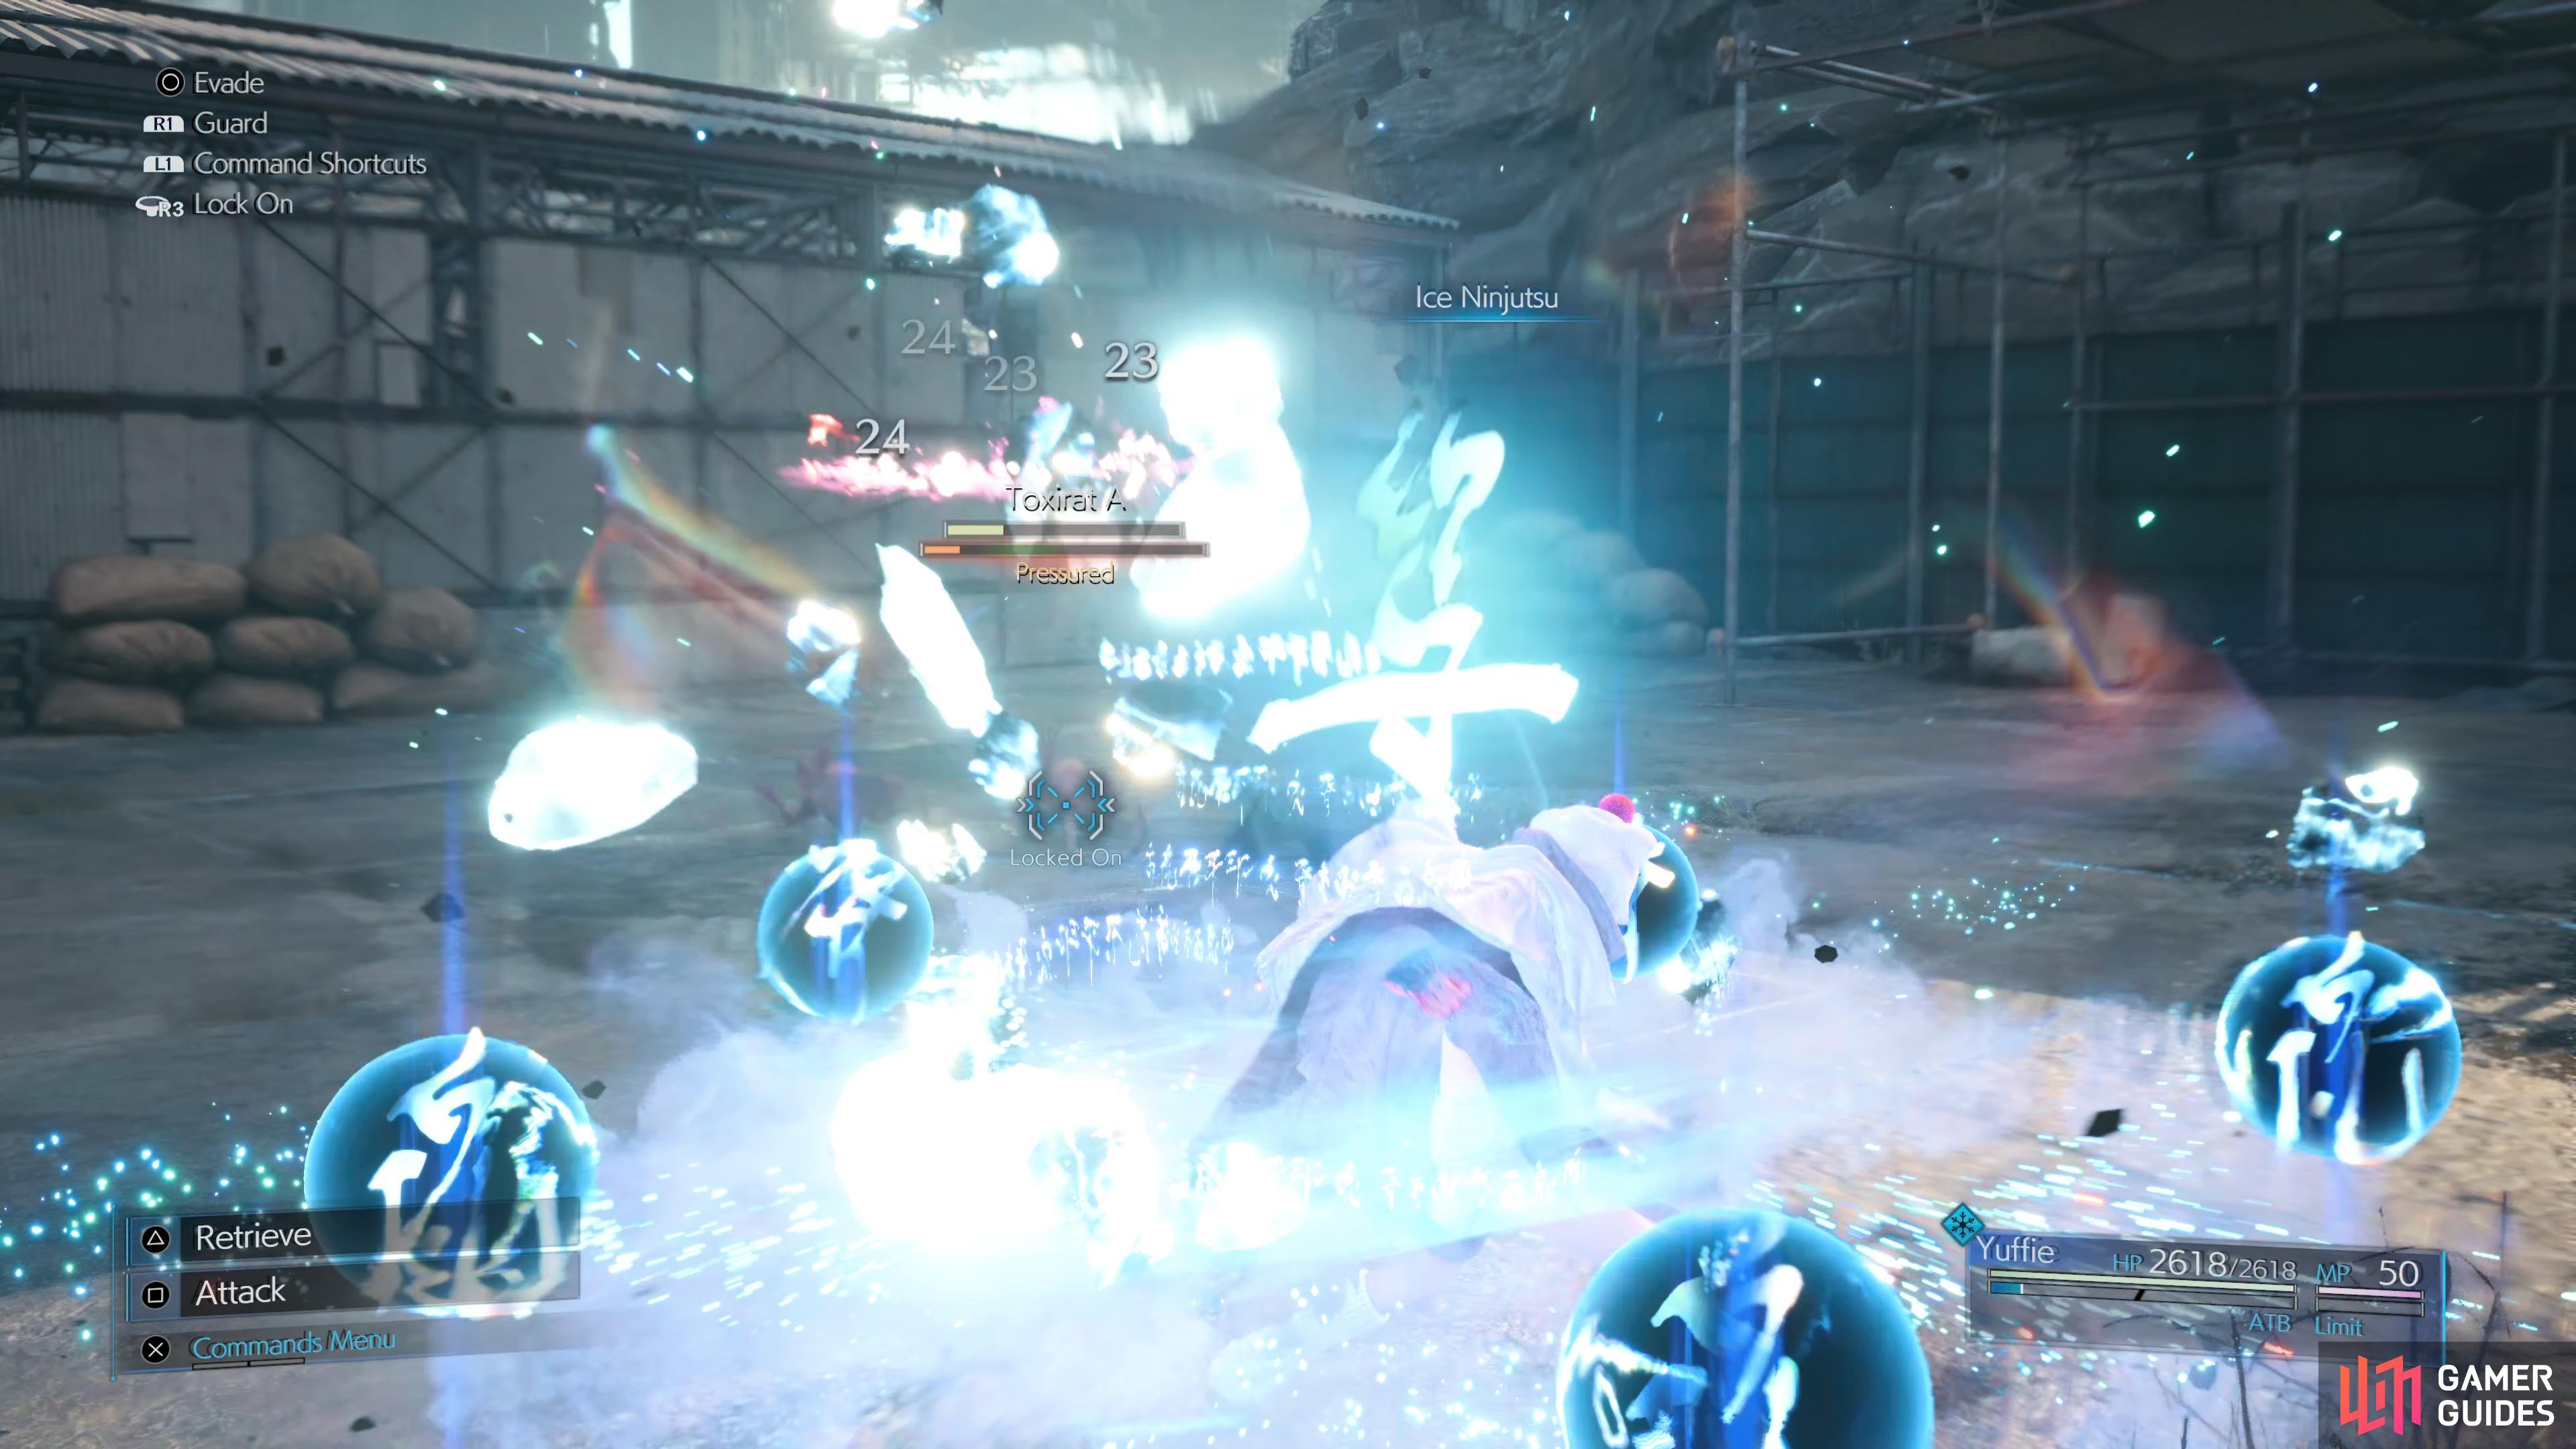
Yuffie can use elemental Ninjutsu after she has thrown her weapon
or strike up close with it and leap back to create distance.
Yuffie, the Ninja that she is, has a mixed playstyle based on long-range Ninjutsu attacks and close-range strikes with her Shuriken, which can also be thrown at a distance. Throwing Yuffie’s Shuriken is tied to the [Triangle] button and will toss her Shuriken, at that point, pressing the [Square] button will allow her to quickly casts Ninjutsu which acts similar to magical attacks. At first, this will be non-elemental but with the cost of one ATB, you can head into abilities and change the elemental attribute to that of Fire, Ice, Lightning and Wind, allowing you strike any weakness. If, instead, you decide to opt for close-range attacking, keep hold of your Shuriken and you’ll be able to perform a string of nimble blows. Especially when fighting alone, you’ll need to know when to escape danger and this is made easier by holding the attack button down, this causes Yuffie to jump back and create some distance.
You’ll also be introduced to Precision Defense here, by using the Guard button just before an enemy strikes her, Yuffie will significantly reduce the damage taken. This is important to learn, as a lot of Yuffie’s weapons come with abilities that grant boons when using this, such as Regen, Barrier and Manaward so try to get a feel for it early on. Finally, Yuffie will have a few Weapon Abilities at her disposal, namely Art of War and Windstorm, both costing one ATB.
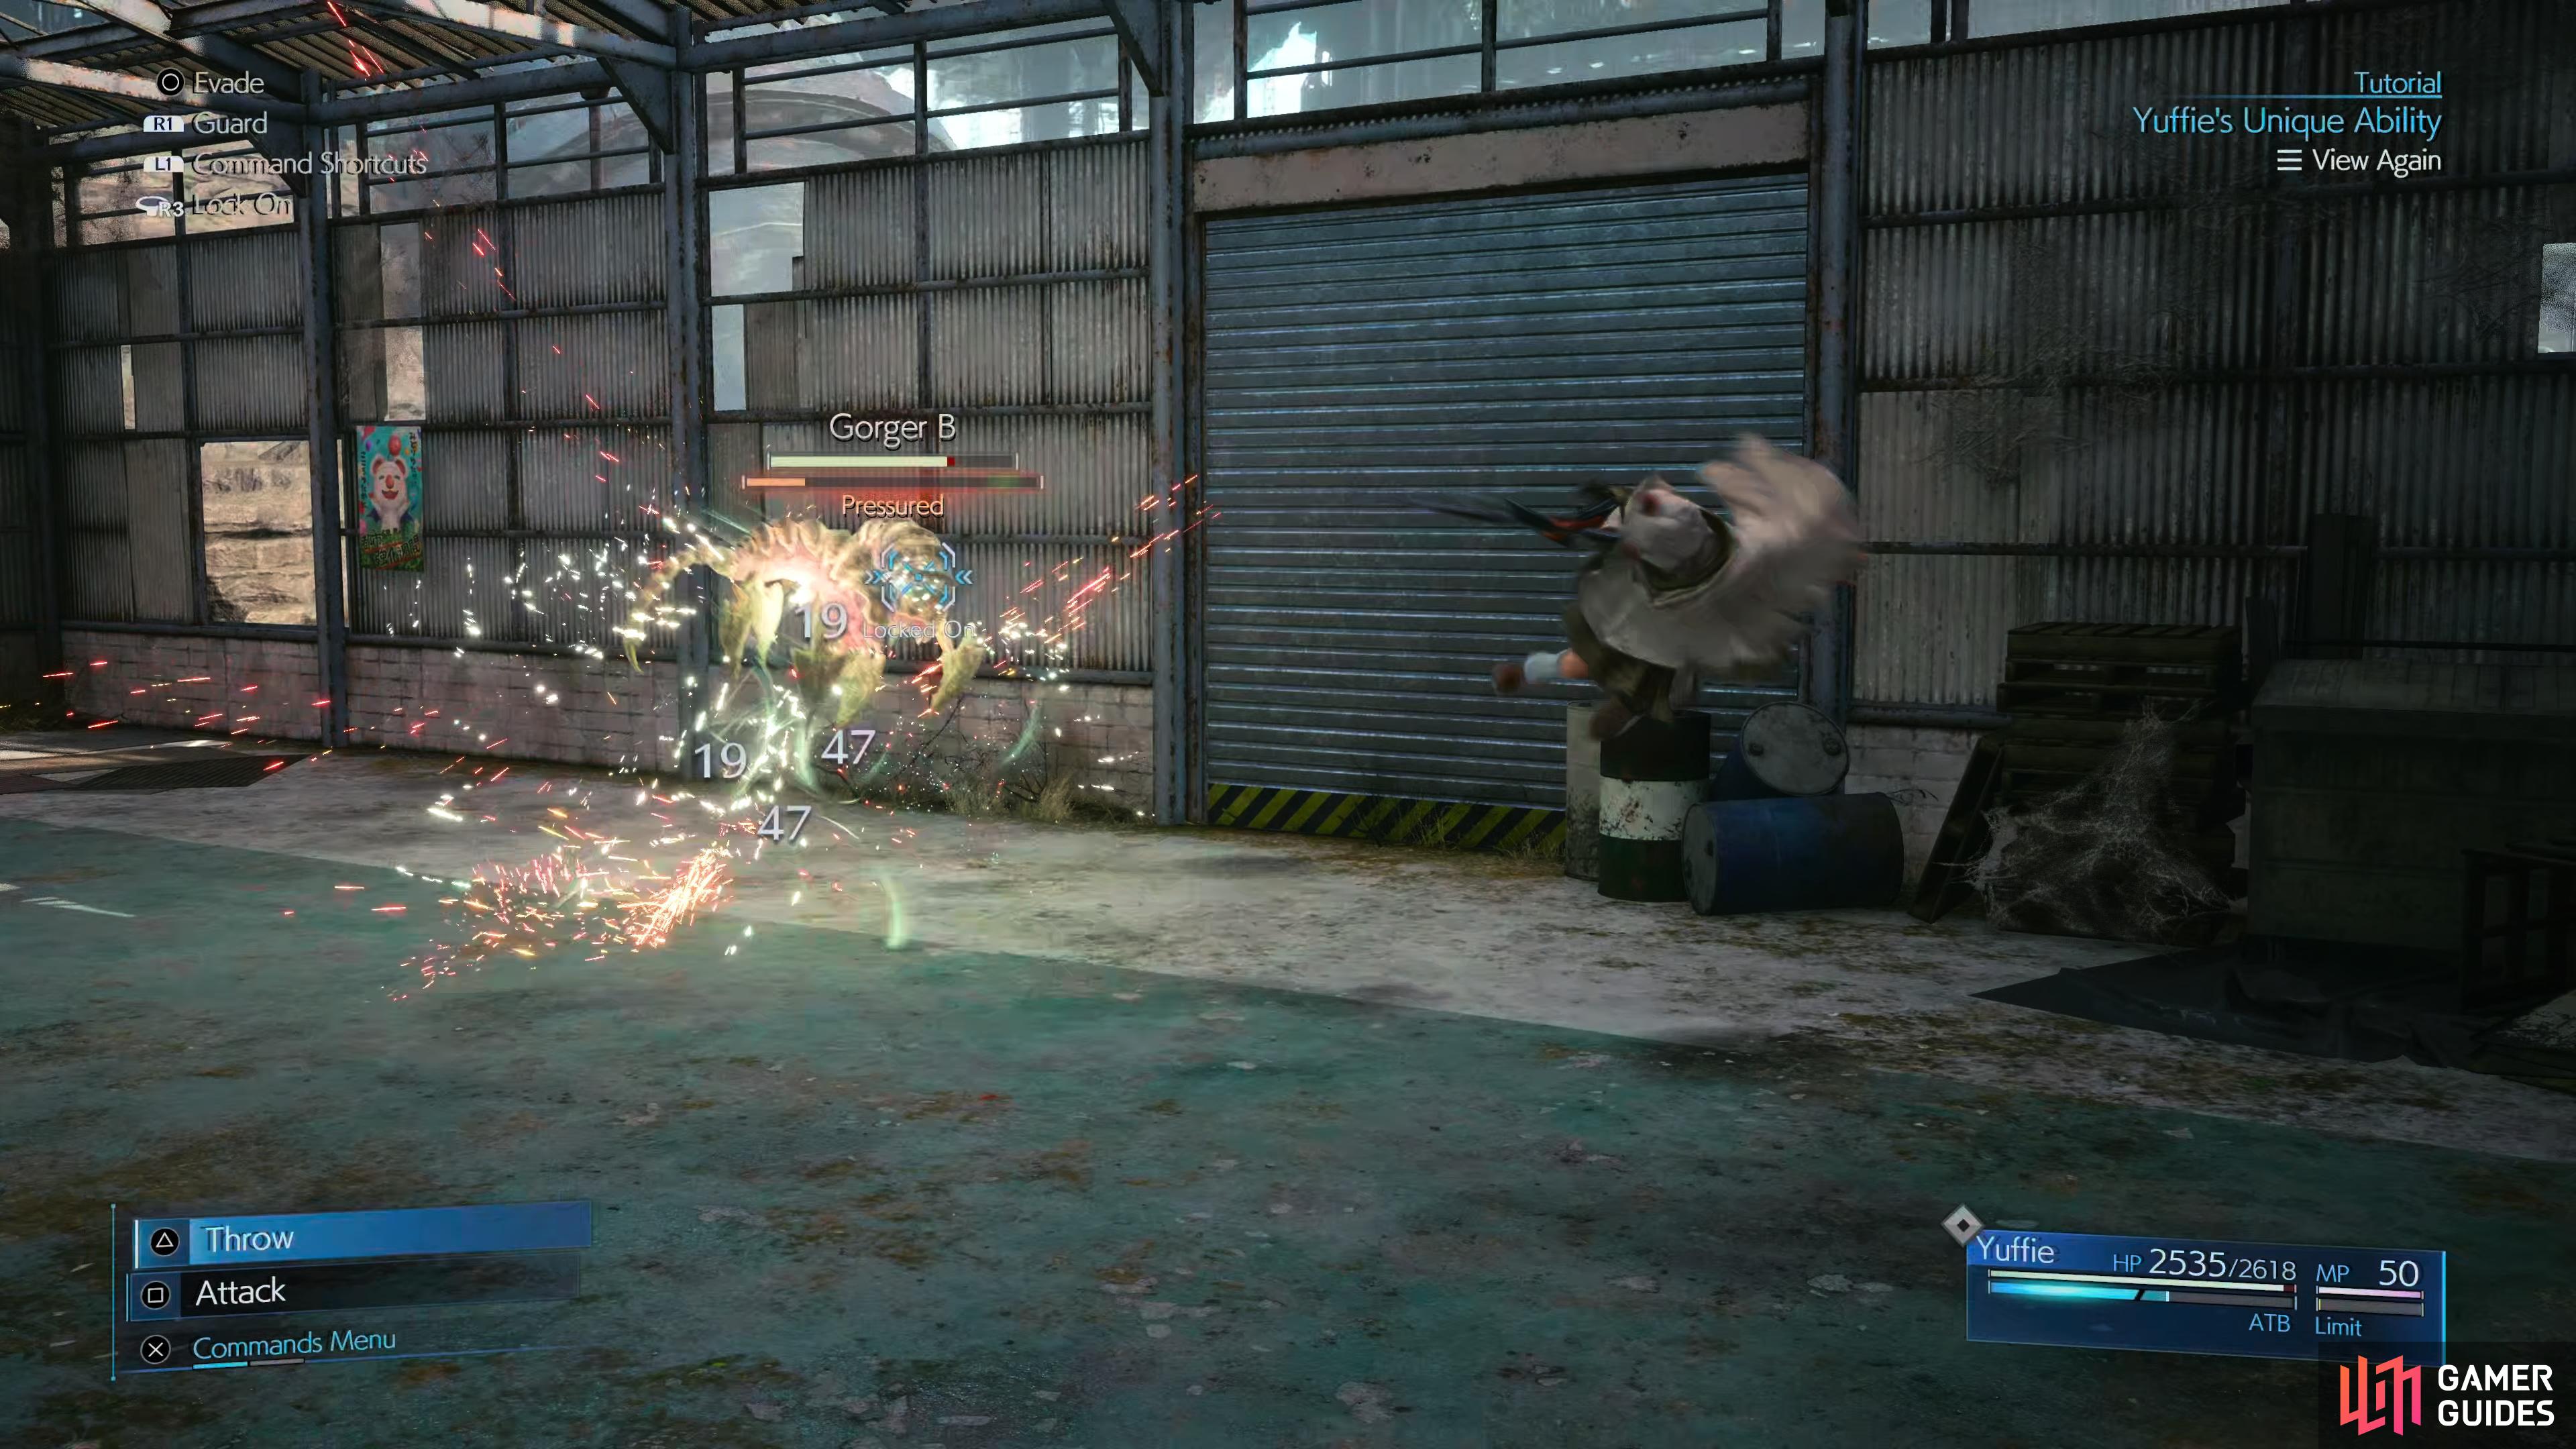
Art of War will see Yuffie perform a flurry of blows on her target, this is especially useful against any enemies that are staggered. Windstorm, on the other hand, will group up any enemies nearby and knock them towards you with a gust of wind. This, as you may expect, has the Wind attribute so it’s not only useful for striking elemental weaknesses but creating a cluster of enemies you can then strike with Ninjutsu. With all of that detailed, you’re only up against two Toxirats, both of which are weak to Ice, perfect for pelting them with your Ice Ninjutsu. Continue east through the open window and you’ll encounter two Gorgers, more enemies weak to Ice so stick with the Ice Ninjutsu to take them down easily.
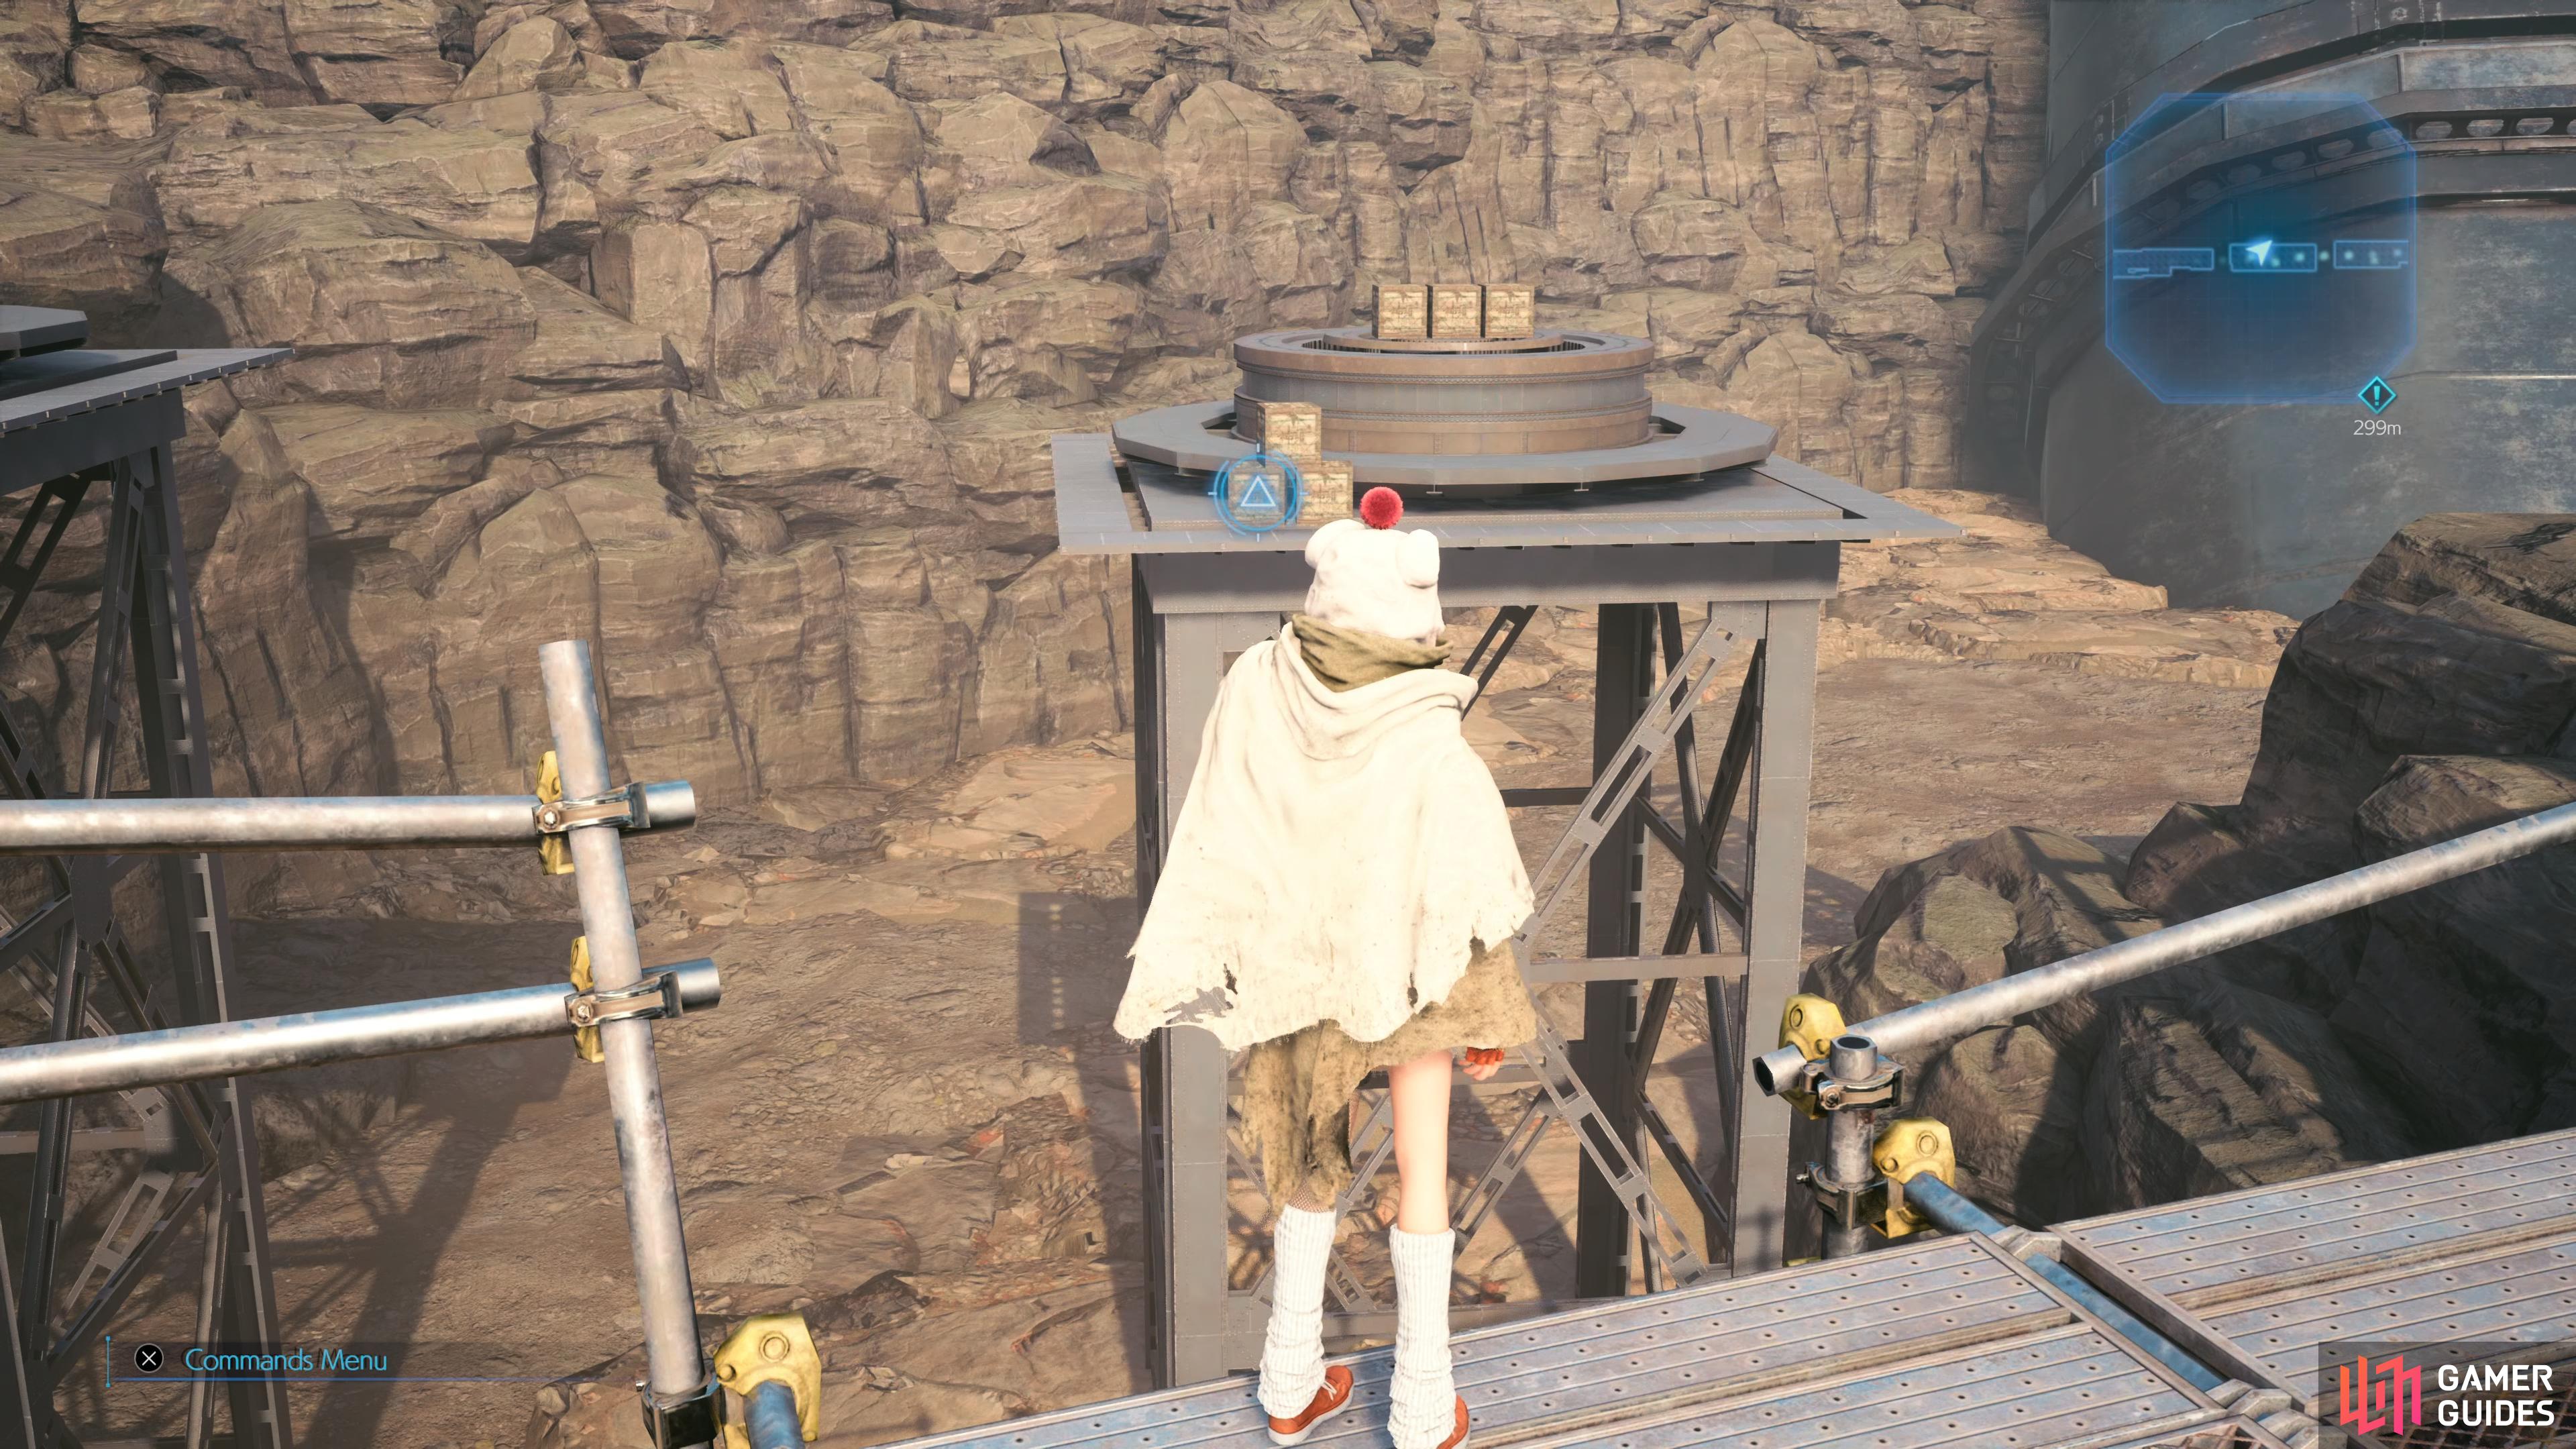
Exit out of the other window and you’ll be detailed on how to use Yuffie’s weapon outside of battle. Using the [Triangle] button, she can toss her Shuriken at objects in the distance, often Shinra Boxes that many contain loot but also switches and other oddities that may aid your quest in Midgar. Take the advice here and toss the Shuriken at the Shinra Boxes on your left and then begin crossing the bridge, stopping to toss the Shuriken at the boxes to the north as you go along. At the end of the path, use the dangling handle haging from the crane to reach the other side.
It starts to ramp up a little here, you’ll find two more Toxirats joined by a Lesser Drake, these airborne lizards can be tricky and you’ll want to make use of Wind Ninjutsu to take it out as quickly as possible. Once defeated, look to the southwest to find the next Moogle poster and duck under the shutter to enter the Abandoned Warehouse. Immediately look up to the southwest to find more Shinra Boxes to toss the Shuriken at (and a Materia you’ll be coming back for shortly), then make your way around to the east to trigger a cutscene.
Once you regain control, you’ll spot the next Moogle poster up to the south however you’ll need to bring the lift down first. Take a step back, look up and toss the Shuriken to bring it down to your level, stepping on and taking it up to the top yourself. Another two Gorgers await you here and then leap over the planks to the west and ignore the next Moogle poster to your south for now. Instead, look to the north and toss the Shuriken at the switch before climbing down the ladder. Head to the north to find a chest containing 2 Hi-Potions and then take the lift up to reach that HP Up Materia which you should consider slotting to Yuffie right away.

Take the ladder back up and duck under the shutter to the south to leave the warehouse. As you continue to head east, look to your south to discover another chest containing Power Wristguards, an Accessory that boosts your Strength by 5%. Continue east and break the boxes to the northeast before taking the ladder up and head across the rooftop to the other side. Take a few step forwards and Yuffie will spot another cloaked man in danger and seek a way across. Look up to spot a cage holding some girders, unfortunately you don’t have a great line of sight on it so head to the east and take the ladder up instead to reach the top and toss the Shuriken from a better angle. Take the pole back down and cross over to the other side.
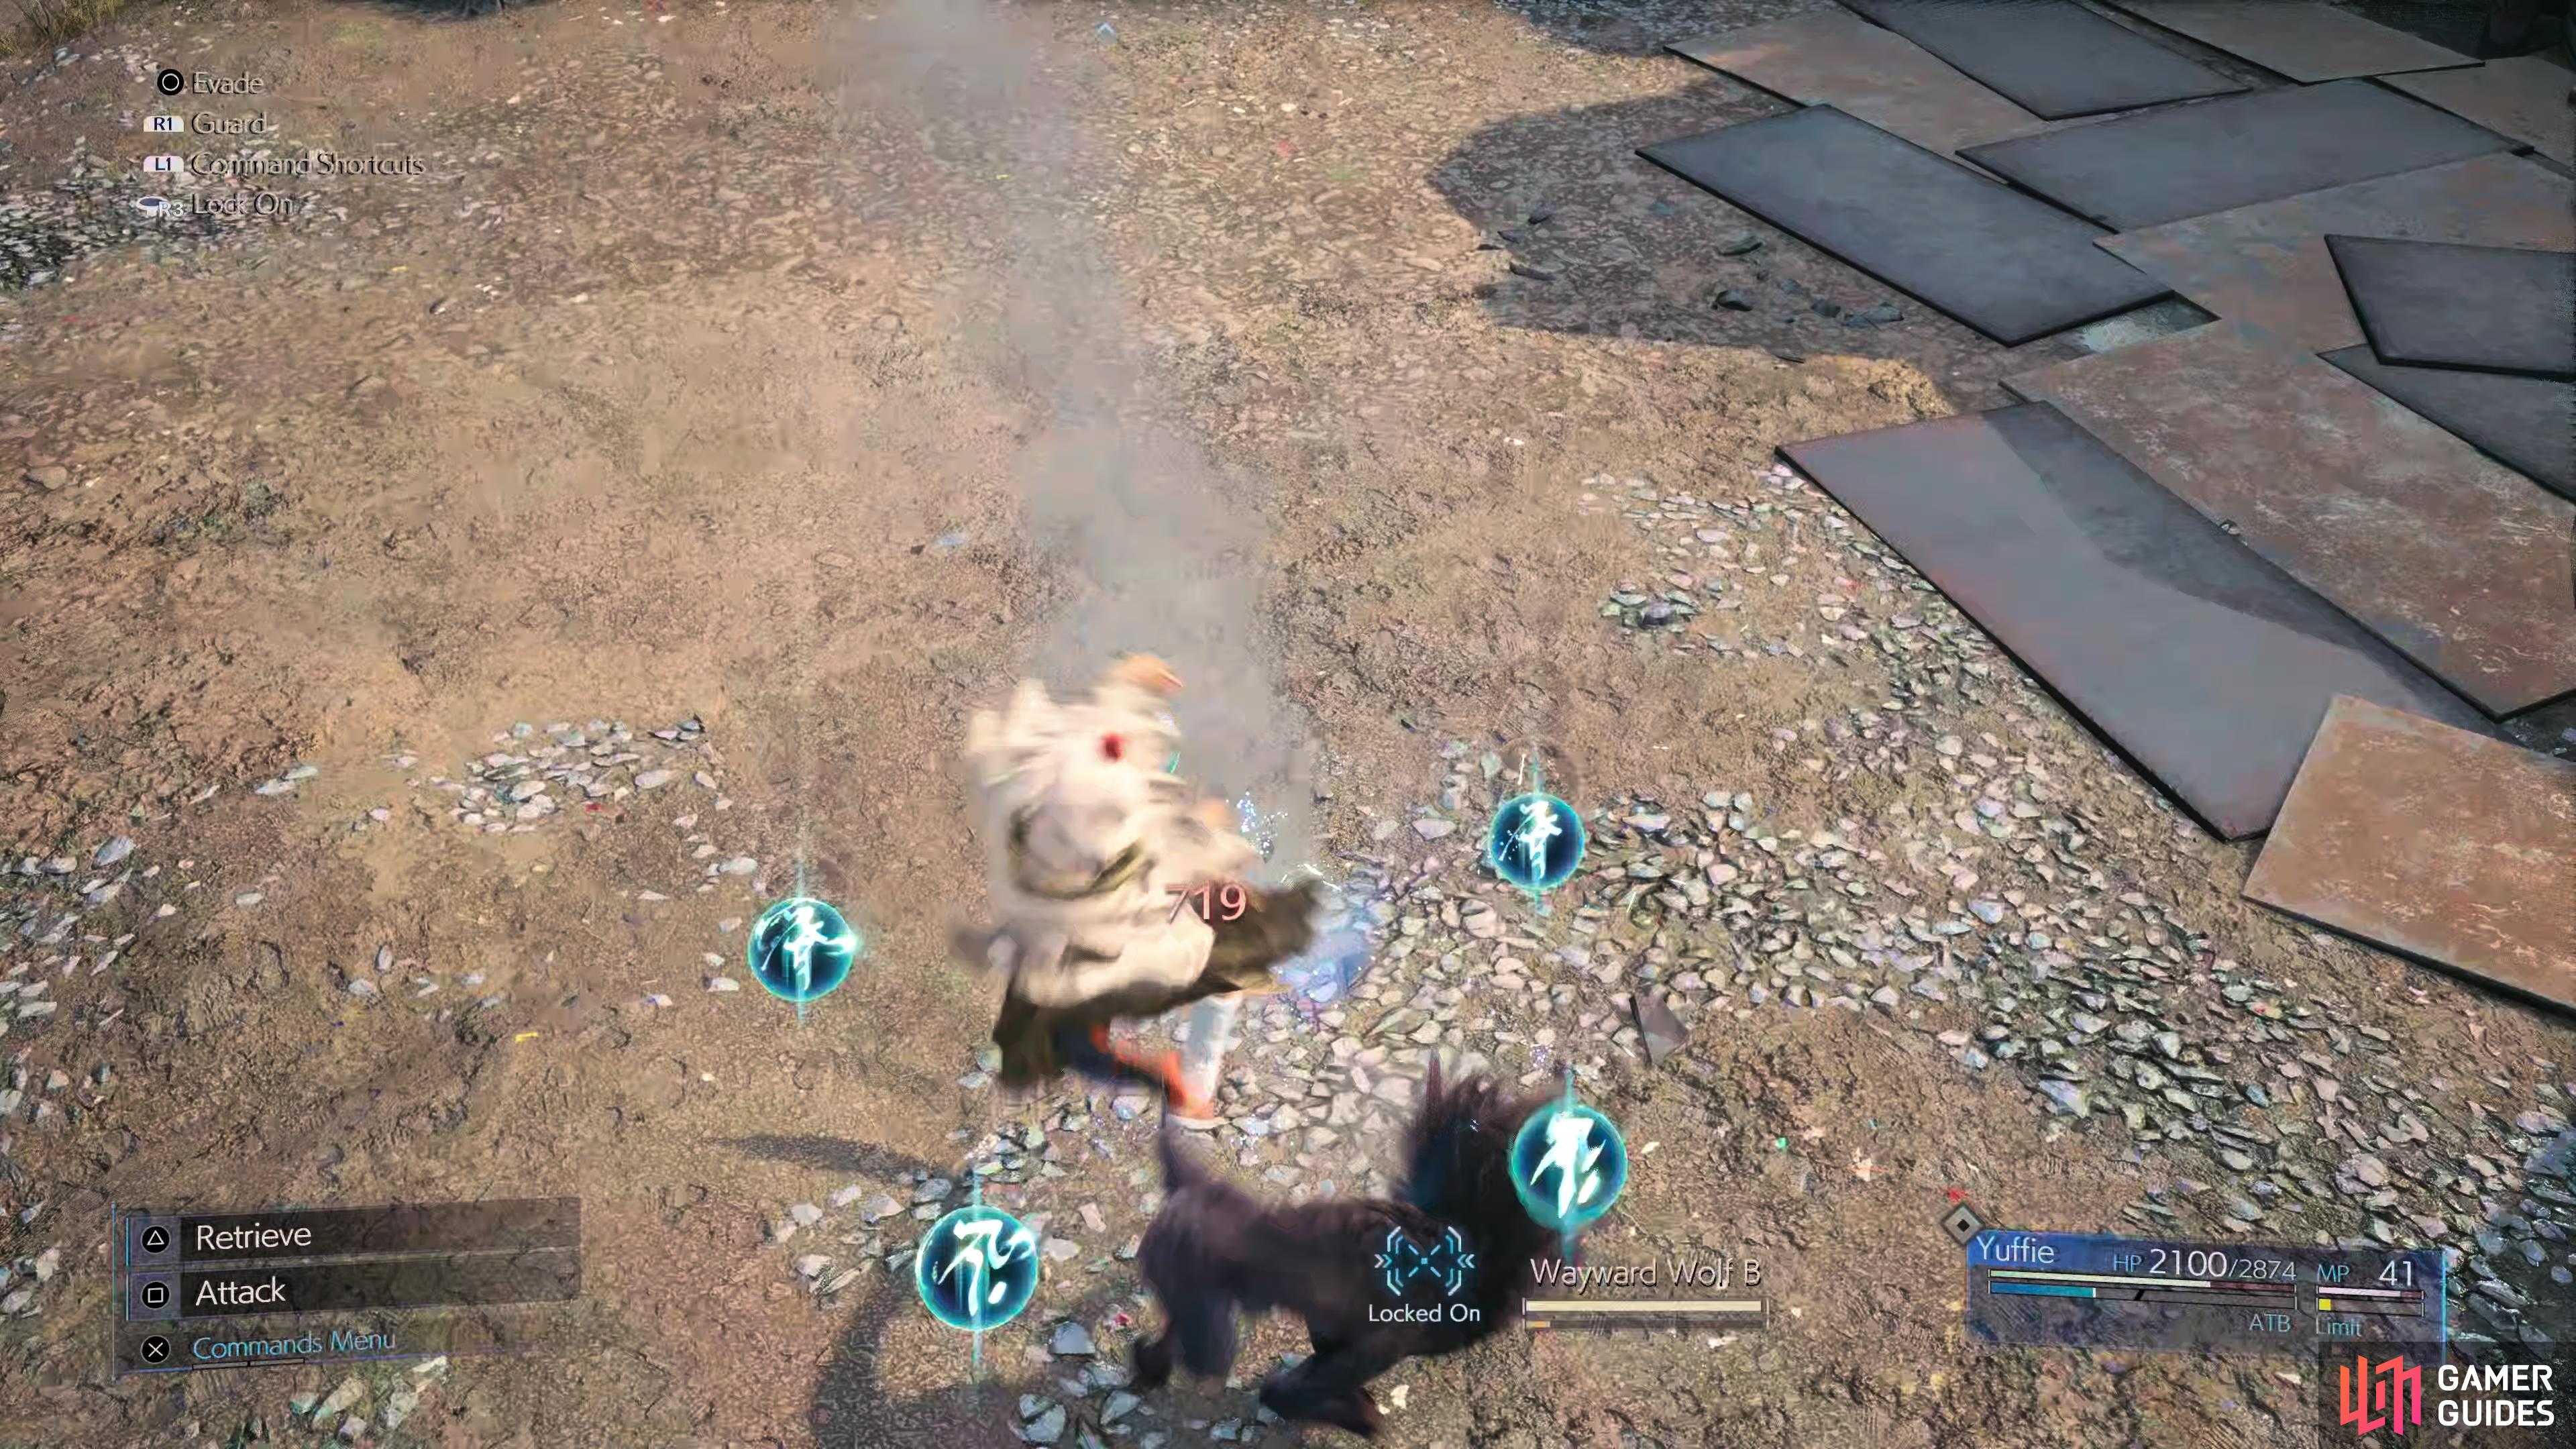
The Wayward Wolf
This is the first difficult battle in INTERmission, especially if you’ve not got to grips with Yuffie’s playstyle yet. The Wayward Wolf is a fearsome beast on it’s own, let alone with two against one. They have two deadly attacks available to them, the Headbutt which will deal moderate damage and knock you to the ground and Throat Clamp, an unblockable attack that you must avoid at all costs as it’ll pin you down and keep dealing damage, repeatedly press the [Circle] Button to escape quicker. You’ll want to keep your distance at all times and quickly switch to Ice Ninjutsu as soon as possible, this will strike the weakness, hopefully allowing you to get one down as quickly as possible. The battle becomes significantly easier at this point, use Precision Defense against Headbutt and evade out of the way of Throat Clamp and you should finish it off.
Once the battle is over, you’ll spot another Moogle poster to the southeast but ignore it for now and head west to find some Shinra Boxes to break and a ladder to climb. Make your way across the bridge and up the next ladder to pocket some Wind Materia. Slide down the pole now and head through the fence to the southeast, continuing south at the first intersection to loot a chest containing 1,000 Gil. Return to the intersection now and follow it to the west and out of the building.
Look up to the north to find more Shinra Boxes to break and then cross the bridge and examine the door to trigger a cutscene and enter the Scrap Boulevard. Your visit through here is rather uneventful, there are no monsters to defeat and little in the way of goodies outside of a single Materia. Make your way east, taking the northern path to through the tunnel and search the alcove to the north, you’ll find a MP Up Materia that you should consider slotting right away. There’s nothing but Shinra Boxes on the other paths so continue heading to the east where you’ll finally meet up with your Avalanche contact.
No Comments